How to install Windows 10
Wondering how to install Windows 10? We reveal the simple steps to help you get the job done, including creating and using installation media

If you're wondering how to install Windows 10, you'll be relieved to know that it couldn't be easier. While it used to be a fairly in-depth process that involved you putting files onto a CD, these days, with just a good old USB and an internet connection, you can get the job done in record time.
There are many reasons why you might want to install Windows 10 as opposed to opting to upgrade to Windows 11. While the latter brings with it an interface that's more in line with the best MacBooks and Macs and offers an easier transition from monitor to laptop, Windows 10 is certainly no slouch in the operating system department.
For one thing, Windows 10 runs on everything, unlike Windows 11 which requires a significant step-up in the hardware department for many users. It's also had a lot more time to become polished and relatively bug-free, and in our humble opinion, Windows 10 has a superior taskbar. And if you're into gaming, you'll be relieved to know that it has all the same gaming features as Windows 11.
Whether you have the best Windows laptop or the best computer, Windows 10 is a trusty and reliable old friend that is a joy to use. And given that it's not going to be phased out until October of 2025, you'll still get three years of life out of it before you need to upgrade.
Whether you're putting it on a computer for the first time, upgrading an earlier version of Windows, or just want to perform a clean installation on a computer that already has Windows 10 on it – we show you how to install Windows 10 using one of the best flash drives to get the job done.

1. Make sure your device meets the minimum system requirements
For the latest version of Windows 10, you’ll need to have the following:
CPU: 1GHz or faster supported processor (Here is a list of supported CPUs)
RAM: 1GB for Windows 10 32-bit or 2GB for Windows 10 64-bit
Storage: 32GB of space or more
GPU: DirectX 9 compatible or later with WDDM 1.0 drriver
Display: 800x600 resolution or greater
Internet connection: Some versions of Windows 10 require an internet connection during setup.
Get daily insight, inspiration and deals in your inbox
Sign up for breaking news, reviews, opinion, top tech deals, and more.

2. Create installation media
Microsoft has a tool specifically for creating installation media. You can download that tool using this link, or by going to this page and selecting “Download tool now” under the section titled “Create Windows 10 installation media.”
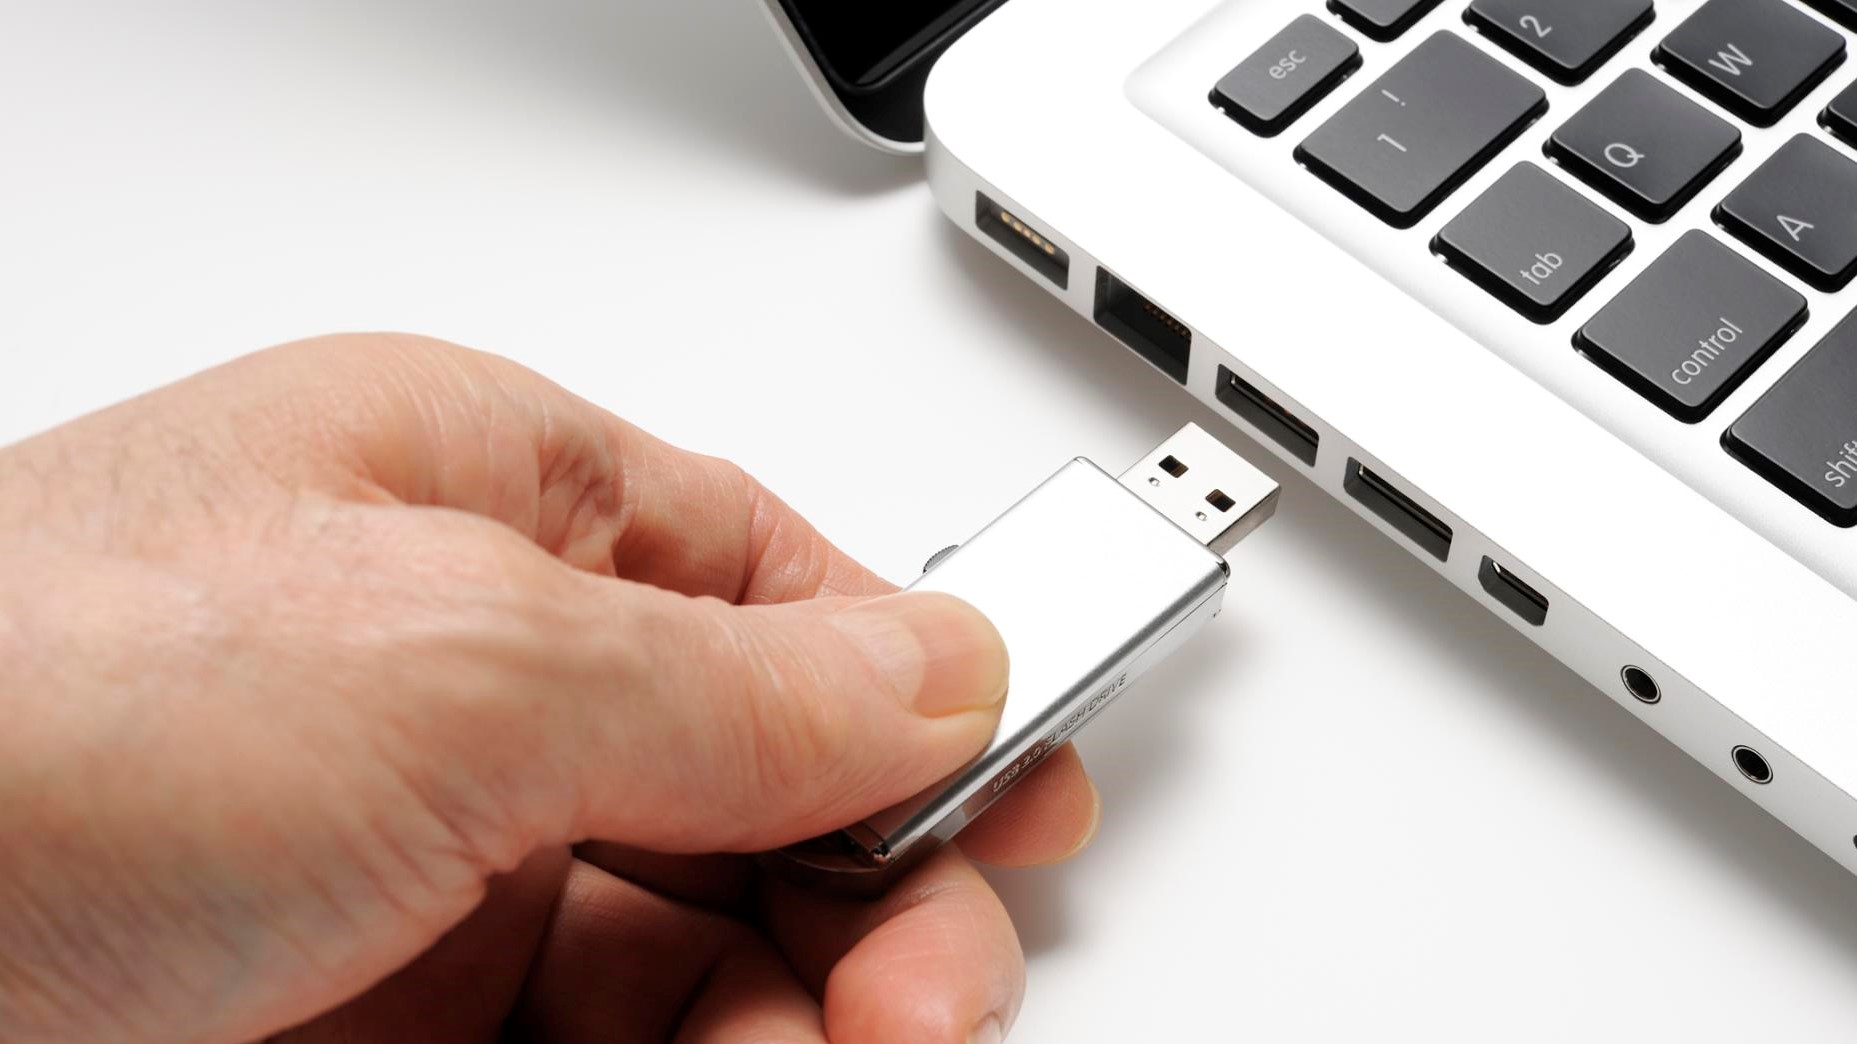
You’ll need a blank USB drive with at least 8GB of space (or a blank DVD) to put the Windows 10 installation files on.
You’ll need to run the tool, accept Microsoft’s terms, and then select “Create installation media for another PC” when you get to the “What do you want to do?” page.
You’ll select the language and edition of Windows you want as well as whether it will be 32-bit or 62-bit, and then select the type of media you want to use. Installing from a USB drive is easiest, but you can find details on using a DVD and ISO file here. You’ll then choose your USB drive from a list of drives, and the tool will download the necessary files and put them on the USB drive.
(Note: If you are upgrading a Windows 7 or Windows 8.1 PC, you can actually use this tool to simply download and install Windows 10 directly to your computer. Just run the program as an administrator, and when you reach the “What do you want to do?” section, select “Upgrade this PC now,” and follow the remaining steps in the tool. This will also give you the option of keeping your files and apps during the installation process. You can find more detailed instructions on this process here.)

3. Use the installation media
Insert your installation media into the computer you plan to install Windows 10 on, then access your computer's BIOS or UEFI.
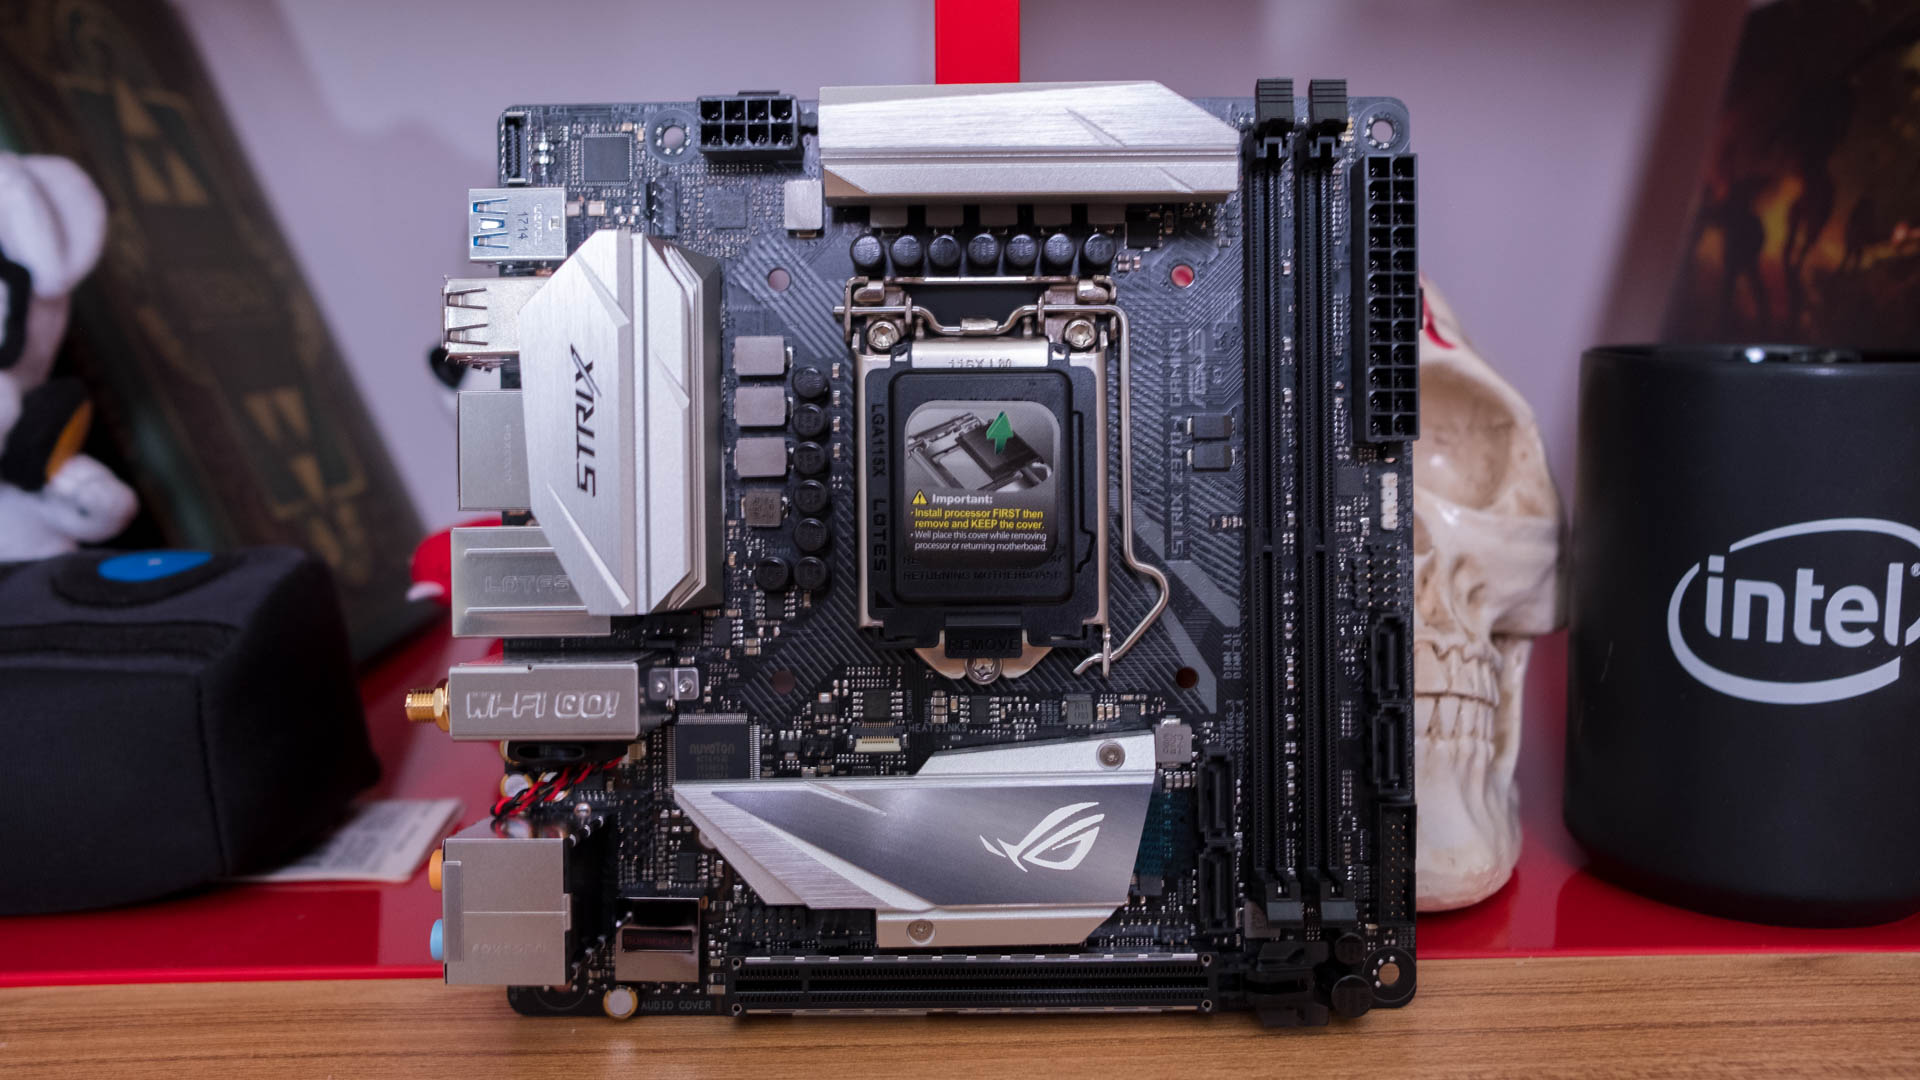
This is the system that allows you to control some aspects of your computer's hardware, and it's built into your motherboard. This step is unique to your specific hardware, so we can't walk you through exactly what to do. But, you should be able to figure out the process for accessing this by checking on your computer or motherboard manufacturer’s website.
Generally accessing a computer's BIOS or UEFI involves holding a specific key during the boot process, often Escape, F1, F2, F12, or Delete. So, figure out which key your computer uses, then shut it down. Boot it back up, and hold the necessary key as soon as it starts to boot.
4. Change your computer's boot order
In your computer's BIOS or UEFI, you'll need to find the settings for boot order. This may show up in a section called "Boot" or "Boot order." This decides which devices are used first when the computer starts up.
The computer won't boot into the Windows 10 installation tool unless the drive it's on is higher up in the boot order than the drive holding the computer's current operating system.
You should move the drive (whether it's your USB drive or a DVD drive) to the top of the boot order menu.
You may also need to disable Secure Boot if your computer uses it.
5. Save settings and exit BIOS/UEFI
Your computer should now boot into the Windows 10 installation tool, which will guide you through the process of setting up Windows 10 on your computer.
Over the last several years, Mark has been tasked as a writer, an editor, and a manager, interacting with published content from all angles. He is intimately familiar with the editorial process from the inception of an article idea, through the iterative process, past publishing, and down the road into performance analysis.
