How to set up an Android phone: our guide to switching on your new phone
Get started with Android, from the beginning
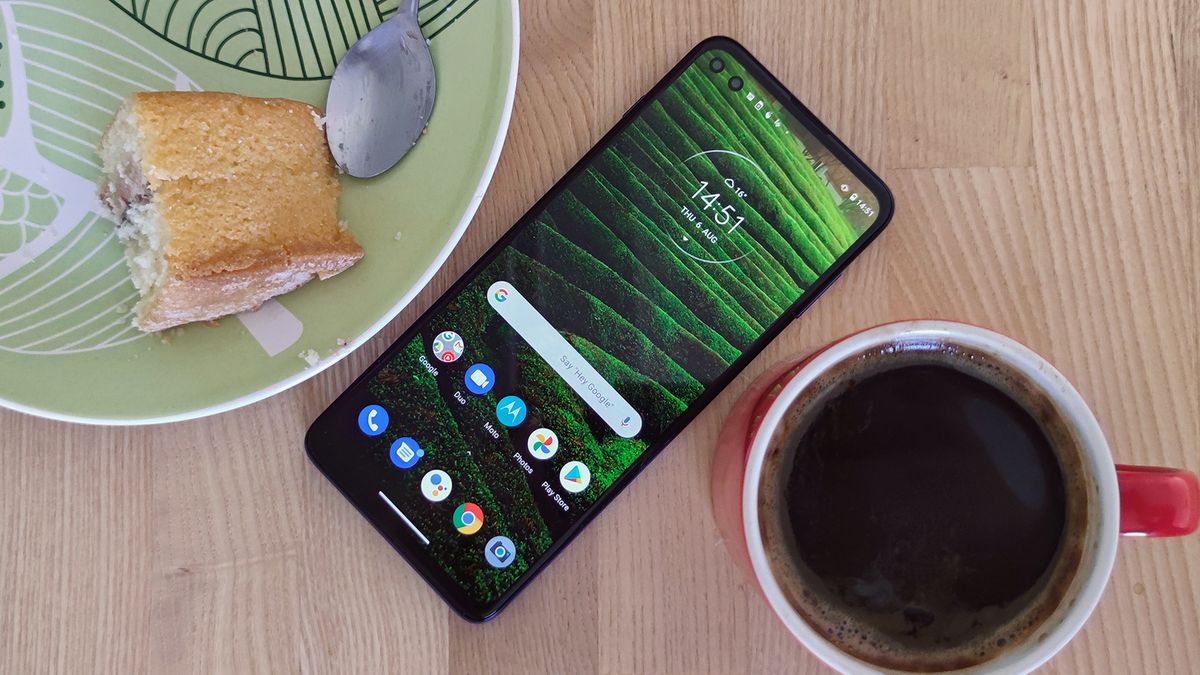
If you've just bought or been gifted a shiny new Android phone, then you'll want to get it up and running as soon as possible. The good news is, that's not difficult to do – and we're going to guide you through every step.
From connecting your Google account to your new phone, to making sure the handset is protected against unauthorized access, we're going to cover everything you need to know about setting up a new Android phone right here. So you'll be up and running in no time and can start exploring all the best Android apps and best Android games.
In this guide we'll take a look at setting up Android on a Motorola phone, which is close to the stock version of Android provided by Google. Some of the steps and screens on phones from other manufacturers may vary slightly, but whatever the make and model of your handset, the process will be largely the same.
The setup process

The first screen you see when you boot up your Android phone will ask you to choose the language you want the operating system to use. Select a language, tap Start, and you're into the main setup process. Most of the subsequent screens can be bypassed with the Skip button if you don't want to deal with them right away.
The next screen will ask you to slot in your SIM card, if you haven't already, and then you'll be prompted to select and connect to a Wi-Fi network – pretty essential if you want to download apps, get online, and update the phone's operating system.
Next you'll be invited to copy apps and data over from another Android phone: you can either sync your Google account details and installed apps over from another phone that you still have with you, over Wi-Fi or with a cable, or you can restore an Android phone backup from Google Drive (assuming you have been backing up your old phone to the cloud). We've gone into this part of the setup in more depth below.
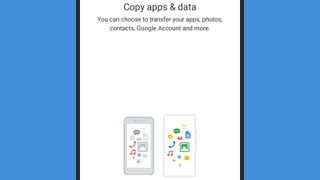
If you'd rather start with a clean slate on your new phone, choose Don't copy. Your phone will prompt you to sign in with a Google account, which will grant you access to the Play Store and start an automatic sync with apps such as Gmail, Google Photos, and Google Calendar, even if you didn't copy over data in the previous step.
Get daily insight, inspiration and deals in your inbox
Sign up for breaking news, reviews, opinion, top tech deals, and more.
Once you've signed in, Google will ask you if it can track your location, collect diagnostic data, and back up key phone information to Google Drive – this includes apps, app data, call history, contacts, device settings (such as Wi-Fi passwords) and your SMS message history.
If you agree to this backup, it will make it easier the next time you upgrade your phone, as you'll be able to use it with the restore feature mentioned above. You can see all the devices you're signed into with your Google account from this page.
After that, it's time to look at security: you'll be asked to set a PIN code to lock the screen with, and you'll also have the opportunity to set up fingerprint recognition and face unlock, if these features are offered on your particular Android phone. It's important that you have at least one of these security measures in place to protect unauthorized access to your handset.
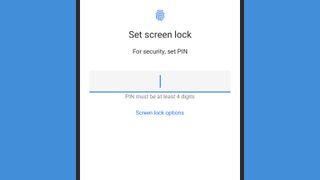
With that done, there's just some housekeeping to take care of. The next screens let you set up Google Assistant, add another email account besides your main Gmail one, change the system font or home screen wallpaper, and pick which extra Google apps (such as Google Home and Google News) get installed right away.
You might see further screens from the manufacturer of your Android phone, offering you the chance to sign up for more accounts and apps. You're then into the Android operating system proper, and you can start enjoying your phone.
It's a fairly painless process, made easier by the fact that Google apps and services live mostly in the cloud – no matter which device you sign in on, all of your emails, contacts, calendars, photos, videos and files are instantly accessible.
Upgrading from an old Android phone
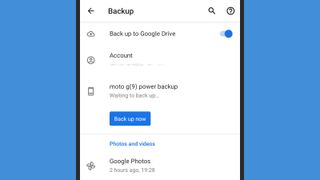
Google has tried to make it as simple as possible to upgrade from one Android phone to another, with Google services and apps (including Google Drive, for example), doing a lot of the heavy lifting in the background.
As we mentioned in the section above, you'll be offered the chance to copy over data and apps from your old Android phone during the setup process. You don't have to agree to this if you don't want to carry over all of the clutter and other apps from your last handset, but this is the only opportunity you get – if you don't copy the files over during setup, you'll need to reset your phone to do it in the future.
If you do agree, you can essentially clone your old phone either over your Wi-Fi network or by connecting a cable - though in either case you need to still have your old phone with you.
Alternatively, you can point your new device to an Android backup in Google Drive and get more or less the same result. In either case, all the instructions you need will be displayed on screen.
For the Google Drive restore option to work, you need to have backed up your old phone to Google Drive in the first place. This is good practice anyway, and really comes in handy when you're switching phones.
You'll be invited to set up a Google Drive backup whenever you set up a new Android phone, but you can also do it from the backup menu on your phone's settings screen. Exactly where this is will depend on the phone, but it might be found under Accounts and backup, or by heading to System, followed by Advanced, and then Backup.
Switching from iOS
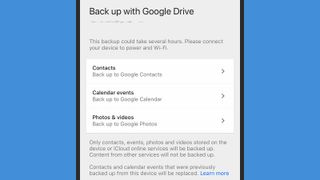
The ease with which you can switch from an iPhone to a brand new Android phone really depends on a couple of factors: how heavily invested you already are in the Google app ecosystem, and how much Apple stuff you want to bring over to your new Android handset.
If you're already using apps such as Gmail, Google Keep, Google Maps, Google Photos and Google Docs on your iPhone, then you can just carry on as before by signing into these apps on your new Android phone.
Apple Music works on Android too, while Gmail can be set up to check Apple iCloud email addresses. You can also export Apple Calendars and Apple Contacts to use on Android.
Some parts of the Apple ecosystem are more difficult to move over. Your best bet for moving photos and videos is to get Google Photos installed on your iPhone and sync everything to the cloud before you make the switch to Android.
Anything you've got synced to iMessage you'll have to lose, unless you have access to an iPad or Mac to carry on viewing your conversations from there. Though you'll want to switch iMessage and FaceTime off in any case, to ensure messages go to the right place.
Google Drive can move contacts, calendars, photos and videos over from an iPhone to Android as well – Google has instructions for that here.
In any case, once you've got as much of the above sorted as you care to, it's time to switch on your Android phone and follow the setup process outlined in the sections above. Once you get to the screen asking if you want to copy data from another device, select the iPhone option and either connect the two devices using a Lightning-to-USB-C cable, or transfer data over Wi-Fi.
While you can't move absolutely everything over from an iPhone, you can move quite a lot – and if you're already using Google apps on your Apple device, it's even easier to make the switch.

Dave is a freelance tech journalist who has been writing about gadgets, apps and the web for more than two decades. Based out of Stockport, England, on TechRadar you'll find him covering news, features and reviews, particularly for phones, tablets and wearables. Working to ensure our breaking news coverage is the best in the business over weekends, David also has bylines at Gizmodo, T3, PopSci and a few other places besides, as well as being many years editing the likes of PC Explorer and The Hardware Handbook.
