How to transfer iPhone photos to your PC or Mac computer
Whether you want to it wirelessly, with a cable or via the cloud
- Wired or Wireless?
- How to transfer your iPhone photos to a Mac with a cable
- How to transfer your iPhone photos to a Mac wirelessly
- How to transfer your iPhone photos to a Mac with iCloud
- How to transfer your iPhone photos to a PC with a cable
- How to transfer your iPhone photos to a PC wirelessly
- How to transfer your iPhone photos to a PC with iCloud
Wondering how to transfer your iPhone photos to a PC or Mac computer? You've come to the right place – our in-depth guide is here to show you three different methods for both types of operating system, covering both wired and wireless approaches. Use the navigation bar on the left to choose your preferred approach, and you'll see your camera phone snaps whizzing over to your laptop or desktop computer in no time.
Naturally, Apple would prefer you to take the iCloud route, letting your iPhone photos gradually build up on its servers. This keeps you hooked to Apple’s cloud subscription payments. It’s not a bad way to go, but many still want to get their images onto a Mac or PC, for archiving or editing.
There are three top ways to go about this, for both Mac and PC. You can plug your phone in and go old-school with a cabled connection. You can transfer images wirelessly – the appeal of this one is much stronger for Mac owners. Or you can bypass your phone and snag your images directly from a cloud storage service.
You aren't restricted to Apple's iCloud here. You can use Google Photos if you prefer, Amazon Photos or Microsoft OneDrive. iCloud is probably the best fit for Apple fans, but check out the others if you are a multi-platform user. You ideally want to have one cloud storage plan for your devices, not several.
However, today we’re more interested in the older approach that lets you manually archive photos, rather than letting them fester in perpetuity on a server somewhere. Here are all the best ways to do that, whether you're on Mac or PC. But first, how do you decide between the wired or wireless route?
Wired or Wireless?
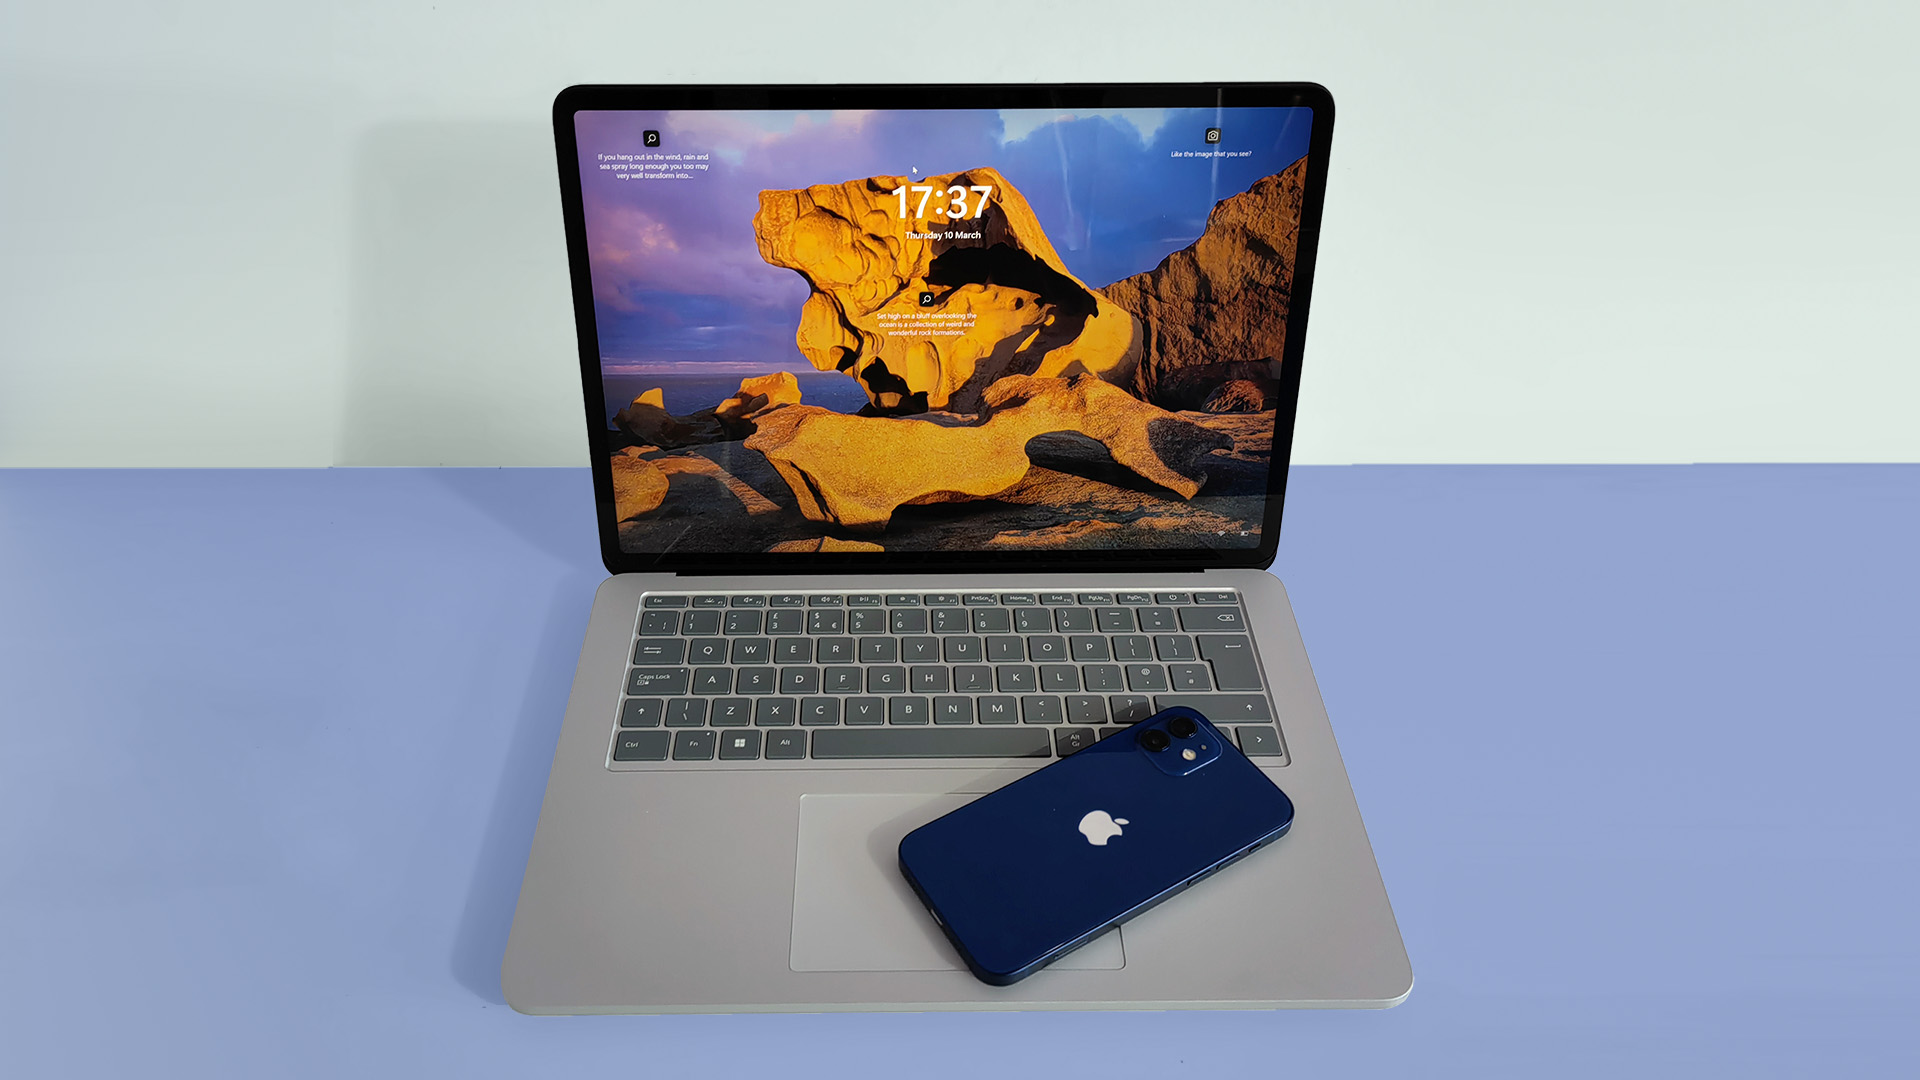
The received wisdom for file transfers is to use a cable if you want quick transfers, or wireless if you’re on-the-go or don’t have a cable to hand. That does not hold here, if you want to transfer to a Mac rather than a PC.
With recent-generation hardware, AirDrop can actually be faster than a cabled connection as Lightning limits transfers to USB 2.0 speeds – that's 60MB per second in theory, but it is closer to 30MB according to our testing. AirDrop is also intuitive, and quick to get going: more enjoyable to use even with an older Mac that may not beat cabled speeds.
Get daily insight, inspiration and deals in your inbox
Sign up for breaking news, reviews, opinion, top tech deals, and more.
Using a PC? We recommend sticking with a cable at it feels much like drag and dropping files from a USB stick or external hard drive. You need to use a third-party work-around for wireless transfers.
There are some solid options for moving photos wirelessly, but we found they can struggle to deal with large videos and you may see your images re-compressed, which will reduce image quality. Not ideal.
How to transfer your iPhone photos to a Mac with a cable
1. Plug in your iPhone
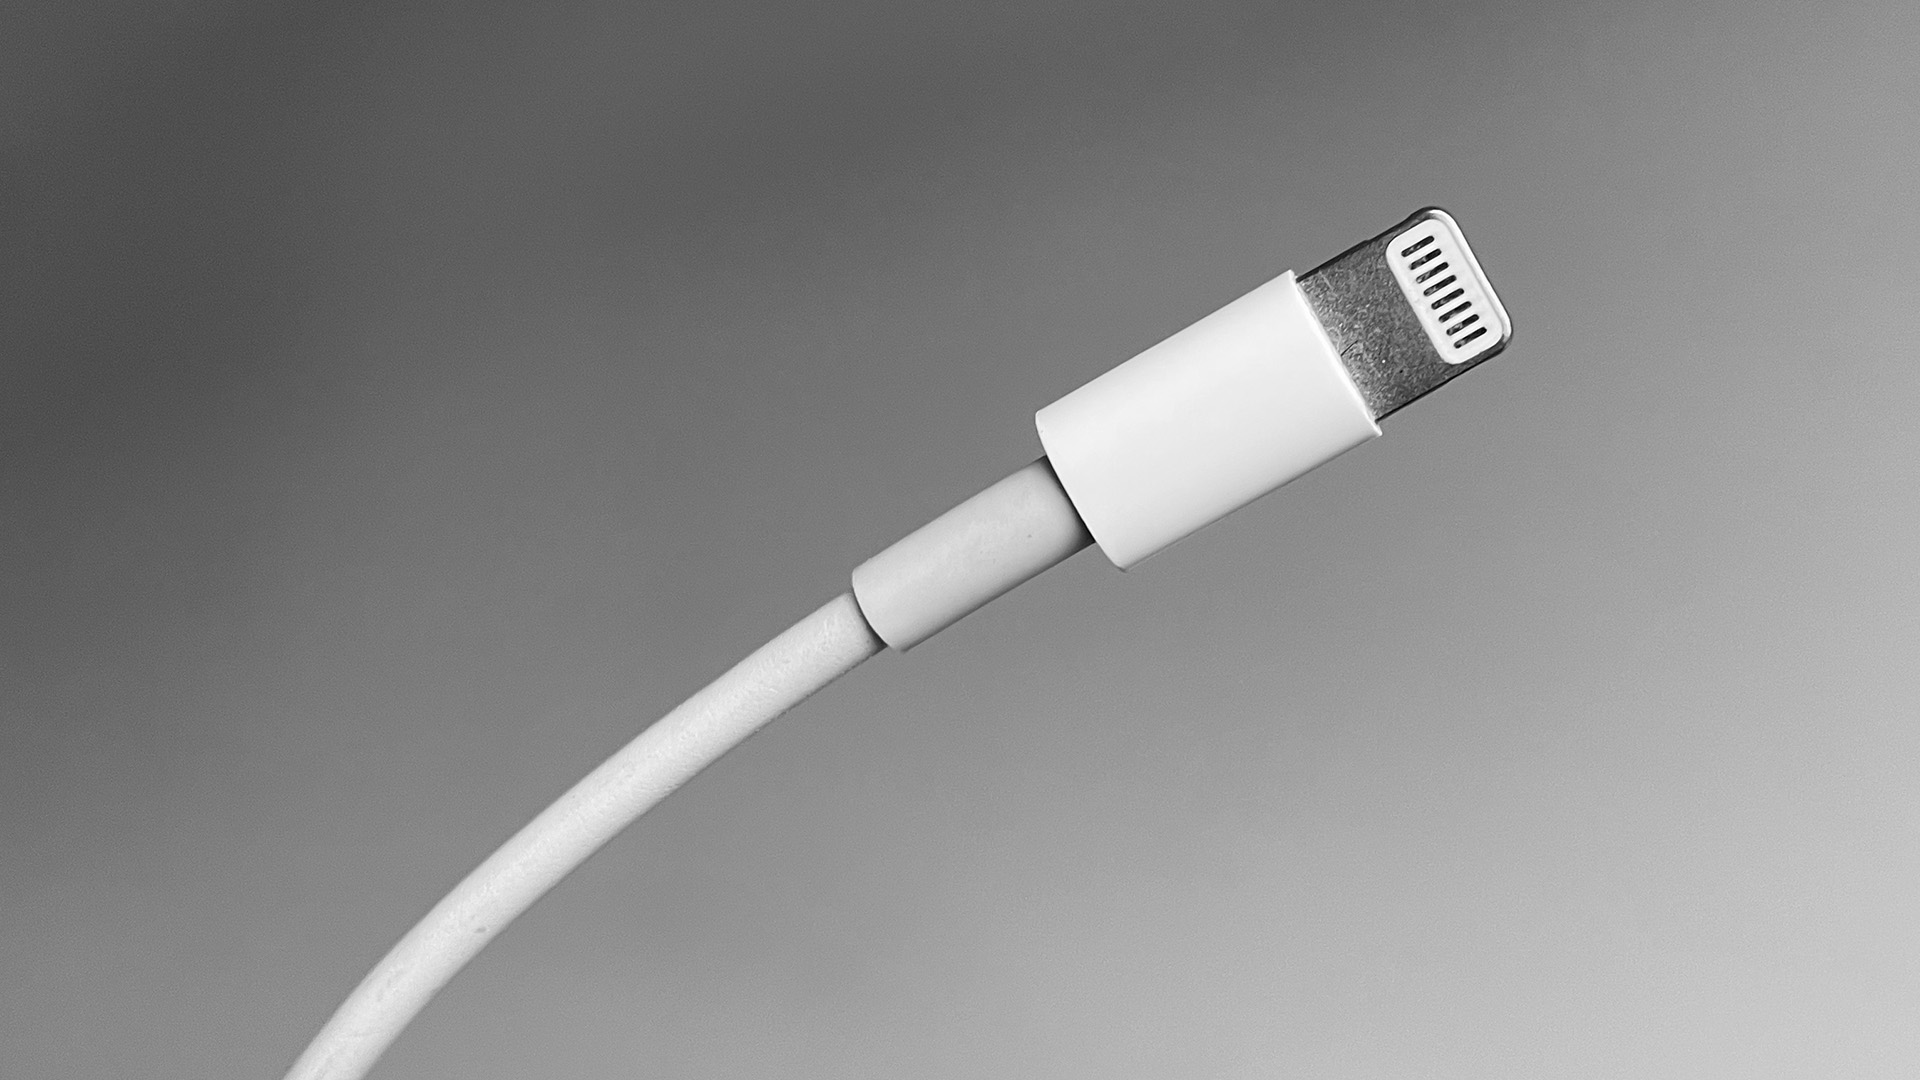
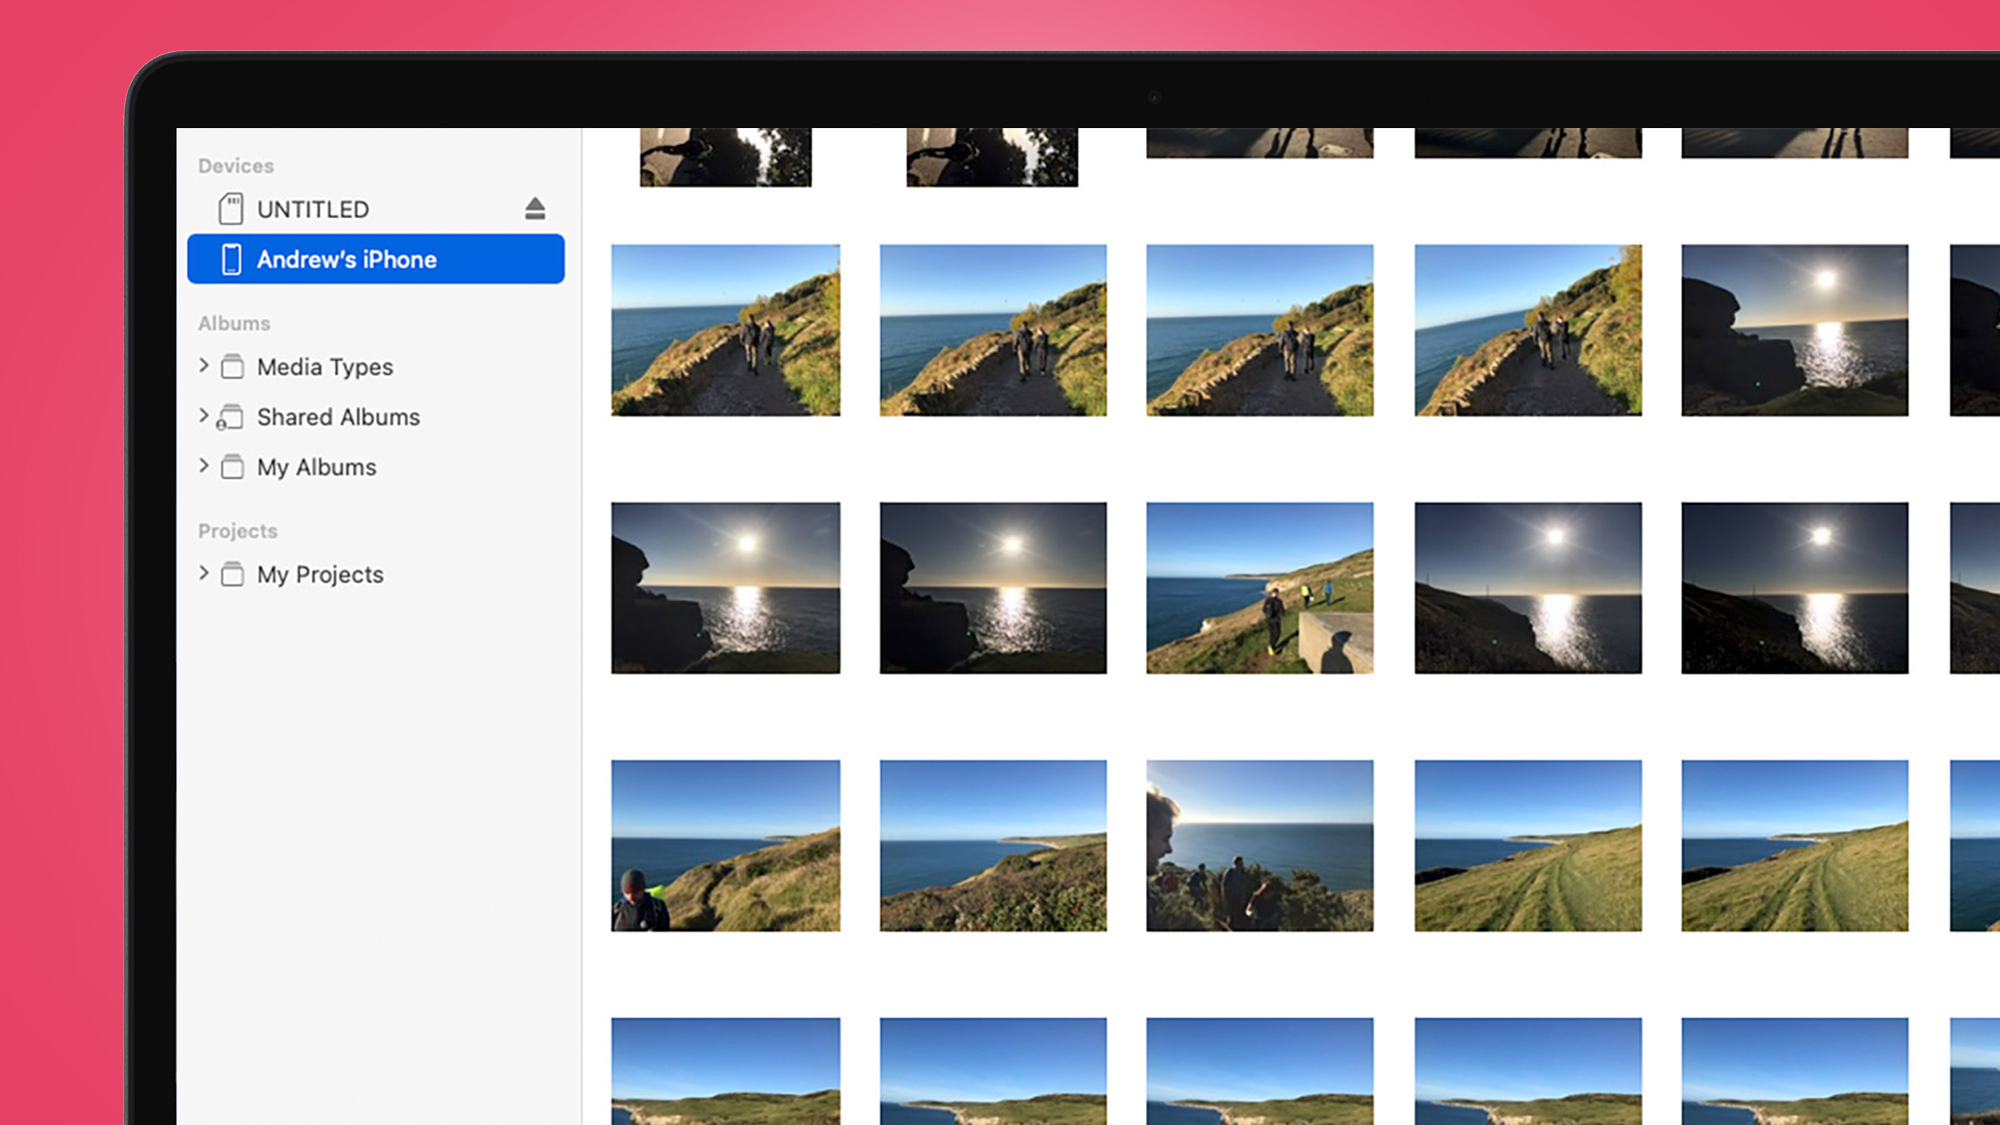
Use your iPhone’s charge cable to plug your phone into your Mac. Open up the Photos app on your Mac and you should see an entry for your phone on the left nav pane. Click it and you’ll see your entire photo library arranged as a sea of thumbnails.
2. Choose and sync your photos
To select the iPhone photos you want to transfer you can click them separately, hold 'Shift' and click to select all items between one image and another. Or you can use the mouse to draw a box around all the photos you want. A combo of these techniques works, too.
3. Pick an album
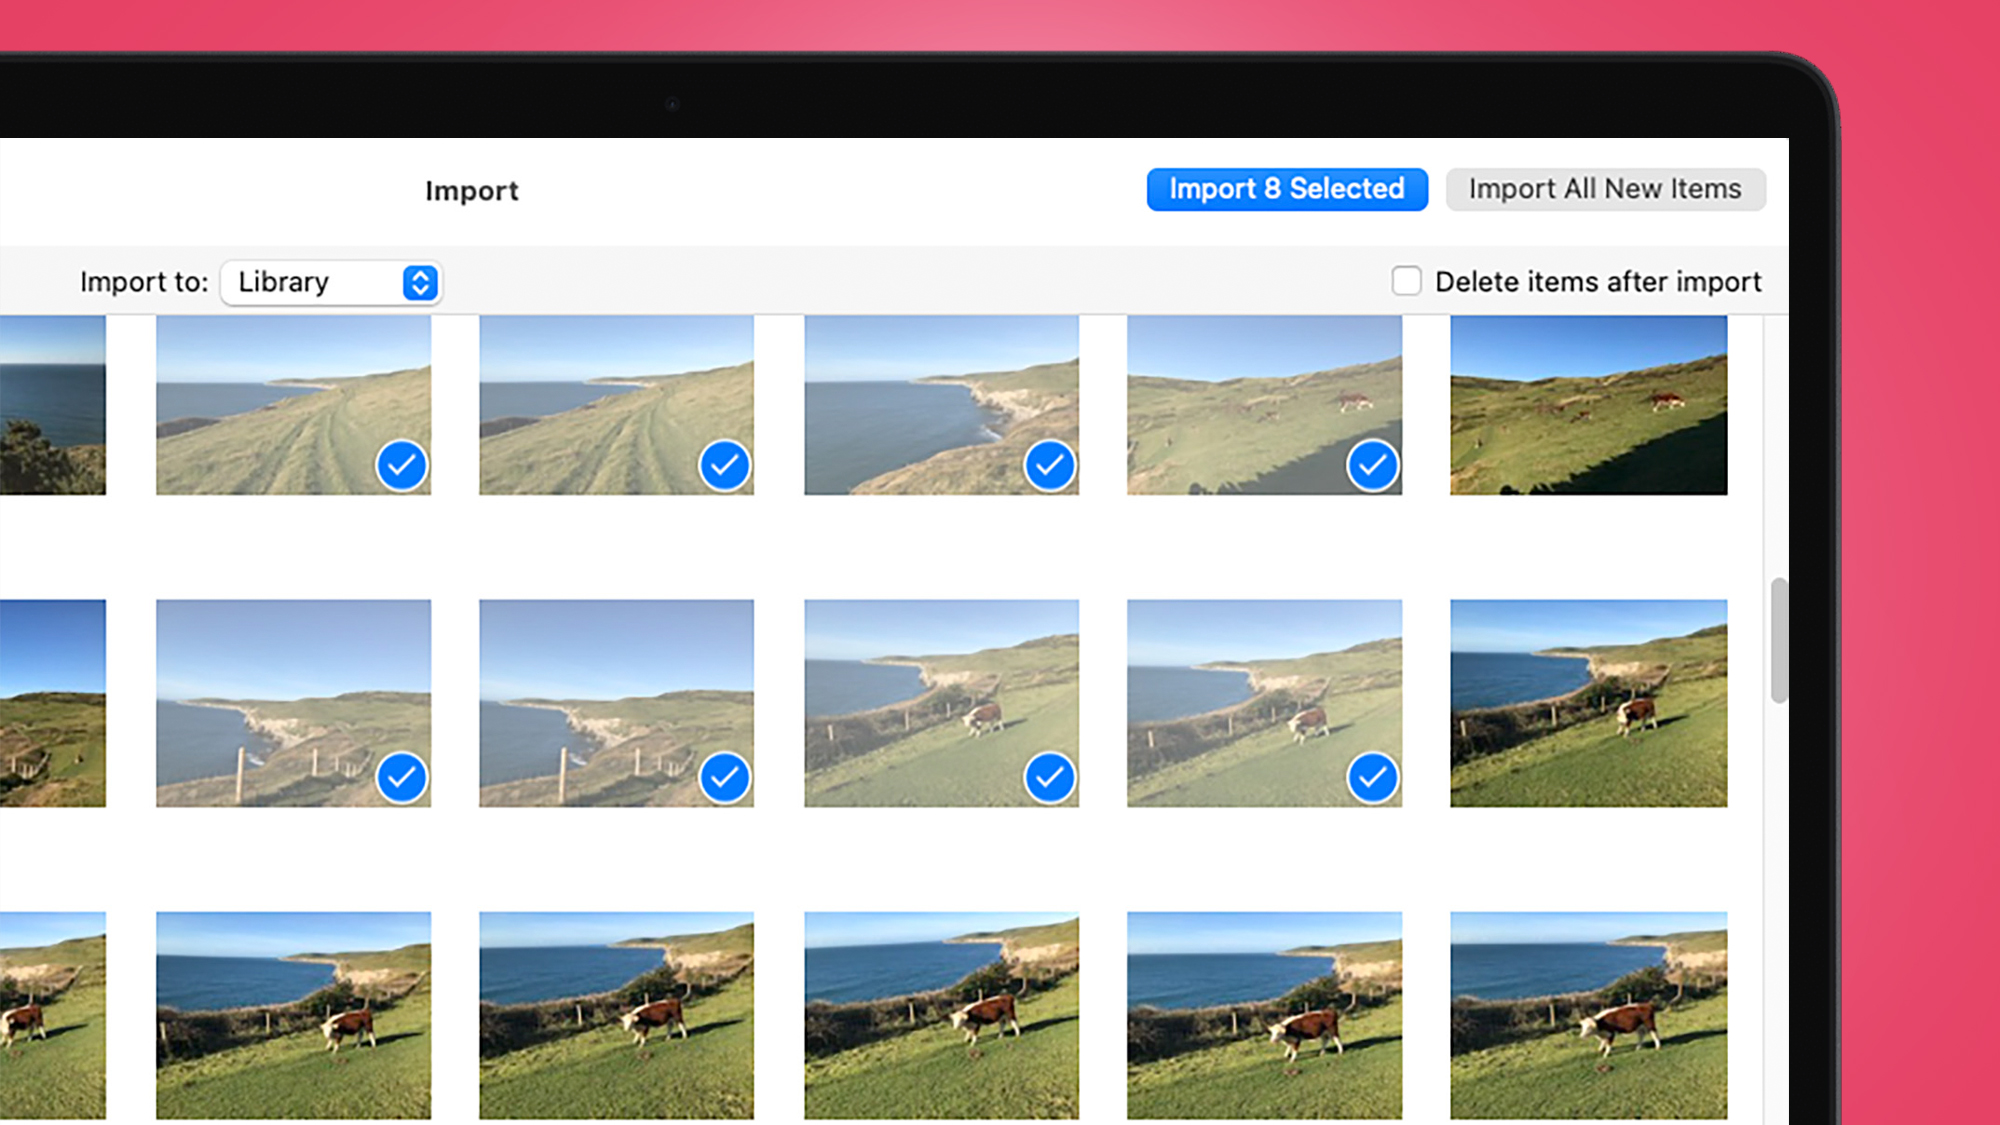
If you want to create a new album within Photos for these images, tap the 'Import To' item at the top of the window, which offers the option to create a new album. Next, tap the Import Selected button at the top-right of the screen. This adds them to your Mac’s own storage at original quality.
How to transfer your iPhone photos to a Mac wirelessly
1. Turn on Bluetooth and Wi-Fi
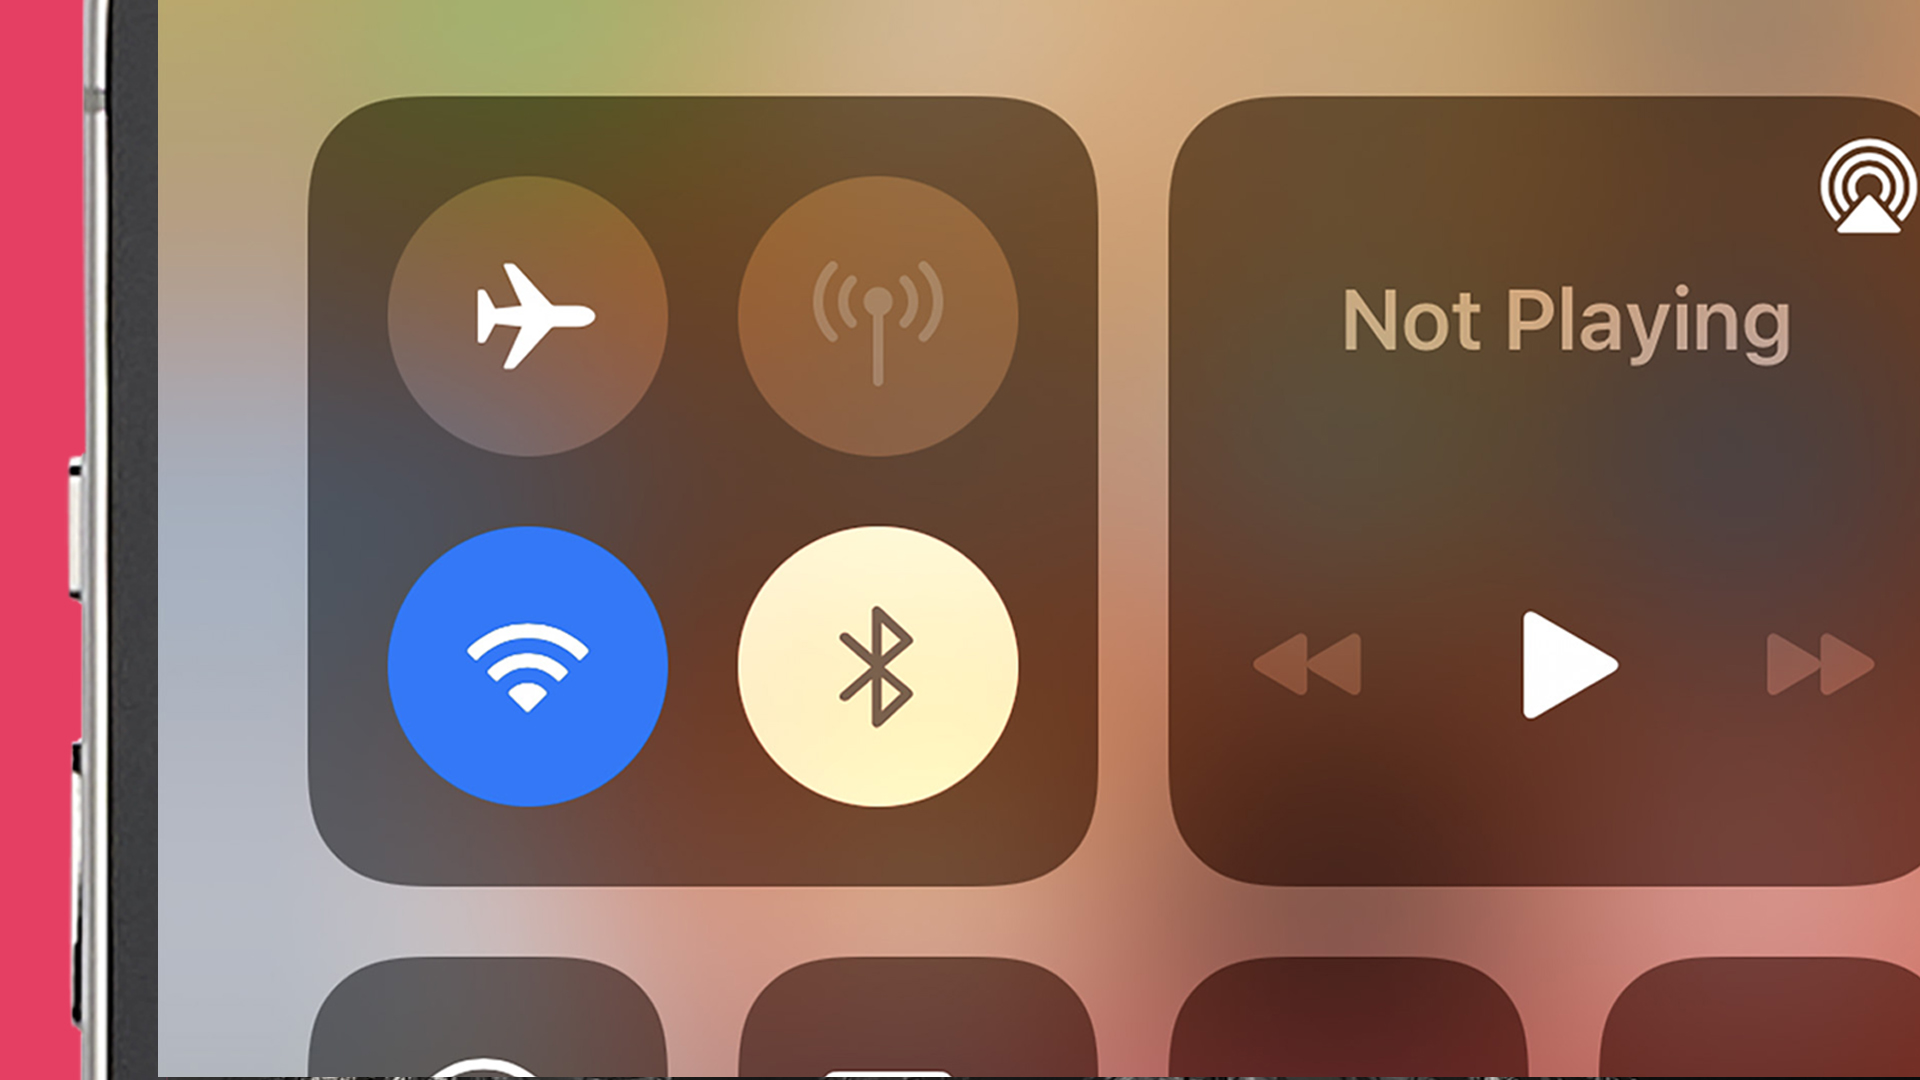
We’re going to use AirDrop to send photos from the iPhone to the Mac next. This uses Bluetooth and Wi-Fi, so we want to make sure they are both enabled at both ends. On your Mac these controls are found in the status bar at the top-right of the screen.
The Bluetooth icon looks like a spiky “B” character, Wi-Fi is a cone shape — you’re probably familiar with this one. Click each and you’ll see a slider that turns the features on and off. On your iPhone, swipe inwards from the top-right of the screen to bring up the feature toggles (above). You’ll find Bluetooth and Wi-Fi buttons here.
2. Enable AirDrop on your Mac
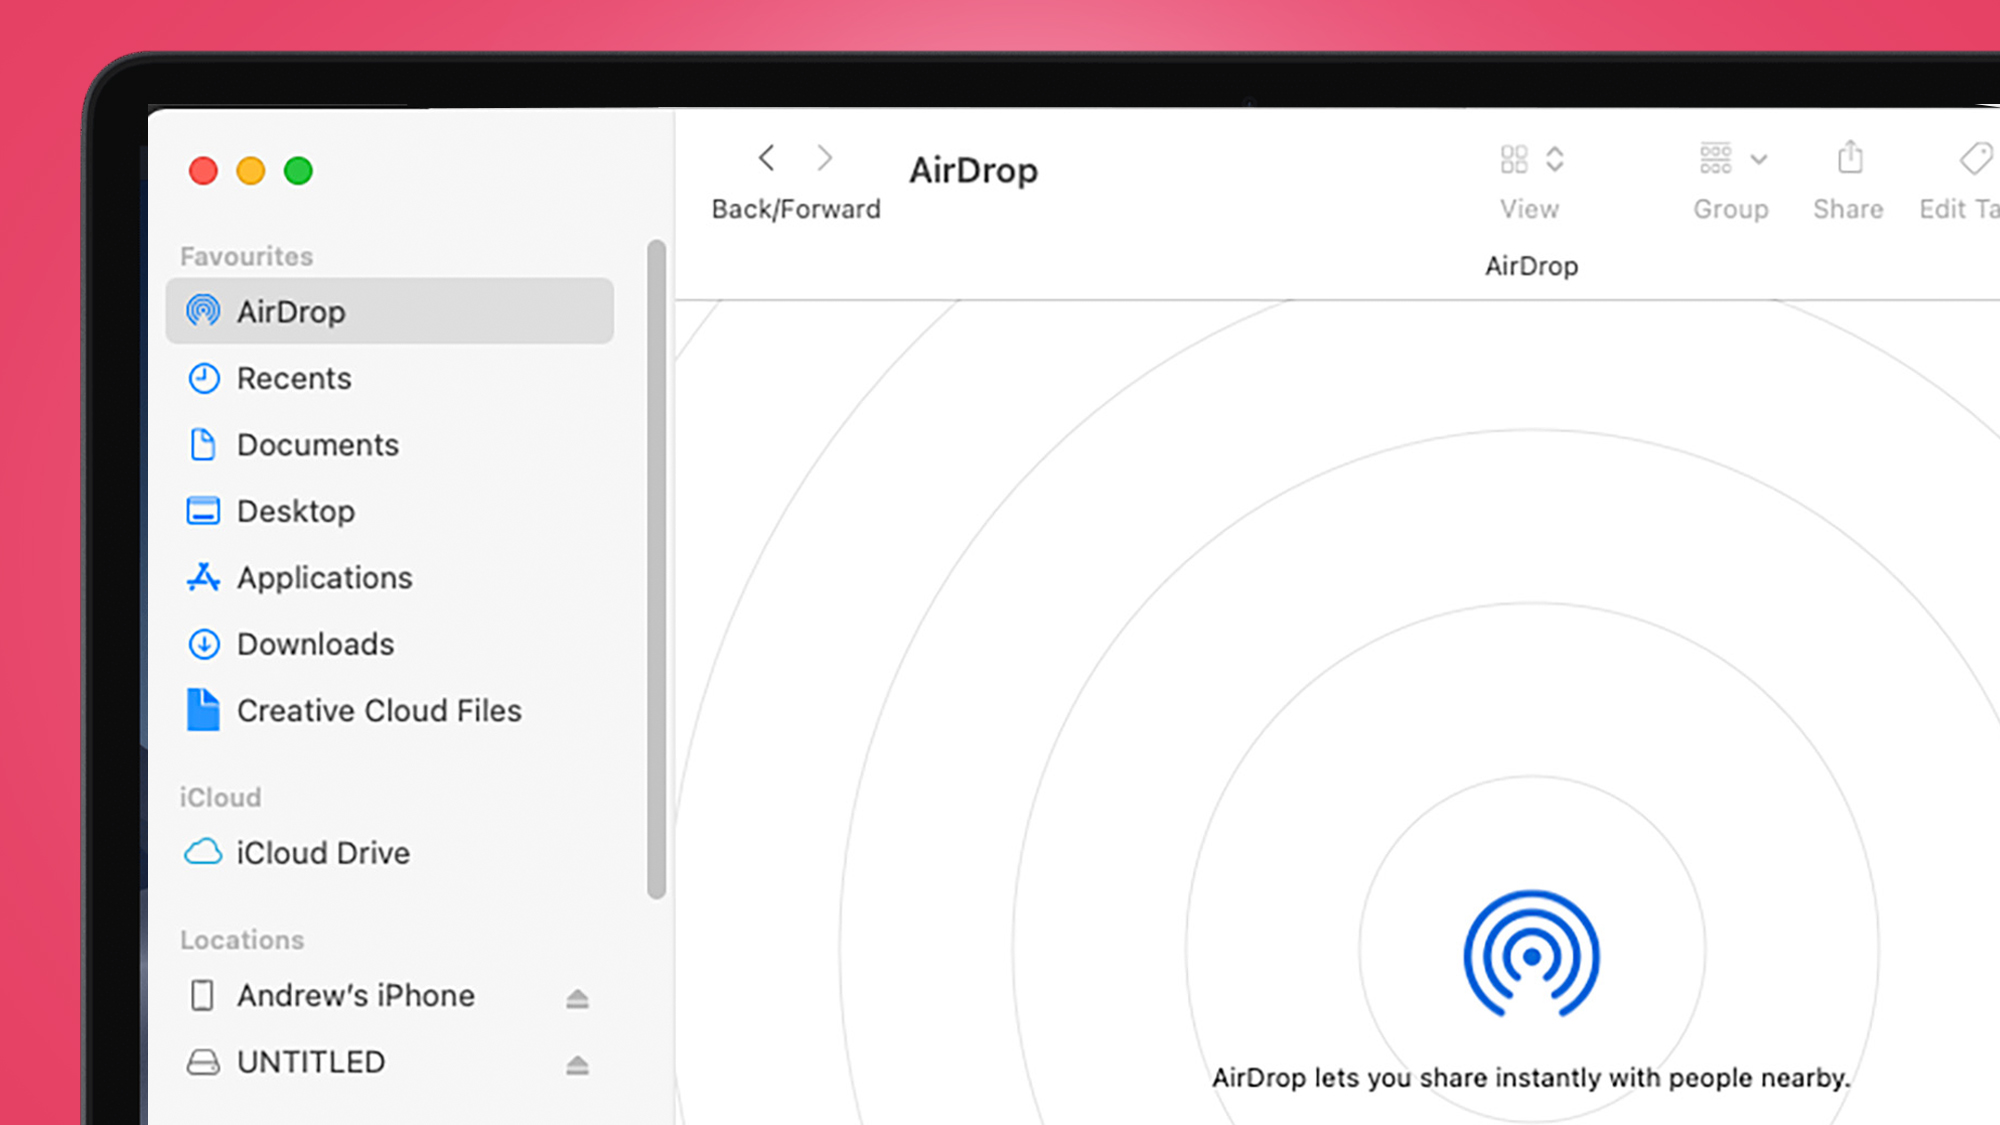
To make sure AirDrop is enabled on your Mac, open up Finder and select AirDrop from the left nav menu. In the main pane you should see an “allow me to be discovered by” field.
Select 'Contacts Only' or 'Everyone' to ensure AirDrop will work correctly. 'Everyone', of course, means people within range will be able to attempt to send you files.
3. Select photos to share

Open up Photos on your iPhone. Tap a photo you want to send, then the share button in the bottom-left corner. It looks like a box with an 'up' arrow inside it. In this view you can scroll through your reel and simply tap further images to add them to the bundle we are going to transfer.
4. Using Airdrop

Selected all the photos you want? Tap the AirDrop icon just below the photo pane. This will send you to a screen that shows all the AirDrop-ready devices in the vicinity.
Tap the entry for the one you want to send your photos to – you may need to 'allow' the iPhone to do so on your Mac if you have not used AirDrop before, or recently. The photos will end up in the Downloads folder on your Mac, accessible through the Finder app.
How to transfer your iPhone photos to a Mac with iCloud
1. Check your iPhone is uploading to iCloud
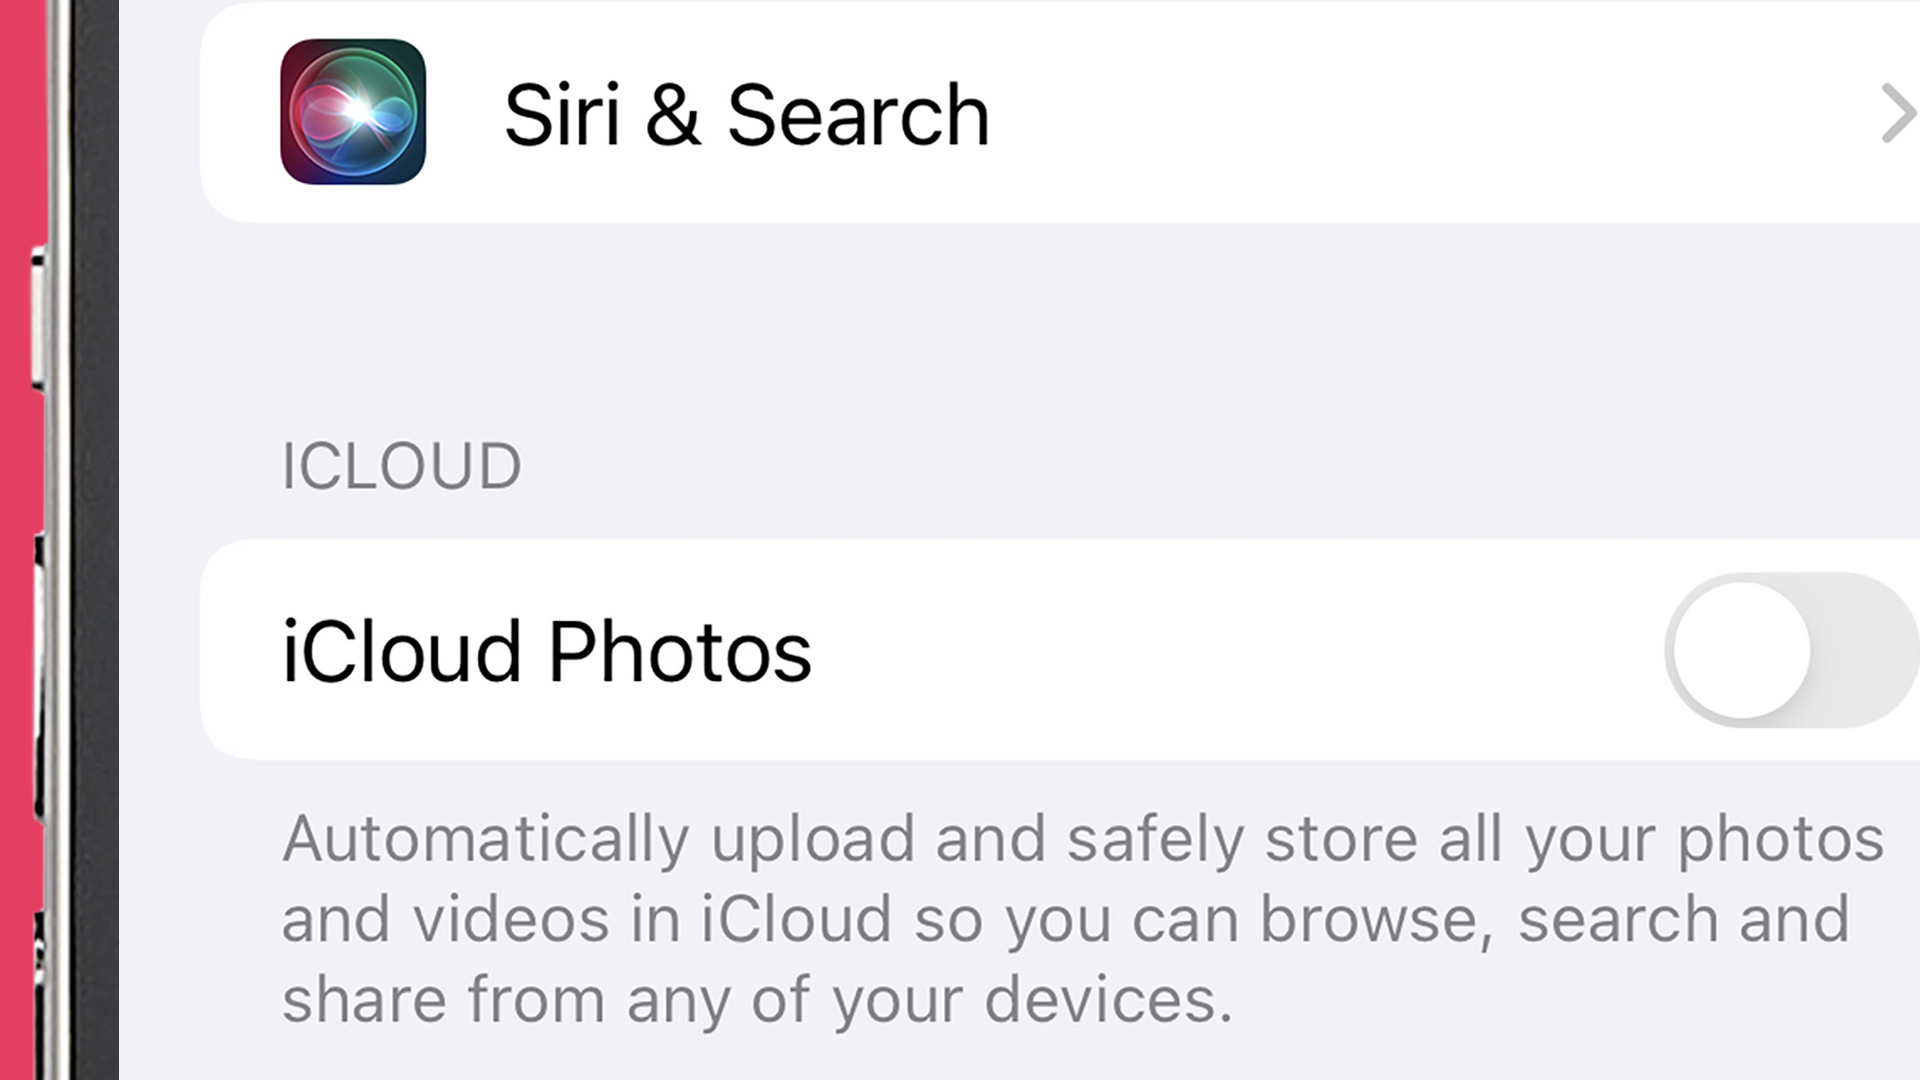
Step one is to make sure your iPhone is actually uploading your photos to iCloud, which is Apple’s cloud storage service. Go to Settings > Photos. Near the top of the screen you should see a slider for iCloud Photos. Make sure this is switched on or your photos will simply stay on your iPhone’s internal storage.
2. Link Photos to iCloud
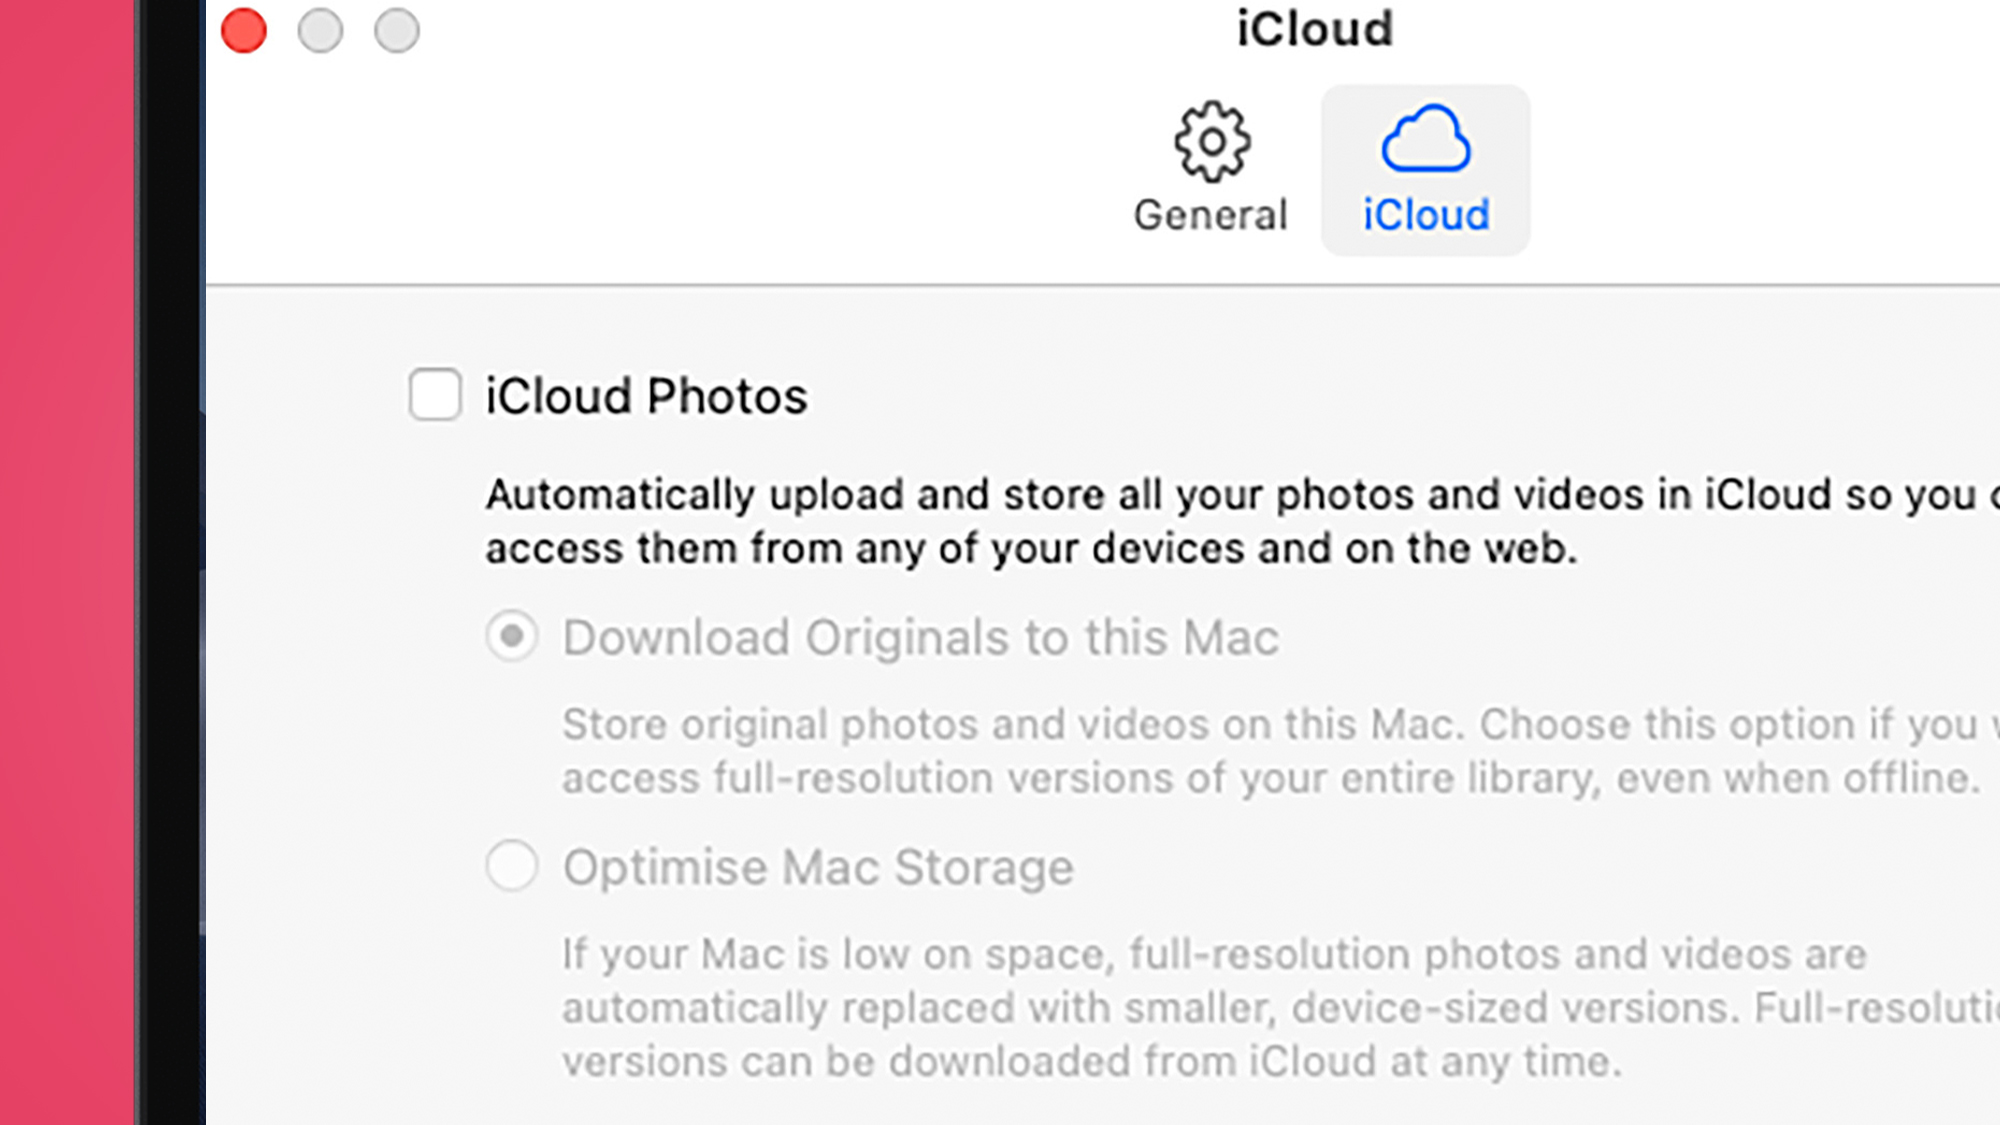
Open up the Photos app on your Mac. Select Photos from the top-left of the menu at the top of the screen, and then Preferences. Click the iCloud tab and then select the iCloud Photos check box so it is 'ticked'.
You’ll see two options below this. 'Download Original to this Mac' keeps your full library on your Mac’s drive. 'Optimize Mac Storage' still syncs photos, but full-resolution ones will be replaced with low-quality versions when you run low on space.
3. Restoring high-quality images
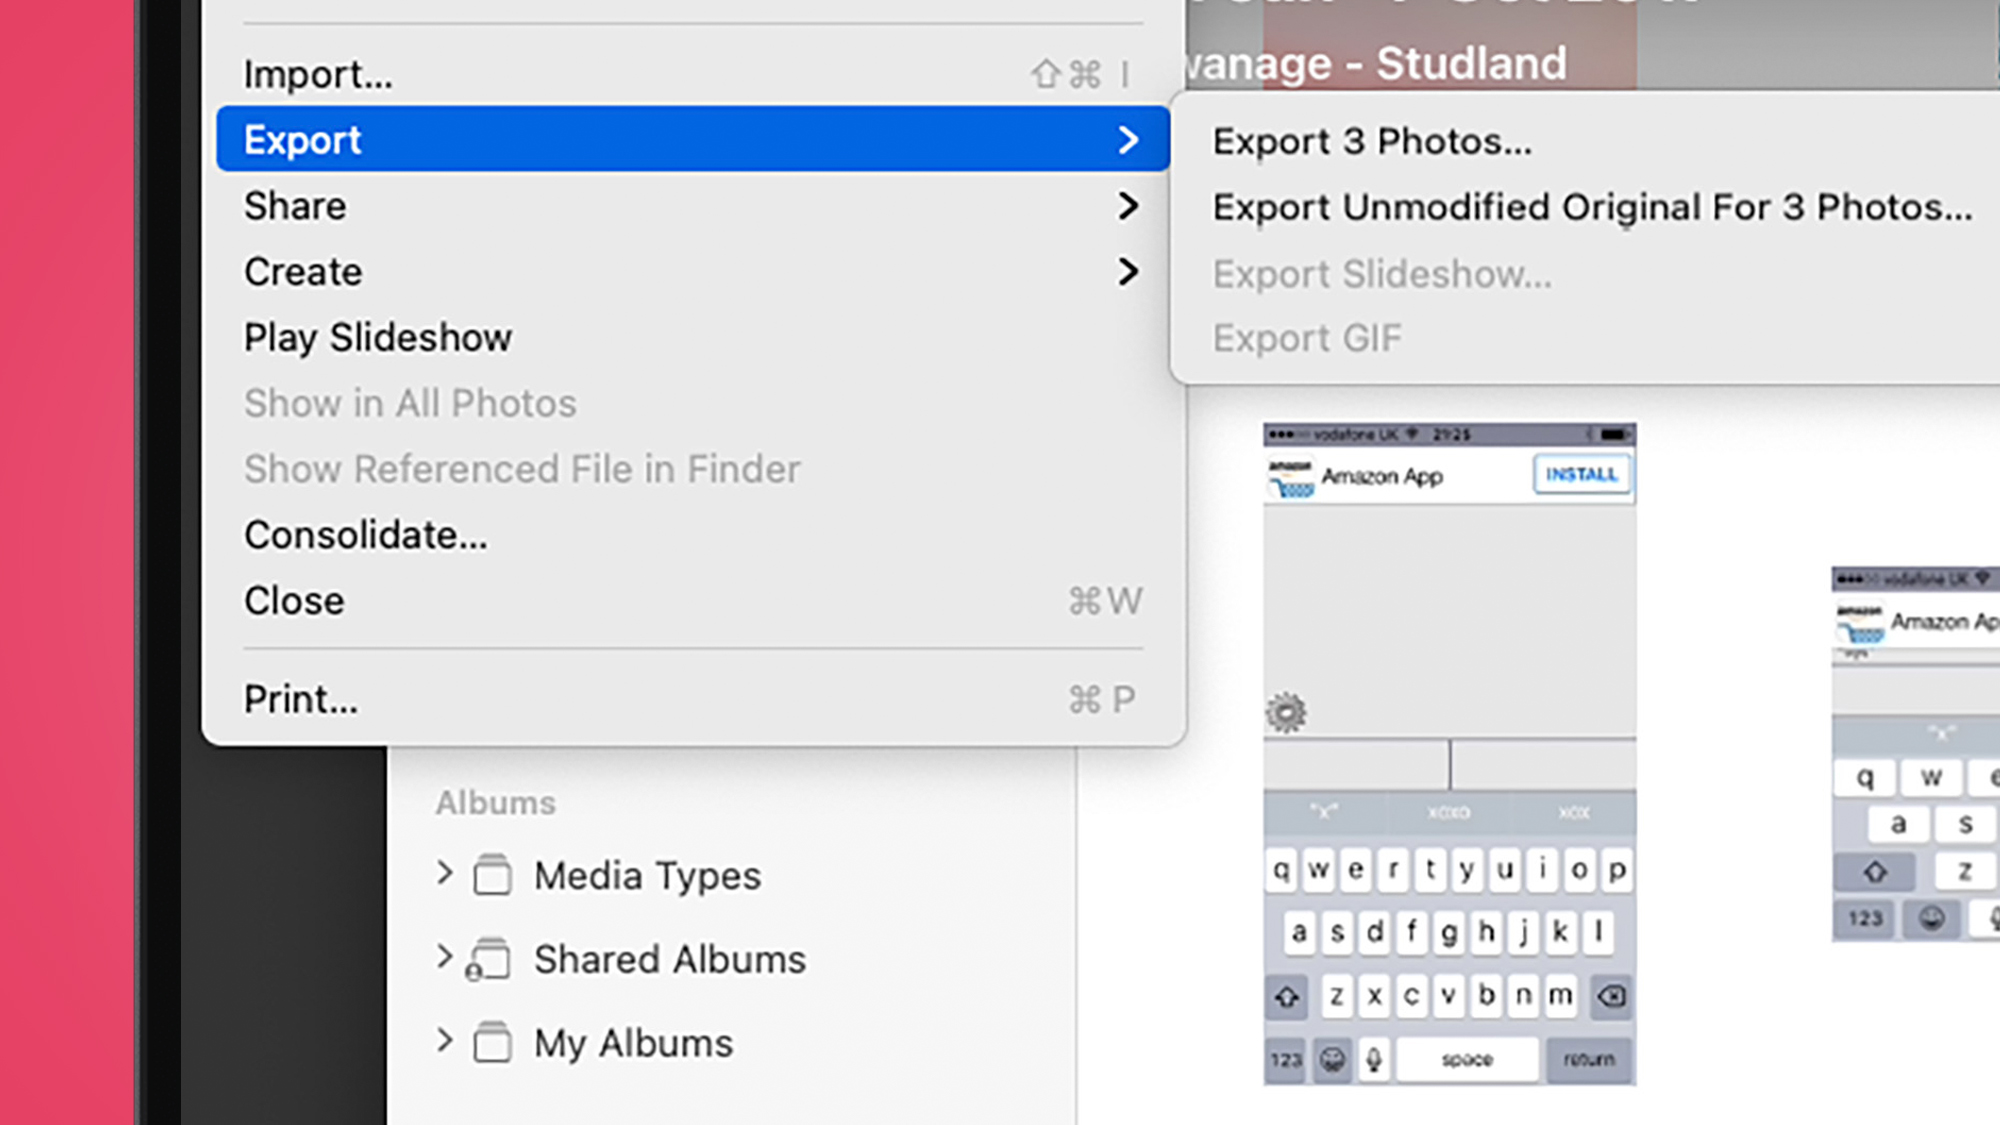
Choose the latter option and you may find you end up with a low-res version of an image you want to retain. To re-download the originals for archiving, select the pictures you want in the main library pane then go to File > Export > Export Unmodified Original. Click Export, then you’ll be prompted to choose a location for the photo dump.
How to transfer your iPhone photos to a PC with a cable
1. Choose your format
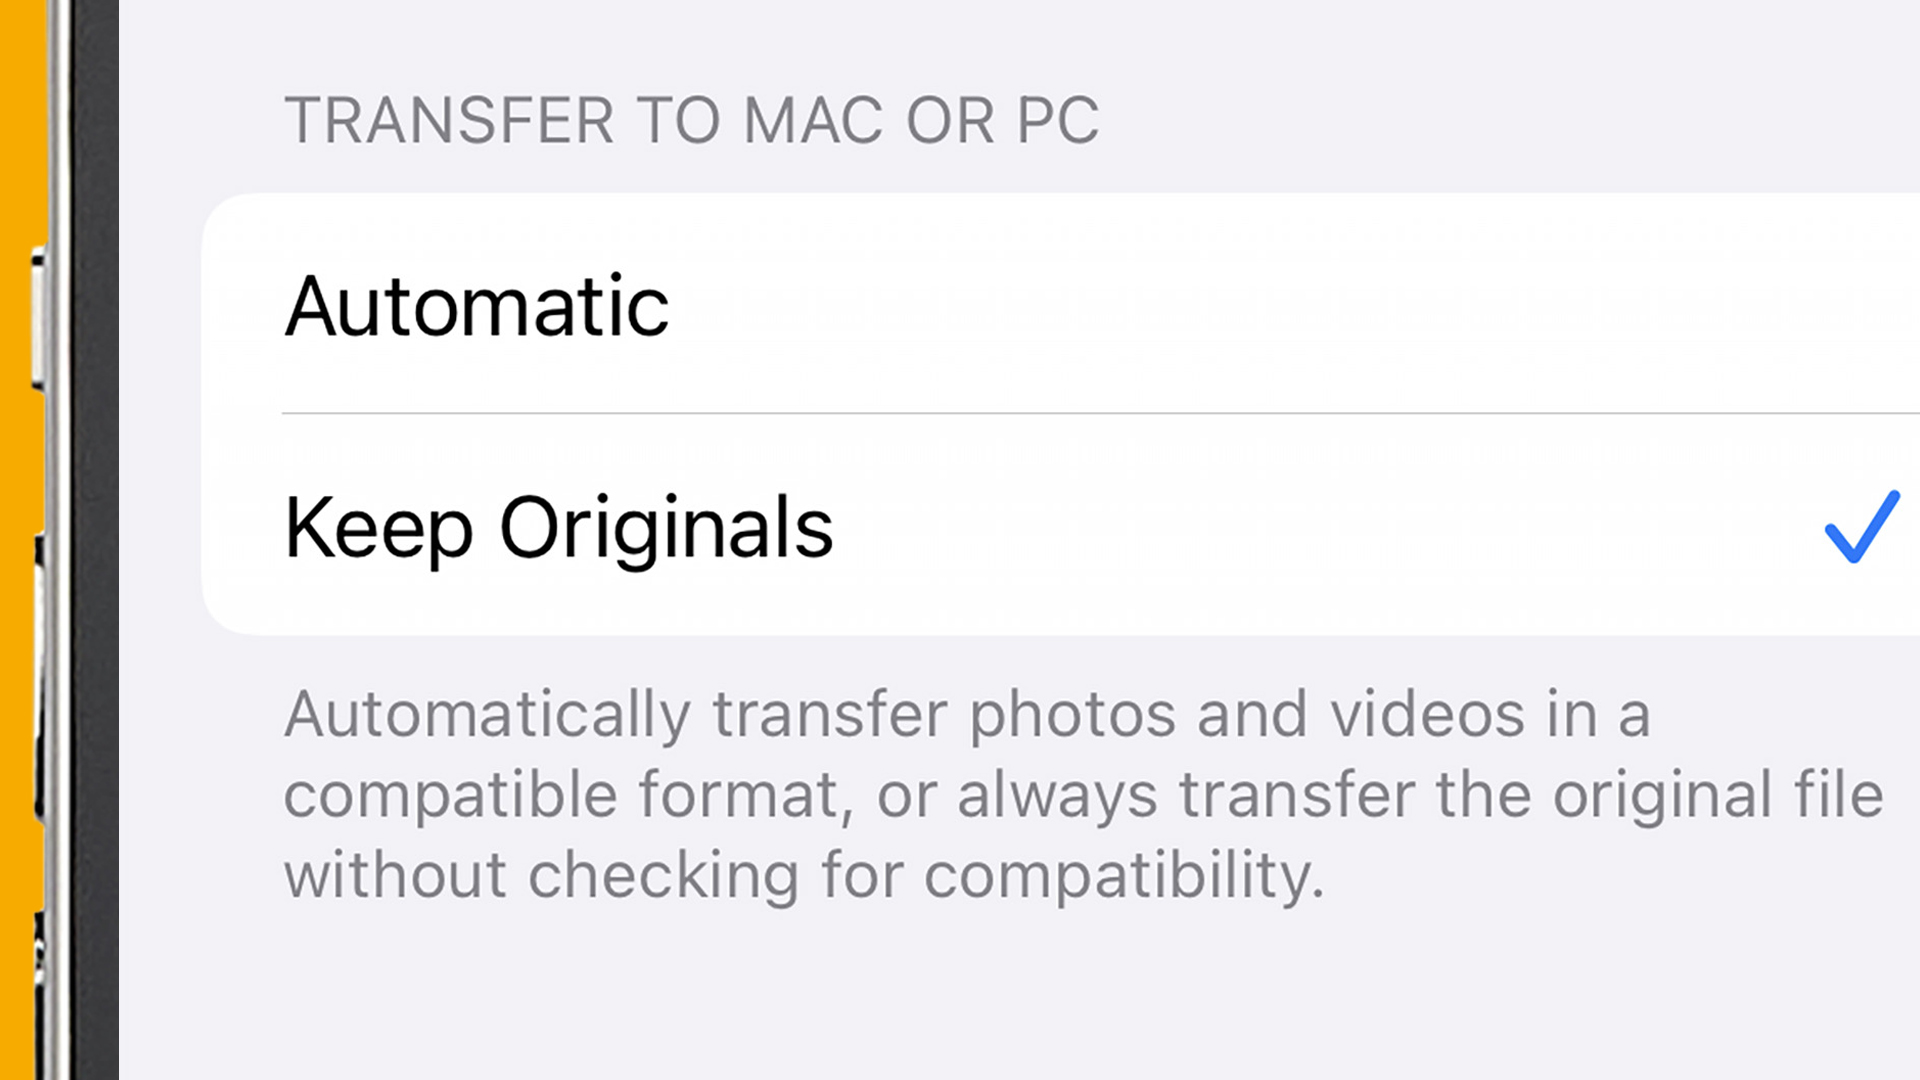
The first thing to do is choose the format you want to transfer to your PC. HEIC is Apple’s standard format but it won’t work in all programs. JPEGs work everywhere but their compression is less efficient, resulting in larger file sizes and, in some cases, visibly lower quality images.
If your setup can use HEIC, use HEIC. You switch between JPEG and HEIC on your iPhone in Settings > Photos > Transfer to Mac or PC. Under this heading you’ll find 'Automatic' and 'Keep Originals' options. The former uses JPEG when connected to a PC, the latter HEIC.
2. Connect your your iPhone to PC
Plug your iPhone into your PC using your charge cable. You’ll need to unlock your iPhone and confirm on the on-screen pop up that you want to let the phone connect to your computer. You may also see a pop-up on your PC asking how you want it to treat your iPhone when connected, but we are going to ignore that for the sake of this guide – it typically won’t appear when you plug the phone in a second time.
3. Exploring photos
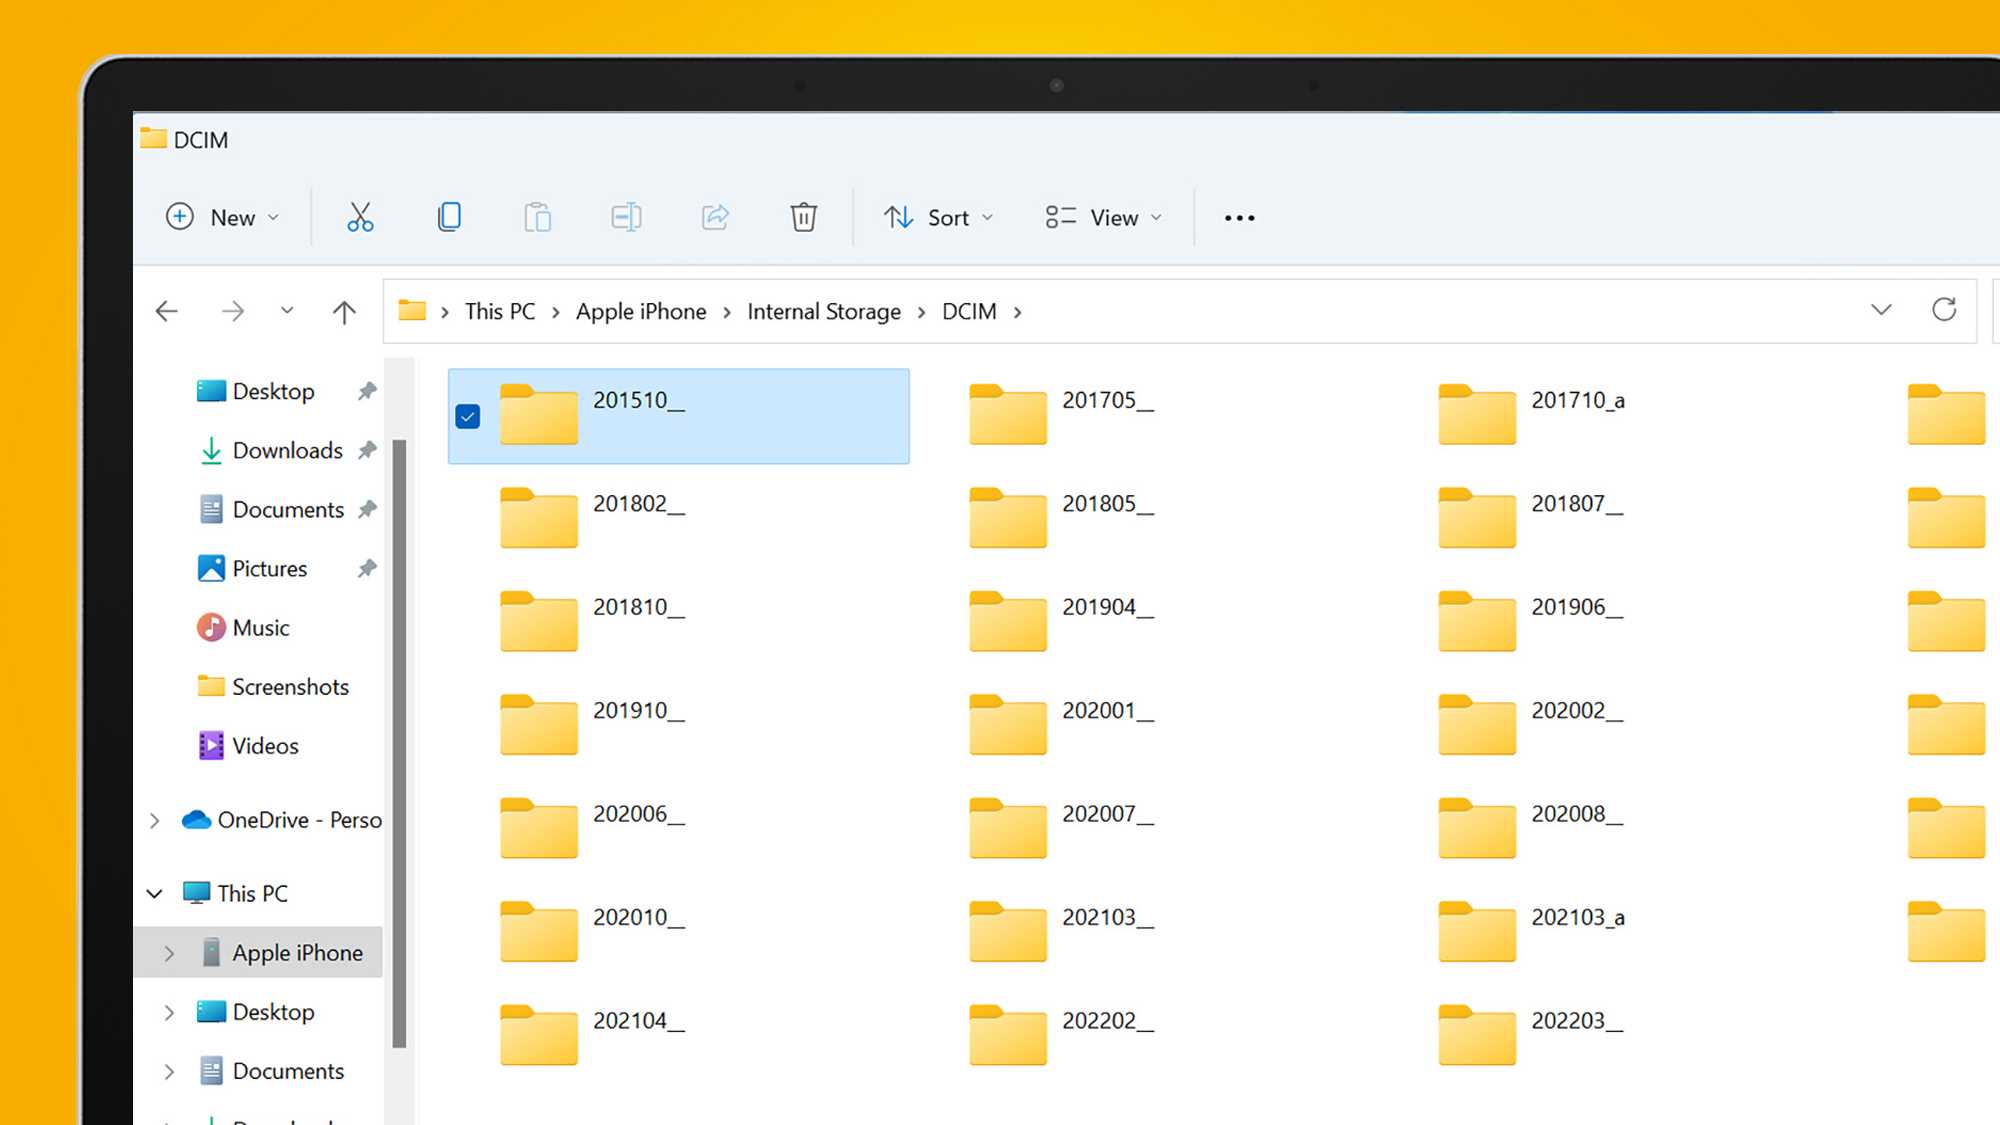
Open up the File Explorer app on your PC. Expand the 'This PC' section in the left pane. You should now see a listing for your iPhone, alongside your PC’s own drives. Double click this and then Internal Storage > DCIM in the main pane.
The next screen should show a bunch of folders, which is your iPhone’s image library arranged into date order. These can be drag and dropped to your desktop, or any other area on your computer, just as you would with files on a USB stick.
How to transfer your iPhone photos to a PC wirelessly
1. Download the Documents app
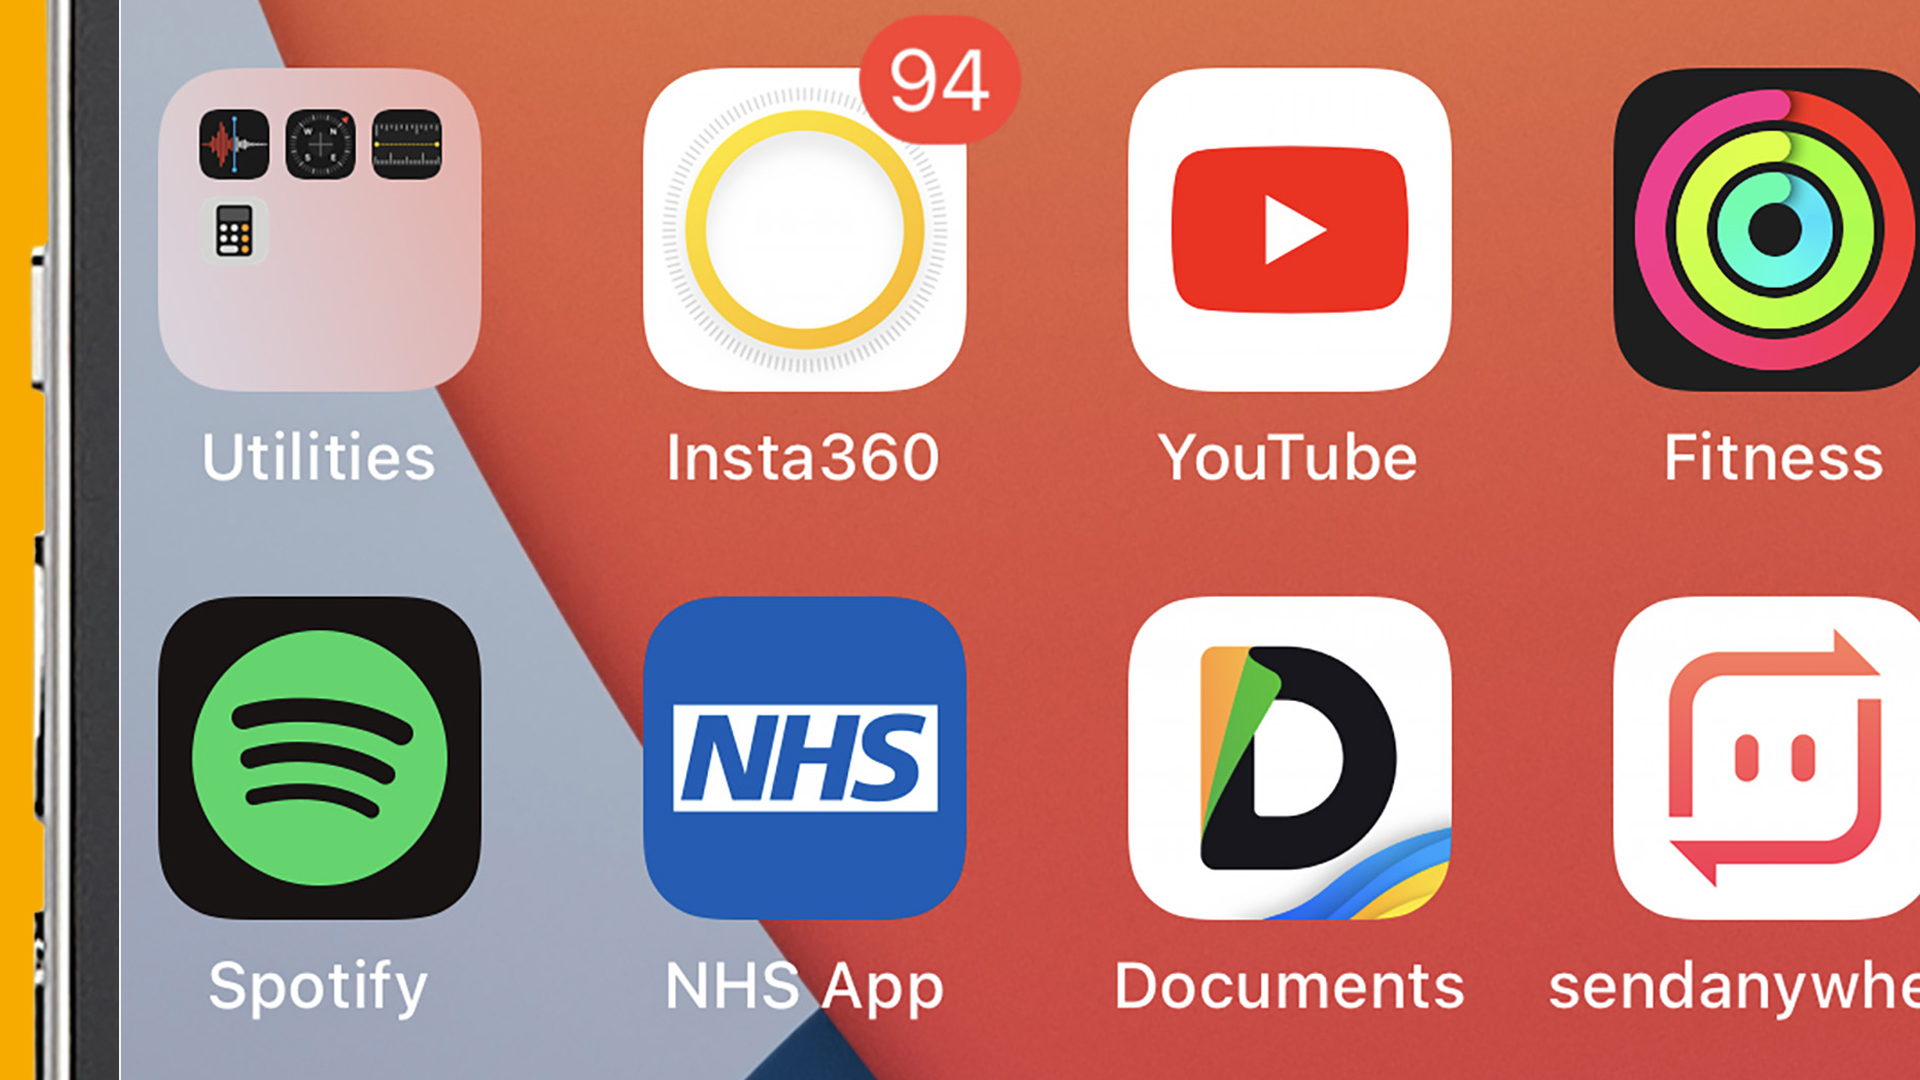
Head to the App Store on your iPhone and download Documents by Readdle Technologies Limited. It’s the best solution we’ve found for the job since Microsoft retired its own iPhone transfer app, in favor of making us all use OneDrive cloud storage instead. We’re out for the most direct route, so Documents works better.
2. Connect to your PC

Open up the Documents app and select the Plus icon towards the bottom-right of the screen. Select Connect to Computer. This will throw up a 4-digit code. Open up a web browser on your PC and go to docstransfer.com. You should see a big prompt right in the centre of the screen to input the access code from the phone app. Do so and the PC and phone will hook up via Documents’s servers.
3. Pick the images you want to download
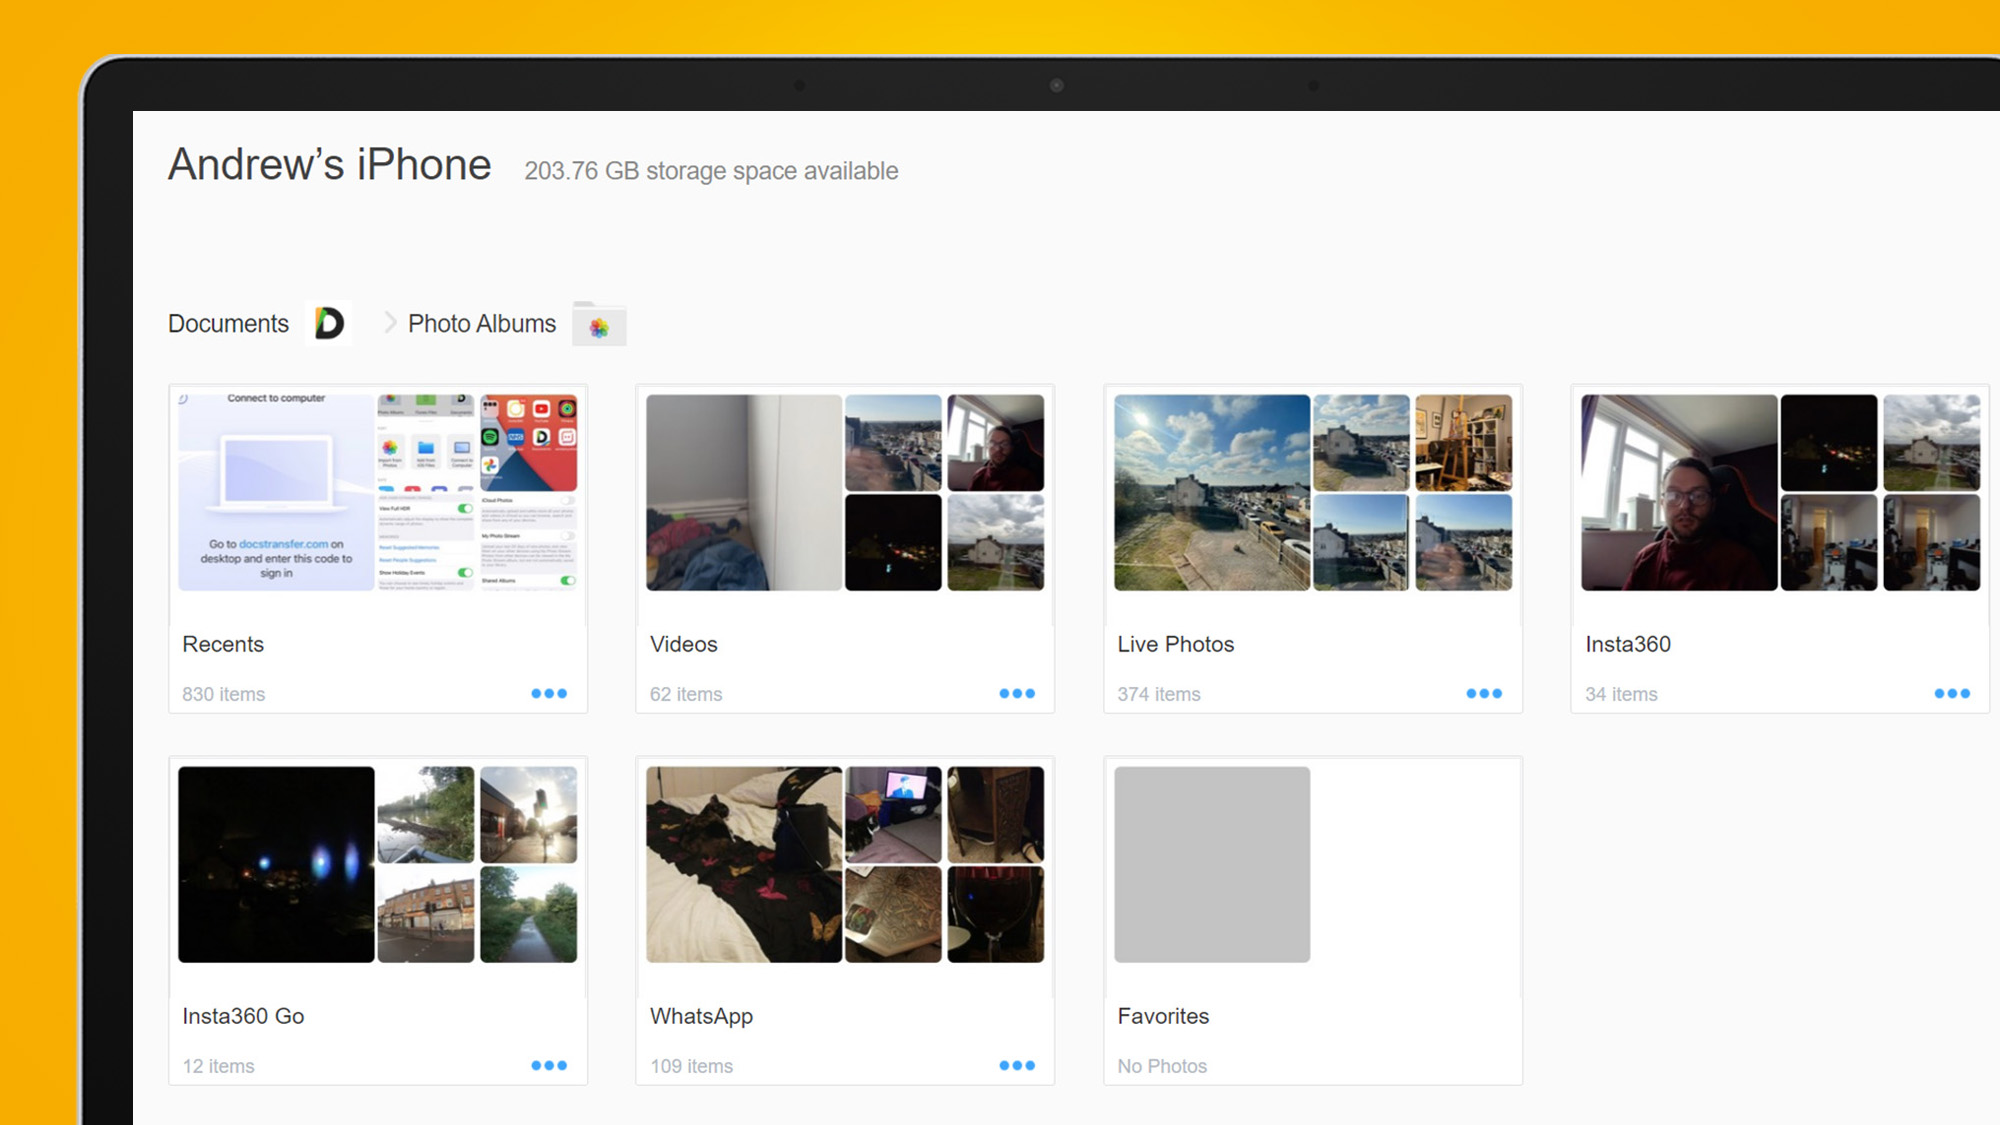
You should now see a Photo Albums folder on your PC’s browser. This splits your photo and video library into sections, just as they are arranged on your iPhone’s storage.
One of these will represent your iPhone’s main photo reel – 'Live Photos' in our case. Recents is another useful folder. It arranges all images and videos by date, but it will also include any images shared by friends over WhatsApp, not just pictures from your camera roll.
4. How to download

Roll your cursor over the thumbnail of an image on your PC and a checkbox will appear at the top-right. Click it to add the image to the bundle you want to download. With the first one picked, you should see a download prompt appear at the bottom of the screen. Once you’ve chosen all the images you want, just tap this button. It will download all the files as a Zip folder to your browser’s default download location.
How to transfer your iPhone photos to a PC with iCloud
1. Check your iCloud settings
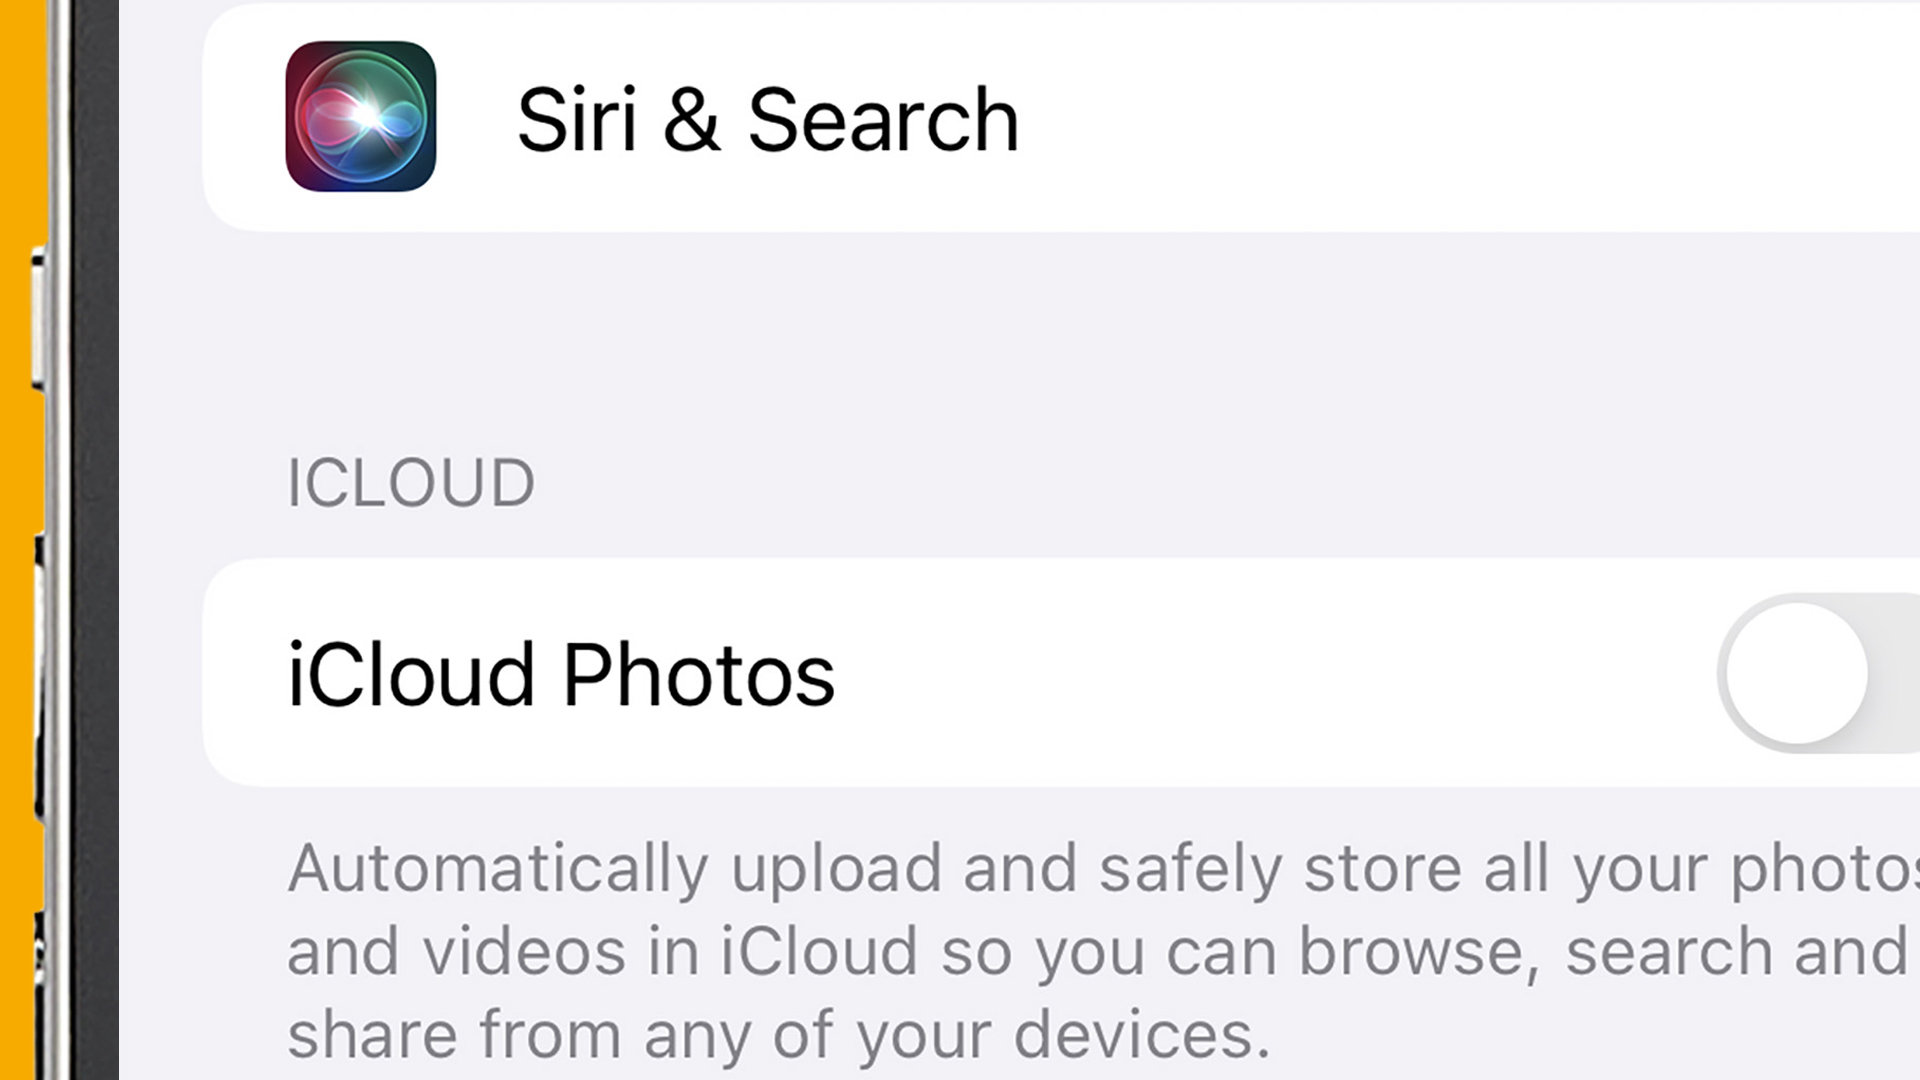
In order to download your photos from Apple’s iCloud, you first need to make sure the images are actually being uploaded there. This option sits in Settings > Photos > iCloud Photos on your phone. With this flicked to 'on', your iPhone will automatically send images to your iCloud storage.
2. Login to the web page
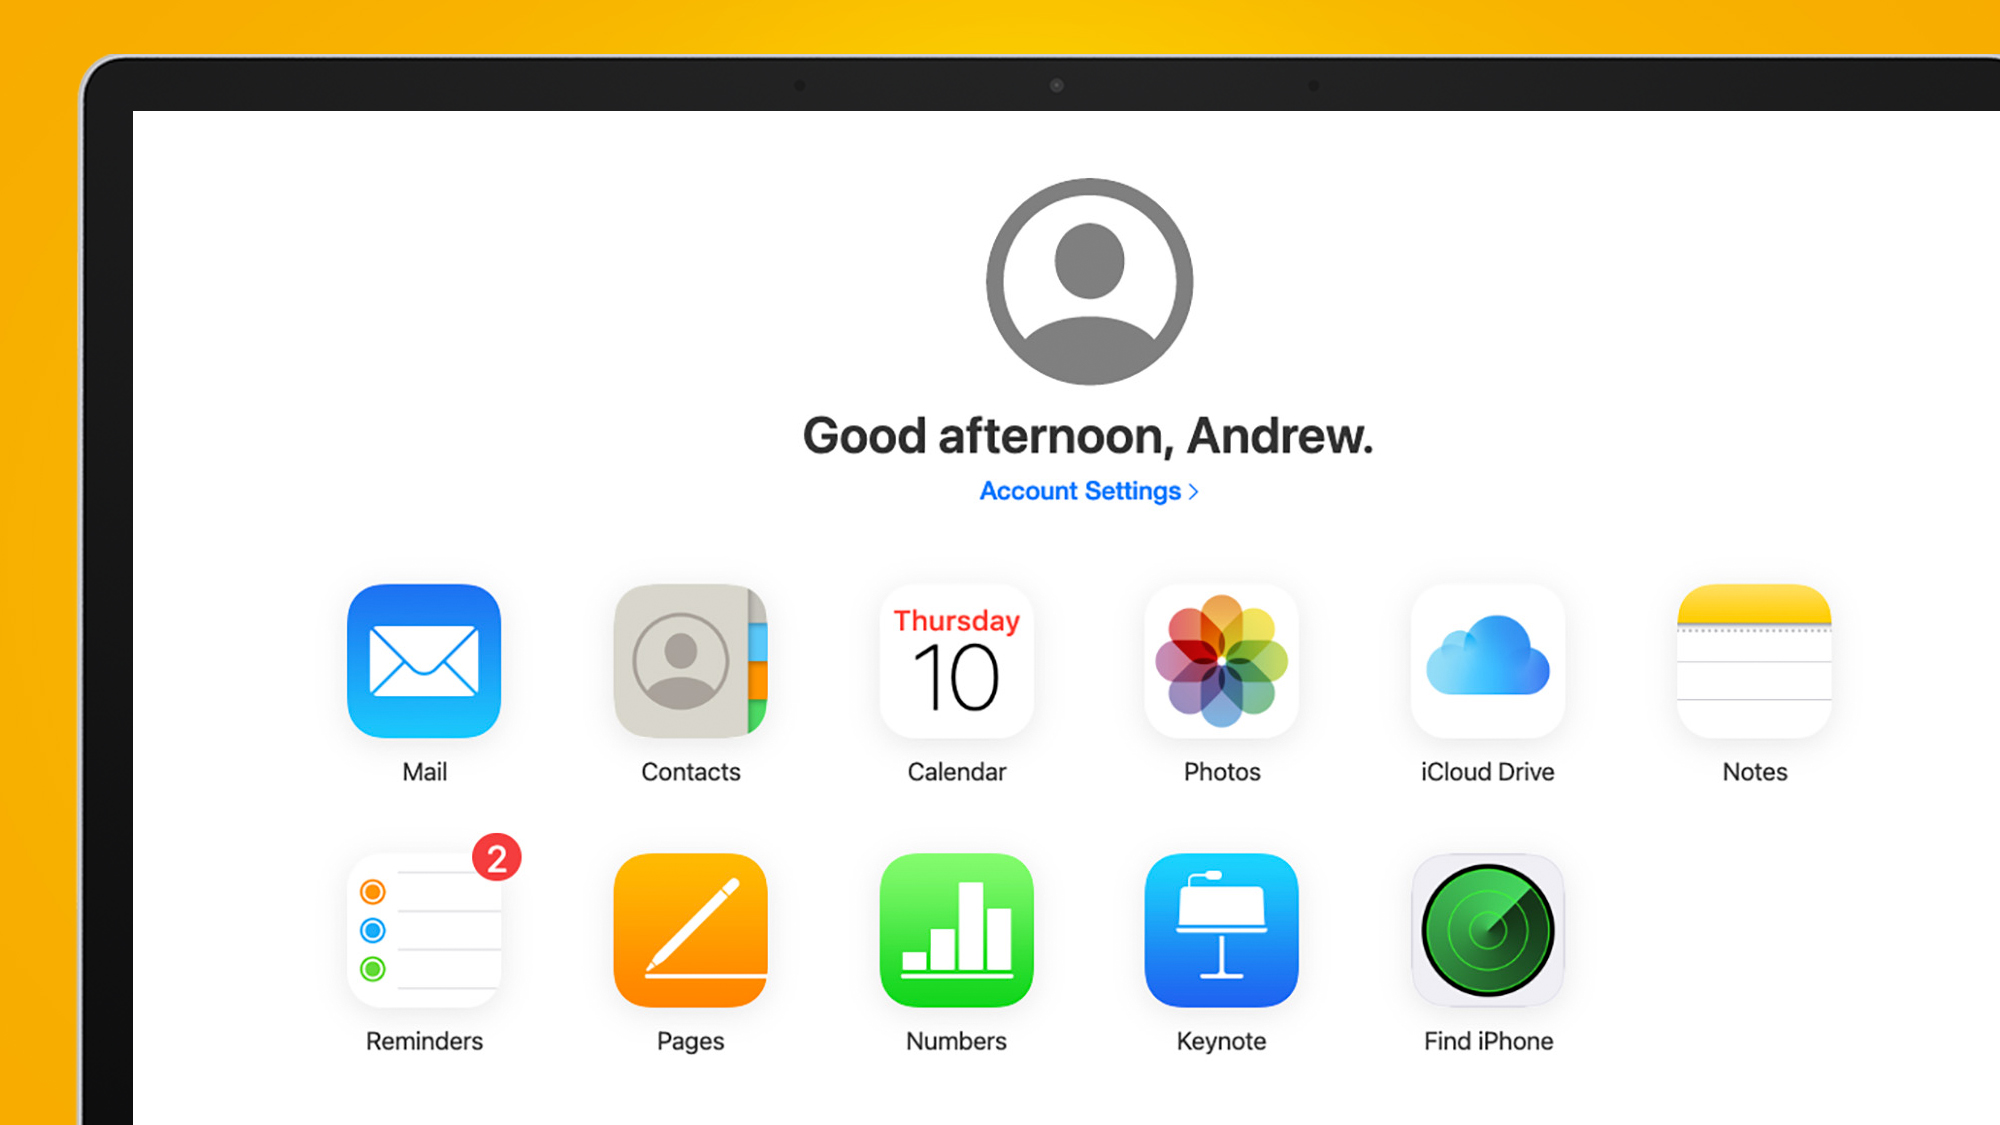
While there is an iCloud app for PC, the website does a perfect good job if you are not planning on managing your iPhone’s storage via PC all the time.
Go to iCloud.com and login to your Apple account. Select the Photos icon. You should see a big scroll of all your recent images, while the useful 'My Albums' nav menu sits to the left side of the screen.
3. Selecting images
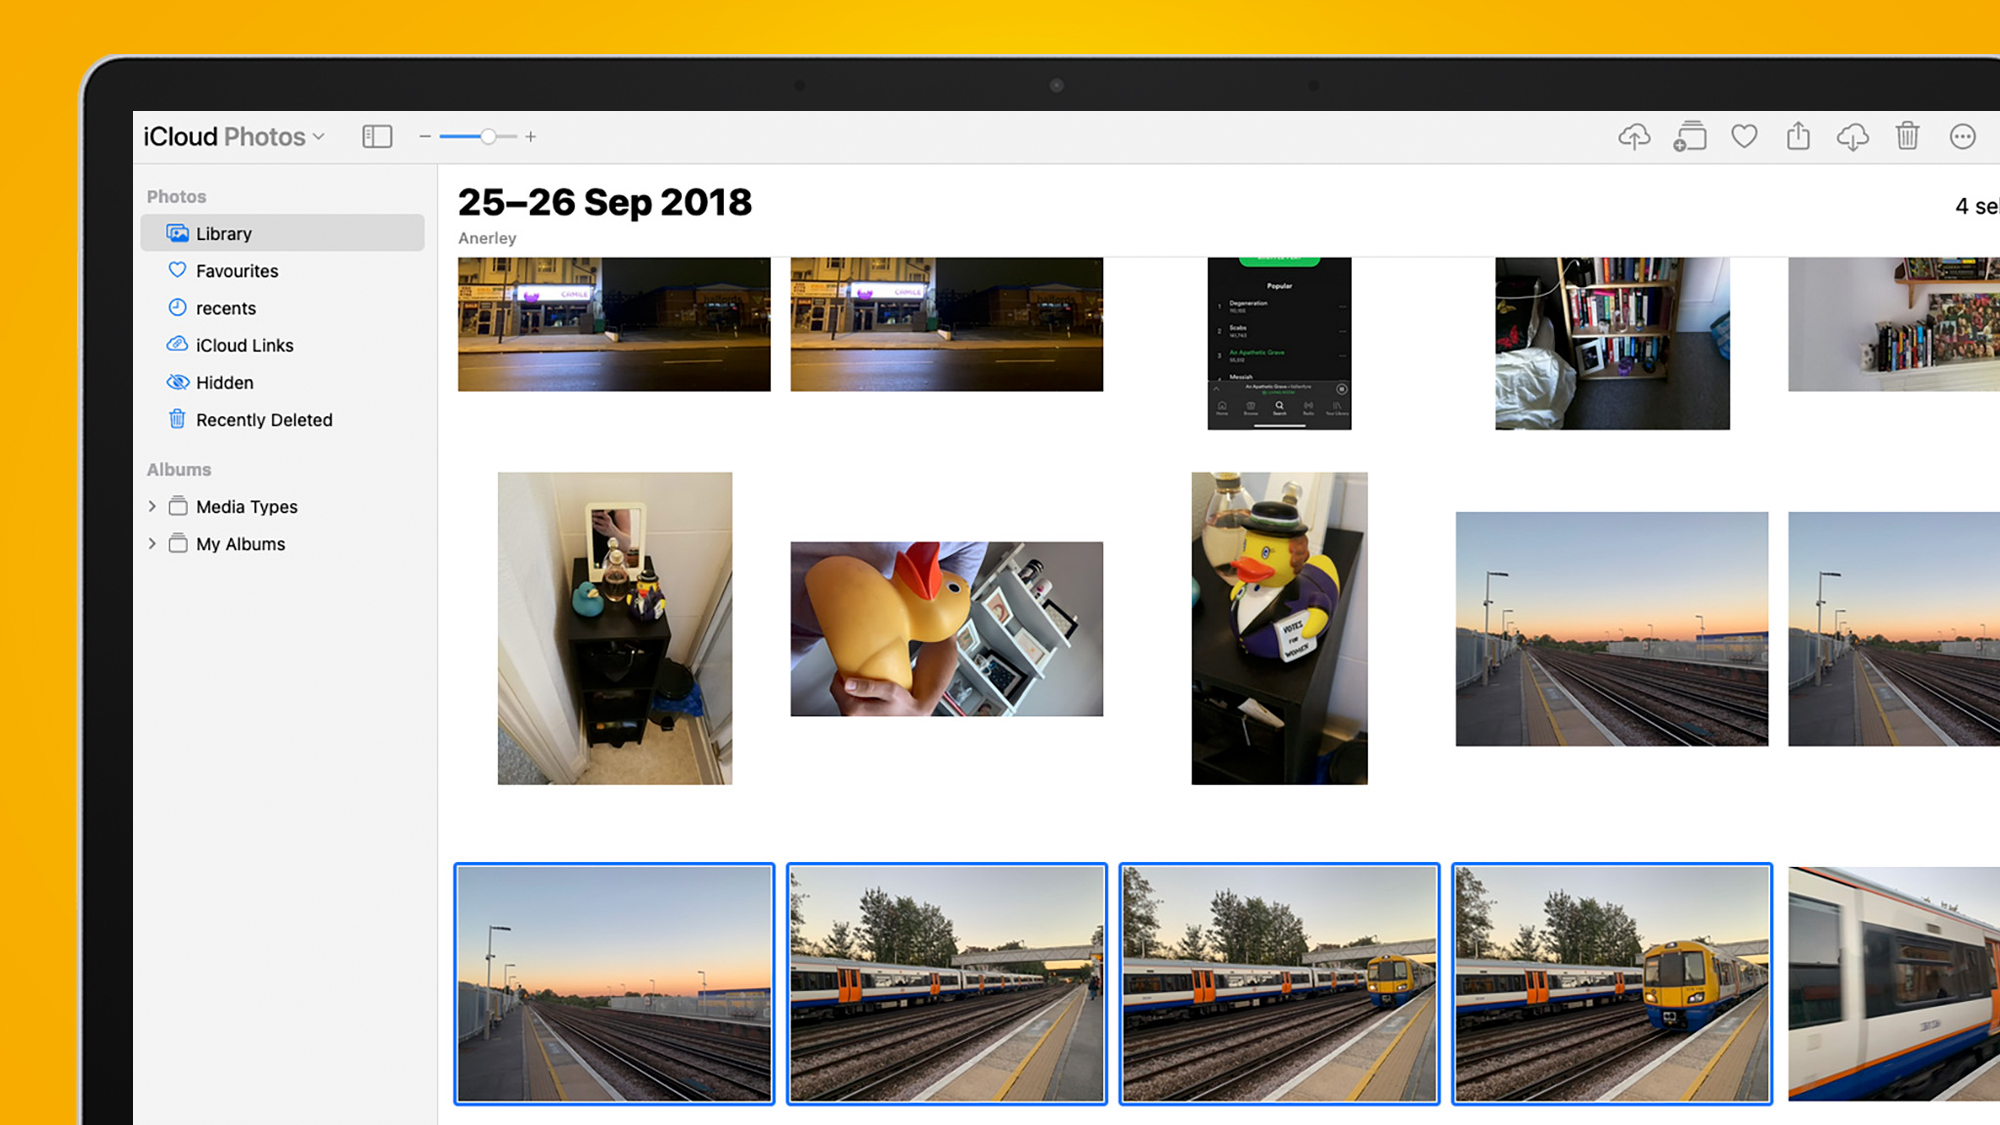
There are three ways to select images to download. Just click on the thumbnail if you need only a single image. Hold down 'Shift' and click on multiple photos to select a bunch. Or you can press the left mouse button and move the cursor to effectively draw a selection box around a whole stack of thumbnails.
4. Downloading JPEG files

If you’re happy to download JPEG images, just tap the download button at the top-right of the screen. It looks like a cloud with a downward-pointing arrow inside. This will download the collection of pics as a zip file, to your standard download folder.
5. Downloading HEIC files
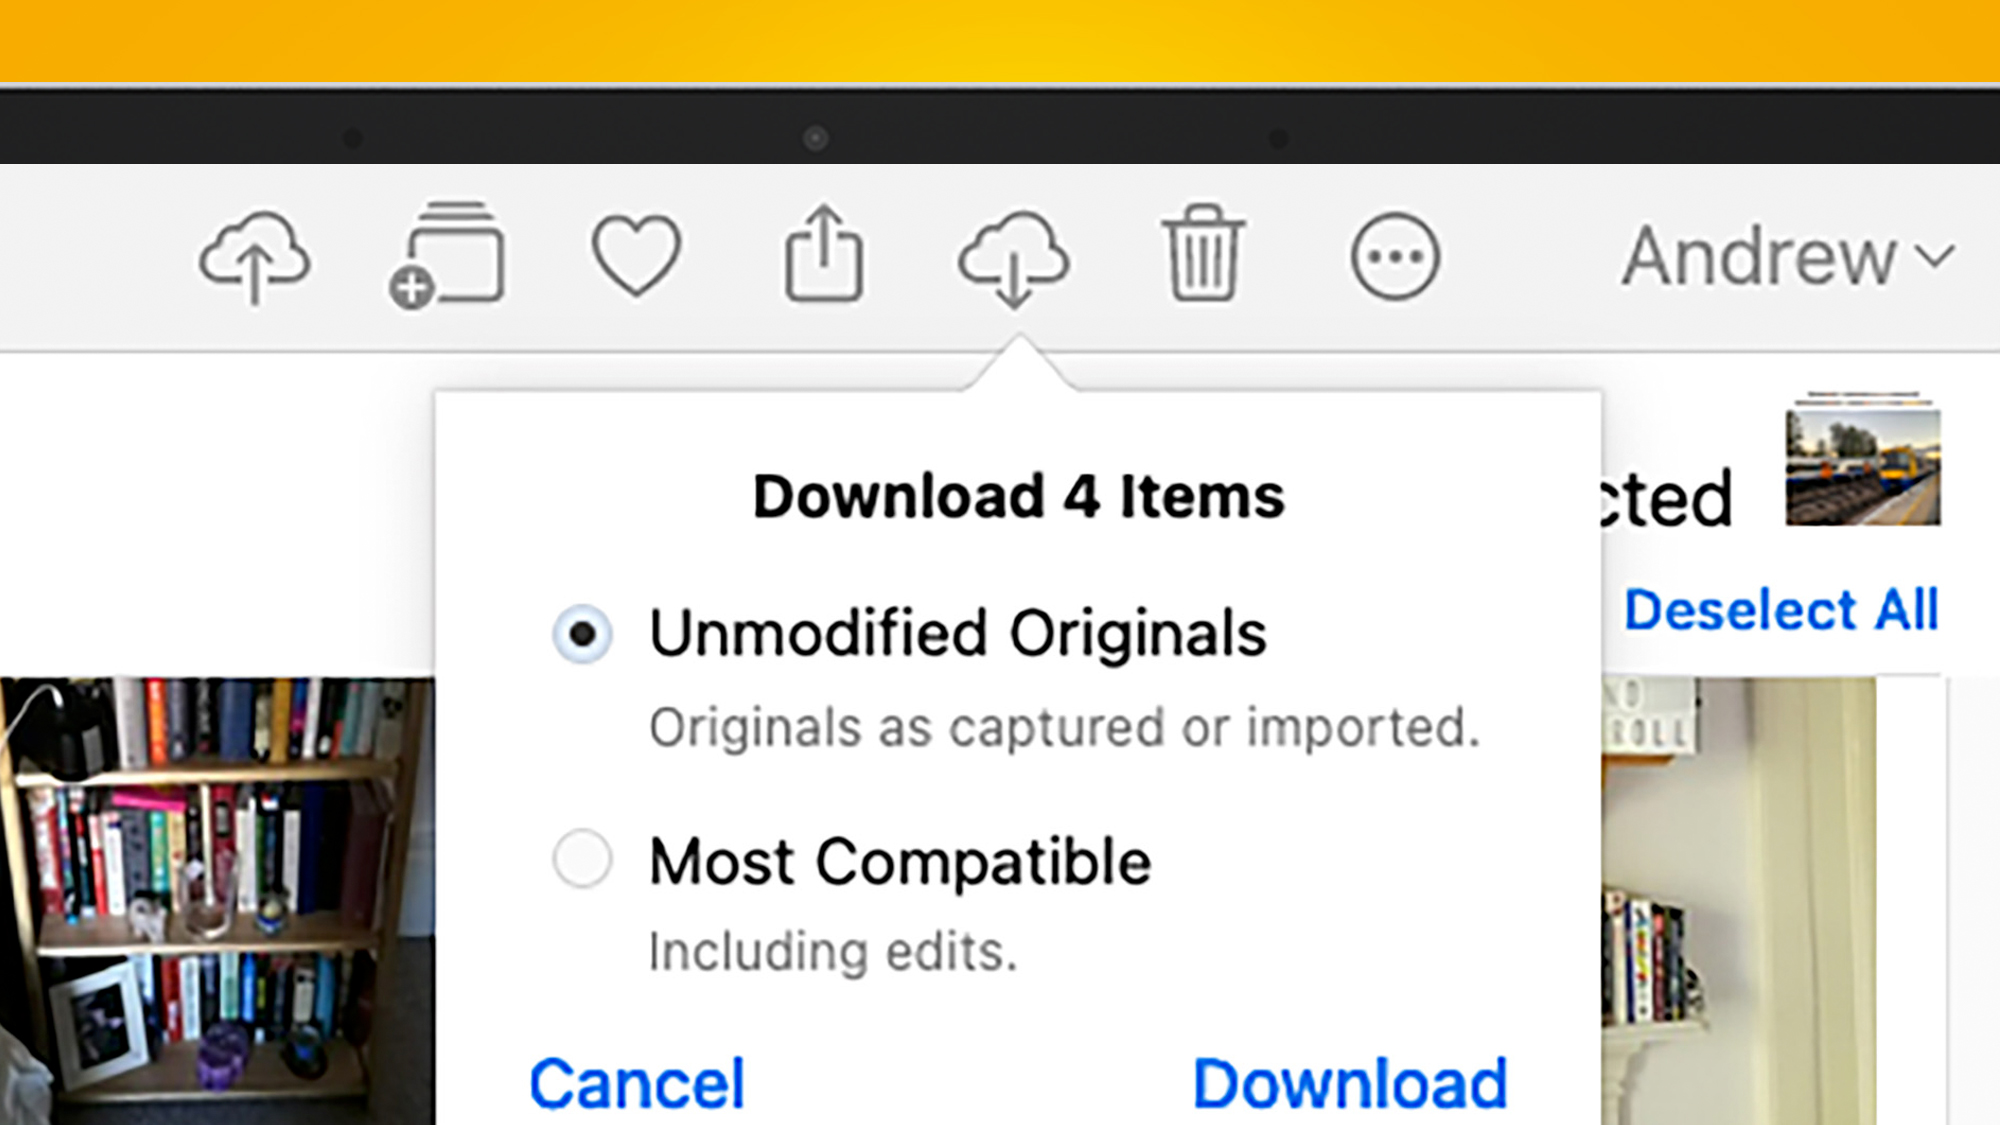
HEIC files are standard iPhone photos at their original quality, providing the best image quality and smaller file sizes than the JPEG kind. To download these through iCloud.com, long-press the download button rather than tapping it. You should see a couple of radio buttons appear, 'unmodified originals' and 'most compatible'. The first downloads HEIC images, as a zip folder if you select multiple pics.
Andrew is a freelance journalist and has been writing and editing for some of the UK's top tech and lifestyle publications including TrustedReviews, Stuff, T3, TechRadar, Lifehacker and others.
