How to use Google Pay: our guide to making payments on your Android phone
Time to set your phone up for payments
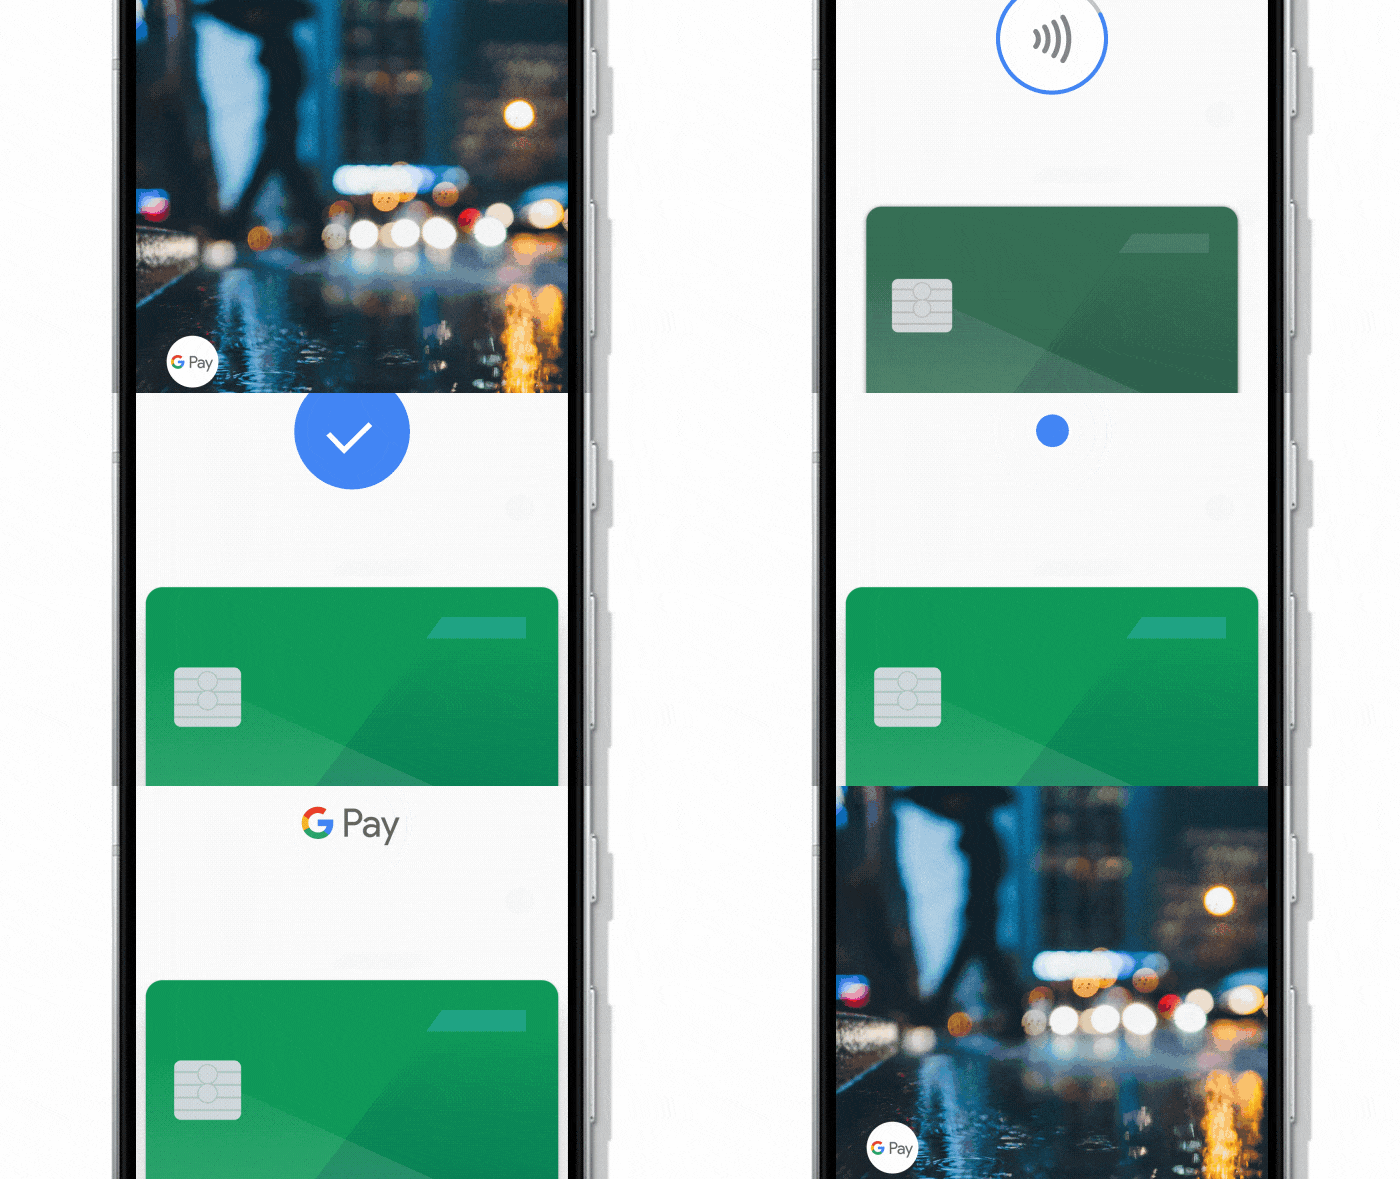
Google Pay is the way you can use your smartphone or Wear OS watch to make payments quickly, easily and without having to fumble around for your wallet or purse while you're stood at the checkout.
It means you can just tap your phone on the contactless reader at the till and not have to worry about using your card or carrying around lots of cash.
The set up process is simple and we'll use this guide to talk you through how you can do that and then use Google Pay. You need to make sure your phone is compatible as well as having a supported bank before you can start paying with your phone though.
Originally called Android Pay, the payment service was renamed in early 2018 to Google Pay. That saw both Android Pay and Google Wallet combine together, but for you it essentially means more features are available within the app and the name is slightly different.
Android Pay was launched in the US in 2015 and came to the UK and Australia in 2016, but now there are over 15 countries that can now use Google Pay.
Below we'll talk you through how to set up Google Pay and how to make your first payment too.
1. What phone do you have?
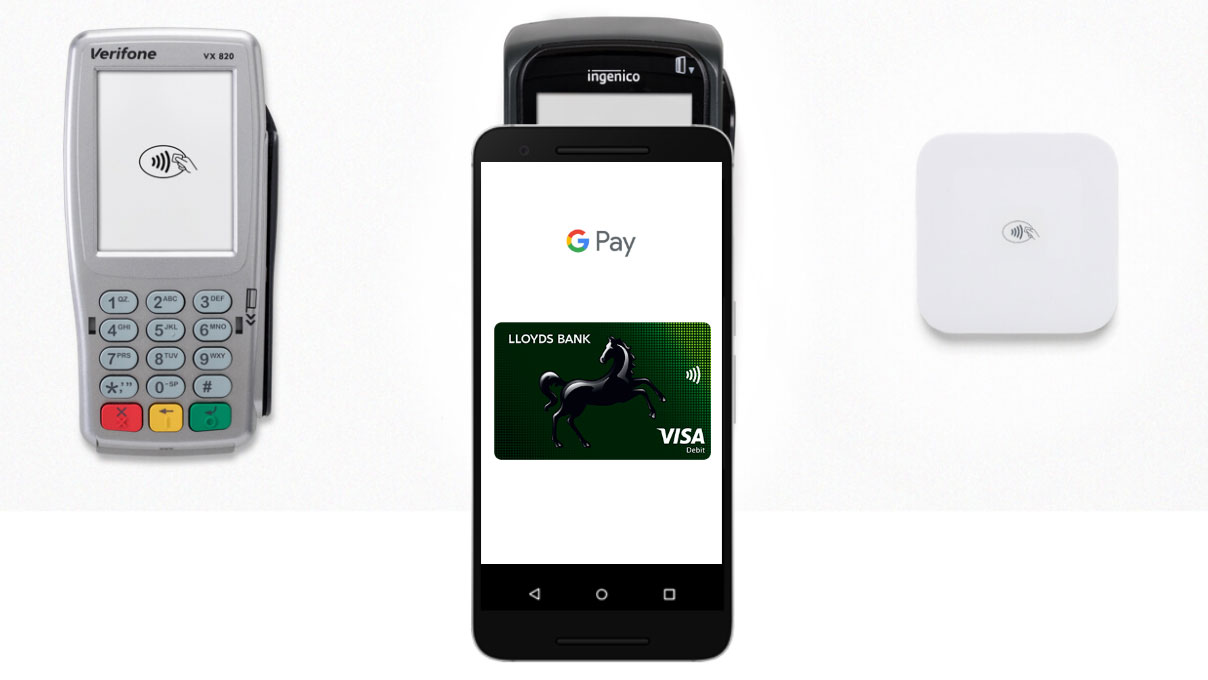
Do you have a phone that has NFC (near-field-communication) support? Do you have Android 4.4 KitKat software or higher? If the answer is yes to both of those questions, then you'll be able to connect up Google Pay on your new mobile.
Get daily insight, inspiration and deals in your inbox
Sign up for breaking news, reviews, opinion, top tech deals, and more.
It means you won't need to go out and buy a brand new flagship phone to make use of the contactless payment software. Android KitKat is a fair few years old now and if you're not running that software it may be worth checking to see if there's an update.
2. Does your bank support it?
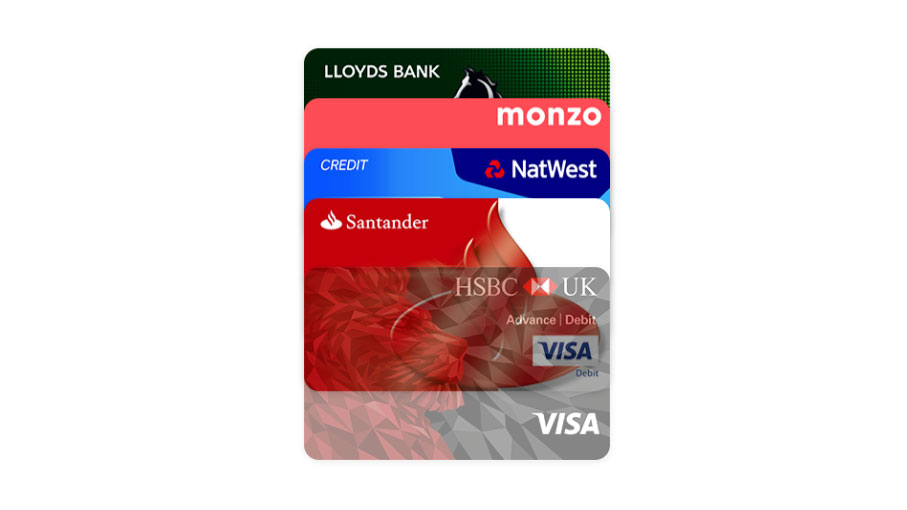
Back when this was called Android Pay, the support of banks is where most faced issues. Now there are lots more banks on the Google Pay service, but you still want to check if your bank and cards are compatible.
Most major US banks support Google Pay now, and here's the full list so you can check your account is compatible with the service.
In the UK, lots of banks support Google Pay but there are a few notable exceptions you should be aware of. Barclays, for example, doesn't support Google Pay and instead offers its own service.
You can find a full list of the banks and cards that are support by Google Pay in the UK here. Australia has a more limited list of banks that support Google Pay, and you'll find them all here.
If your bank isn't included, be sure to keep an eye out in the coming months as Google is continuously bringing new financial institutions onto the service.
3. Download Google Pay
If you're on a device running stock Android software, Google Pay may already be ready and waiting on the phone for you to use. You won't need to download it.
Give your phone a quick search and if you can't see the app, head into the Google Play Store to download the app directly to your phone.
4. Set up a screen lock
To use Google Pay properly you'll need to have a lock screen in place on your phone. This means anyone trying to access the device is going to have to enter a pattern, PIN, facial scan or fingerprint scan to be able to access your data.
To set it up, head into the Settings app on your phone and look for either 'lock screen' or 'security'. Then press 'screen lock type', find which kind of lock you'd like to use and then set it up from there.
If you have the ability to use a fingerprint scanner, we'd recommend it as that's something no one can replicate, making your phone that little bit more secure.
5. Add a credit or debit card
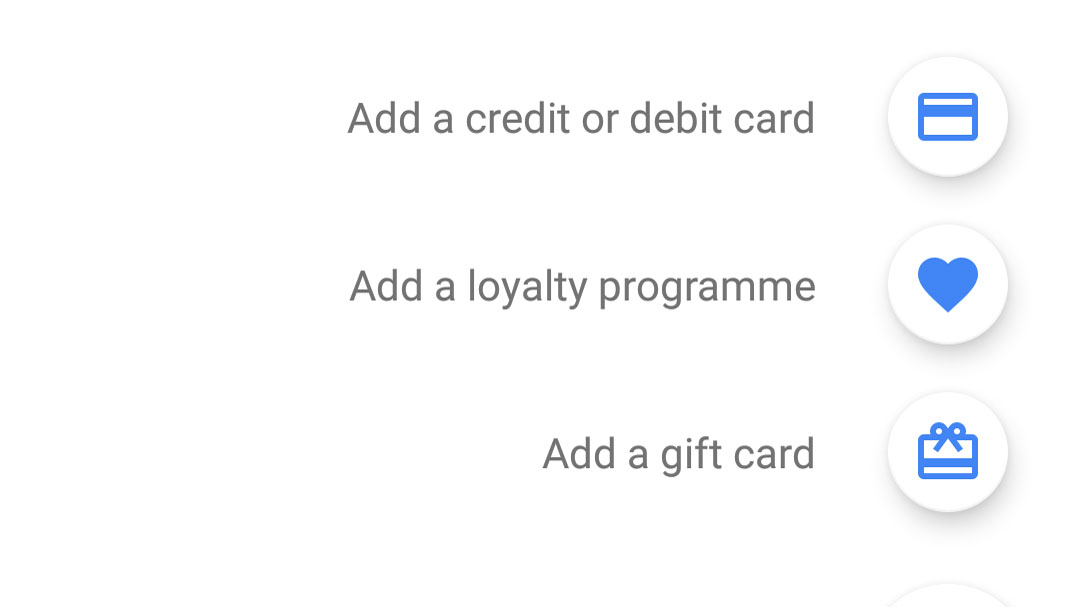
Now it's finally time to actually set up your card, and we're very close to you being able to spend money from your phone.
If you open up the app you'll be greeted with a screen that includes your Android sign in and gives you the ability to add a debit or credit card, that can be any kind of card, even a cashback credit card. Just press on the plus sign in the bottom-right and you'll be taken to choose a card.
If you already have a compatible card linked to your Android account, you can just authorize it for Google Pay here. If your card isn't linked, just press on the 'add a card button'.
Your phone will then use the rear camera to pick up your card details. Place it on a table in front of you and line the picture up with the card. It should read the details, but if it doesn't work be sure to press the 'add manually' button and enter the details yourself.
You'll also need to verify your card, so choose whether to have a verification code emailed to you, or sent to your phone as a text message.
6. Set your default payment card
This is an important step to make sure you're spending money on the right card. If you only see one card in your Google Pay app, that means it's your default option already and you can skip this step altogether.
If you've added multiple cards though, decide which you'd like to use the most and then open up the Card menu in the app. There you can double tap on the card you want to make a default and press 'set as default card'.
It's really simple, but this ensures you're using the right card when you start spending and don't rack up a big debt on a card you didn't realise you were using.
7. Add a gift loyalty program
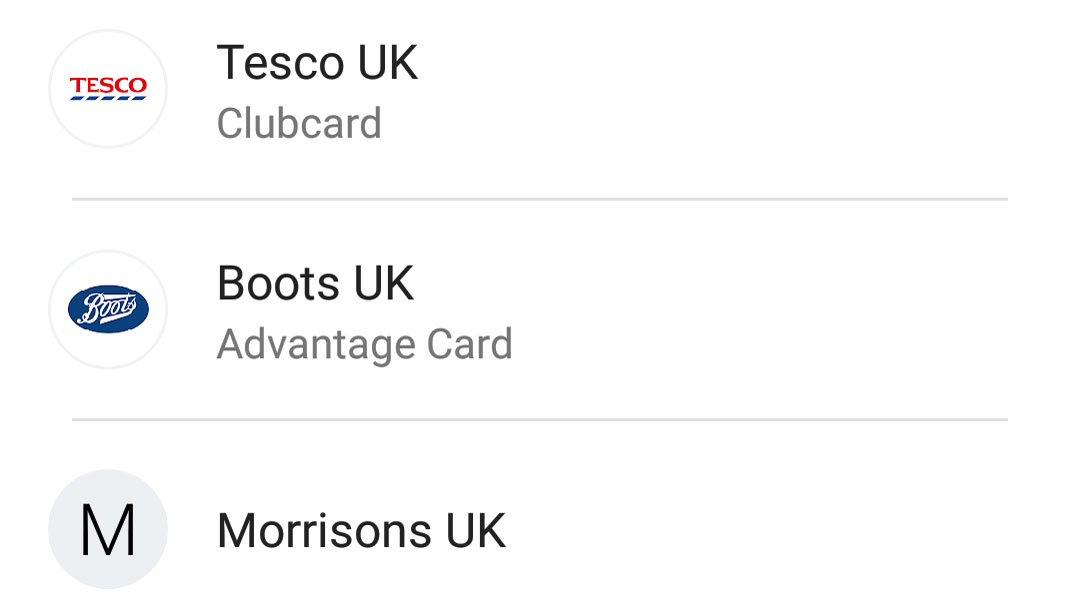
Bored of having loyalty and reward cards filling up your pockets? Google Pay can help with that as you can attach select shops reward cards to the service. It'll then remind you to use your card when you enter the shop, you can easily gain points and it sometimes offers exclusive offers too.
In the UK, for example, you can set up your Costa Coffee, Tesco Clubcard, Boots Advantage, Nando's, IKEA and many more reward cards within the app so you don't have to carry them around with you.
To do this, it's very similar to adding a card like the step above where you press on the button button and press add a loyalty program. You can then can your card or enter the details manually from there.
8. Start spending
You are now all set up and can make a payment with any retailer that has a contactless terminal.
Enter a store of your choice, turn on your smartphone screen and tap it on the reader and you'll be able to make any payment up to $30 or £30. If you want to make a higher payment, you can just unlock your phone itself and then tap it on the contactless reader.
You'll get a notification when you've paid through the phone, and it should work quickly and simply. Just make sure your phone is on and you'll be away.
As well as physical retailers, you can also use Google Pay within a variety of apps on your Android phone including Airbnb, Deliveroo, HotelTonight, ASOS and more as well as Google's own services.
- 1
- 2
Current page: How to use Google Pay on your Android phone
Next Page How to use Google Pay on your Wear OS smartwatchJames is the Editor-in-Chief at Android Police. Previously, he was Senior Phones Editor for TechRadar, and he has covered smartphones and the mobile space for the best part of a decade bringing you news on all the big announcements from top manufacturers making mobile phones and other portable gadgets. James is often testing out and reviewing the latest and greatest mobile phones, smartwatches, tablets, virtual reality headsets, fitness trackers and more. He once fell over.
