Networked displays
A quick guide on using networking to make a multi-monitor workstation
1. The hardware
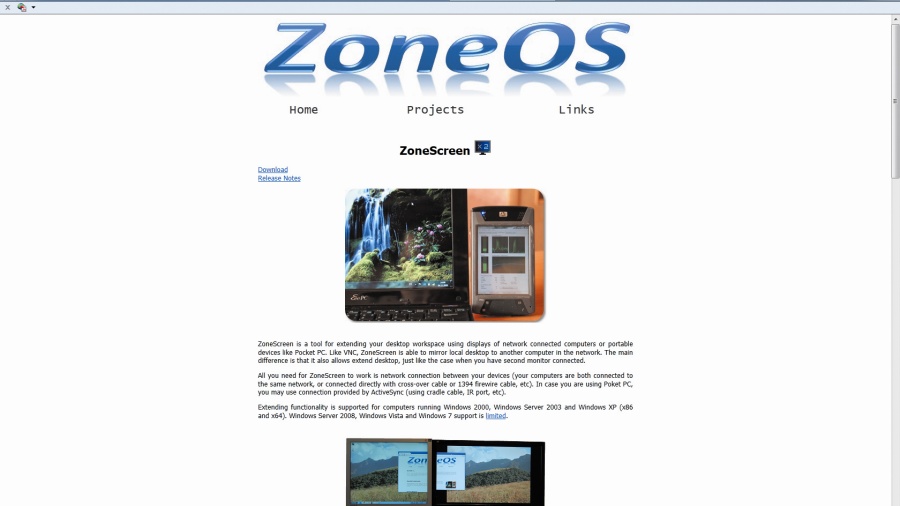
The networked display requires a device capable of running a TCP stack. This basically means Windows or Linux, but any base OS with a VNC client will be fine.
Our plan is to run Windows on an old laptop, but your work laptop would be fine. You can try your hand at dismantling an old system if you want a more permanent solution.
2. Zonescreen
This clever software uses a special VNC client and a Windows server with a virtual screen driver to mimic a spare desktop.
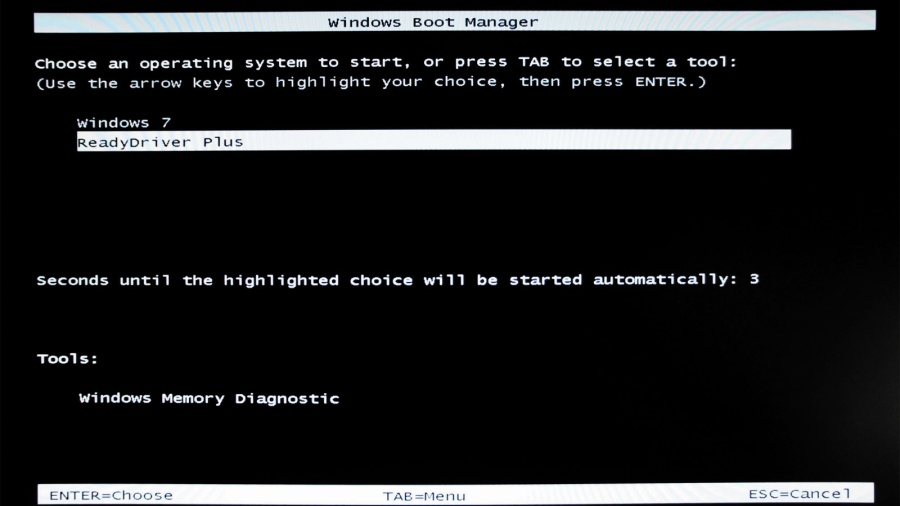
It's not a signed driver, so 64-bit users will need to select 'Non-signed drivers' from the Early Startup menu. To do this automatically, try ReadyDrive Plus, which is available to download free.
3. Getting installed
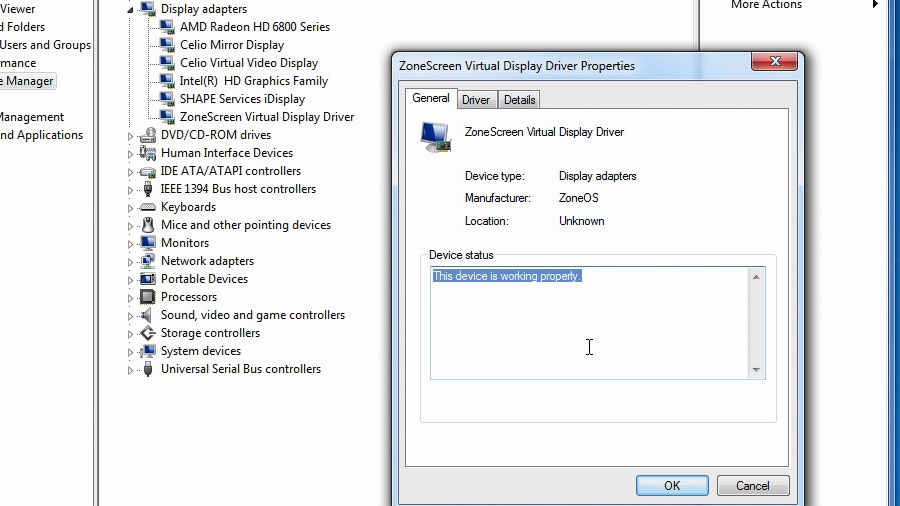
If you've managed to install ZoneScreen from www.zoneos.com and circumvent the annoying but security-conscious driver issues, reboot your machine and check that all is well by opening the device manager and looking under Display Adapters. You should see that the ZoneScreen Virtual Display Driver is running without any warnings. If it's not, check that Driver Signing is turned off.
4. Virtual screens
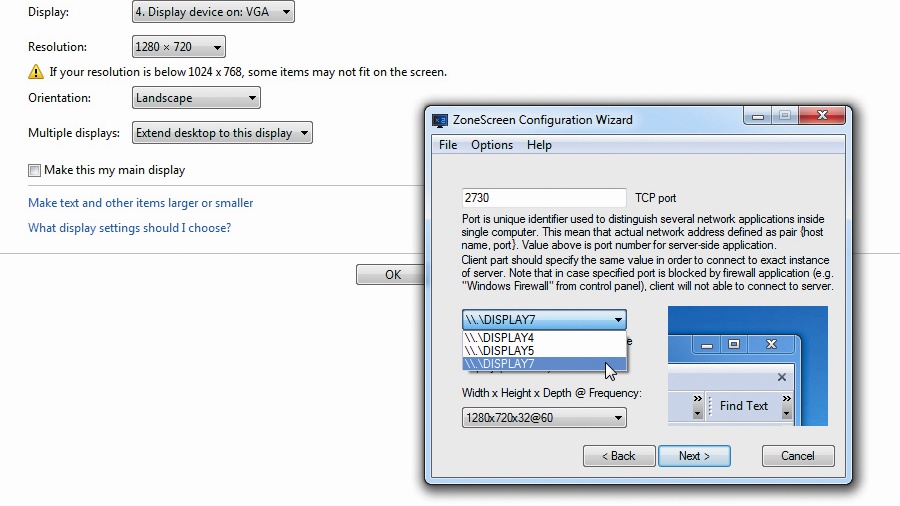
Open the Screen Resolution Control Panel and click 'Detect'. This should throw up a new disconnected display. Open the Multiple Display menu and choose 'Connect anyway', then click 'Apply'. You then need to select the Multiple Display menu again, choose 'Extend these displays' and click 'Apply'. You'll now be prompted to select an appropriate resolution, but this can be changed at a later date.
5. Configure and go
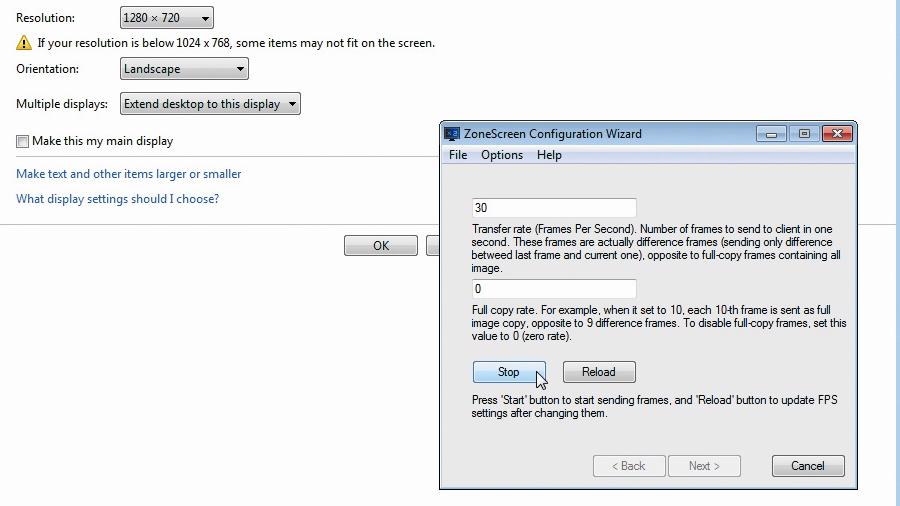
Run the ZoneScreen Wizard from the Start menu. You'll need to select the correct \\.\DISPLAYx for the extended monitor. The preview shows the top-left corner, so you can easily spot real displays and extended ones.
Get daily insight, inspiration and deals in your inbox
Sign up for breaking news, reviews, opinion, top tech deals, and more.
Once you've matched the resolutions, click 'Next' and 'Start'. The server system should now be transmitting the VNC display information, so it's time to switch to your remote system.
6. Remote performance
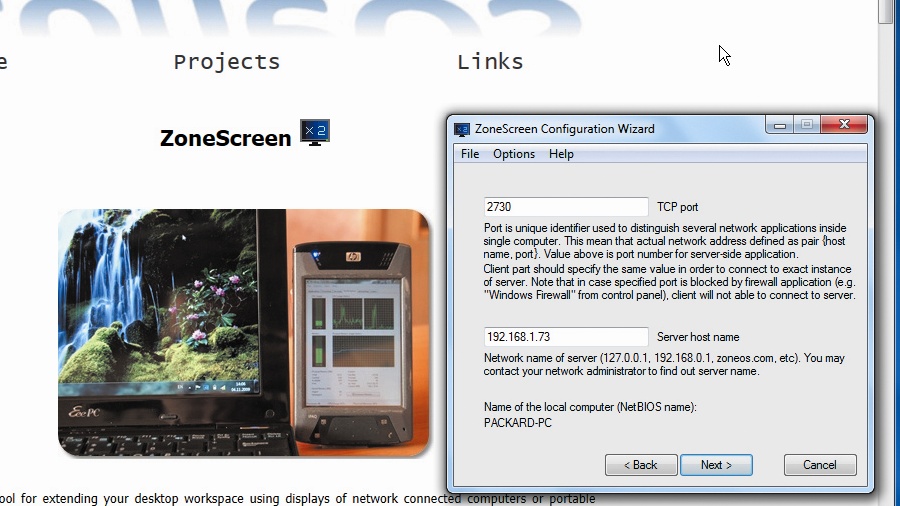
On the remote system, simply install and run the ZoneScreen software as you did on the server system, but this time select the Client mode.
To get the system up and running, all you need is the IP address of the server. This will open the extended monitor system. Update speed is slow, but it works simply enough. There's also a Windows 98 client that works with WINE for Linux.
Connecting CRT
How to get a retro look using obsolete displays
1. Kicking it old school
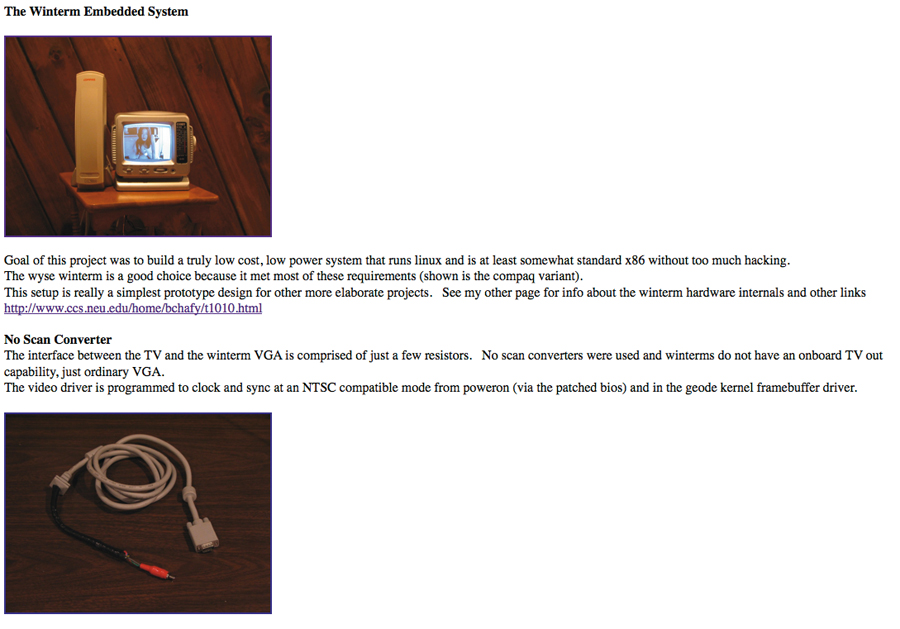
What about connecting ancient displays - ones not even designed for VGA ports? This is possible because most black and white displays are happy taking a composite output. You will need to do a little exploring with your old display and tape out the sync lines yourself, but most will take a composite signal that we can jury-rig from a VGA port.
2. Cable hacking
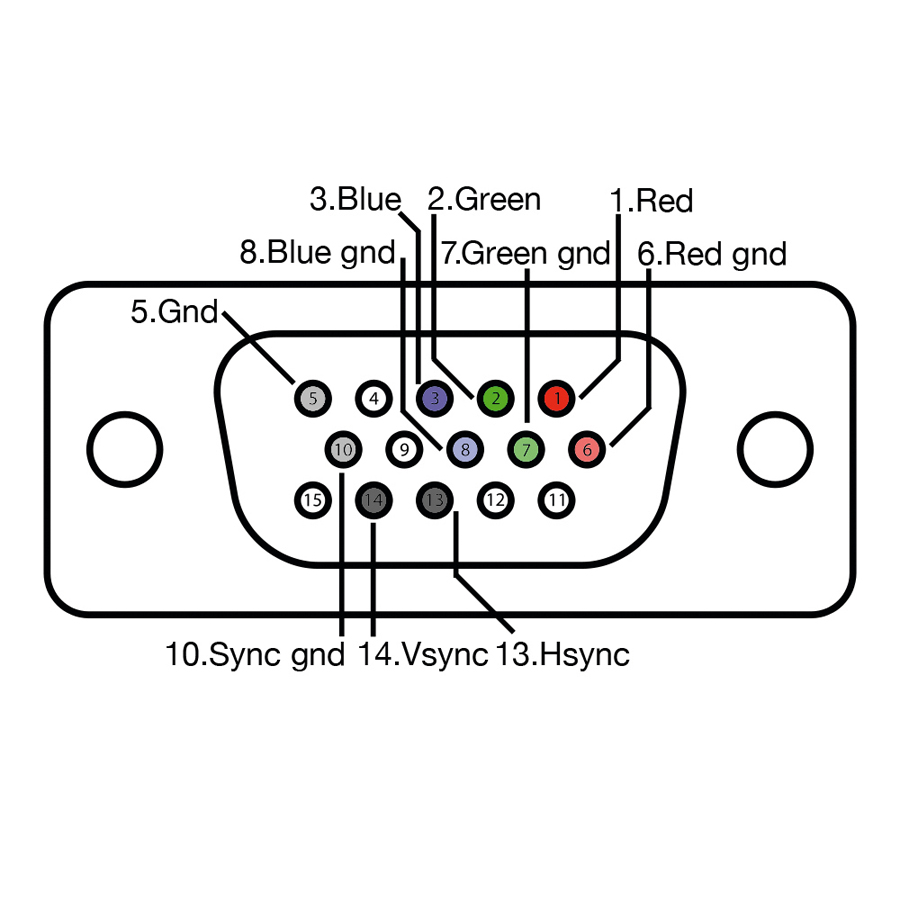
If your graphics card supports composite TV output, that's the most straightforward method to use. If you can't get a suitable mono signal this way, then not all is lot. The VGA output uses the required Hsync, Vsync and separate RGB analogue signals. Connect the Vsync and Hsync pins via 1,000_ resistors and the green channel with a 200_ resistor, for example. This will create a suitable composite signal.
3. Connect up
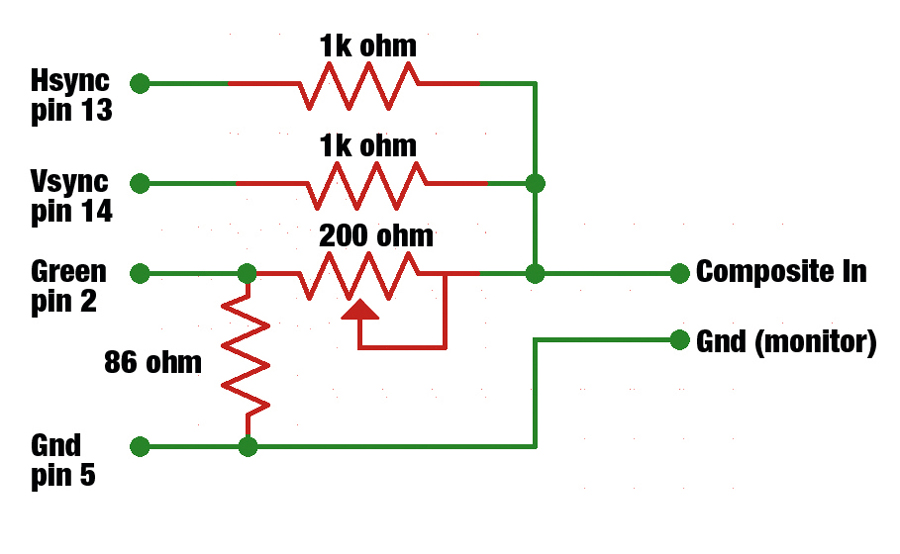
To complete the connection, add an 80_ resistor from the colour channel to the ground. The final composite cable can be made up from these two. It would be possible to create three separate b/w composite outputs by doing this for each red, green and blue output and connecting the Vsync and Hsync to each channel via a 1,000_ resistor, but you still need to separate the channels.