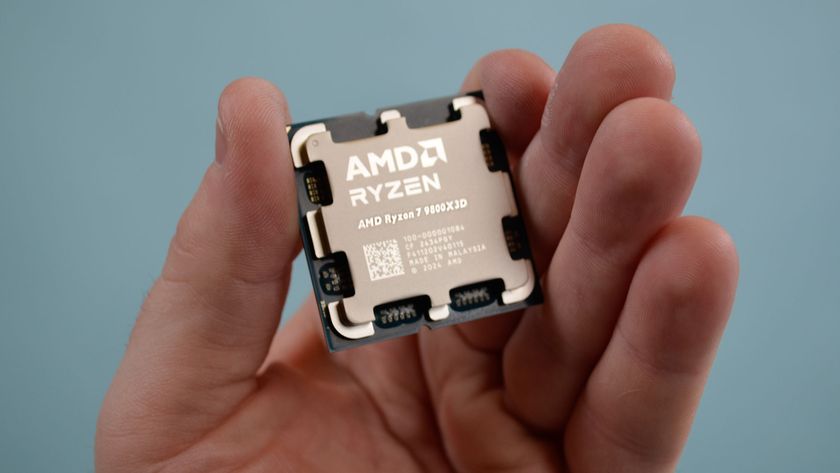
How to unlock the Phenom's fourth core
Push AMD's triple core to the limit!
Not all X3s on the market have this usable fourth core, but you're in luck if you have one with a batch number (the middle string of numbers on the front of the chip) starting '0904'
1. You'll also need a 790FX motherboard with an AMD SB750 in order to access that dormant core and the BIOS needs to be able to give you access to the Advanced Clock Calibration section to make it possible.
Should you happen to have all of these things at your disposal, getting the most out of your bargain-basement quad-core beauty will be a mercifully simple endeavour. We chose to use a Phenom II X3 720 with a Gigabyte MA790FXT-UD5P motherboard, although Biostar and ASRock 790FX boards should be more than capable of reproducing the trick too.
Unfortunately though, with Gigabyte at least, the functionality has been patched out of the latest F3L BIOS release. After a bit of fruitless messing about we decided to flash back to the second F3B BIOS – the first to offer Phenom II X3 support – and this gave us access to that elusive fourth core.
From this point on it should be relatively plain sailing. Although flashing the BIOS on a Gigabyte board is just as fraught with mobo-bricking possibilities as it is with boards from other manufacturers, it's not a complicated procedure.
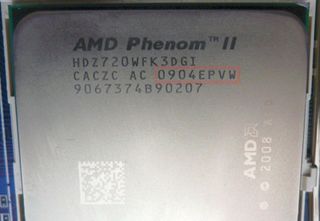
FREEBIES: If your chip's batch number starts '0904', there's a fourth core waiting to be unlocked
You don't have to go through the rigmarole of creating a bootable USB drive or waste time hunting down that otherwise obsolete floppy disk drive; you can just drop the BIOS and BAT files onto a USB key and get going with the BIOS-based QFlash app straight away.
Get daily insight, inspiration and deals in your inbox
Sign up for breaking news, reviews, opinion, top tech deals, and more.
Once the BIOS is flashed, remember to dip in and hit the Load Optimised Defaults setting to finalise the update. Then it's just a question of navigating to the CPU tweaking section of the BIOS and hitting the Advanced Clock Calibration (ACC) option.
2. Set this to Auto, then save the settings and reboot.
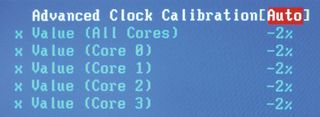
ALL THE CORES: Set Advanced Clock Calibration to Auto to finish the job
3. At the post screen you should now see that the CPU is being identified as a Phenom II X4.
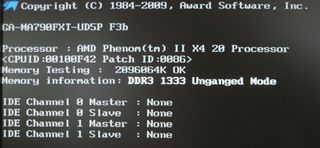
BOOT IT: If successful, the post screen should identify your CPU as a quad-core
4. So long as the core is stable you should also find it showing up in Windows. If it isn't stable, you probably wont even get it to boot your OS in the first place, so if you've been lucky enough to hit the desktop you can be reasonably sure it's functioning okay.
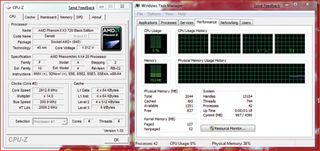
THE WINDOWS TEST: You know your core is stable if Windows identifies it
5. We used X264 and Far Cry 2 to test the stability of our core and it passed with flying colours. X.264 in particular is a great test because it stresses all four cores to 100 per cent for a decent length of time. If you want to be fully certain, you can run X.264 a couple of times to make sure that it's getting similar results each time and doesn't fall over. Simple.
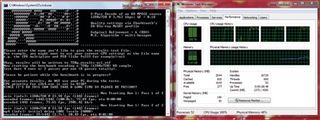
BENCH IT: X.264 is a good tool to check the stability of your cores
Performance results
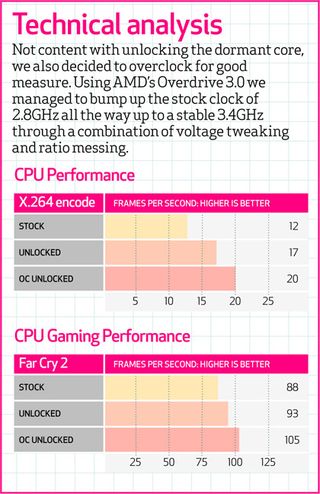
OVERCLOCK: With a bit of tweaking in the BIOS, you can also OC the X3 to get a bit more grunt
