How to repair a dead hard drive
Recover your hard drive: it's easier and cheaper than you think
1. Take drive details down
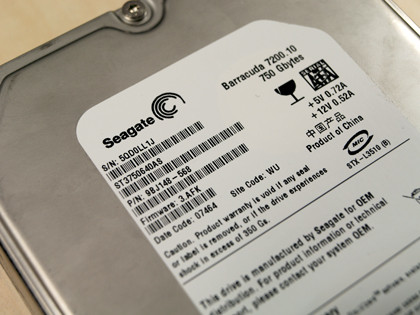
Get a replacement PCB identical to your current one, otherwise it won't work. Note down the model number (below the S/N), the P/N, the Firmware code, Date code and Site code, as well as the Main Controller IC number, which is located on the main square black chip in the middle of the actual PCB. In our case it was the six-digit code near the top, above the word 'SEAGATE'.
2. Search for it online
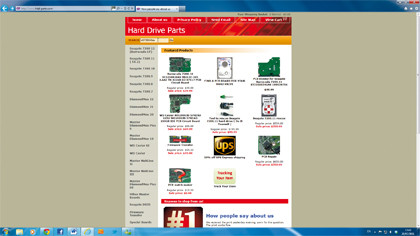
Go to hdd-parts.com and enter the model of the dead drive (in our case, it's the 11-digit code two lines down from the top of the drive) into the search box at the top of the page. This won't give you the exact model, but look through the list of results and find the drive that matches all the numbers you noted down in the first step. Now, buy it!
3. Check your parts
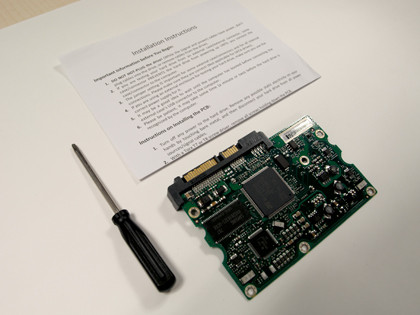
The new PCB should take about six to 10 working days to arrive through the post. When the mail man comes round, you should receive a box with a replacement working PCB inside, as well as a torx screwdriver and installation instructions – not that you'll need this last bit. If something is amiss, email the company and they will get back to you within a couple of days.
4. Remove the old PCB
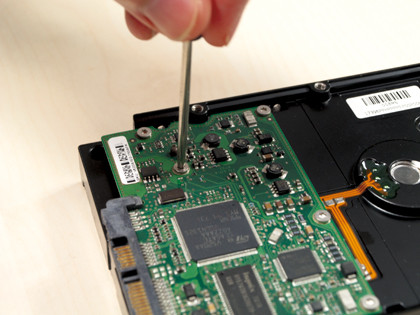
On top of the PCB you'll see five screws connecting it to the hard drive. Undo them using the torx screwdriver included in the kit, making sure that you don't lose any of them. They're pretty tiny, so once you've managed to remove them all, place them into a zip-lock bag so they don't go astray if you decide to have a break between now and the next step.
5. Attach new PCB
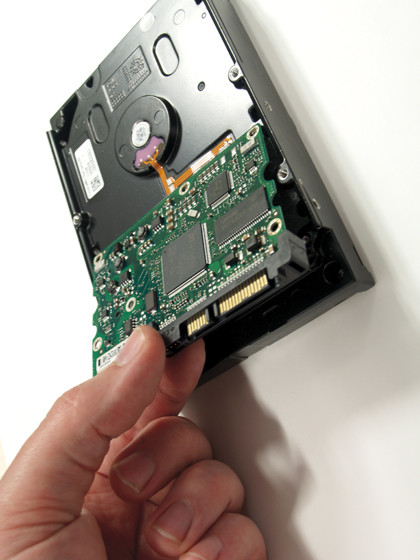
Make sure you ground yourself – an easy way of doing this is to put on an anti-static wrist band – and then carefully take the replacement PCB out of its anti-static bag. Pop it onto your old hard drive, making sure you line it up with the original screw holes. Take the screws from your zip-lock bag and screw the PCB down, ensuring each screw is reasonably tight.
6. Try out your drive
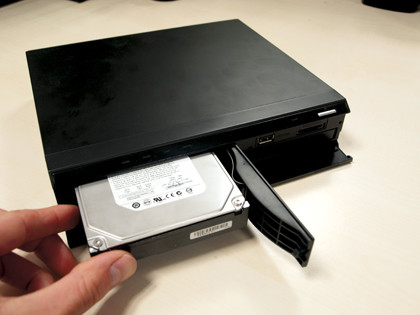
Turn on your PC. Then connect your hard drive to your dock, plug it into the PC and power it up. If the problem with your old drive was due to a faulty PCB, replacing it should now allow your drive to be recognised properly. Access the fi les you need, then copy them to your PC. Don't attempt to use the drive once this is done: chances are it might turn faulty in the future.
Get daily insight, inspiration and deals in your inbox
Sign up for breaking news, reviews, opinion, top tech deals, and more.
- 1
- 2
Current page: Step-by-step: Fix your hard drive
Prev Page Repair a dead hard drive: Where to start