Adjust the sensitivity to control how much movement is required, while Display Style alters tracking modes.
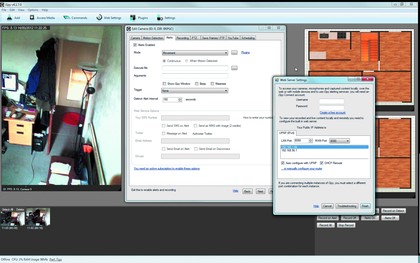
3. Set up alerts You can trigger an alert based on motion, face detection, number of objects or lack of movement.
This can run an EXE file for X10 integration, or send a SMS, email or tweet to you when it detects something.
This last option is done via your iSpy Connect account, though the SMS part requires a paid-for account, which is understandable.
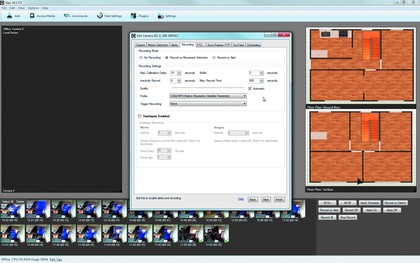
4. Record footage To record video, go to the Recording tab and select either 'Record on Movement' or 'Record on Alert'.
The default settings here are ideal, and the software appends the three-second buffer to the start. The H.264 codec uses around 20MB per minute.
You might want to consider the mobile MP4 settings, but we recommend you avoid the AVI ones like the plague, even for desktop-only use.
Get daily insight, inspiration and deals in your inbox
Sign up for breaking news, reviews, opinion, top tech deals, and more.
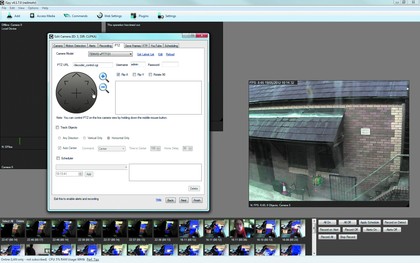
5. Motion control We added an IP camera using the 'IP Camera with Wizard' button within the Add Camera dialog.
Just select the model from the drop-down list and enter the username and IP. The PTZ provides motion control if compatible.
Our cheap Tenvis camera worked a treat, although the Track Objects mode was pretty skittish.
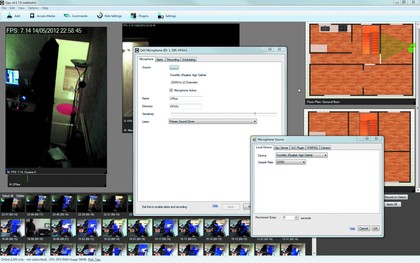
6. Microphones You add microphones to your system in the same way as cameras.
Click 'Add microphone', then select the option to add a local mic if your webcam has one built in.
You can then set sensitivity, alerts (you could play a dog barking sound, for example) and also set recordings.
Remote mics can be created by entering the IP of a remote iSpy server.
Serving up cameras: Use iSpy Connect to link up remote cameras
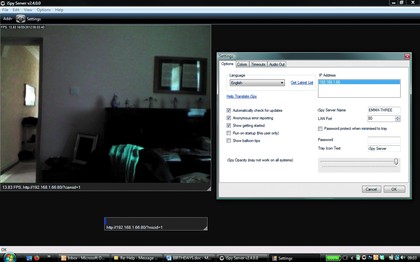
1. Install the server The server system is useful for installing on remote computers like laptops so you can access their built-in webcams or connected cameras.
Install iSpy on the remote machine and once you're in its Start Menu, run the Server Installer.
If you're not prompted, make sure you manually set a Windows Firewall Exception for iSpy Server. Now you can add the local camera as before.
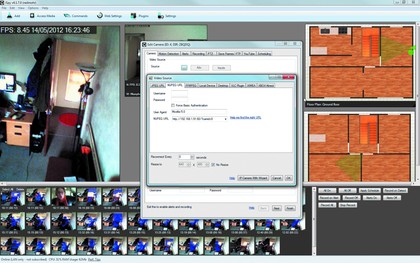
2. Share and share Once the preview of the local camera is running, note down the IP, Port and Cam Id in the bottomleft of the display.
Return to your main iSpy PC and add a camera. For the source choose 'URL MJPEG', and enter the IP address you copied down.
This should be http://192.168.x.x:80/?camid=0, or whatever your local network IP base is.
You can also add a password if you require additional security.
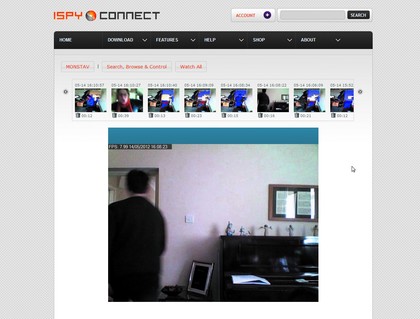
3. Web account The free version of iSpy is limited, but you can still view recent recordings from your networked cameras, wherever you are.
Logging into your iSpy Connect account from any desktop provides you with a basic control panel.
This gives you recently recorded clips, and you should be able to view playback direct from your monitoring computer for 10 seconds. If you can't, then it's been nicked!
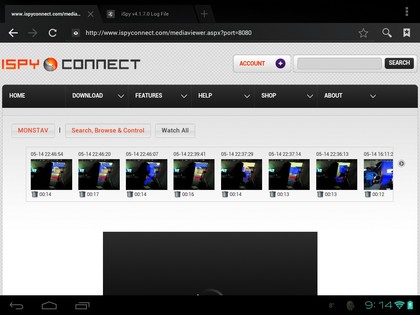
4. Mobile access If you subscribe to the paid-for service, there's a dedicated HTML 5-based mobile website that even Apple devices will happily use, and which can be used to control motorised cameras.
The standard website can still be accessed by mobile devices, but the video media player probably won't work. Some owners of Android devices may have more success, but we couldn't get it working on our hardware.
Spotlight on...
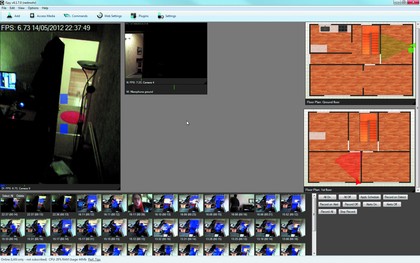
1. Server build We love servers here at PC Plus - they make everything run smoothly in the background, letting us turn off our powerhungry desktop PCs and reduce our energy bills.
The iSpy Connect system offers what it calls a server build, but i''s not what you'd expect from the name.
The idea is to enable you to link remote laptops and computers with cameras and mics installed to your main iSpy Connect system, but with a low-profile service.
You'll still need the main iSpy Connect program to set up your security system, and it's required to serve out data to the remote webserver, while any recognition tasks you implement also have to be run on the main program.
That last aspect can make the server program seem all but pointless, but it exists so you can access cameras on remote systems.
We found we needed to create a Windows Firewall exception on a Windows Vista system, so if you're having connection issues check here first.

2. Subscription services While there's a lot to love about iSpy Connect, its more advanced features require a subscription.
$70 a year is substantial, but compared to paid-for monitor security it's very reasonable. It's not the only option though.
If you want Twitter alerts, we found a simple workaround. Download a command line Twitter client, then install and authorise it with Twitter.
Within iSpy Connect you can launch an Executable for individual device alerts. Add the client executable with its path, then under 'Arguments' add the Twitter account, a suitable message and a timestamp, like 'TWITTERNAME "Camera One Alert" timestamp'.
We were also impressed by how cheap dedicated security cameras have become. These are the wireless IP-based dome devices you see in shops, which can now be picked up for around £35.
At this stage you should only consider the $70 annual subscription fee if you want full remote control.
It's a bargain compared to full commercial packages, but making your own system is much more rewarding.