How to benchmark your PC: test your computer's performance
Use SiSoftware Sandra to test the performance of your machine for free
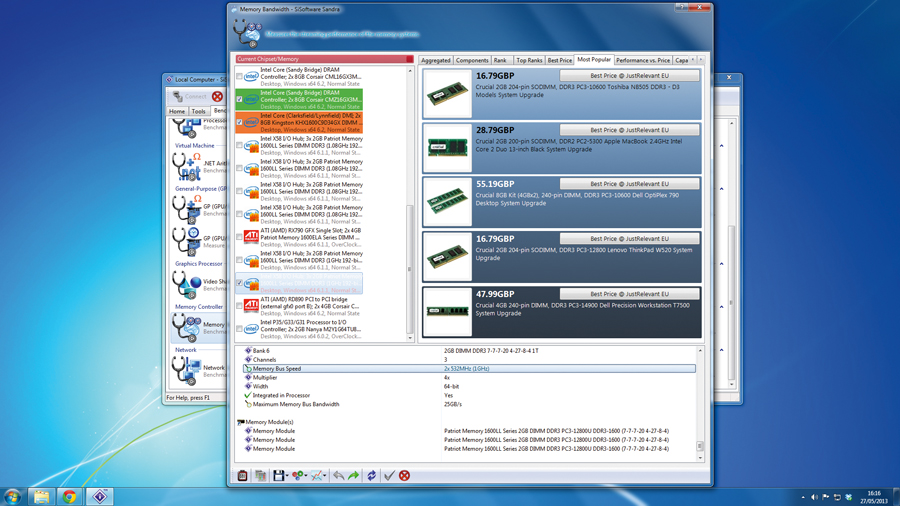
PC benchmarking is worth doing from time to time to make sure that your computer system is working properly.
Key to benchmarking is the software that you're actually using to test your system. There are plenty of neat little tools and utilities that you can use to make sure that the individual components of your rig are up to speed, but I'm a fan of using a single program wherever possible, especially if it's a good one.
Thankfully, there is a suite of utilities that has been a mainstay of the benchmarking world for several years, and that suite is SiSoftware Sandra. It offers the ability to check the performance of your machine for free, if you're just planning to use it for your own information (which we'll assume you are). Let's get started.
Step-by-step: Benchmark your PC
1. Up-to-date
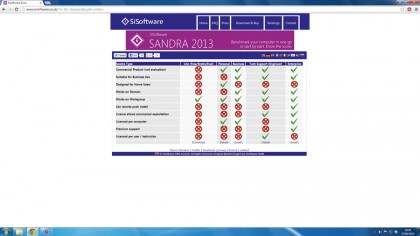
First you'll want to grab the latest version of Sandra, which at the time of writing is up to version 2013 SP3a (19.44). Head over to www.sisoftware.co.uk, click 'Download & Buy' at the top of the page, select 'Download' at the bottom of the Lite column and then click the 64-bit 'X64' option from the Microsoft Windows Platform list.
2. Pick it up
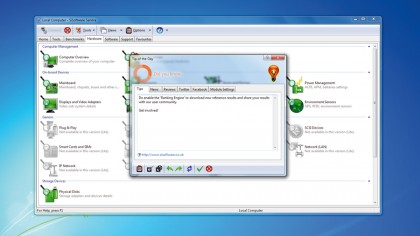
Now you need to pick a trusted hosting sites to download Sandra from. These are all respected sites, but if you're unsure, select 'Benchmark HQ' and your download will begin. Once the program has downloaded, launch it and select the default installation options. Finally, click 'Launch Sandra at the end of the process'.
Get daily insight, inspiration and deals in your inbox
Sign up for breaking news, reviews, opinion, top tech deals, and more.
3. Magnifying glass
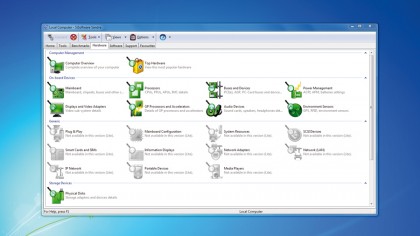
Start by looking at the hardware reports Sandra creates after analysing the components in your system. This is useful for spotting driver incompatibilities or for spotting conflicts on older systems, but it's still a good starting point before hitting the benchmarking sections. Click 'Hardware' to see a list of supported hardware reports.
4. The mother-load
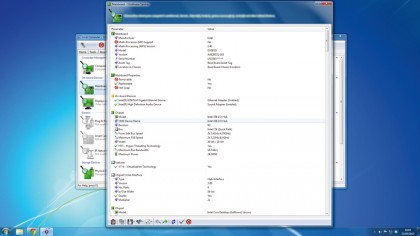
Your motherboard is a key component, as it's responsible for making sure everything else works together. To get the lowdown on your mobo, click the 'Mainboard' option in the On-board Devices section. After a quick bit of scanning, you'll be presented with a long list of the key components of your motherboard, including the chipset.
5. Sweet memories
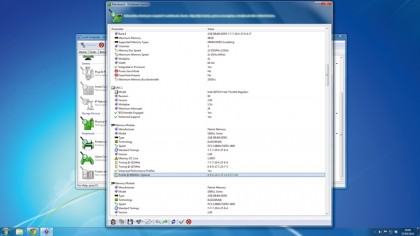
Part of this list also displays information about the memory installed in your system. Here for instance we have three DIMM slots occupied - banks 0, 3 and 6 - and each one has a 2GB stick of DDR3 running at 532MHz. Scrolling down reveals that the memory is made by Patriot Memory and is rated at 533MHz at 7-7-7-20 timings.
6. Bench your RAM
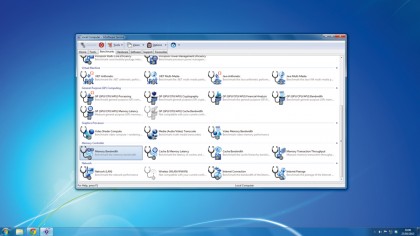
How does this memory performance stack up against every other system out there? This is where Sandra's benchmarking tools step in. Close your motherboard report and click 'Benchmarks'. Scroll down until you get to the Memory Controller subsection and then double-click the 'Memory Bandwidth' icon to launch that module.
7. Time to bench
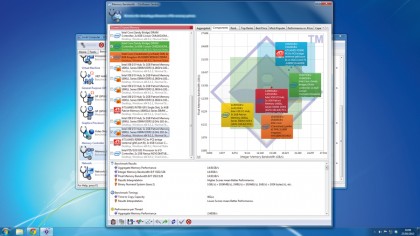
To run the benchmark, you simply need to click 'Refresh' - the icon made up of two blue arrows to the left of the tick mark. Once clicked, this will set Sandra testing the living daylights out of your memory. It can take a few minutes and you can't do anything else with your machine while it's running, so just let it do its thing.
8. Comparative analysis
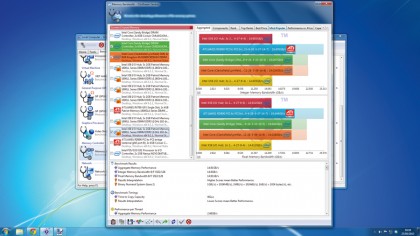
Once this is done, you'll be presented with a dynamic graph showing you how your memory compares to other setups. The tabs along the top present different rankings and information - such as how your memory compares to the best value options around, as well as how you rank compared to everyone else who has run Sandra.