Although many council recycling depots will now accept electronic equipment, if you can put your motley collection of old CPUs and motherboards to good use, then so much the better.
So, the idea is to turn an old PC into a media server – something that will allow you to listen to and watch your music and video from any networked PC in your house, and can preferably be hidden away out of sight.
If you've chosen to reuse an old PC then the chances are it already has a version of Windows installed on it. Although it's possible to use Windows XP in conjunction with Windows Media Player as a media server, it's not a particularly flexible option and in our experience it's pretty flaky, too.
There's also the fact that Windows tends to become increasingly unstable unless it's rebooted every few days.
The alternative is to go for a free solution, and Linux is the obvious choice. Although many people are put off by the mere thought of the OS, distributions such as Ubuntu are now easy to use, and while you may need to venture to the command line once in a while, we've tried to keep that to a minimum here.
Using Linux also means that you should be able to reuse the Windows licence associated with your old PC elsewhere, provided it's only been activated once.
1. Install Ubuntu
Get daily insight, inspiration and deals in your inbox
Sign up for breaking news, reviews, opinion, top tech deals, and more.
Head to www.ubuntu.com, download the ISO image for Ubuntu (currently at version 9.04) and burn the image to a CD. On your media server PC, change the BIOS settings to boot from CD, pop the disc in and let the Install wizard run its magic.

EASY LINUX: Using Ubuntu for your media server is simple, effective and free
You'll need to enter some basic information, such as your name, the name of the system (as it will appear on the network) and a password. Once the installation has finished, Ubuntu will probably grab some updates, after which you're ready to start setting things up.
2. Install MediaTomb
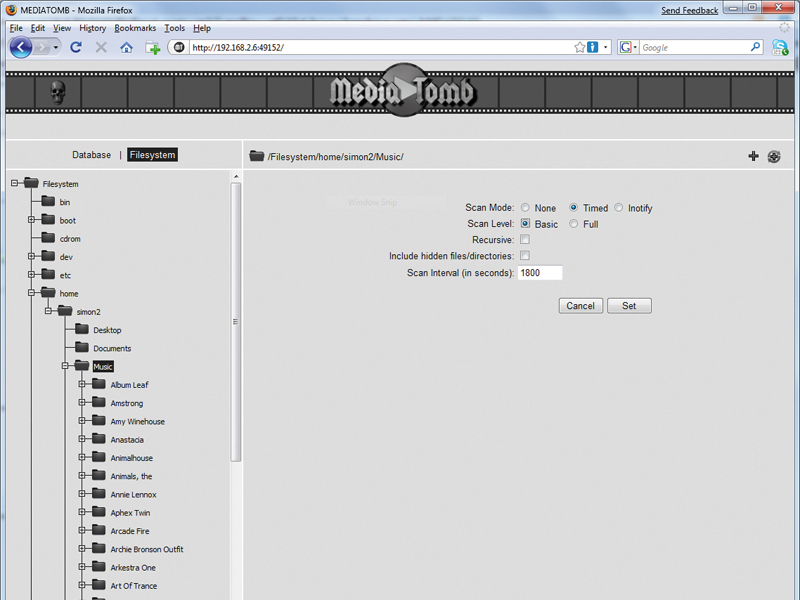
For this project we will be using MediaTomb, which is a UPnP server application for Linux. It will allow you to share media with any compatible device on your network, including Windows PCs, Macs and even an Xbox 360 or PS3.

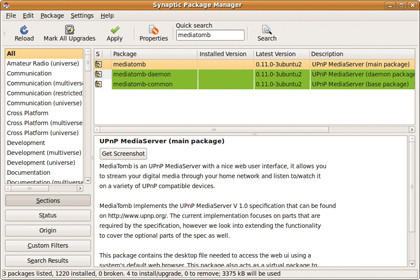
MEDIA DATABASE: Install MediaTomb from Ubuntu's package manager to get started
Thankfully a ready-made package is available for Ubuntu 9.04, so you don't need to do any command-line installing. Go to the top bar and click on 'System | Administration | Synaptic Package Manager'.
Type MediaTomb into the Quick Search box and tick the three entries shown to mark them for installation. Next, click the green 'Apply' tick and MediaTomb will download and install.
3. Choose file locations
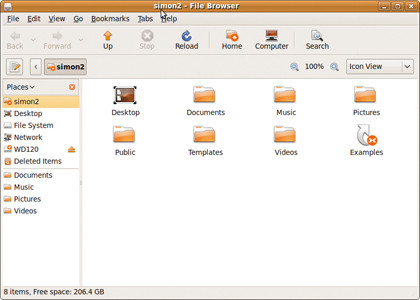
Now you need to choose where to store your media, so click on 'Places | Home Folder'. Like Windows, Ubuntu uses dedicated folders for music, pictures, documents and videos. It makes sense to use these rather than creating new ones.

DEDICATED FOLDERS: The default options in Ubuntu should suffice but you can add more if you like
The only reason you would want to do that would be if you wanted to use a small drive for the OS installation and then a larger or external drive for media storage. If this is the case, make a new folder in your chosen location; you'll assign it the appropriate function later on.