How to set up your first server
From switching on to configuring

As your business grows and the number of employees expands there will be a growing need to use a server to store files or run applications, such as for email.
With technologies, such as virtualisation, you can have many server operating systems (OS) running on the same physical hardware. It may seem a daunting task, but it is relatively simple and most basic servers can be configured within an hour.
It pays to make sure the server you buy is up to date so it can take advantage of technologies such as virtualisation. The latest Intel and AMD processors have features and extensions that support quick and easy virtualisation, and allow you to squeeze every last drop of performance out of the system.
While Linux is an increasingly popular choice, this guide will concentrate on Windows Server 2012, the latest version of the more established server software.
1 – Planning the installation
When planning the installation of the server operating system it's necessary to ensure the right hardware is in place. Windows Server 2012 is a 64-bit operating system, so it cannot be installed on a server running 32-bit processors.
With this latest version, there are only two versions of the operating system, Standard and Datacenter. We are going to go with the Standard version (there is no feature difference between the two versions, only a difference in support for hardware and guest virtual machines).
Also, this will be a brand new install, so we don't have to worry about backing up data and applications (although the former is always a good idea in case of future failures).
Get daily insight, inspiration and deals in your inbox
Sign up for breaking news, reviews, opinion, top tech deals, and more.

2 – Initial set-up
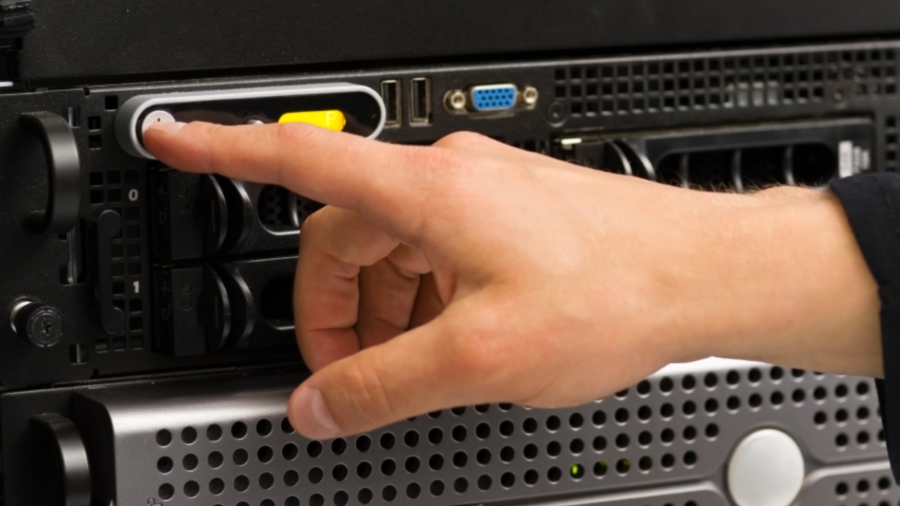
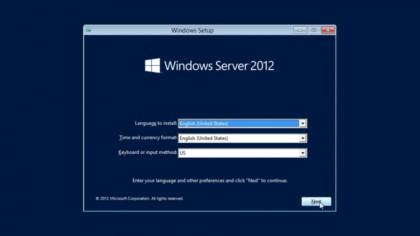
Assuming that an installation disc has been provided, insert the disc into the computer and switch on the server. When prompted, press any key to boot from the disc. The files will start loading and the next screen will show the Language dialogue box.
Select the correct language, currency and time options as well as the keyboard you wish to use. Click on next. Then another dialogue box will show an Install Now button, click on that.
We also have to decide what type of install to make. Server Core has a minimal installation footprint and is great for tasks where it's not necessary to use a graphical user interface (GUI) – the onscreen 'click and drag' which most of us use every day – but for the purpose of this guide, we will install the OS with a full GUI. So click on the tick (check) box to accept the licence terms and click "Next".
On the next screen you are asked to choose what type of install you want. This is a fresh install so we will select "Custom: Install Windows only (advanced)"

3 – Installing
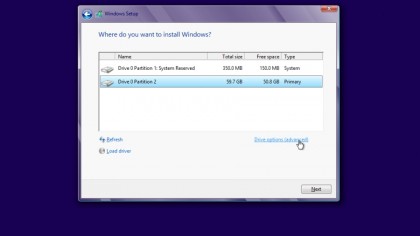
Then you will be asked where you want to install Windows. In this case, we are installing the OS on the primary partition. (You can also use the Drive options link on the dialogue box to configure any drives attached to the server if this is necessary.)
Then Windows will begin installing itself to your server. How long this takes will depend on your server's specifications. Once it is completed you will be asked to provide an administrator password for the new installation. Type in a password and click "Next".

4 – Managing the server and changing computer name
Once this is done, press Ctrl-Alt-Delete at the same time to get the login screen. Type in the administrator password and press enter.
It is important to note here that as Server 2012 takes its design cues form Windows 8, most tasks can also be carried out via the Start Screen, which can be accessed by pressing the Windows button on the keyboard.
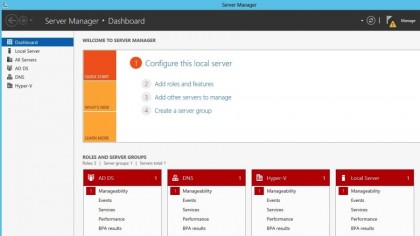
Open Server Manager by clicking on its tile. Windows Server then changes from Modern UI to desktop mode, and the Server Manager window will appear on this desktop. In this window click on "Configure this local server". This allows you to set up the various features you will require for your network.