How to enable and use remote desktop software on a Mac
Remotely accessing other devices from your Mac or sharing your Mac’s screen is easy with the right remote desktop software

Remote desktop software is great for a number of reasons. You might work for a company that has offices in a number of locations and need to be able to access remote workstations or collaborate on documents with your co-workers. Or you might be someone who travels a lot with work or who needs to work on documents in an office and then later at home.
In this article, we’re going to look at Zoho Assist, one of the best remote desktop software solutions available that you can use to access your Mac computer remotely from other devices or vice versa. Zoho Assist is a cloud-based solution that works through a web browser and that only takes a few seconds to establish connections. Read on to find out how to go about setting it up.
- Read our Zoho Assist review
Step 1: sign up for an account
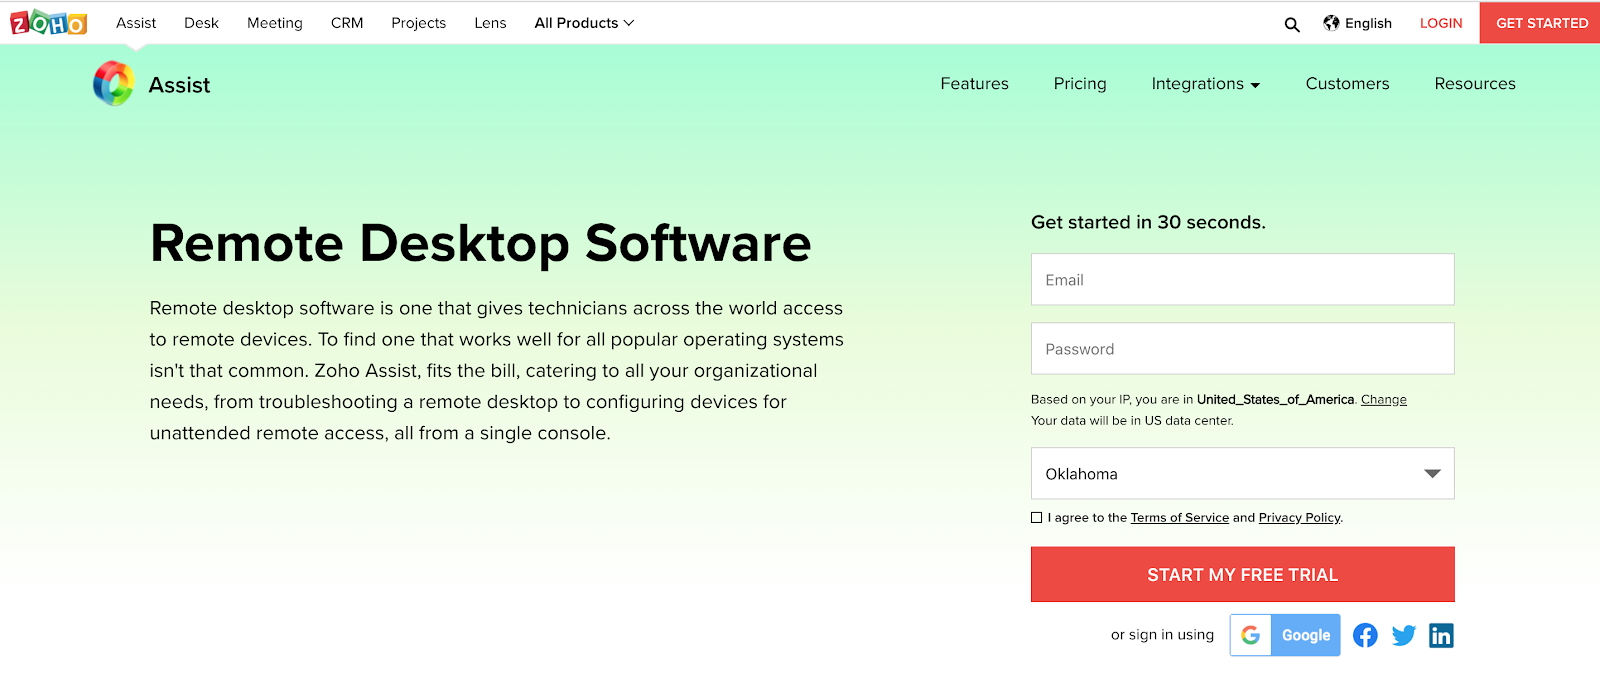
The first step to getting started with Zoho Assist is to sign up for an account. Each new account starts with a 14-day free trial, so you only need to enter your email, choose a password, and select your state.

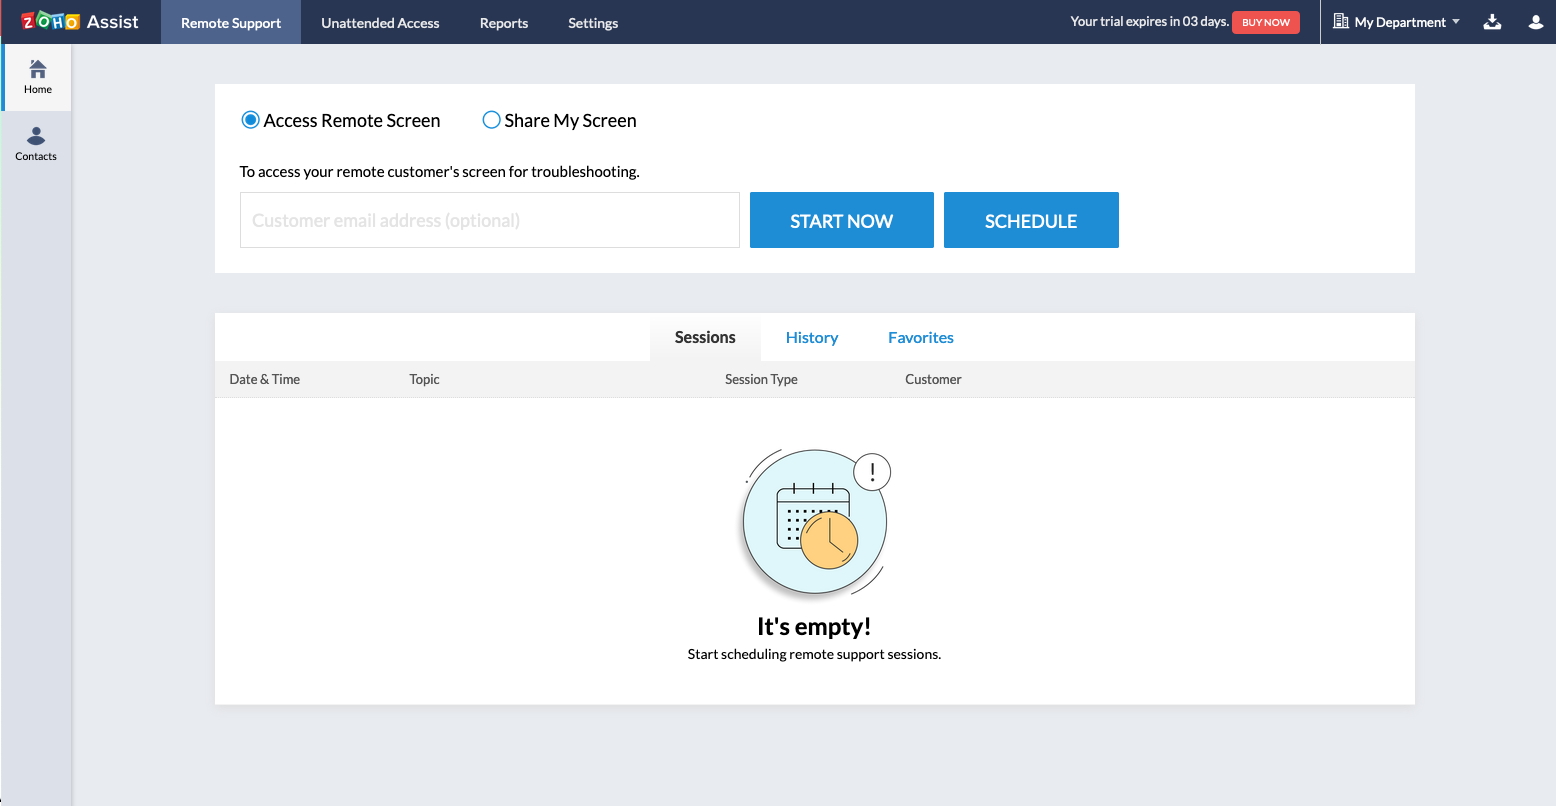
This should take about 30 seconds and then you’ll be logged in to your dashboard. From here you can choose to either access a remote screen, i.e., another device, or you can share your screen.
Step 2: Access remote screen
First, we’ll take a look at the process of accessing a remote screen. There is a Start Now button with a field for an email address next to it. Enter the email address for the person whose device you want to access, click the button, and they’ll be sent an invitation email.
A new window/tab will then open with a link to join the session. If you entered an email address at the previous step, the recipient will be sent this link in the notification email. If you didn’t enter an email address, there are buttons at the bottom of this new page to invite the person via email or SMS.
Initiating the session by sending an email or SMS will be easiest for the other person because all they’ll need to do is click on the button or link they receive. Zoho Assist will automatically detect which device they’re on and prompt them to take the next necessary steps.
Are you a pro? Subscribe to our newsletter
Sign up to the TechRadar Pro newsletter to get all the top news, opinion, features and guidance your business needs to succeed!
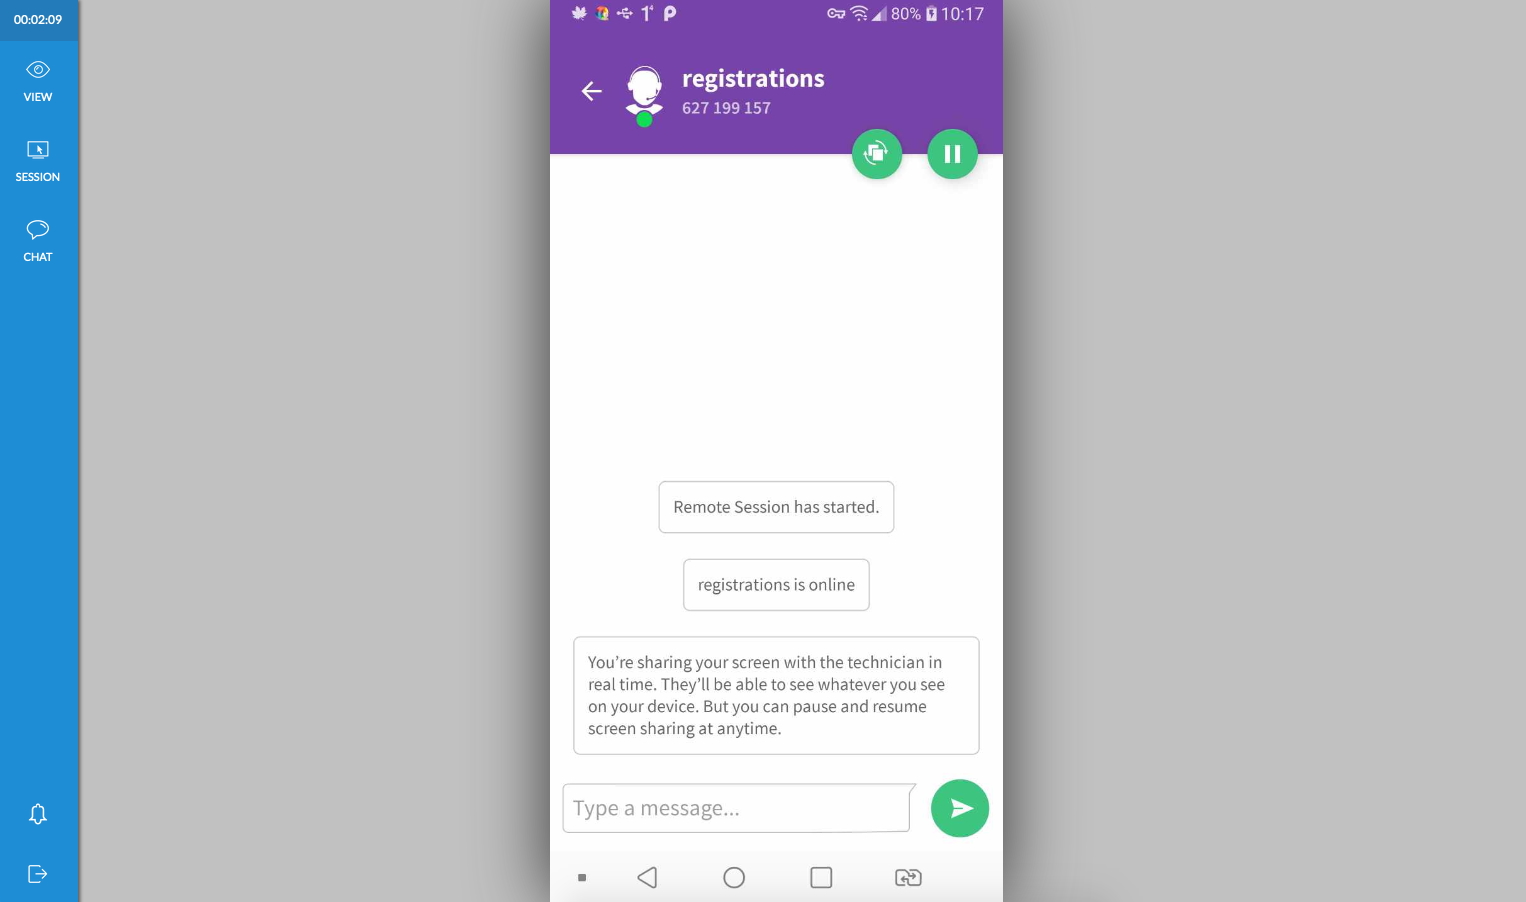
For instance, with our first test, we sent an email invitation to someone with an Android phone. The other person clicked on the button, which prompted them to install the Zoho Assist app from the Google Play Store.

Once installed, the app automatically started a session with the access code sent in the email, there was no other set-up required, no codes or other details to be entered. We were then able to view the Android phone’s screen in the web browser on our Mac.
Step 3: Share your screen
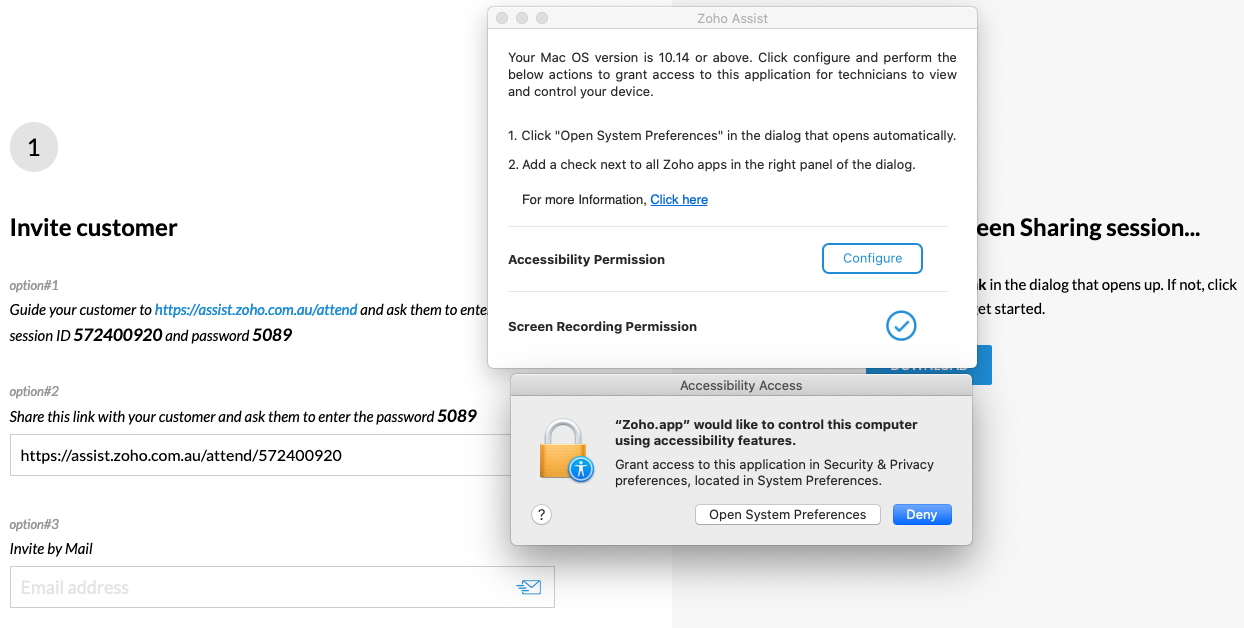
If you want to share your Mac screen with someone else, the process begins in the same way as accessing a remote screen, by clicking the Start Now button and optionally entering the email address of the person with whom you want to share your screen. Again, a new tab will open, but this time you’ll be prompted to install the Zoho Join app on your Mac, which will be used for all screen sharing sessions.
After you install the app, if your Mac is running OSX 10.14 or higher, you’ll need to give Zoho permission to access your computer’s accessibility features. The Join app will prompt you to do this.

First, click on the lock icon in the bottom left of the window so you can make changes, and then in the list of services, scroll until you find the Zoho Assist Join app and tick the checkbox.
Once you’ve enabled the screen-sharing permissions, the session will begin and a little control window will appear in the bottom right corner of your Mac’s screen. This window has options for stopping and restarting the sharing session, initiating a chat, or swapping screens so that you can see the other device’s screen.
Summary
If you choose the Zoho Assist free plan, you’ll only be able to view screens and use the instant chat feature. If you choose one of the paid plans, you’ll be able to transfer files, reboot and reconnect the remote computer, and take screen captures, among other things.
You could use Zoho Assist for accessing your work computer from home if you ever need to complete some work in the evening or on the weekend. Or maybe you were doing some work at home but forgot to transfer something back to your work computer for the next day. Alternatively, technical support teams could use it for troubleshooting IT issues and logging in to remote computers to investigate problems.
A remote desktop solution like Zoho Assist can be used for all these types of situations and, as we’ve discussed, it’s easy to set up and use on a Mac. Read more about Zoho Assist in our guide to the best remote desktop software.
- Read our guide to the best remote desktop software
- Spoof IPs on your Macbook easily with a Mac VPN