How to set up and use RemotePC
Simple, easy-to-use remote desktop software for Windows, Mac, Linux, and mobile
RemotePC is one of the best remote desktop software products available for PCs, Macs, or Linux computers from iDrive, a well-known provider of cloud backup solutions. RemotePC can be used for personal use and by businesses, whether they be sole operators or large enterprises.
With RemotePC you can use a web browser to connect to any computer over a secure session, without the need to install any software on the device you’re connecting from.
In this article, we look at how you set up RemotePC and how it can be used to remotely access your computers and provide support to your customers or your own organization.
- Read our full RemotePC review
How to set up and use RemotePC: preparation
The only thing you need to do to get ready to use RemotePC is to visit the website and create an account.
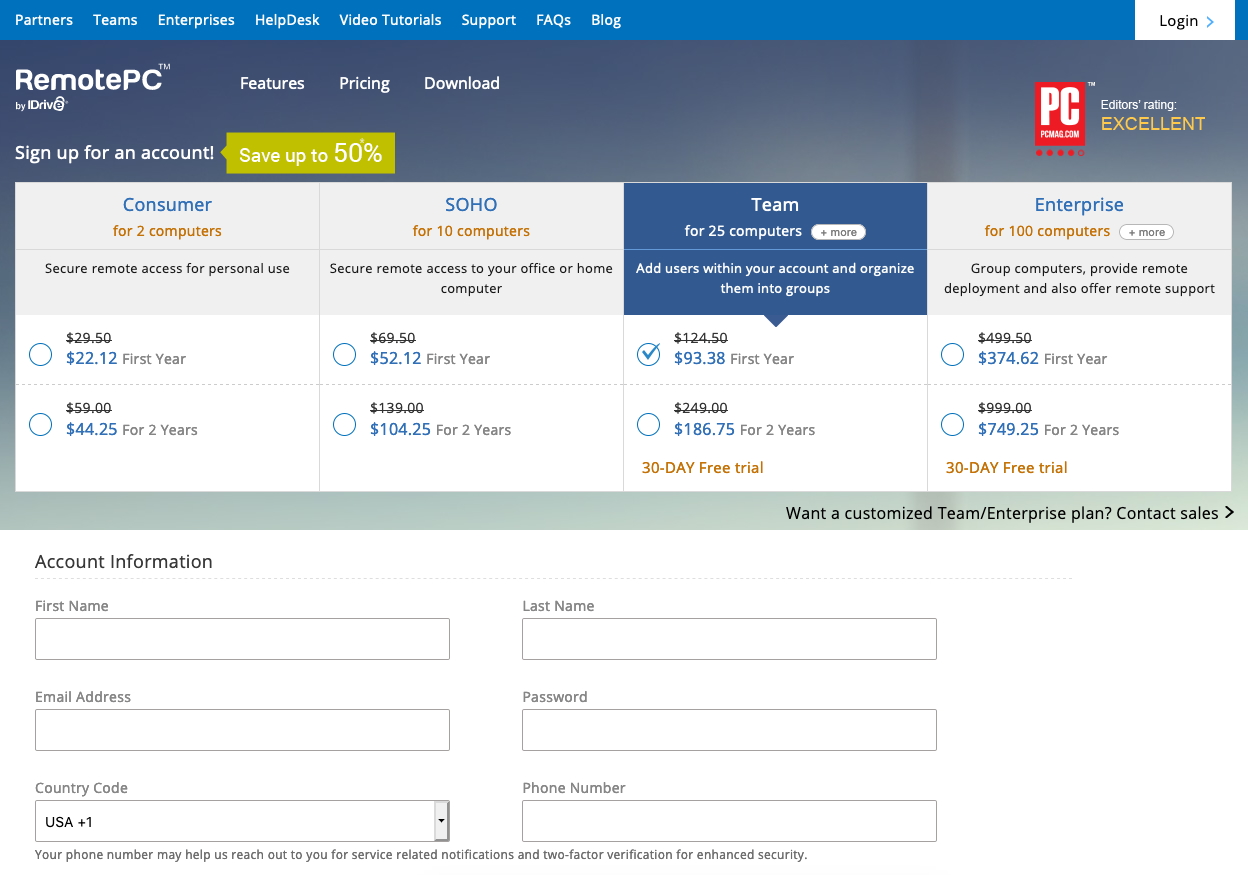
Choose which plan suits you or your organization, and then fill in the form. You’re now ready to begin the setup process.
Step 1: Download the app
While you only need a web browser and no additional software for connecting to a remote computer, that computer will need to have software installed for you to be able to connect to it.
So after you’ve created your account, head to the Downloads page and choose the version of the installer appropriate for your plan and computer.
Are you a pro? Subscribe to our newsletter
Sign up to the TechRadar Pro newsletter to get all the top news, opinion, features and guidance your business needs to succeed!
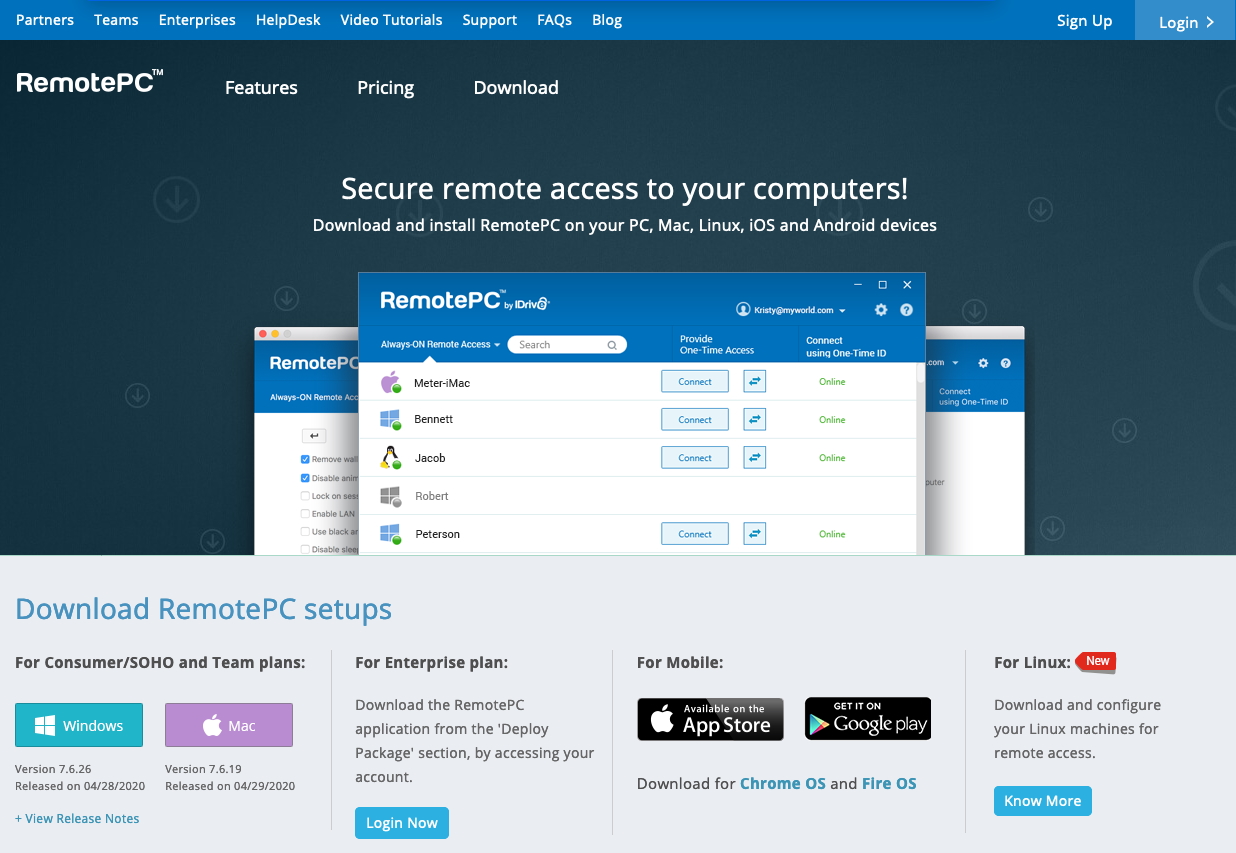
If you’re on the Consumer, SOHO, or Team plans, there are separate installers for Windows and Mac. If you’re on the Enterprise plan, you download the installer after logging in to your account.
Linux users can choose from packages for Debian, which supports Debian or Ubuntu operating systems, or RPM, which supports RHEL, CentOS and Fedora systems.
Mobile users can install apps from either the Apple Store or Google Play Store, or you can choose to install for Chrome OS (which powers your Chromebook) or Fire OS.
Step 2: Install the app
Once you’ve downloaded the app, the next step is to run the installer. If you’re on a Mac, at the end of the installation process, you’ll also be prompted to grant access to the new system extension by visiting the Security & Privacy tab in system preferences.
Once the app is installed, the first time you open it, you’ll be presented with the login screen.
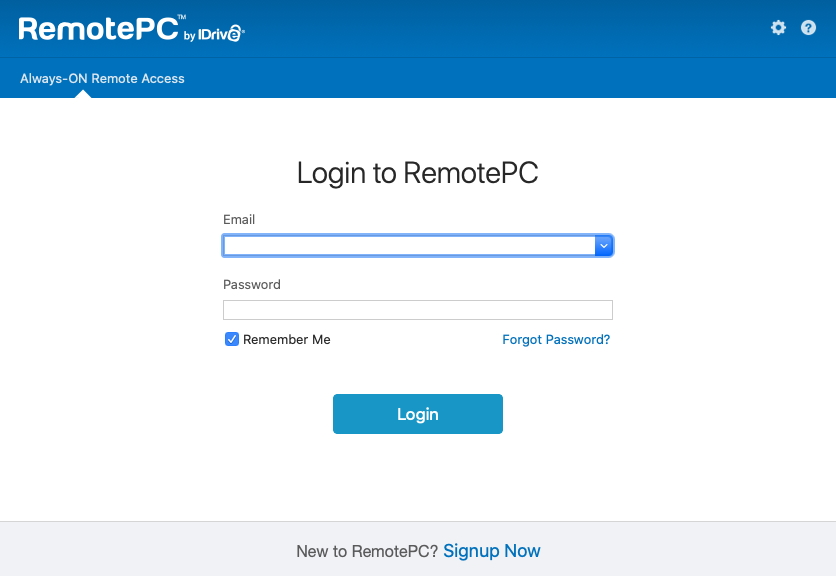
If you haven’t already created an account, you can do so now by clicking on the Signup Now link. After logging in, you’ll be ready to configure your computer for always-on remote access.
Step 3: confgure always-on remote access
On the next screen, give your computer a name. If there are going to be a lot of computers that you connect to with RemotePC, make the names unique and descriptive.
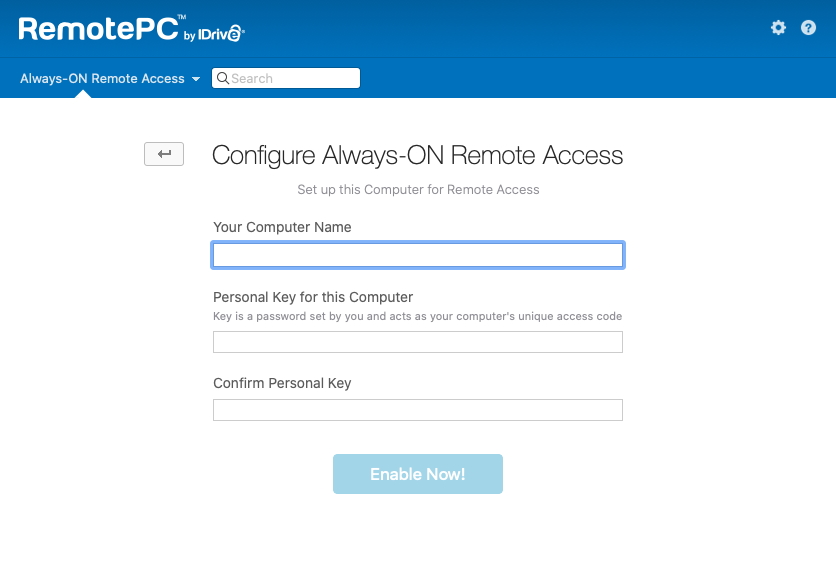
You’ll also set a personal key, or password, to use with RemotePC. When creating an account on the website, the password length limit is 20 characters, but here the key must be between 4 and 15 characters.
You’ll need to keep a record of the key somewhere or possibly store it in a password manager if you use one. The password manager won’t integrate directly with the RemotePC app, but some allow you to store logins that aren’t directly related to web pages.
After you click the Enable Now! button, you’ll be returned to a page showing the computer you just added.
Step 4: Connecting to the remote computer
Once you’ve configured a computer to use with RemotePC, you can return to your web browser where you logged into your account and you’ll be able to see it listed under the Computers tab.
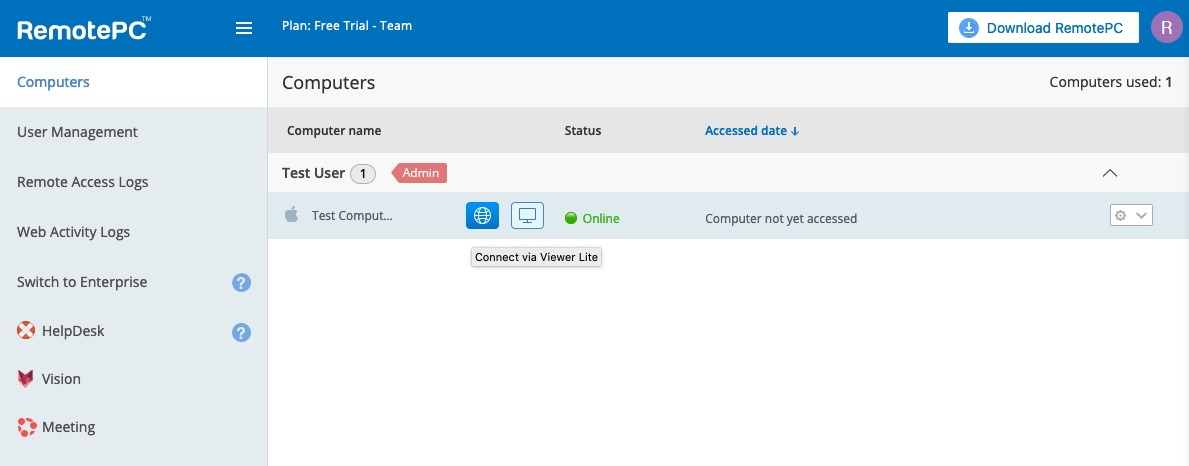
When you hover the Connect button next to the computer name it will change to two different buttons giving you the option of connecting with Viewer Lite or the desktop application.
Choosing Viewer Lite will launch a new browser window that connects to the remote computer.
If you choose to connect via the desktop application, it will first prompt you to download and install the RemotePC launcher for initiating remote sessions. For subsequent connections, you’ll then be able to click the launcher icon to establish connections instead of having to log in to the online dashboard.
How to set up and use RemotePC: Summary
Once you’re connected to the remote computer, you’ll be able to perform all sorts of tasks.
For example, you might use RemotePC for accessing your home computer when you’re at work, copying to it whatever you’ve been working on during the day so that you can keep working on it when you get home.
Or you might be an IT professional who needs to be able to provide support to customers, logging in to their computers to troubleshoot issues. Alternatively, you may work on a large organization’s IT helpdesk, with workstations spread across several locations.
RemotePC can be used in all these different scenarios, and as we’ve discussed in this article, getting set up is straightforward and easy to do.
- Read our guide to the best remote PC software