How to straighten hair so it's sleek and smooth
Get poker straight tresses in seconds

When it comes to styling your hair, whether you want bouncy voluminous locks or a smooth sleek style, there are plenty of hair care appliances on the market to help you tame your tresses into a salon-worthy do. While the best hair dryers can help you achieve voluminous locks, the best hair straighteners will smooth out your hair into a sleek do.
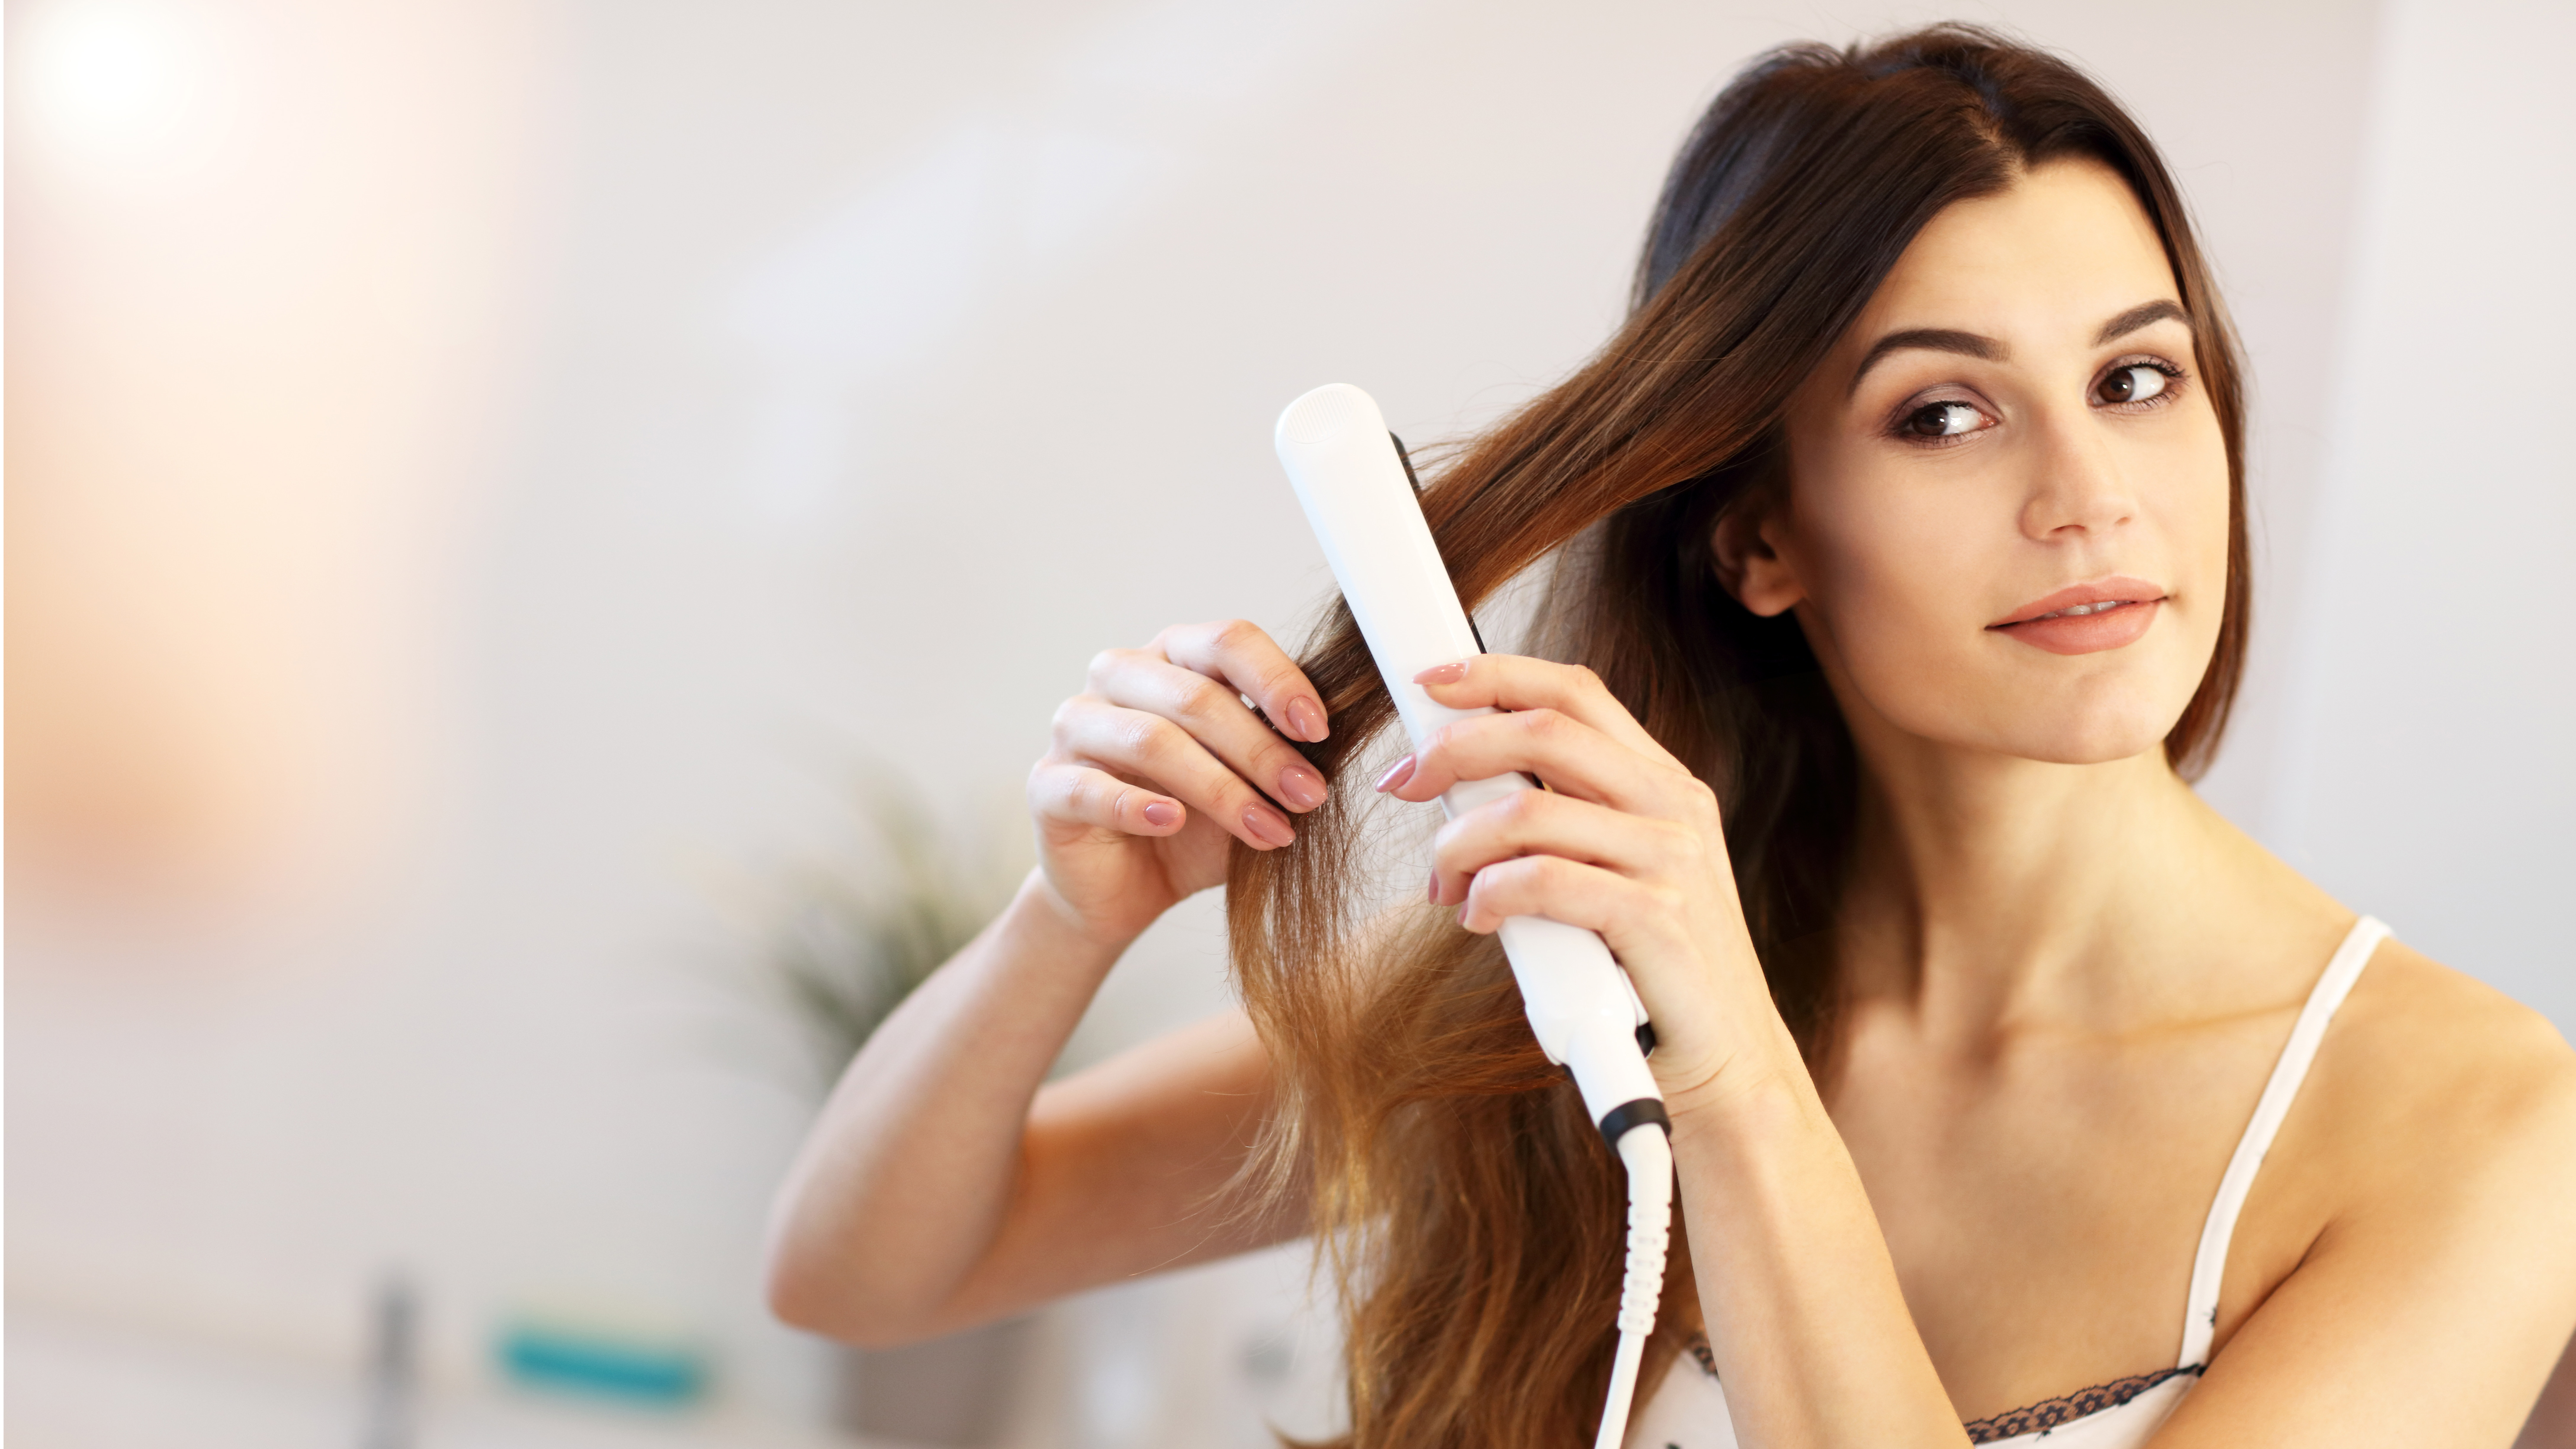
Straightening your hair should be, well, straightforward – you place a section of hair between two hot plates, clamp and glide. Yet the reality is different. Not only do hair straighteners come with a range of heat settings and plate sizes to navigate, but the way you straighten your hair, and the outcome you’re after, depends on the type of hair you have.
With this in mind, we’ve spoken to experts from Revamp Professional, which makes an array of styling appliances, and hair care products brand Hairstory to unlock the secrets of sleek, glossy, and protected hair every time.
Best hair straightener deals
Read on to find out how the experts recommend straightening your hair. Alternatively, check out the prices we've found for some of the best hair straighteners right now.
How to straighten your hair
It helps to prep your hair before any heat styling to minimize damage and create shine. Using a moisturizing shampoo and conditioner will help lock in moisture, and you should avoid products that contain detergent. These strip your hair of its natural protective oils and leave it vulnerable to heat damage.
Once washed, towel dry the hair – gently squeeze, don’t rub – before applying a leave-in conditioner.
1.Dry your hair
Before you even think about switching your straighteners on, make sure your hair is dry. This is because straighteners and wet and damp hair do not mix.
Get daily insight, inspiration and deals in your inbox
Sign up for breaking news, reviews, opinion, top tech deals, and more.
Hair is made up, largely, of proteins called keratins. These proteins are contained within the cuticle. When you wet your hair, the water is absorbed through the outer layer of the cuticle into the cortex and it swells up. This swelling weakens the cuticle, by forming gaps along it, where the water sits, and in turn, creates weaker bonds between the proteins inside. All of this makes wet hair more liable to damage generally, let alone to heat.
That’s not to say you have to create the perfect blow-dry every time. You can remove water from the hair by blasting it with low heat from a hair dryer. However, as Hairstory’s Resident Hairdresser Wes Sharpton tells TechRadar, “the smoother you’re able to get the hair during the blow-drying process, the less smoothing (and heat) will be required by your irons. This will ensure your hair is kept healthier over time.”
2. Apply heat protection
The next step is to apply a heat protector.
"Heat protection products form a coating on the hair fibers which helps to minimize the damage caused by extreme heat and styling," explains Sharpton.
"This is vital when you consider that some heat tools reach 450 degrees F (230 C)"
These come as creams, oils, and sprays and they all promise the same thing – to protect the hair from excess heat, which in turn minimizes the damage caused.
The majority are applied after blow-drying and before straightening, and Koniak advises that, while it is possible to cover the entirety of your hair with protection before you start styling, it’s best to apply it to each section individually as you go.
“You should use a heat protectant from a distance, preferably in a mist form, so that it does not dampen the hair,” he continues, as this is similar to straightening your hair when wet and can cause damage.
Alternatively, there are some products, such as Hairstory’s Dressed Up, that can be applied before you blow-dry your hair, yet will still offer heat protection when it comes to styling. If you’re using a heavier product like a cream or oil, only apply from the mid-length to the ends, not the roots, to avoid it weighing down the hair or making your freshly washed hair look greasy.

3. Choose a heat setting
Once the hair is dry and protected, set your straighteners to the most appropriate hair setting for your hair type.
GHD famously doesn’t offer adjustable heat controls on its stylers and instead sets all of them to 365 F / 185 C. This, it claims, is the optimal temperature for hair styling because it's when hair is most flexible. At this temperature, hair can be styled without exposing it to too much heat for too long, thereby reducing damage and breakage.
If you use straighteners with a range of heat options, however, you will need to make a choice.
"Generally speaking, the thicker the hair, the stronger the hair, which means it can handle more heat," continues Sharpton.
If you have fine hair, you can get away with using your hair straightener on a lower heat setting. If you have thicker hair, you’ll likely need to use the maximum heat setting available.
Curly hair tends to be drier than straighter hair types and this can make it more susceptible to damage. This should require a lower heat setting, yet curly and natural hair can also be thicker. As a result, you may need to experiment. “If you have thicker, more resilient hair then higher heat settings are OK but try a lower setting first to see if you still get the smooth finish you want. If so, there’s really no need to increase the heat,” explains Sharpton.
For people with curly and afro hair, the heat setting will also depend on the 'movement' of your locks. “If you have very tight and curly hair it is best to use a hair dryer to create a smooth blow-dry before going through the hair with a hair straightener,” says Joseph Koniak, Global Brand Ambassador and Creative Director at Revamp Professional.
The exception to all of these rules is if you have damaged, or color-treated hair. In these instances, Sharpton says you should always keep your tools on a low-medium setting to make sure your hair doesn’t become further damaged and broken.
4.Divide into sections and straighten
"When straightening your hair, the goal is to smoothen the hair cuticle," says Koniak.
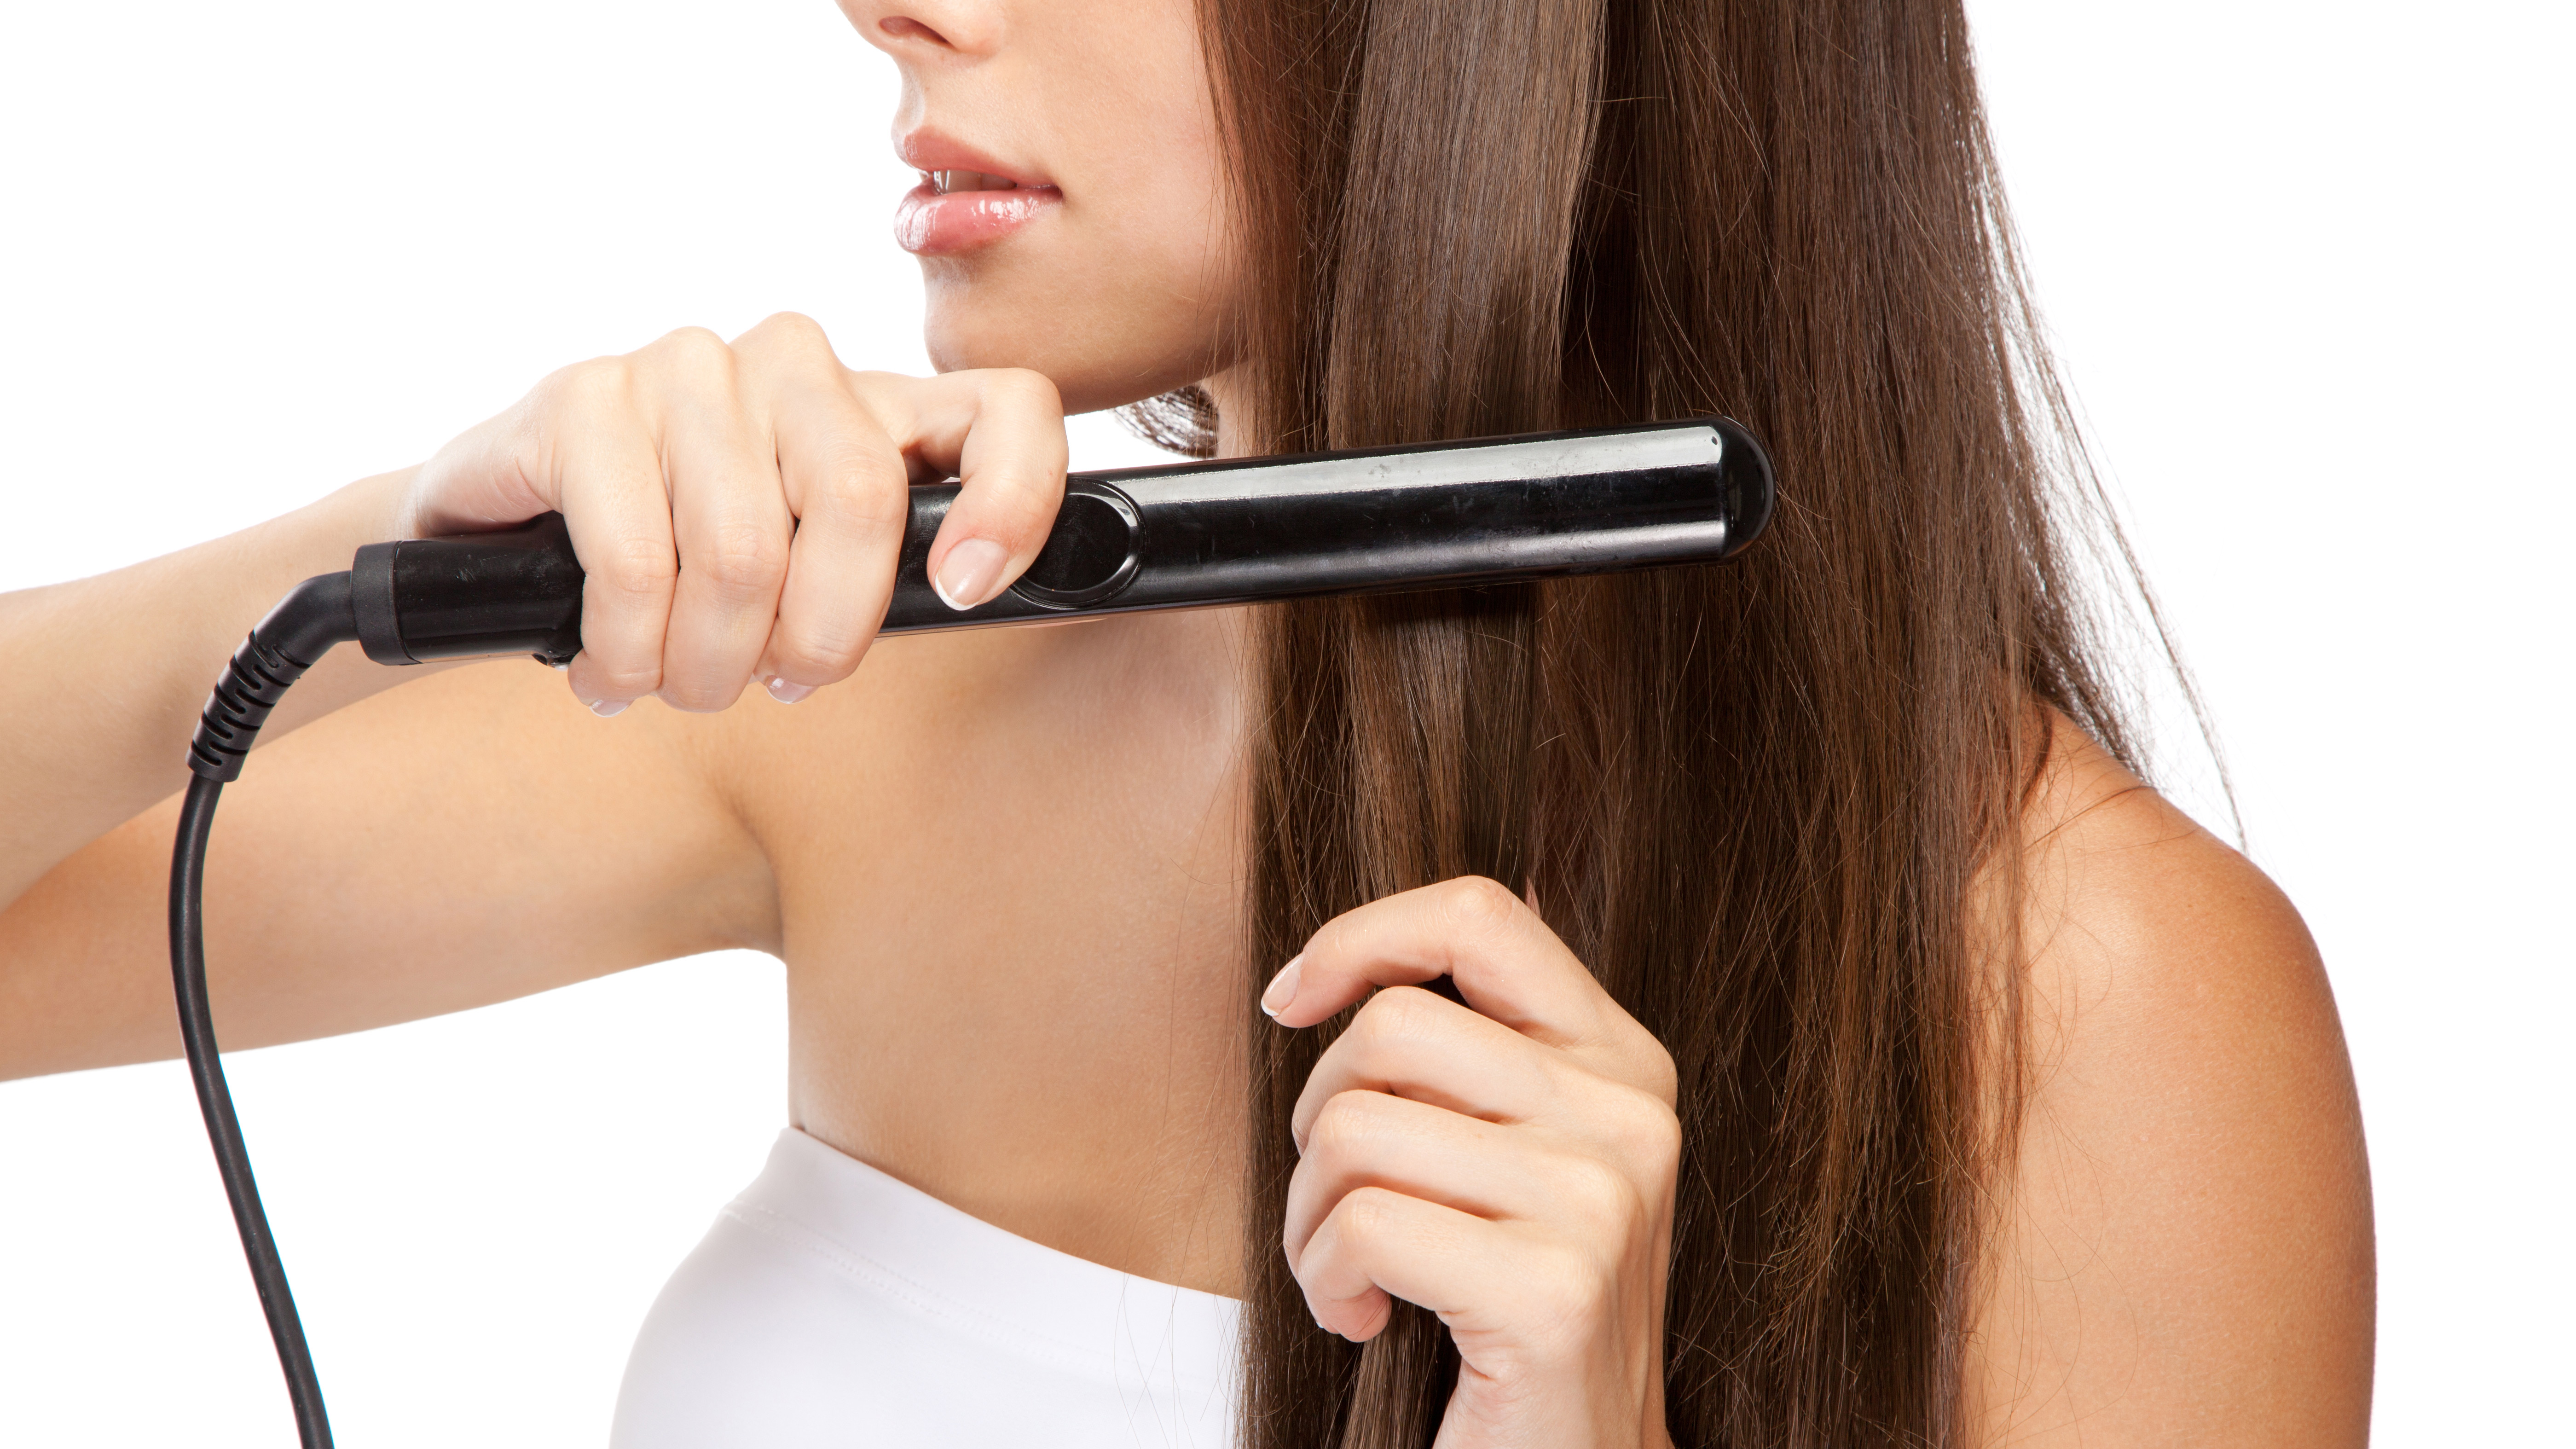
"Focus on getting the tension correct and then take the hair straightener gently and slowly from the root to the tips of the hair. By going through the hair slowly, it should be straightened with one to two passes, rather than going through a section of hair multiple times."
Dividing your hair into smaller, more manageable strips, through the use of sectioning clips, takes a little longer but the finish will be smoother and the overall result will be better.
Sharpton also suggests starting from the back and working up your head to "create a road map". This way you’ll be able to see which sections you have smoothed, without going over them multiple times and causing damage.

5. Brush and finish
Brushing your hair doesn’t just remove knots, it can help further smooth the cuticle and adds to the overall sleek finish.
If after brushing you’ve still got flyaway hair, or your ends look a little dry, apply a pea-sized amount of serum or a lightweight oil to the mid-lengths and ends.
Straightening your hair makes it look sleek and smooth, but this can also make it leave it a little flat. Especially if you have thin and fine hair.
To avoid this, Koniak suggests starting approximately midway through the hair. You can also use a hair straightener to create volume from the root by rotating the tool 90 degrees and lifting the hair section upwards when straightening through the hair.
You can also buy thickeners and texturizers that are applied before you blow-dry the hair. According to hairdresser Michael Van Clarke, "texturizing products build volume and grip into the hair shaft so it occupies more space and is more workable. This alone can double the appearance of hair."
- You also might want to check out our Dyson Airwrap review.

Victoria Woollaston-Webber is a freelance journalist, editor, and founder of science-led health, beauty, and grooming sites, mamabella and MBman. She has more than a decade of experience in both online and print journalism, having written about tech and gadgets since day one for national papers, magazines, and global brands. Victoria specializes in beauty gadgets, as well as small appliances including vacuum cleaners, air fryers, blenders, and mixers, plus all things baby and toddler. When she’s not testing the latest must-have beauty product, she loves Lego Architecture, murder mysteries, and chasing after her four-year-old.