With the torrent server installed, it's time to put it to work
1. Log in to the server
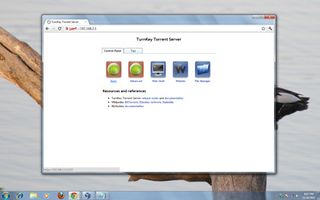
Head to the Torrent server by entering its IP address in a web browser from any computer on the same network as the server. This will bring up the Control Panel. Click on the 'Basic' icon and login using the user 'admin' and password that you specified during setup.
2. Connect to the torrent server
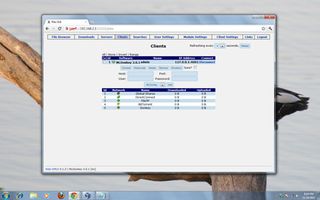
Now you are in the simpler of the two interfaces for the MLDonkey file sharing app. The first thing you have to do is to connect to your MLDonkey instance. For that head to the 'Clients' tab and click on the 'Connect' button next to the server running on 127.0.0.1:4001.
3. Client settings

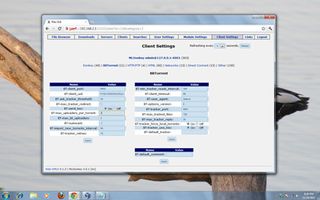
To configure MLDonkey's BitTorrent settings, head to the 'Client settings' tab and then click the 'BitTorrent' link. From here you can alter settings such as the default tracker (which is useful when creating torrents), the number of peers to request from a tracker and lots more.
Get daily insight, inspiration and deals in your inbox
Sign up for breaking news, reviews, opinion, top tech deals, and more.
4. Download torrent
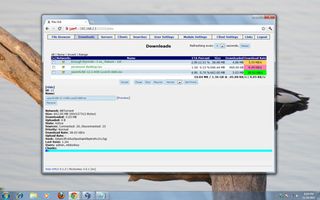
Once you've connected with the server, browse to your favourite torrent website and copy the link to the .torrent file you wish to download. In the basic interface, click the 'Links' tab, paste the URL in the text box and click the 'Load link' button to load the torrent.
5. Control the download
Torrents that are in the process of being downloaded are listed under the 'Download' tab, along with various pieces of information such as total size, download progress and ETA. You also have buttons to pause and resume each torrent, and set their individual priority.
6. Download completed files
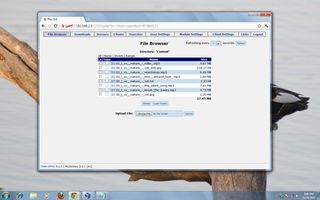
Once a torrent has been downloaded, it's scanned by the inbuilt ClamAV antivirus scanner (which updates its antivirus signatures automatically). After being cleared, the files are placed under /var/lib/mldonkey/incoming, from where you can download them to any machine.
Current page: Set up a torrent server: downloading torrents
Prev Page Set up a torrent server: install
