Set your privacy
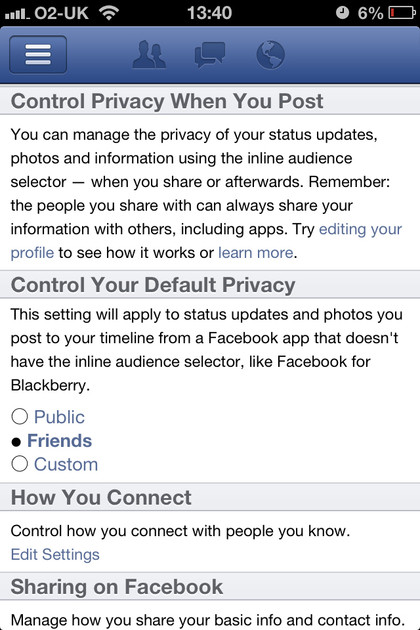
Bring up the sidebar and select 'Privacy and terms' to tweak the visibility of your profile. Start by setting your default privacy level; we'd recommend using 'Friends' so your posts are only visible to those with whom you've exchanged friend requests. You could choose 'Custom' and share your posts with friends of friends - it might be a good way for potential friends to identify you - but there's rarely any reason to choose 'Public'.
Now tap 'Edit settings' under 'How you connect' to determine how you can be found. Friends of friends is a good level, but leaving friend requests public is fine - you don't have to accept them all. The Sharing page lets you control what personal information goes where. The Timeline and Tagging section includes a useful setting that lets you review items you're tagged in before they appear on your timeline. We recommend switching this on to avoid potential embarrassment.
Set your security
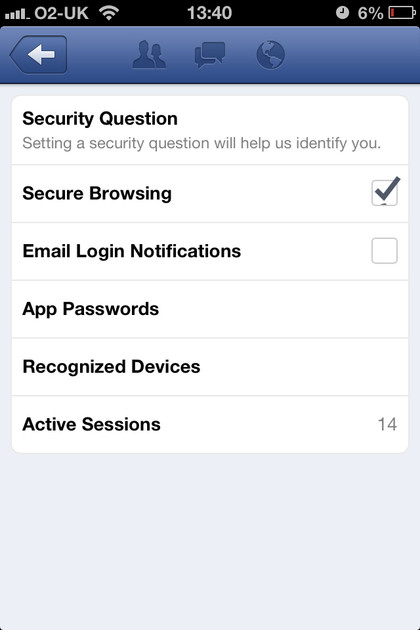
Protecting your account is important. It's not just a case of controlling who can see what; it's also essential that you can get back in if you need to. Go to 'Account settings' from the sidebar, choose 'Security settings', and set a security question so you can log in again if you forget your password.
Be careful, though - easily discovered answers (first pet, mother's maiden name) could leave your account less secure than before. Secure browsing ensures that Facebook traffic is sent over https rather than straight http, adding an extra layer of security, and you can switch on email notifications to alert you if someone else logs in as you.
Get texts
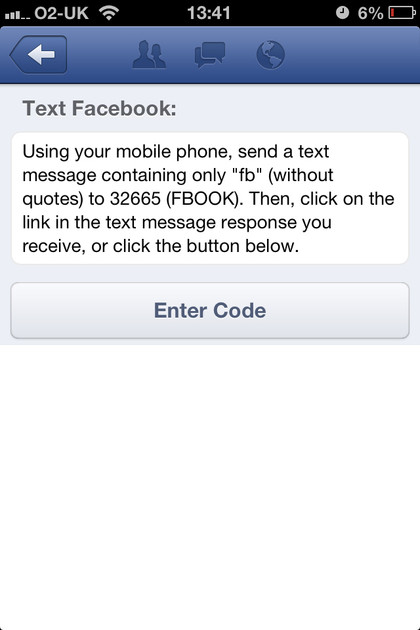
Sometimes you'll stray out of the reach of mobile data, but if you still have a phone signal and have set your SMS-capable device to use text messaging, you'll be able to receive notifications of messages and mentions. You can also update your status by sending a text message to a specific number.
It's not the ideal way to use Facebook, but it's great in a pinch. It gets around restrictive mobile data allowances, too.
Manage friends lists
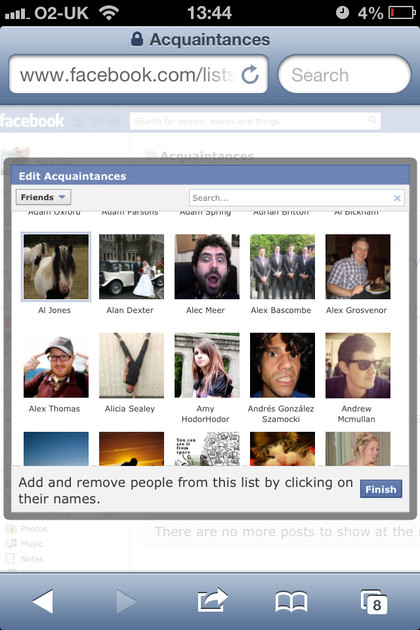
When you post a status update, you can choose who sees it. This includes selections for acquaintances, close friends and family. You can see the same lists within the Friends section of the sidebar, but you can't assign someone to one of these lists without signing in to the full web-based version of Facebook.
Get daily insight, inspiration and deals in your inbox
Sign up for breaking news, reviews, opinion, top tech deals, and more.
You can do this by logging in to Facebook using Safari; if you're directed to the mobile version by default, just search for the link on the left to bring up the desktop version. Find the list you want to tweak in the sidebar on the left - you might need to select 'More' to see it.
Tap it to open it, choose 'Manage list' at the top right, and then tap 'Edit list' to add people to each category. Then, when you're making status updates within the standard iOS app, just tap the bottom right icon and select the list you want to post to.
Get more Facebook features with Other apps
Facebook Messenger
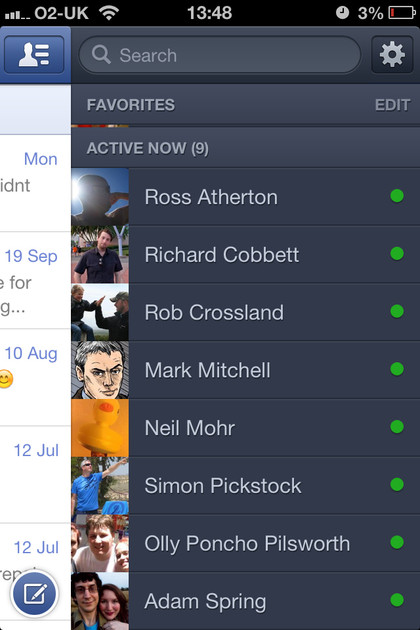
The desktop version of Facebook rather enthusiastically pushes its chat feature, which is actually quite useful to exchange a quick message or two between you and your online buddies. On iOS, there's a dedicated Facebook Messenger app. It's inoffensive. It does what you'd think it would do. If you're a big fan of Facebook's desktop chat, it's the perfect way to stay connected to that network.
We'd probably go for a more exclusive chat client, though; some friends, particularly obscure vague ones, love to start Facebook conversations at the most inopportune times.
Facebook Pages Manager

Do you look after a page on Facebook for a product or company? If so, you need Pages Manager. It's the main thing that Facebook left out of the stock iOS app.