WARNING! Don't try anything you read here outside of your local network. Scanning and exploring distant ports or other people's networks is legally questionable, and could land you in very hot water. DON'T DO IT.
In part one of Network scanning secrets revealed we showed how attackers scan and snoop on your network.
Here in part two we're going to show you just how powerful a professional vulnerability scanner can be by installing and running Nessus. This world-leading app from Tenable Network Security has been designed to test and probe anything from a single host to a complete network for a variety of vulnerabilities that may be exploitable by hackers.
As an application, Nessus consists of two parts. The server part runs in the background and carries out scanning activities, while the client portion provides a user-friendly interface. The server contains a large number of plug-ins to handle the various families of vulnerability types. If you register Nessus as a home user, it'll download new ones as they become available.
How to scan your system for vulnerabilities
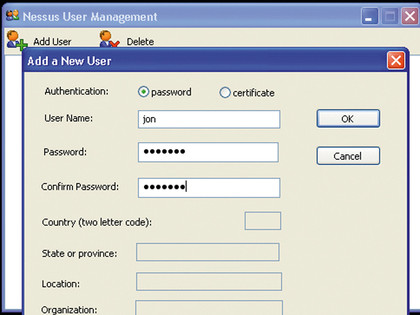
Before running the Nessus client and connecting to the server, we need to create a user to log in with. Navigate to the Nessus program group and select 'User Management'. In the resulting window, click 'Add User', make sure that the Password radio button is selected and then enter a username and password. Close the window to kill it.

USER CREATION: Before starting the attack you will need to create an account
Sign up for breaking news, reviews, opinion, top tech deals, and more.
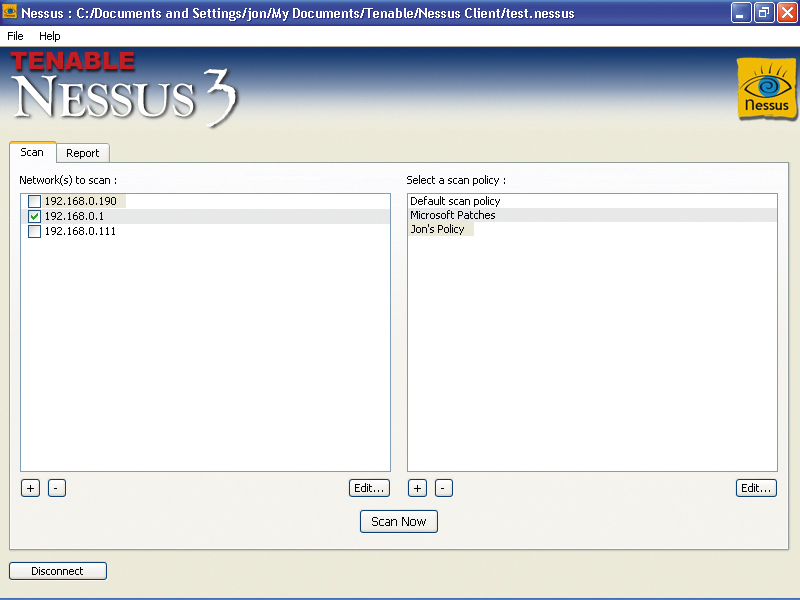
Now, start the Nessus client. Under the list of networks to scan, press the plus ('+') button. In the subsequent dialogue box, leave the scan type on single host and enter the IP address of the machine on the local network that you want to scan (192.169.0.190, for example). Click on 'Save' and the host will appear in the list.
Now press 'Connect' and a list of Nessus servers will appear. This will usually only list the server on the local host, so select it and press 'Edit'. In the resulting window, enter the username and password you created and press 'Save'.
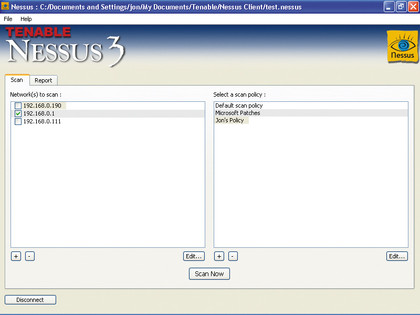
Now press 'Connect' and you should connect to the server. After a moment or two, the scan policies in the right-hand pane of the main interface will become active. To mount your first attack, make sure that the host's tickbox is selected, select 'Default scan policy' in the right-hand pane and hit 'Scan now'. The Nessus client will now send its orders to its server, and after a few moments, network traffic will begin to flow as the attack begins.

SCANNING: After choosing your scan policy, click Scan Now to launch Nessus proper
The Report tab allows you to see its progress. Expand the tree under the IP address of the target machine and click on the subsections to follow Nessus as it walks through its battery of tests. Tests that have found medium security threats turn their part of the tree orange, while those that reveal high priority threats are coloured red.
- 1
- 2
Current page: How to scan your system for vulnerabilities
Next Page How to interpret your vulnerability scan results