Land grabs: 26 essential landscape photography tips you need to know
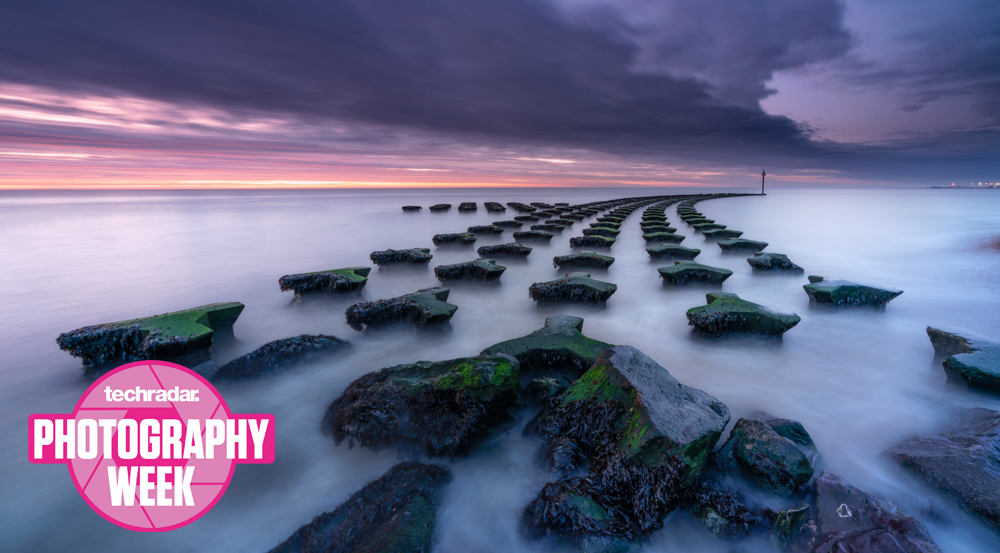
The wind in your hair, a camera slung over your shoulder and a great location in mind: nothing beats getting out into the great outdoors to shoot landscape photography.
With the right conditions to hand, a successful outdoors shoot can be an exhilarating experience. But when time is of the essence, you need to learn how to work quickly and methodically to guarantee great shots on every outing.
It doesn’t matter where you live: you’re rarely ever far from a great location or two. And even if you have to travel, it’s all part of the adventure. Whether you’re shooting at home or abroad, location research has never been easier and the planet certainly feels like a smaller place, with even far-flung destinations feeling within reach.
The great thing about landscape photography technique is that it doesn’t matter when or where you’re shooting: all of the tricks and techniques are the same. Perfect your technique and you’ll be ready to take on the world and enjoy the landscape more than ever before.
When David Hockney said, “Enjoyment of the landscape is a thrill,” he hit the rusty, weathered nail on the head. By the time you’ve digested these landscape photography tips, the only thing you’ll have to worry about is the weather…
Getting started
1. Plan like a pro
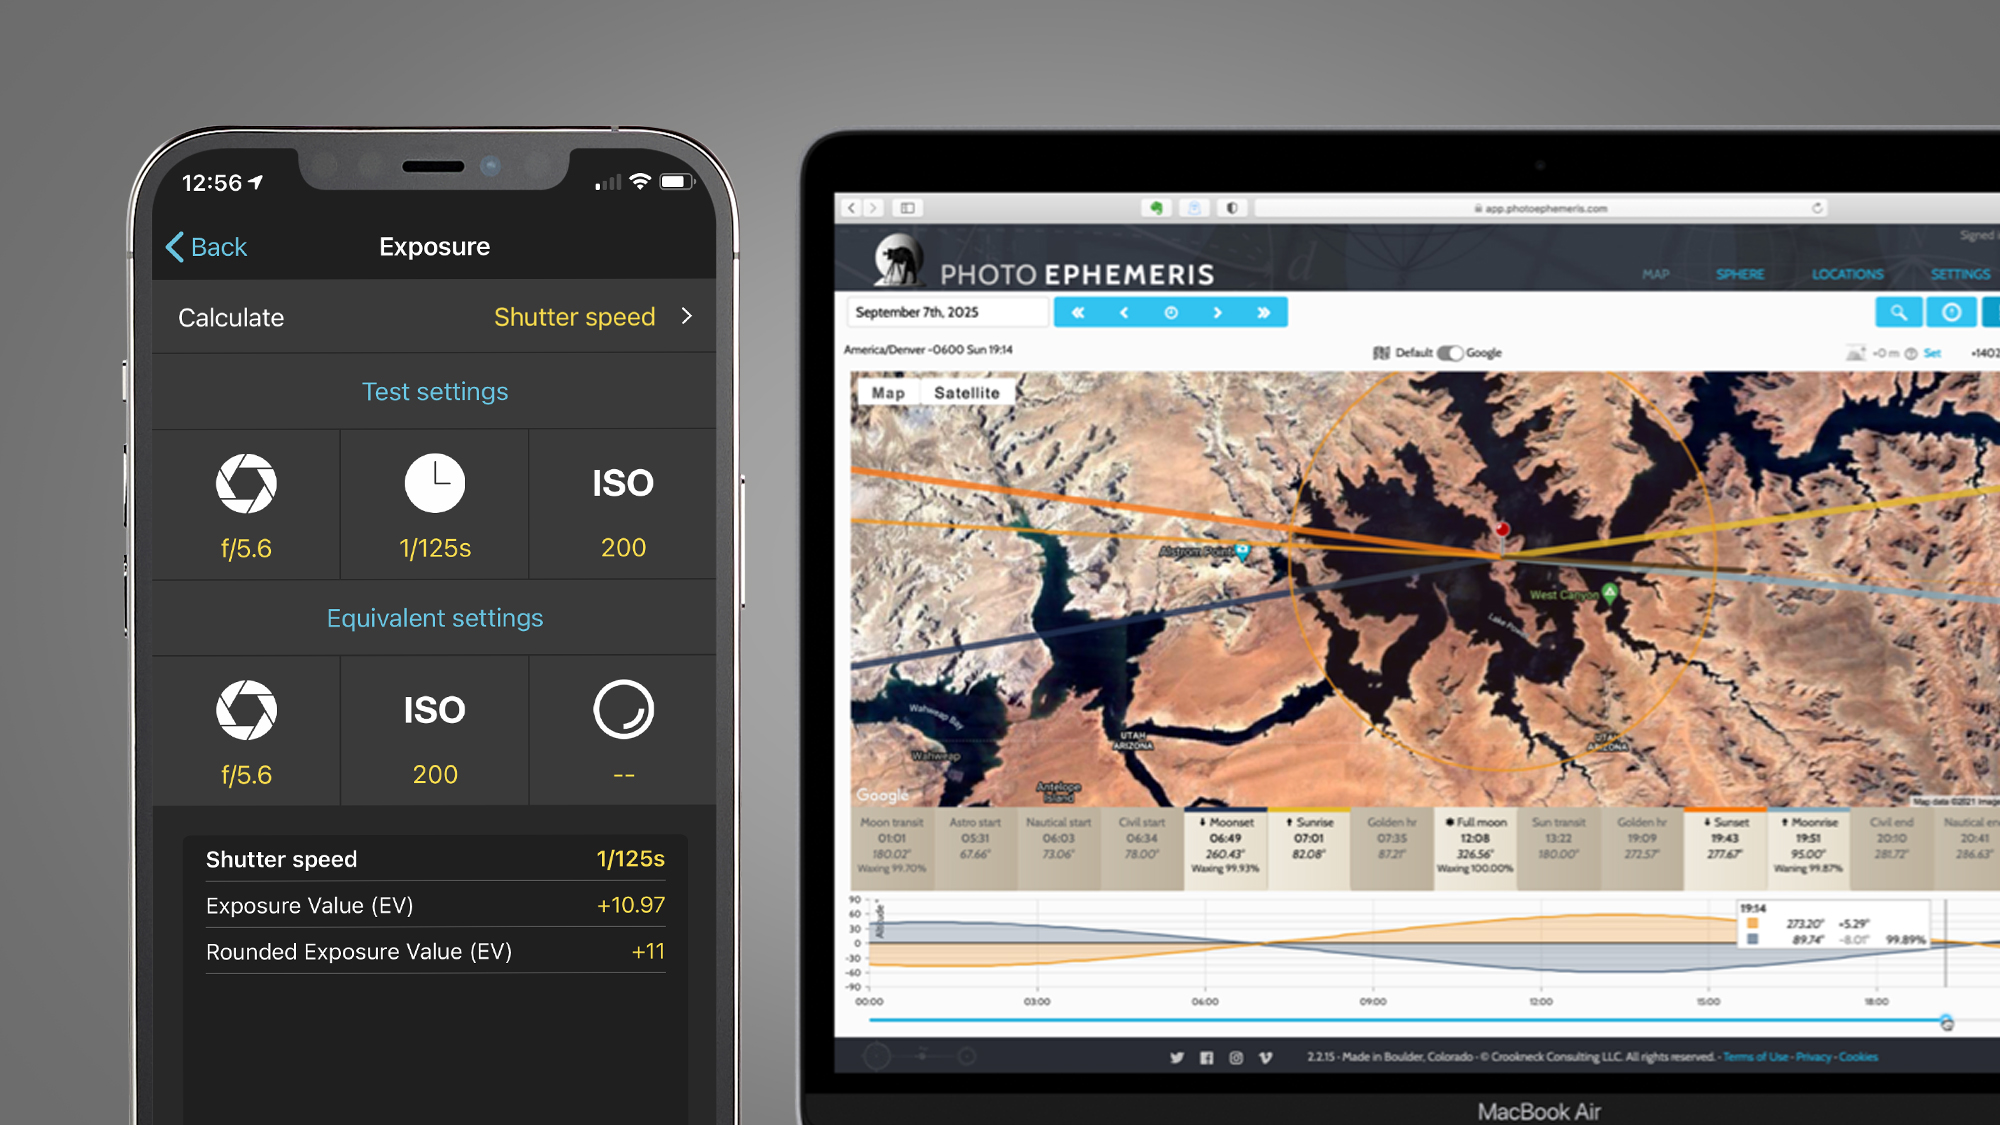
Checking the weather before you head out is a given – but how about finding out exactly what time sunrise or sunset will take place at your chosen location, or exactly which direction the sun will rise or fall in relation to your desired shooting position? The good news is that you can do all this and more with super-helpful tools like Photopills and The Photographer’s Ephemeris.
Both of these apps cost the same ($9.99 / £8.99) will show you all the info you need when planning a landscape shoot. The web/browser-based version of The Photographer's Ephemeris is free to use, but the smartphone app is an excellent ally to have when out on a shoot.
Sign up for breaking news, reviews, opinion, top tech deals, and more.
2. Use a wide-angle lens
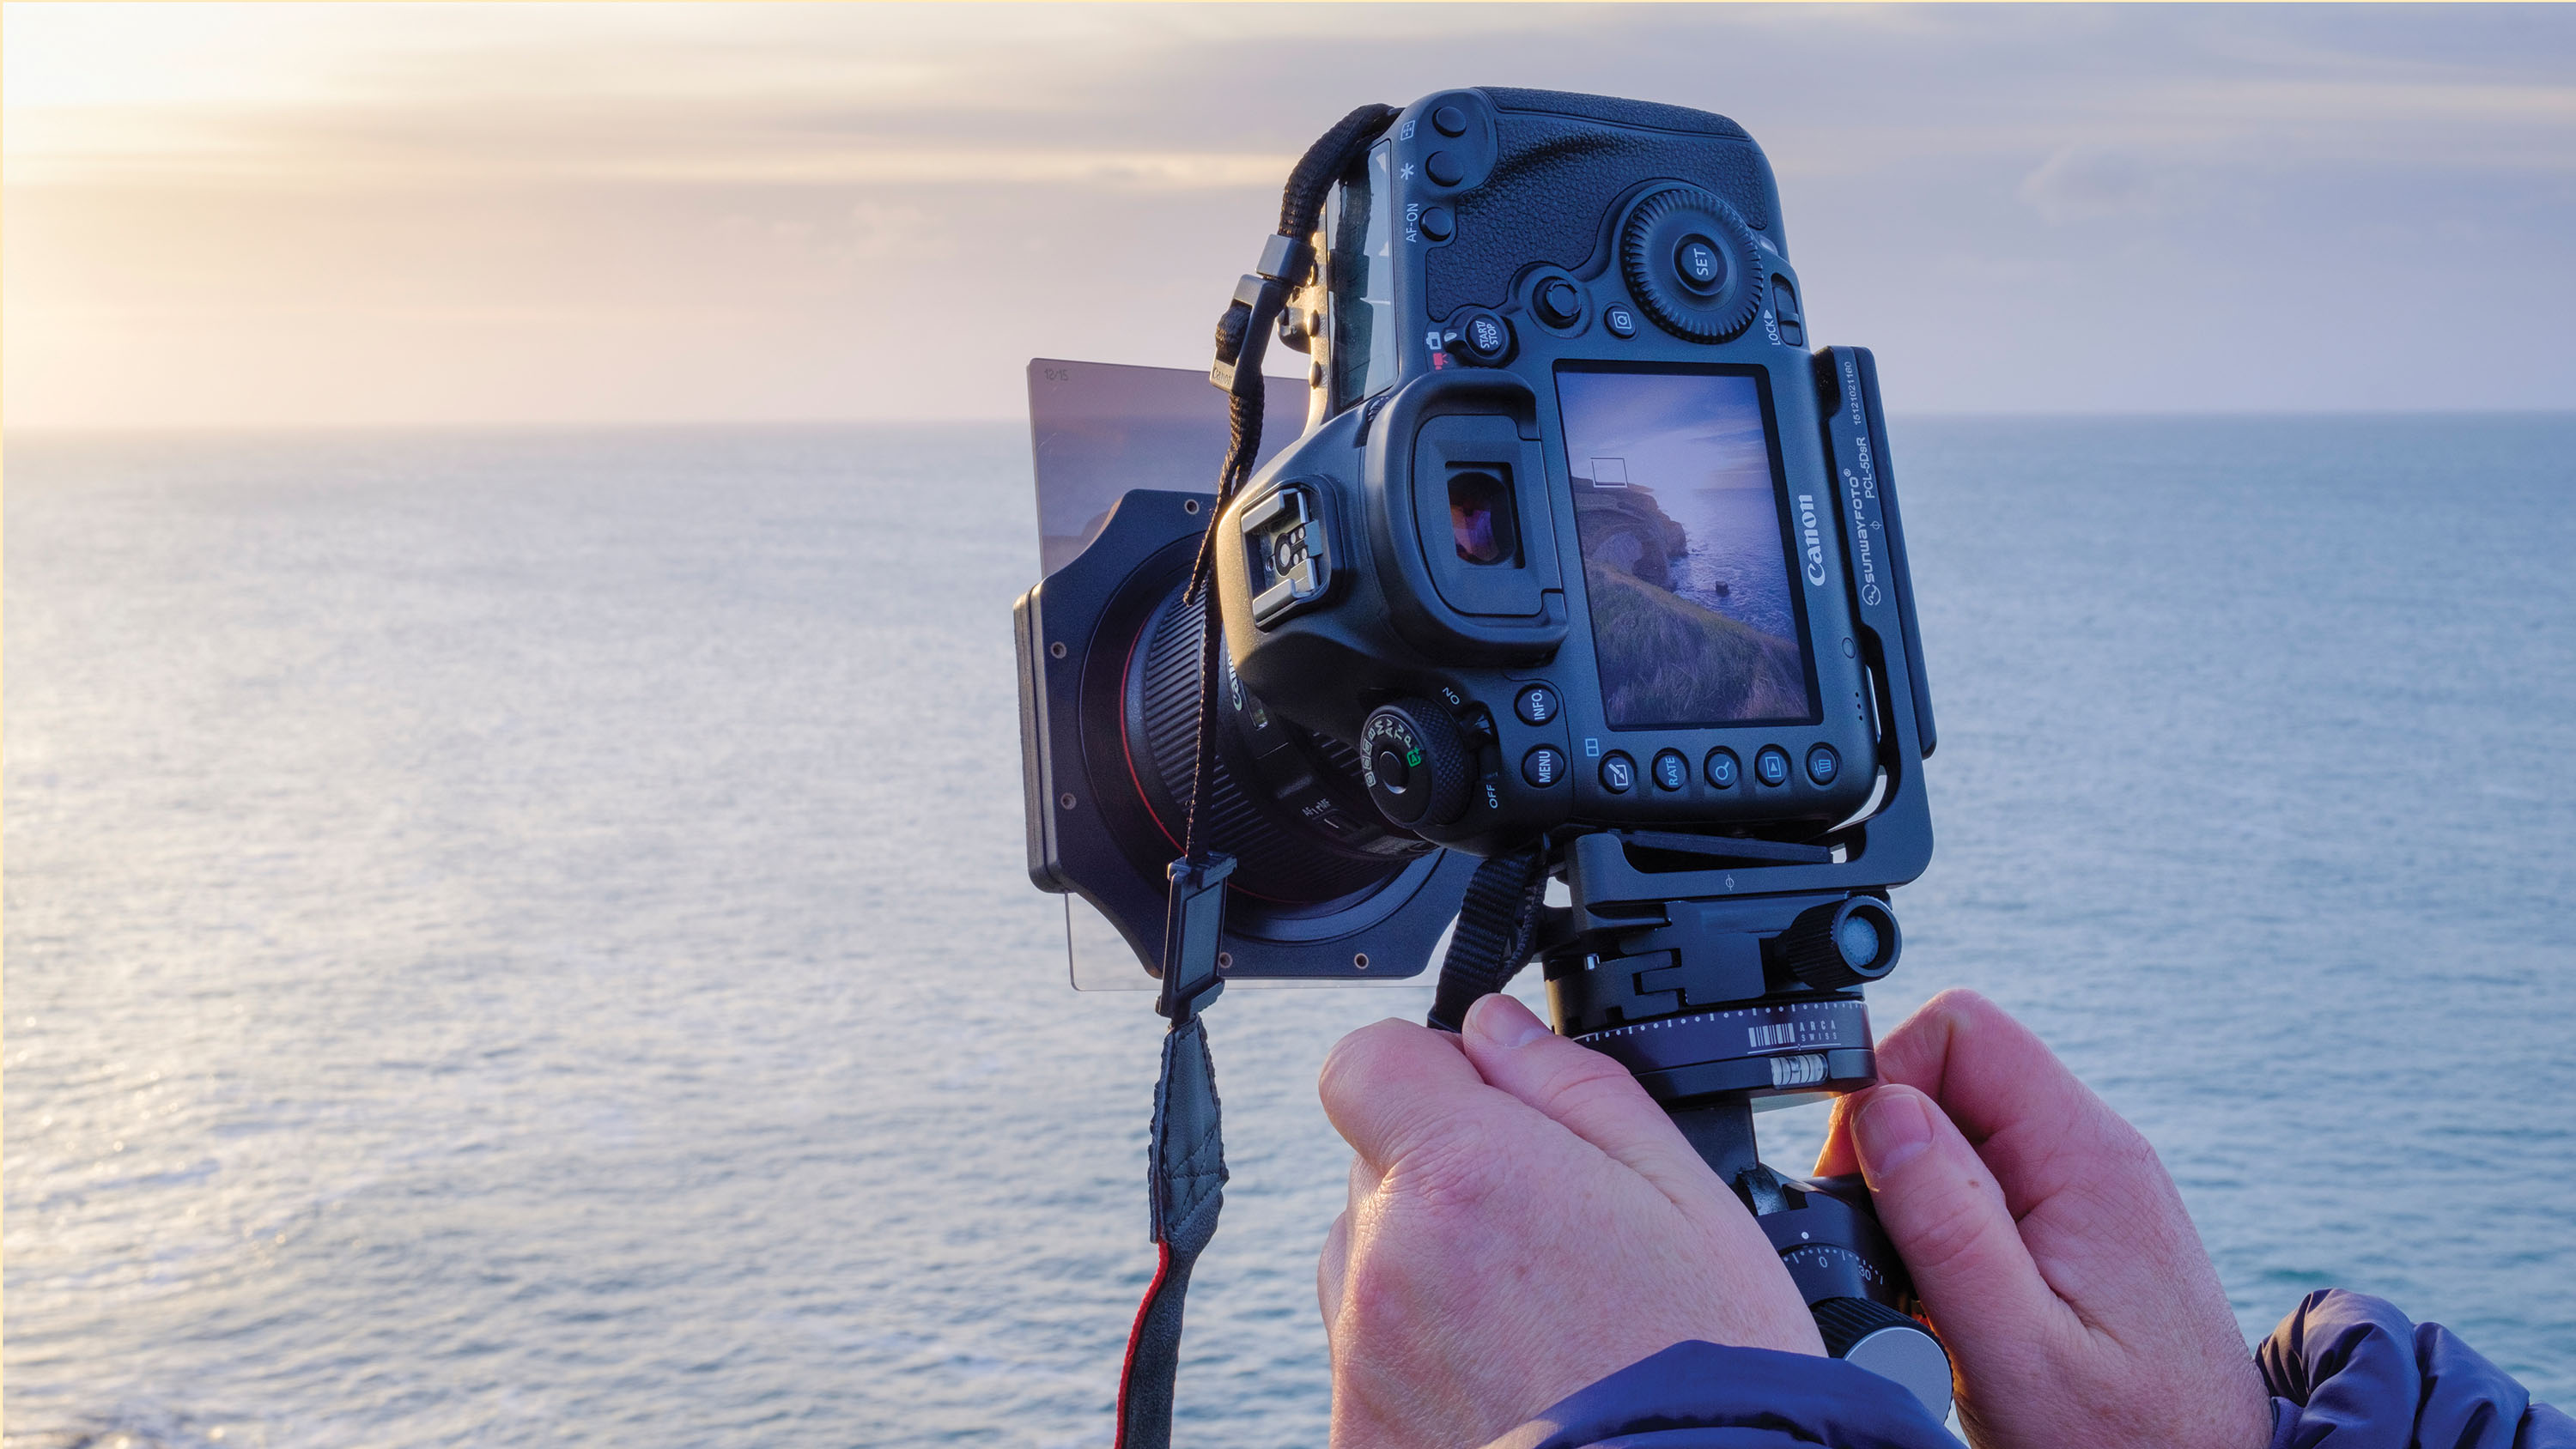
Landscape photography is a subject where you can use a huge range of lenses, from the classic wide-angles all the way up to telephotos. While the location and subject will always dictate the best focal length and technique to use, every landscape photographer certainly needs an ultra-wide-angle lens in their kit bag.
For an APS-C camera, consider a lens with a focal range of 10-20mm; for full-frame cameras, roughly 15-30mm will provide a dramatic, wide field of view. Don’t leave home without one!
3. Pack with care
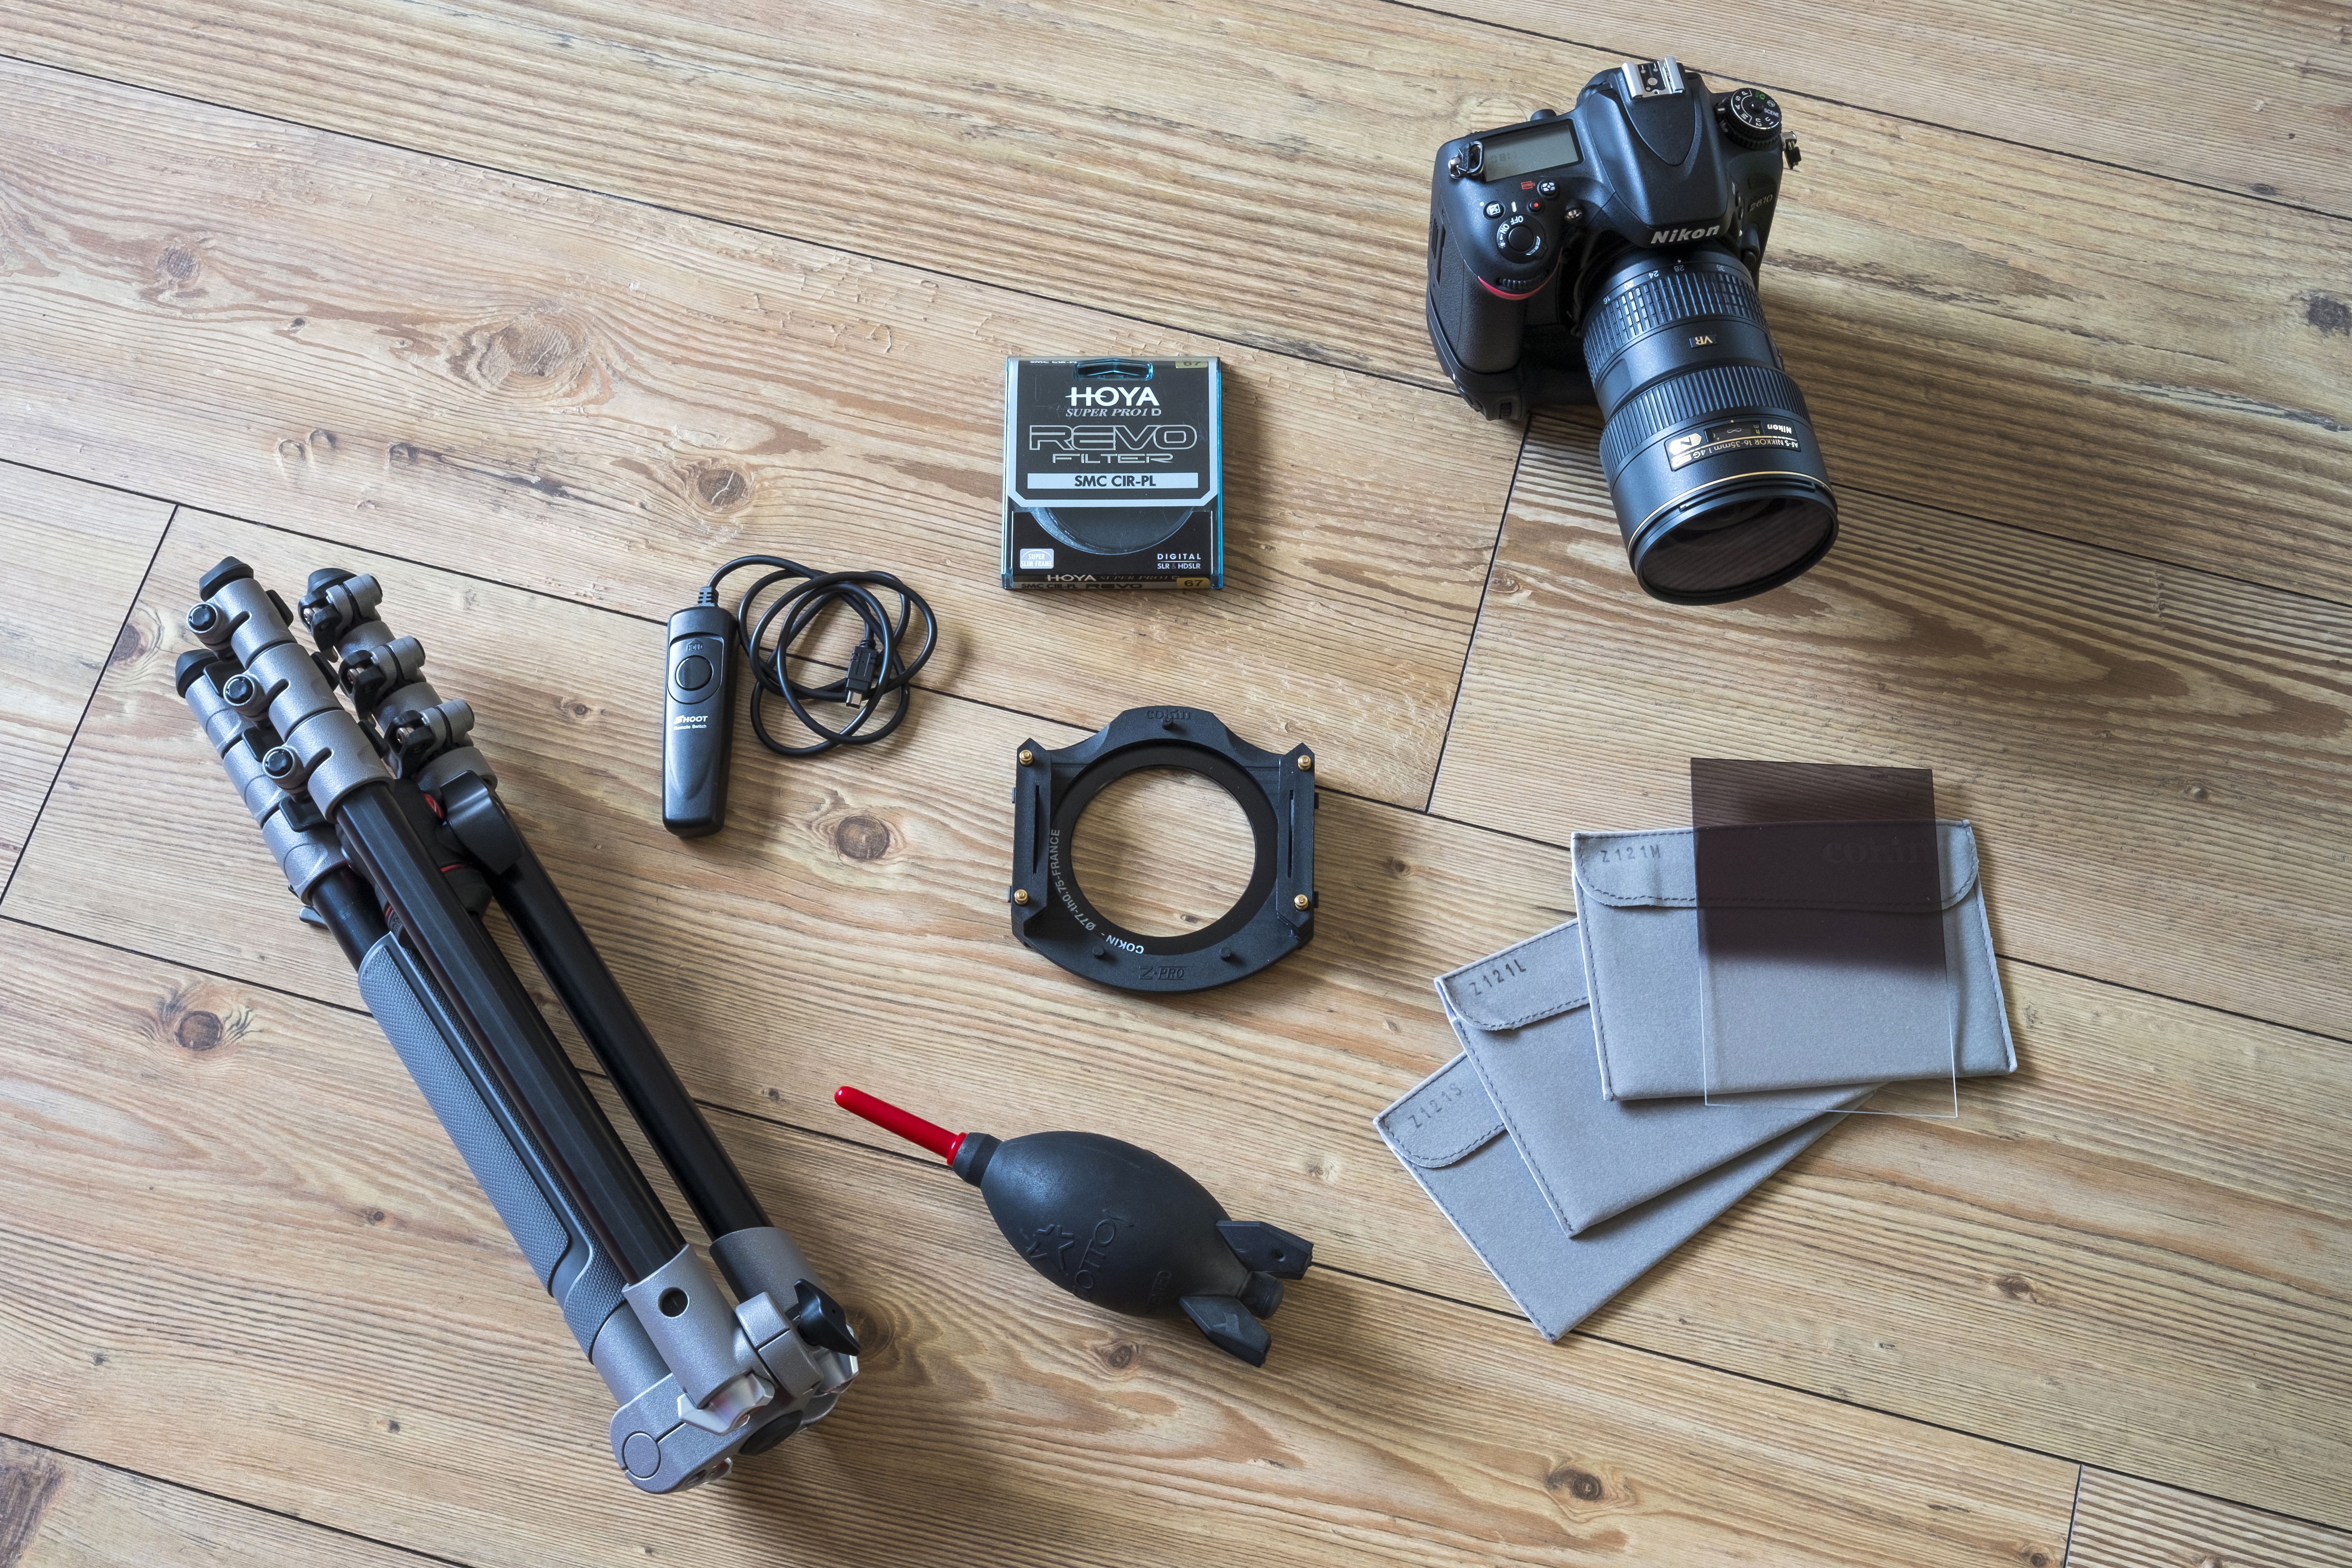
With the prospect of walking several miles to get to a location, it’s imperative that you only pack what you’ll need. Anything could happen, but if you know you’ll only need one or two lenses, only pack these. Don’t forget your filters, spare batteries, lens-cleaning accessories and, of course, clothing to suit all the possible weather conditions for the time of year.
4. Revisit locations
When you shoot an amazing landscape location and the planets align to give you the best conditions possible, it can feel like you’ve won the lottery and that you never need to visit that particular place again. But you should definitely revisit that location, possibly even multiple times in different seasons, weather conditions and at different times of the day.
This is the perfect way to develop an intimate knowledge of a place while also capturing it in as many ways as possible. Don’t forget to also try multiple viewpoints, different focal lengths and techniques to see what works best. The two shots of the same tree below show the variations you can find in the same scene.
Shooting tips
5. Set up your camera
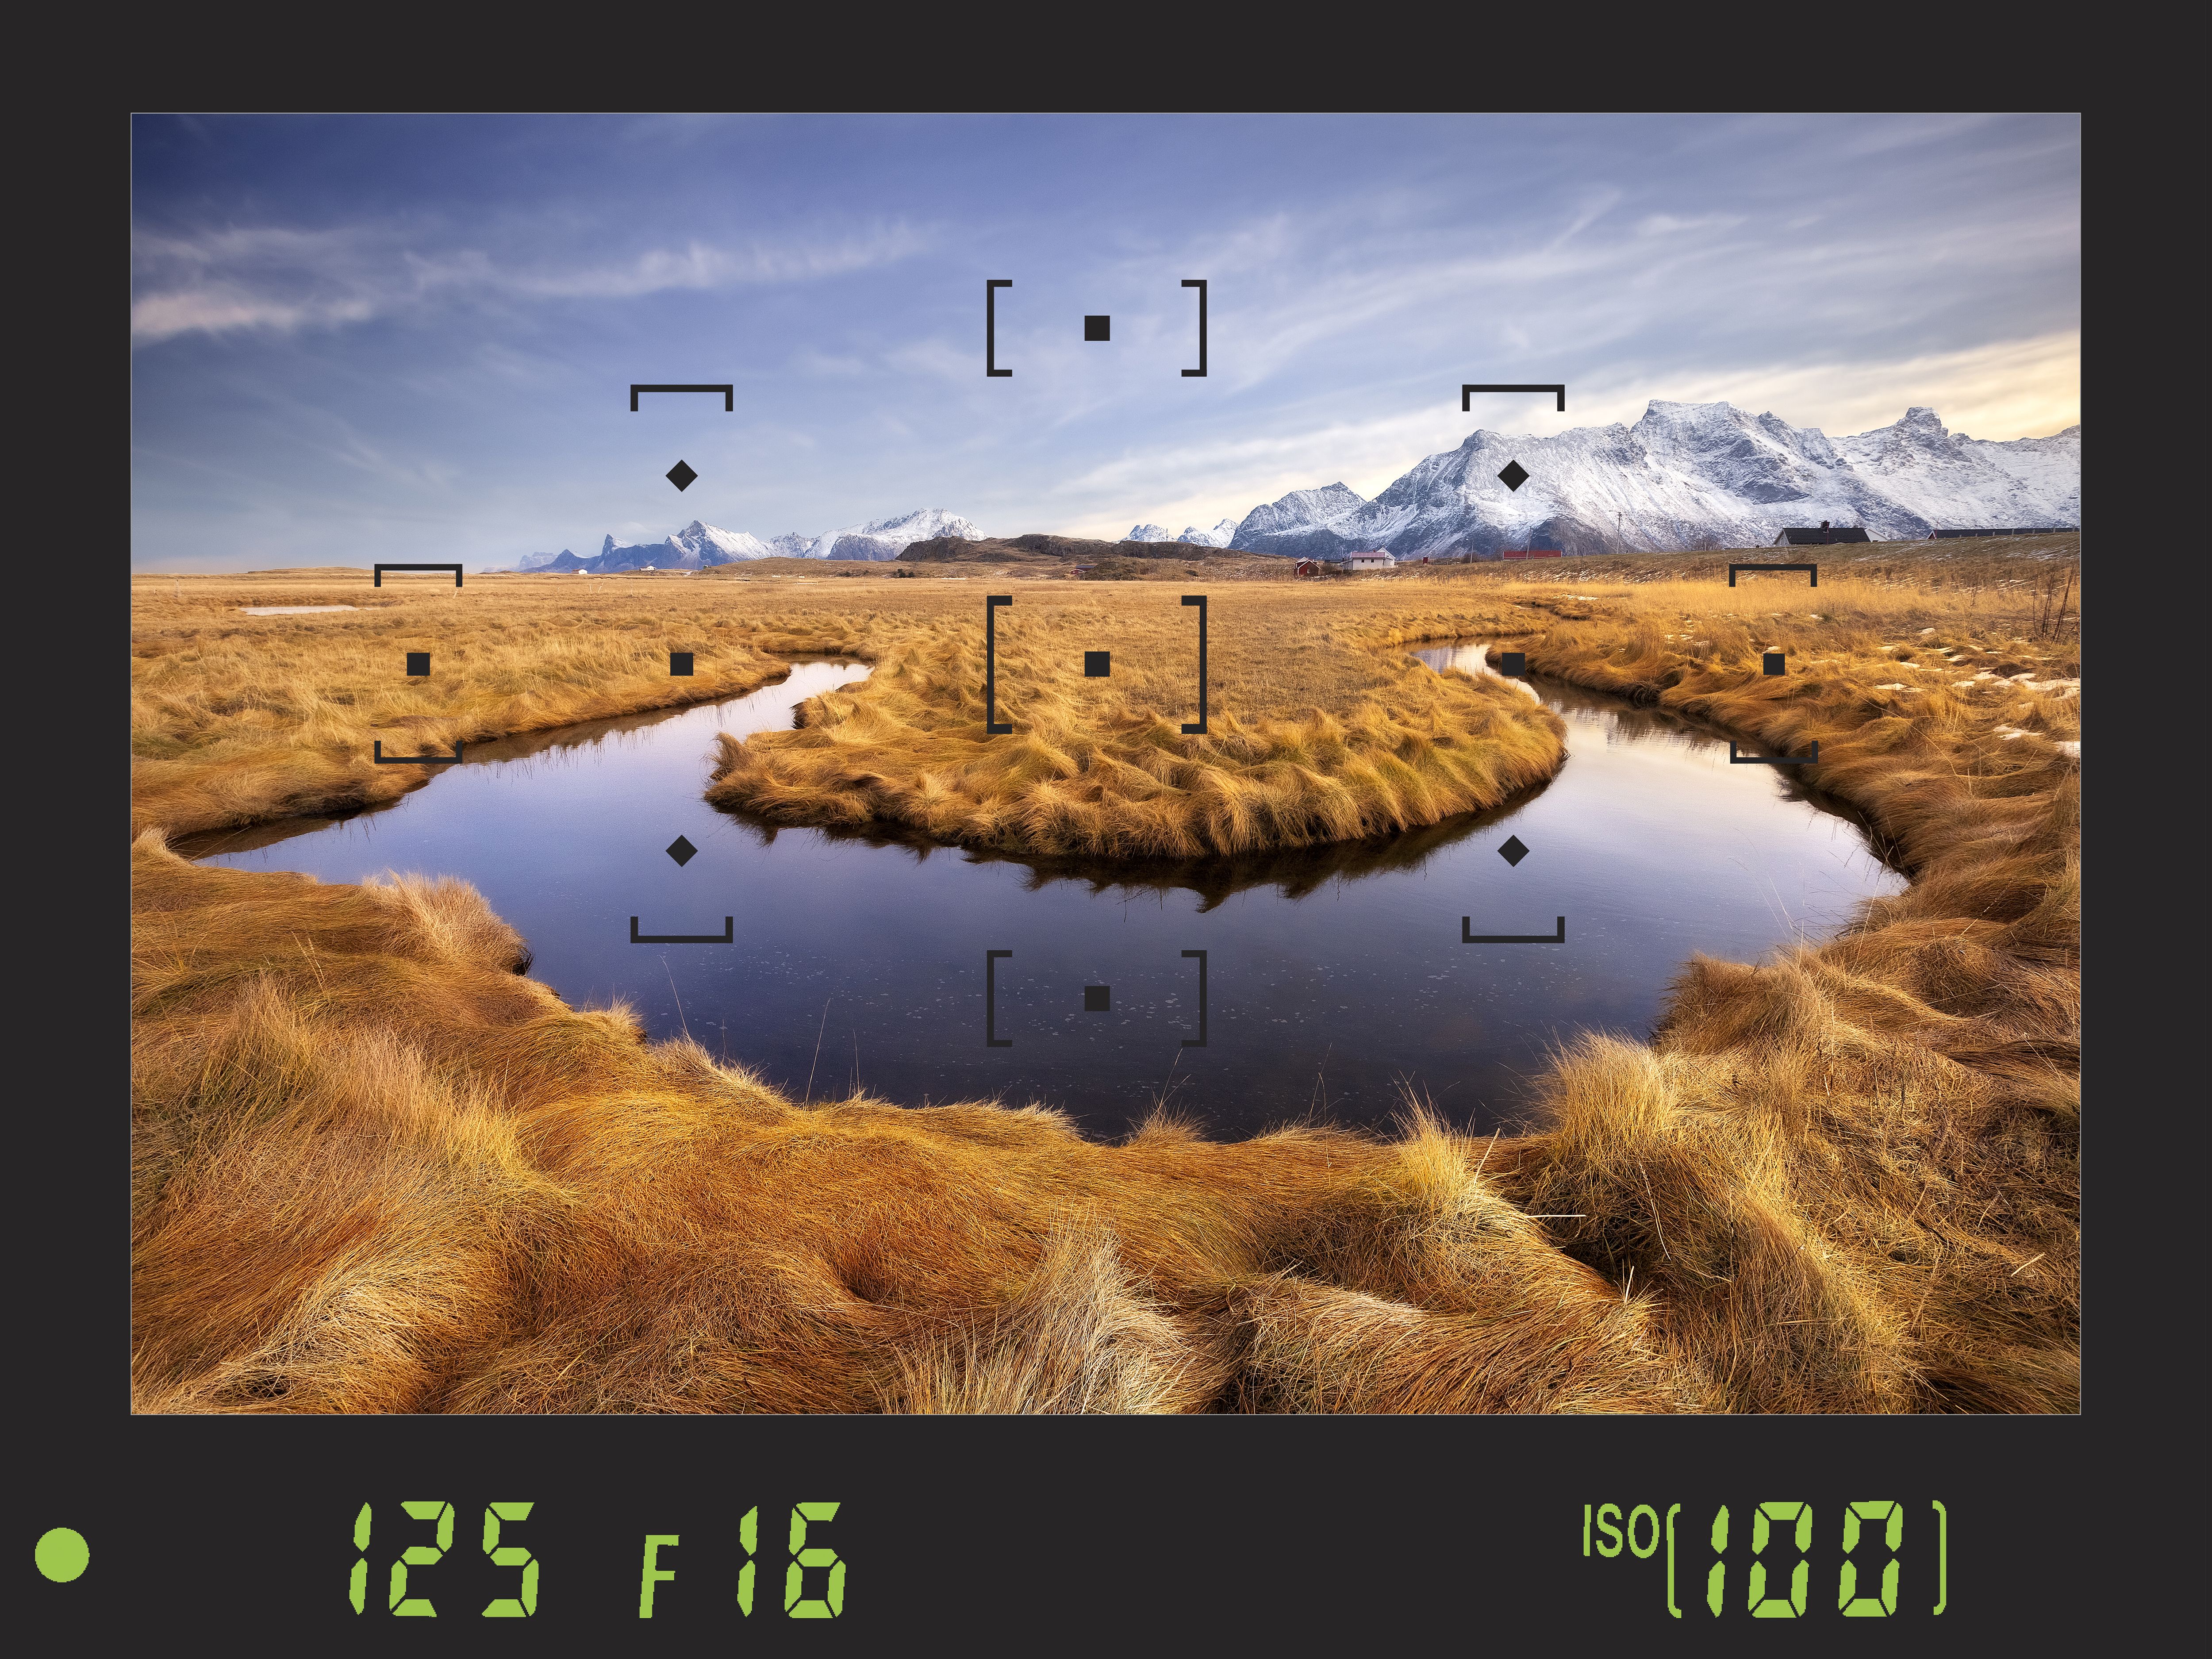
The camera settings you need for landscapes are pretty simple. Shoot in Aperture Priority mode so you can control the depth of field while the camera sets the appropriate shutter speed for you. With the aperture set to f/16 for a large depth of field, set the ISO to 100 for the best image quality. With the metering mode set to Evaluative/Matrix, the camera will read light from all areas of the scene to calculate a correct exposure. If required, use exposure compensation to lighten or darken the exposure as necessary.
With settings like these plus the possibility of filters being attached to the lens, there’s a high possibility that the shutter speed will be slow. If you find it drops below 1/125 sec, attach your camera to a tripod and use a remote release to fire the shutter without touching the camera. This combination will help to avoid camera shake – a type of blur in your photos created by tiny camera movements when shooting at slow shutter speeds.
- Learn more: Depth of field explained
6. Maximise sharpness
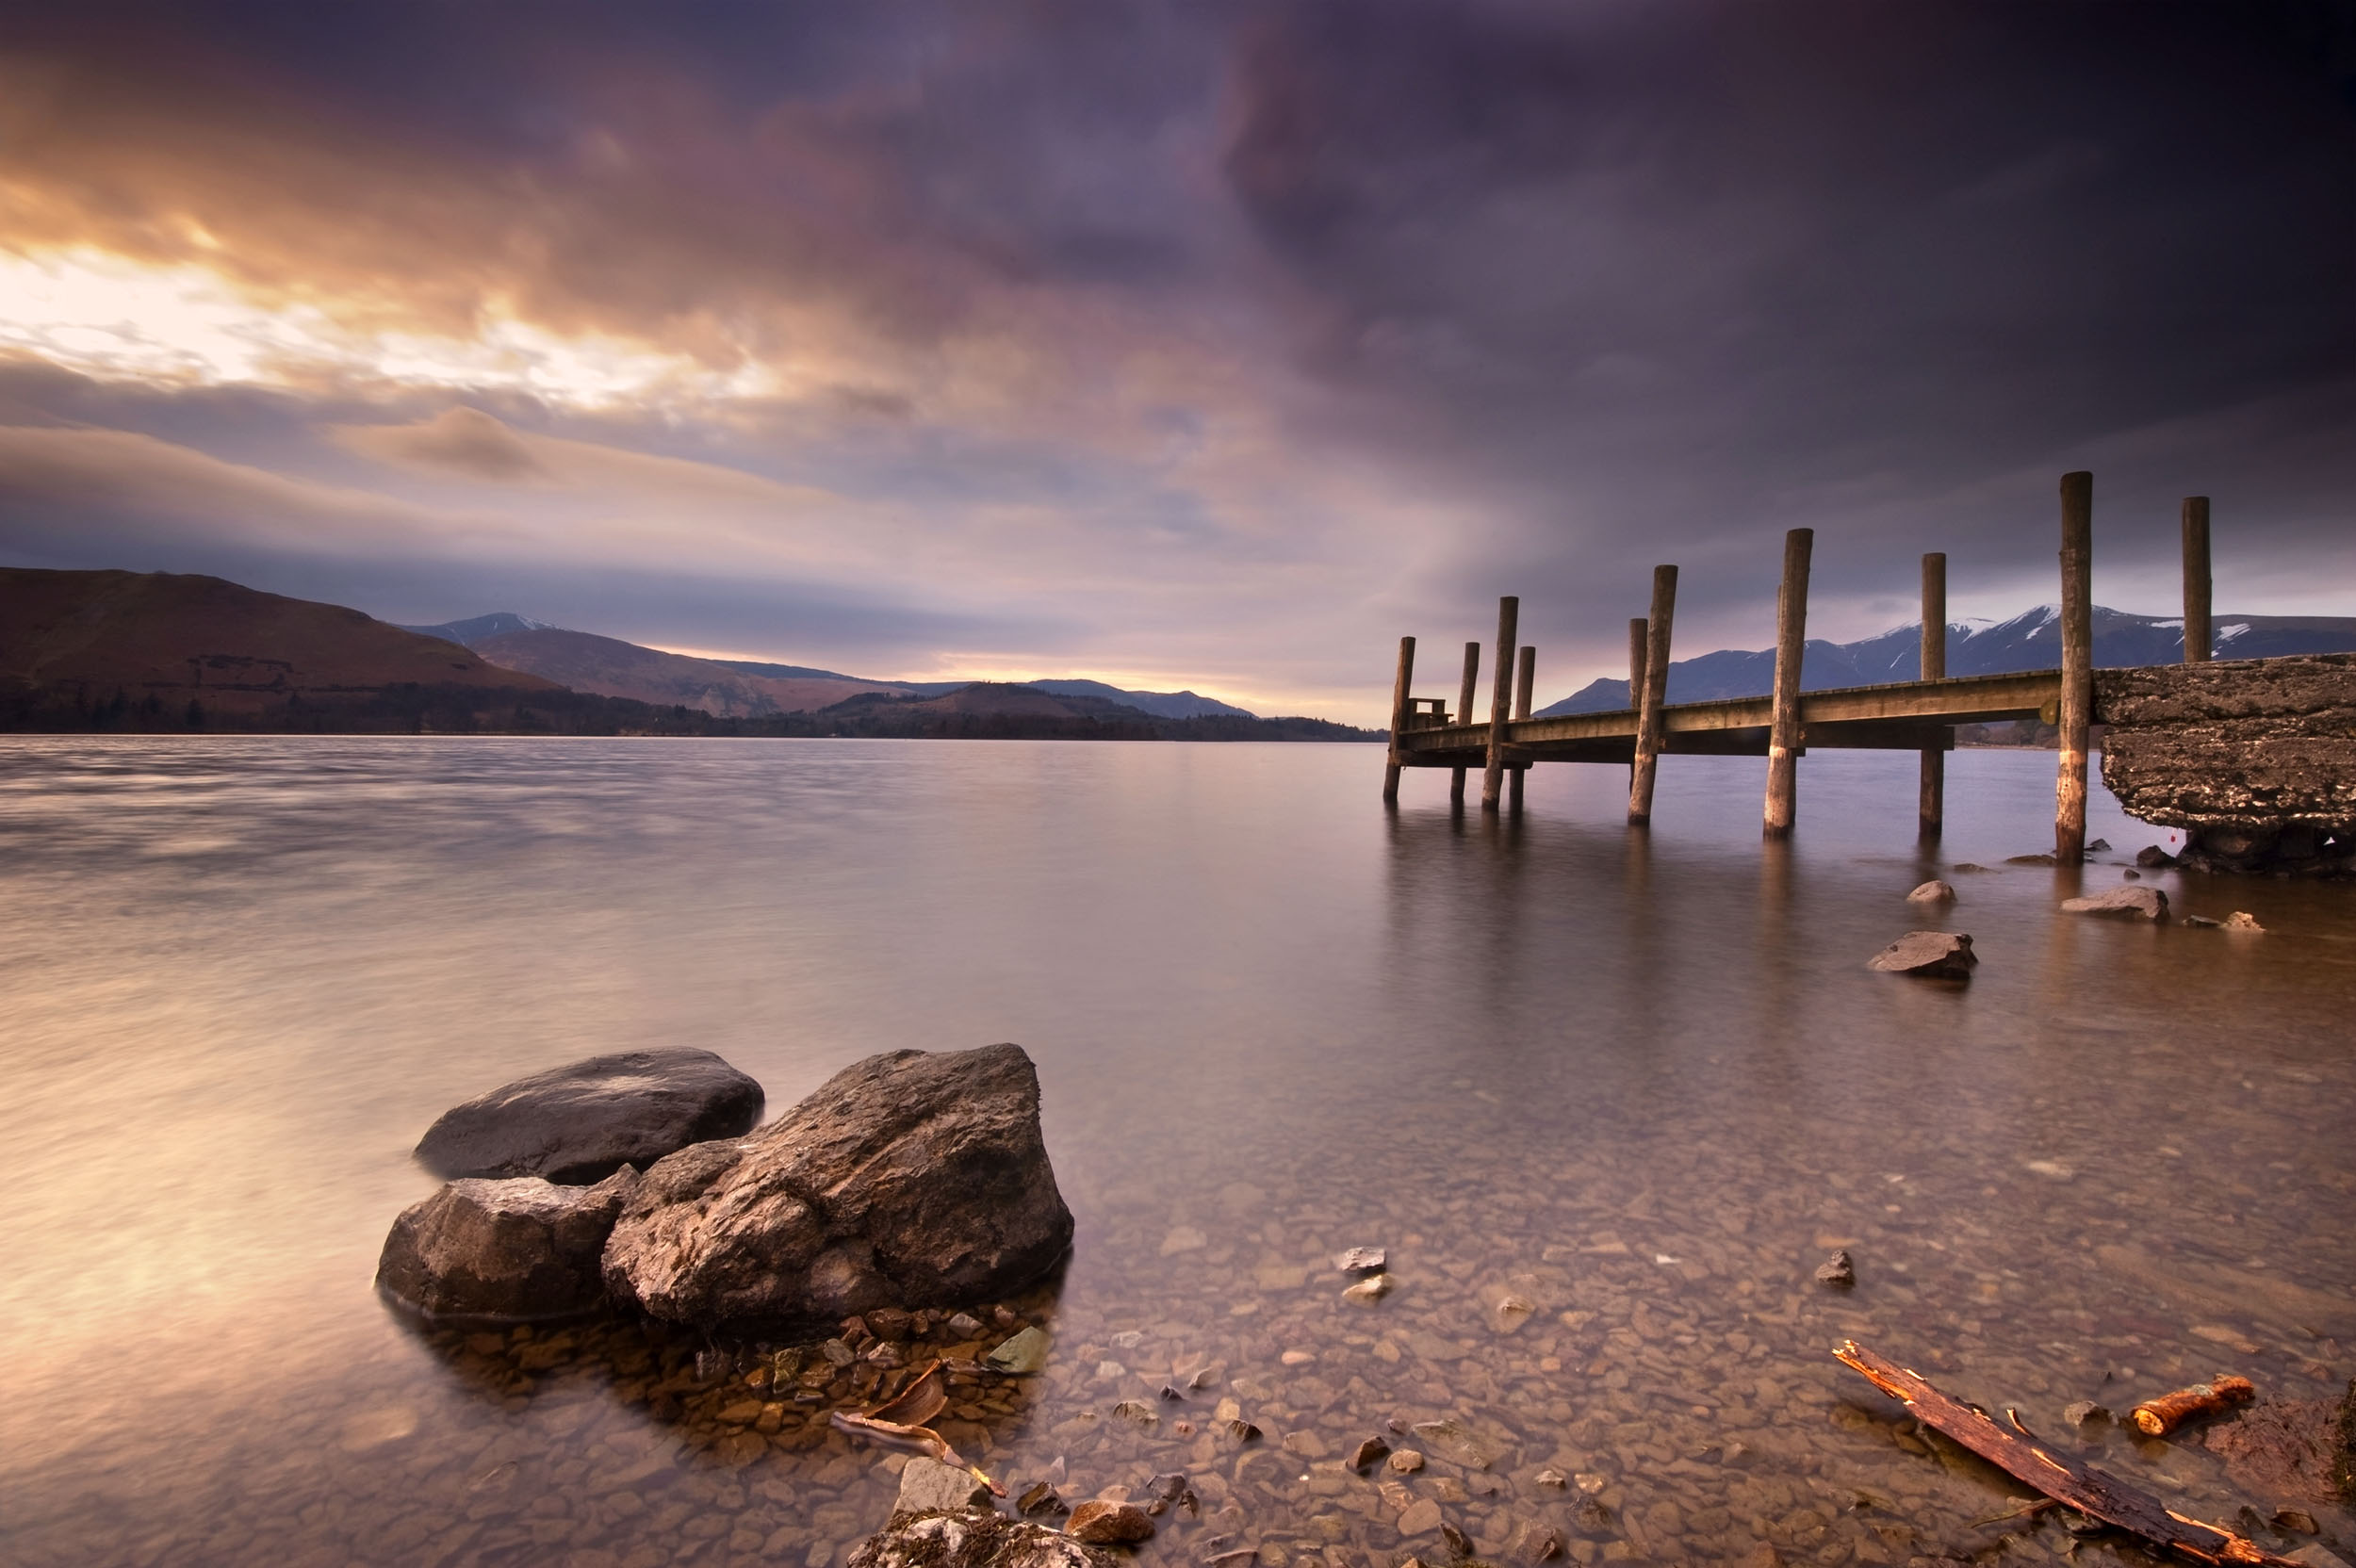
Maximising the overall image sharpness and depth of field relies on using both a narrow aperture and the correct focusing technique. Even with a narrow aperture such as f/16, if you focus on the wrong part of the scene, the foreground or background could still be out of focus.
The best way to focus for landscapes is to switch the camera and lens to manual focus, and rotate the lens’ focusing ring to focus on the right part of the frame. You need to identify the position in the scene that’s one third of the distance towards the horizon, and focus roughly at this point. This piece of advice is sometimes confused with focusing one third of the way up the frame, which is incorrect: make sure you’re looking at the depth of the scene.
Once you’ve identified this point, either look through the viewfinder or use Live View on your rear display while slowly rotating the focus ring. When the image looks sharp at the right point, stop and take a shot. Zoom into the image on the LCD screen and check that it’s sharp from the front, all the way to the back of the shot. If it’s sharp in the foreground but not in the background, you’ll need to set the focus further back, and vice versa. Don’t be afraid to keep adjusting the focus until you achieve sharpness throughout the scene.
- Learn more: The A to Z of Photography: Aperture
7. Polarize the light
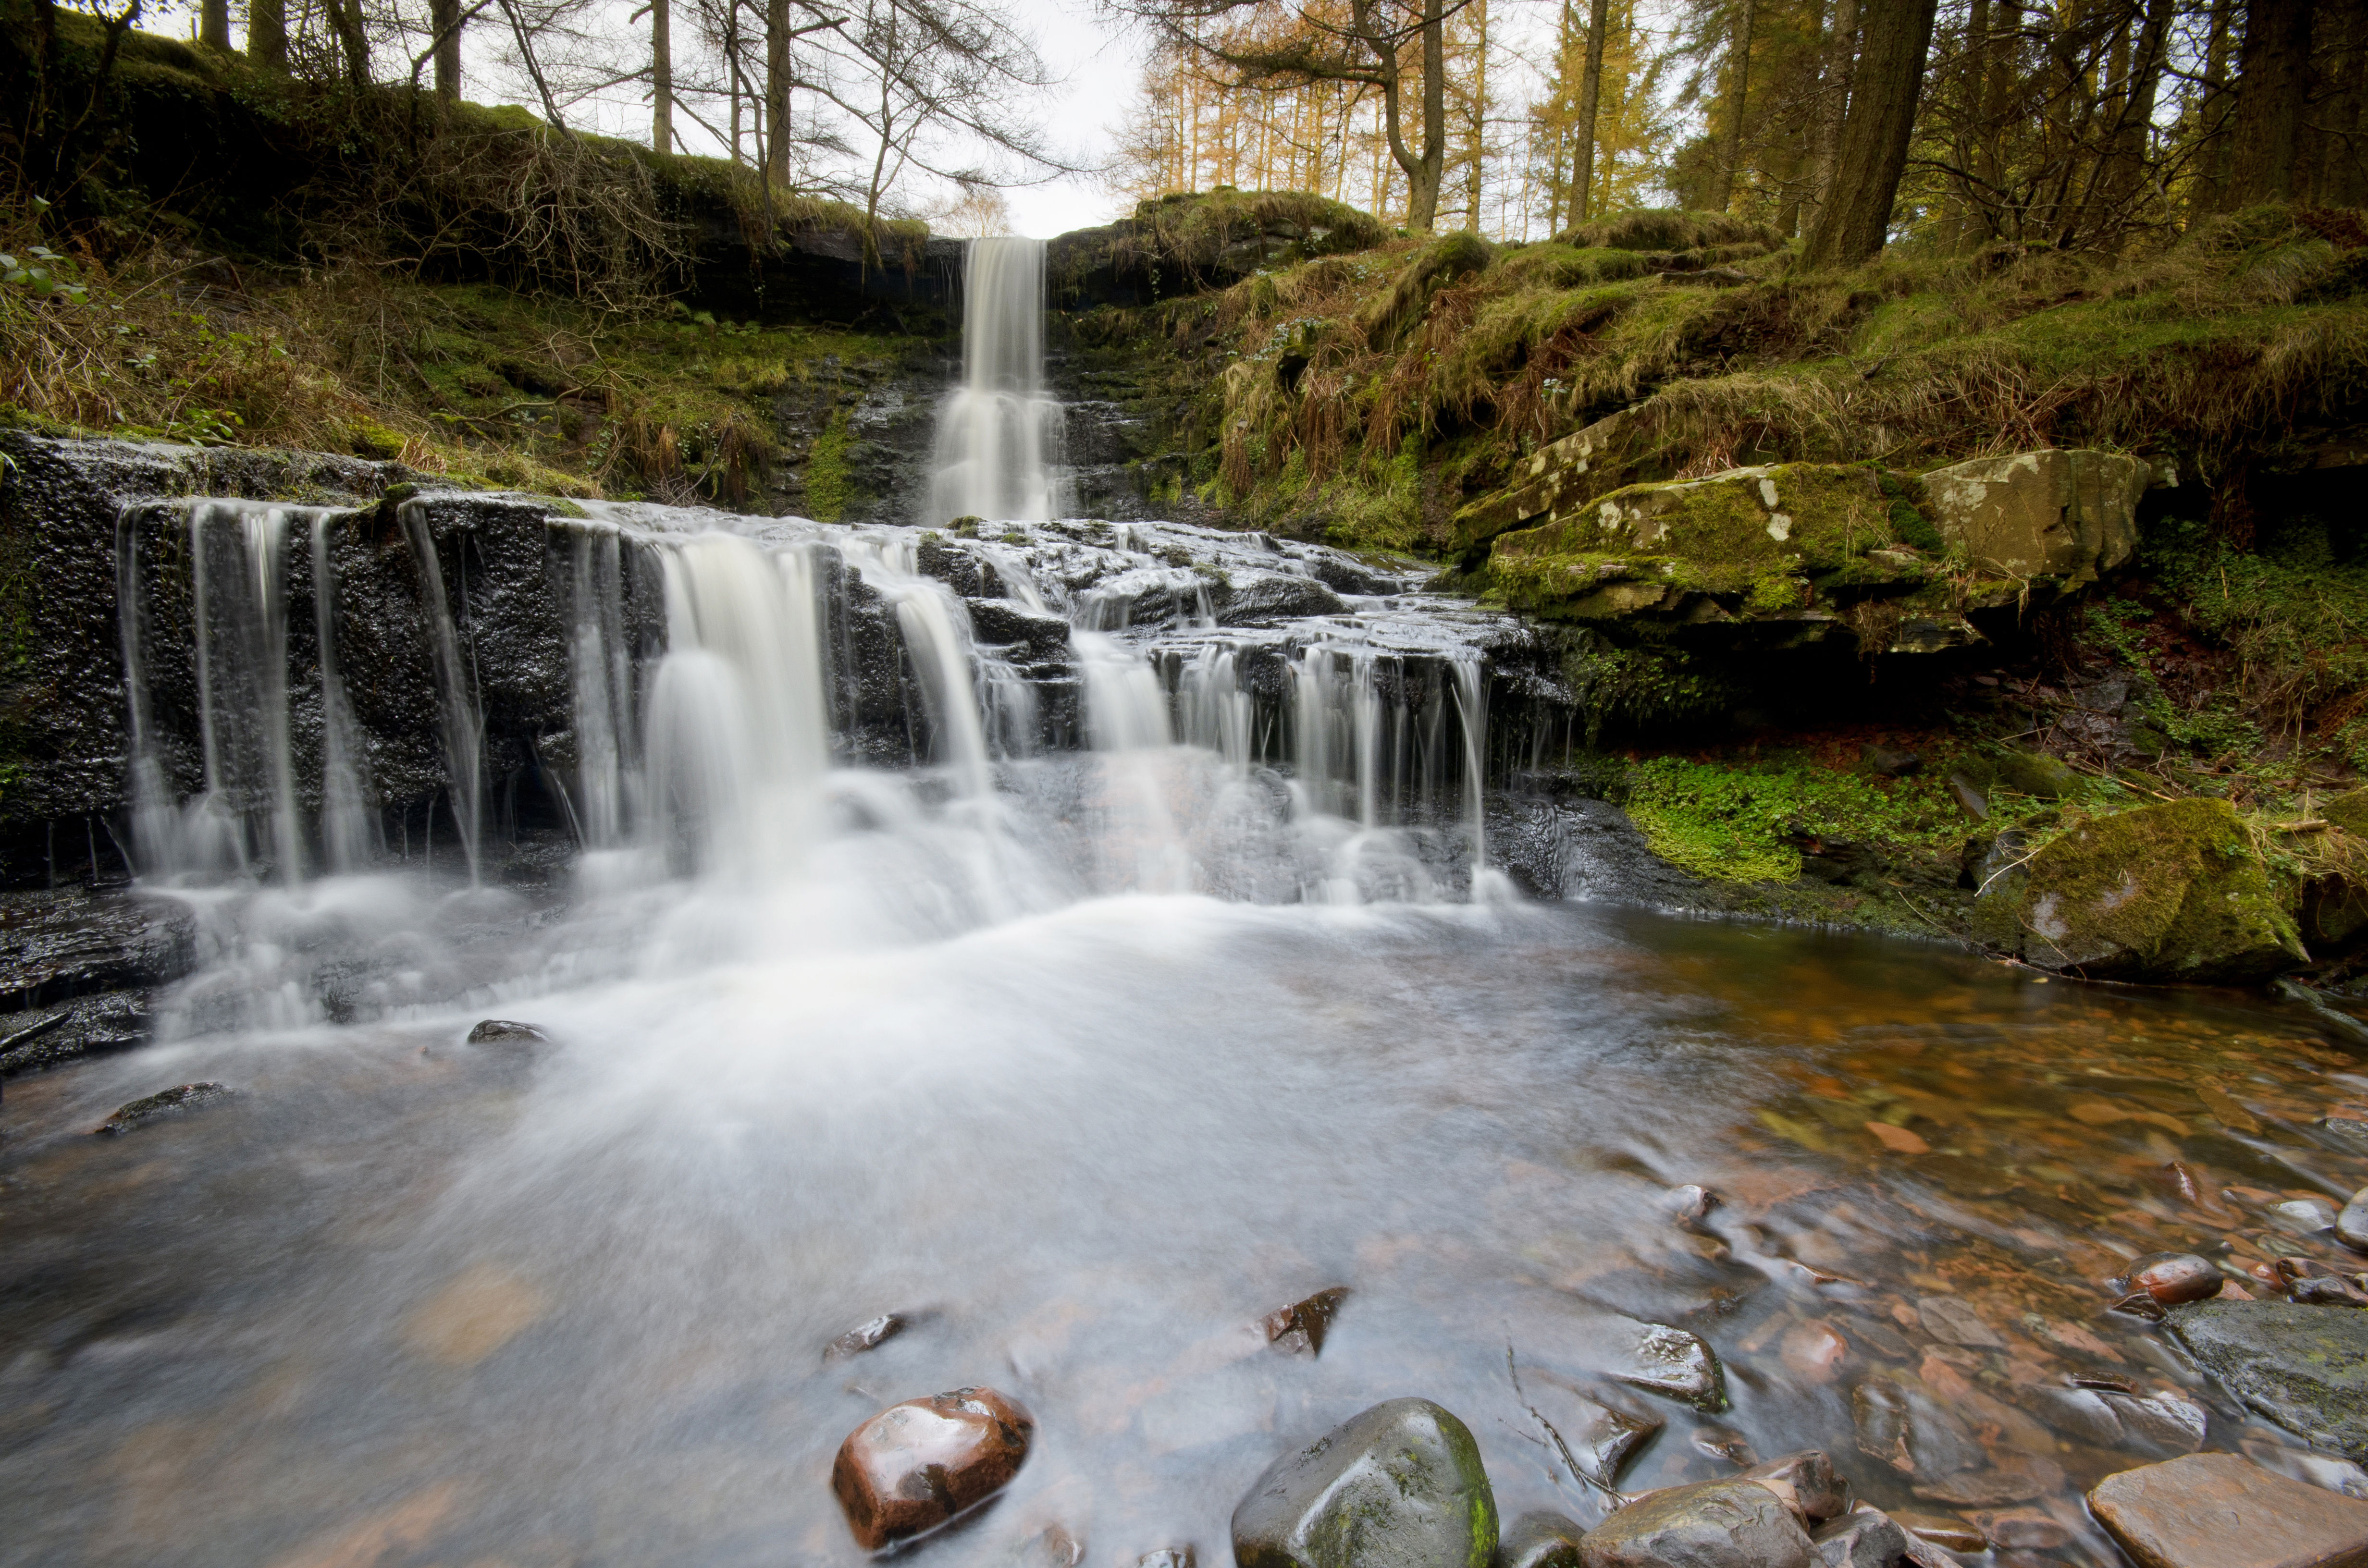
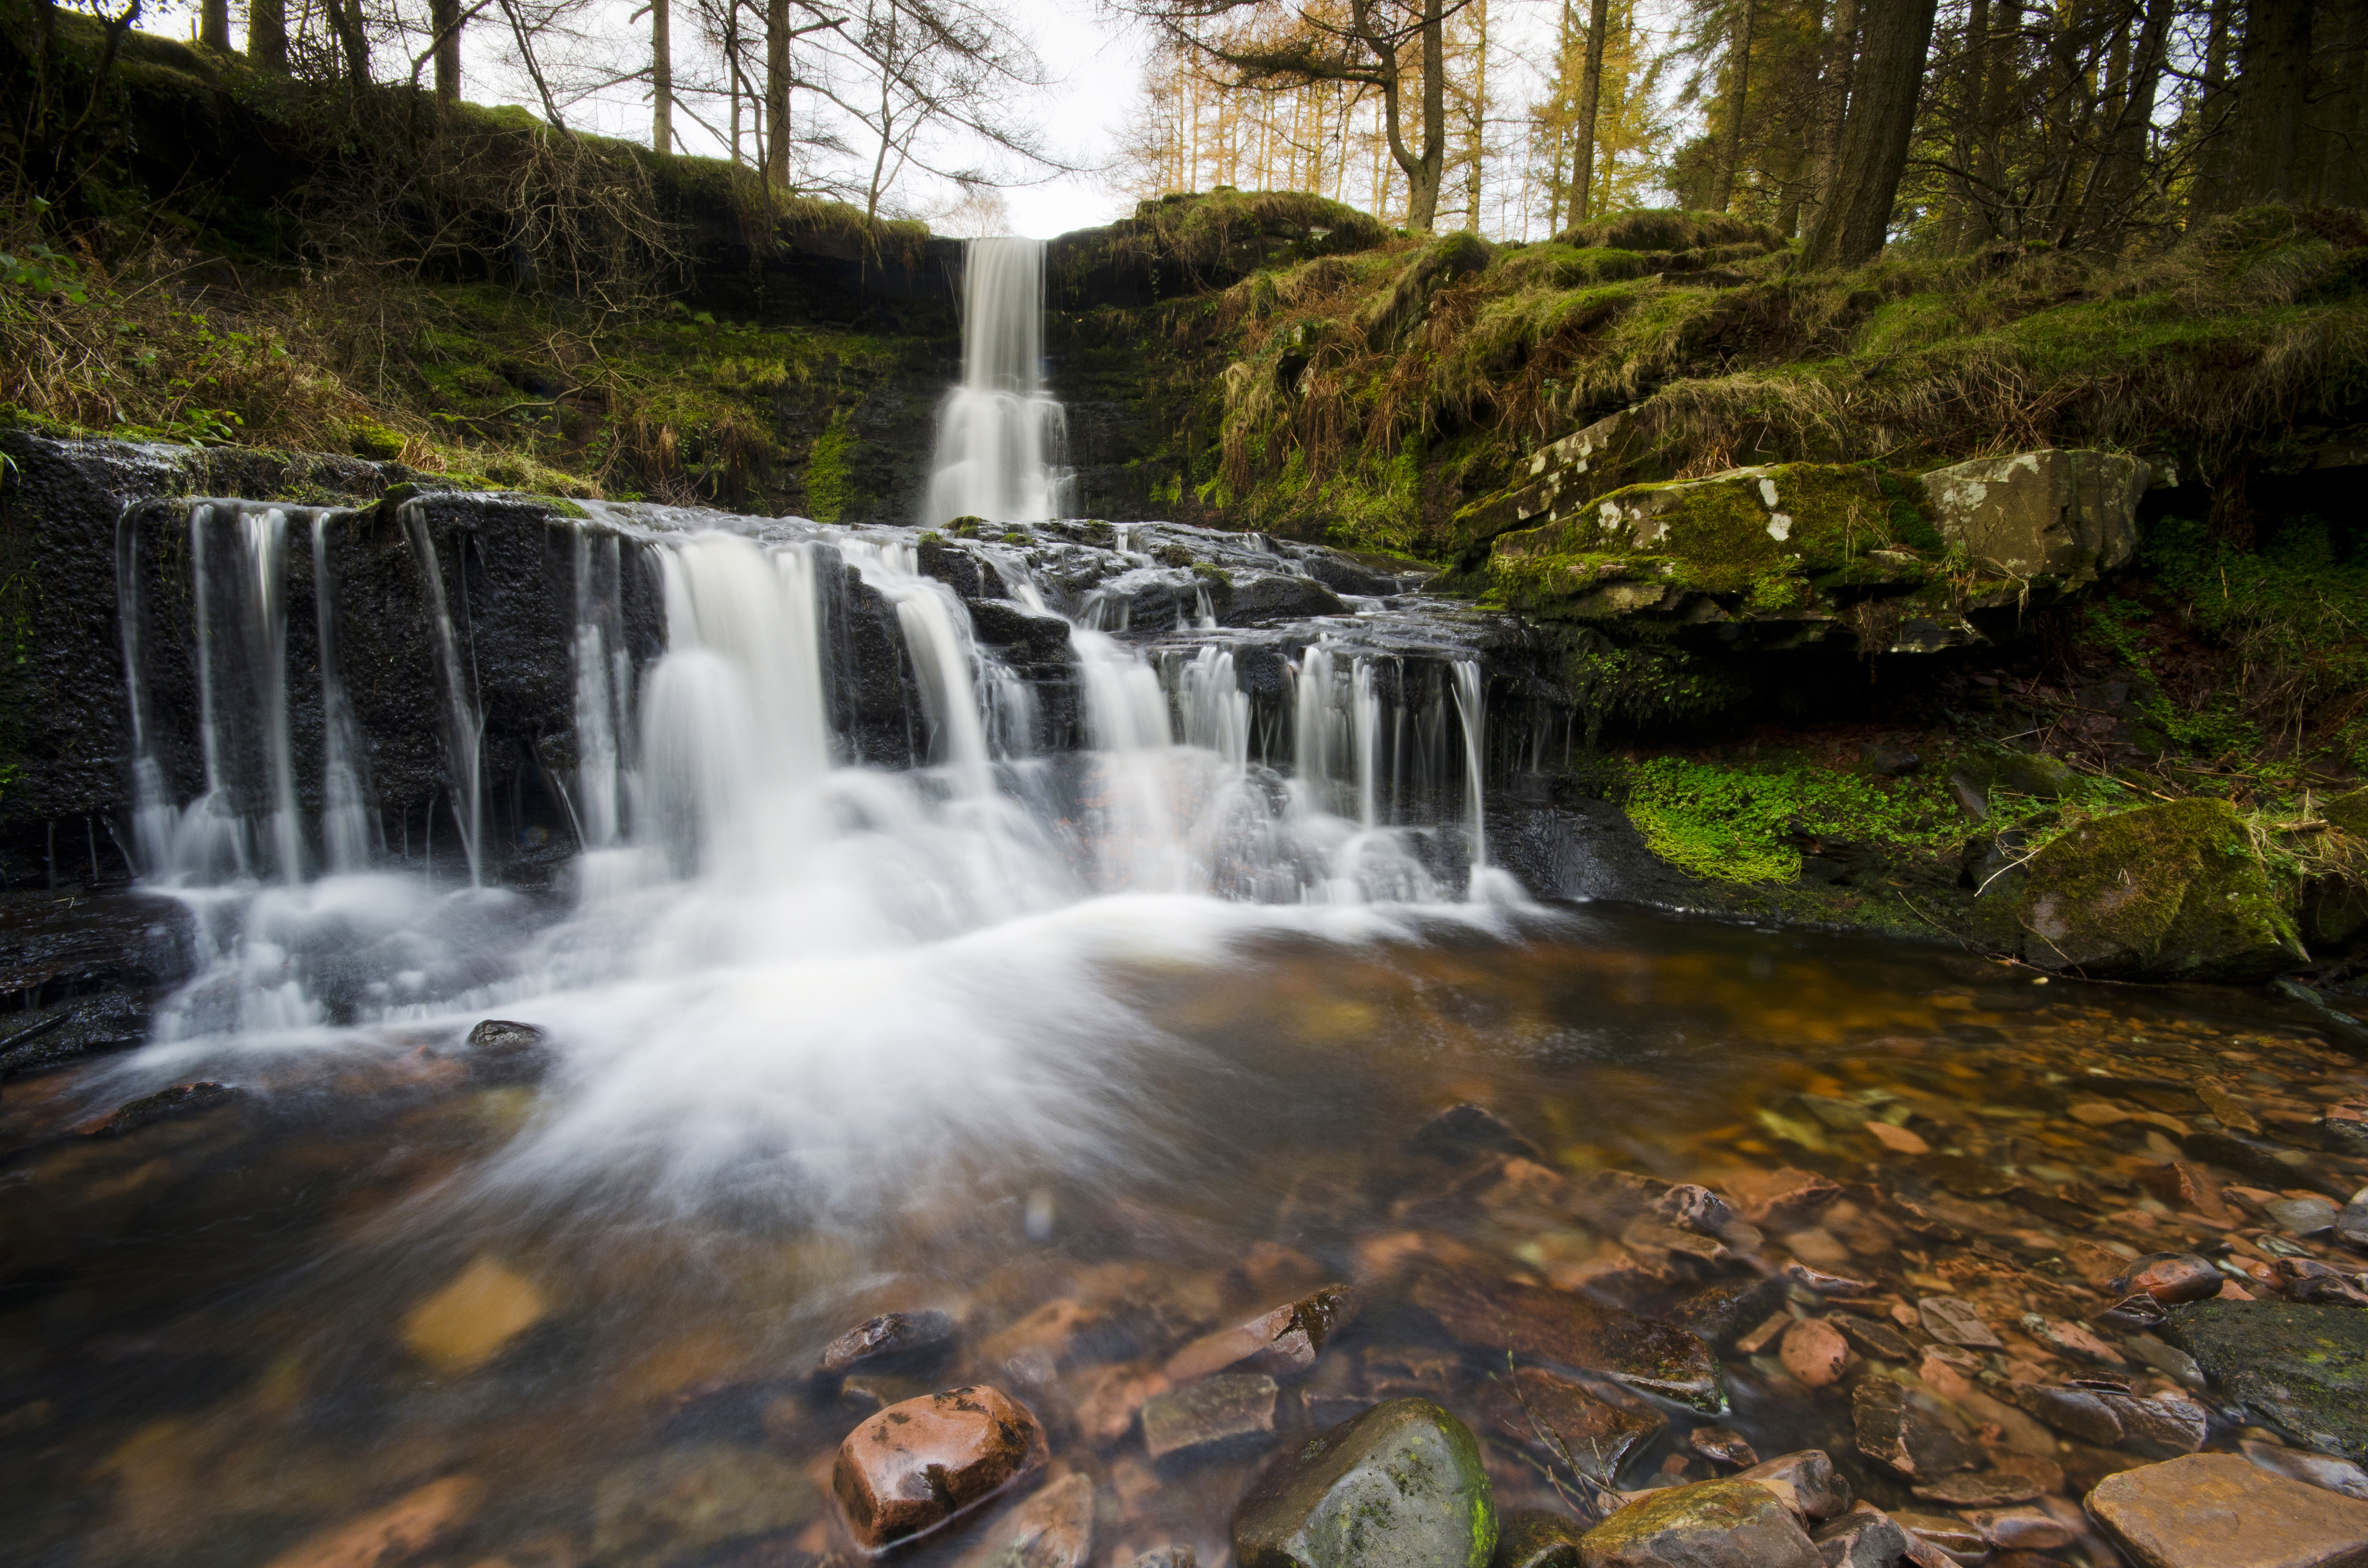
Polarizing filters are one of the most versatile accessories in the photographer’s arsenal. Not only do they help to deepen blue skies, remove a degree of glare, reduce reflections and increase color saturation, but they can also be used as a limited neutral-density filter because they reduce light entering the lens by one or two stops.
8. Extend time with NDs
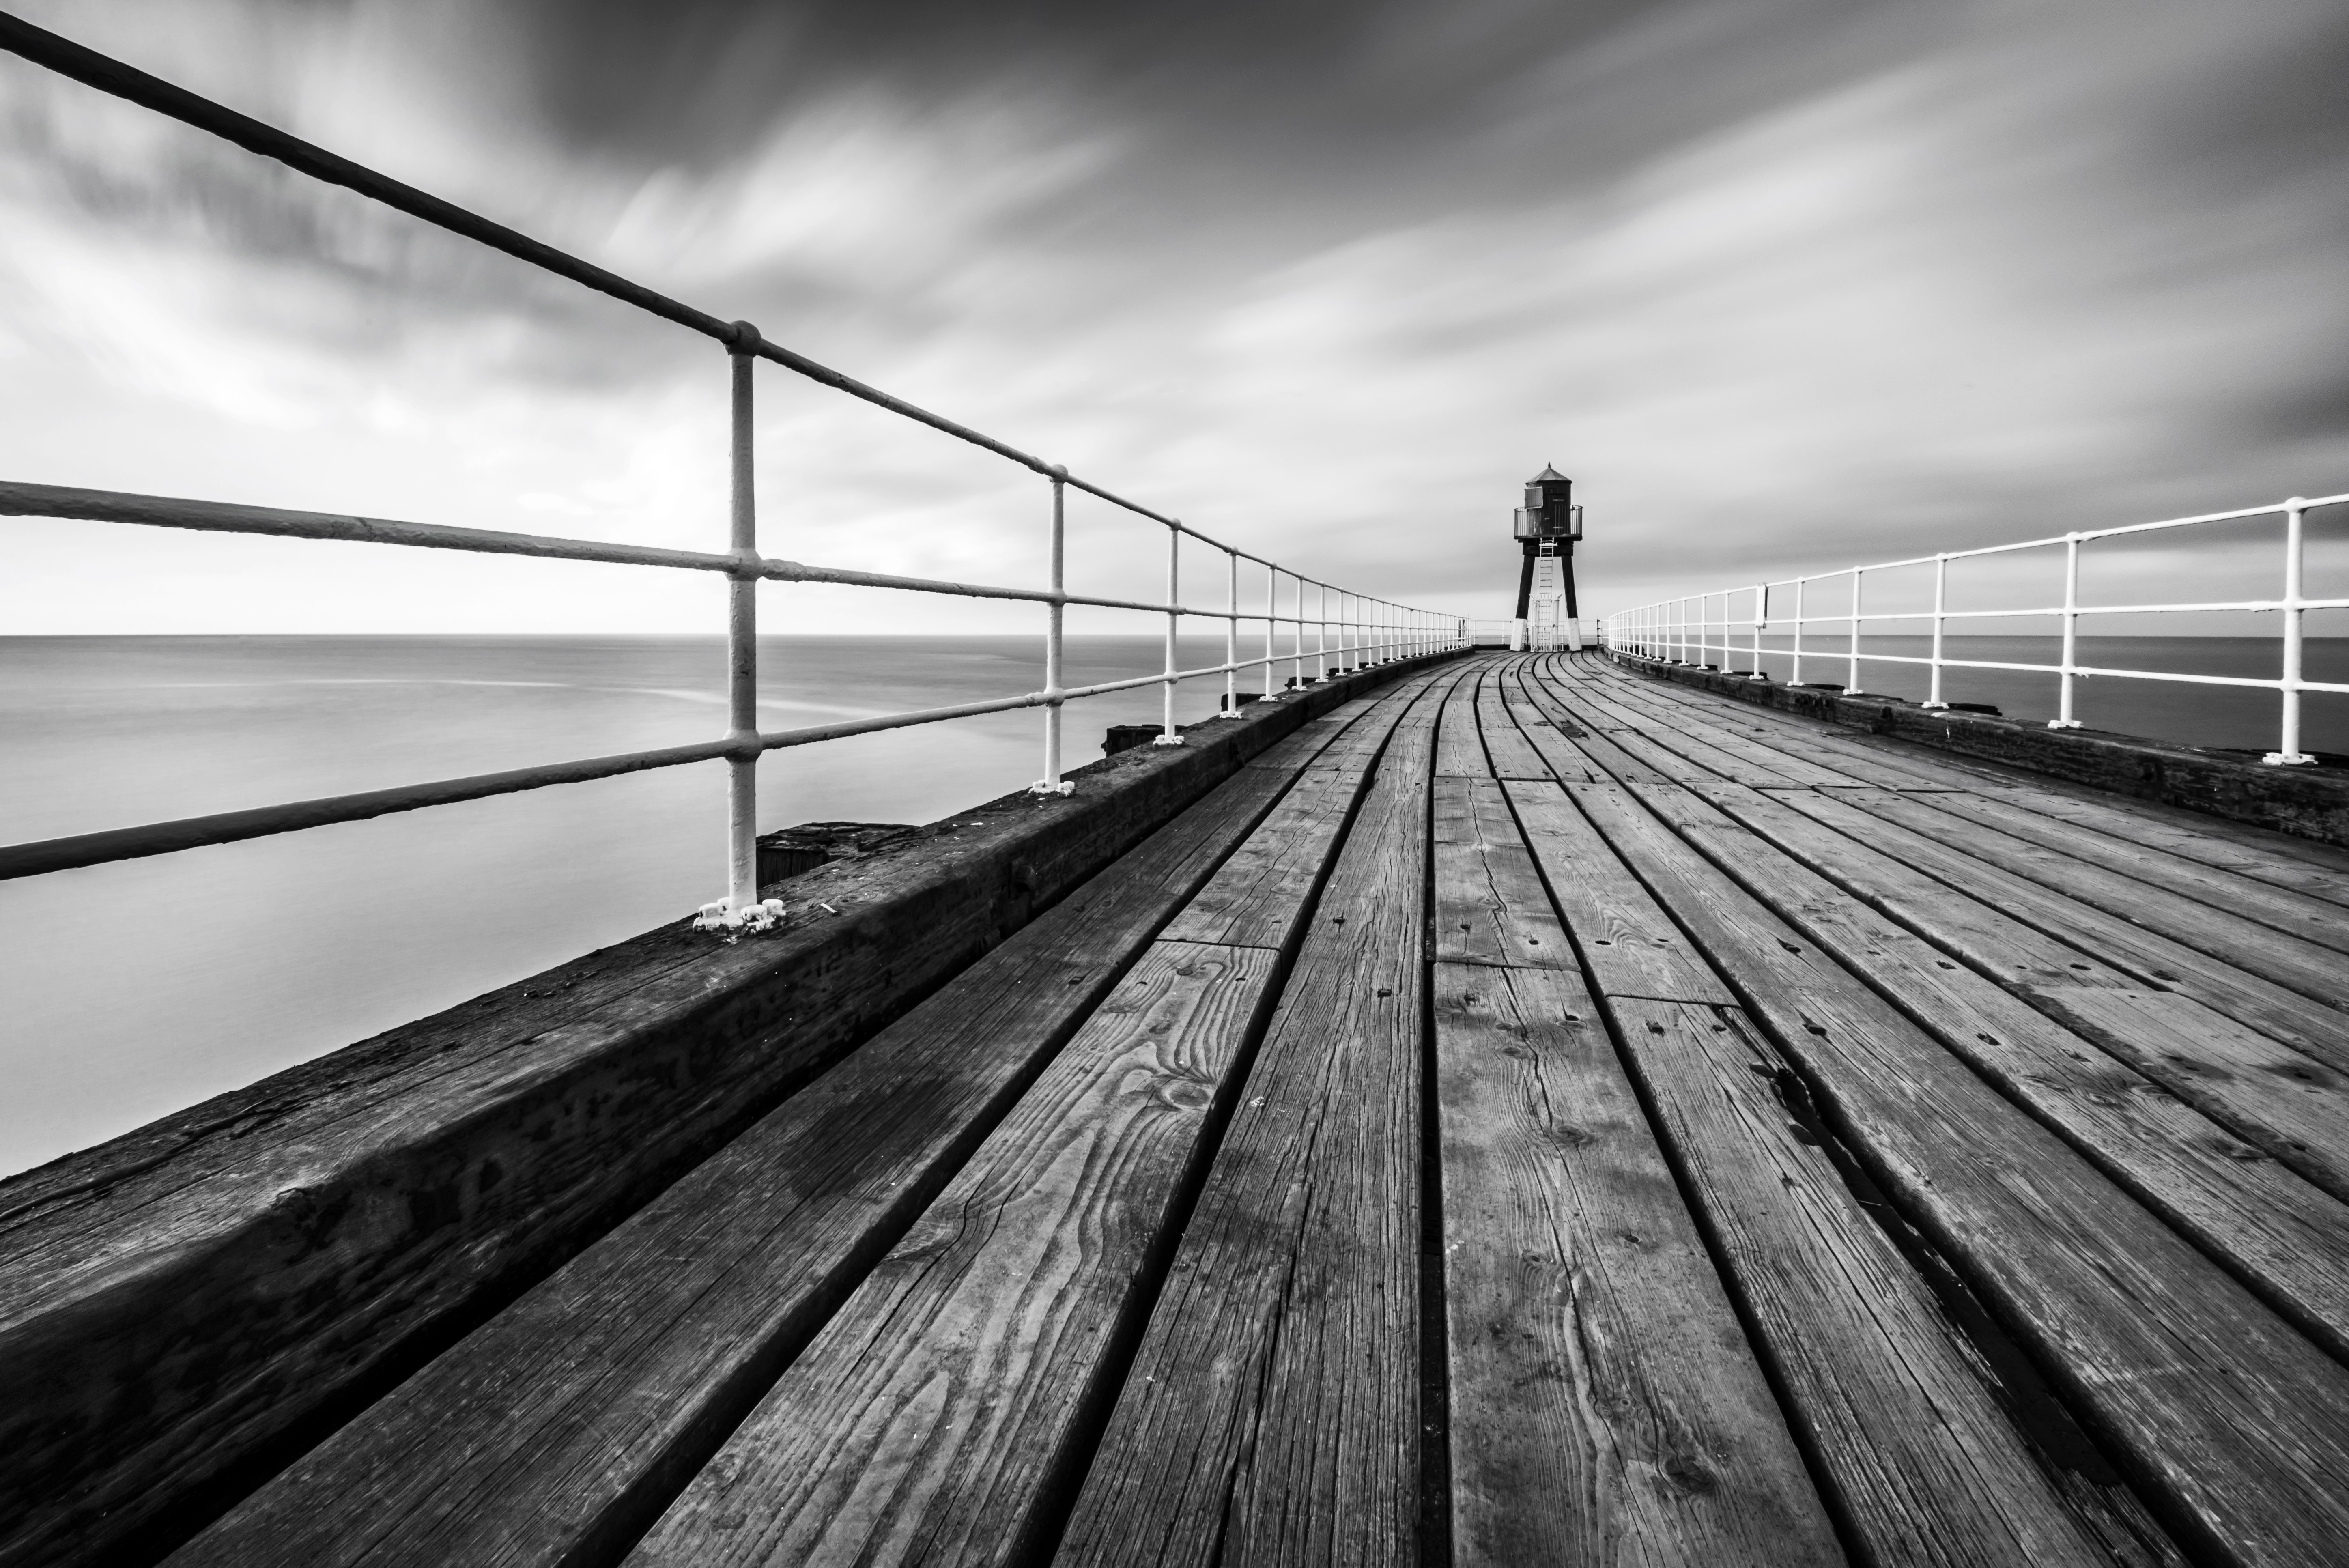
Neutral-density filters are designed to reduce the amount of light that can enter the lens, which means you can use slower shutter speeds than you would normally. This makes creative blurring of water and clouds possible. NDs are often available in 1-, 2-, 3-, 4-, 6-, 10- and even 15-stop light-blocking densities.
- Gear guide: Best ND filters: 6 top models tested
9. Capture sky detail
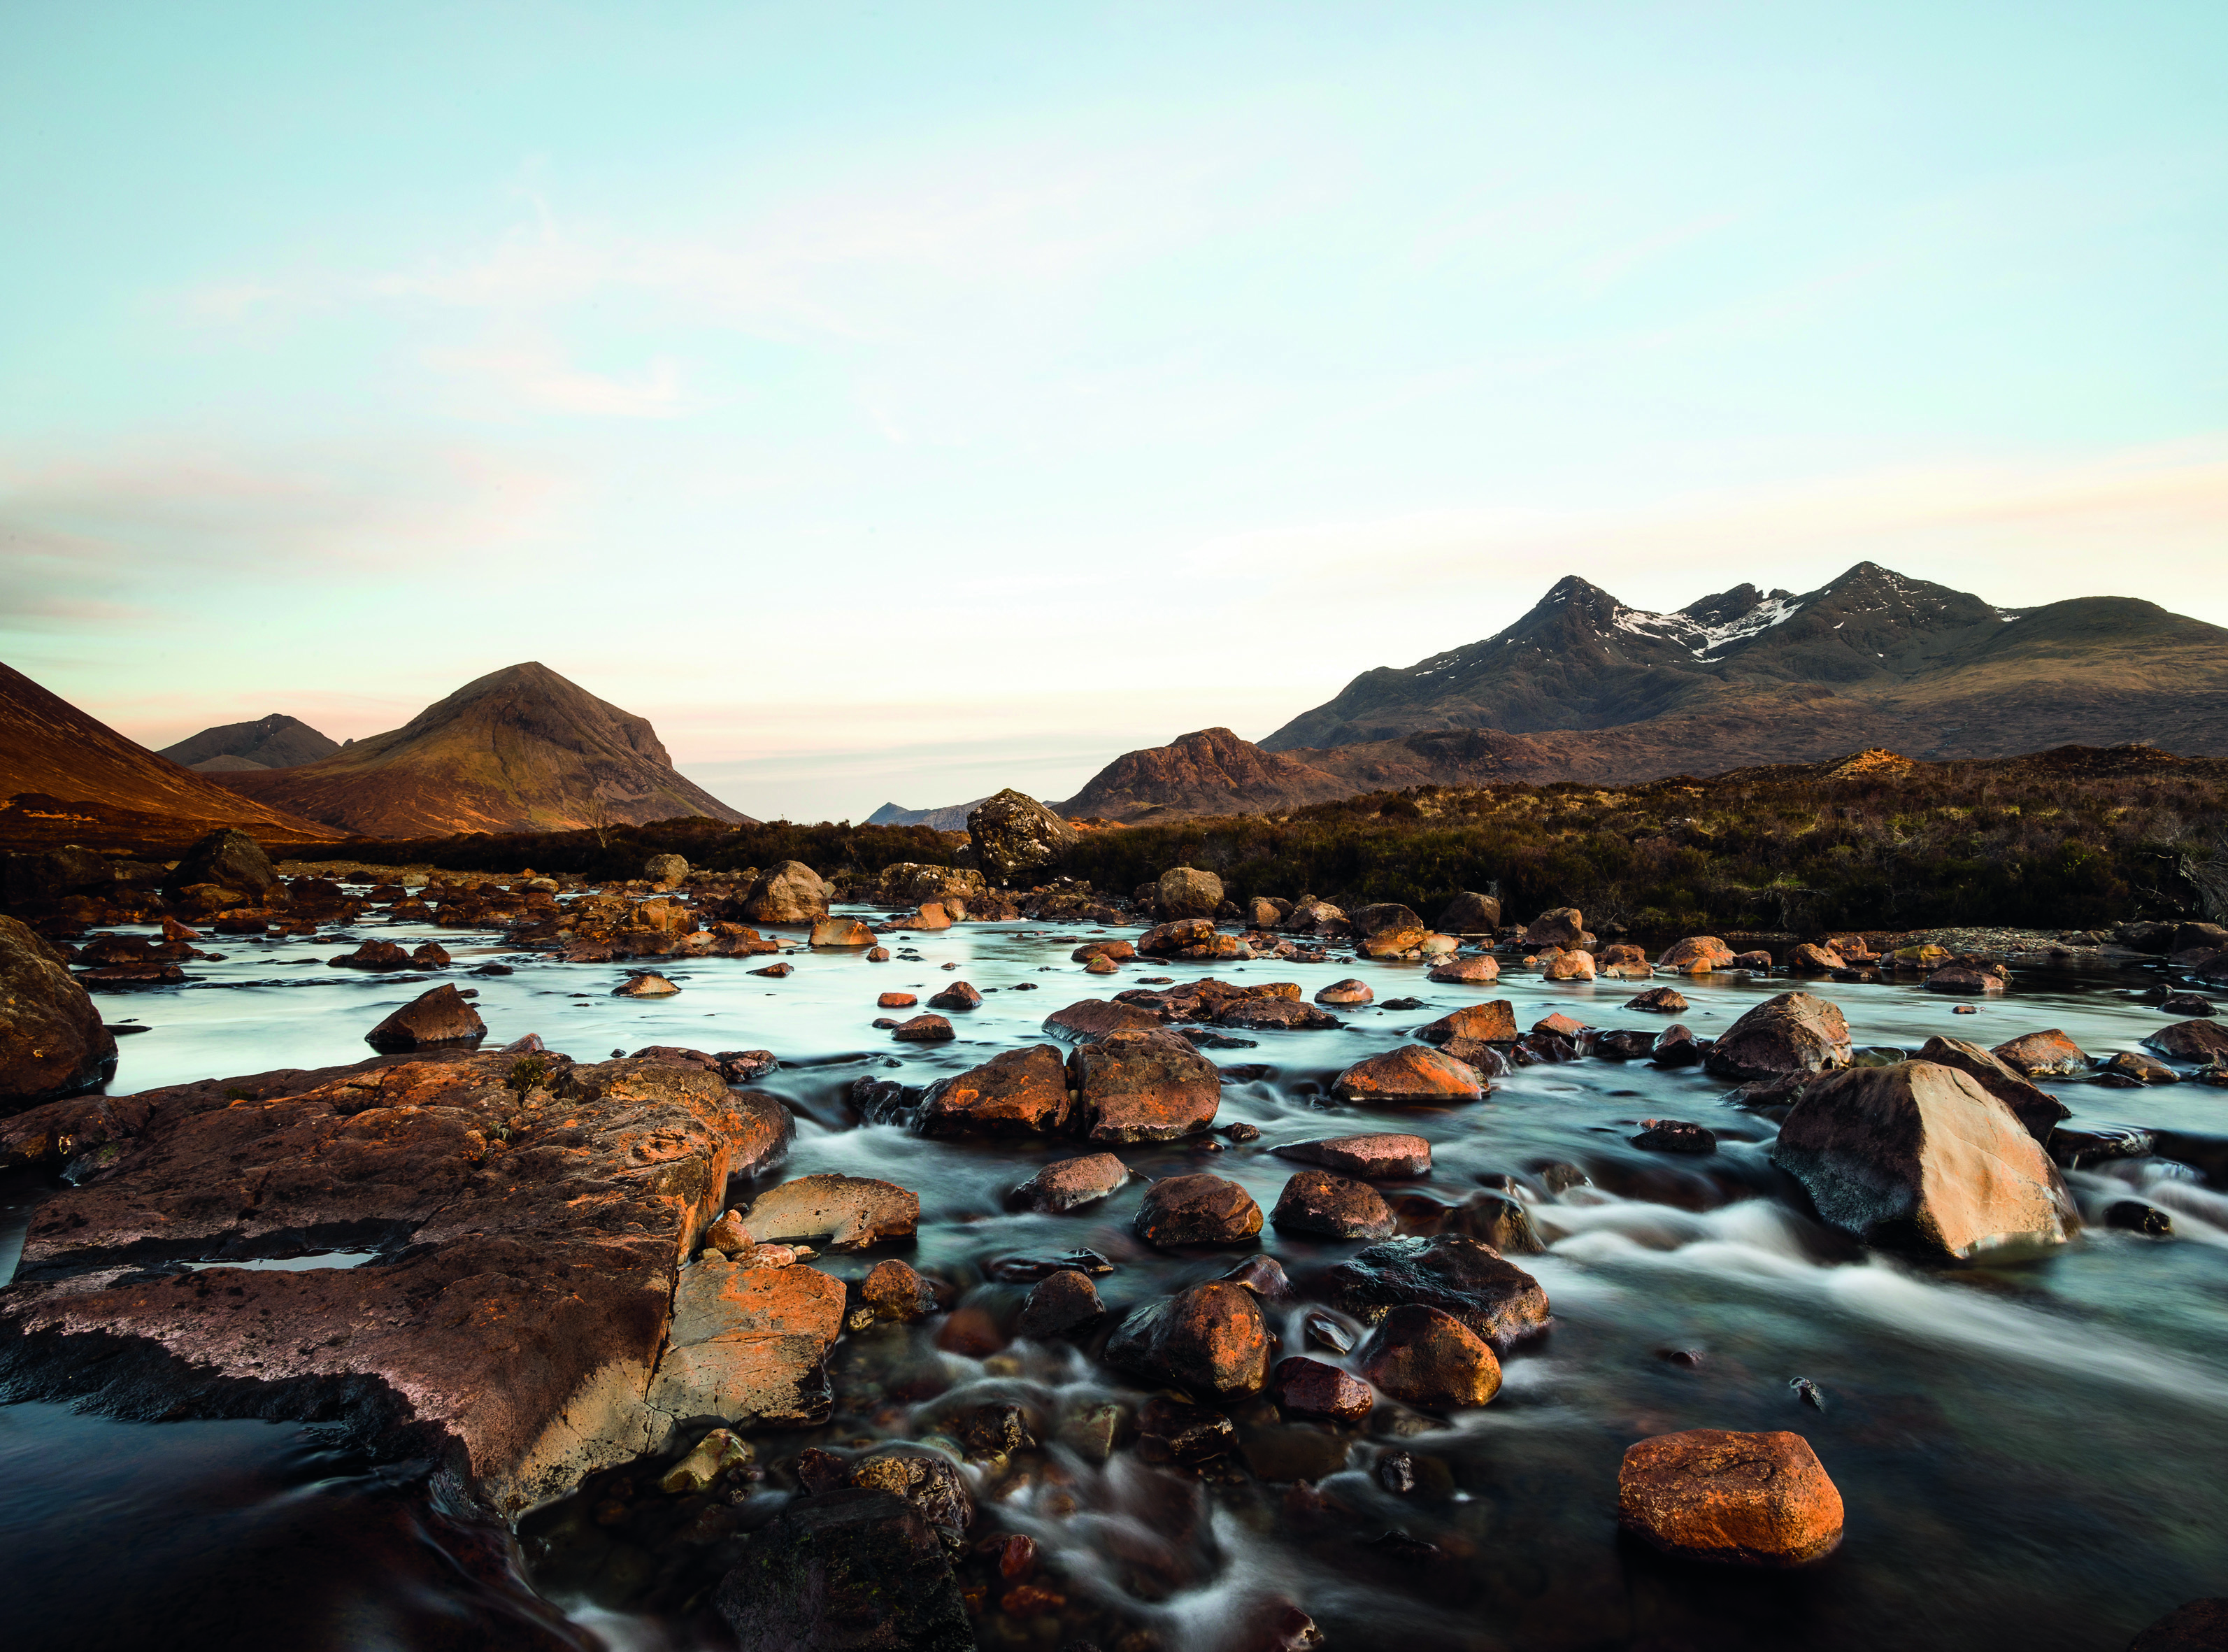
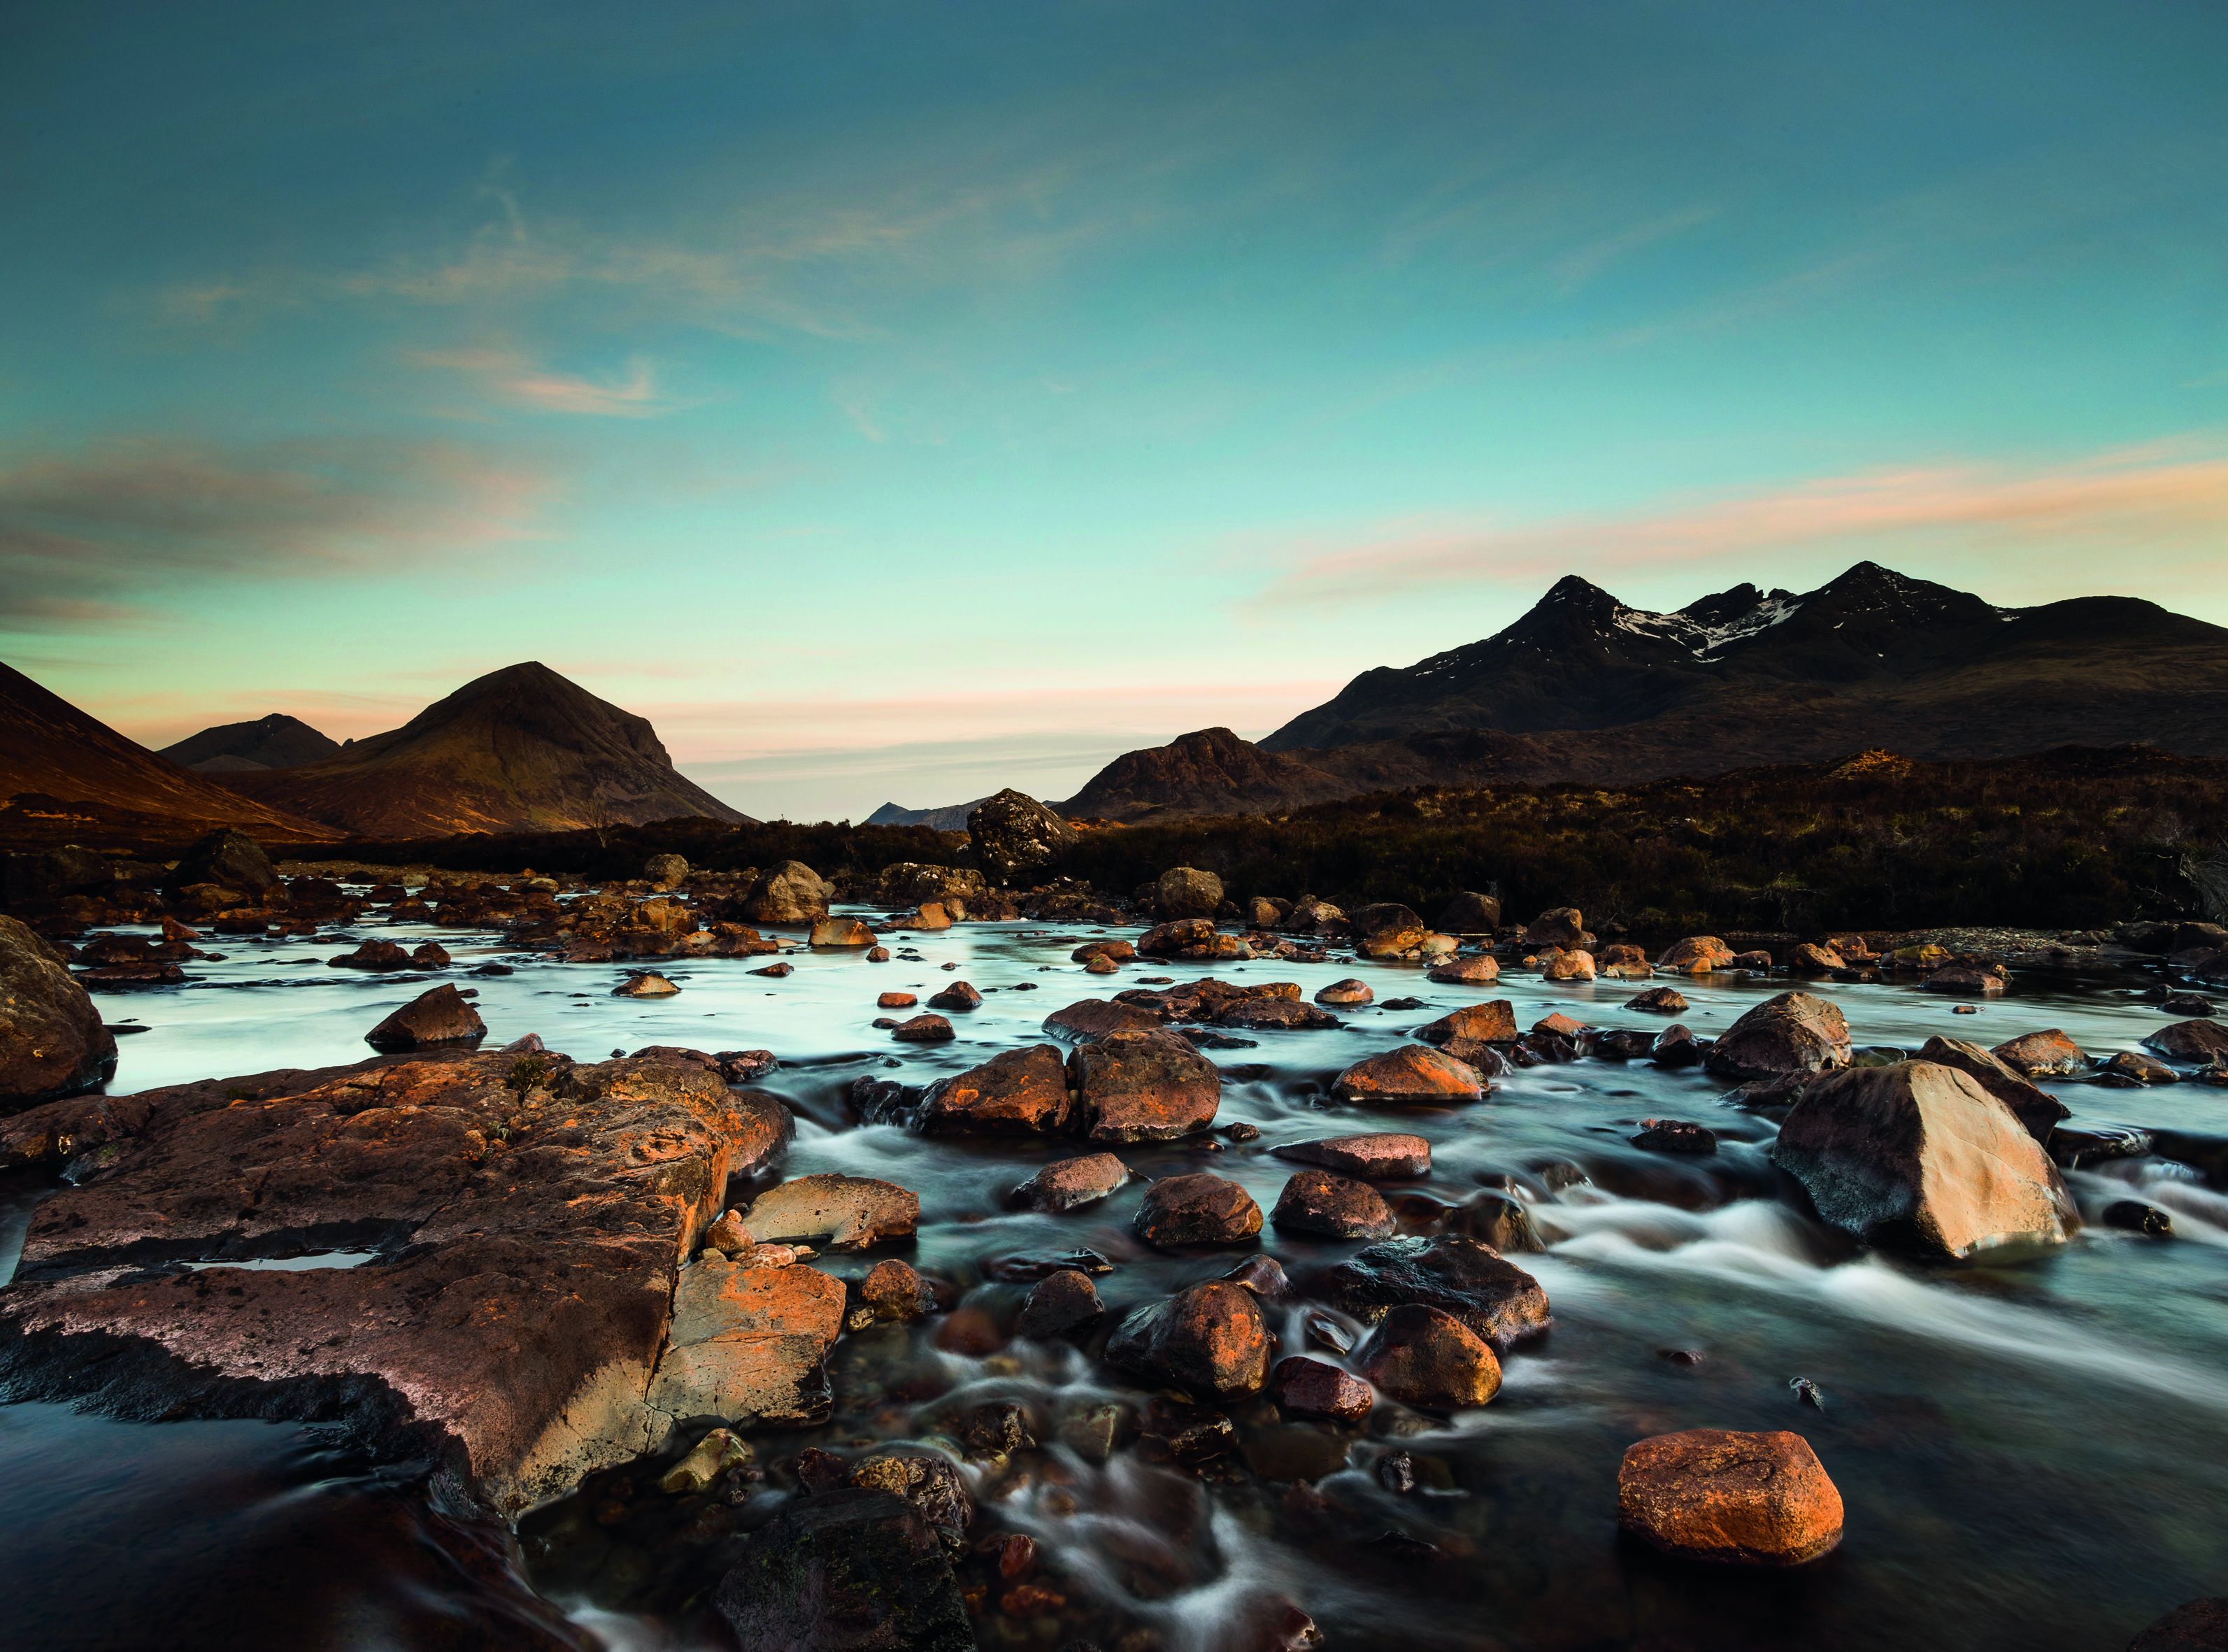
Neutral-density graduated filters – known as ND grads for short – are essential landscape filters that allow you to reduce the amount of light that enters at the top of the frame.
They then graduate to no effect at all at the bottom, leaving this area completely unaffected. This means that you can achieve the otherwise tricky job of capturing a perfectly exposed bright sky and dark foreground in a single shot.
- Gear guide: Best ND grad filters: 6 top models tested
10. Focus on the details
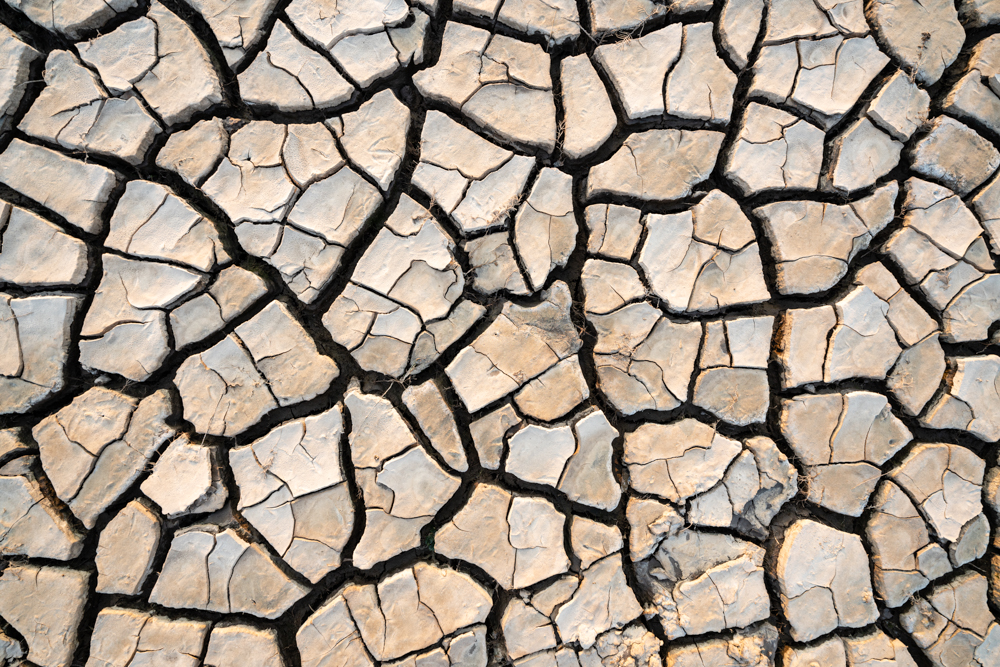
Like genres of music, photographic subjects are made up of multiple sub-genres, and while grand vistas are the archetypal ‘landscape’ image, there are many more approaches that can be taken to capture eye-catching results.
Details in the landscape, whether manmade or natural, can provide incredibly interesting images that tell as much of a story as a classic wide-angle composition, sometimes more. The image of dried mud above is one of a series taken just before sunset while capturing more traditional seascapes, but it’s these detail shots that provided the most interesting images from the day.
11. Wait for the blue hour
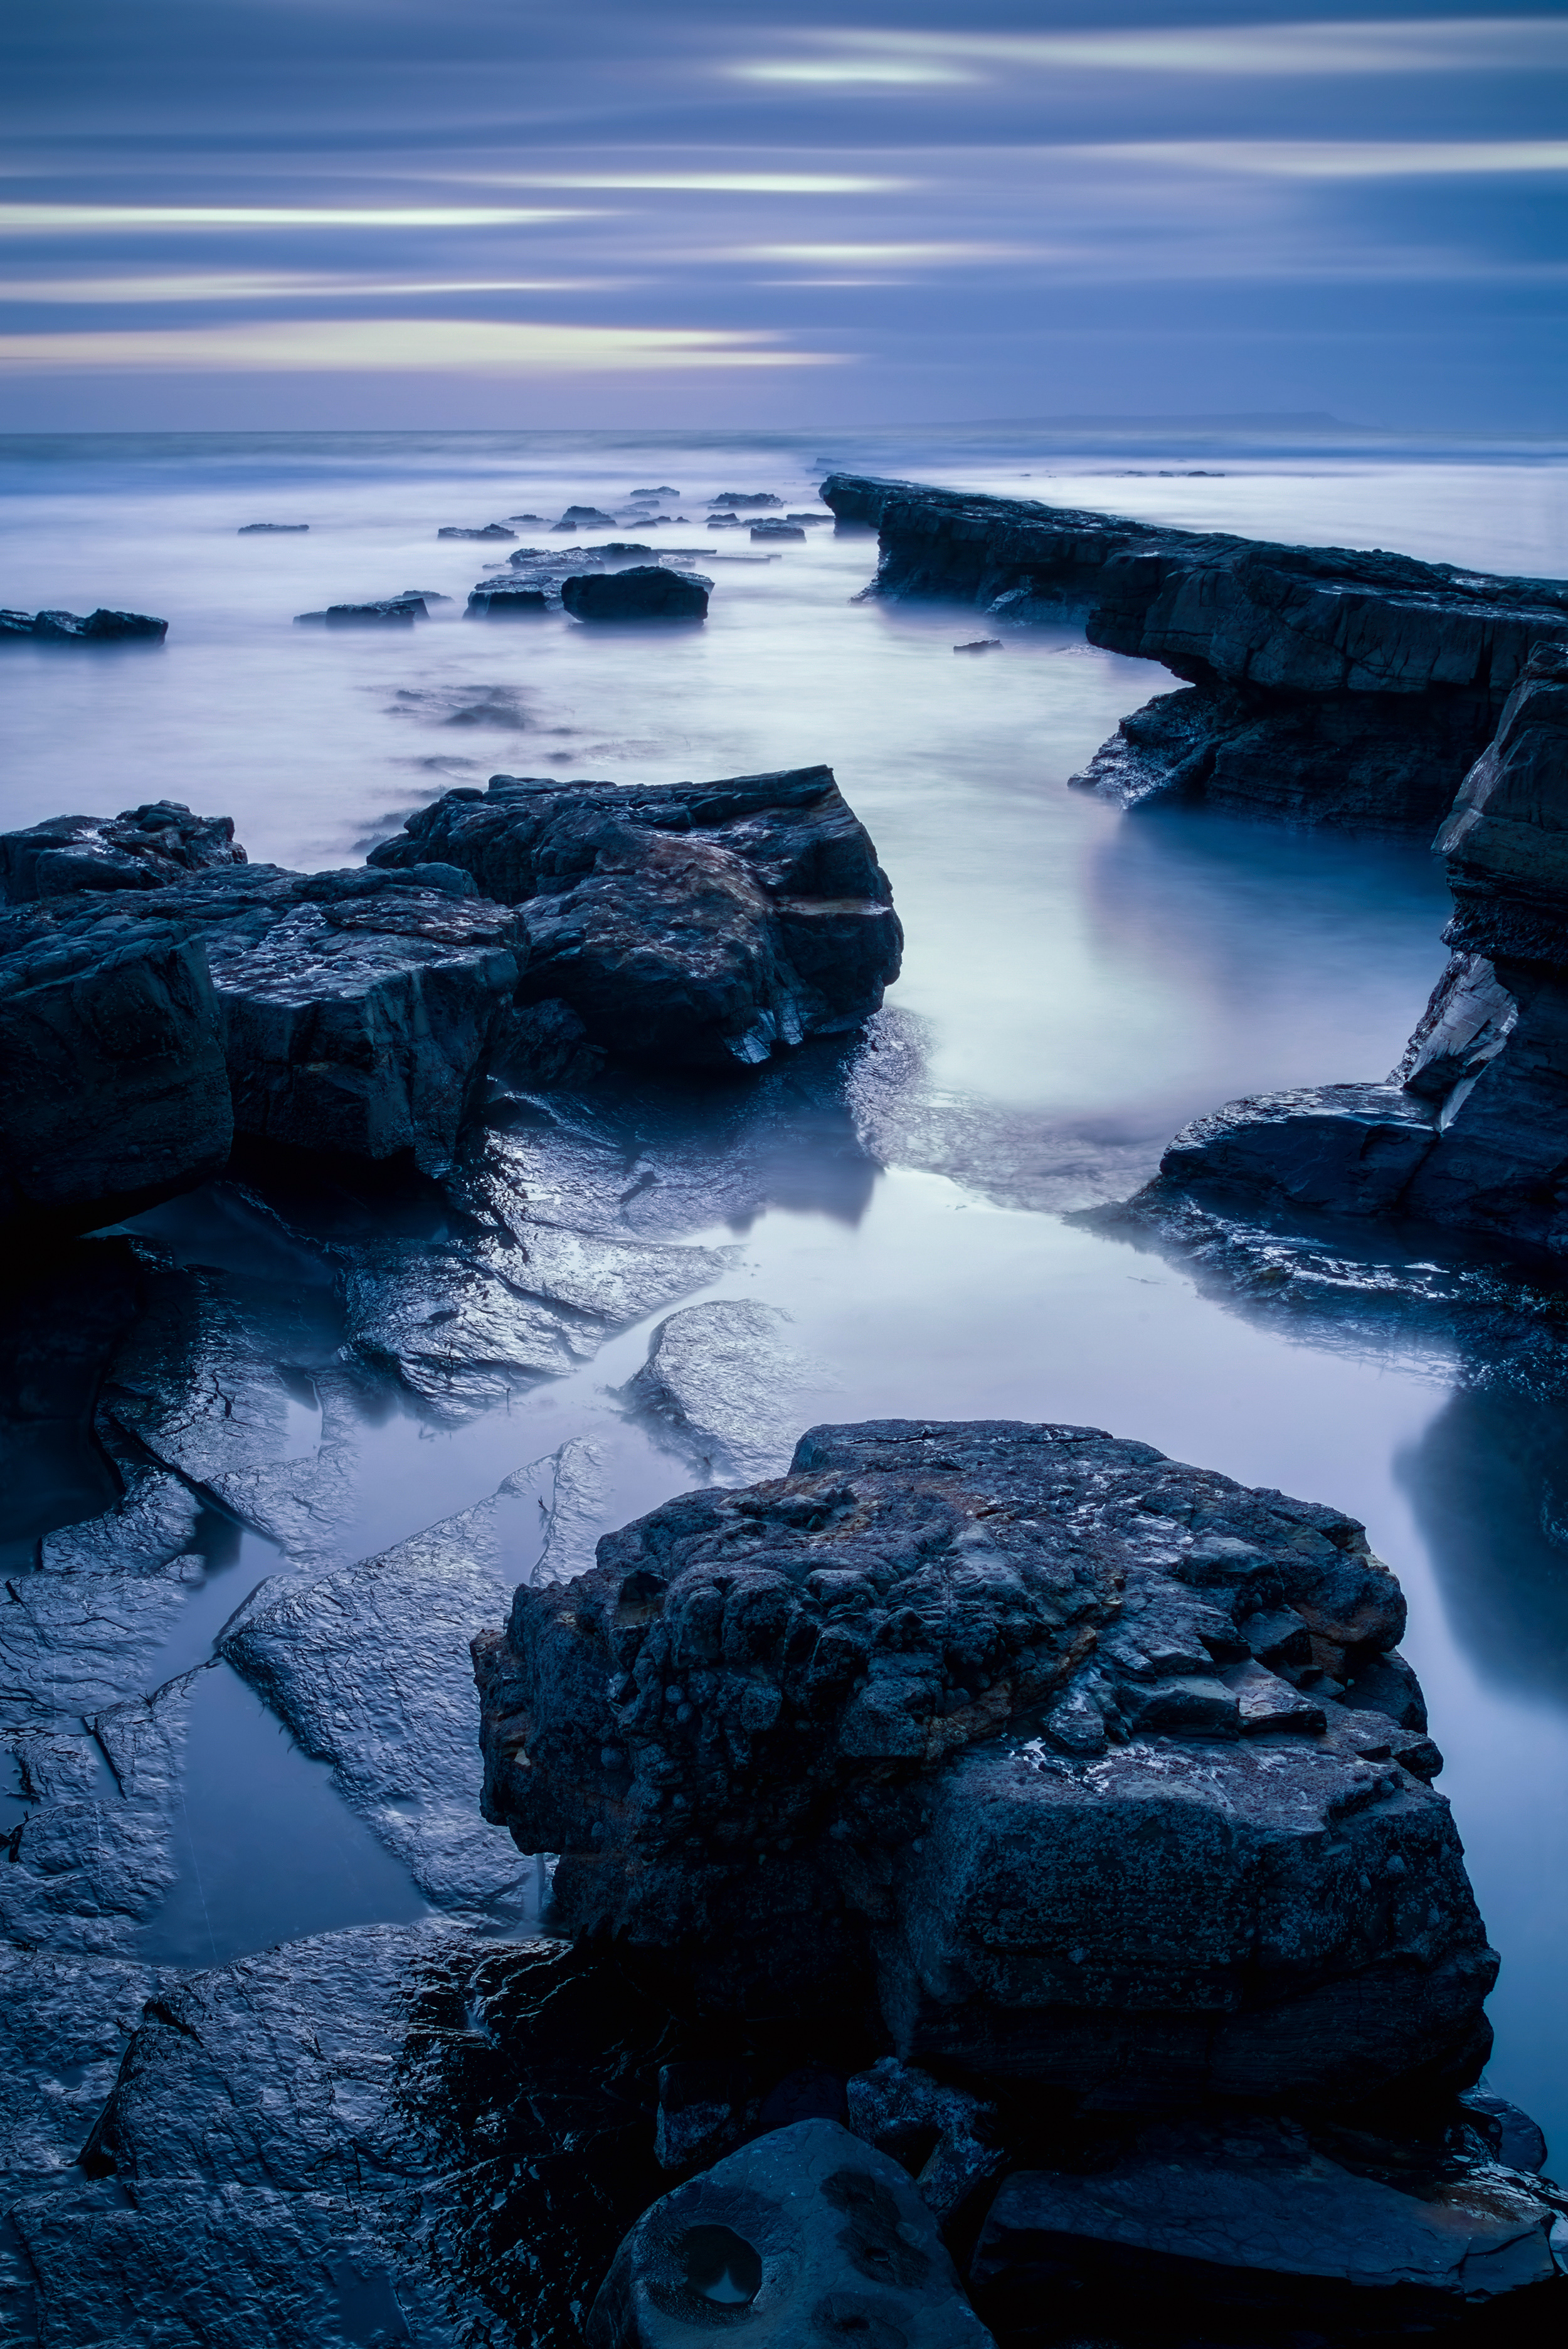
The sun has gone down and it’s getting dark, so time to head home, right? Absolutely not. Twilight brings with it a number of opportunities, but one you may want to hang around for is known as the ‘blue hour’.
It’s a period of time (not necessarily an hour), after sunset and the better-known ‘golden hour’ period have passed, where predominantly blue and violet wavelengths of light are reaching the Earth. While the sky may still contain flashes of red or orange, the ground will be bathed in soft blue light – and the result is very cool.
12. Inject a touch of drama
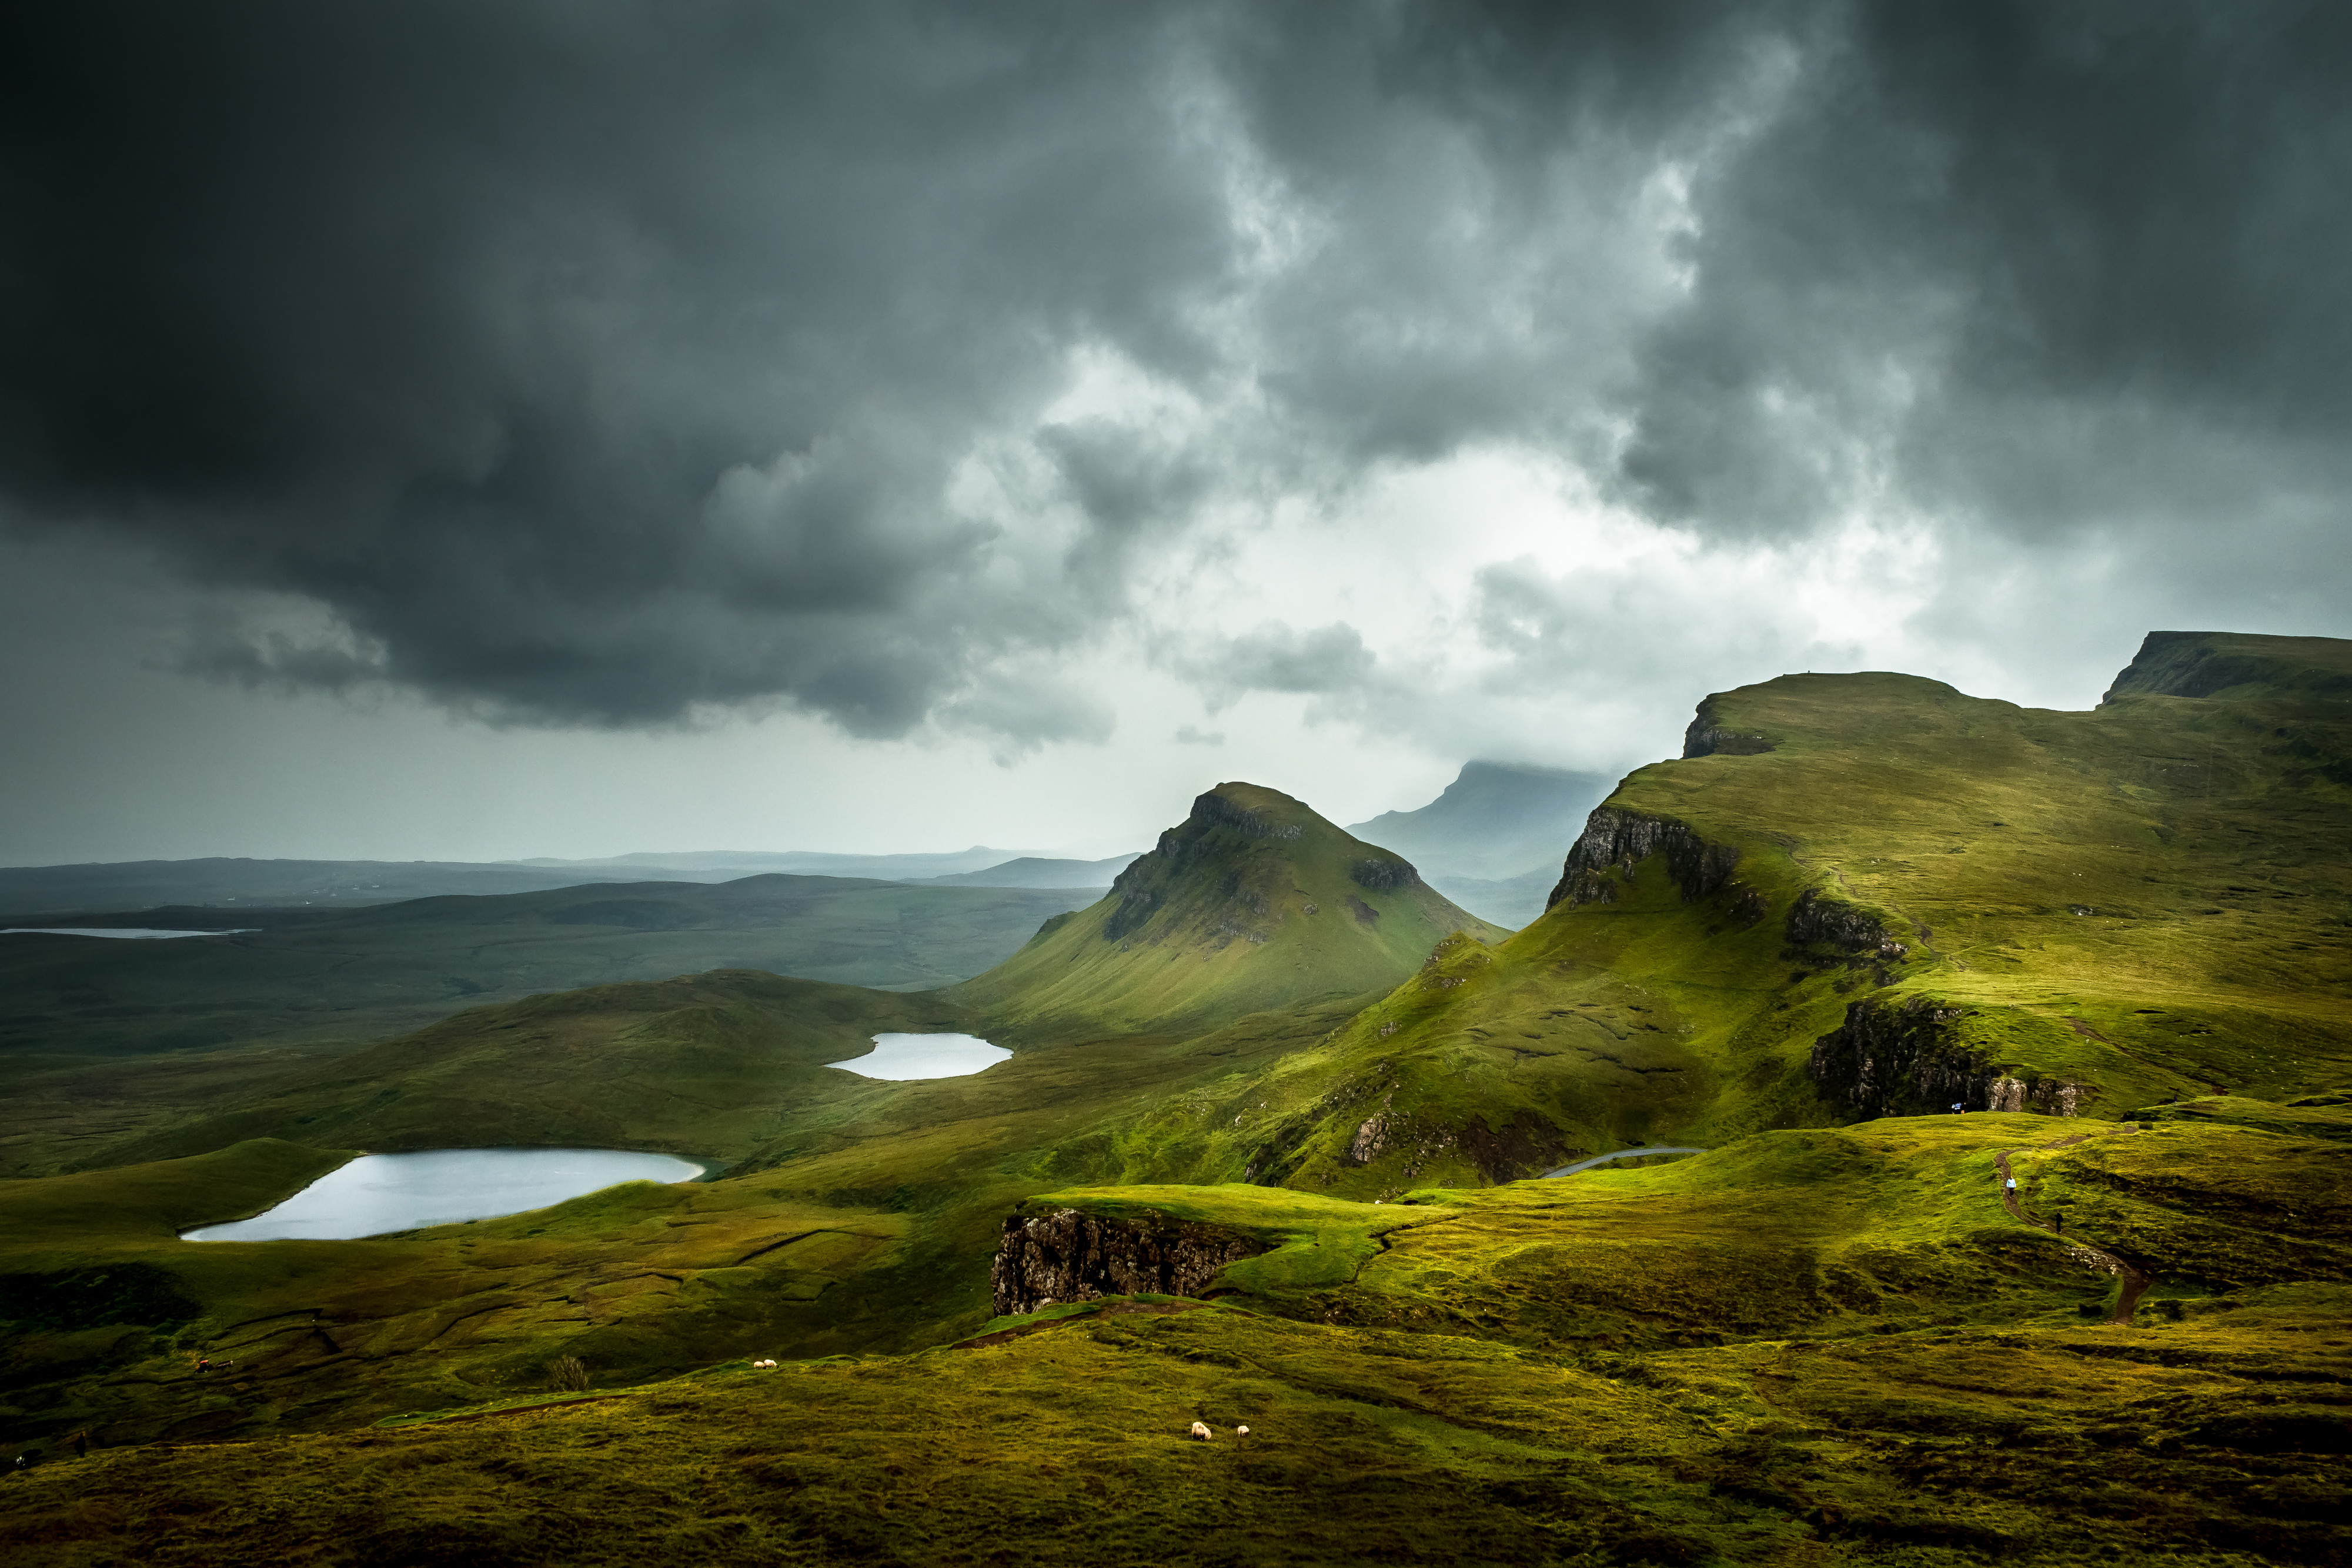
An overcast day may not provide a colourful sunrise or sunset, but what it can do is give you a full day of shooting. As long as the sky isn’t an endless expanse of grey and detail is present in the clouds, you can shoot incredibly moody images. And, of course, if the sun does happen to break through for a moment, it will look amazing.
- Learn more: How to take dramatic landscape photos
Composition tips
13. Create a visual balance

Alongside great light, the right weather conditions and a perfect exposure, composition is one of the most important aspects of landscape photography. Composition is simply a term to describe how elements of the scene are arranged within the image frame. There are a number of tricks or devices you can use to give your shots visual balance and draw the viewer into them.
The rule of thirds is the most basic, and also one of the most reliable compositional devices. It can be used in conjunction with the other devices we’ll be looking at, so consider it to be the foundation of your shots. By following this rule, your landscapes will have a true sense of balance that’s pleasing to the eye.
With the rule of thirds, you have to imagine that the frame is split into nine equal sections by two horizontal and two vertical lines.
The idea is that you position the main focal point of the image on one of the four points where these lines intersect. When you’re using foreground interest, positioning that area as well as the focal point according to the rule of thirds will result in a much more pleasing image. Equally, the horizon line could be positioned on either the top or bottom horizontal line when shooting in both portrait and landscape format.
Some cameras offer a rule-of-thirds grid in the viewfinder, or on the LCD screen when you shoot using Live View, so if you find it hard to imagine the grid, this is a great way to actually see it. The viewfinder setting will most likely be found within your camera’s custom function menu; with Live View, the Display button will toggle through the available display modes.
14. Step into images
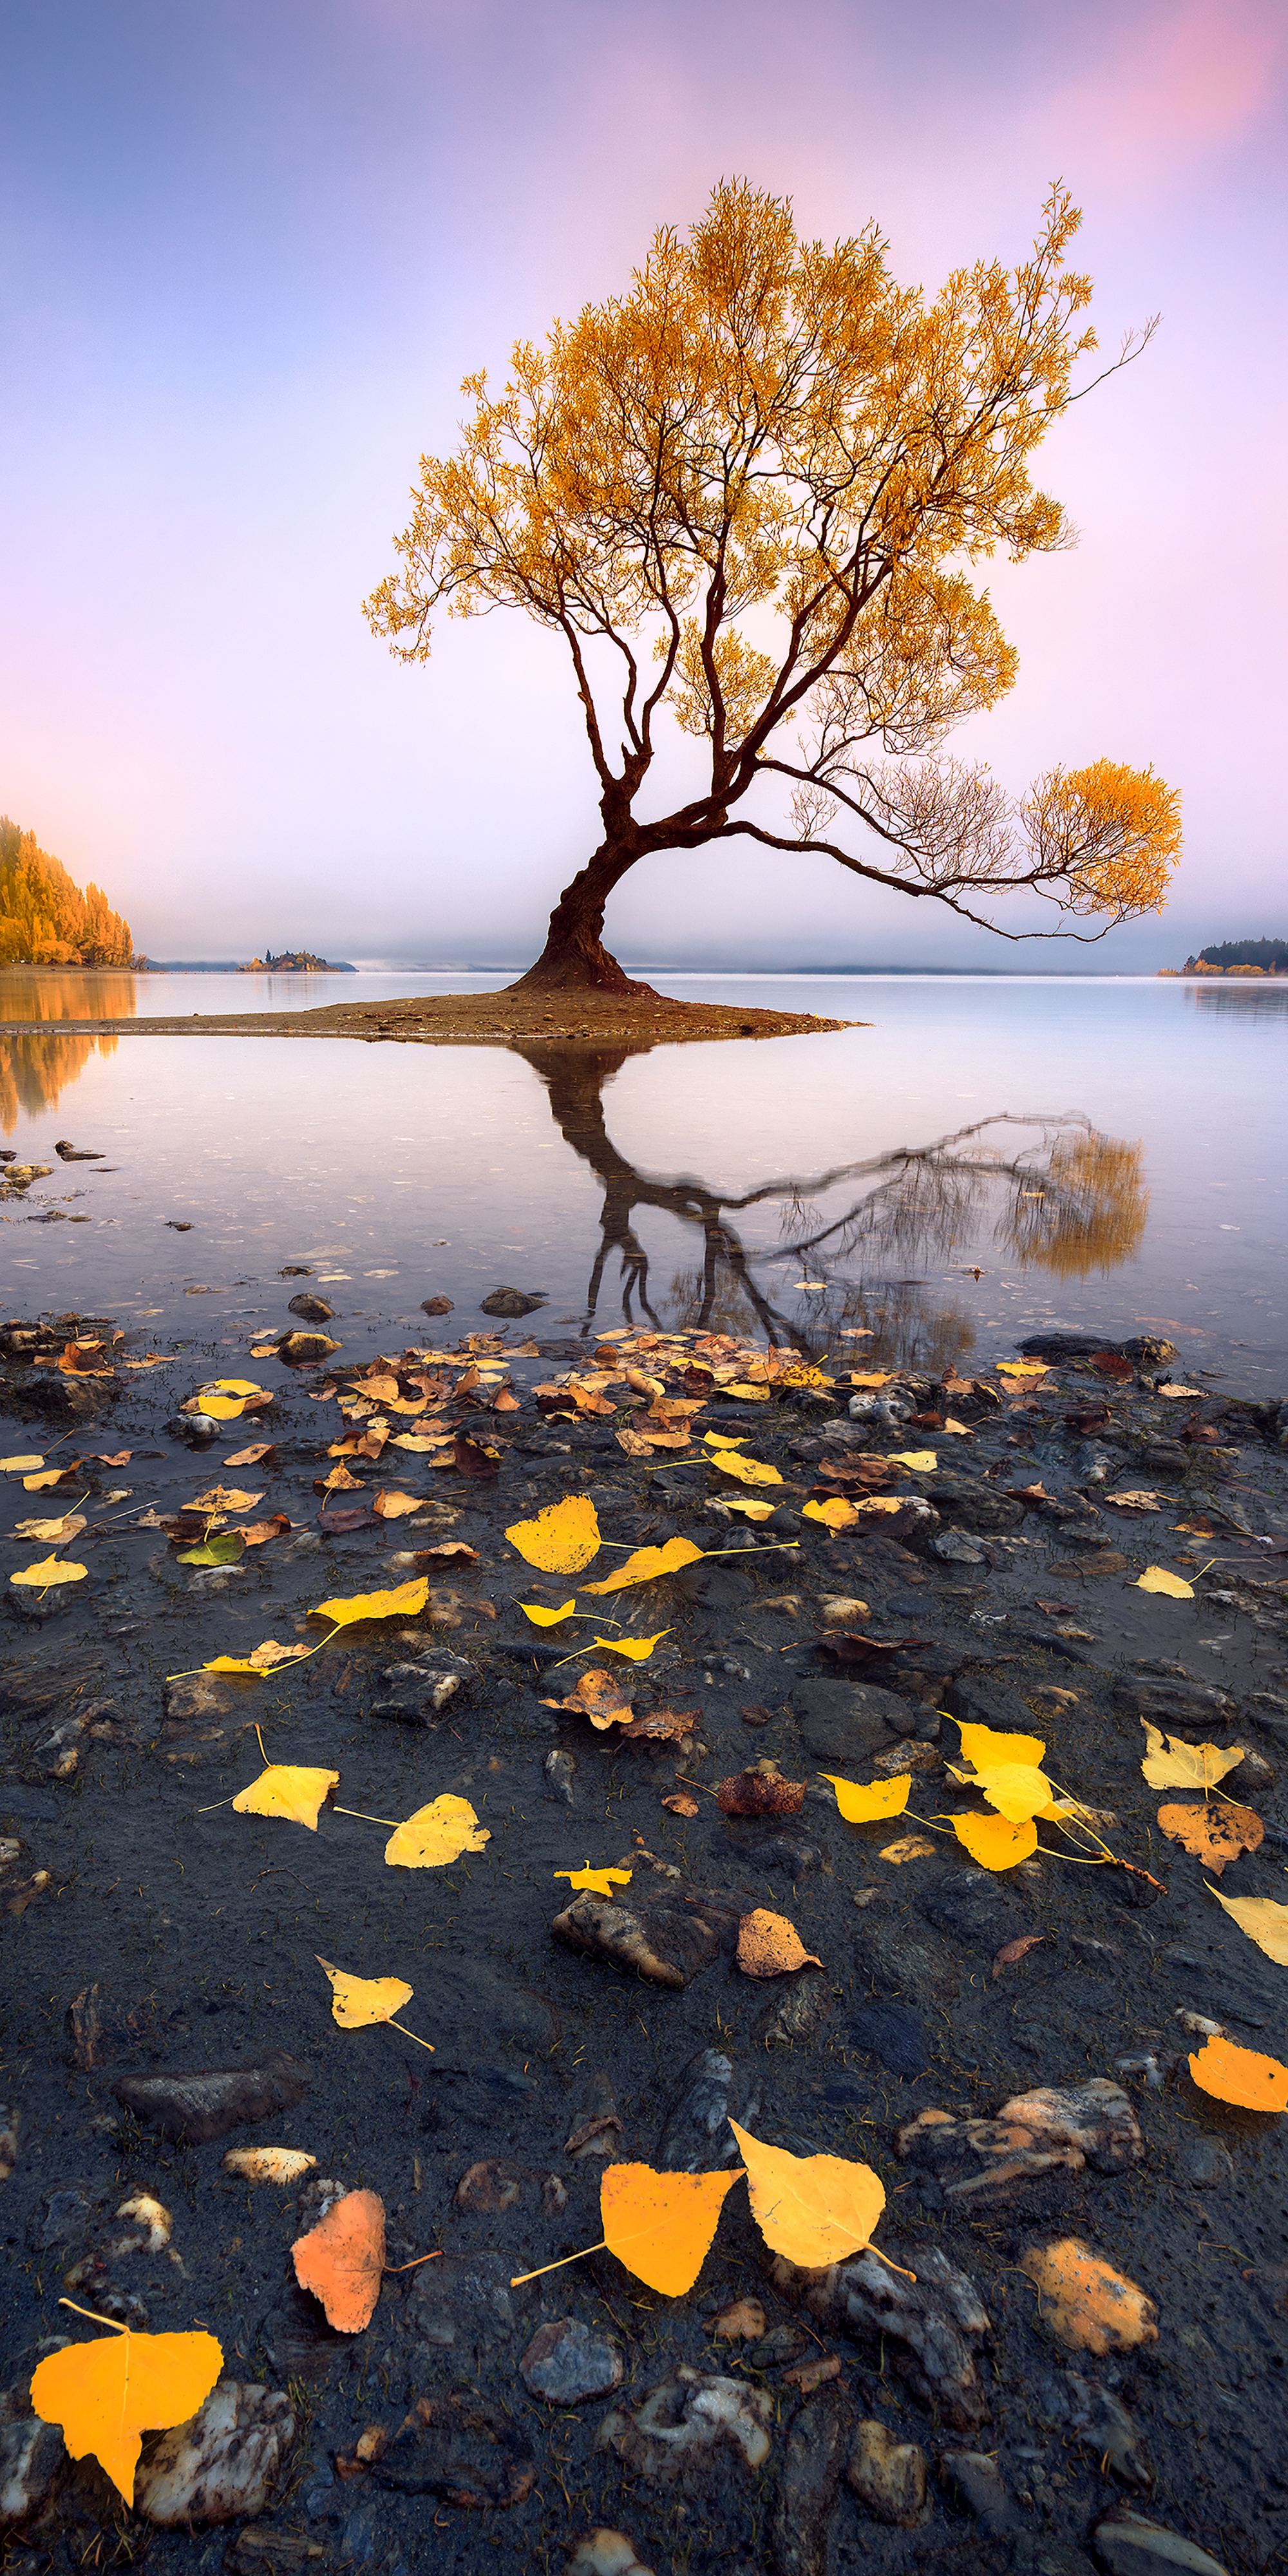
Foreground interest is a powerful compositional device that has the ability to make the foreground and background areas of images work in perfect harmony. By positioning an object such as a rock, water or anything that relates to the scene as a whole, you create a visual stepping stone – a starting point for the viewer’s eye to enter the image.
Don’t include a random object as foreground interest for the sake of it. It needs to have relevance to the scene, and ultimately complement it. And by composing the object using to the rule of thirds, you’ll keep balance and visual harmony.
15. Direct the viewer's eye
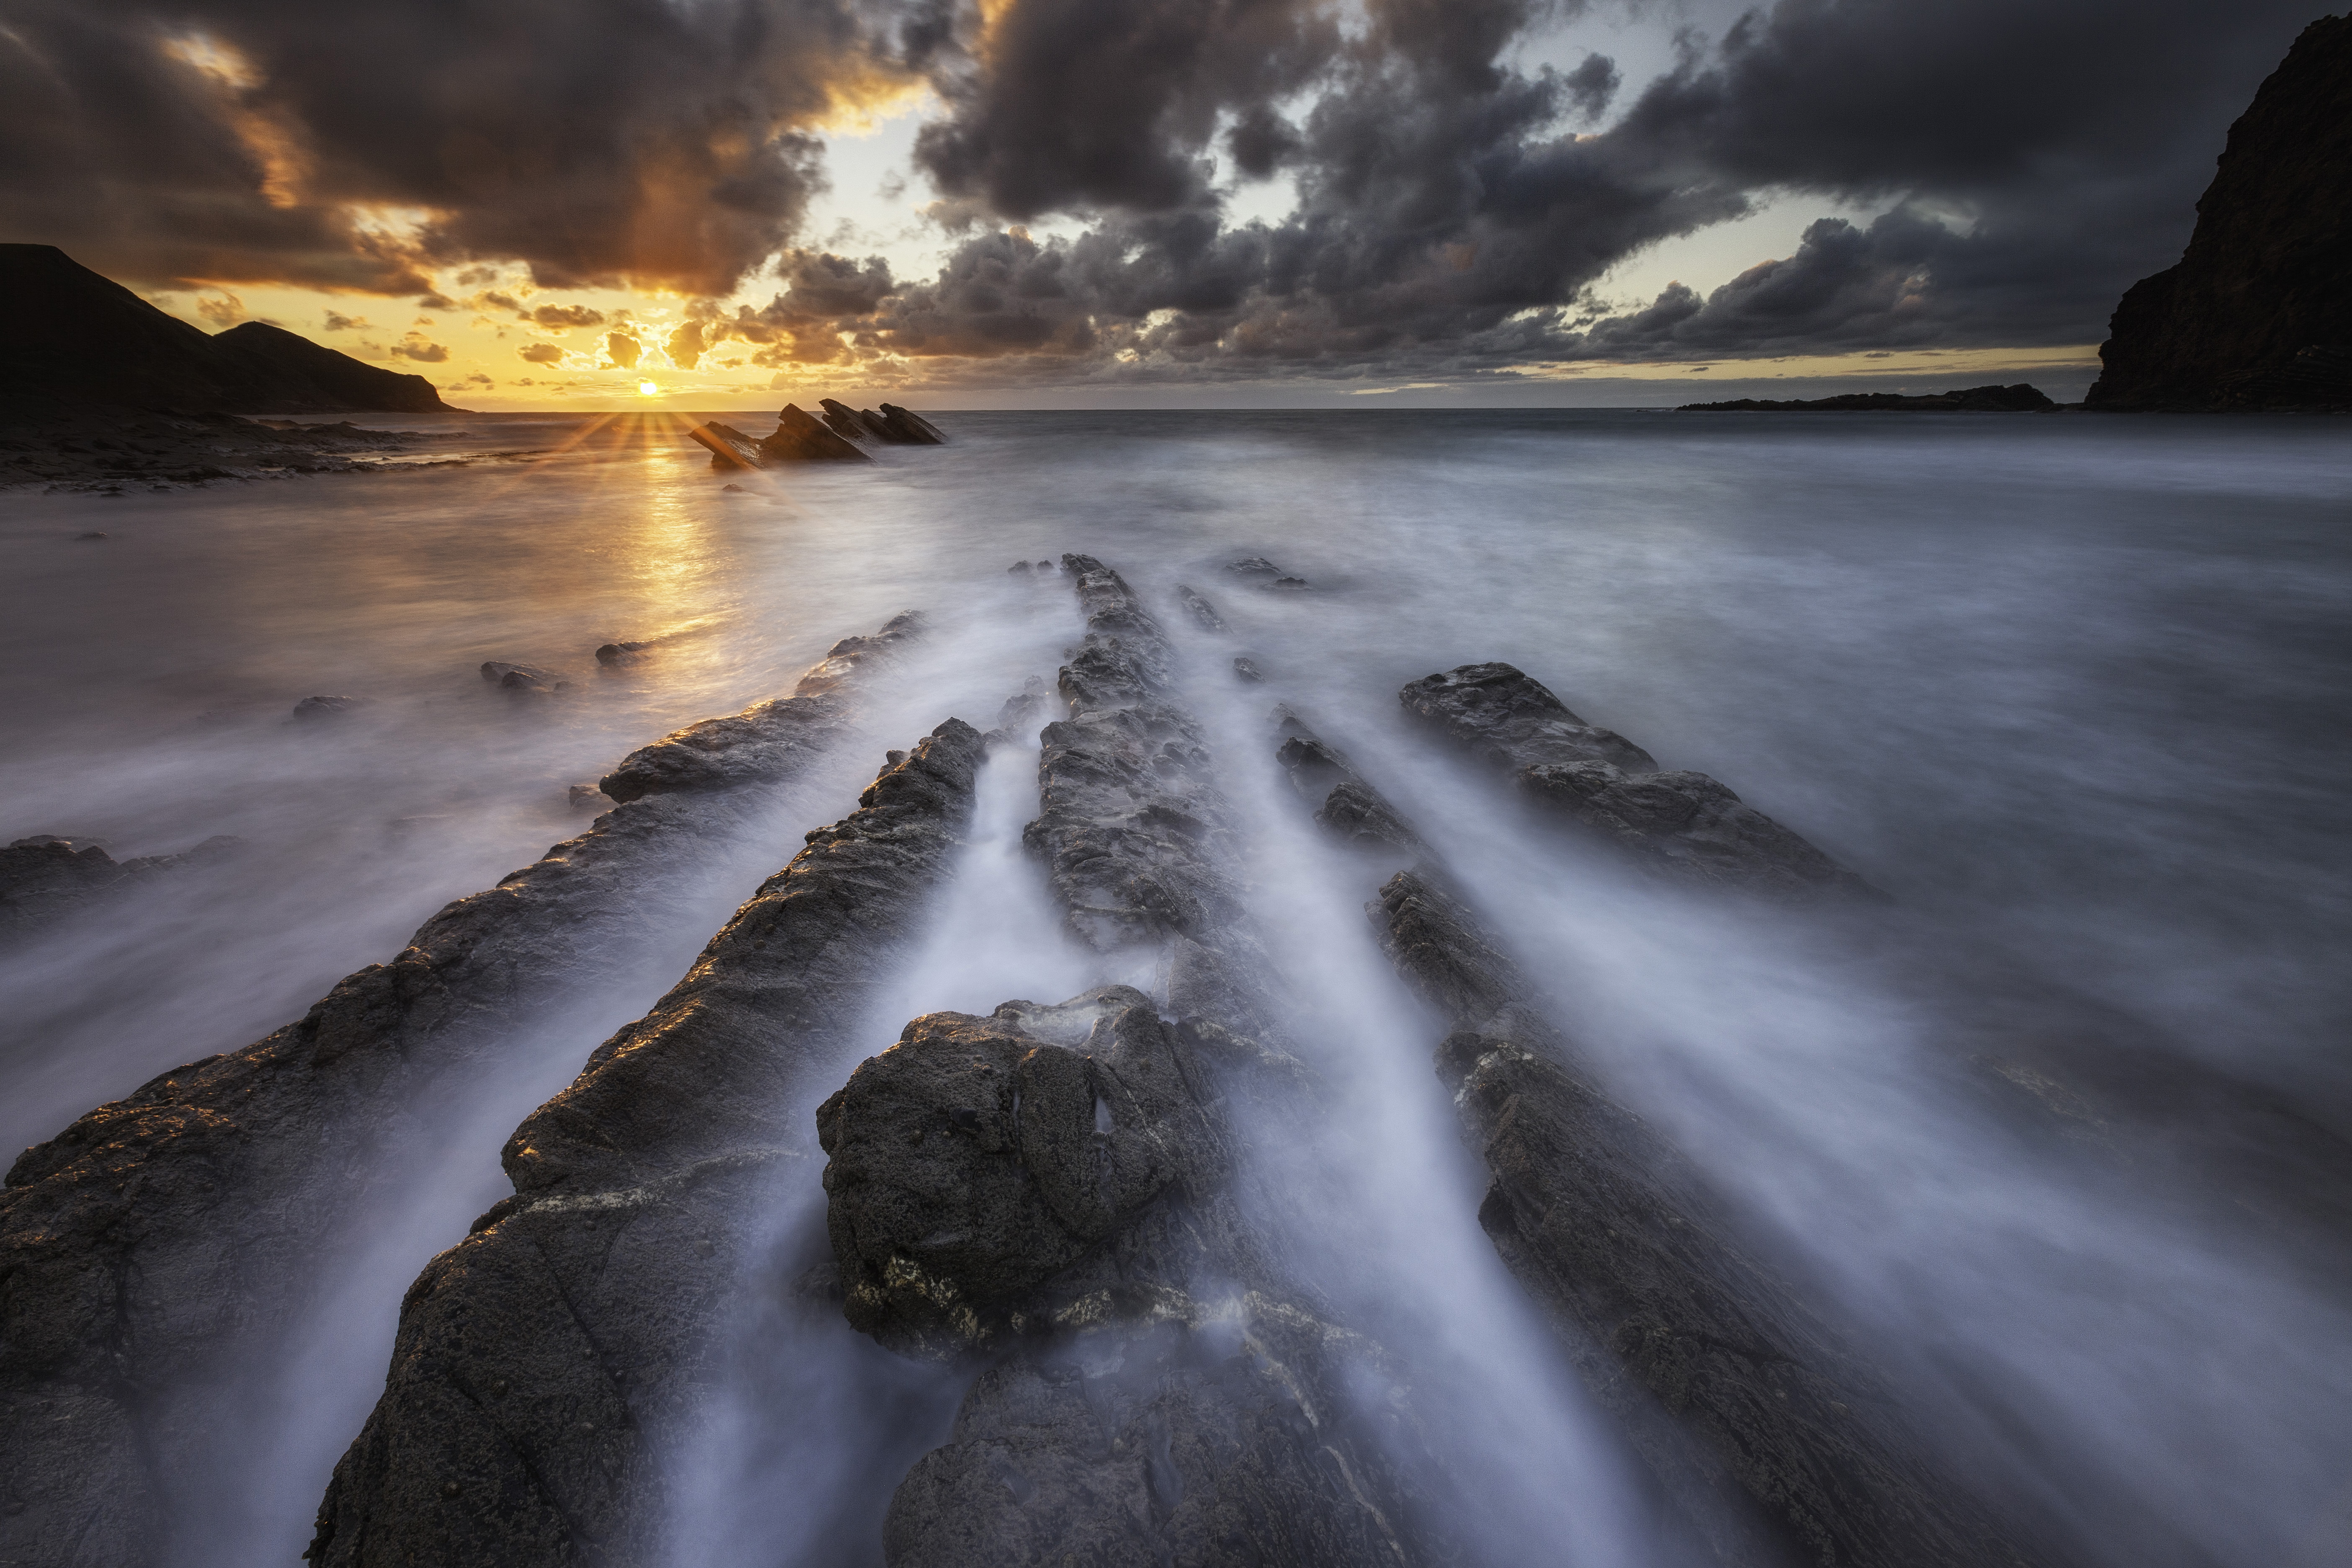
If you want to create dynamic landscape images that draw the viewer into and through your images, lead-in lines are an amazing compositional device to employ.
You’ll need a strong linear element in the scene, such as a wall, a road, rocks or a bridge. By positioning this element so it begins in the bottom third of the frame, ideally right at the bottom, you can compose the shot so the lines aim towards the focal point in the image. In some situations, lead-in lines can also act as foreground interest.
16. Capture a wider view
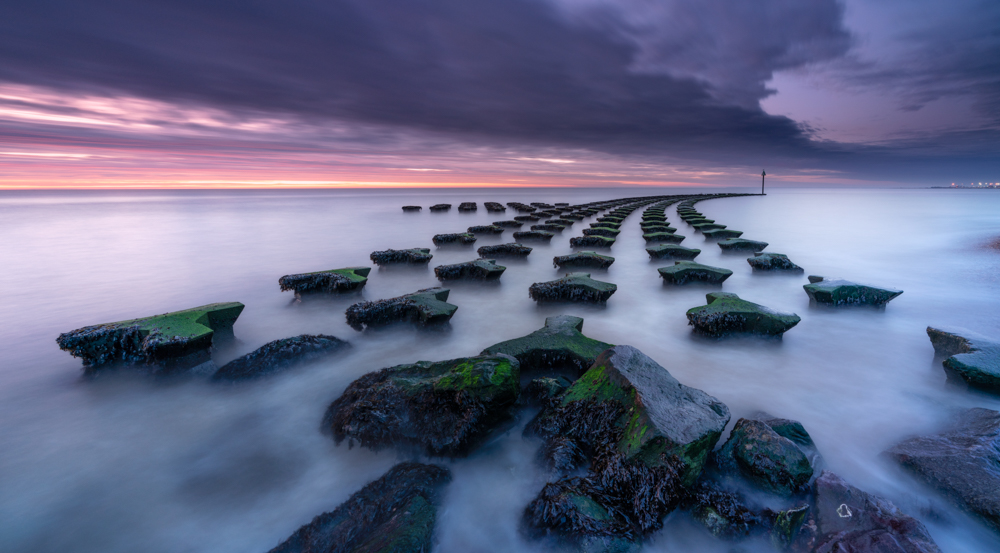
One of the best ways to extend the field of view of a lens is to shoot a series of overlapping exposures with the camera in portrait orientation to create panoramic images. This method provides the greatest resolution possible, but sometimes this approach is unnecessary if you simply want to increase the field of view slightly.
In situations where you can’t quite get everything into the composition with the wide-angle lens you’re shooting with when the camera is in landscape orientation, take a two-shot panoramic image by rotating the tripod head slightly to get more of the scene in. These can be merged in seconds using Lightroom, and the result can be as dramatic as capturing a scene with a 12mm field of view with a 16mm lens, for instance. For portrait format images that require a wider field of view, shoot a vertical pano with the camera in landscape orientation.
17. Break the rules
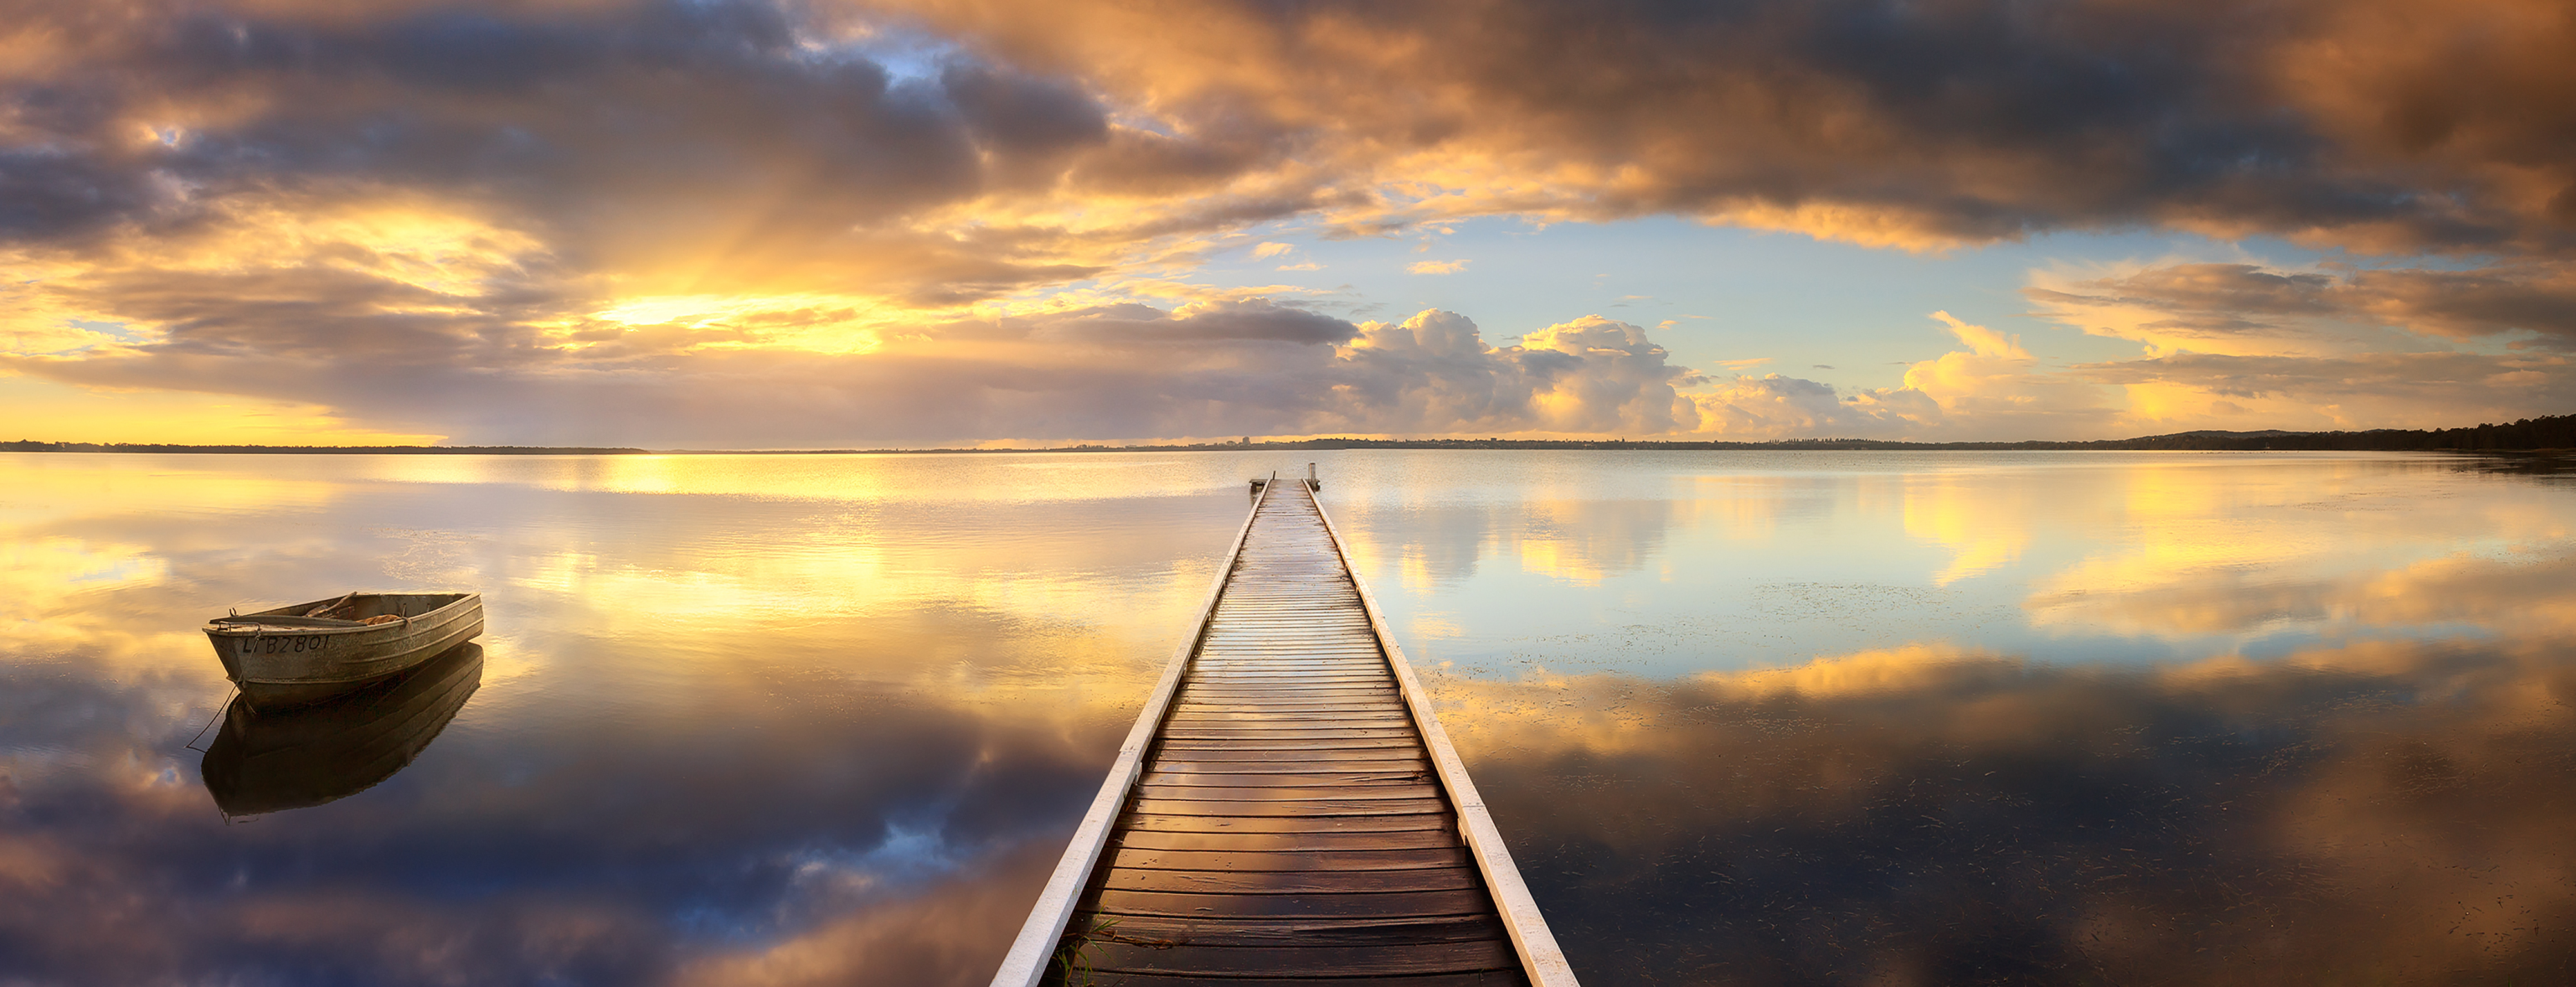
We’ve looked at some of the rules and devices that can be used to make your landscape scenes look fantastic. But aren’t all rules made to be broken?
Once you learn how to use the rule of thirds, it often becomes second nature, but there are times when completely ignoring it and composing with the main subject or the horizon line in the centre of the frame produces the most eye-catching image possible.
You’ll discover that the best types of scenes to compose centrally are those where there’s an obvious element of natural symmetry, such as a pier, lavender fields or lone trees.
18. Discover minimalism
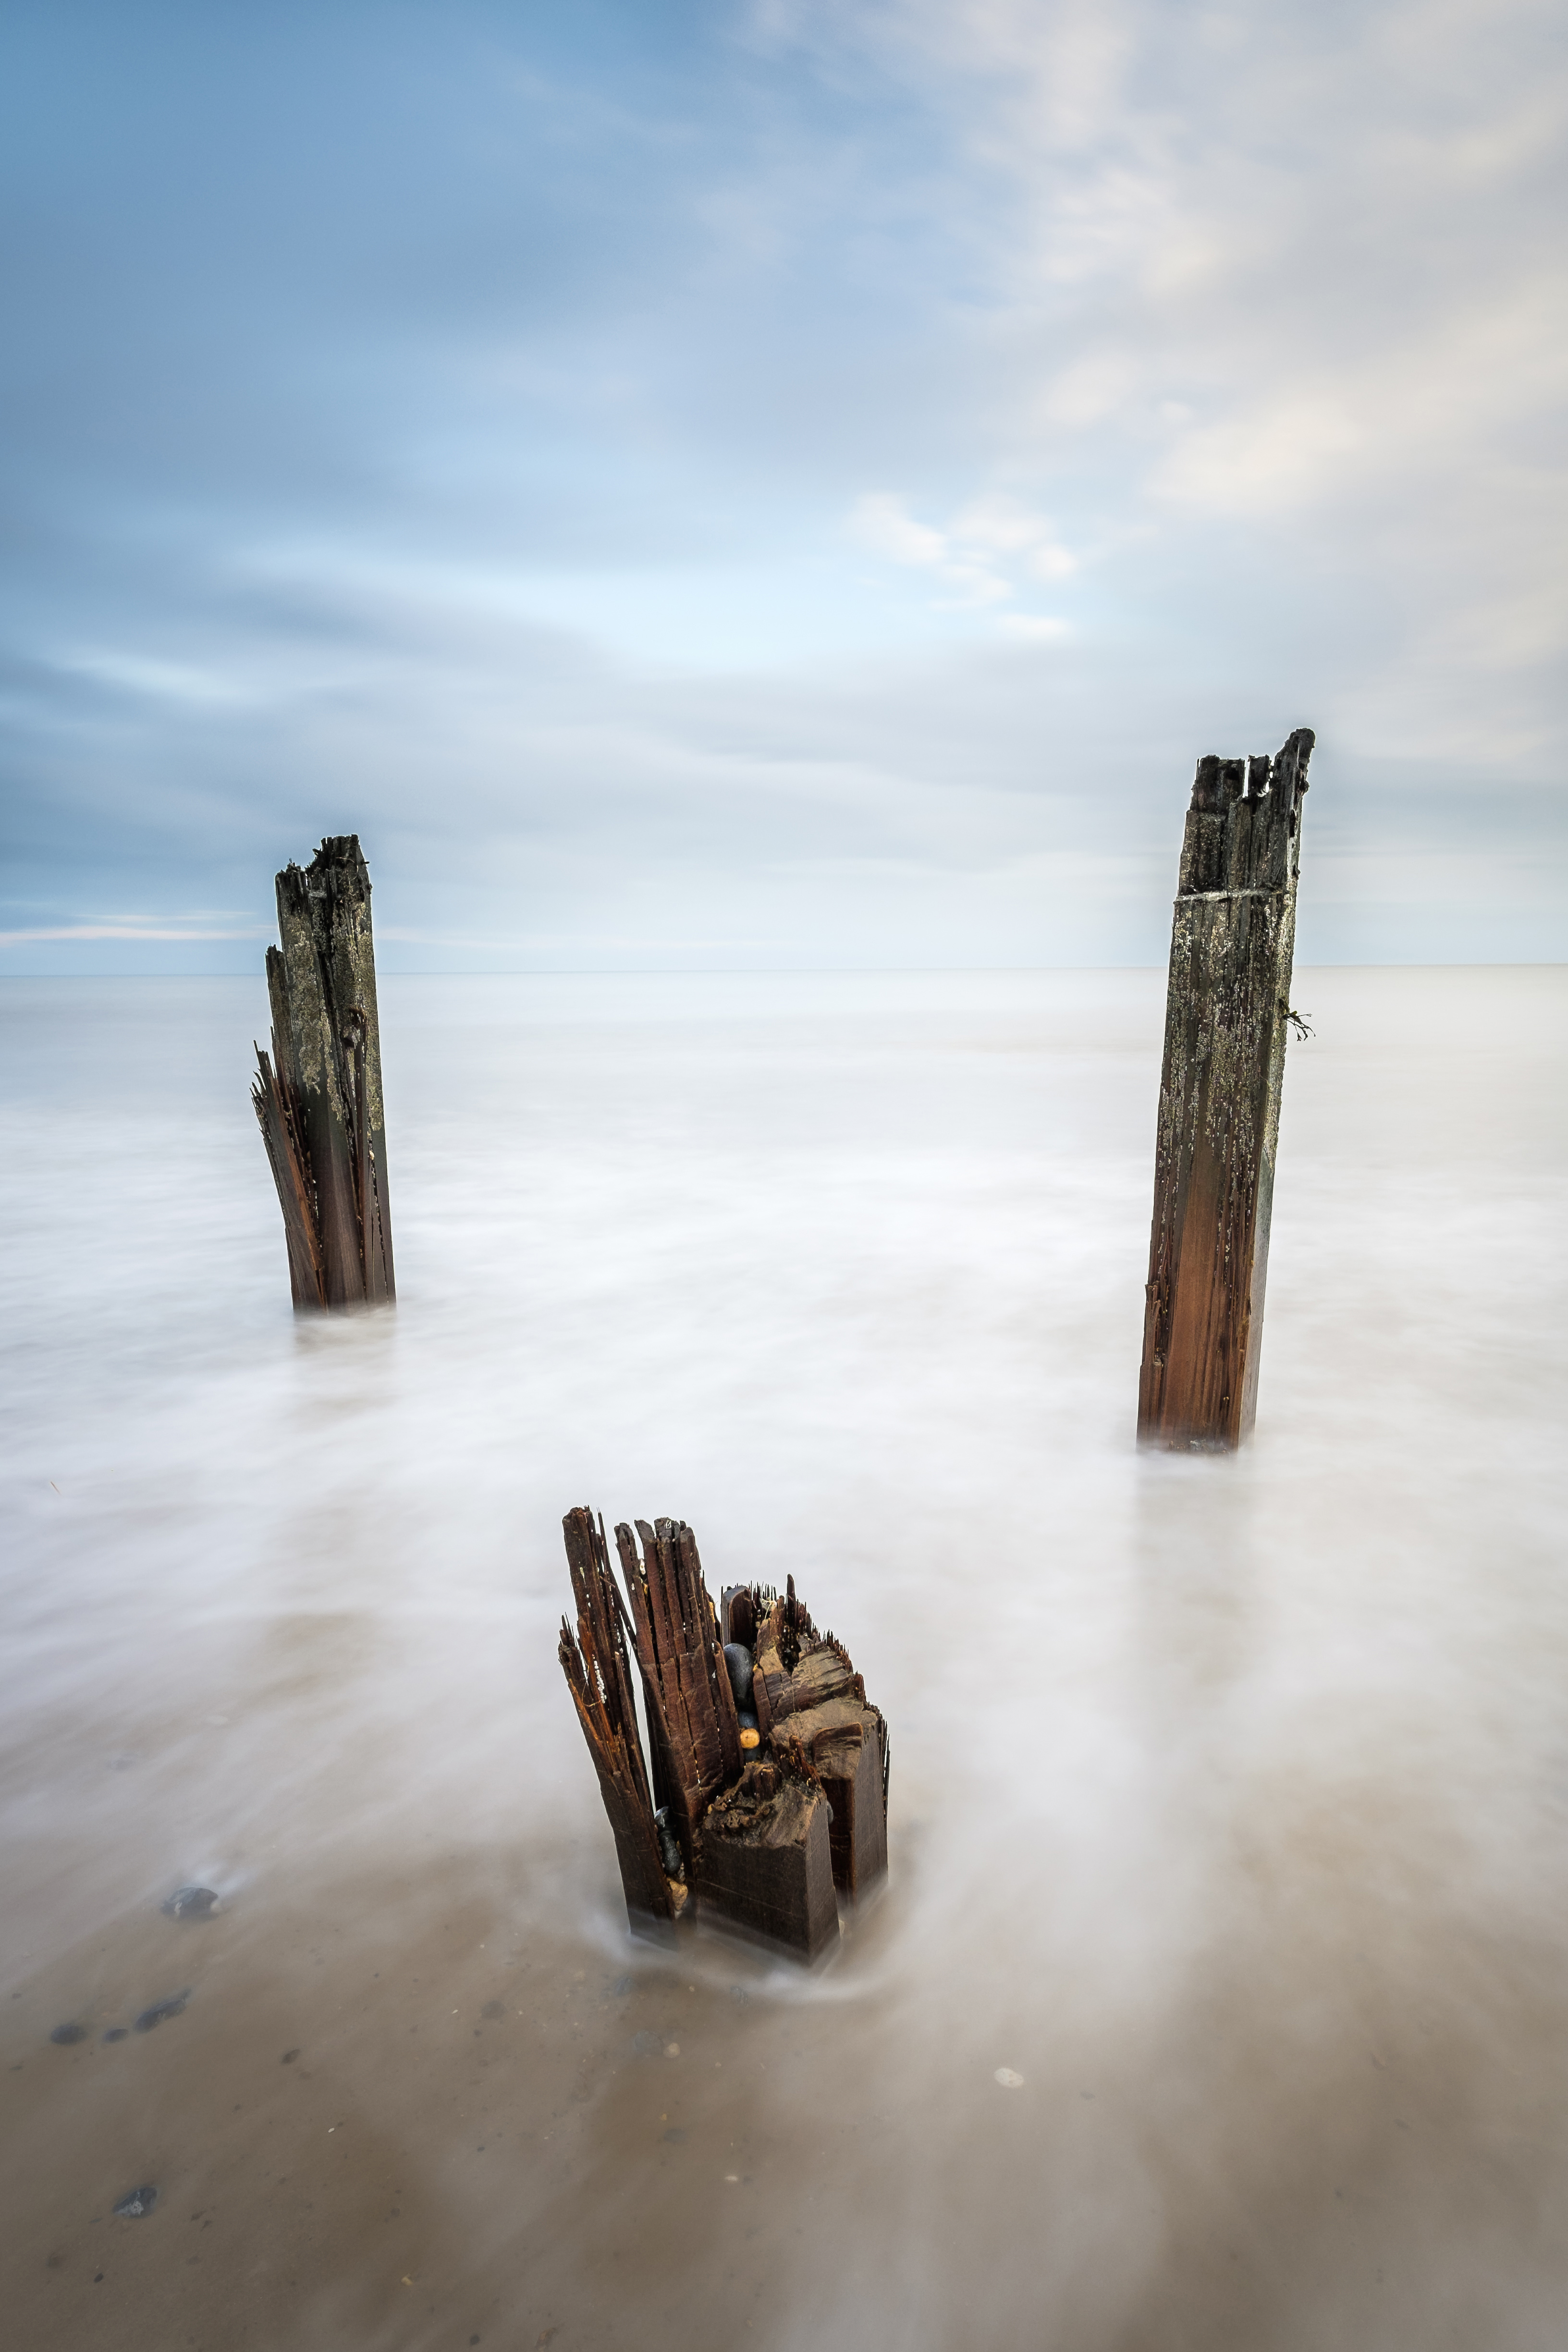
Minimal landscapes can look amazing. They can be just as compelling as a classic landscape scene bursting with detail and light. In photography and art there’s a compositional idea called ‘the rule of threes’: the premise behind it is simply that three objects are more visually pleasing than two or four.
So when you’re shooting minimalist landscapes, if you don’t have a lone tree or a single derelict groyne on a beach, try to find three. Give it a try – we’re sure you’ll agree that the rule of threes really is a winning formula.
- Learn more: The 10 rules of photo composition
19. Use framing
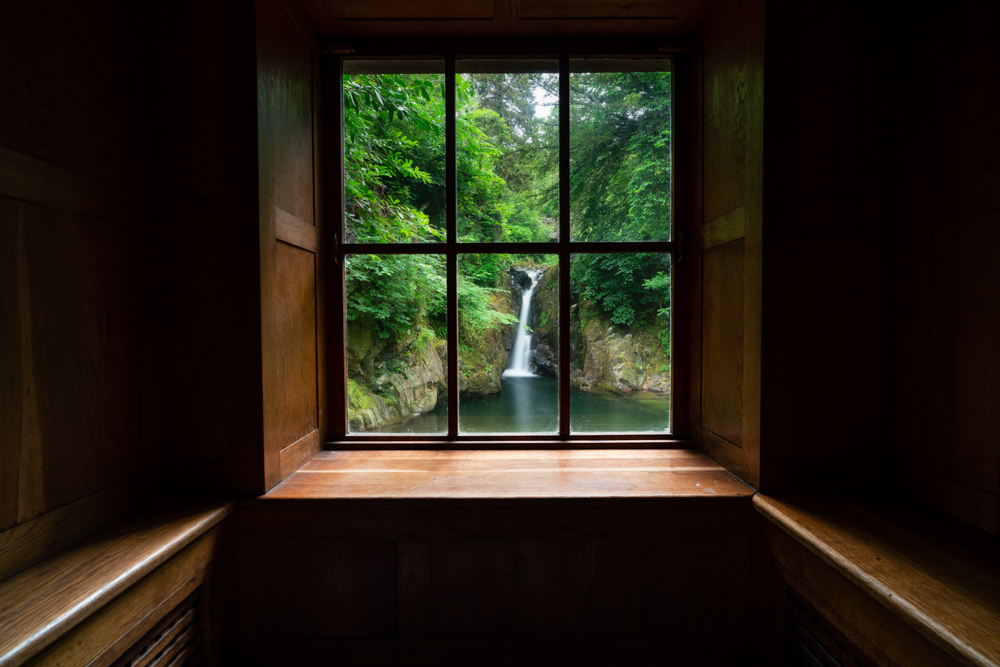
Framing is a technique where you can use manmade or natural elements to frame a subject within the wider scene by composing so the element occupies the area around the subject. The overall effect of this is that it emphasizes the focal point in the scene and draws the viewers’ eye to it, and can also be used to ‘tidy up’ messy elements around the focal point.
Framing is a technique that relies on the existence of elements such as trees, a ruin or a window, like in our example here, so you can’t apply it in all situations. But when available it can be a powerful and visually striking compositional device.
Try something different
20. Get creative with camera movements
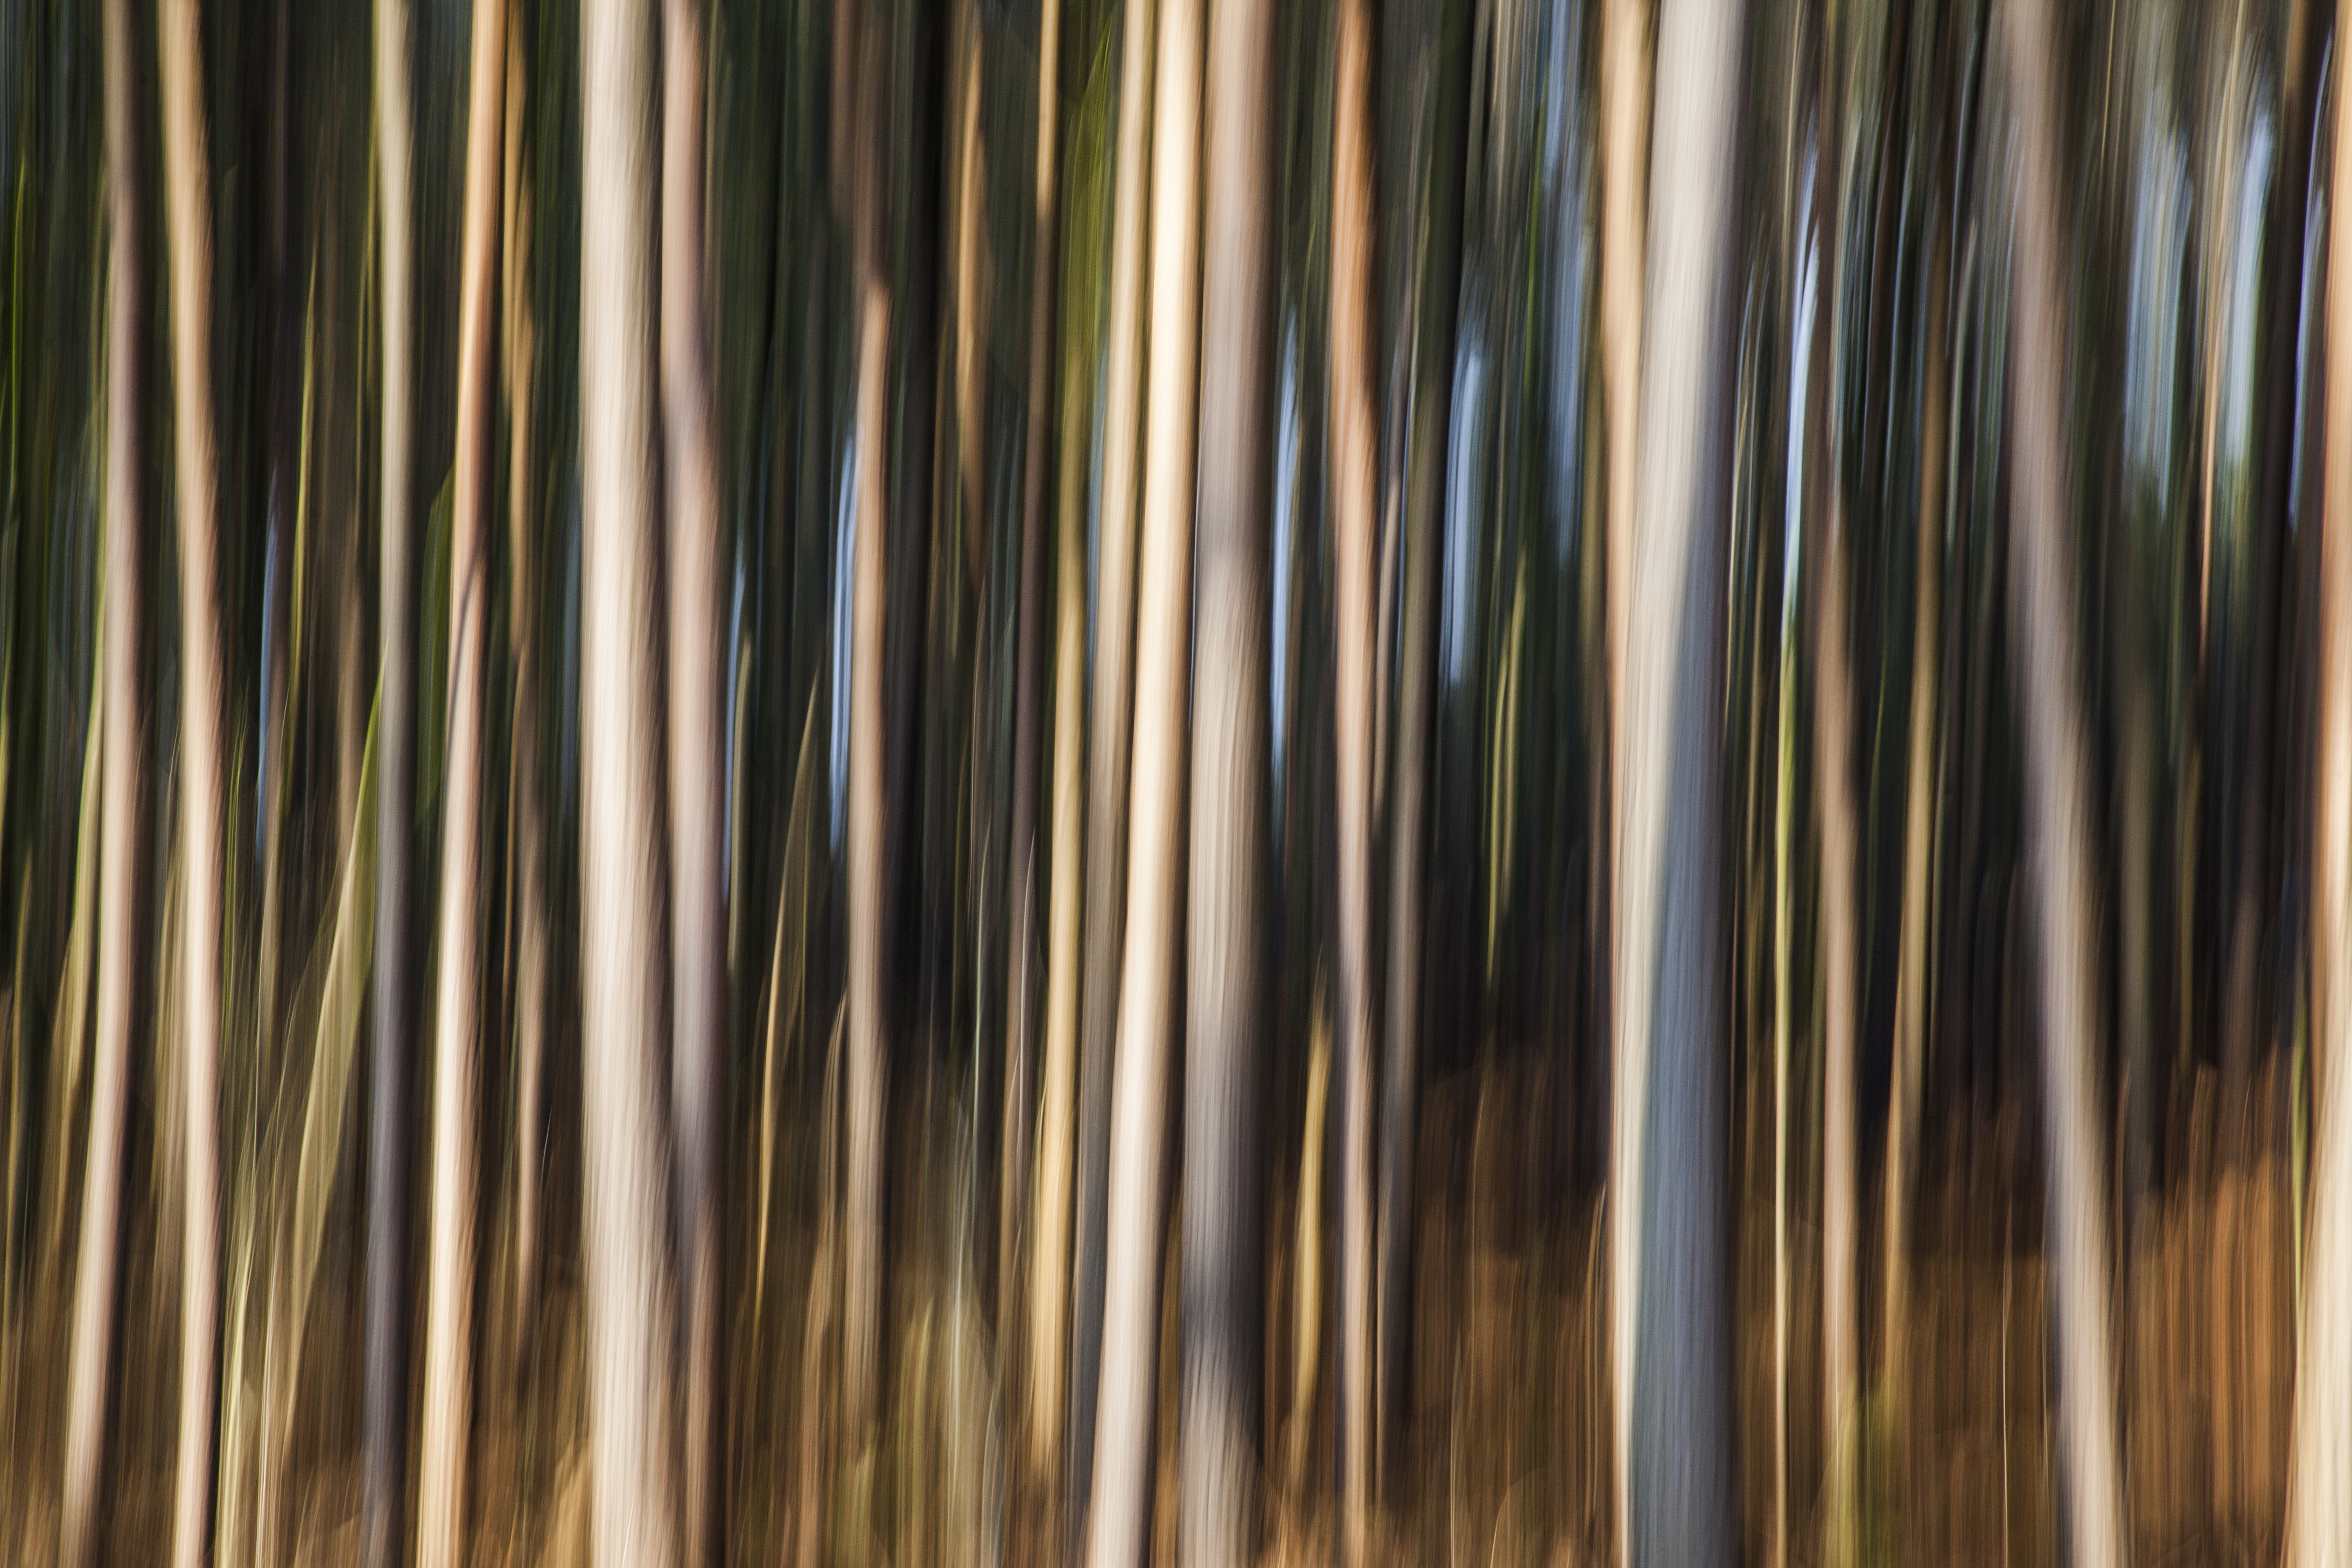
Landscape photography is usually all about capturing sharp images. When motion blur is included, it’s often to blur moving elements, such as water. To capture the whole landscape as a dynamic blur, you have to turn the way you shoot on its head. Set the camera to Shutter Priority at 1/8 sec with ISO at 100; these settings will work perfectly for both techniques below.
Panning landscapes is where you move the camera across or vertically during the exposure. A vertical pan works best for trees; for coastal shots, try a horizontal pan.
A zoom burst is where you zoom the lens into the subject you’re photographing and focus. You then begin to smoothly zoom out while releasing the shutter. Experiment with the zoom speed for the best results.
21. Create starbursts
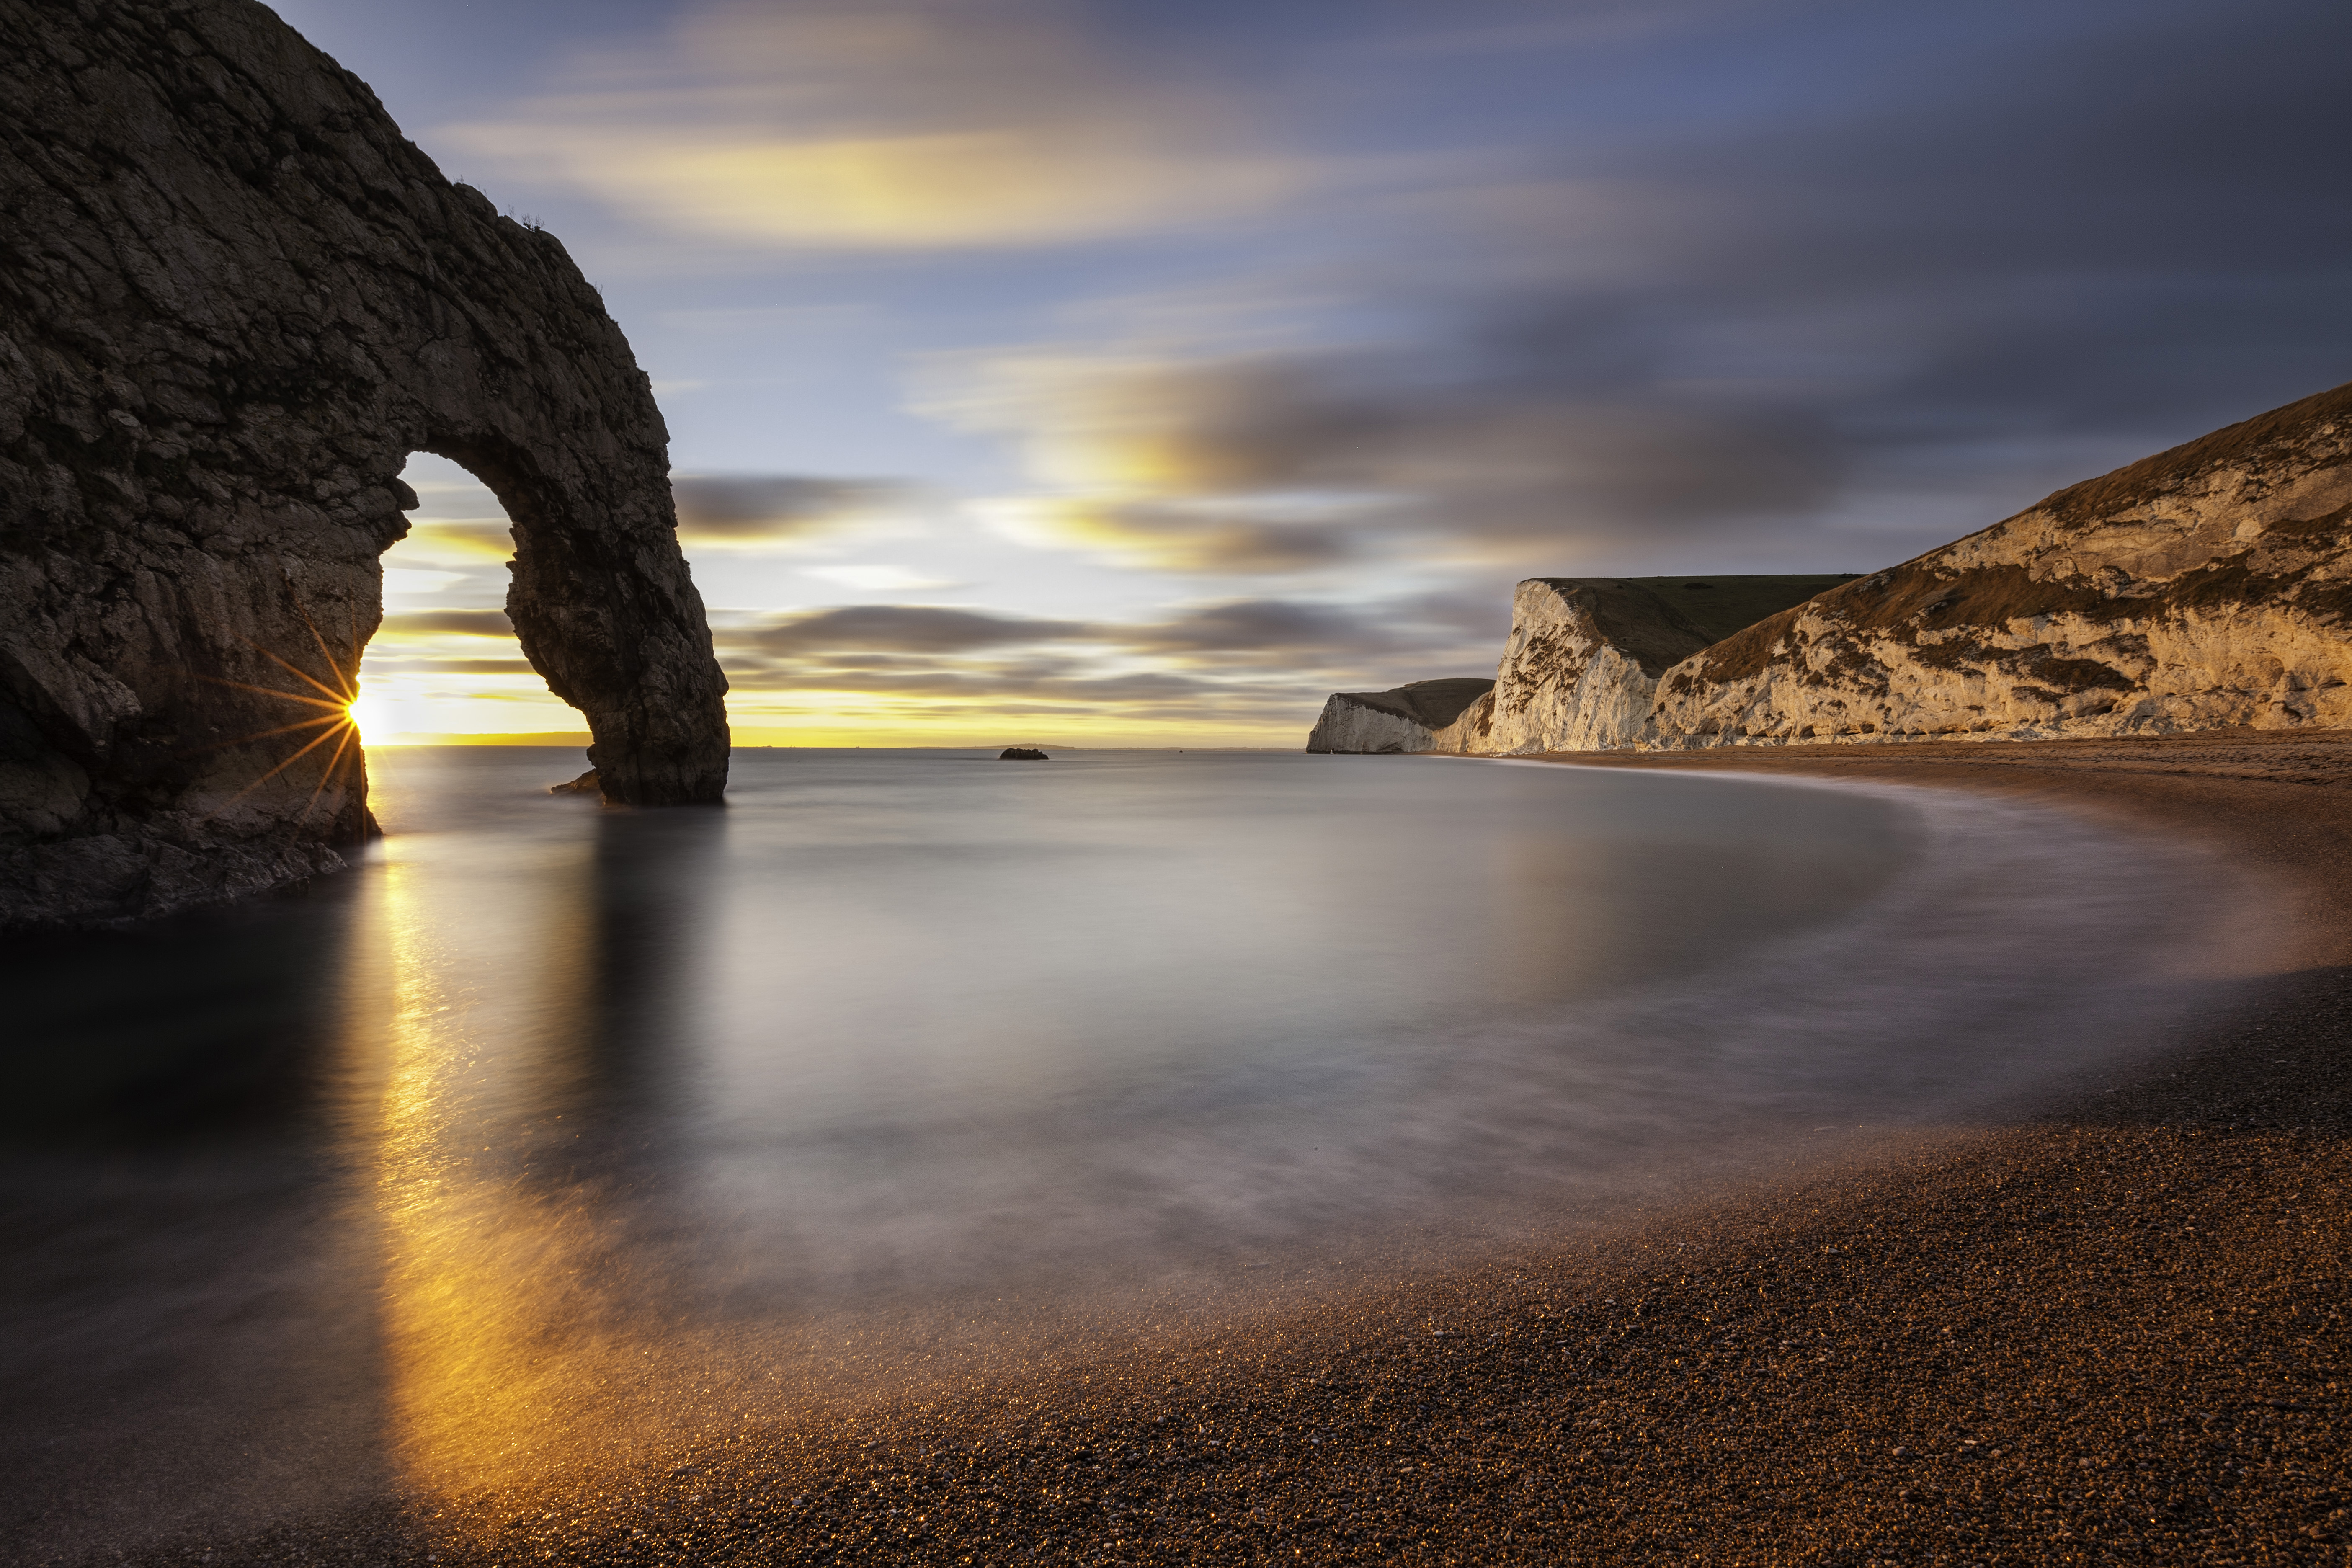
When you shoot at sunrise or sunset, the sun will be extremely bright when it’s just above the horizon. The light will still be soft and colourful, but the bright sun can make shooting difficult. One way to overcome the problem, and to apply a stunning effect, is to create a starburst. To do this, either position yourself so the sun is partially obscured by something, or shoot when the sun is just peeking over the horizon line. Now with the aperture set to either f/16 or f/22, the bright light will be captured as a star. It really is that simple – no filters required.
22. Look for symmetry
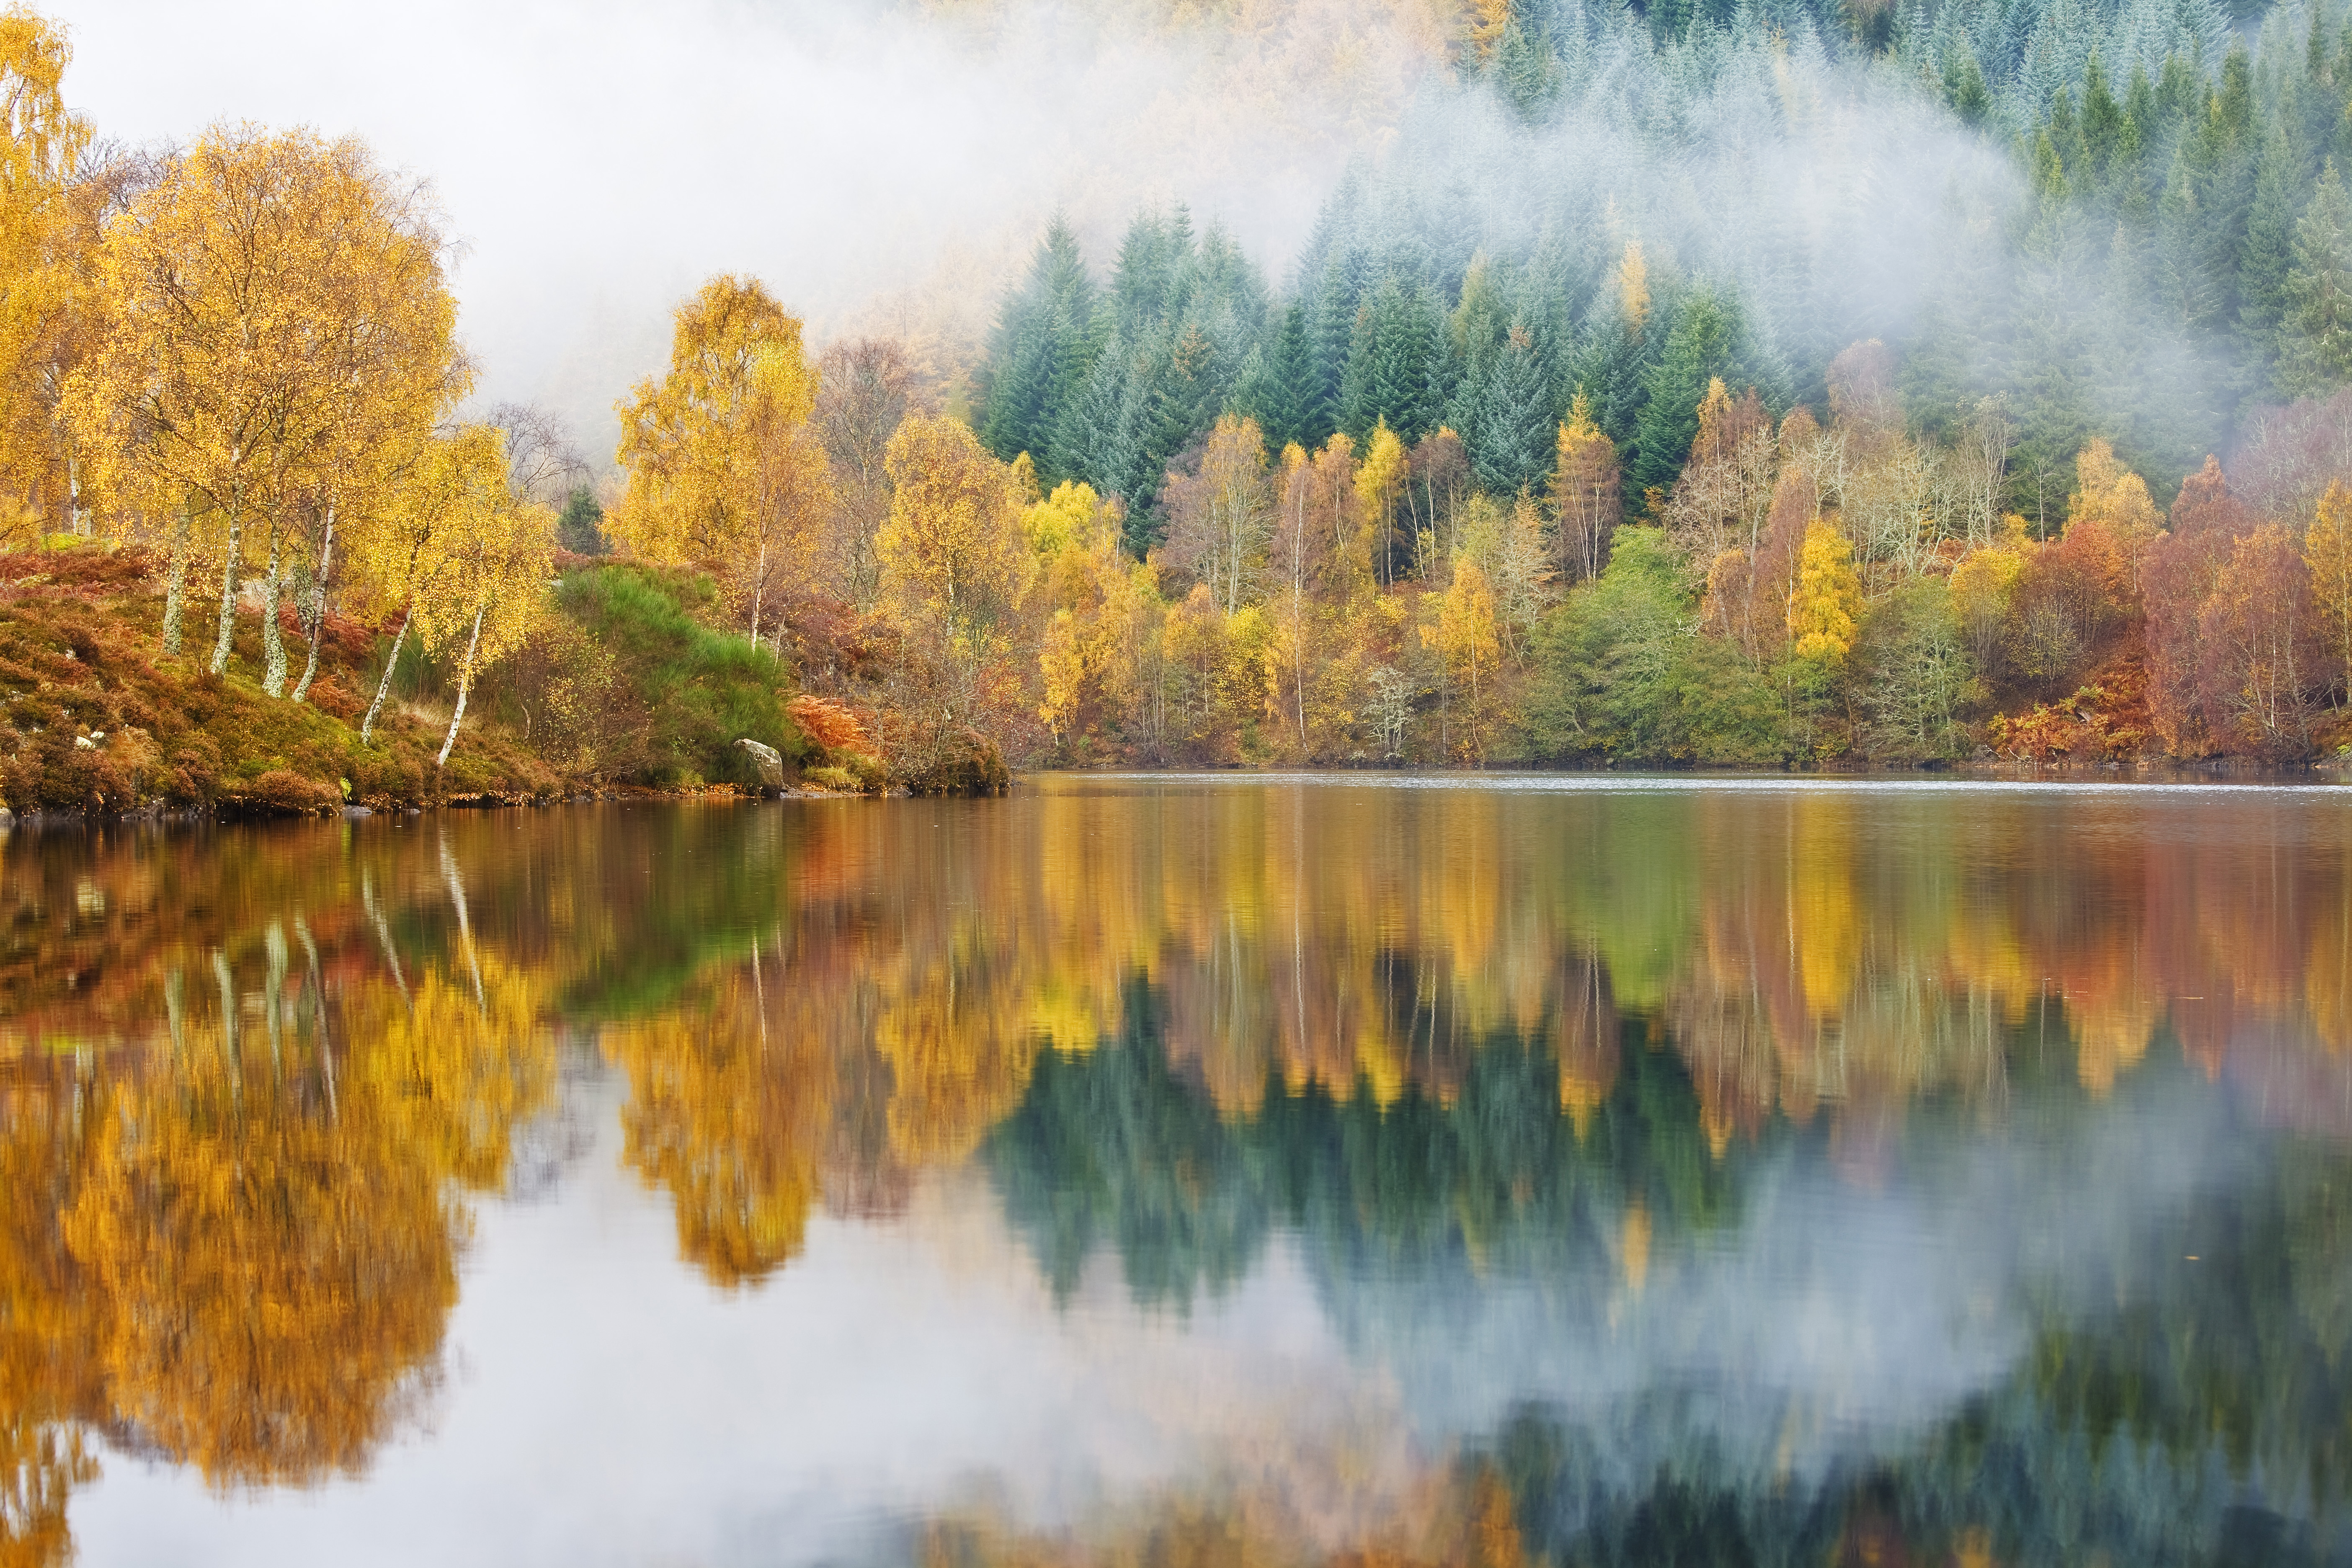
Reflections can be a hugely creative addition to all types of photography, but with landscapes they can provide mirror-perfect symmetry. For this type of shot, position the far bank of a lake or the horizon line across the centre of the frame to split the scene and the reflection into two equal parts.
23. Go out and shoot on misty mornings
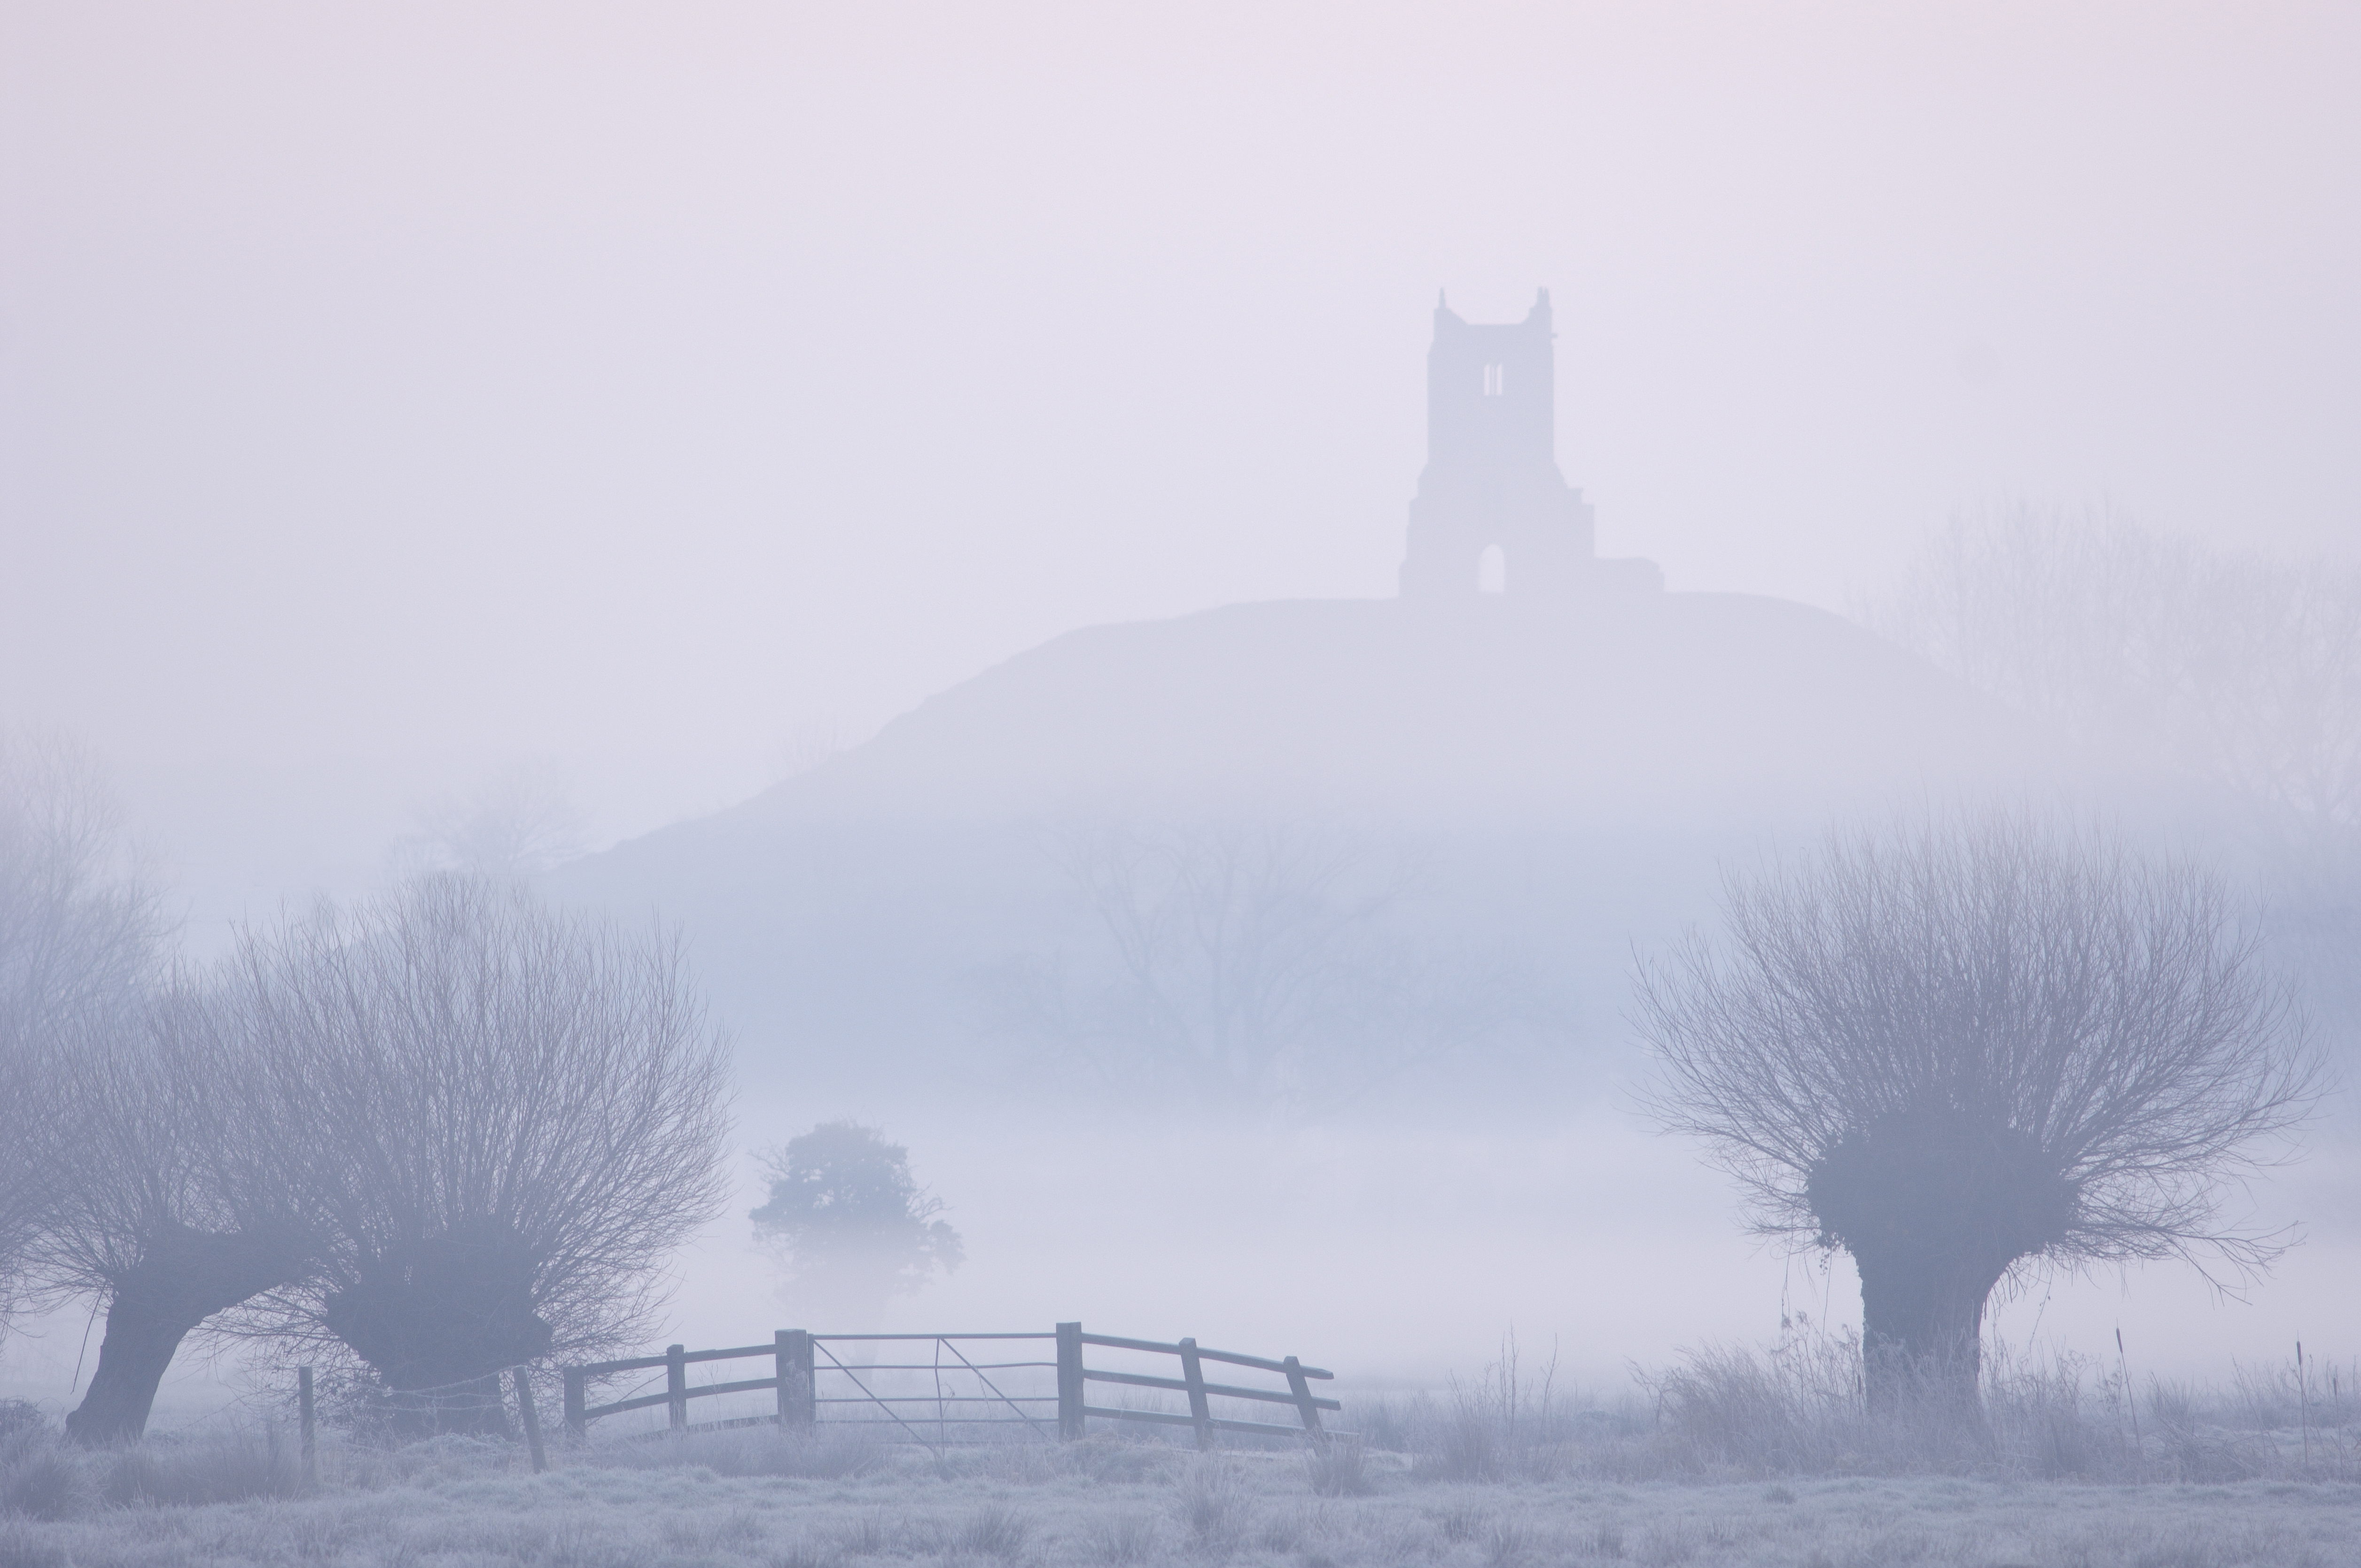
Waking up to mist may not seem like the best conditions for shooting, but the mysterious look of the landscape is an opportunity not to be missed. The best mist for photographers is ‘radiation fog’, which forms during clear, still nights when the ground loses heat via radiation. This type of mist will often remain close to the ground, forming a thin, white layer.
You may need to use exposure compensation to avoid under-exposure. You should try positioning yourself so the sun is in front of you for more dramatic results.
24. Include a human element
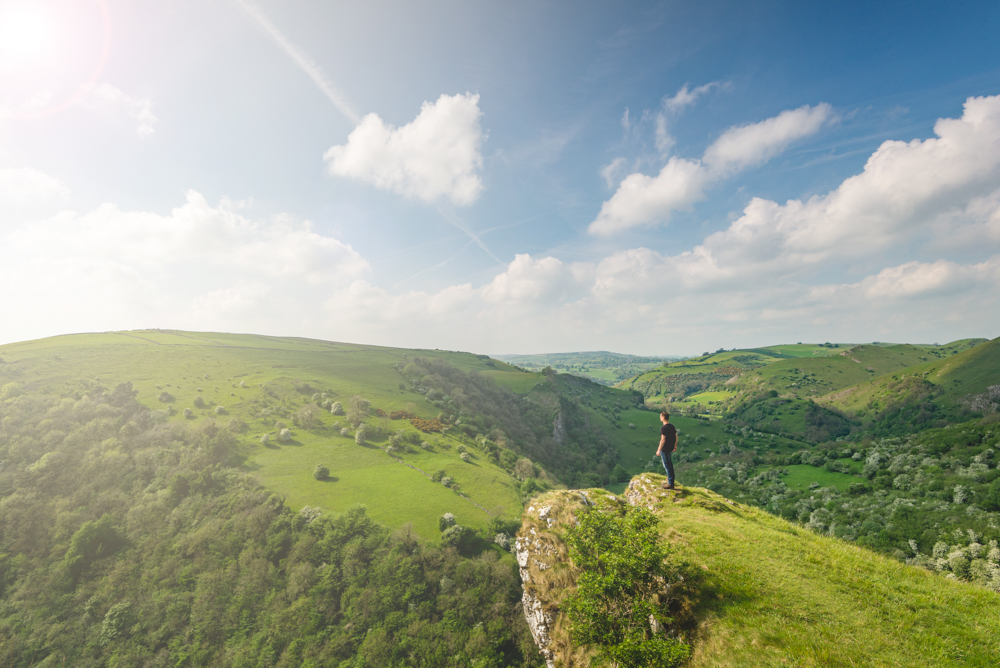
Using a figure in the landscape to add a focal point or a sense of scale is an old technique despite its overuse in images shared on Instagram. But while the technique is ubiquitous, don’t let that put you off employing it – having a figure in the scene can provide a point of interest that it would otherwise lack.
The easiest way to do this is to ask a friend to stand in the desired part of the scene, but if shooting alone you can either use the self-timer and run into position yourself or use a shutter remote to release the shutter once you’ve walked into position.
If your camera can link to a smartphone app that shows a Live View from the camera, this can help massively when working alone because you can see exactly what the camera sees while standing in position in front of it. Plus, you can use the self-timer so that the phone can be put away while you strike your pose.
25. Explore abstract details
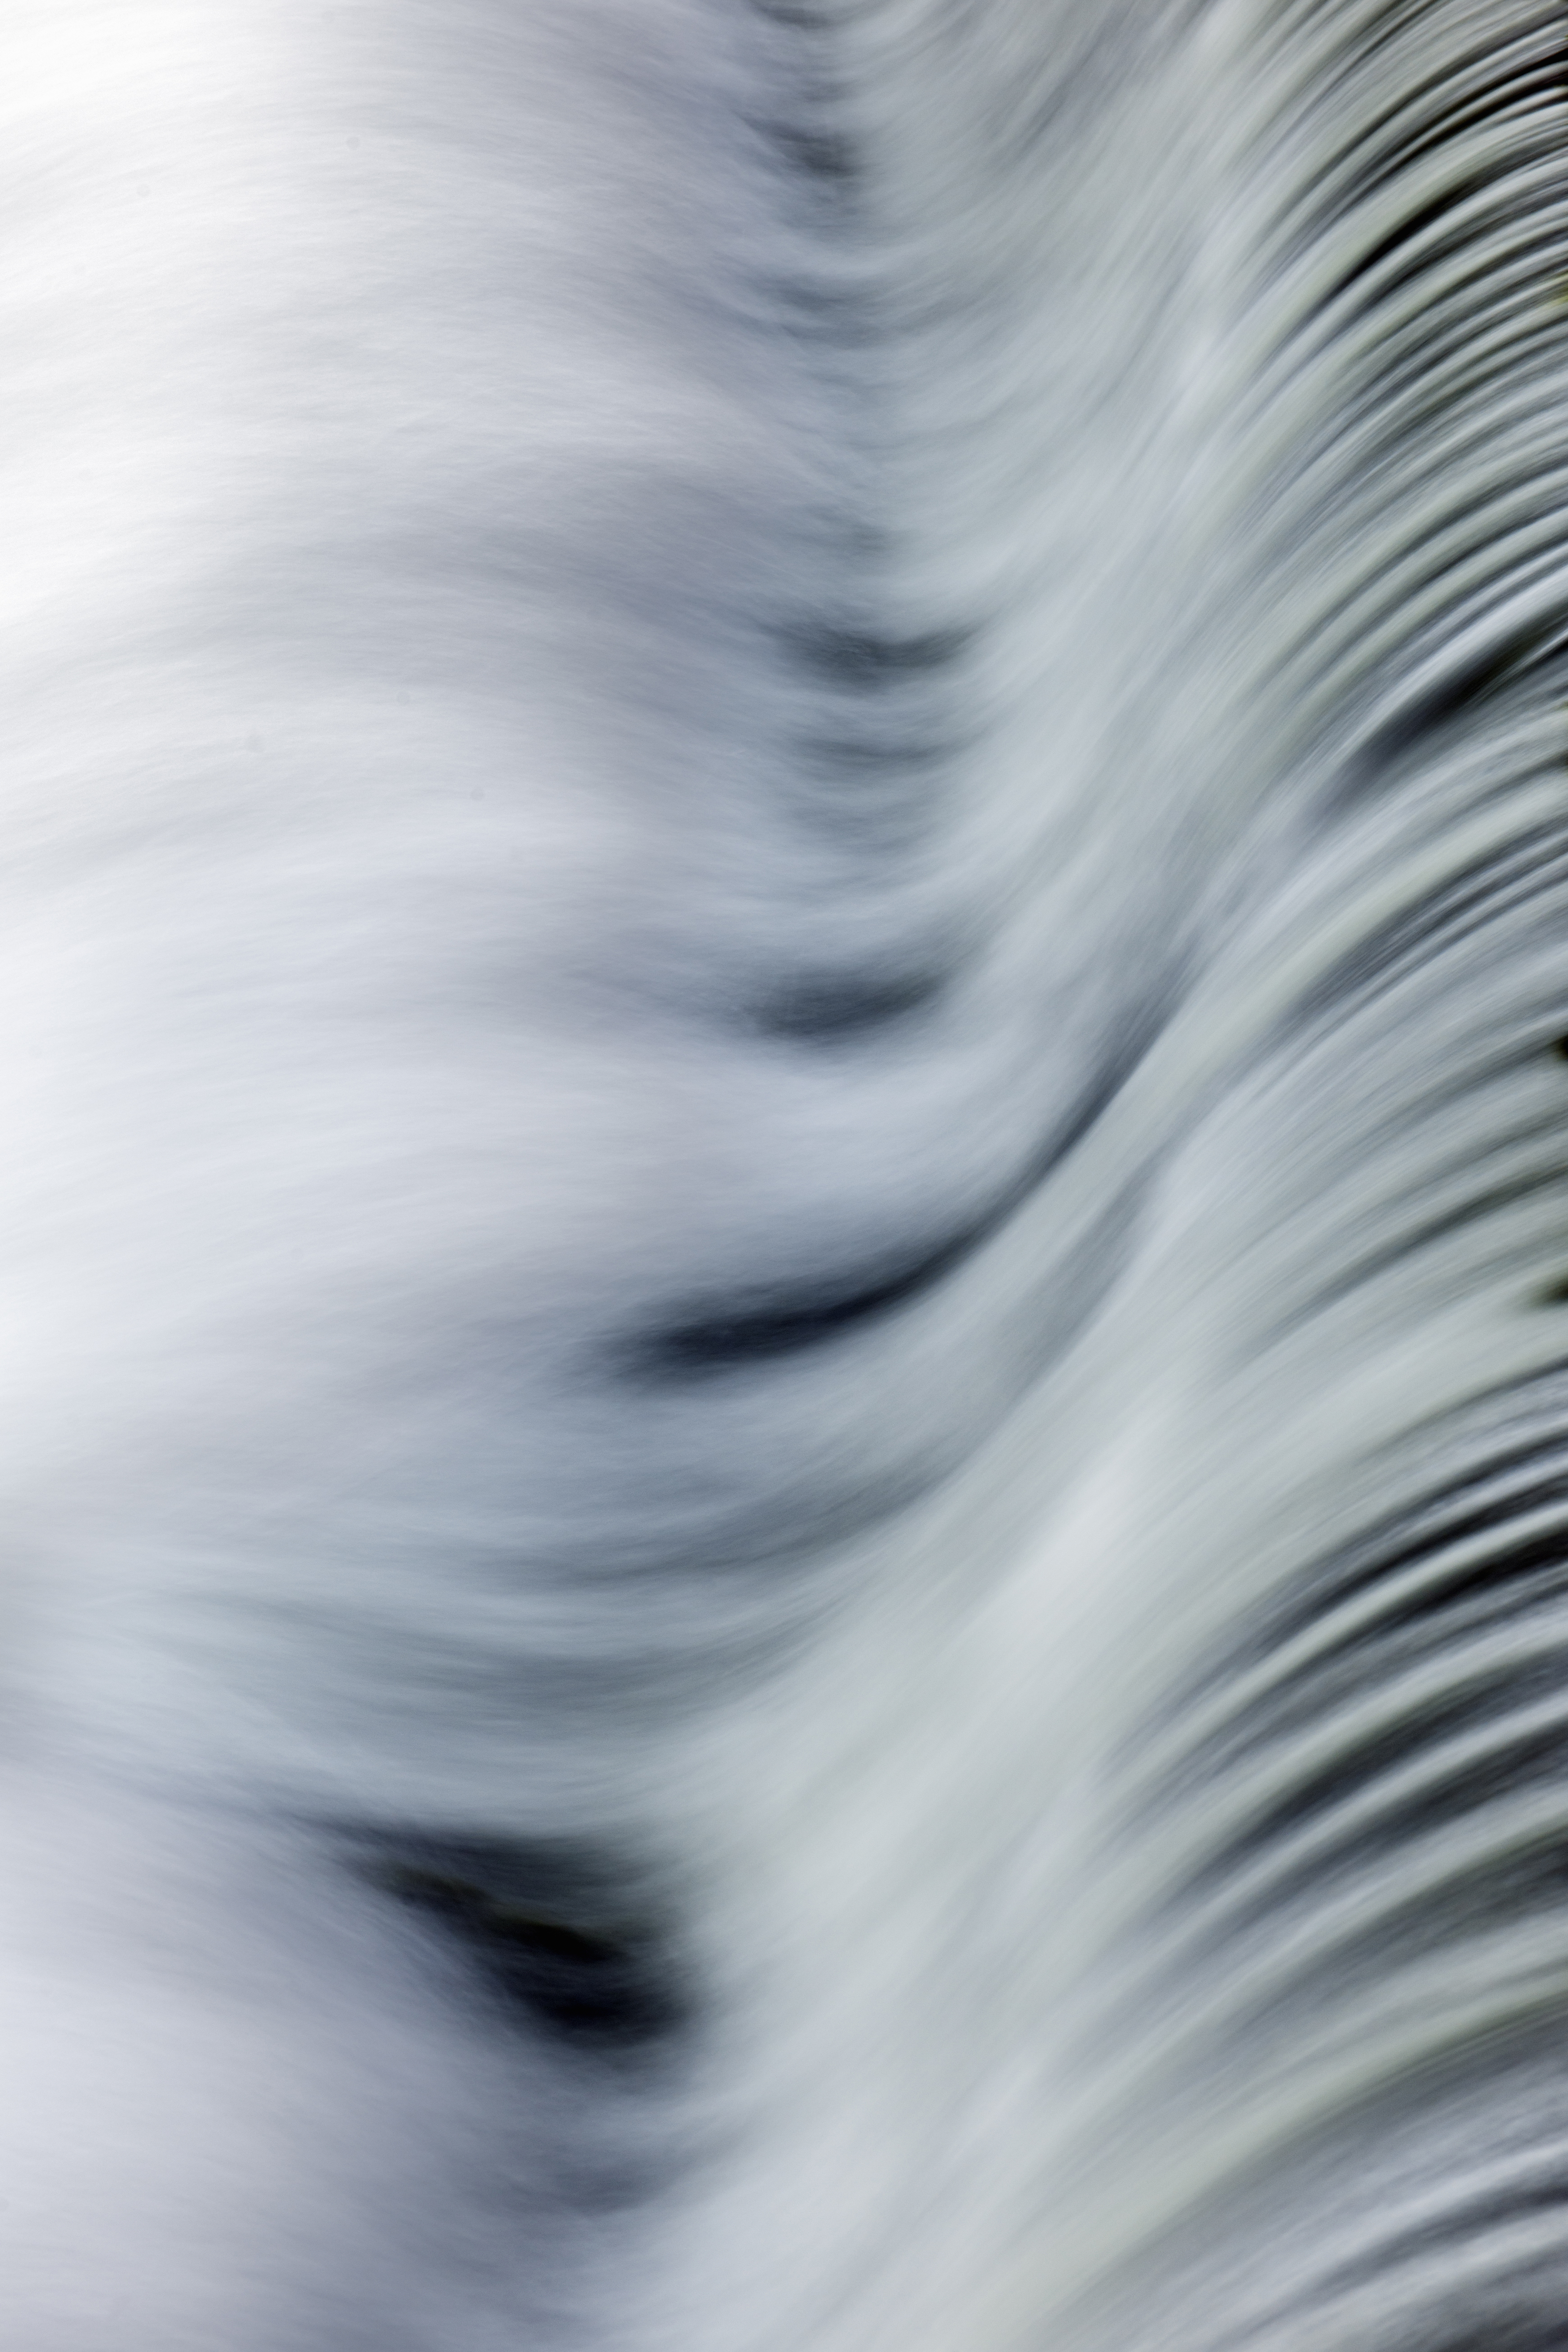
Just because the weather isn’t ideal doesn’t mean you have to pack up all your photography kit and head home: there are plenty of other opportunities to keep you busy. Why not explore different locations and look for interesting details such as patterns in rocks or reflections in pools of water, and focus on these?
A kit lens or a telephoto will allow you to zoom in and exclude the surrounding area, and don’t forget to experiment using filters too. You need to remember that polarising filters can reduce glare and saturate colours, while ND filters allow you to shoot at slower shutter speeds, so you could even try blurring water to achieve a dynamic abstract effect.
26. Find new viewpoints

Simply setting up your camera and tripod to capture what’s in front of you can quickly come to dictate how you approach and shoot landscapes. So don’t forget to explore locations when you arrive to find the best viewpoint – and if that means laying on the ground to look up, go for it!
- Learn more: The 10 laws of landscape photography

James Abbott is a professional photographer and freelance photography journalist. He contributes articles about photography, cameras and drones to a wide range of magazines and websites where he applies a wealth of experience to testing the latest photographic tech. James is also the author of ‘The Digital Darkroom: The Definitive Guide to Photo Editing’.