Essential applications for use with this tutorial
SyncBack
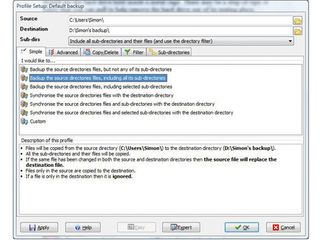
Back up your entire hard drive or specific folders
Download
MozBackup
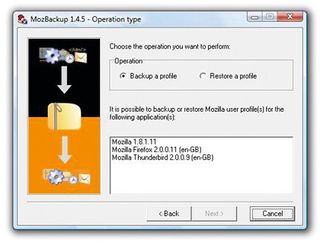
Back up and restore Firefox and Thunderbird data
Download
Belarc Advisor
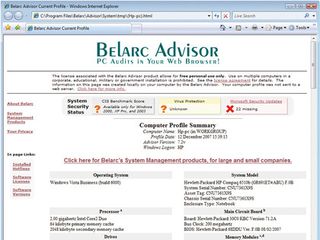
Get a detailed account of all your laptop's hardware
Download
Get daily insight, inspiration and deals in your inbox
Sign up for breaking news, reviews, opinion, top tech deals, and more.
Step 1 - Gain access
Turn your laptop over and remove the screws that hold the panel covering your hard drive. It may not be clearly marked, but it is generally about three inches across.
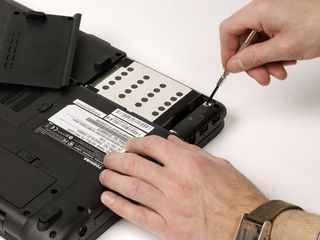
Once the panel has been removed, check for and carefully remove any screws that may be holding the hard drive in place.
Step 2 - Remove the drive
Once any retaining screws have been removed, you can remove the connecting pins and lift the drive cage out of its holding bay, making sure not to damage the connecting pins.
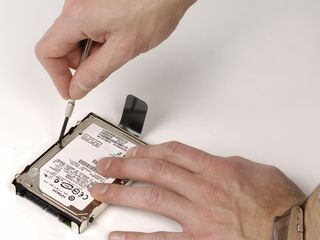
If the cage is a flush fit, there may be a piece of tape or fabric in place to help you remove the drive.
Step 3 - Install and refit
Now undo the screws holding the hard drive to the cage. There should be four of them. Once the screws are removed, carefully slide the drive out of the cage and then insert the new one.
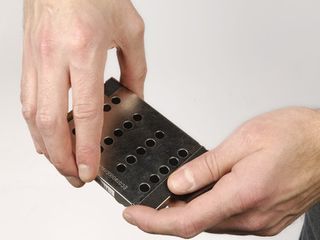
Finally, re-secure the drive to the cage and reverse the previous two steps to refit the drive back to your laptop.
- 1
- 2
Current page: Free software and step by step walkthrough
Prev Page How to replace your laptop hard drive
