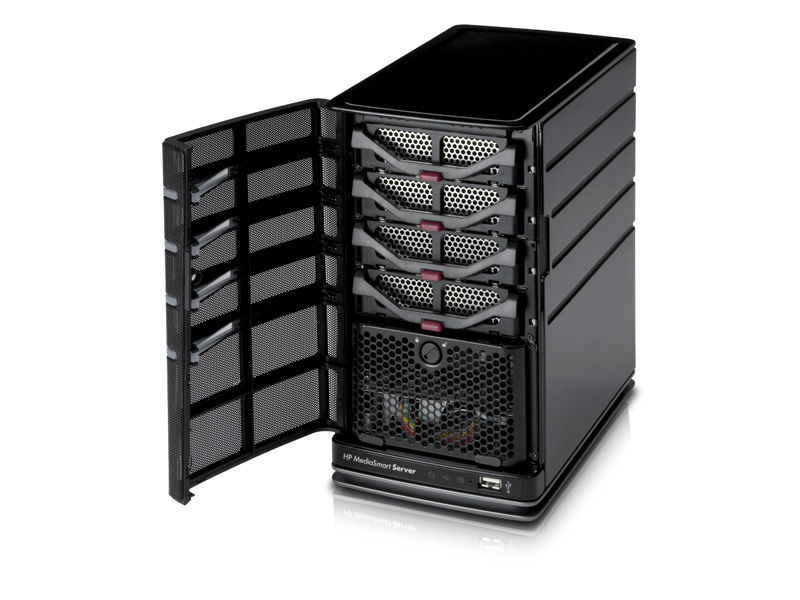
Over the last year or two we've been taking advantage of the incredible price drop in traditional spinning hard drives. Until the tragic floods in Thailand, prices had dropped as low as £40 per terabyte.
This had led to many of us upgrading our existing systems with new drives - leaving small piles of 160GB to 500GB drives littered around the country like digital cairns.
The obvious question that springs from this is: what to do with these drives? It's unlikely you'll just want to throw them away; it's a waste of a good drive and even less likely if it had personal data on it. Besides using it in a spare PC you're building, the solution we've struck on is to use them at the heart of a storage pool server.
The thinking behind this is based on three thoughts: First, individually these drives are too small and too slow to be of any real use even in an external drive chassis; Second, these will be older and drive failure is a real issue, after three years drives are usually living on borrowed time; Third, we all need safe, secure, trouble-free storage.
Unfortunately the most obvious solution, JBOD is the least desirable. As a storage array it's terrible, it provides no appreciable advantage for redundancy, speed or real convenience beyond being able to slap in more drives. If a drive fails all the data on the drive is lost, if striping is used all data on the JBOD as a whole is lost.
The best solution is RAID, but not RAID 0 as this uses striping and so offers no redundancy, and not RAID 1 as that provides only basic mirroring, and not even RAID 01 that's a mirror of a striped array.
RAID 5 is the preferred setup as it uses striping with distributed parity. What this means is that it breaks data up across multiple drives for accelerated reads/writes, but enables redundancy by creating a parity block that's distributed over all of the drives. Should one drive fail the array can be rebuilt and all the data recovered from the parity blocks, hurrah!
Get daily insight, inspiration and deals in your inbox
Sign up for breaking news, reviews, opinion, top tech deals, and more.
Perfection achieved?
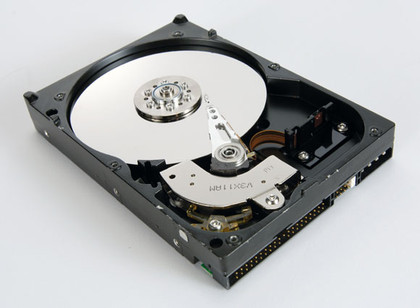
Sounds perfect doesn't it, well we can do better. RAID is actually very old and there are now superior solutions.
Enter ZFS (Zettabyte File System) that can store some idiotic amount of data measured at the zettabyte level, that's 2 to the power 70. ZFS was released by Sun Microsystem in 2005, so is right up to date and combines file system, volume management, data integrity and snapshots alongside RAID-Z functionality.
If you're thinking that sounds horribly complicated, fear not, the best implementation for home deployment is FreeNAS from the coincidently named www.freenas.org.
This is a brilliantly light-weight FreeBSD-based operating system designed for network attached storage boxes. Support for ZFS has been integrated since around 2008 but this was much improved in early 2011.
There are a couple of specific situations we're not covering here that could crop up. The first is PATA drives, but we're assuming these are too old and too slow to be worth considering. That's not to say it's not possible, but you're limited to four devices at best and potentially two on more recent motherboards.
A more recent issue is with SSD and hybrid configurations - this is somewhat beyond this article - as ZFS enables acceleration of read-access or logging by selecting a single drive for storing this data when creating volumes. We'll mention the feature in the main walkthrough but this is aimed at dedicated performance solutions.
Splitting hairs
The important part of creating your storage pool is working out how to arrange your drives for best effect. Despite the advantages of ZFS it's not magic, it still inherits RAID 5's basic flaw of fixing overall drive size to the smallest capacity in the array.
Weak sauce we hear you shout. The best option is to create a number of RAID 1 mirrors combining drives of identical or very similar size, then allow FreeNAS to stripe all of these together as a RAID 10 for four drives or RAID-Z for more. The way it's implemented is a little inelegant, as it requires creating two volumes with the same name, FreeNAS automatically stripes these together for a single storage pool.
The process can be applied to RAID-Z arrays in exactly the same way. This is useful as once a RAID-Z is created additional drives cannot be easily added, but it's easy to add an additional RAID-Z and let FreeNAS work out the complexities of striping across all of these.
Of course, if the data isn't important then you can enable ZFS striping, this will maximise storage capacity at the cost of data integrity. However if you're using it to locally store data, for file backups or data supplied from the cloud, for example local Steam games, this could be an acceptable risk for cheap and plentiful network storage.
If you do find yourself with a stack of ageing drives going spare then this could be a good way of using them until the day they die.
Part 1: A FreeNAS box
You won't need too many parts
1. Hardware first
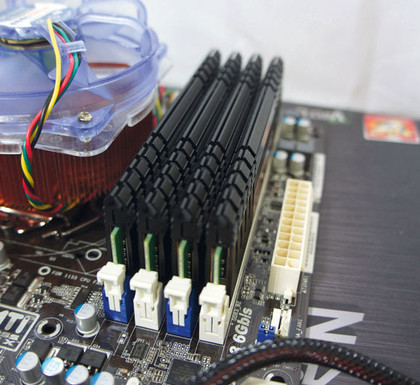
FreeNAS is designed to boot and run from a solid-state device; either a flash card or USB thumb drive, largely as it frees up a drive port but also drive space.
ZFS is demanding and you'll need at least 1GB of RAM, but ideally 4GB, and the boot device needs to be 16GB in size. FreeNAS's default file system only needs a 2GB boot device and less than 256MB of system memory.
2. Controller set up
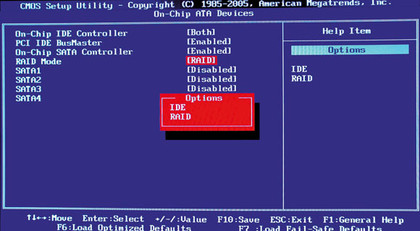
We've already mentioned RAID a lot but for the hardware configuration RAID is unimportant, in fact in the BIOS you should configure any host controllers to run in AHCI or IDE mode, occasionally this is listed as JBOD mode if its a RAID controller.
The ZFS system is a software-based RAID solution so handles all of the striping and parity storage itself alongside other high-level operations.
3. Bunch of disks
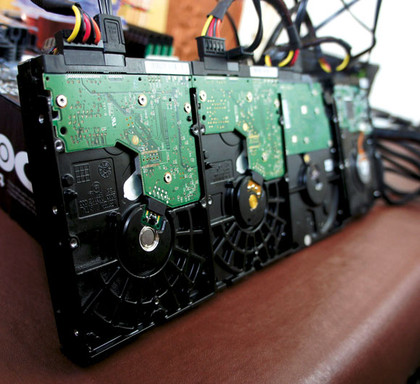
The tricky part of connecting all of this together can create quite the mess, we'd strongly recommend implementing a good cable management system. Cable ties are the obvious solution and once fitted the power and data connection can still be reused even if a drive fails.
ZFS does support hot-swapping on AHCI compatible controllers and drives for live repair and updating.
Part 2: Creating a ZFS pool
Impress the ladies with your own shared ZFS redundant array
1. Decide the split
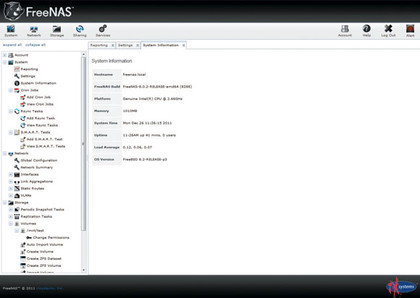
You need to decide how the drives are going to be mounted. RAID 5 loses around 30 per cent of its storage to parity with a three-drive array, the equation for space efficiency is 1-1/R so the more drives the more efficient the setup is.
Mirrors lose 50 per cent to the mirrored drive. But both provide strong data integrity. If you're a crazy type stripe them together and keep going until one goes pop.
2. Create the volume
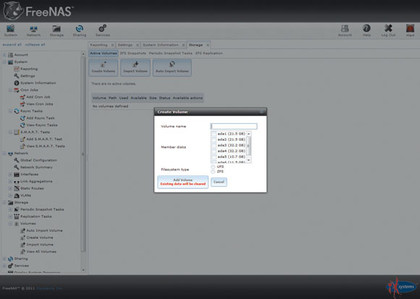
For this example we're striping two mirrored arrays but the same process works for RAID-Z arrays, if you want to use more drives you can easily head down that route.
From the main FreeNAS web interface select the Storage section. Click the 'Create Volume' button, make up an array name and choose the drives to be part of the first array; for mirrored arrays this has to be an even number of drives.
3. ZFS options
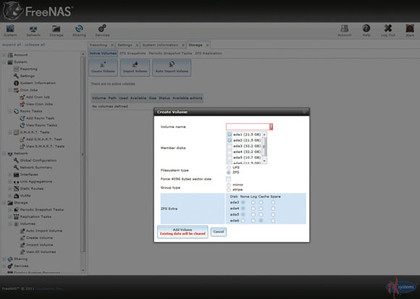
With the drives you want in the array selected you will need to choose the ZFS option and 'Mirror' radio button to create the array. For RAID-Z select that option.
You may notice another bank of options relating to the other drives not selected. This enables you to add specific caching drives to enhance read/write performance ideally using an SSD, this is largely for commercial arrays.
4. Create the stripe
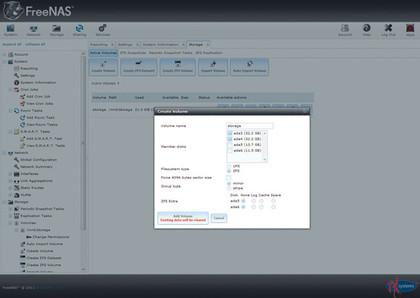
This next part isn't very intuitive due to the relevant section of the FreeNAS interface. To add the next stripped mirror retrace step two, then add the remaining drives to create the new mirrored array.
Name this identically to that of the first mirror, once created FreeNAS automatically stripes these together. You're able to view the state of the drives in the array by clicking 'View Disks'.
5. Manage the array
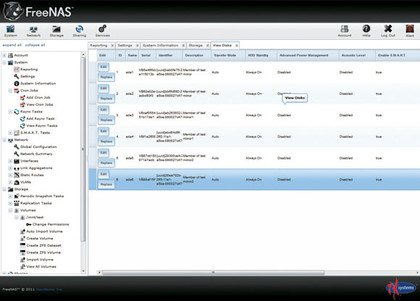
The Logical Volume appears listed under this Storage tab with a number of icons that let you manage a number of its key features. The first icon with the red 'X' enables you to delete the volume and restore the raw drives. The next Scrub icon asynchronously checks and fixes the drives of any errors. The last two icons enable you to view the status of the array and the drives within it.
6. Create a share
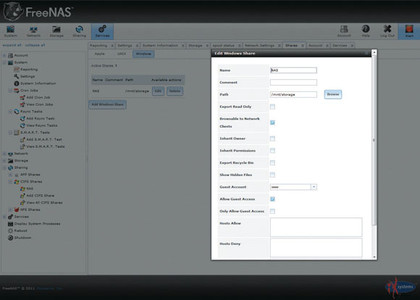
To create a Windows share, you need to click the top 'Services' button and then activate CIFS. Click the spanner icon next to it and adjust the Workgroup and Description to your own. Next, click the Shares tab, click 'Add Windows Share' add a suitable name, click the 'Browse' button, choose the ZFS array and click 'OK'. To restrict access under Account you may want to add your own Groups and Users.
Part 3: Installing FreeNAS
Getting your favourite NAS OS onto real hardware is easy, trust us...
1. ISO images
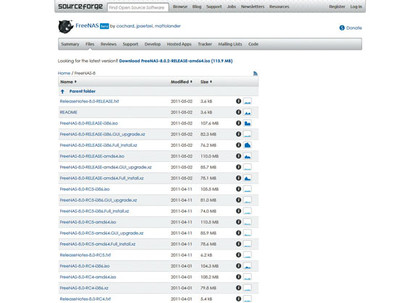
If you haven't already, download the latest FreeNAS ISO from www.freenas.org. The OS is designed to be installed or run directly from a USB stick or flash card.
The easiest way to install everything is to burn the image to a CD and install this to the target system from an optical drive. If you just want to test FreeNAS, fi re up VirtualBox and it'll happily install into a virtual environment.
2. BIOS tweaks
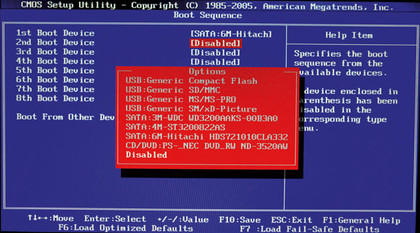
It's important that your target system's BIOS supports booting from external USB devices, the location varies from BIOS to BIOS. But either the dedicated Boot Menu or Advanced Settings needs to provide support for USB hard drives or similar. Any system made in the last decade should be fine, just be sure that after you've installed the OS that this has been selected.
3. Direct image write
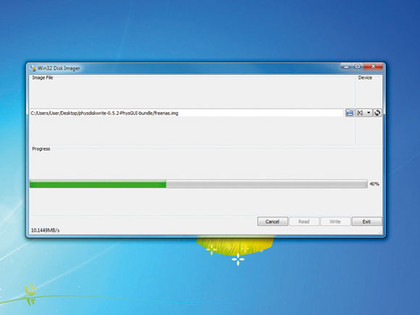
It's also possible to burn the image directly to the target boot device, such as on your USB drive but it's more complex than we'd hope. To start you need the amd64.Full_install.xz file and not the ISO from the download page. You also need an image writer, for Linux this would be the DD command, for Windows download Image Writer that seems to do the trick well enough.
4. Burn baby
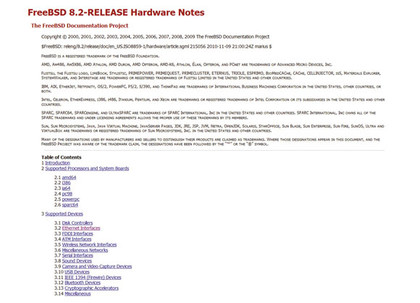
Point Image Writer at the image file and the target drive and it'll do the rest. Beyond selecting it as the boot drive the only real issue you may encounter is an incompatible network adaptor. There's little you can do about this beyond adding in a new compatible network card. FreeNAS maintains a comprehensive list of compatible hardware here.