The Nintendo Switch, demographically, is very family-oriented. Not only is it filled to the brim with family-friendly exclusives like Mario Kart 8 Deluxe and Animal Crossing: New Horizons, the portable nature of the device means that kids can continue to enjoy gaming while parents can take control of the TV, for example.
But that level of accessibility does come with its own set of concerns. If you have especially young children, it may be in your best interest to set limitations on the content they can access and play. That’s where the Nintendo Switch Parental Controls mobile app comes in.
If you’ve ever thought about limiting your child’s playtime each day, or setting restrictions on games based on age rating or access to online content, the Nintendo Switch Parental Controls app provides a highly customizable hub for managing play on the console.
However, accessing Nintendo Switch Parental Controls via a dedicated app as opposed to on the console itself may seem counterintuitive at first, but Nintendo has developed the app in such a way that parents can change settings on the fly without needing to interrupt playtime on the Switch. Read on, then, to learn all about Nintendo Switch parental controls, what they do and how to enable each setting.
The initial setup

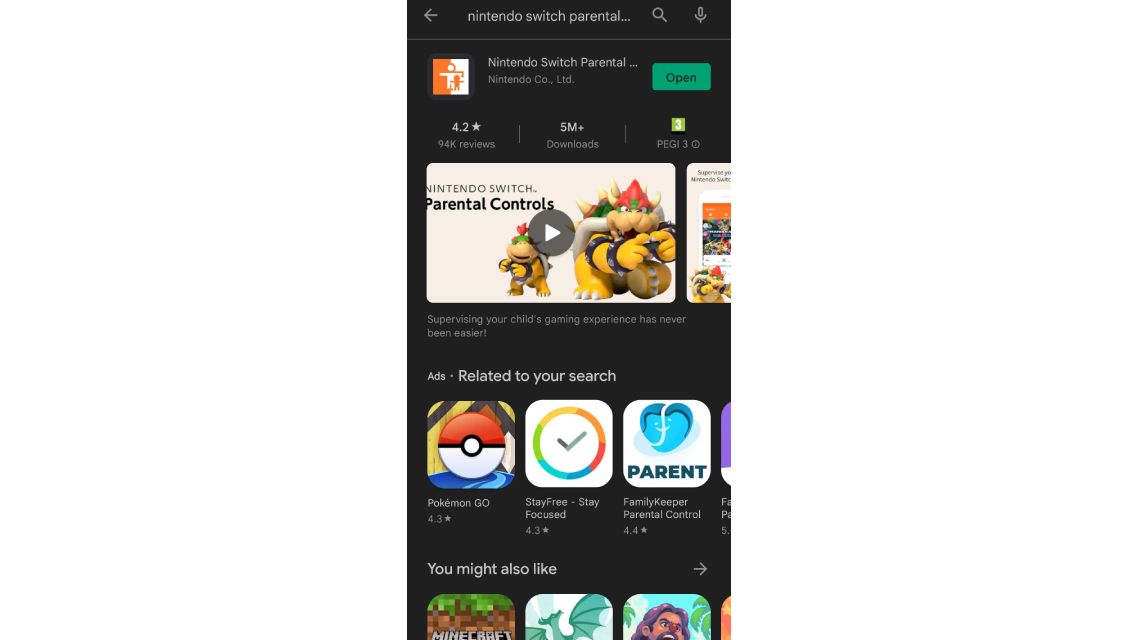
Before you can start adjusting parental controls for the Nintendo Switch console, you’ll first need to download the Nintendo Switch Parental Controls app. It’s available on both iOS and Android smartphones, and you just need to head to your operating system’s app store, type ‘Nintendo Switch parental controls’ in the search bar and finally tap ‘Install’ to download the app to your phone.
Once you’ve downloaded the Nintendo Switch Parental Controls app and have opened it on your phone, you’ll be prompted to sign into your Nintendo account and link it to the app. This way, the app will be able to communicate with your Nintendo Switch console. Once you’ve linked your account through the app, it will generate a 6-digit registration code that must be entered on your Switch.
On your Nintendo Switch console, then, head to ‘System Settings’ from the console’s dashboard. Navigate to the ‘Parental Controls’ submenu, and select ‘Parental Controls Settings.’
Get daily insight, inspiration and deals in your inbox
Sign up for breaking news, reviews, opinion, top tech deals, and more.
You’ll then be prompted to download the Nintendo Switch Parental Controls app, but as we’ve already done that here, our next step is to enter the registration code that’s displayed on the app. Select ‘Enter Registration Code’ and type in your 6-digit key.
If successful, the app will prompt you to look at the screen of your Nintendo Switch console, on which the final option to link your Nintendo account to the app shall appear. Select ‘Link’ and your console will now be linked to the Nintendo Switch Parental Controls app.
Nintendo Switch Parental Controls app overview

Now that you’ve linked your console to the Nintendo Switch Parental Controls app, the full suite of features it provides are now available to you. Let’s have a quick look at all the elements of the app, at a glance:
- Time played: This tab will track each game your child has played, and for how long. If you set time restrictions in the app, these will also be displayed here, as well as if they’ve been playing longer than their allotted time limit
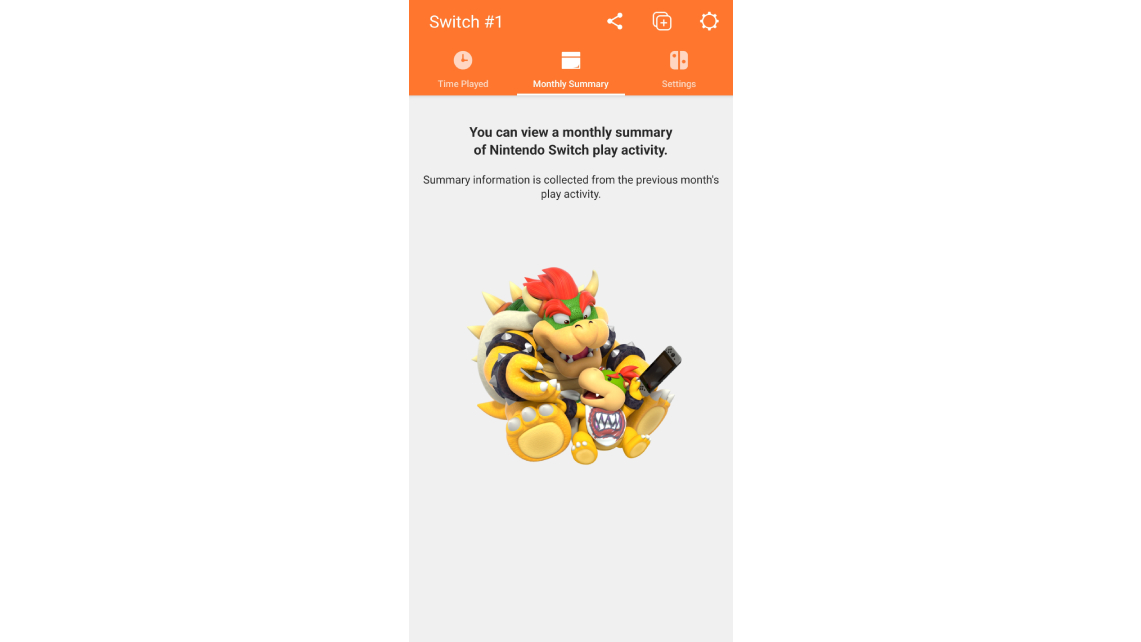
- Monthly summary: This tab presents an overview of the previous month’s playtime on the Nintendo Switch console on a game-by-game basis. This can be useful if you want to get a better idea of what kinds of games your child likes playing most
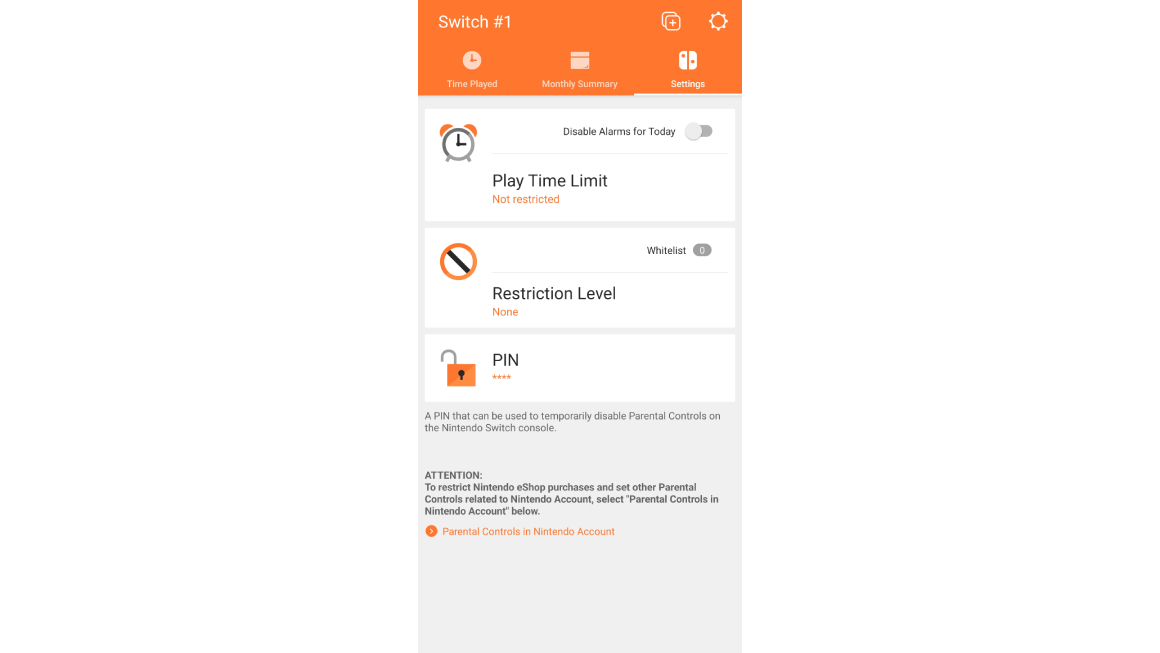
- Settings: This is where you’ll be making the most active changes, and can manage play time limits, set age restrictions and more
Nintendo Switch Parental Controls app settings

Finally, here’s a breakdown of all the different parental controls you can apply to the Nintendo Switch console. All of these settings can be freely adjusted at any time, with no need to reset the console while it’s being played. So feel free to experiment with the settings to find out what works best for you.
- Play Time Limit: Set a limit to the amount of time your child can play on the Nintendo Switch each day. The time limit can be set in increments of fifteen minutes, from no limit at all to six hours. You can also set a bedtime alarm, and toggle an option to suspend the software outright once the play limit has reached. You can also set days individually if, for example, you want to allow for more play time over the weekend
- Restriction Level: This is the global setting for age restrictions on Nintendo Switch. You’re able to select Teen, Child or Young Child presets. Or, if you want more control, choose Custom to open up options for restricting software by age and content rating, as well as limiting the posting of screenshots or videos to social media. You can also put limits on voice chat and the VR modes offered by Nintendo Labo
- PIN: If you want to ease up restrictions on the Nintendo Switch console, such as if you’re looking to get some play time in yourself, you can set a pin that when entered on the Nintendo Switch, bypasses parental controls while you’re playing
Nintendo Switch OLED Vivid or Standard mode? | How to connect Bluetooth wireless headphones to Switch | How to enable dark mode on Switch | How to clear the cache on Nintendo Switch | How to delete save data on Nintendo Switch

Rhys is TRG's Hardware Editor, and has been part of the TechRadar team for more than two years. Particularly passionate about high-quality third-party controllers and headsets, as well as the latest and greatest in fight sticks and VR, Rhys strives to provide easy-to-read, informative coverage on gaming hardware of all kinds. As for the games themselves, Rhys is especially keen on fighting and racing games, as well as soulslikes and RPGs.