Canonical's long road to the Ubuntu Phone
Can a single OS work for all the devices in your life?
The new converged Unity is being rewritten using the popular Qt QML framework. This codebase is known as Unity 8. Importantly though, there is not a different Unity for each device form-factor. Instead there's a single Unity codebase that displays the appropriate user interface depending on the screen size and configuration of the device. As an example, if you take Unity 8 and run it on a device with the dimensions of a phone, you will see the phone experience. If you then widen the same instance of Unity 8 to the dimensions of a tablet, you will see the tablet experience. Likewise, the same will happen for desktop dimensions.
This has a few notable benefits. Firstly, when a bug is fixed or performance is further improved in Unity 8 it instantly applies to all form-factors. Secondly, it means that Unity can easily and effectively switch between these user interfaces when required. As an example, you might want to take your Ubuntu phone and plug it into a monitor with an HDMI cable and then see the Ubuntu desktop experience. This means that although much of the work going on right now is getting Unity ready for the phone, all of that work ultimately benefits all of the different form-factors.
Another important piece in the stack is the Mir display server. Mir provides a next-generation replacement for the ageing X Window System that has been in commission for the past 25 years or so. Although some were disappointed that Unity didn't move to Wayland, the choice of building Mir was born out of creating something lighter than Wayland in terms of breadth of features and more orientated towards these multiple devices.
Taking it for a test drive
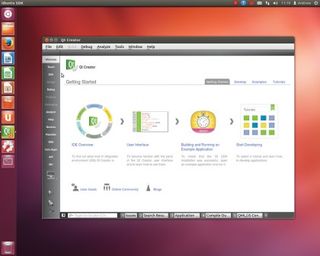
If you have a Galaxy Nexus or Nexus 4 phone and want to give Ubuntu for phones a whirl, you first need to understand that it is unfinished software. You should back up any data and applications you need as Ubuntu is going to replace it with a new operating system. Fortunately, you can revert to Android if you need to later (albeit, without your original data, hence the back-up!).
First install the software from the PPA:
sudo add-apt-repository ppa:phablet-team/tools
Now do the following:
Get daily insight, inspiration and deals in your inbox
Sign up for breaking news, reviews, opinion, top tech deals, and more.
sudo apt-get update
sudo apt-get install phablet-tools android-tools-adb androidtools-fastboot
You now need to unlock the device (if your device is unlocked you can skip this). With the device powered off, power on the device by holding the Power button + volume up + volume down. The device will boot into the bootloader.
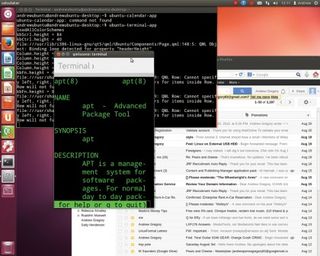
Now plug the device into your computer via the USB cable. On your computer, press Ctrl+Alt+T to start a terminal and type:
sudo fastboot oem unlock
Now on the device screen, accept the terms of unlocking. Your device is now unlocked!
Now boot the device by pressing the Power button (pointed by an arrow with Start on the screen). Next, you need to enable USB debugging. This varies depending on which version of Android you are running:
Ice Cream Sandwich (version 4.0): Go to Settings and turn on USB Debugging (Settings > System > Developer options > USB debugging).
Jelly Bean (versions 4.1 and 4.2): Enter Settings, About [Phone|Tablet] and tap the Build number 7 times to see the Developer Options.
On either Android version you must then enable USB debugging via Settings > Developer options > USB debugging. You should now accept a host key on the device. On the computer type:
adb kill-server adb start-server
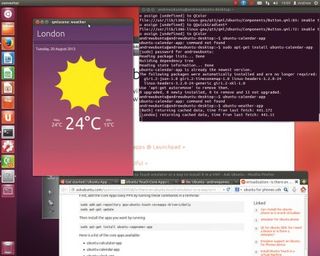
Depending on the installed Android version, a pop-up will appear on the device with the host key that needs to be accepted for the device to communicate with the computer. Now save the version of the current image on the device as a reference to revert back to. The version can be found by going to Settings > About Phone > Build Number. Fortunately you only need to run through that unlocking process once.
Now you can install the Ubuntu phone image to the device easily by just running phablet-flash. The latest version of Ubuntu phone will now be downloaded and automatically installed to the device. When it is complete the phone will automatically boot into Ubuntu phone.
If you have your SIM card in the phone you should be able to make calls, receive text messages, and use the other features of the phone. As the engineering team works hard to have a first cut of Ubuntu for phones ready by October, this is a story you are sure to want to keep an eye on - you might even want to grab a spare phone so you can have a play about with it.
Although there is a long road ahead, the journey has already been rewarding... who knows what the future holds?
- Now why not read our Hands on: Ubuntu for smartphones review
