Step 10: Use a flathead screwdriver to carefully prise the wireless antenna circuit board from the chassis. Do this by gently edging it along the inside-edge of the board until it comes free.
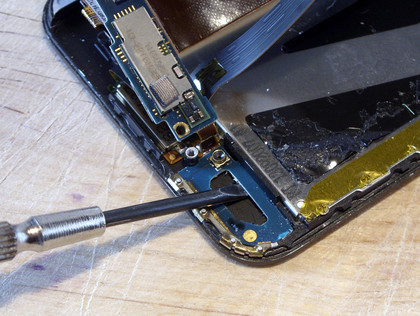
Step 11: At the other end of the iPod remove the strip of tape and the two screw hiding beneath it.
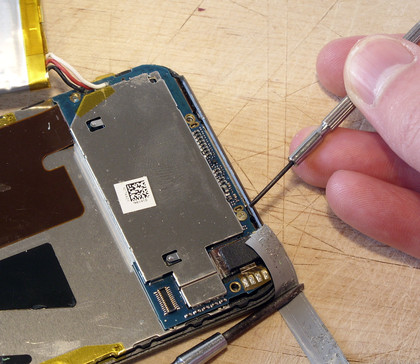
Step 12: Using a pry tool gently free the main circuit board, which is glued to the chassis.
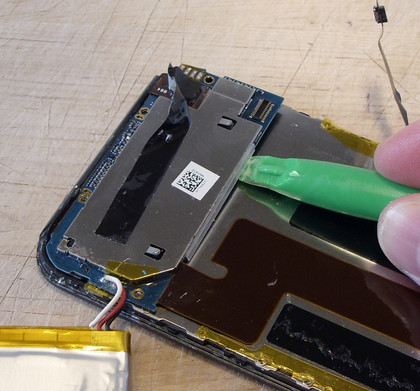
Step 13: With this the entire electronics caboodle can be swung up and out of the way. This reveals a final circuit board stuck to the chassis. Use a pry tool and the flathead screwdriver to gently free this from its gluey bondage. Be careful as this section is quite thin, it may also get caught against the screw holes.
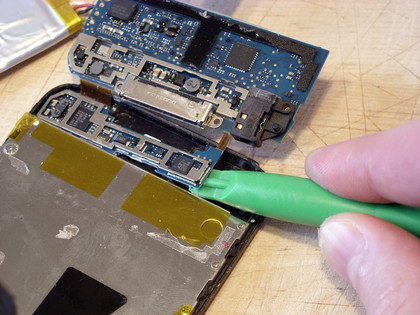
Step 14: The electronics are now free, this makes it a doddle to unsolder the original battery pack. Be careful not to short circuit the black and red power wires, as potentially this can cause the battery to explode if left in that state. We placed masking tape over one wire until soldering was required. A quick touch of a soldering iron on each lead's solder point should remove them. Remember to responsibly recycle your battery rather than throwing it away.
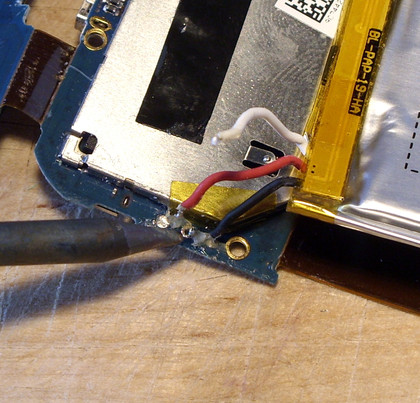
Step 15: Clean the area of gunk, cut the new batteries' terminal wire to the correct lengths and tin the ends. Just 1mm of tinned wire will be enough. You'll probably want to add a blob of solder to the circuit board's solder points as well. With that solder each wire in place.
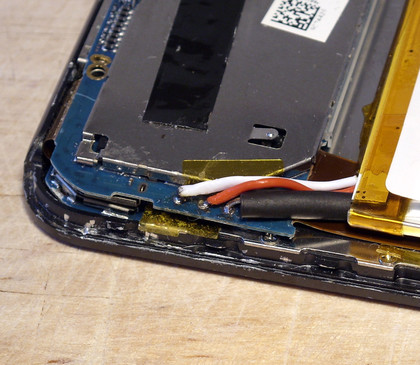
Step 16: Retrace each step in reverse order and your iPod touch should end up looking like this. We found the circuit boards generally needed to be angled into place to get the screw holes to correctly line up.
Get daily insight, inspiration and deals in your inbox
Sign up for breaking news, reviews, opinion, top tech deals, and more.
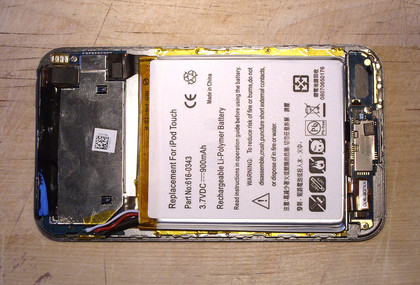
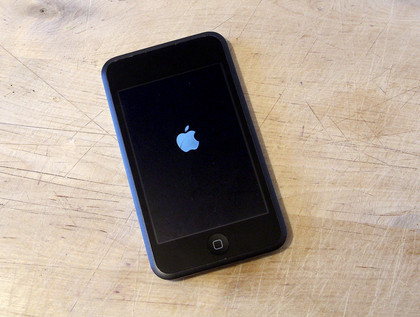
Step 17: Replace the back making sure it's clipped into place right around the body. Most batteries ship with a 40 percent charge so press the power button and hope everything goes well. Success! You'll need to reset the time and date but beyond that happy iPoding.
- 1
- 2
Current page: Replace your iPod battery steps 10-17
Prev Page Replace your iPod battery steps 1-9