Complete guide to MythTV
How to install, set up and use MythTV
By now, you've installed MythTV, set up the back-end and should have the front-end displayed in all its glory. What do you do next?
If the front- and back-ends are separate, the first thing to do is tell them where to connect. You should automatically be asked to do this when you start up an unconfigured front-end, but if not, or if you want to change it, the setting is in Setup > General.
You'll need to set the hostname and three MySQL settings - the database name, username and password. The first two are unlikely to be anything other than mythconverg and mythtv. The password, plus the other two items, can be found in /home/mythtv/.mythtv/mysql.txt on the back‑end.
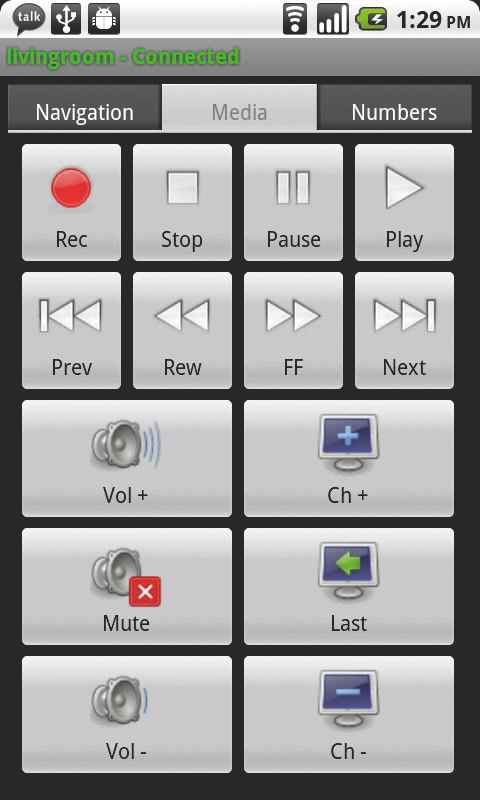
We'll refer to using a keyboard to control MythTV. A remote control is the usual method, but the remote buttons map to keys anyway - and keys are consistent, while each remote is different. We'll look at remote controls later.
Step by step: managing recordings
1. Keep it clear
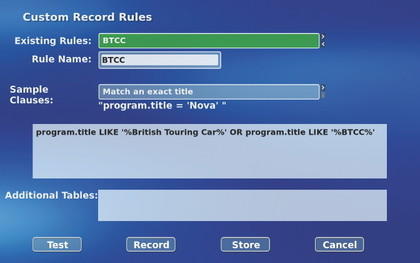
To make everything stand out, these screenshots use the MythCenter-Wide theme instead of the Mythbuntu theme shown on the previous page. There are several themes available for MythTV, distributed either with the source or in the separate myththemes package. They can have widely differing layouts, but this one has a simple, clear appearance. Another that we like is the Arclight theme.
Get daily insight, inspiration and deals in your inbox
Sign up for breaking news, reviews, opinion, top tech deals, and more.
2. Start recording

We haven't recorded anything yet, so go to Manage Recordings > Schedule Recordings > Programme Guide, which will bring up your listings. The red buttons to the bottom-right of the programme listings indicate their recording status. Use the cursor keys to highlight a programme, then press R to record just that particular showing.
3. Record a series
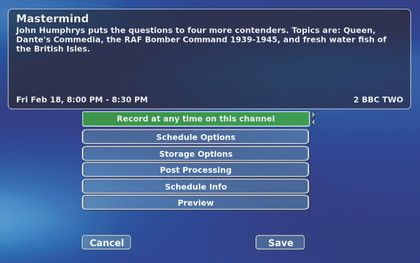
If you press Enter instead of R, you'll get this following screen, where you can set various recording options. The top option is Record At Any Time On This Channel - in other words, a series record.
There are plenty of other options, including recording on any channel. This helps MythTV with scheduling, because it can record a repeat on, say, a +1 channel. MythTV records one showing of each episode by default, but you can alter this in the Schedule Options section of the screen.
4. Check for conflicts

Go to Manage Recordings > Upcoming Recordings to see what will be recorded. The red highlight and the message at the top-right show any conflicts. If a listing has an L to the right of it, this means that MythTV is recording a later showing of that programme (you can see it further down) to avoid such a conflict.
5. Sort your priorities
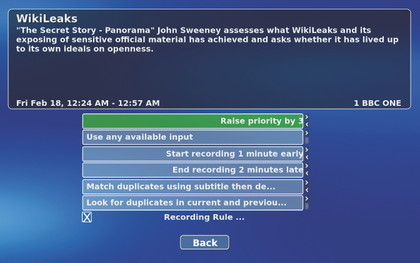
The Schedule Options for a recording rule have a priority setting. This won't avoid conflicts, but it does help MythTV to decide which programme to record and which to skip if you find that recording the Champions League game is going to clashwith your EastEnders fix.
6. Make your own rules
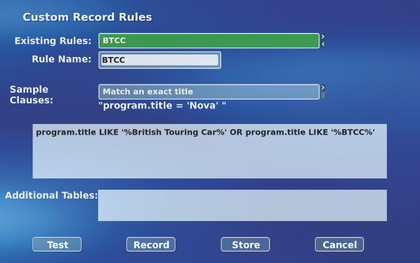
You don't have to use the programme guide to set up recordings - you can also use the Custom Recordings screen to create recording rules from scratch. This is useful if you want to record programmes that don't always have the same title, or to record all documentaries on Channel 4 that start between 8pm and 10pm, for example.
Current page: Gudie to MythTV: Basic usage
Prev Page Guide to MythTV: Installation and setup Next Page Guide to MythTV: Plug-in expansion