How to edit audio in iMovie 11
Audio editing is finally back in iMovie. Let's see how it works
Sign up for breaking news, reviews, opinion, top tech deals, and more.
You are now subscribed
Your newsletter sign-up was successful
By the time iMovie had evolved into its sixth version, it was an incredibly capable video-editing program, despite being very clunky and confusing for many newcomers.
Since Apple always wanted iMovie to be the perfect tool for complete novices, it redesigned the program with a strong emphasis on ease of use.
Many features were lost in the first reboot version, which made some reviewers and most advanced users very unhappy. But amid the furore were very happy first-time editors who finally got round to editing their home movies.
Article continues belowIn 2009, more advanced features made their way into the new iMovie, but one in particular was still lacking: proper audio editing. It was of course possible to mute your clip, or alter its volume by a certain amount. You could also normalise its audio (raising the volume so that the loudest point automatically goes to the highest volume while bringing everything else up accordingly).
But it was impossible to gradually increase the volume over two seconds in the middle of a clip, then let it fade back down again for one second, for instance.
This is no longer the case with iMovie '11. Apple has thankfully re-introduced audio editing, but made it as enjoyable to use as possible, to match the way video editing now works in that program. You can now perform various functions from within iMovie, without ever having to visit GarageBand for your audio work: the example described above is easy to achieve with this new version.
You can also see very quickly where your sound is peaking (getting too loud) and reduce that portion accordingly; you can apply special audio effects to have a little fun with your project in the same way as the video effects currently work. You also have access to an equaliser!
Sign up for breaking news, reviews, opinion, top tech deals, and more.
How to manipulate audio in your movie clips
01. Revealing waveforms
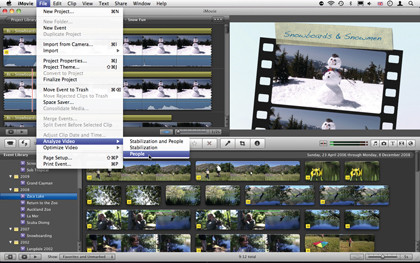
Launch iMovie and open one of your existing projects (or create one from scratch). Bottom-right of the Project section is the usual thumbnail slider. To its left is a new button. Click on it to reveal your clips' audio waveforms. You can do the same with your selected Event.
02. Volume changes
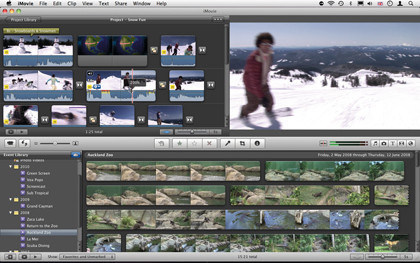
Notice the horizontal line three-quarters of the way up each clip's audio waveform. Moving the cursor over it transforms it into a resize tool. When that happens, drag down to lower the volume over the entire clip. As you would expect, dragging it up raises the volume.
03. Fading away
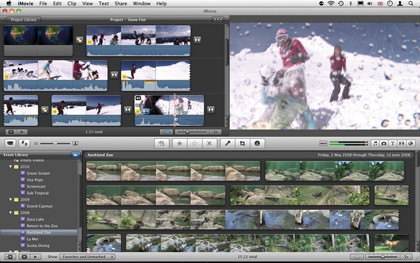
With your cursor over a clip's audio waveforms, you'll see a little white circle on either side, near the top. Mouse over one of them. Your cursor turns into a hand pointing a finger. When that happens, drag the circle inwards to fade your audio.
04. Zooming in
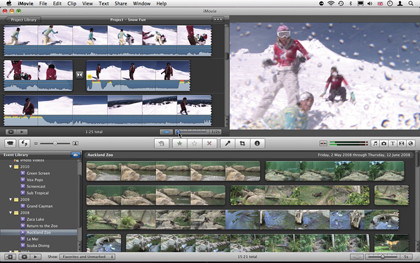
While raising the audio in Step 2, you may have seen some parts of the waveform turning yellow or red: they're too loud. You can lower that specific section. Zoom into your footage by dragging the thumbnail slider (lower right of the project section) to the left.
05. Selective alterations
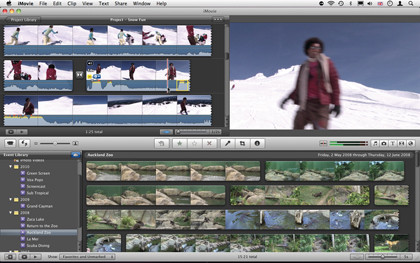
Drag across the waveform to select the section that's currently too loud. This highlights it in yellow (although there are no obvious handles, you can drag either edge to fine-tune a selection). Next, lower the horizontal bar until the red peaks vanish, just like you did in Step 2.
06. Internal fade
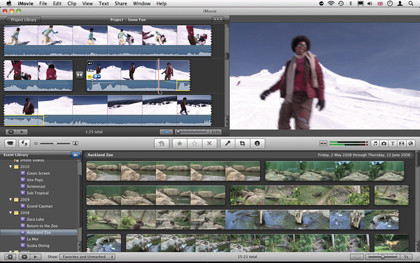
Either side of that specific audio change you just performed is a dot along the horizontal bar. You can drag it left or right to specify how fast or slow the audio levels change from one setting to the other (essentially fading the audio from one level to another within your clip).
07. To the Adjustments
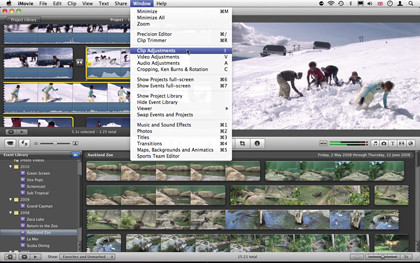
How about having a little fun with your audio? You could make your clip sound as if it was recorded in another location by increasing echo, for instance, or simulating an alien or a robot. To do this, start by selecting a track then go to Window > Clip Adjustments.
08. Audio effects
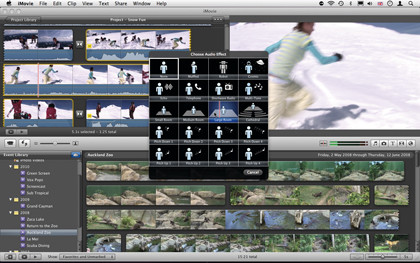
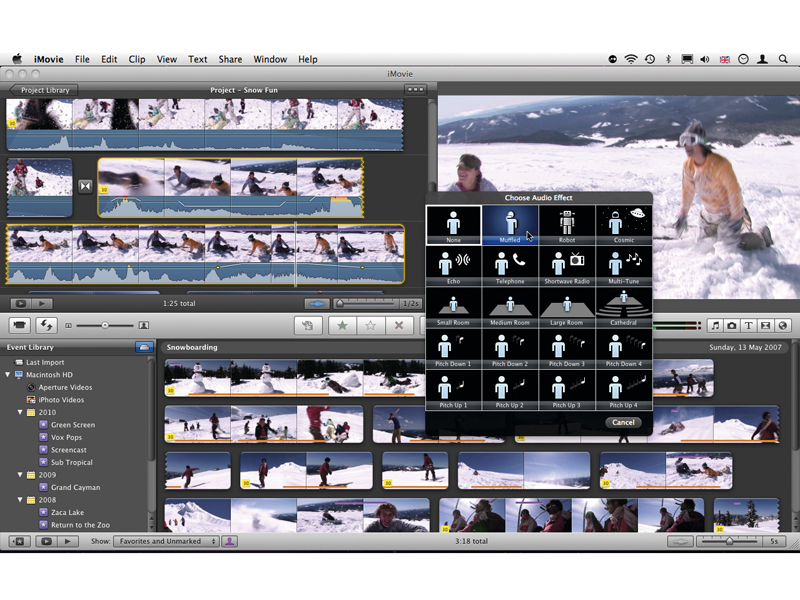
Click the Audio Effects button to flip the Inspector window and reveal 19 different effects. Hover over one to preview your clip's sound with the effect in place. If you're happy, click on it to set it. As with the Video Effects, you can only apply one effect per track.
Steve has been writing about technology since 2003. Starting with Digital Creative Arts, he's since added his tech expertise at titles such as iCreate, MacFormat, MacWorld, MacLife, and TechRadar. His focus is on the creative arts, like website builders, image manipulation, and filmmaking software, but he hasn’t shied away from more business-oriented software either. He uses many of the apps he writes about in his personal and professional life. Steve loves how computers have enabled everyone to delve into creative possibilities, and is always delighted to share his knowledge, expertise, and experience with readers.
