How to create an OS X Lion boot drive
Make a Lion installer disc from your App Store download
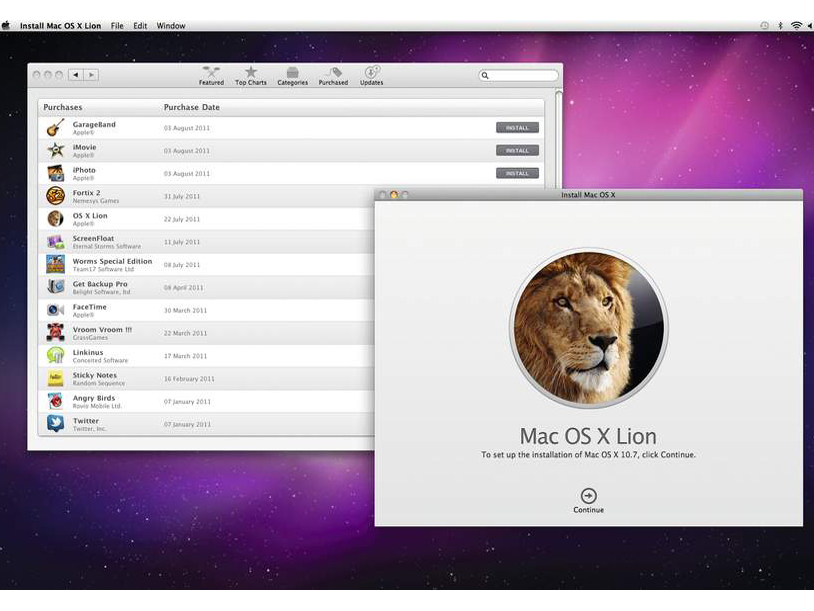
Unlike previous versions of Mac OS X, Lion isn't delivered on physical media. Instead, you buy and download it from Snow Leopard's Mac App Store.
But what if you want to do a clean install, boot from an optical or external drive or install Lion on all your Macs (which is perfectly legal) without downloading it over and over again?
Thankfully, there's a way of creating a boot drive, either on a DVD or an external USB or FireWire drive. Administrator privileges are needed, so make sure you have your password handy.
First of all, purchase and download Lion from the Mac App Store. When it's finished downloading, an app called 'Install Mac OS X Lion' appears in your Applications folder and your Dock. It runs automatically, but instead of following the on-screen instructions to install the new operating system, quit the installer; you can run it again later by clicking on its Dock icon, as you would any other application.
Show Package Contents
Find the 3.76GB Install Mac OS X Lion file located in your Applications folder. Right-click the icon and select Show Package Contents. In the Finder window that opens, navigate to Contents > SharedSupport, and copy the file InstallESD.dmg by moving it to another location while holding the Option key.
You can then follow the steps outlined below to create a bootable USB drive or DVD.
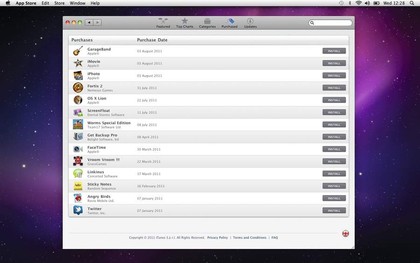
After installing Lion, the Install Mac OS X Lion file disappears, and you can't download it again through the App Store; if you open your Purchased tab, you find the option is greyed because Lion's already installed.
Get daily insight, inspiration and deals in your inbox
Sign up for breaking news, reviews, opinion, top tech deals, and more.
If you have access to a Mac that's still running Snow Leopard, use it to open the Mac App Store and sign in. You can then download it through the Purchased tab without paying again. If not, you must create a Snow Leopard drive to boot from.
First, find an external hard drive and connect it to your Mac. Make sure there's nothing on there you want to keep, then open Disk Utility. Select the drive from the left-hand column, open the Erase tab and select Mac OS Extended (Journaled) from the Format tab. Name it whatever you like, and press Erase to wipe and format it.
Time to restart
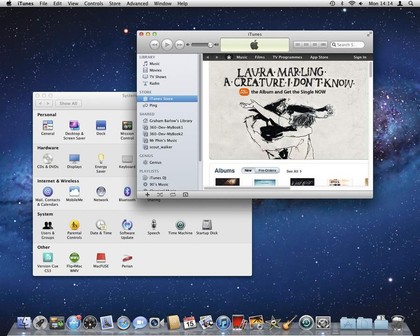
With your Snow Leopard install disc in the optical drive, restart your Mac with the Option key held down. Choose to boot from Mac OS X Install DVD, and when instructed, install Snow Leopard on the external drive.
After your Mac reboots from the newly installed version of Snow Leopard, follow the on-screen prompts to set it up, as you would a new Mac. Update to 10.6.8 using Software Update, and open the Mac App Store. Sign in, and select the Purchased tab. Lion is available to download; you won't have to pay for it again.
When it's finished downloading, the installer starts automatically. Quit it and extract InstallESD.dmg from the Install Mac OS X Lion file found in Applications, as described above.
If you wish to boot back into Lion before finishing the tutorial, you can; simply restart your Mac holding Option, and this time choose your main hard drive. The Lion installer you just downloaded can then be found by navigating to the external drive's Applications folder.
How to make an install drive and perform a clean install
1. Create a USB boot drive
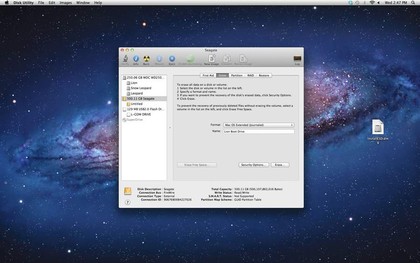
First, find a USB (or if you prefer, FireWire) drive of at least 5GB in size. You can use an external hard disk drive or a flash drive; it doesn't matter which, as long as it's formatted to Mac OS Extended (Journaled). If it isn't, reformat it using Disk Utility.
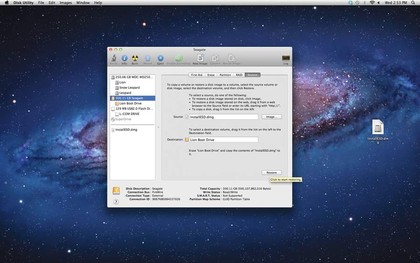
2. Restore the disk image
In Disk Utility, click on the Restore tab. Drag the InstallESD.dmg file you extracted from the Lion installer application earlier into the Source field. Drag the drive or partition from the left-hand column into the Destination field. Press the Restore button.
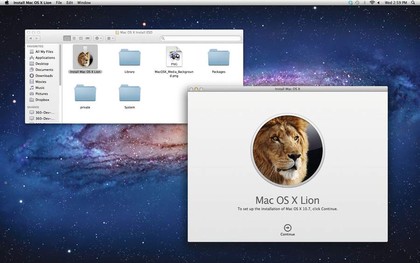
3. The finished product
When the process is complete, your external drive can be used as a Lion boot drive, and also to install Lion on other Macs. To learn how to boot from this drive, perform a clean install or just install Lion on another Snow Leopard Mac, see Steps 6-8.
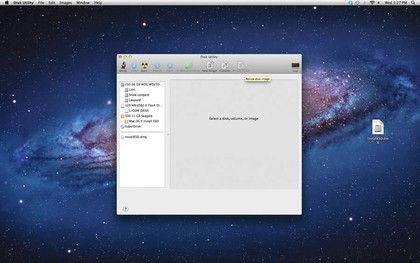
4. Create a boot DVD
The process for creating a bootable DVD is very similar, and again uses Disk Utility and demands the InstallESD.dmg file we extracted from the Lion installer. First, insert a blank DVD. Open Disk Utility, and press the Burn button on the left of the top bar.
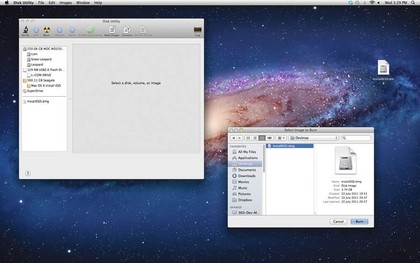
5. Burn the disc
A window opens entitled Select Image to Burn. In this window, navigate to and select the InstallESD.dmg file, and press Burn. A window opens in Disk Utility inviting you to burn the disc – do so. When it's finished, the disc is ejected. You've created a boot DVD.
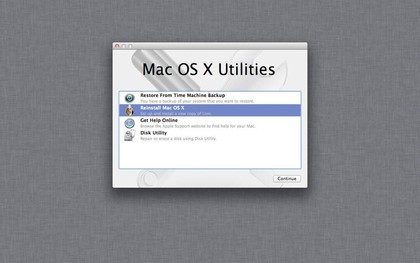
6. Use the boot disc or drive
To boot your Mac from your newly created DVD or external drive, first insert the disc or connect the drive. Restart your Mac while holding down the Option key. You're given a choice of devices to boot from. Select your new boot volume and it boots to this window.
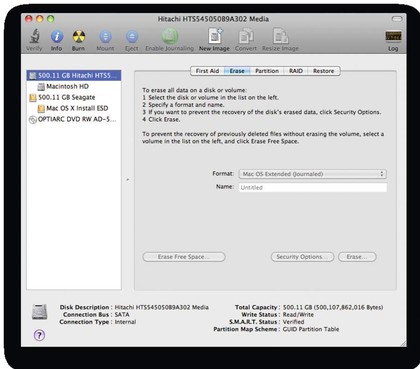
7. A clean install
To perform a clean install, select the Disk Utility menu from the window. Highlight your Mac's main boot drive, and erase it. Quit Disk Utility and from the menu window, choose Reinstall Mac OS X. The boot volume you created doesn't require internet access to install.
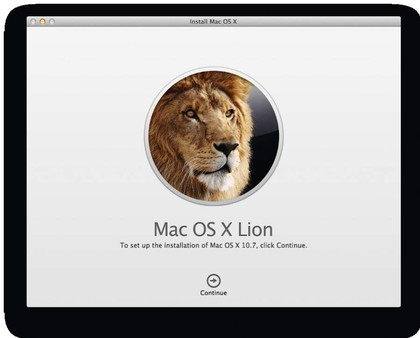
8. A standard install
To install Lion without erasing your Mac's hard drive, restart using your new boot volume, and select Reinstall Mac OS X as outlined in Step 7, but without using Disk Utility to wipe the boot drive. Again, you don't need to be connected to the internet to install.