How to dual-boot Linux and Windows
Partitioning, cross-platform apps and sharing data explained
Don't be scared of carving up your hard disk – we know what we're doing
The biggest hurdle that most dual-booters have to overcome is their fear of partitioning. This is the process of splitting up your hard drive into chunks so that you can install more than one OS.
It's not so daunting if you're working with a new hard drive, as even if something goes wrong, you're not going to lose any data. But many people want to re-adjust an existing configuration to make space for a new one, and this is where things can go wrong.
This is why you should make a backup. It's also wiser to do all your partitioning before you get to the installation stage. You can then make a better judgment about how much space you need, and ensure that the drive is configured correctly before you reboot with the install disc.
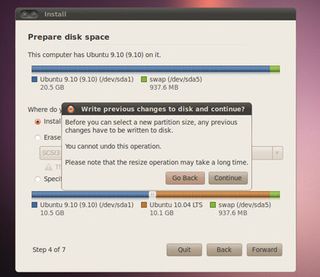
Most distributions and installers use the same tool for partitioning: GParted. If you boot into the Ubuntu desktop from the CD by selecting the 'Try' option, you'll find GParted in the System > Administration menu.
You first need to select the drive you want to edit from the drop-down menu in the top-right. This will fill the graphical display with the layout of that drive and a list of partitions in the lower panel.
Each partition looks like a horizontal block, with the space used within that partition indicated by a block of colour. To resize a Windows partition, look for a block formatted as either NTFS or FAT32 and select it. Right-click on the partition and select 'Resize', and in the window that appears, use the arrow on the right to reduce the size of the Windows partition and free up space for new installation. Click on Apply to make the changes permanent.
Get daily insight, inspiration and deals in your inbox
Sign up for breaking news, reviews, opinion, top tech deals, and more.
Create a new partition
You should now have a large block of unallocated space. Right-click in this space and select 'New' to create a fresh partition. You should select ext4 as the filesystem and click on 'Add' to make the change permanent. You can do this as many times as you like, depending on how you want to configure your new system and the limitations of your hardware.
A SATA drive will only let you have a maximum of four partitions for example, and you will also need to create a small swap partition. When you come to install a Linux distro, make sure you select the manual partitioning option.
From there you will need to select one of your spare partitions and assign a mount point of /, as well selecting and assigning the swap partition. Your distribution will then be able to install the files to the correct place and add the appropriate boot menu entry for when it's time to reboot.
Make space for new partitions
1. Launch GParted
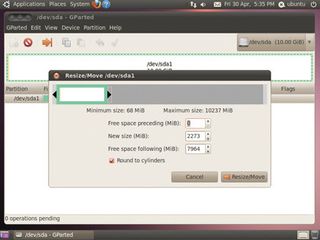
Boot into live CD mode from the Ubuntu disc and launch GParted from the Administration menu. Select the drive, right-click on the existing partition and select Resize. Use the small window to reduce the main partition.
2. Create partitions
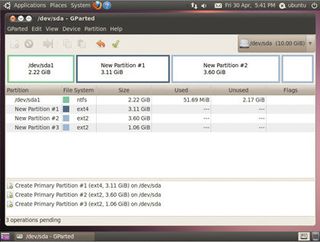
In the newly released space, right-click and select New. Create one or two new large partitions alongside a smaller partition, which will be used as Linux swap space, then click on the 'tick' mark.
3. Use the partitions
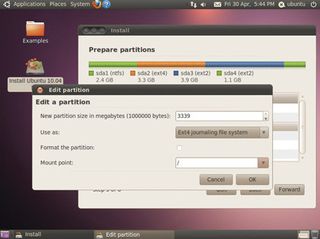
After the partitions have been created, you can install a new distro. When you choose the 'Custom' partition option, you'll be able to use your new partitions by assigning them to the / mount point and swap space.
Current page: How to partition your disc
Prev Page Introduction to dual-booting Next Page Run Windows and Linux


