How to master Jump Lists in Windows 7
Opening your programs and files is easier than ever
7. More for your money
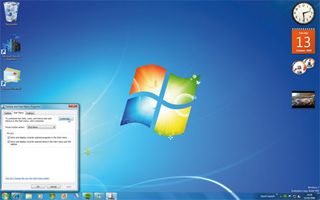
Like most parts of Windows 7, the Jump List menus are fully customisable, and you can change the size of them according to your tastes using the Start menu properties. To start adjusting your Jump Lists, just right-click the taskbar and go to Properties, click the Start menu tab and choose Customize.
8. Up the number
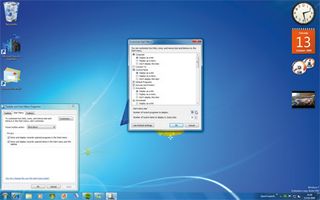
At the bottom of the Customize window you can increase or decrease the number of entries your Jump Lists display. The default is 10, but you can type in any number you wish, to create massive lists with access to all your files, or save on space with minimalist access as required.
9. Set up Jump Lists
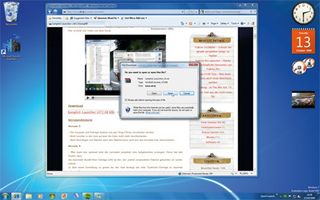
If the Jump Lists in Windows 7 help you work more effectively, then try supercharging your Jump Lists with Jumplist-Launcher. This enables you to build custom Jump Lists, and is available to download from here.
10. Extraction guaranteed
Get daily insight, inspiration and deals in your inbox
Sign up for breaking news, reviews, opinion, top tech deals, and more.
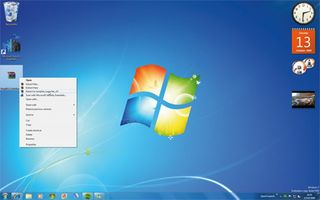
When you download it from the site, you'll get a folder that needs to be unzipped to access the files within. This is easily done – just right-click on the file, then click Extract. No actual installation is required because the program is small enough to run from inside the application.
11. Customise
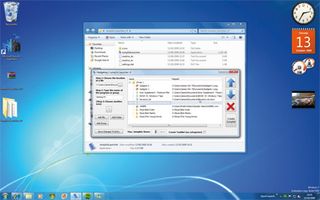
As soon as Jumplist-Launcher is set up and running, you simply need to open it, and then drag and drop files, programs or shortcuts into the main window. Once you've done this, it's easy to order your Jump Lists so they're as efficient as possible – just click the up and down arrows at the side.
12. Ready when you are
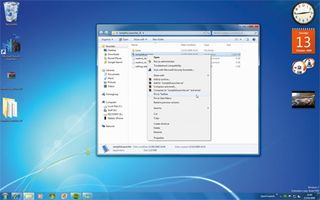
Once you've set up Jumplist-Launcher, you want it to stay on the taskbar, or you'll be forced to reopen the program every time you restart your PC. Just right-click the Jumplist-Launcher icon and choose Pin to Taskbar. Now it will always be easy to access.
13. Ready for launch
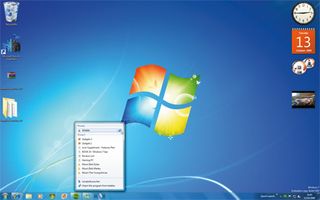
Now when you start your computer, you can just right-click on the Jumplist-Launcher icon on your taskbar to bring up the customised list you created earlier. You can pin these in place by clicking the small icons to the right of the items, just as with all your other Jump List options.
14. Work faster
Once you're done, you'll have mastered Jump Lists in Windows 7, and can start saving real time on your day-to-day tasks. What's more, by adding Jumplist-Launcher to your taskbar and making the most of its shortcuts and customised Jump List, you can really get in control of your computer.

