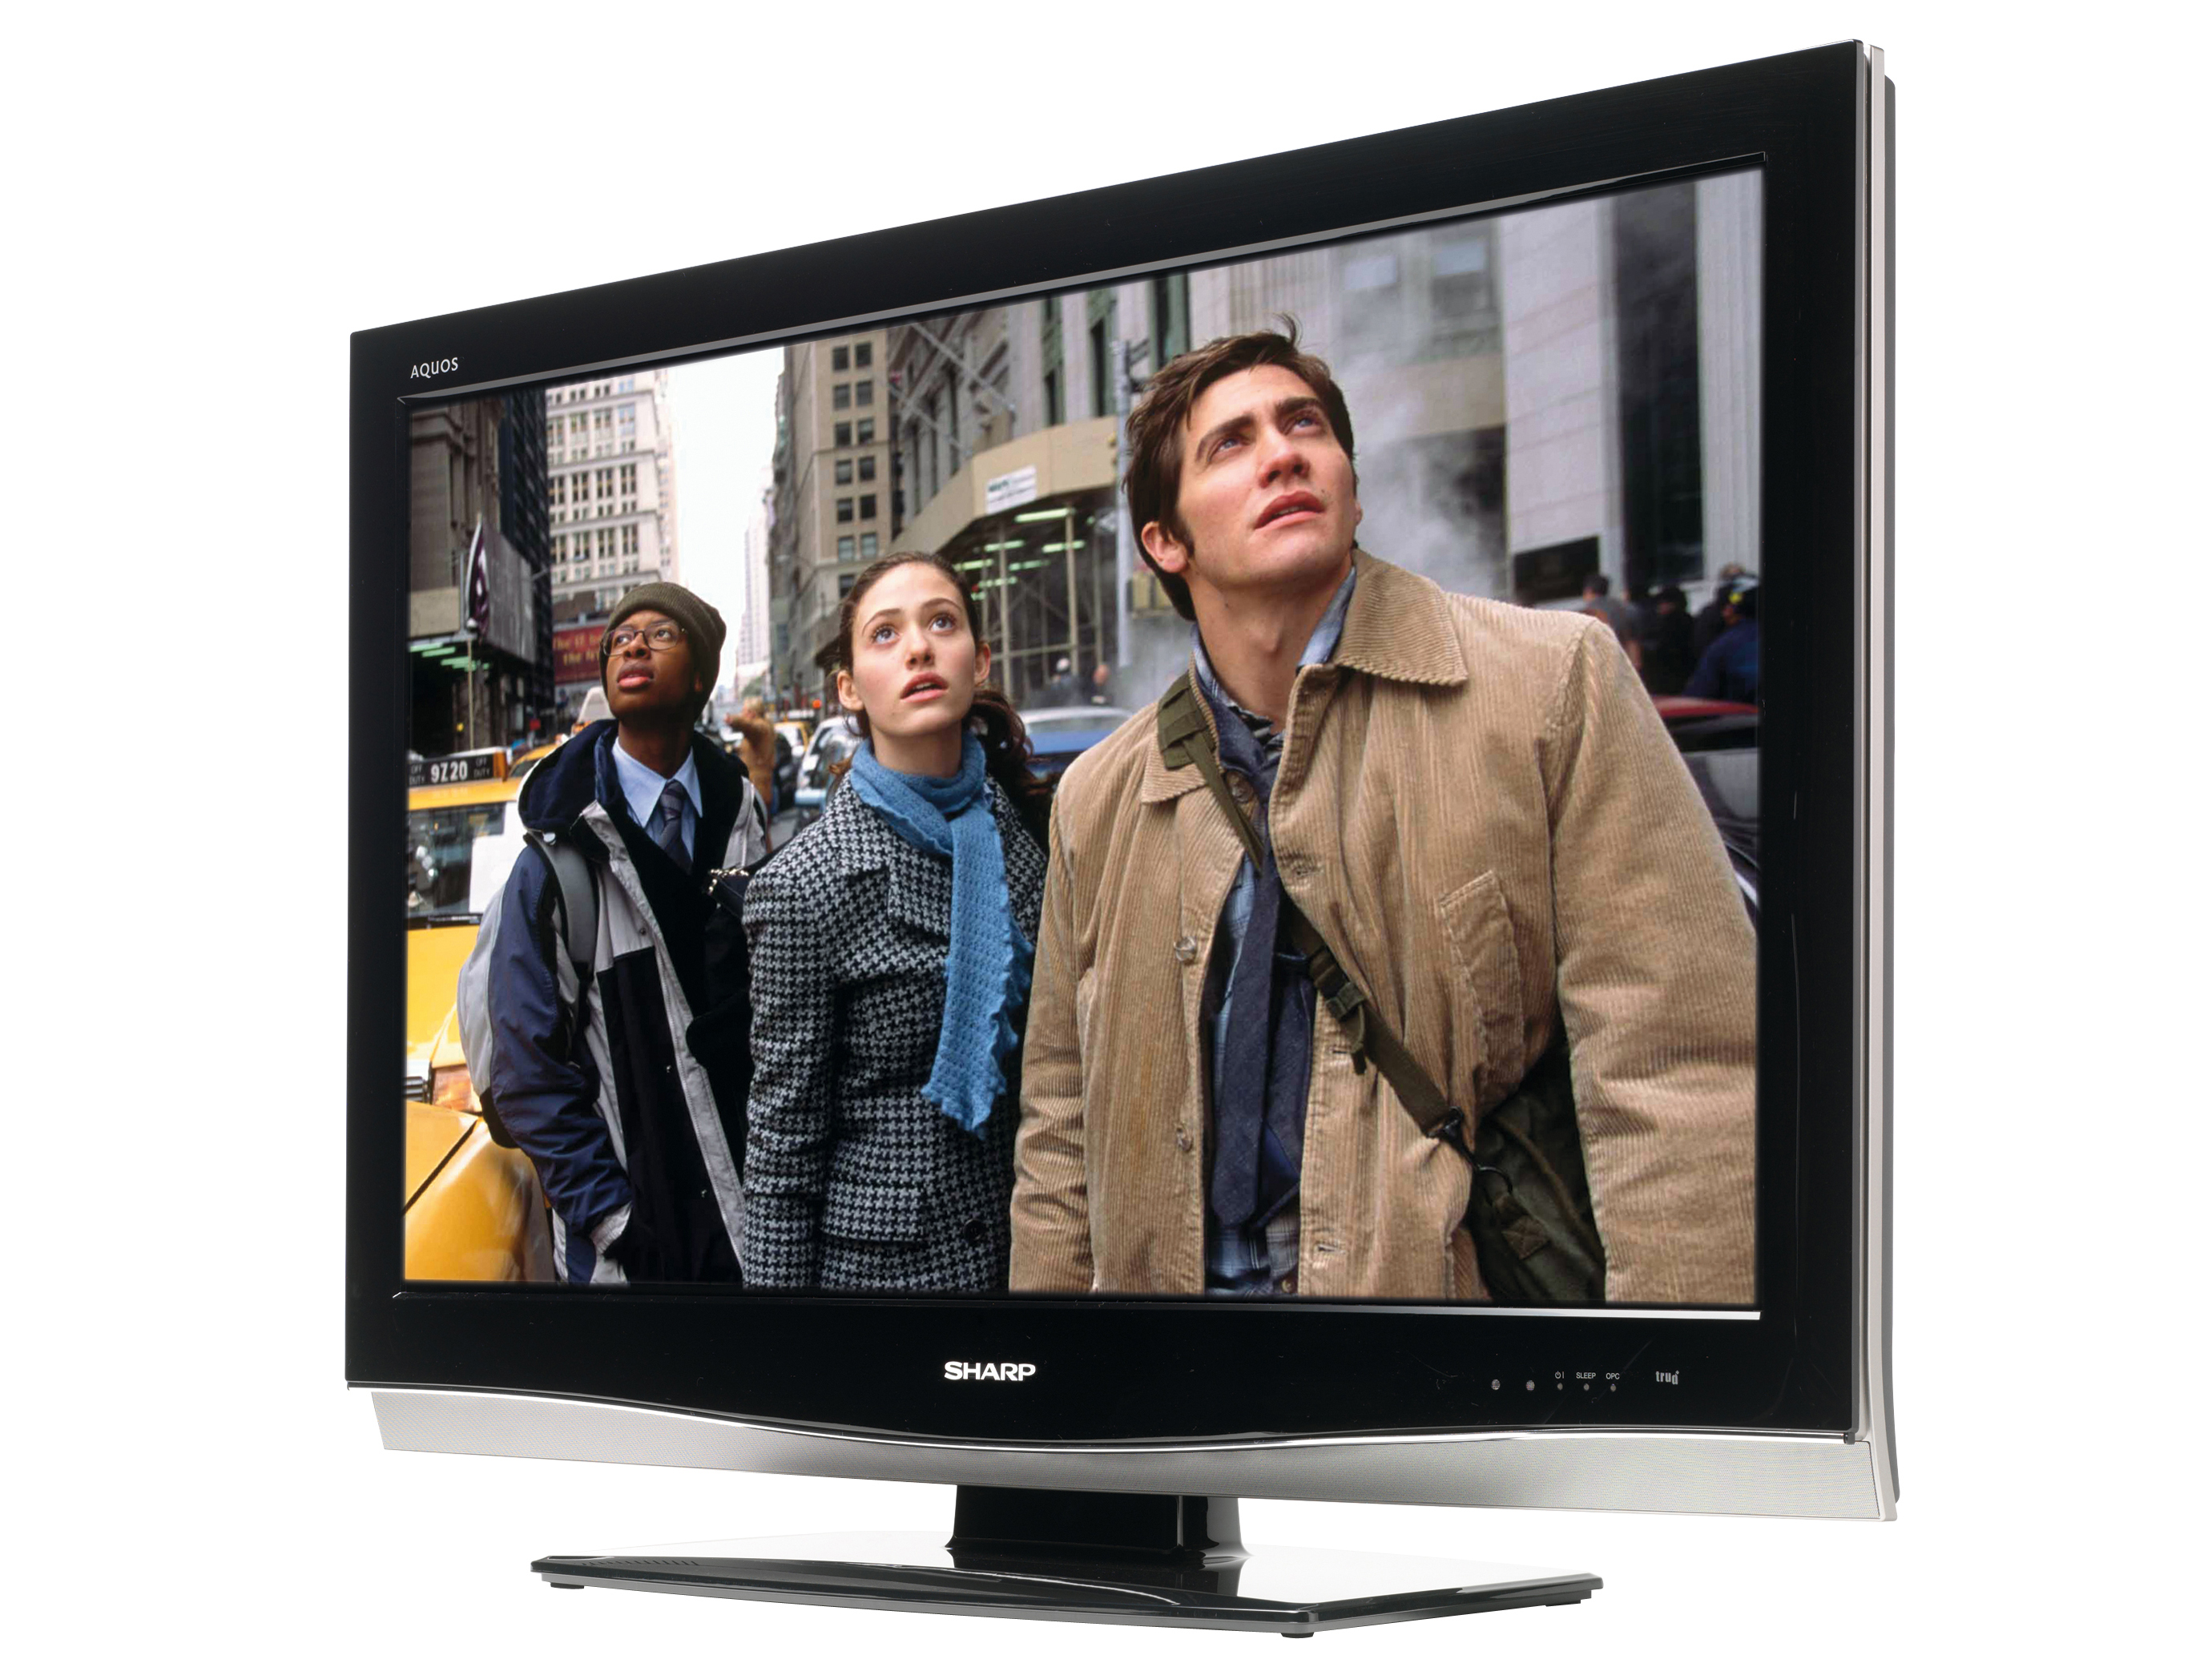
By default most LCD TVs – indeed, any TVs – are set up to look great under the harsh lighting conditions of your average electronics shop, but can look rubbish when you get them home. Here are some great ideas to help you get the best picture settings for your set...
1. Adjust contrast, colour and brightness
One of the first things you should do after you've plugged your TV in is to pull up its picture adjustment menu. Here you'll be able to take control of individual settings for brightness, contrast and colour – enabling you to match the output of your TV with the ambient light in your room. TVs that are bathed in high levels of ambient light will need to have settings like contrast and brightness pumped up, but the opposite is true with more relaxed lighting.
A little experimentation goes a long way, but you should set up the TV so blacks are truly black, while skin tones should look natural, not orange or over-saturated with red – if your TV has a choice of colour temperature settings, use them.
2. Use the picture presets, or create your own
Most TVs comes with a range of built-in presets that automatically adjust brightness, contrast and colour settings to suit the kind of content you're watching. If you can, adjust these settings individually until you are happy with them, or create your own presets for certain programme types – movie, sports, games, etc. That way you'll easily be able to plump for them when watching appropriate content.
3. Watch your digital processing
Get daily insight, inspiration and deals in your inbox
Sign up for breaking news, reviews, opinion, top tech deals, and more.
Features like 100Hz and digital picture processing can be useful when watching noisy analogue broadcasts, but do cause problems with digital broadcasts and content from DVDs, HD movies and video games. By default we reckon you should switch off TV-based processing for these sources. That way you won't be bugged by the digital artefacts and smearing such processing can introduce.
4. Check your sources
Always ensure that source components like DVD and Blu-ray players are outputting video in a way that's compatible with your TV and the kind of cable you're using – so if you have a 720p LCD TV, you'll need to feed it with a 720p signal, even if you're using a 1080p capable Blu-ray player. DVD players should output RGB video to a compatible Scart input on your TV for the best possible picture quality. Wherever possible, let the DVD or Blu-ray player do any video upscaling for high-definition sets. The chips inside them will usually do a better job than the digital processing chips inside your TV.
5. Careful with those cables
Depending on what kind of connections you plan to make, you should aim to buy the best cables you can afford as they'll minimise picture quality loss between devices. However some high quality cables can have very heavy connectors at each end, which can make getting a decent connection difficult. You should also watch your cables' lengths. Generally speaking the longer the cable the more danger there is of signal loss and greater picture noise. HD signals can stretch for up to 30m using HDMI; but for DVD signals via Scart, RGB-compatible 1m or 2m cables are best.
6. Buy a TV set-up disc
For truly professional results, you need a tool the professionals use. Joe Kane Productions makes a range of Blu-ray and DVD setup discs that enable you to calibrate your TV's output for both picture and sound. Digital Video Essentials is available for £13.98 at Amazon UK; an HD Basics version on Blu-ray is yours for £12.98. Alternatively, use the built-in calibration tools in your DVD, Blu-ray player or TV, if available.