Use Wondershare UniConverter to Convert Video Format in Just 3 Steps
Sometimes the users are prompted with a message saying, “Unsupported Format”, “Required Codec Missing”, “File Unrecognizable”, or something similar to this. This usually happens when the operating system or the media player is opened and couldn’t recognize the file format, and therefore is unable to process the information it contains.
This is where a decent video converter comes into play. With an efficient conversion tool, the unrecognized media clips can be converted to a format that the OS or the player could understand.
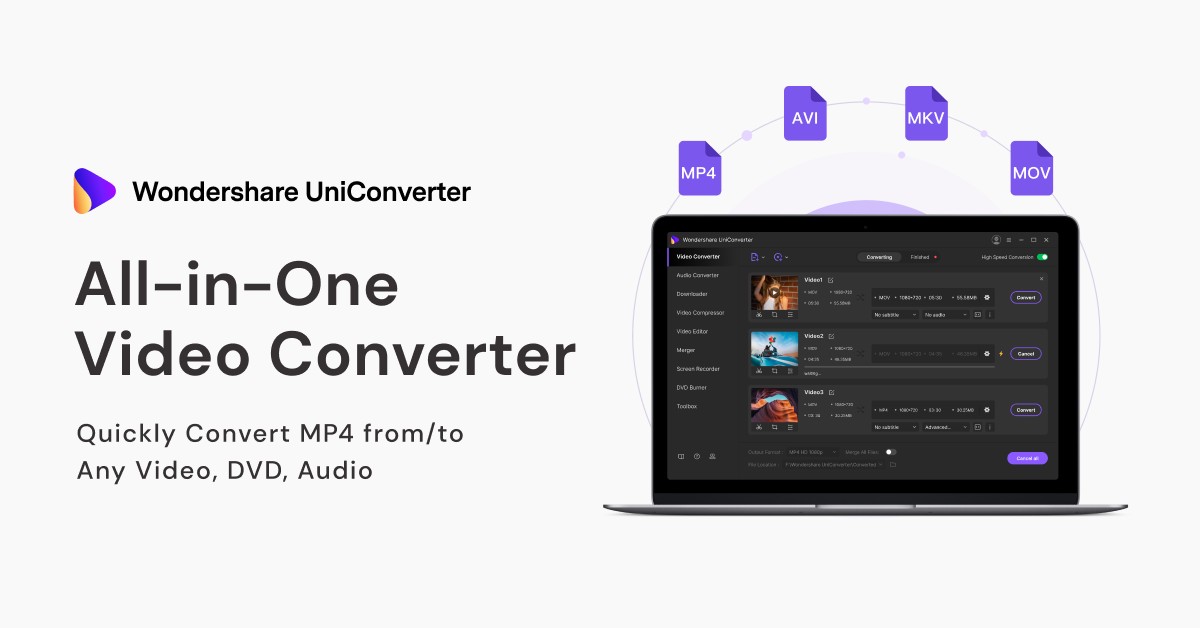
Considering these requirements, Wondershare came up with a robust application called Wondershare UniConverter (formerly known as Wondershare Video Converter Ultimate). The lightweight software supports more than 1000 formats, and capable of converting the clips to a different format 30 times faster as compared to other similar apps available in the market today.
Furthermore, Wondershare UniConverter (Version 12) has an extremely simple UI that makes it convenient for even someone new, to perform video conversions in merely three simple steps. The step-by-step process of converting a video to a different format with Wondershare UniConverter (Version 12) is explained below:
Step 1. Import Multiple Media Clips for Batch Conversion
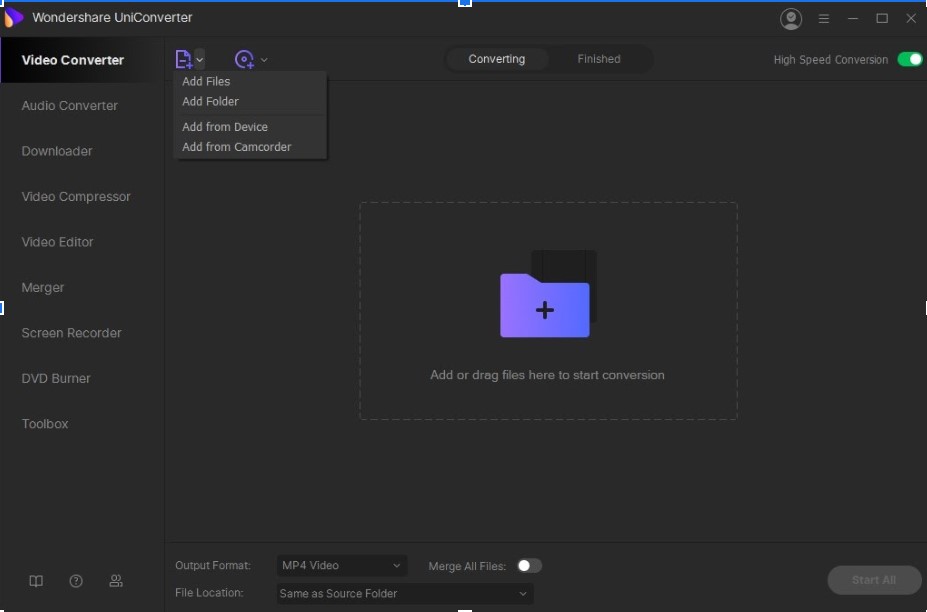
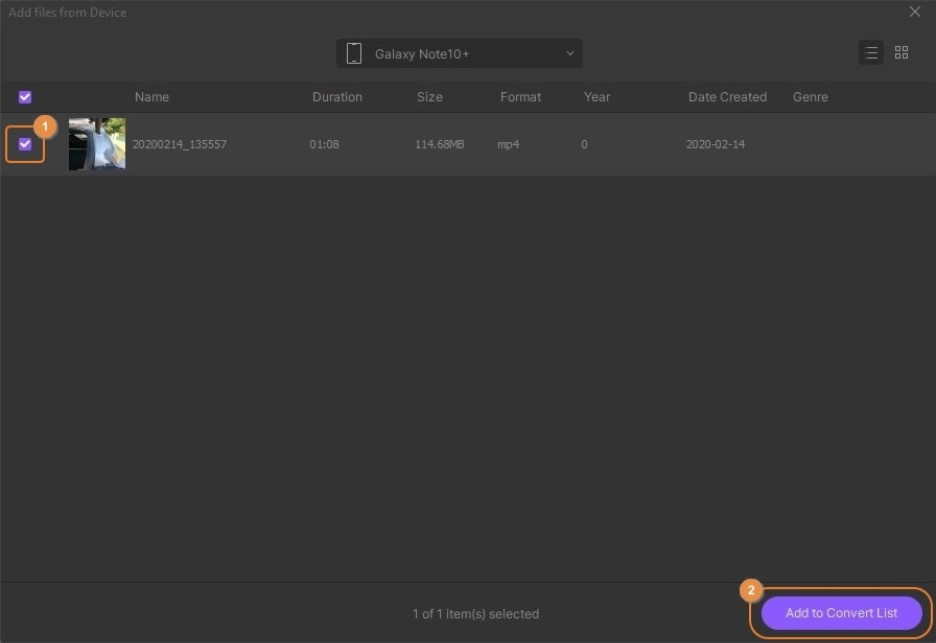
Wondershare UniConverter supports batch conversion. The app can also import source videos from any connected iOS or Android device. To bring videos from a device to UniConverter, connect the smartphone/tablet to your PC, launch the program (a Windows 10 computer is used here for demonstration) (also confirm and agree to all the prompts to allow the two trust each other), ensure that the Video Converter category is selected from the list in the left pane, click the drop-down button from the right of the Add Files icon at the upper-left corner of the window. Now, click Add from Device from the menu, on the Add files from Device box, select the videos that need to be imported, and click Add to Convert List from the bottom-right corner.
Step 2. Choose Output Format for Any Device or OS
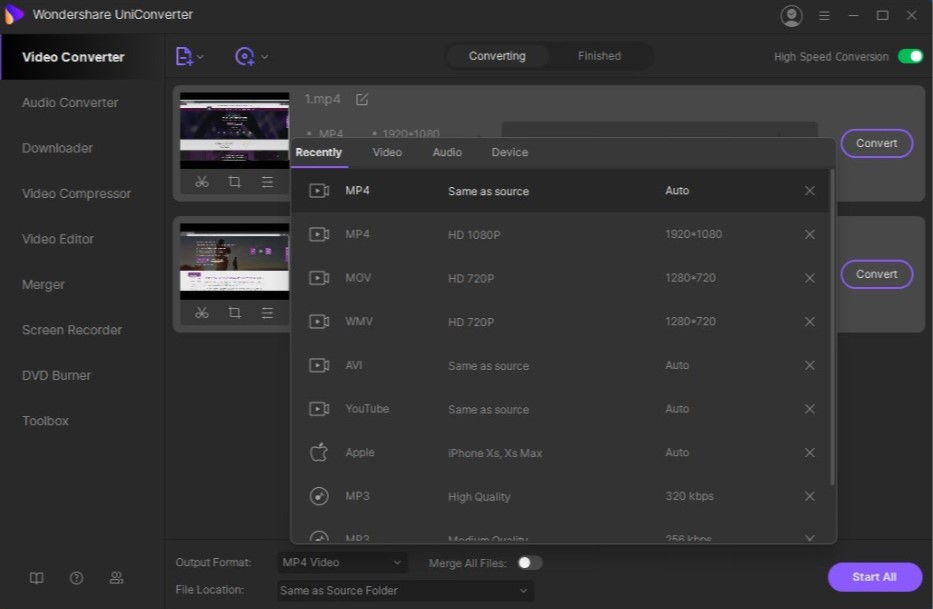
After the video is imported, it can be converted into several formats, or can be customized to be viewed on different devices or platforms as well. To convert the video for a device or platform, click and open the Output Format menu from the bottom of the interface, go to the Device tab from the top of the menu, choose a device vendor from the left pane, and select an appropriate model from the right.
Step 3. Convert Videos in High Speed
Turn on the High Speed Conversion switch from the upper-right corner of the window, click Turn On if UniConverter prompts to do so, use the File Location field at the bottom to set a destination folder where the file should be saved post conversion, and click Convert from the right of the imported video.
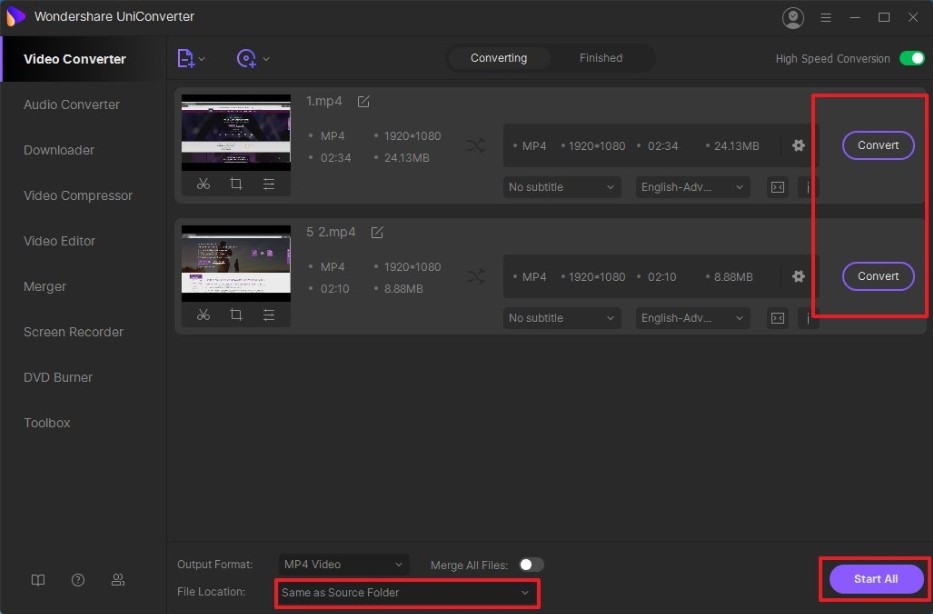
In addition to offering simple and convenient way to convert the video files, there are several other functions that Wondershare UniConverter can perform including:
- Extracting Audio from Video
If MP3 or any other audio format is selected while following the instructions given above, the users can easily extract the audio from a video footage.
- Audio Conversion
This function is almost similar to that explained earlier. The only difference is, with this category, the users can convert an audio file of one format to another.
- Video Compression
This section allows the users to reduce the size of large video files. While compressing, the users have full control over the compression ratio, and the resolution the compressed clips should have.
- Video Editing
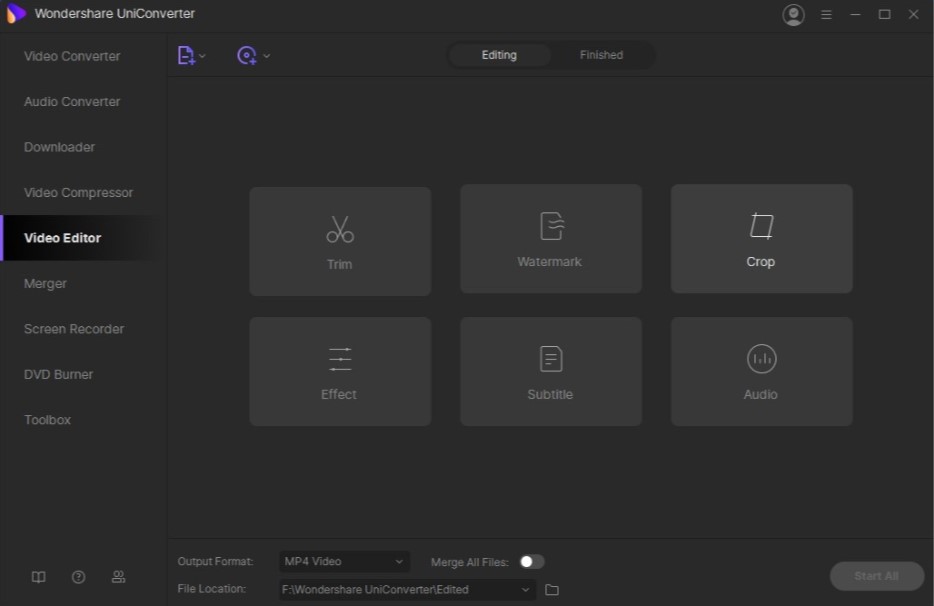
This is yet another quite important and robust feature that UniConverter offers to its users. The “Video Editor” category enables the professionals and amateurs to trim, crop, merge videos, and add subtitles, applying effects to make your video more attractive.
- Screen Recording
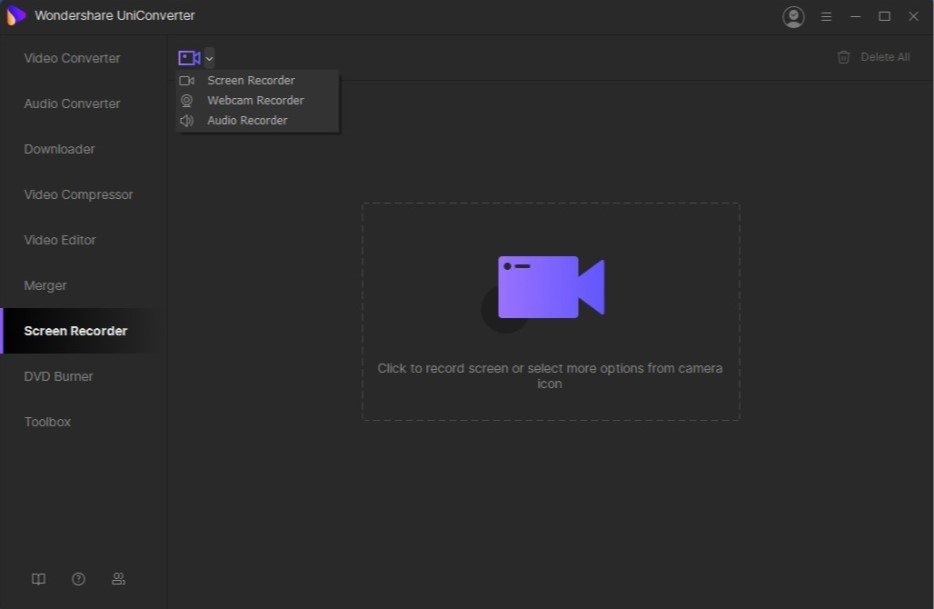
This category has three subcategories that allow users to record your computer screen, capture footage from a webcam, and record audio for voiceovers. Once the recording is done, media files can be edited for fine-tune using the built-in “Video Editor” category that UniConverter has.
- DVD Burning
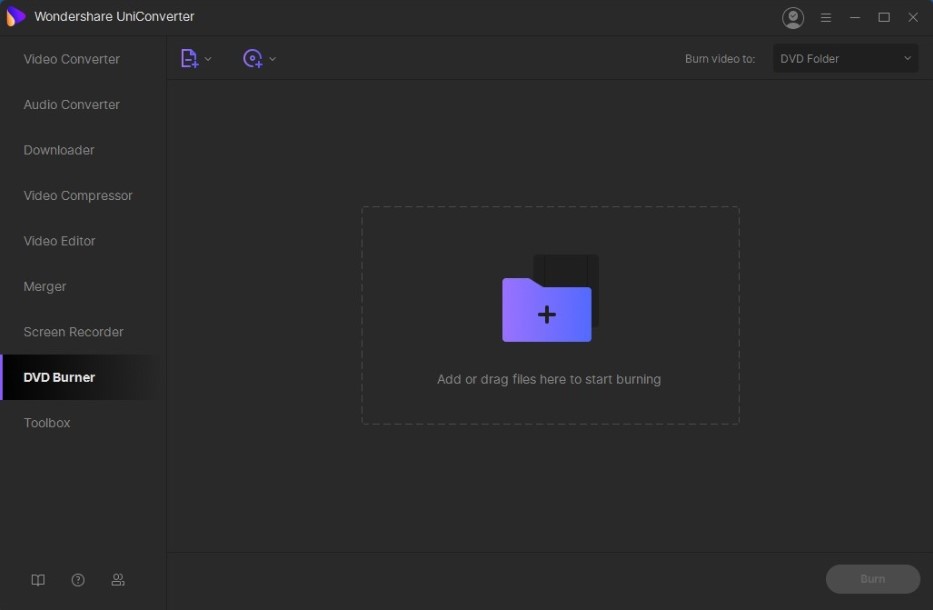
With the built-in DVD burner, users can create their own DVDs out of the videos they have. In addition, the Windows version of UniConverter is also capable of creating Blu-ray discs as long as the PC has a Blu-ray burner connected to it.
- Toolbox
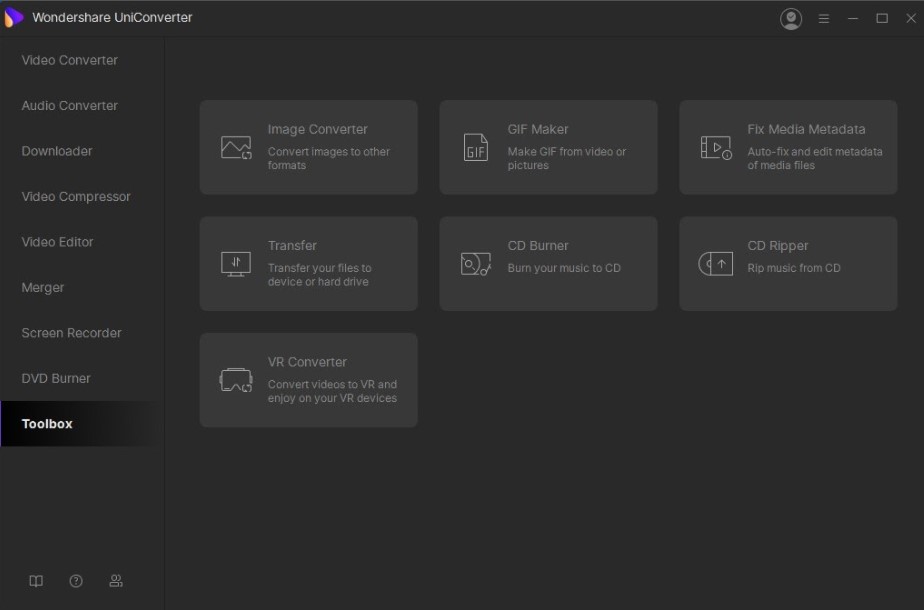
This category has several options to help users perform various tasks such as VR conversion, CD ripping, GIF making, fixing metadata, image conversion, transferring media files from iOS, Android, or external hard drives to the computer, etc.
Wondershare UniConverter can be free downloaded from the official website: Wondershare UniConverter . Follow the official Facebook https://www.facebook.com/wssharevideoconverter/ to get the fresh news and special offers.
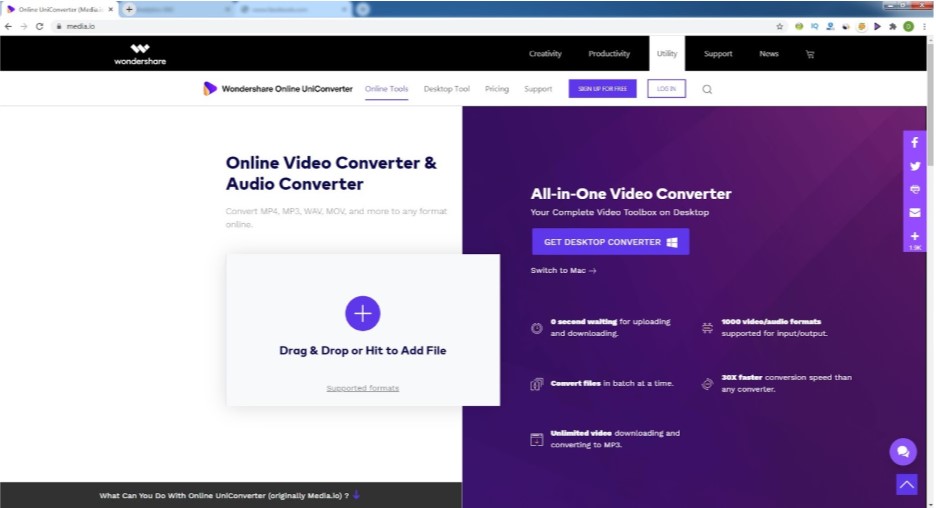
What’s more, Wondershare Online UniConverter is the free online version which asks no download and installation, just works on the browser easily. Try it now: Wondershare Online UniConverter.
Sign up for breaking news, reviews, opinion, top tech deals, and more.