How to create an online store with Wix
A step-by-step guide to launching an ecommerce store with Wix
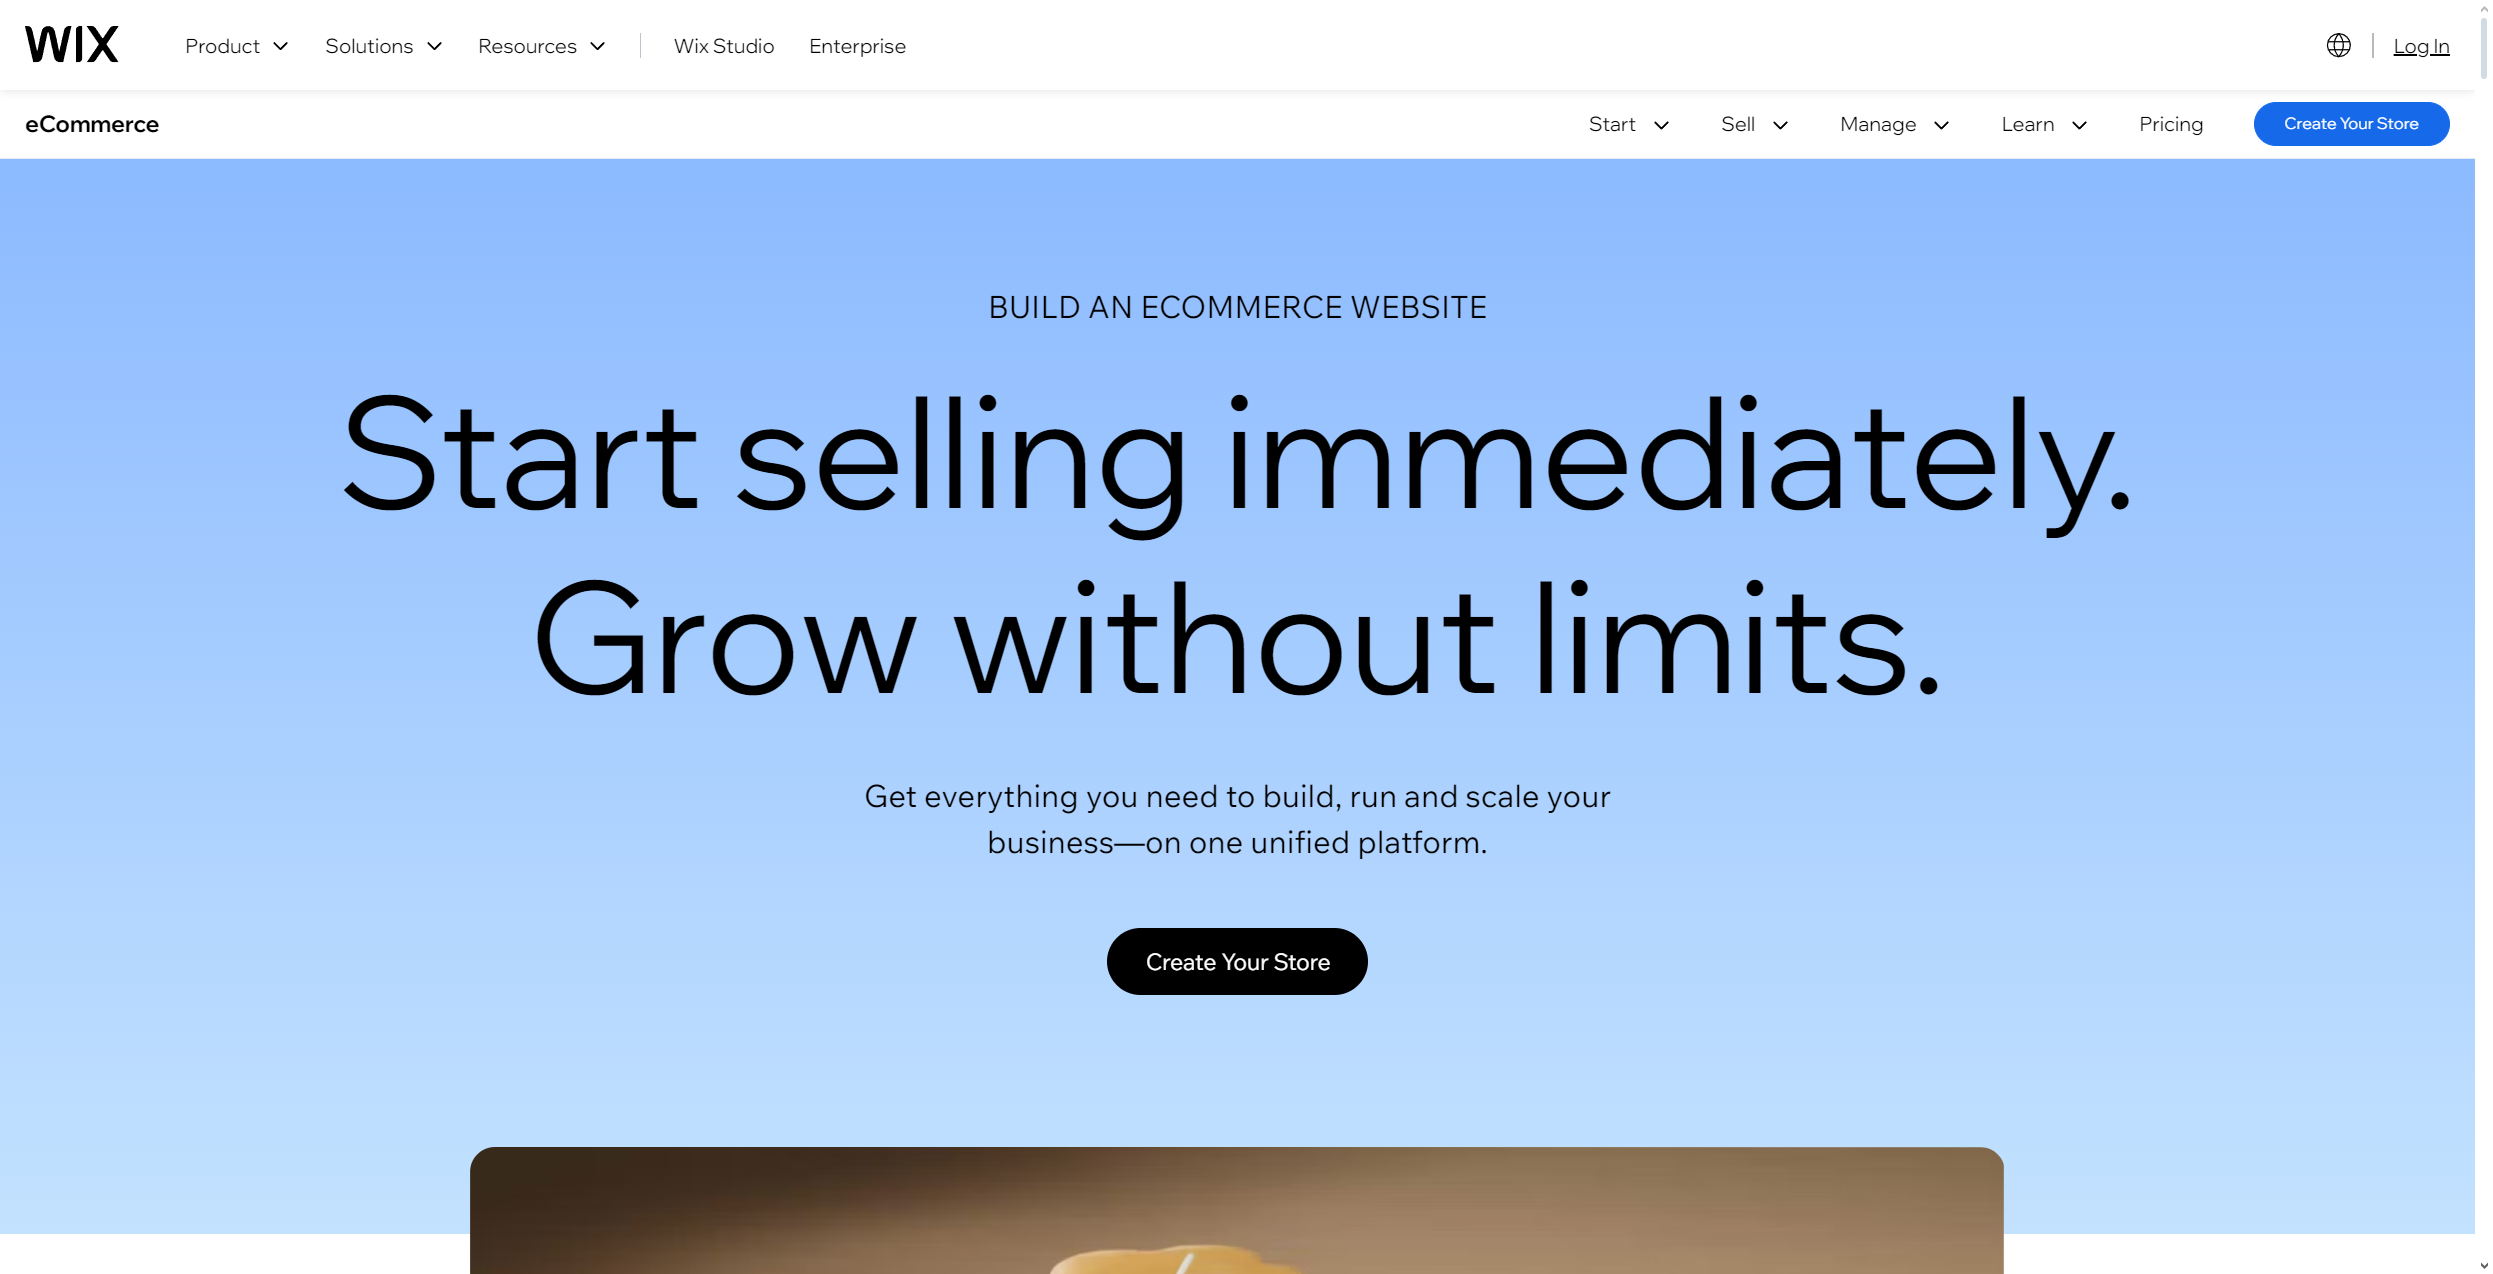
Creating an online store is easier than ever with Wix's user-friendly ecommerce platform. As one of the best website builders, Wix offers all the tools you need to build a professional online store - no coding required.
With its drag-and-drop interface and powerful ecommerce features, you can sell up to 50,000 products, manage inventory across multiple channels, and process secure payments. Whether you're selling physical items, digital downloads, or subscriptions, Wix gives you the flexibility to customize your store to suit your needs - making it one of the best ecommerce platforms the market has to offer.
You can pick from over 800 customizable templates or let Wix's AI builder create a personalized design based on your preferences. The platform takes care of the technical details, like secure checkouts and mobile optimization, so you can focus on running your business.
This guide will show you how to create your own Wix online store step-by-step. From setting up your account and picking a template to adding products, setting up payments, and launching your store, you'll have everything you need to get started. By the end, you'll have a fully functional ecommerce website ready to sell.
You can save on your Wix subscription by using our list of the best Wix promo codes. Alternatively, if you want to discover more about what Wix has to offer, check out our Wix review.
Step 1: Set up your Wix account
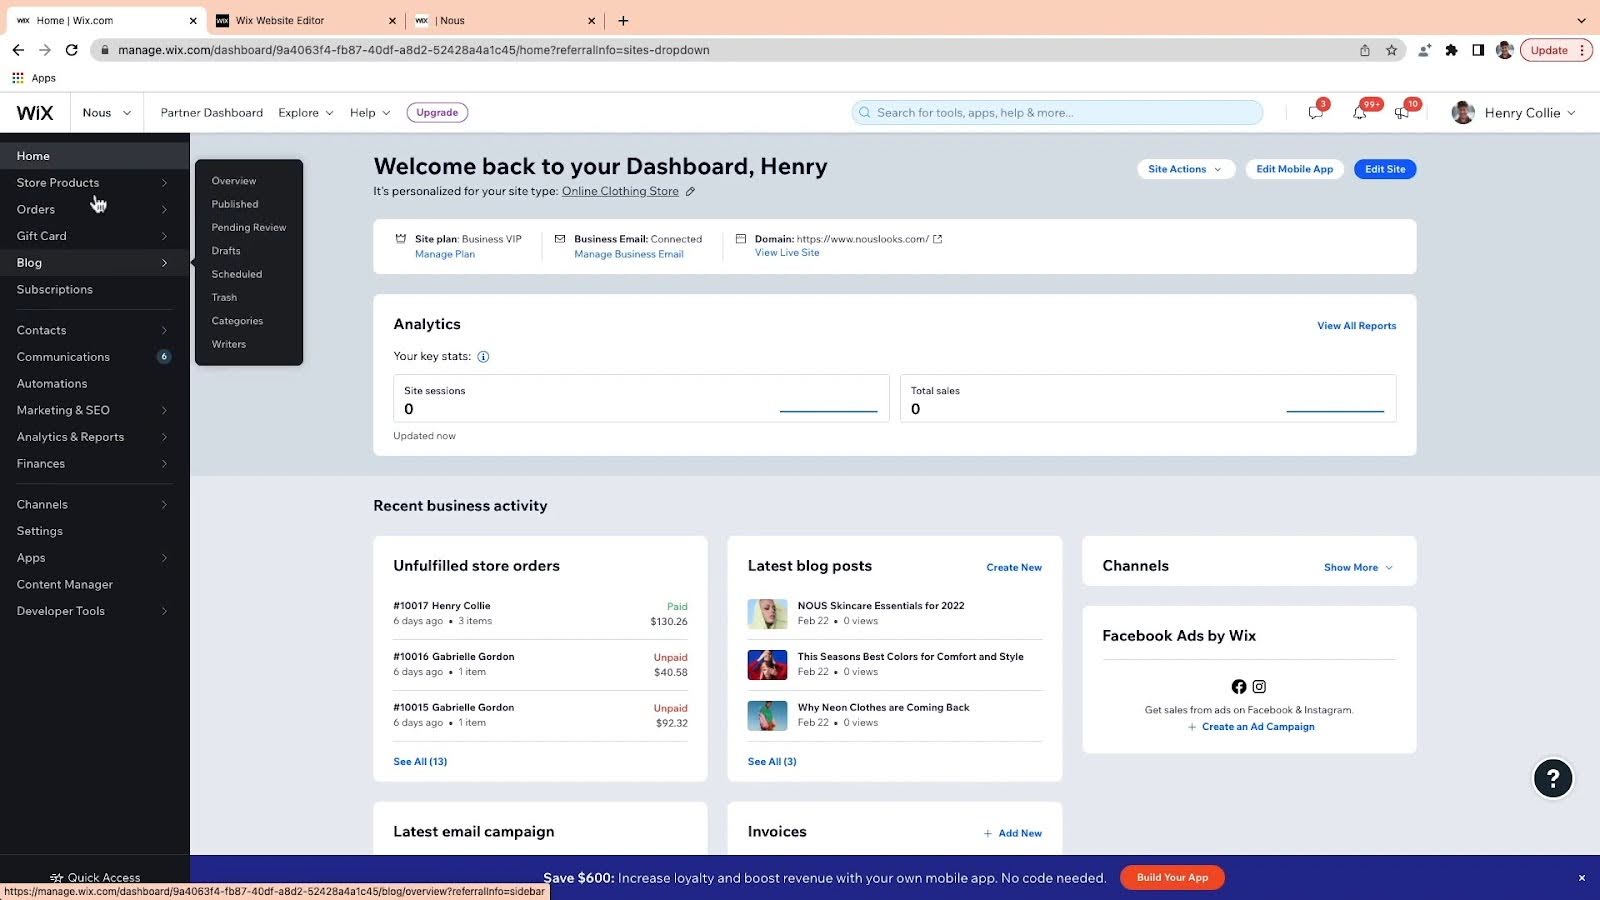
Creating a Wix account is quick and easy. Start by visiting Wix.com, clicking "Get Started," and entering your email address. Confirm your email, create a password, and you're all set. Signing up is completely free, and you can manage multiple websites under one account.
Once you've signed up, Wix will ask a few simple questions to understand your needs. You'll answer things like who the website is for, what type of site you want to create, and your experience level with building websites. These questions help Wix's AI create a more personalized setup for you.
Are you a pro? Subscribe to our newsletter
Sign up to the TechRadar Pro newsletter to get all the top news, opinion, features and guidance your business needs to succeed!
While creating an account is free, premium features like removing ads, connecting a custom domain, or enabling ecommerce require an upgrade to a paid plan. The free plan is great for exploring and testing the platform before deciding to commit to a premium subscription.
Step 2: Choose an ecommerce template
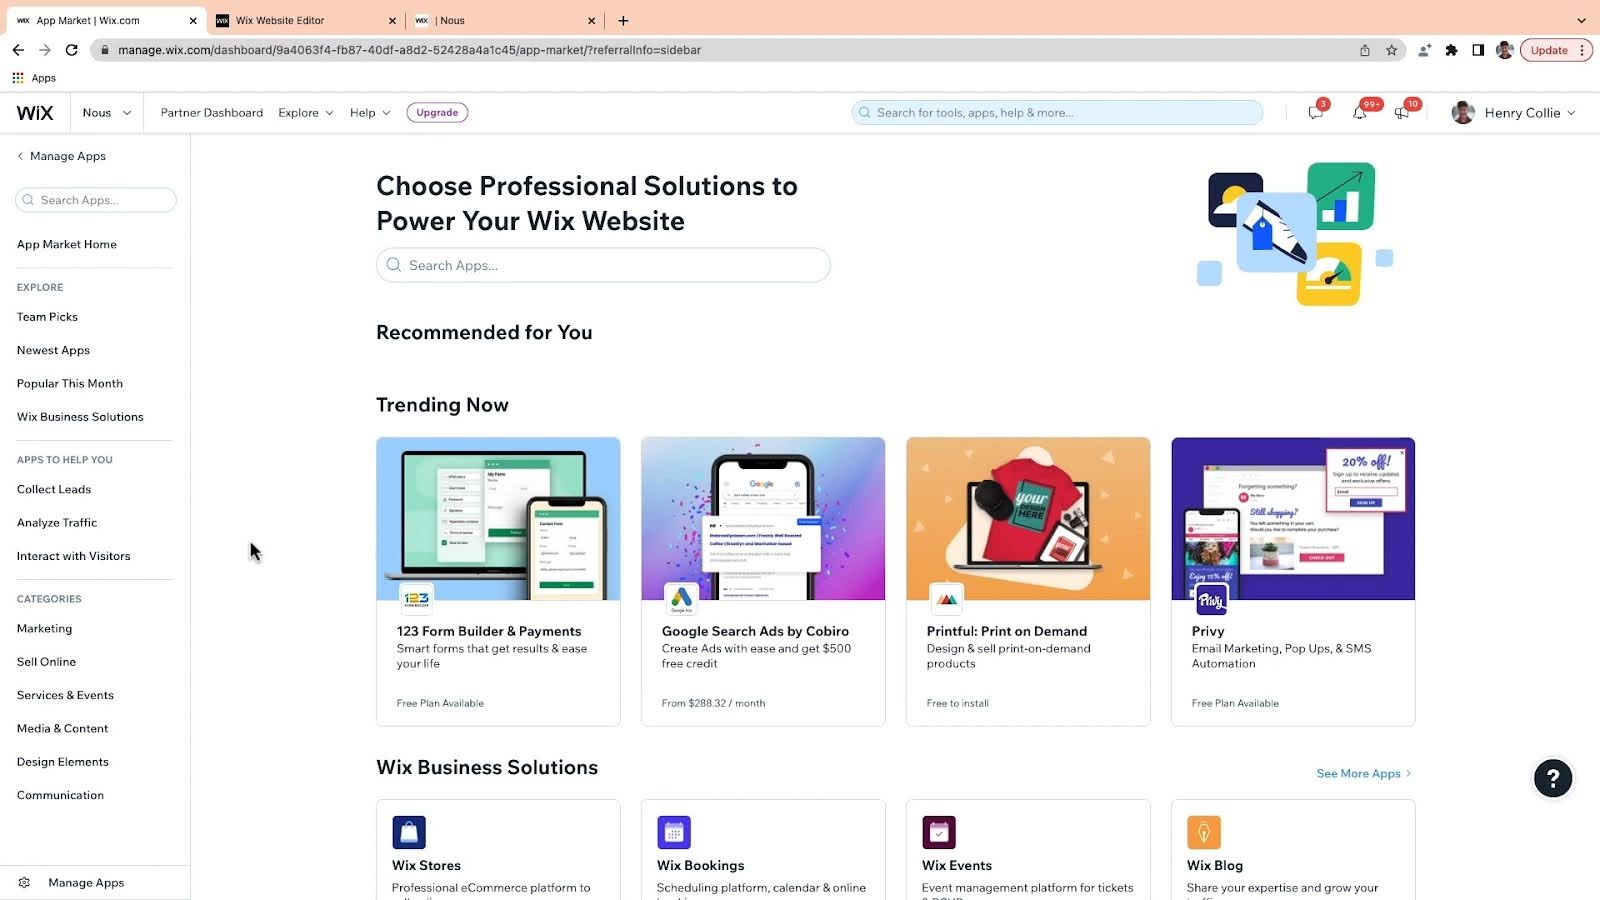
Wix offers over 800 templates, including a section specifically for online stores. Check out the Online Store category, where templates come with built-in ecommerce features like product pages, shopping carts, and checkout options.
These templates are fully customizable and include features tailored to different industries. For example, if you’re selling electronics, the Digitonics Store template offers a sleek, minimalist design. Fashion retailers might prefer templates with larger product galleries and lifestyle images. All templates are mobile-friendly and include important pages like FAQs, shipping policies, and spaces for promotional banners.
While Wix organizes templates by industry, you’re not restricted to your niche. Choose any template that fits your brand’s style and customize it as needed. All templates are compatible with the Wix Stores app, so you can add ecommerce functionality to any design.
Step 3: Customize your store layout
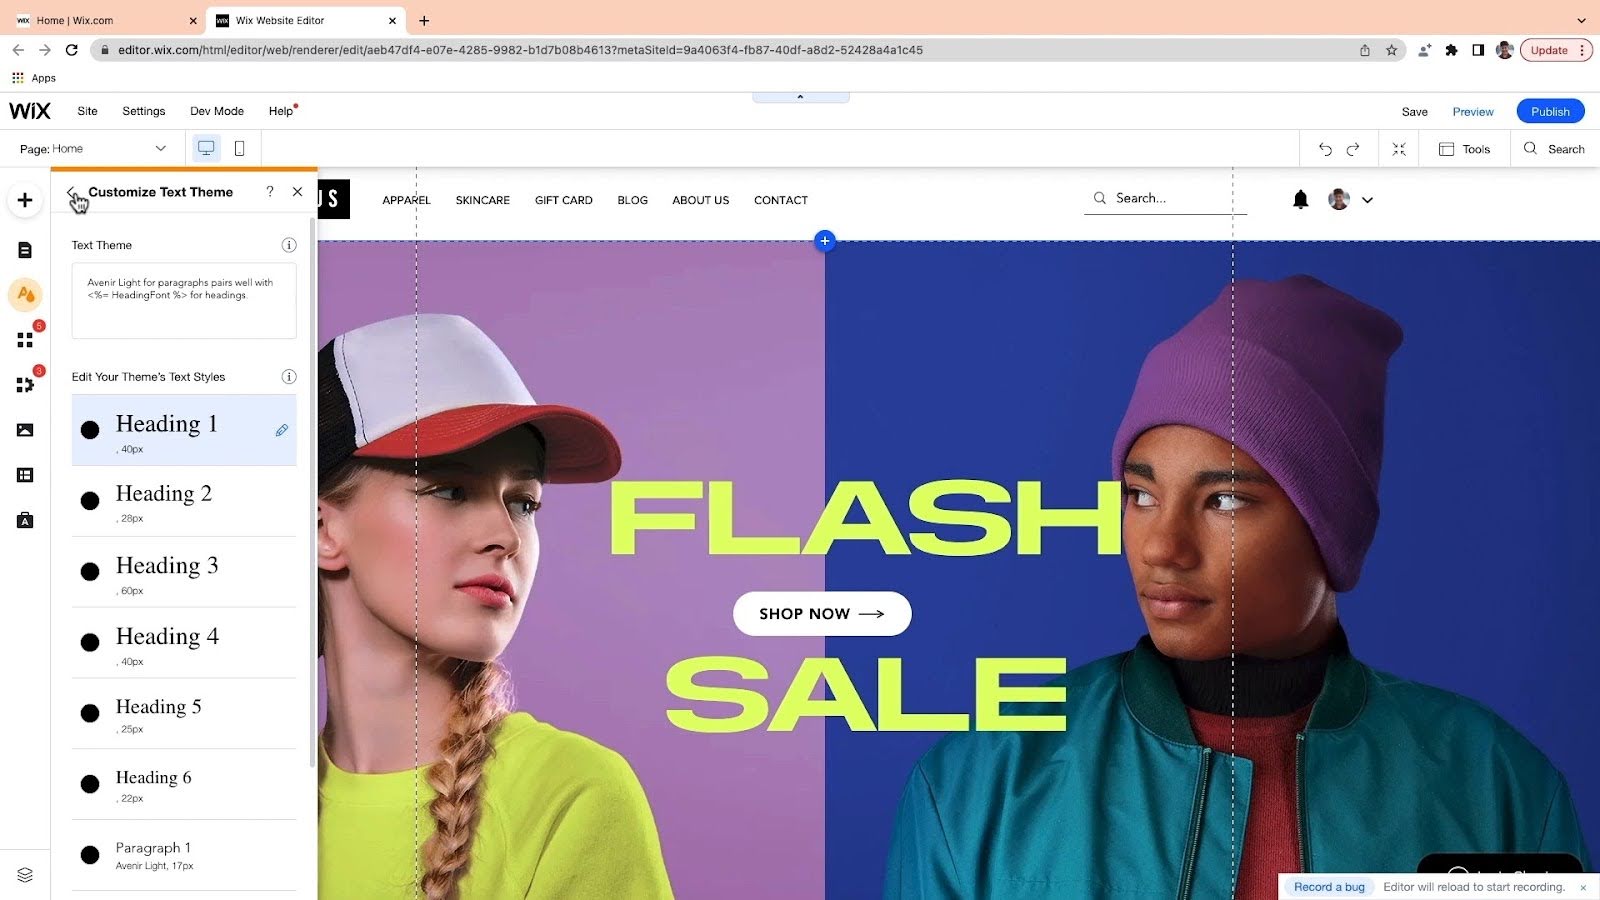
Creating an engaging online store starts with a well-thought-out layout. Wix’s drag-and-drop interface makes it easy to organize your store using strips - full-width sections that structure your content in a visually appealing way. You can add multiple strips and customize each one with unique designs, images, and colors.
The main components of your store include the Product Gallery, Category Page, and Product Pages. In the Product Gallery, you can control how products are displayed by choosing between fixed or responsive grid layouts. On the Category Page, you can adjust features like breadcrumbs, header placement, product grid layout, and image positioning to improve the shopping experience.
The Product Page is key because it’s where customers decide to buy. You can customize elements like image displays, layouts, button text, and wishlist options. Adding features like quick view, product filters, and sorting options can make shopping easier for your customers.
Many successful Wix stores, such as Studio Chocolate, often use floating headers with search bars and product grids with “load more” buttons to create smooth navigation. Always consider looking at other Wix stores for inspiration on how to design and customize yours.
Step 4: Add products to your store
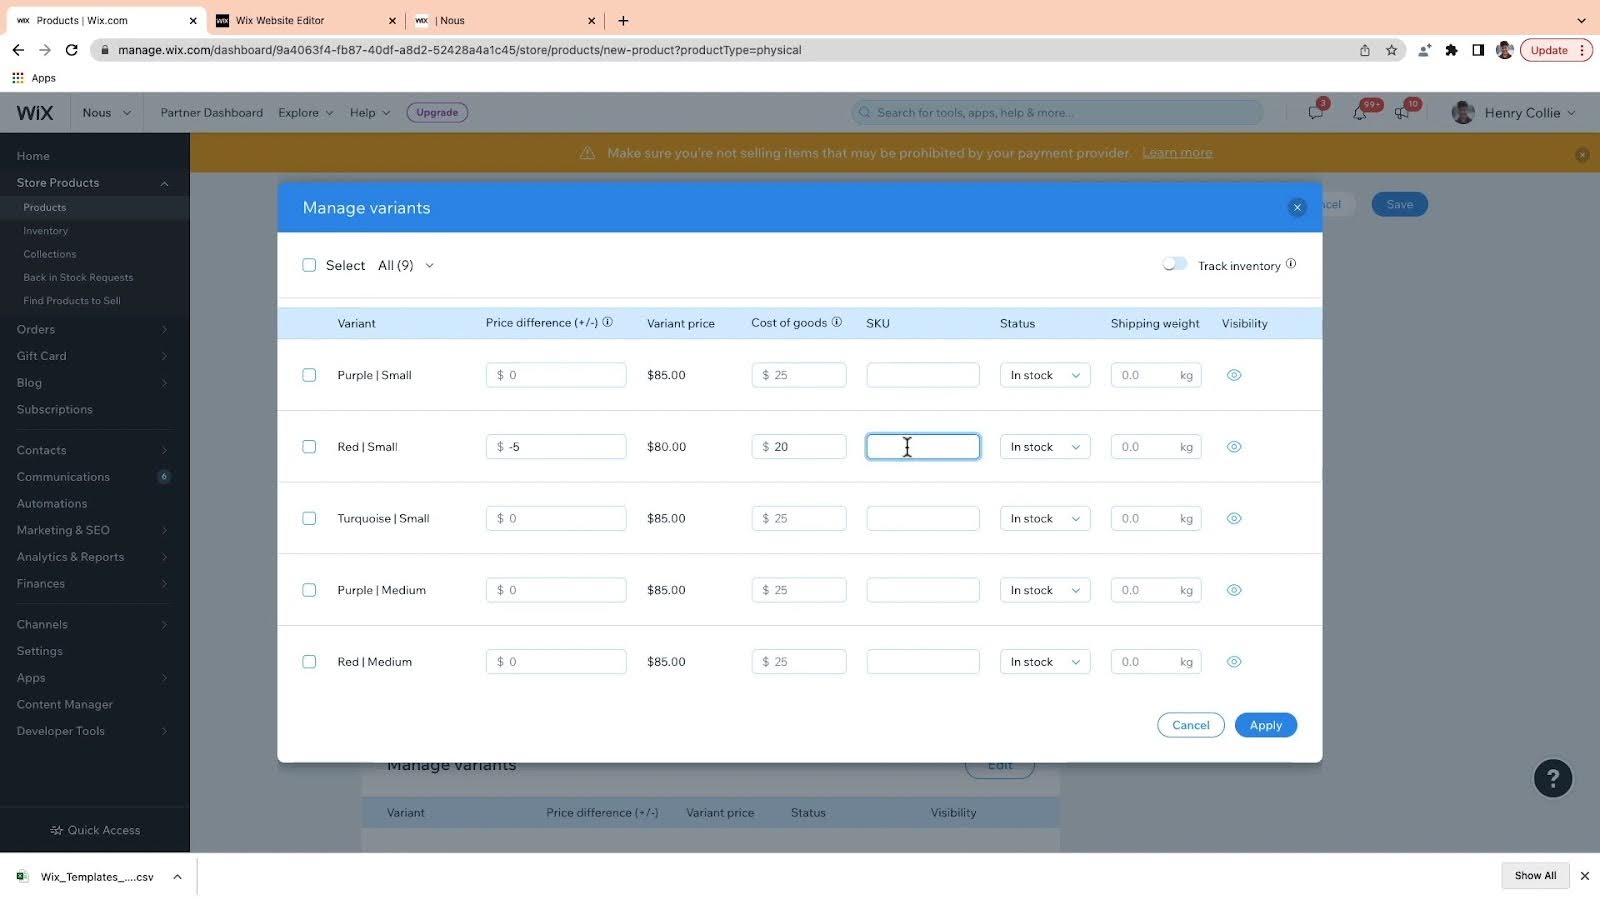
Adding products to your Wix store is easy. In your dashboard, go to Store Products, click "New Product," and choose whether you're adding a physical or digital item. Upload clear images from multiple angles, write an engaging product name and description, and set your price.
Use Wix's product options to add variations like sizes, colors, or materials. You can create up to six options per product, each with up to 100 choices. Set separate inventory levels, prices, and images for each variation so customers know exactly what they’re selecting.
Boost your listings by including details like materials, dimensions, care instructions, and return policies. Enable reviews and add related product galleries - stores with related items see an average 43% sales increase. Lastly, optimize product pages for desktop and mobile, as most customers browse on mobile even if they complete purchases on desktop.
Step 5: Set up payment, shipping, and taxes
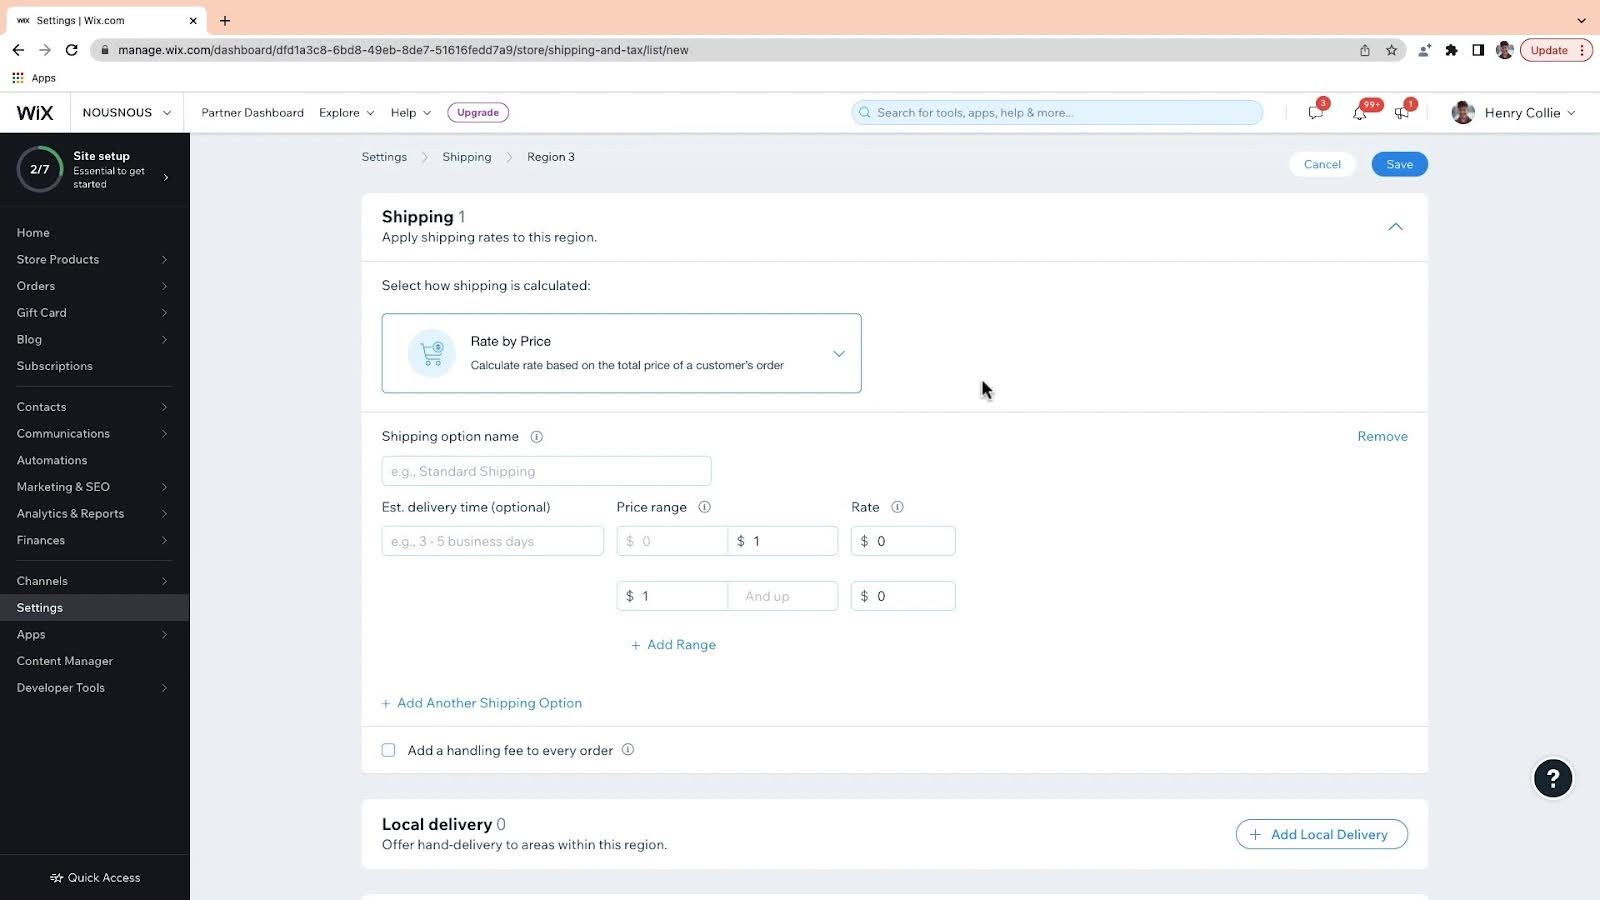
Setting up an ecommerce store involves some extra steps to get things running smoothly, like setting up payment methods, shipping options, and taxes. Fortunately, Wix makes this process much easier.
Start with your payment gateway - it’s an essential step to begin accepting orders. Wix offers several payment options, including Wix Payments, which supports major credit cards, digital wallets like Apple Pay and Google Pay, and buy-now-pay-later services. You can also integrate PayPal or manual payment methods to give your customers more flexibility.
For shipping, define your shipping regions and rates. Wix automatically creates two default zones: domestic and international, both set to free shipping by default. You can customize these with options like flat rates, weight-based pricing, or local delivery. Offering different methods, such as standard and express delivery, can help meet your customers' needs.
Tax setup requires attention to local laws. With the tax settings, you can set tax rates for different regions, decide whether to include tax in your product prices or add it at checkout, and create tax groups for specific product categories. If you’re selling internationally, make sure you comply with cross-border tax rules. Using automated tax calculation tools can simplify complex tax scenarios.
Step 6: Connect a domain to publish

Connecting a domain to your Wix store is the final step before going live. You have two options: buy a new domain through Wix or connect one you already own. If you’re starting from scratch, buying through Wix is easier because all DNS settings are set up automatically.
If you already have a domain, Wix gives you two ways to connect it. The recommended method is using nameservers, which transfers DNS management to Wix but keeps your domain registered with your current provider. Alternatively, you can use the pointing method if you need to maintain complex DNS records with your current host.
The connection process usually takes around 90 minutes, though full DNS propagation can take up to 48 hours. In the meantime, your store will still be accessible through its temporary Wix URL, so there’s no disruption to your business. Once your domain is connected, customers will be directed to your professional site, boosting your brand’s credibility and making it easier for them to find and remember your store.
How to create an online store with Wix - FAQs
How much does it cost to build an online store with Wix?
Wix has several ecommerce pricing plans, starting at $29 per month for the Core plan, designed for small online stores. The Business plan is $36 per month, and the Business Elite plan, for larger operations, costs $159 per month. All plans include hosting, a free domain for one year, and essential ecommerce tools. You can start designing your store for free, but you’ll need a premium plan to accept payments and process orders.
Do I need coding knowledge to build a Wix store?
No coding skills are needed to create a Wix store. Its drag-and-drop interface makes it easy for anyone to design a professional website without knowing CSS or HTML. For those looking for advanced customization, Wix Velo offers coding options, but the standard editor has all the tools you need to build a fully functional store.
What can I sell on my Wix online store?
Wix lets you sell almost anything, including physical products, digital downloads (like ebooks or music), services through Wix Bookings, and subscription-based products. You can manage up to 50,000 items in your store catalog. The platform also supports dropshipping, print-on-demand, and integrations with marketplaces like Amazon and eBay.
How long does it take to build an online store with Wix?
It can take anywhere from a few hours to three months to build a Wix store, depending on your goals and needs. A simple store using a template can be set up in a day, but for a fully optimized professional store, it can take up to a month or more to setup, create content, and test.
Can I manage my Wix store from a mobile device?
Yes, you can manage your Wix store through the Wix mobile app. The app allows you to process orders, add tracking numbers, mark orders as fulfilled or paid, manage inventory, and contact customers—all from your phone. You can also view real-time analytics, create social posts, send marketing emails, and accept payments using mobile point-of-sale features.

Ritoban Mukherjee is a tech and innovations journalist from West Bengal, India. These days, most of his work revolves around B2B software, such as AI website builders, VoIP platforms, and CRMs, among other things. He has also been published on Tom's Guide, Creative Bloq, IT Pro, Gizmodo, Quartz, and Mental Floss.
You must confirm your public display name before commenting
Please logout and then login again, you will then be prompted to enter your display name.