TechRadar Verdict
If you’re new to the 3D-printing space and want a printer that offers good print quality with room for upgrades, then the A8 Plus is a great recommendation. Yes, there are some complexities with setting it up properly, but once it has been aligned and configured, there’s no end to what great things it can churn out.
Pros
- +
Great print quality
- +
Plenty of room for upgrades
- +
Affordable price tag
Cons
- -
Requires a lot of patience to set up
- -
Stock parts need regular maintenance
Why you can trust TechRadar
3D printing has certainly come a long way. When it first was introduced to the world, the printers and materials themselves were incredibly expensive, and early adopters had to swallow a hard pill to easily foot close to $1,000 for a proper 3D printer.
These days there are much more affordable options available that don’t compromise on print quality, and are perfect for home enthusiasts or those who are just getting into the 3D printing space. The Anet A8 Plus is one such printer, which puts 3D printing into anyone’s hands – just with a bit of elbow grease.
Price and availability
The A8 Plus retails for $310 (AED 1,138, £254, AUD$449), and is available directly from Anet’s website. That’s a very good price tag for anyone who’s getting into 3D printing for the first time and doesn’t want to spend too much on a 3D printer, but still wants decent results.
Design
The A8 Plus comes expertly packed with plenty of foam to keep the delicate parts intact. You can choose to order the A8 Plus either as a full DIY kit, or pre-assembled. We received the pre-assembled version, which we highly recommend getting, as the full DIY kit will probably take you an entire day to put together. You still have a fair bit of work to do on your own even with the pre-assembled kit, so you’re not quite out of the woods just yet.
After unpacking the A8 Plus, Anet says you’ll need about half an hour to put everything together. That’s laughable, as it took us close to three hours to finish the rest of the assembly and wiring. There is a short user manual that talks you through the assembly steps, but it’s woefully limited and somewhat assumes you have a good technical knowledge of circuit boards and wiring. If you do, then you’ll feel right at home, but for other users this may be quite a challenge to overcome. A much more detailed assembly video can be found on Anet’s YouTube channel, which we found much more helpful to follow than the bundled user manual.
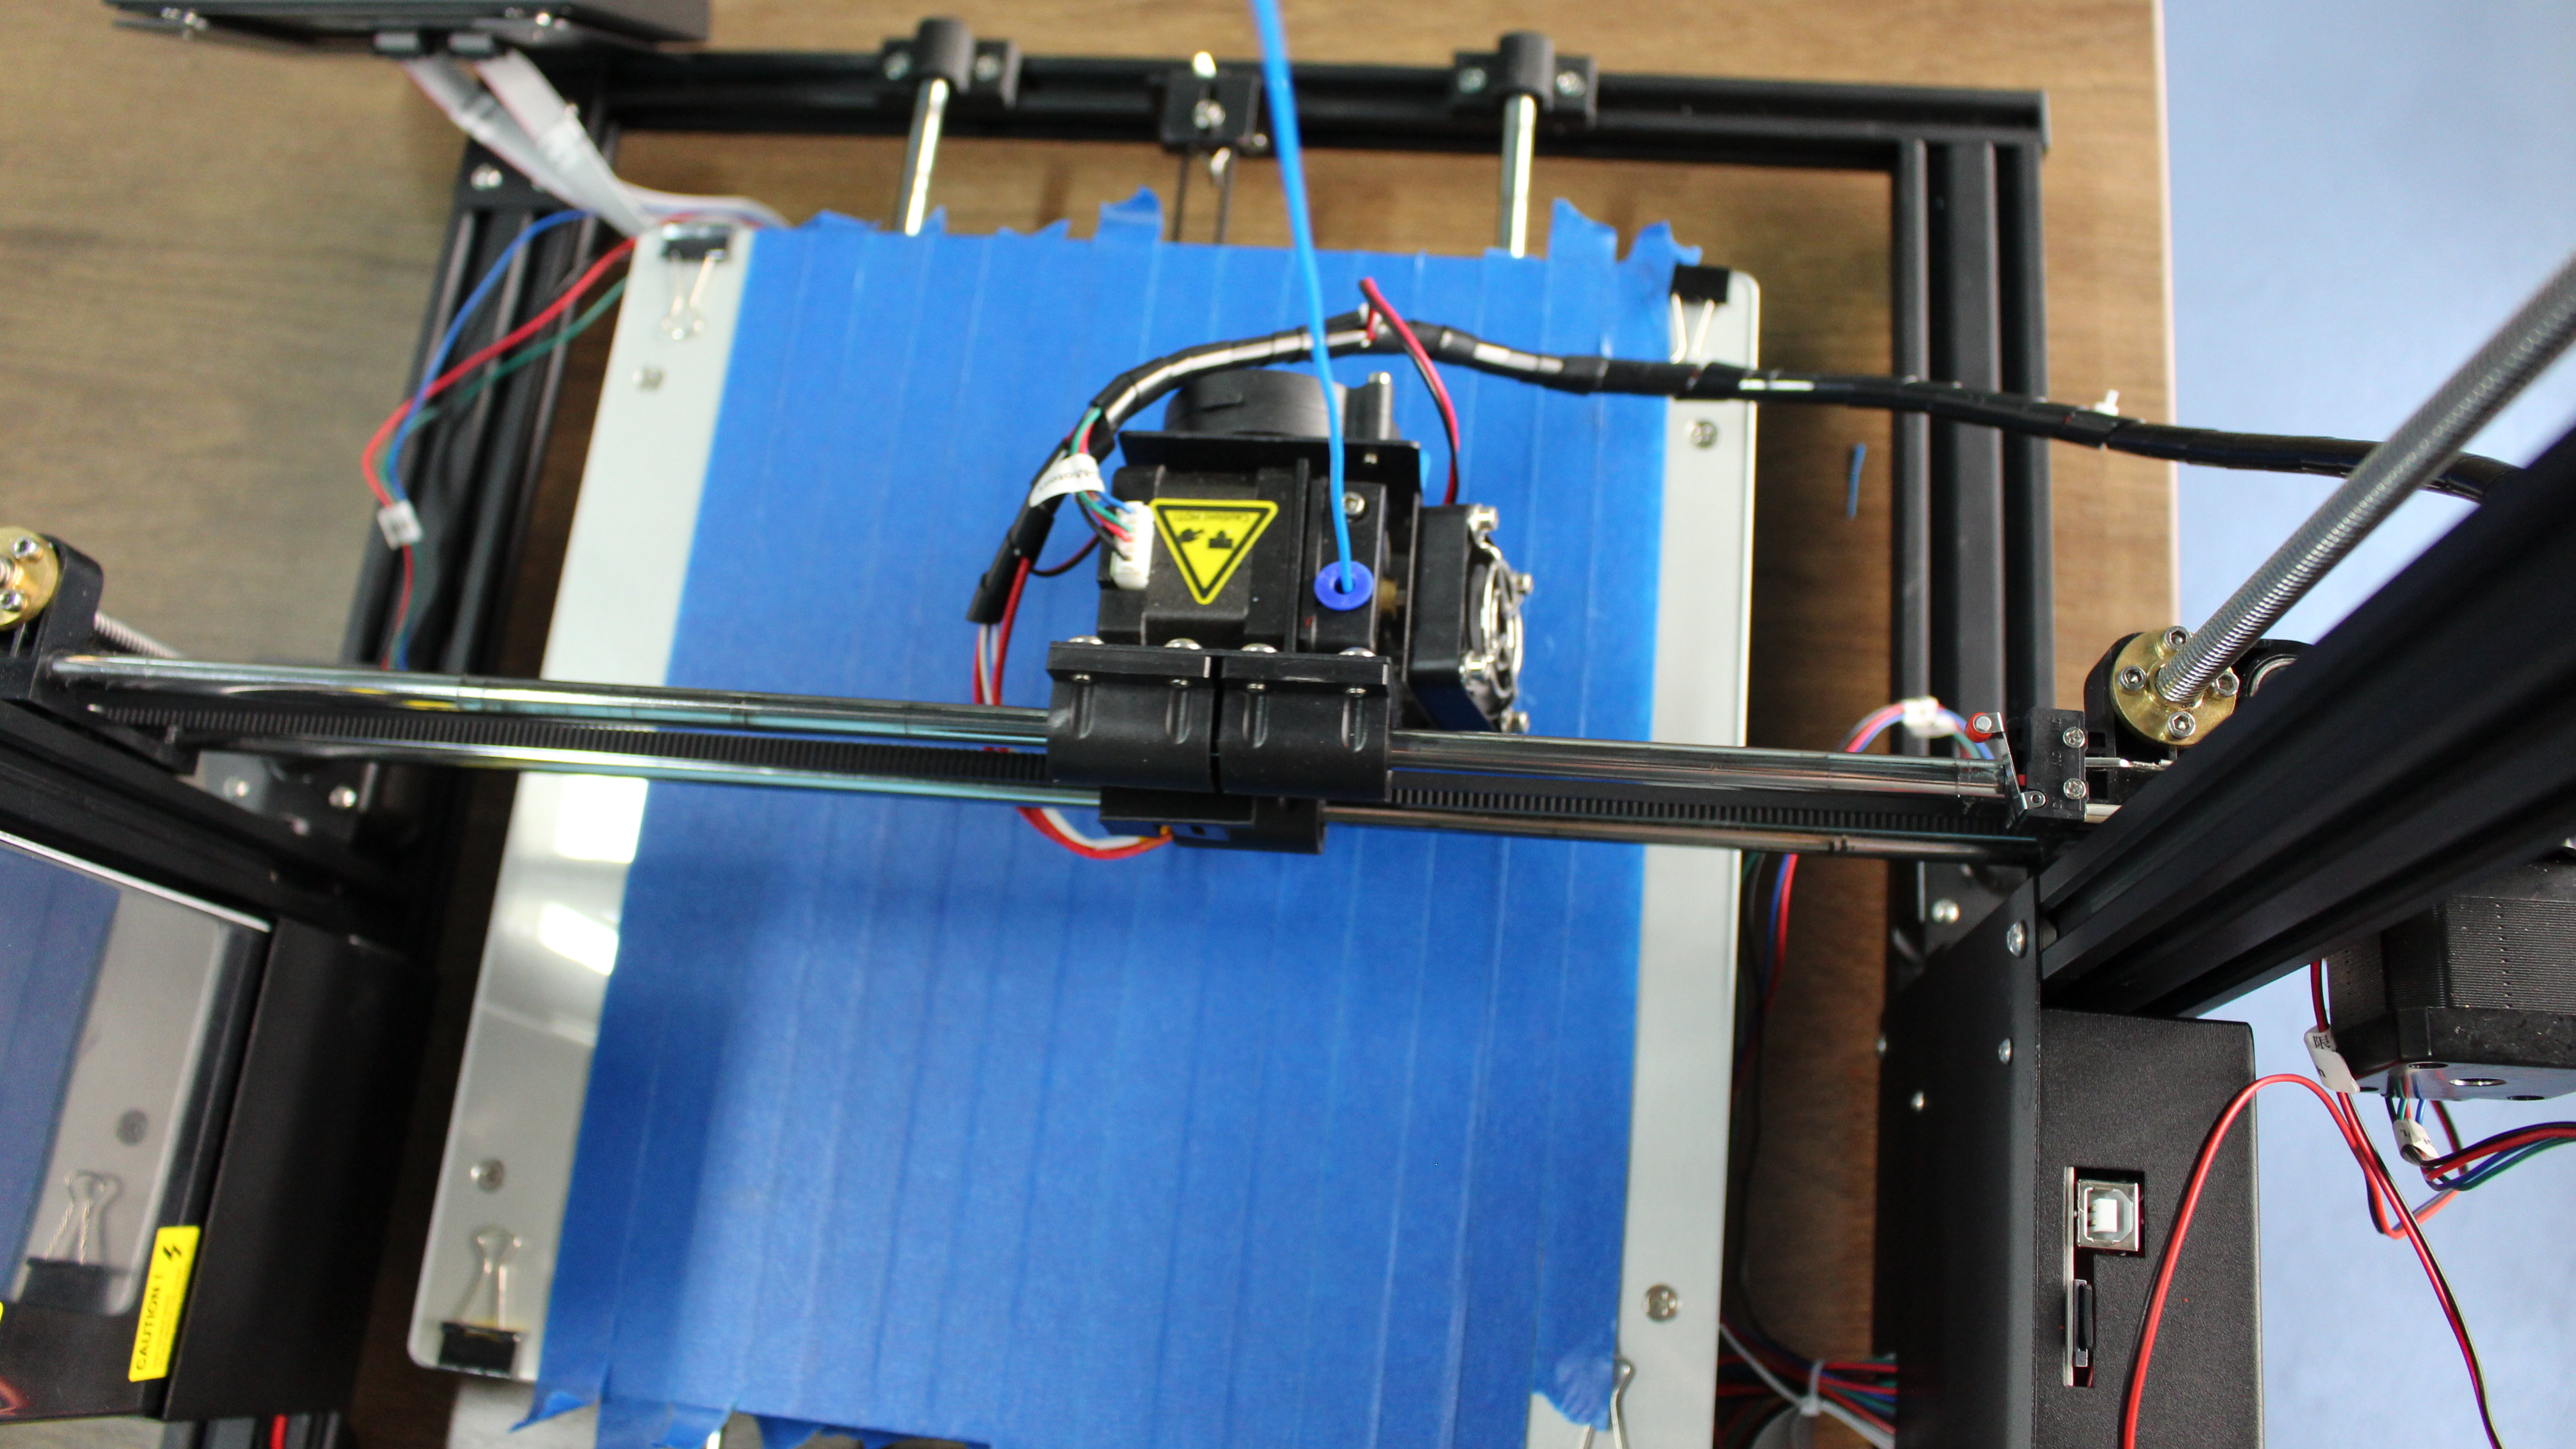
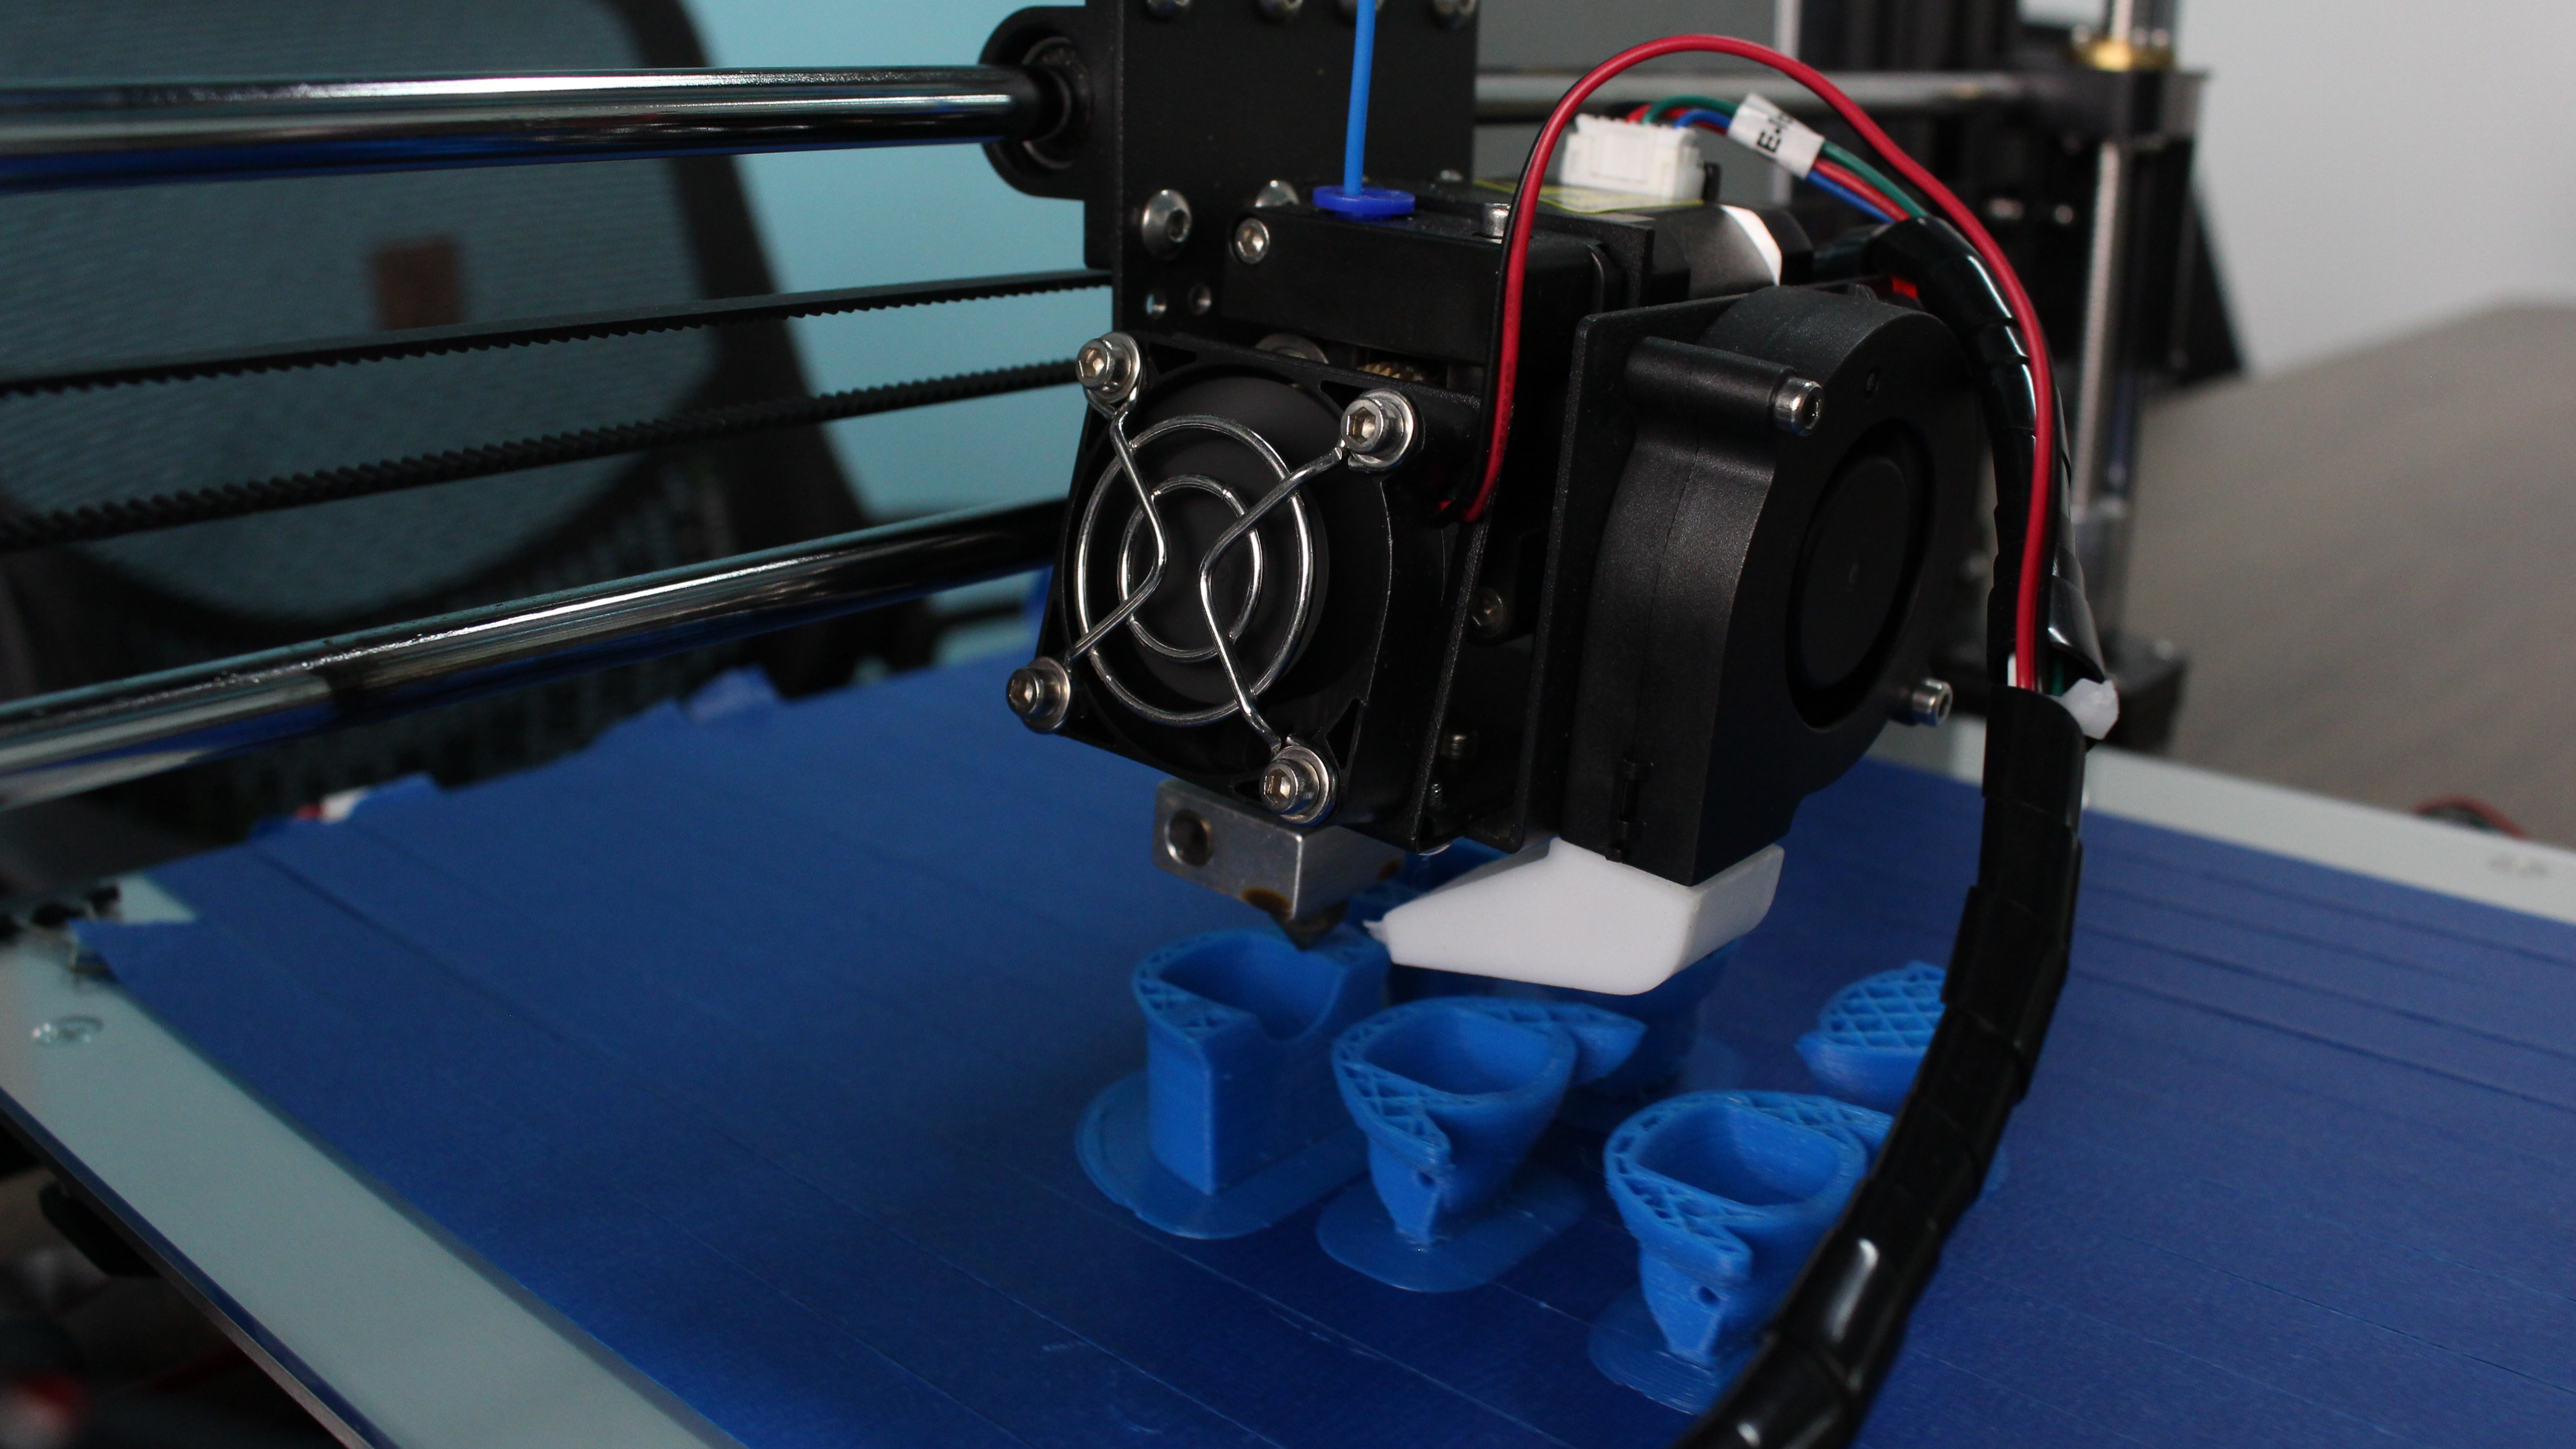
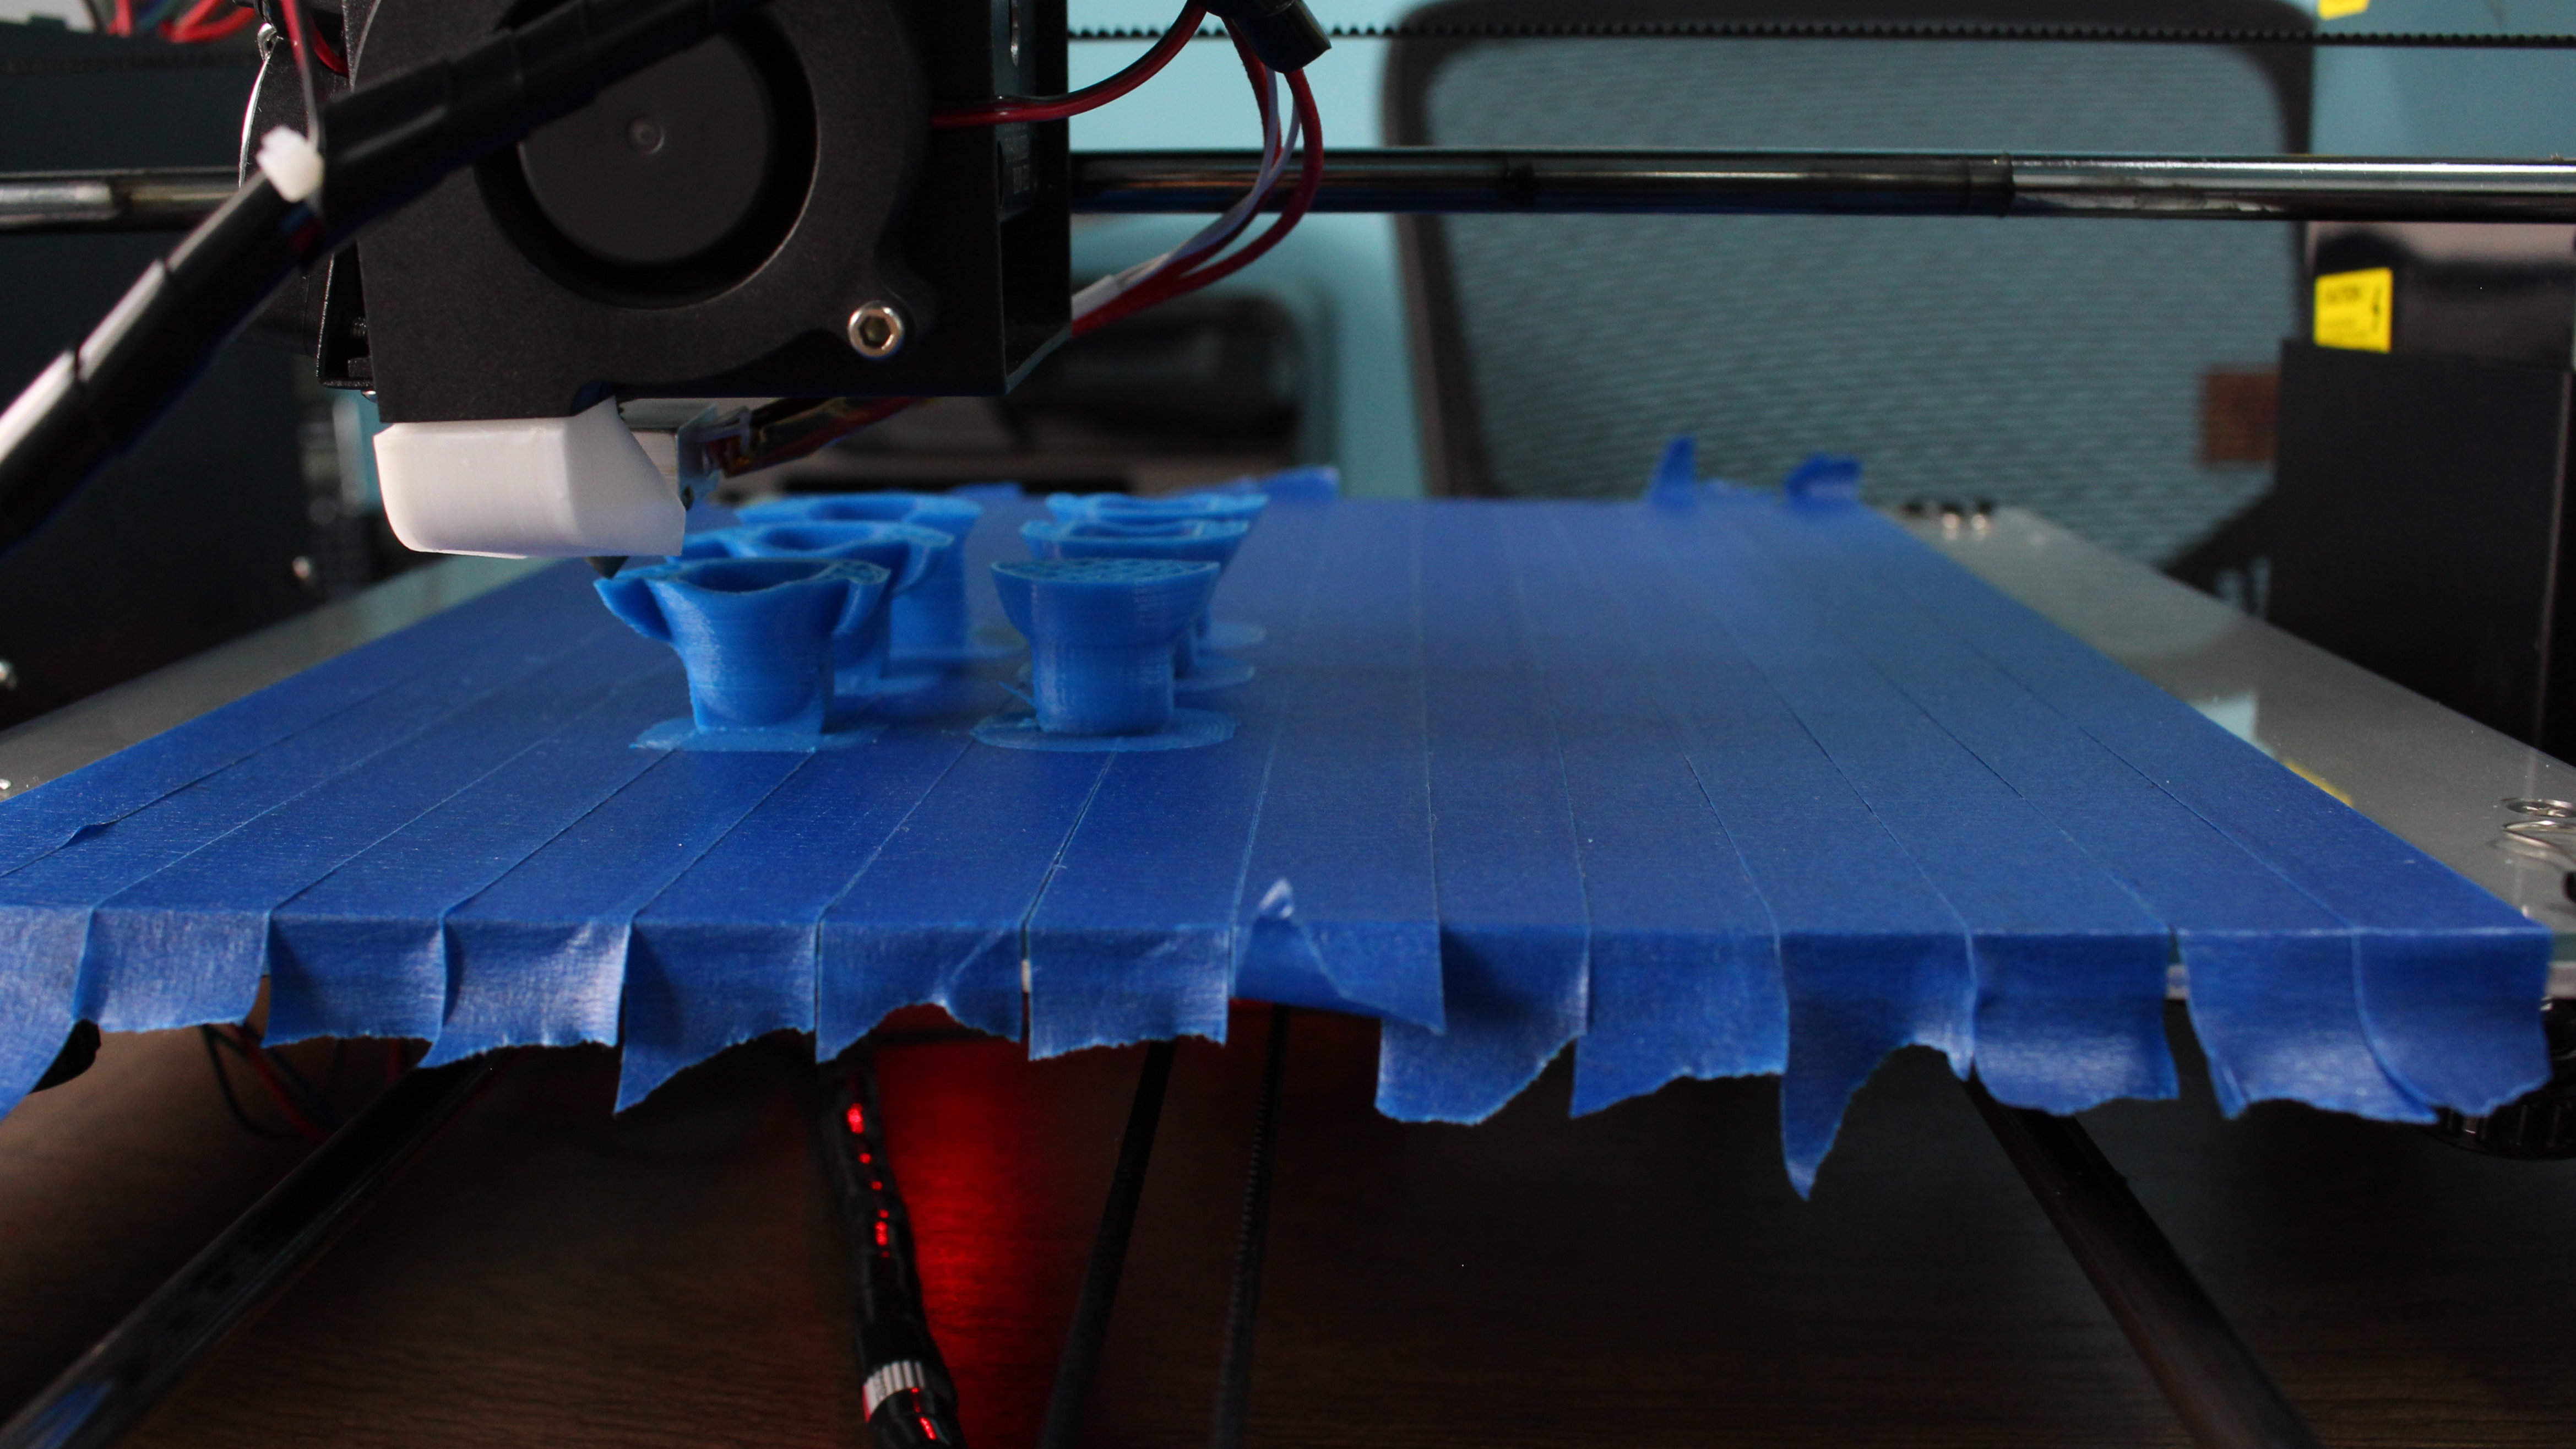
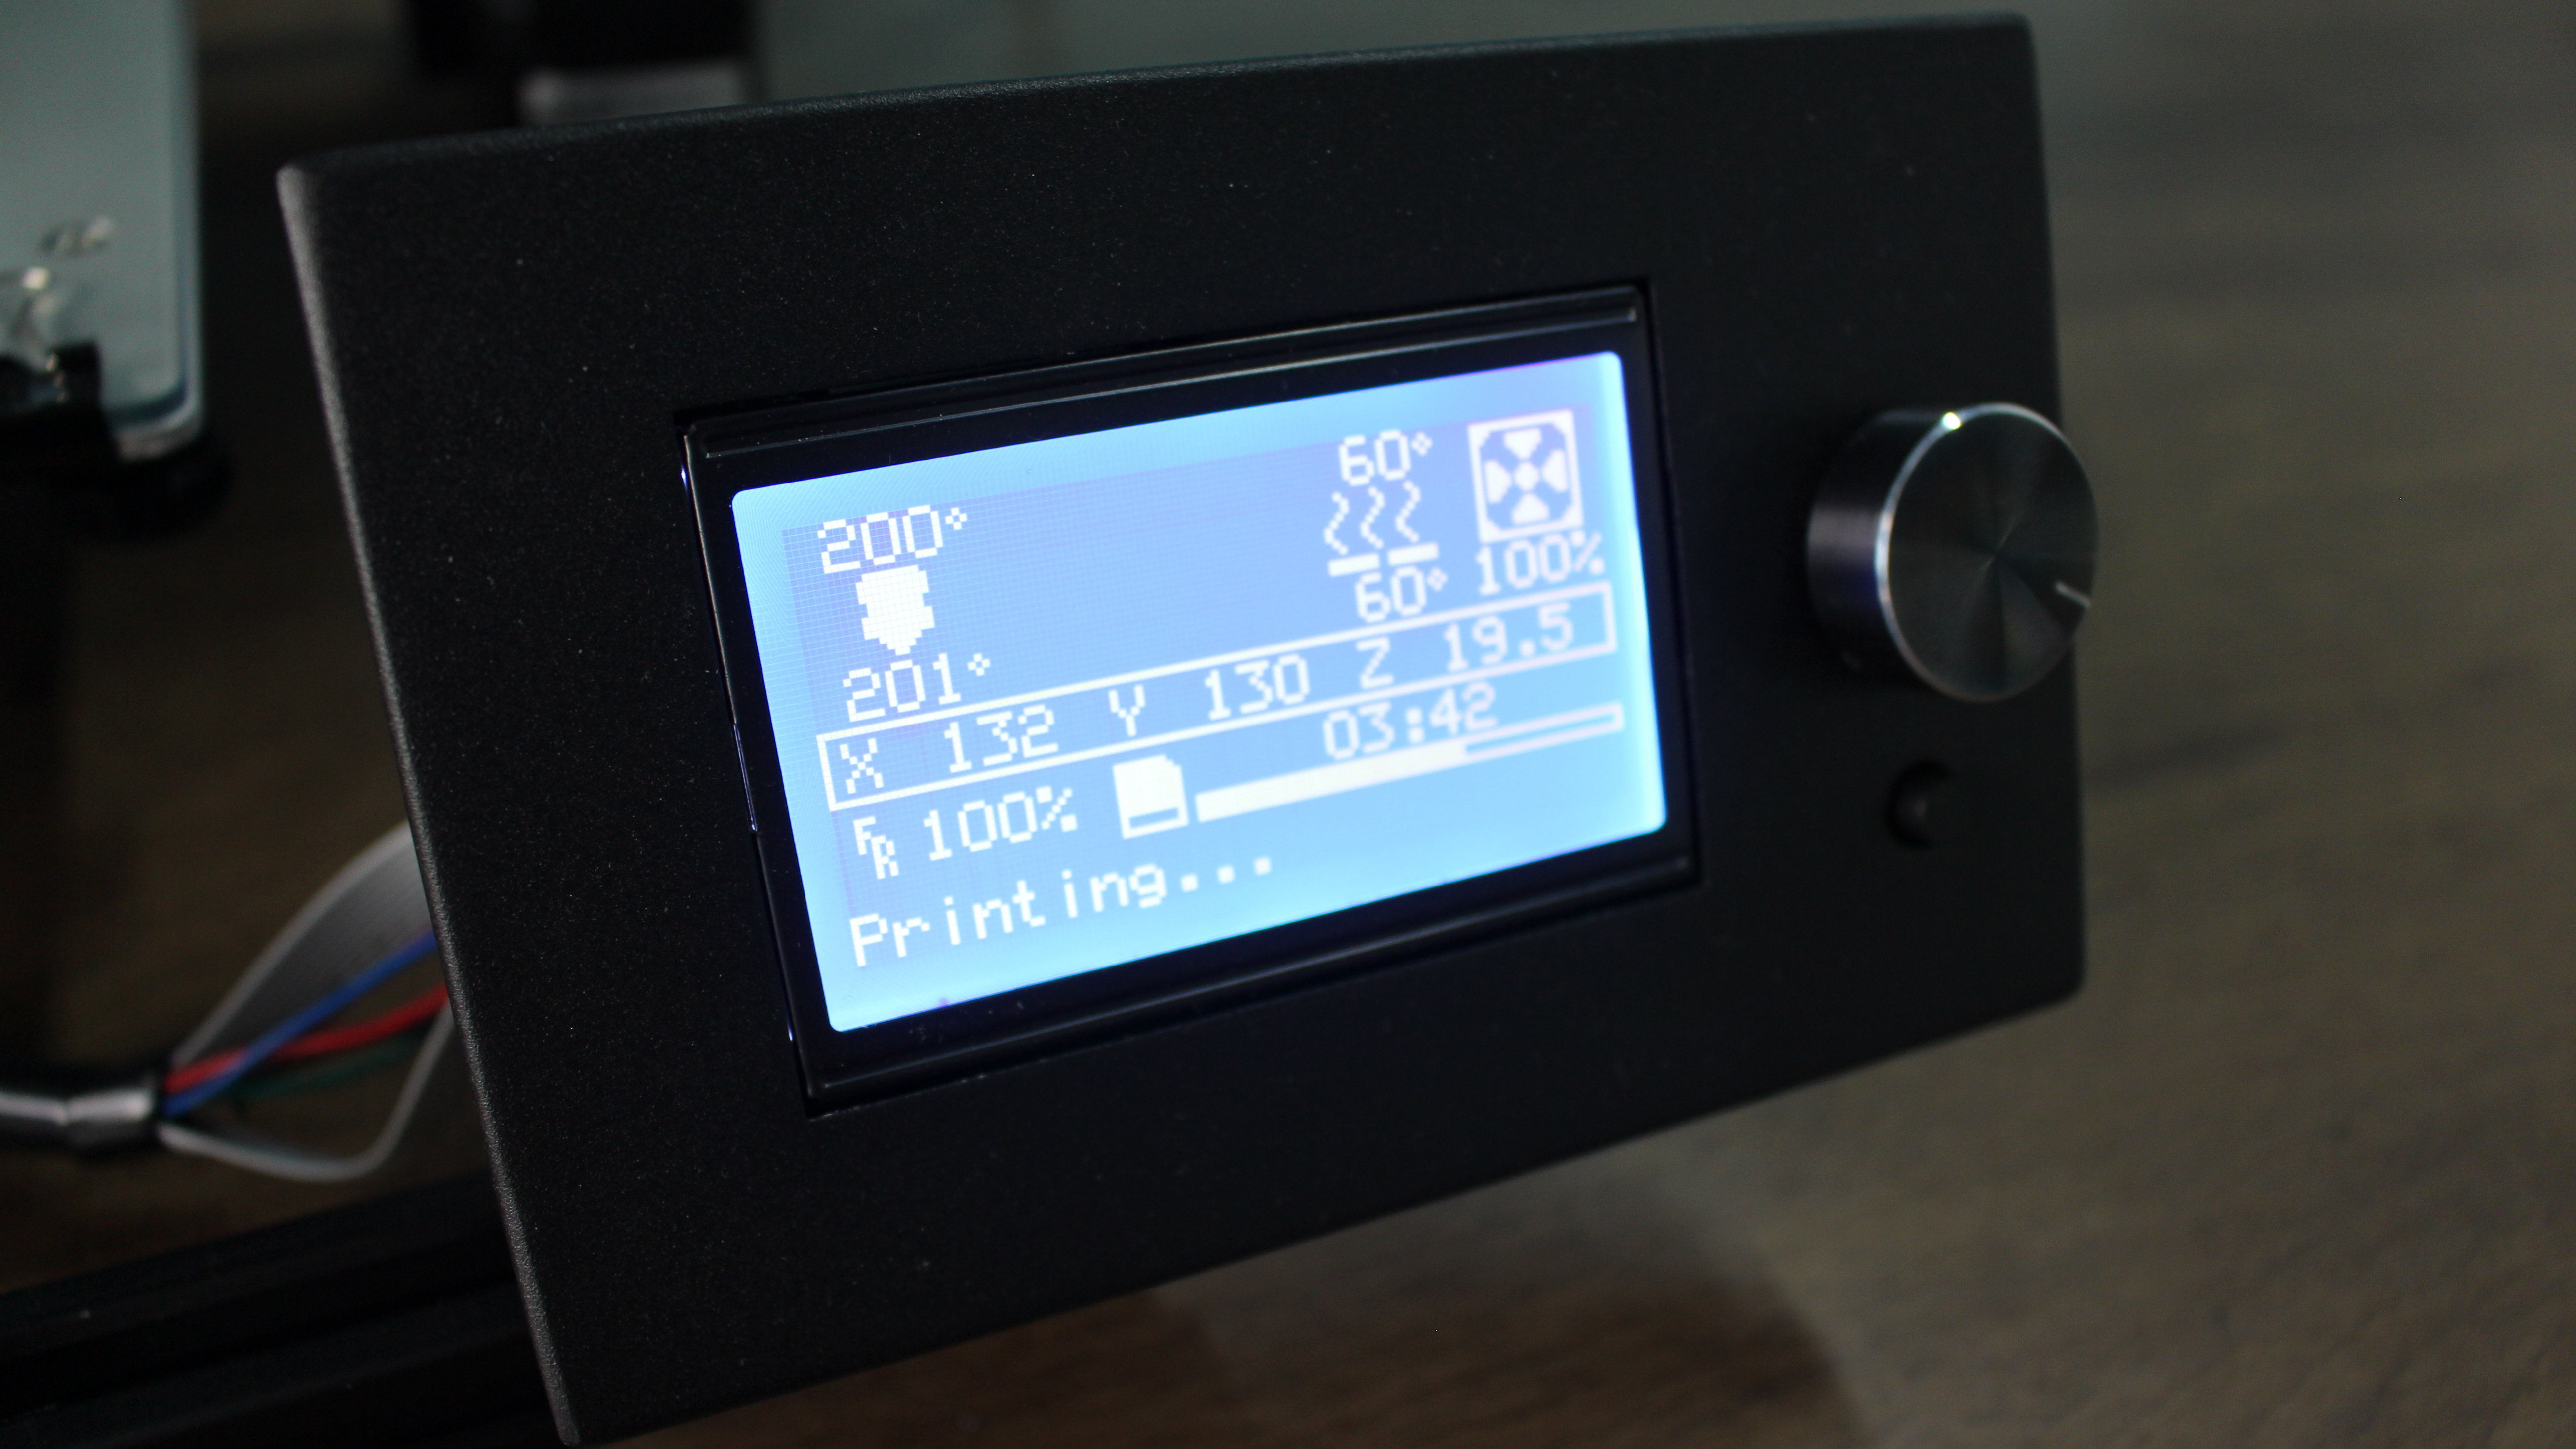
The frame of the A8 Plus is made out of stiff aluminium, and is sturdy enough to provide good support while printing. There’s a glass bed onto which filament is extruded while printing, the actual motorized head that pulls the filament down and deposits it on the bed, a filament holder that holds a spool of filament, and an LCD screen that lets you control the printer. There’s also a mainboard at the back the controls all of the printer’s operations, as well as allowing you to print models via a microSD card or over USB.
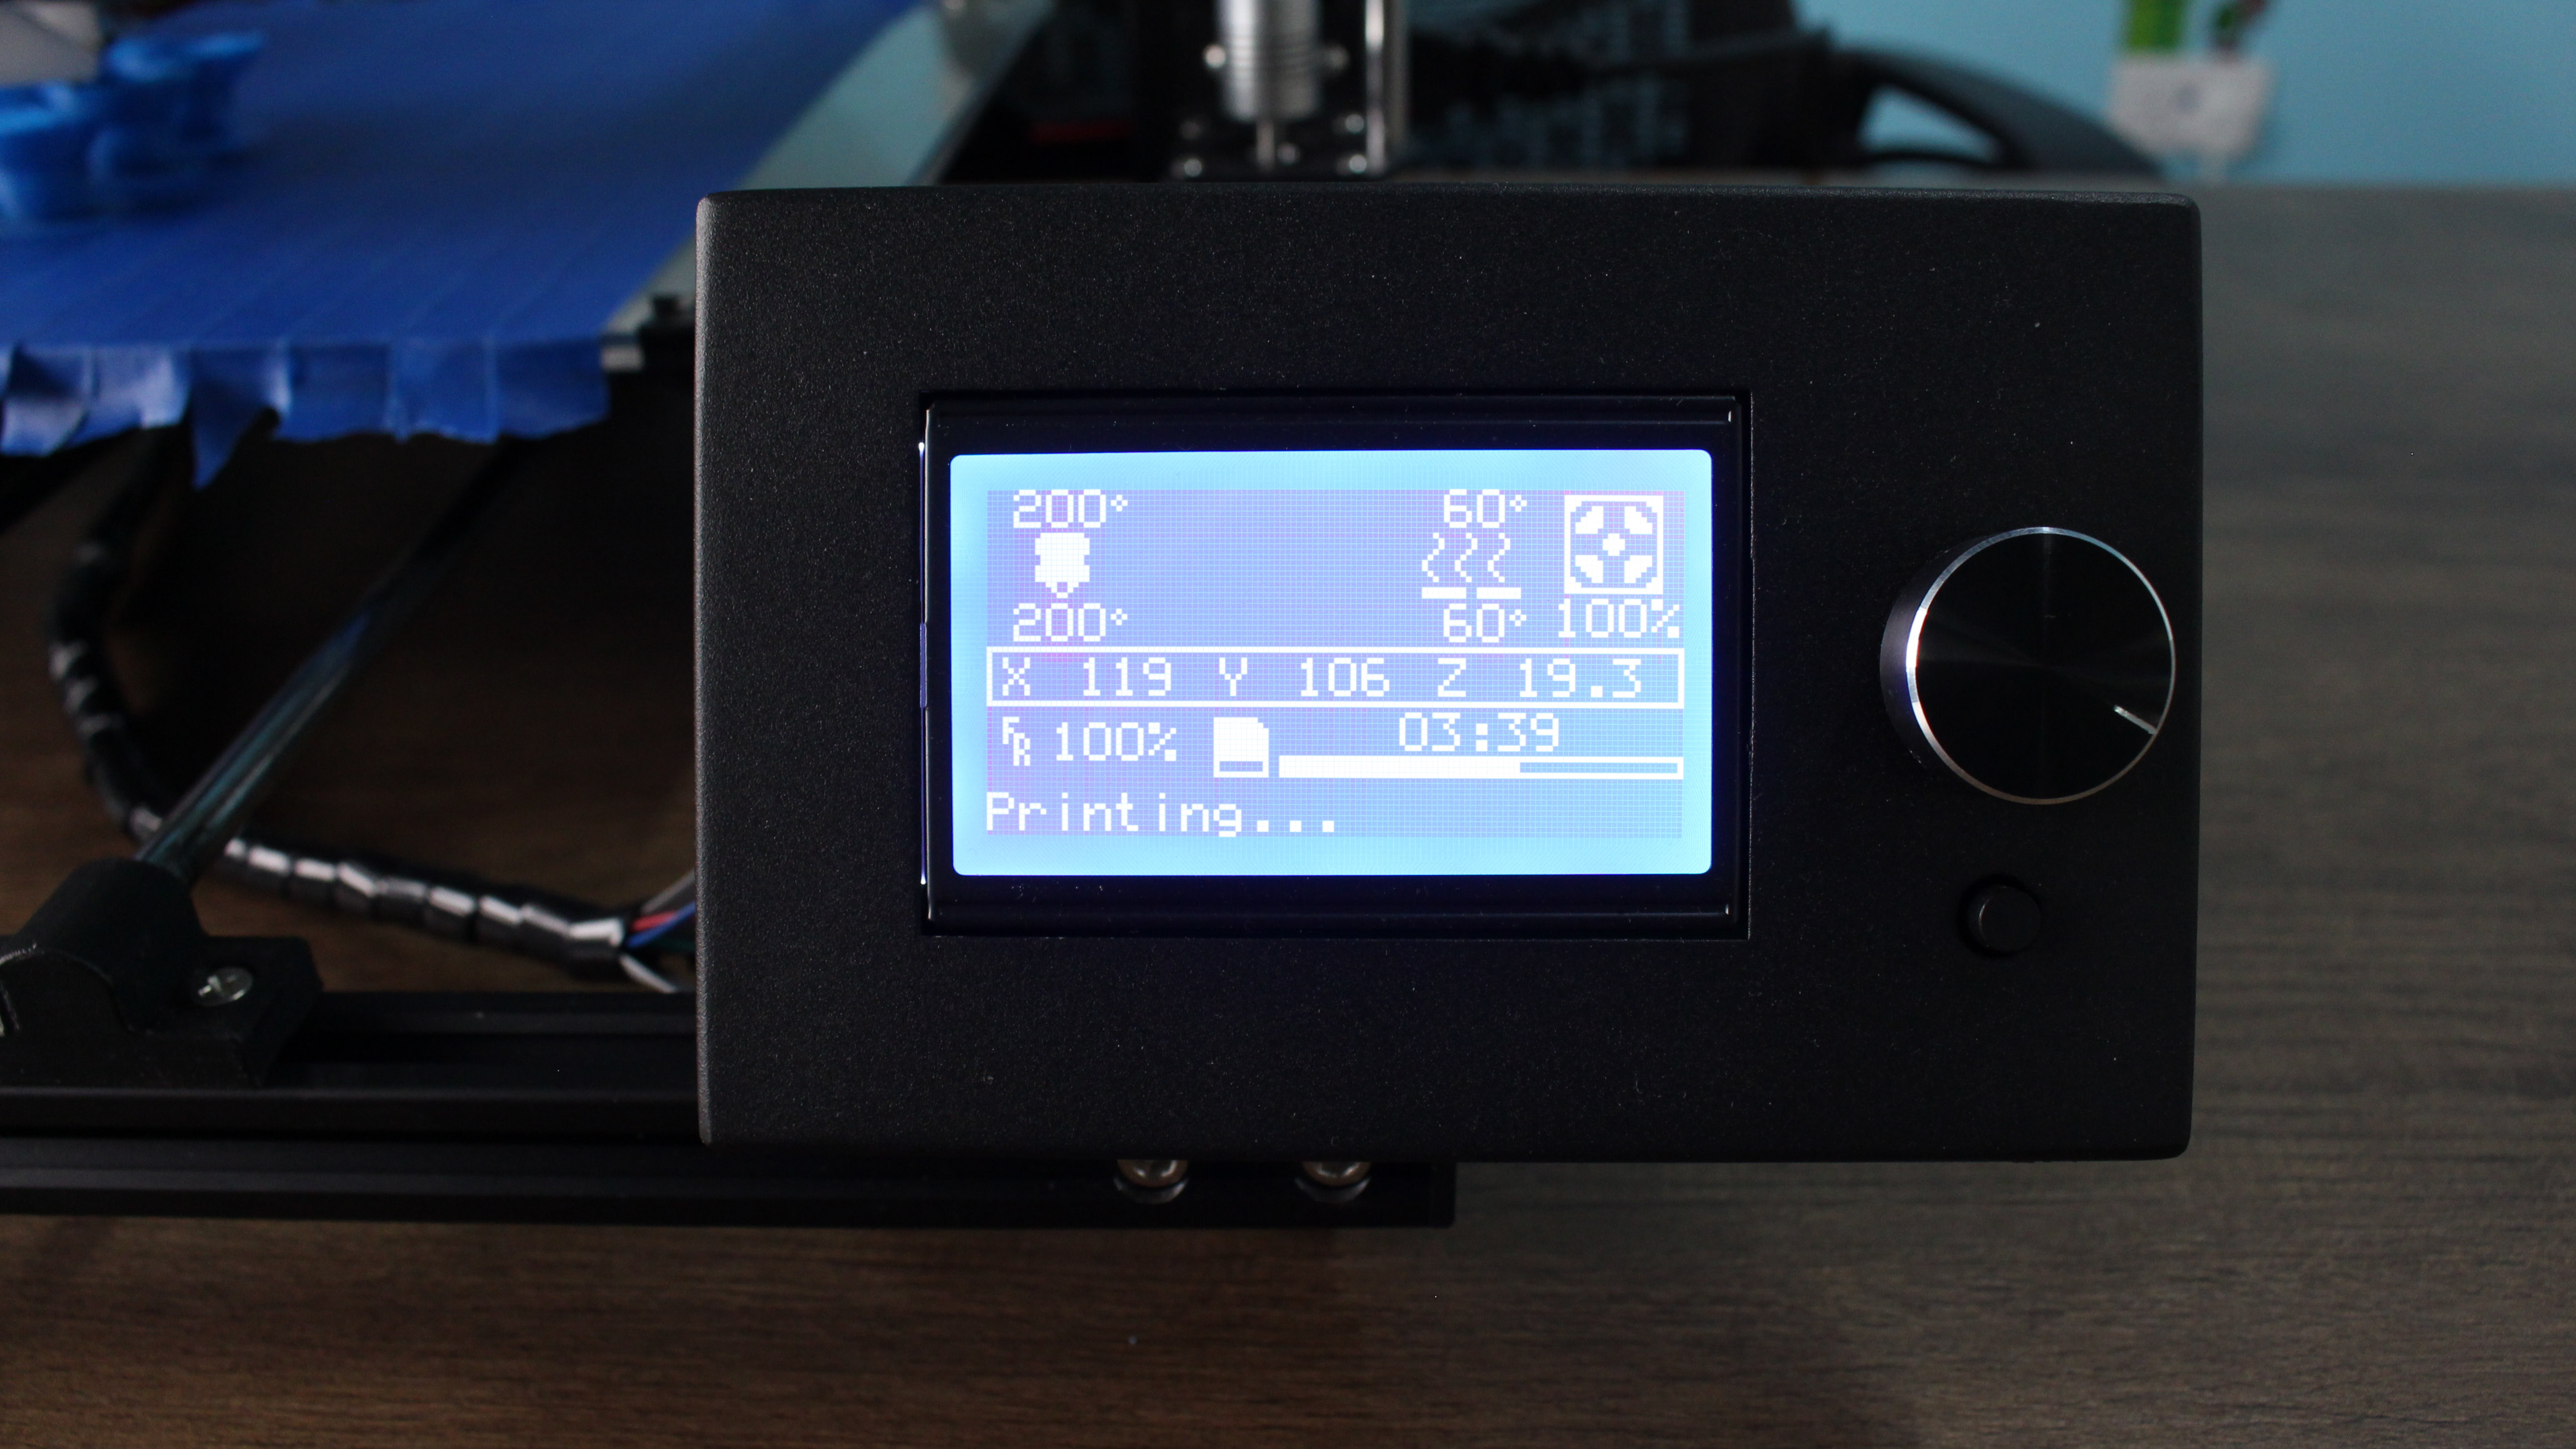
The printable area for the A8 Plus measures 300mm x 300mm x 350mm, which is a good size for most models. Weighing in at close to 12kg, this isn’t something you want to be moving around too much. There’s also no enclosure protecting the printer or the print bed, so you’ll want to make sure that the A8 Plus is set up in an area where it won’t be disturbed while printing. Noise levels are certainly noticeable, especially with the movement of the nozzle and bed and the fans spinning to cool down the model. It's best to set this printer up where it won't be annoying to hear, or perhaps even build some sort of enclosure for it.
Setup
Getting the A8 Plus up and running is an exercise in patience, simply because you want to make sure it’s properly configured before you actually start printing. This of course first involves assembling the aluminium frame together, before then wiring each individual component to the control board. Everything is properly labelled, so if you follow along with the instructional video, you won’t run into any problems. It’s a time-consuming process that you need to go through patiently, since if you connect something improperly, you’ll most likely end up with ruined models.
Once you have everything wired up and running, you then have to calibrate the printer for proper printing. The print bed has four knobs at the bottom, which you have to gently adjust to ensure that the bed is the correct distance from the print nozzle. This involves inserting a sheet of paper at certain points on the print bed, and then moving the nozzle over till you feel a slight bit of resistance. It’s yet another time-consuming process that will pay out in the long run, so ensure that you don’t rush this step.
We found the calibration process to be our biggest sticking point, and after a few failed test prints, we would continually re-calibrate the printer to improve each print. To cut down the calibration time, there are sample models you can load into the printer that simply move the nozzle around the print bed, so you can make your adjustments faster.
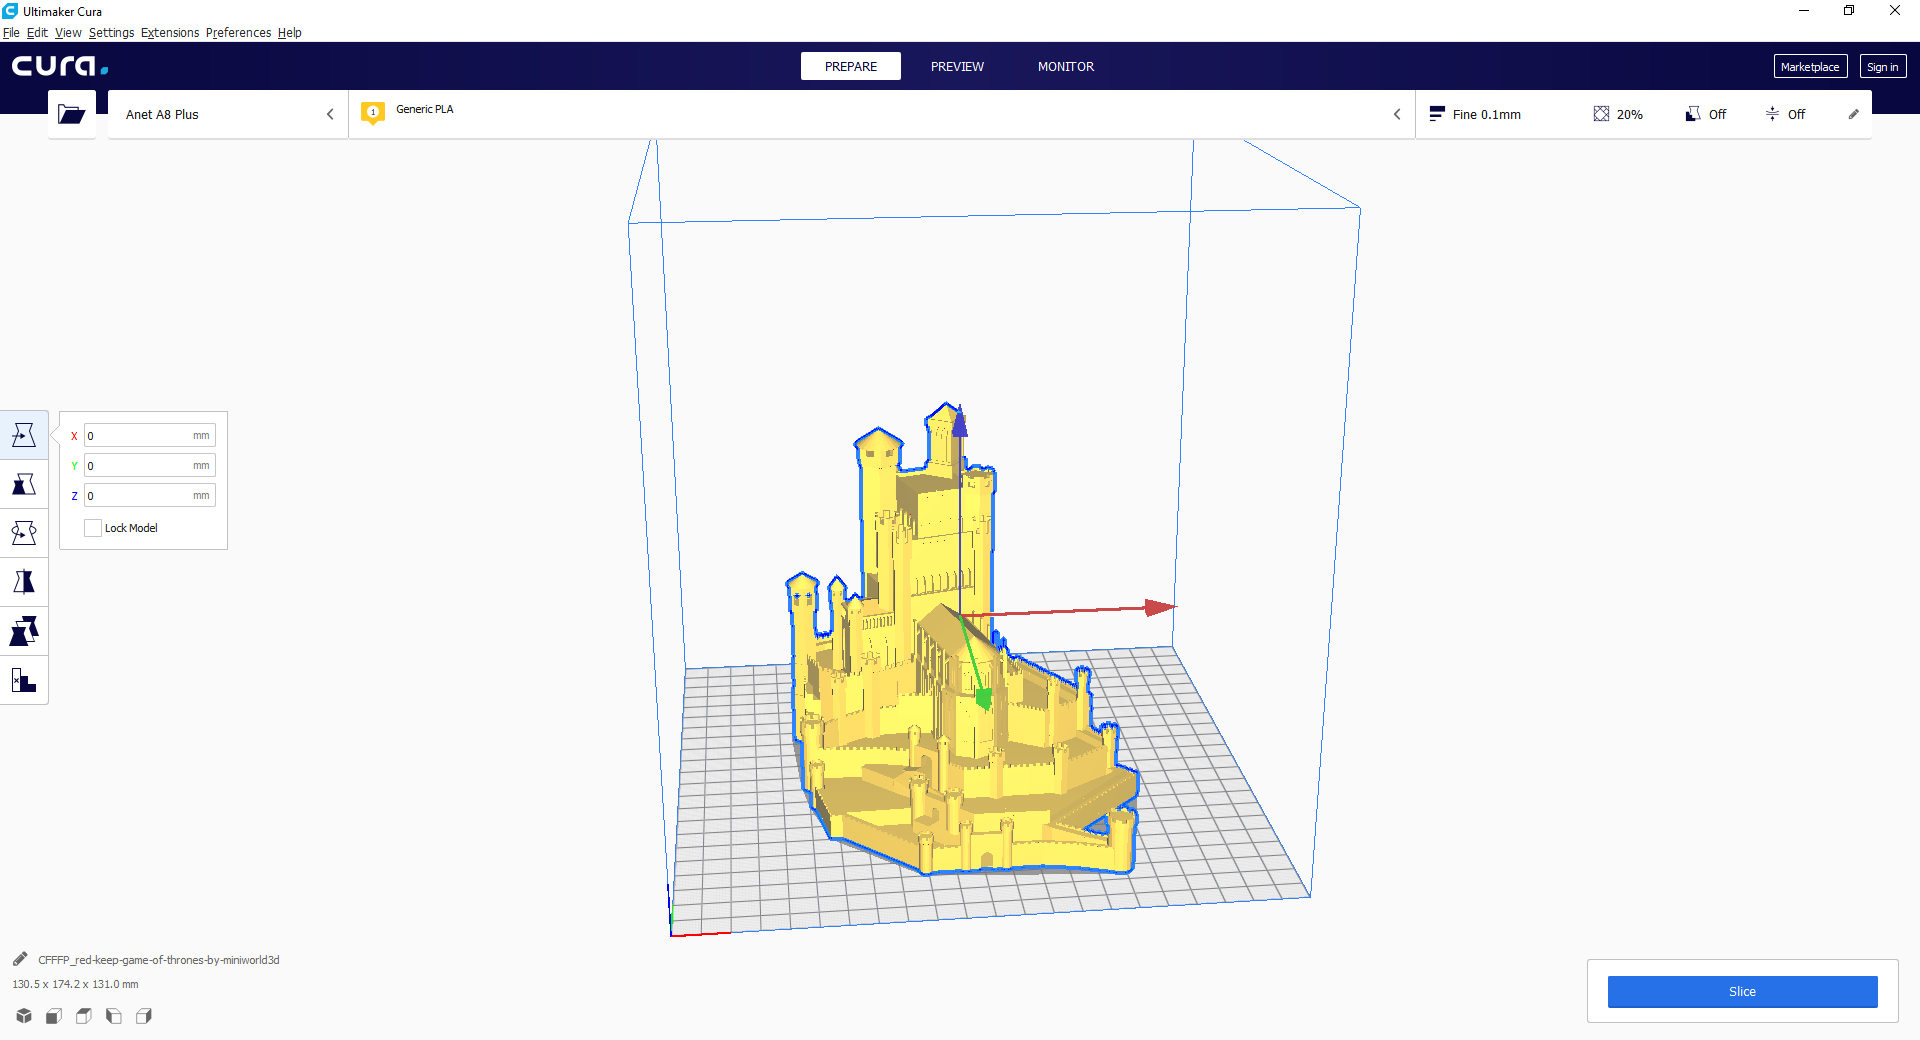
While the A8 Plus comes with a few test models preloaded, you’ll want to start printing your own things, and to do this you can use the bundled software, Cura. It’ll allow you to load in a number of 3D files and ‘slice’ a model into a number of layers that the printer prints one layer at a time. The more layers your model has, the longer it’s going to take to print. A simple model the size of a business card could take about 45 minutes to finish, while something that’s the size of the entire print bed can take almost 9 hours to finish.
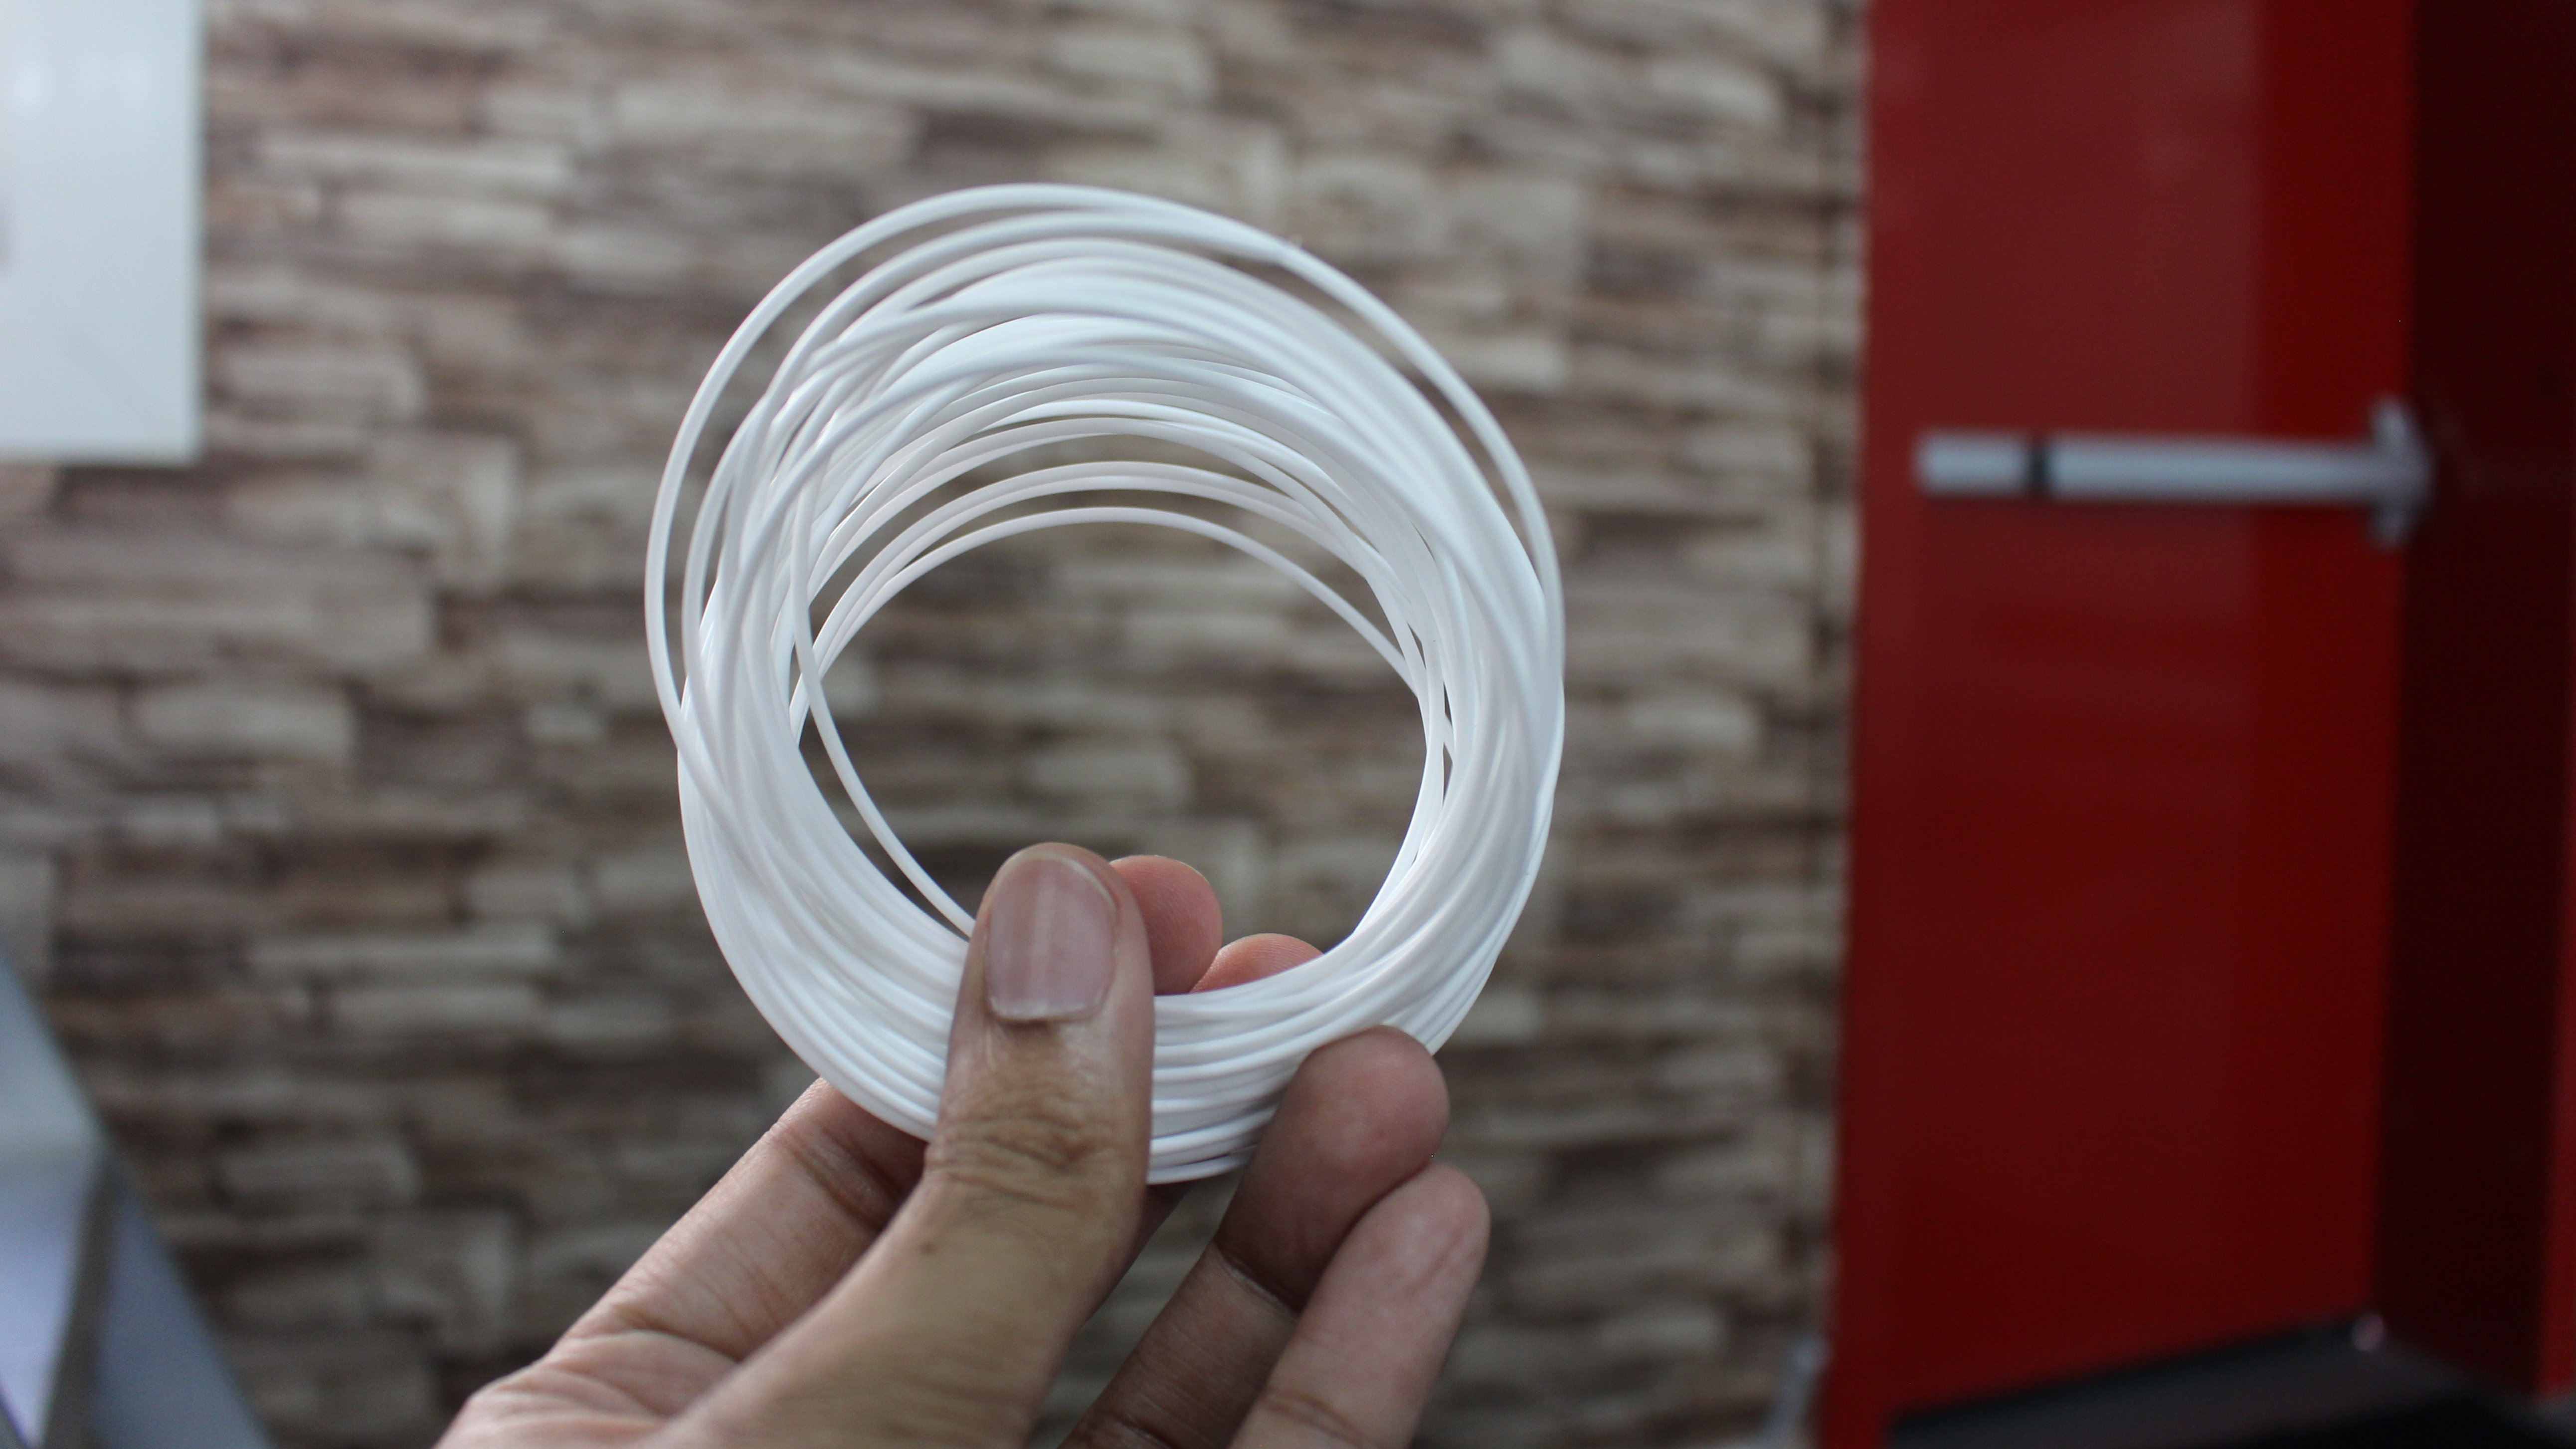
The A8 Plus takes either PLA or rubber filament, and either one can be mounted easily on the printer’s material holder. The printer does have an easy to follow method for loading the filament into the extruder, but unfortunately we found that the automatic method of filament loading was problematic. The filament would be picked up by the internal cogs, but wouldn’t line up with the extruder nozzle properly, so it would instead curl back on itself on the other side. In the end we ended up taking apart the side of the extruder to manually feed the filament in while the machine was off. The filament is quite cheap, with a 1kg spool setting you back a little under $18.
You can only print comfortably in one filament color at a time, but if your model uses different colors, the printer will automatically stop and wait for the new filament color to be manually installed. Given how troublesome it can be to load the filament in the first place, we’d rather shy away from changing colors and just print models in one color at a time.
Print quality
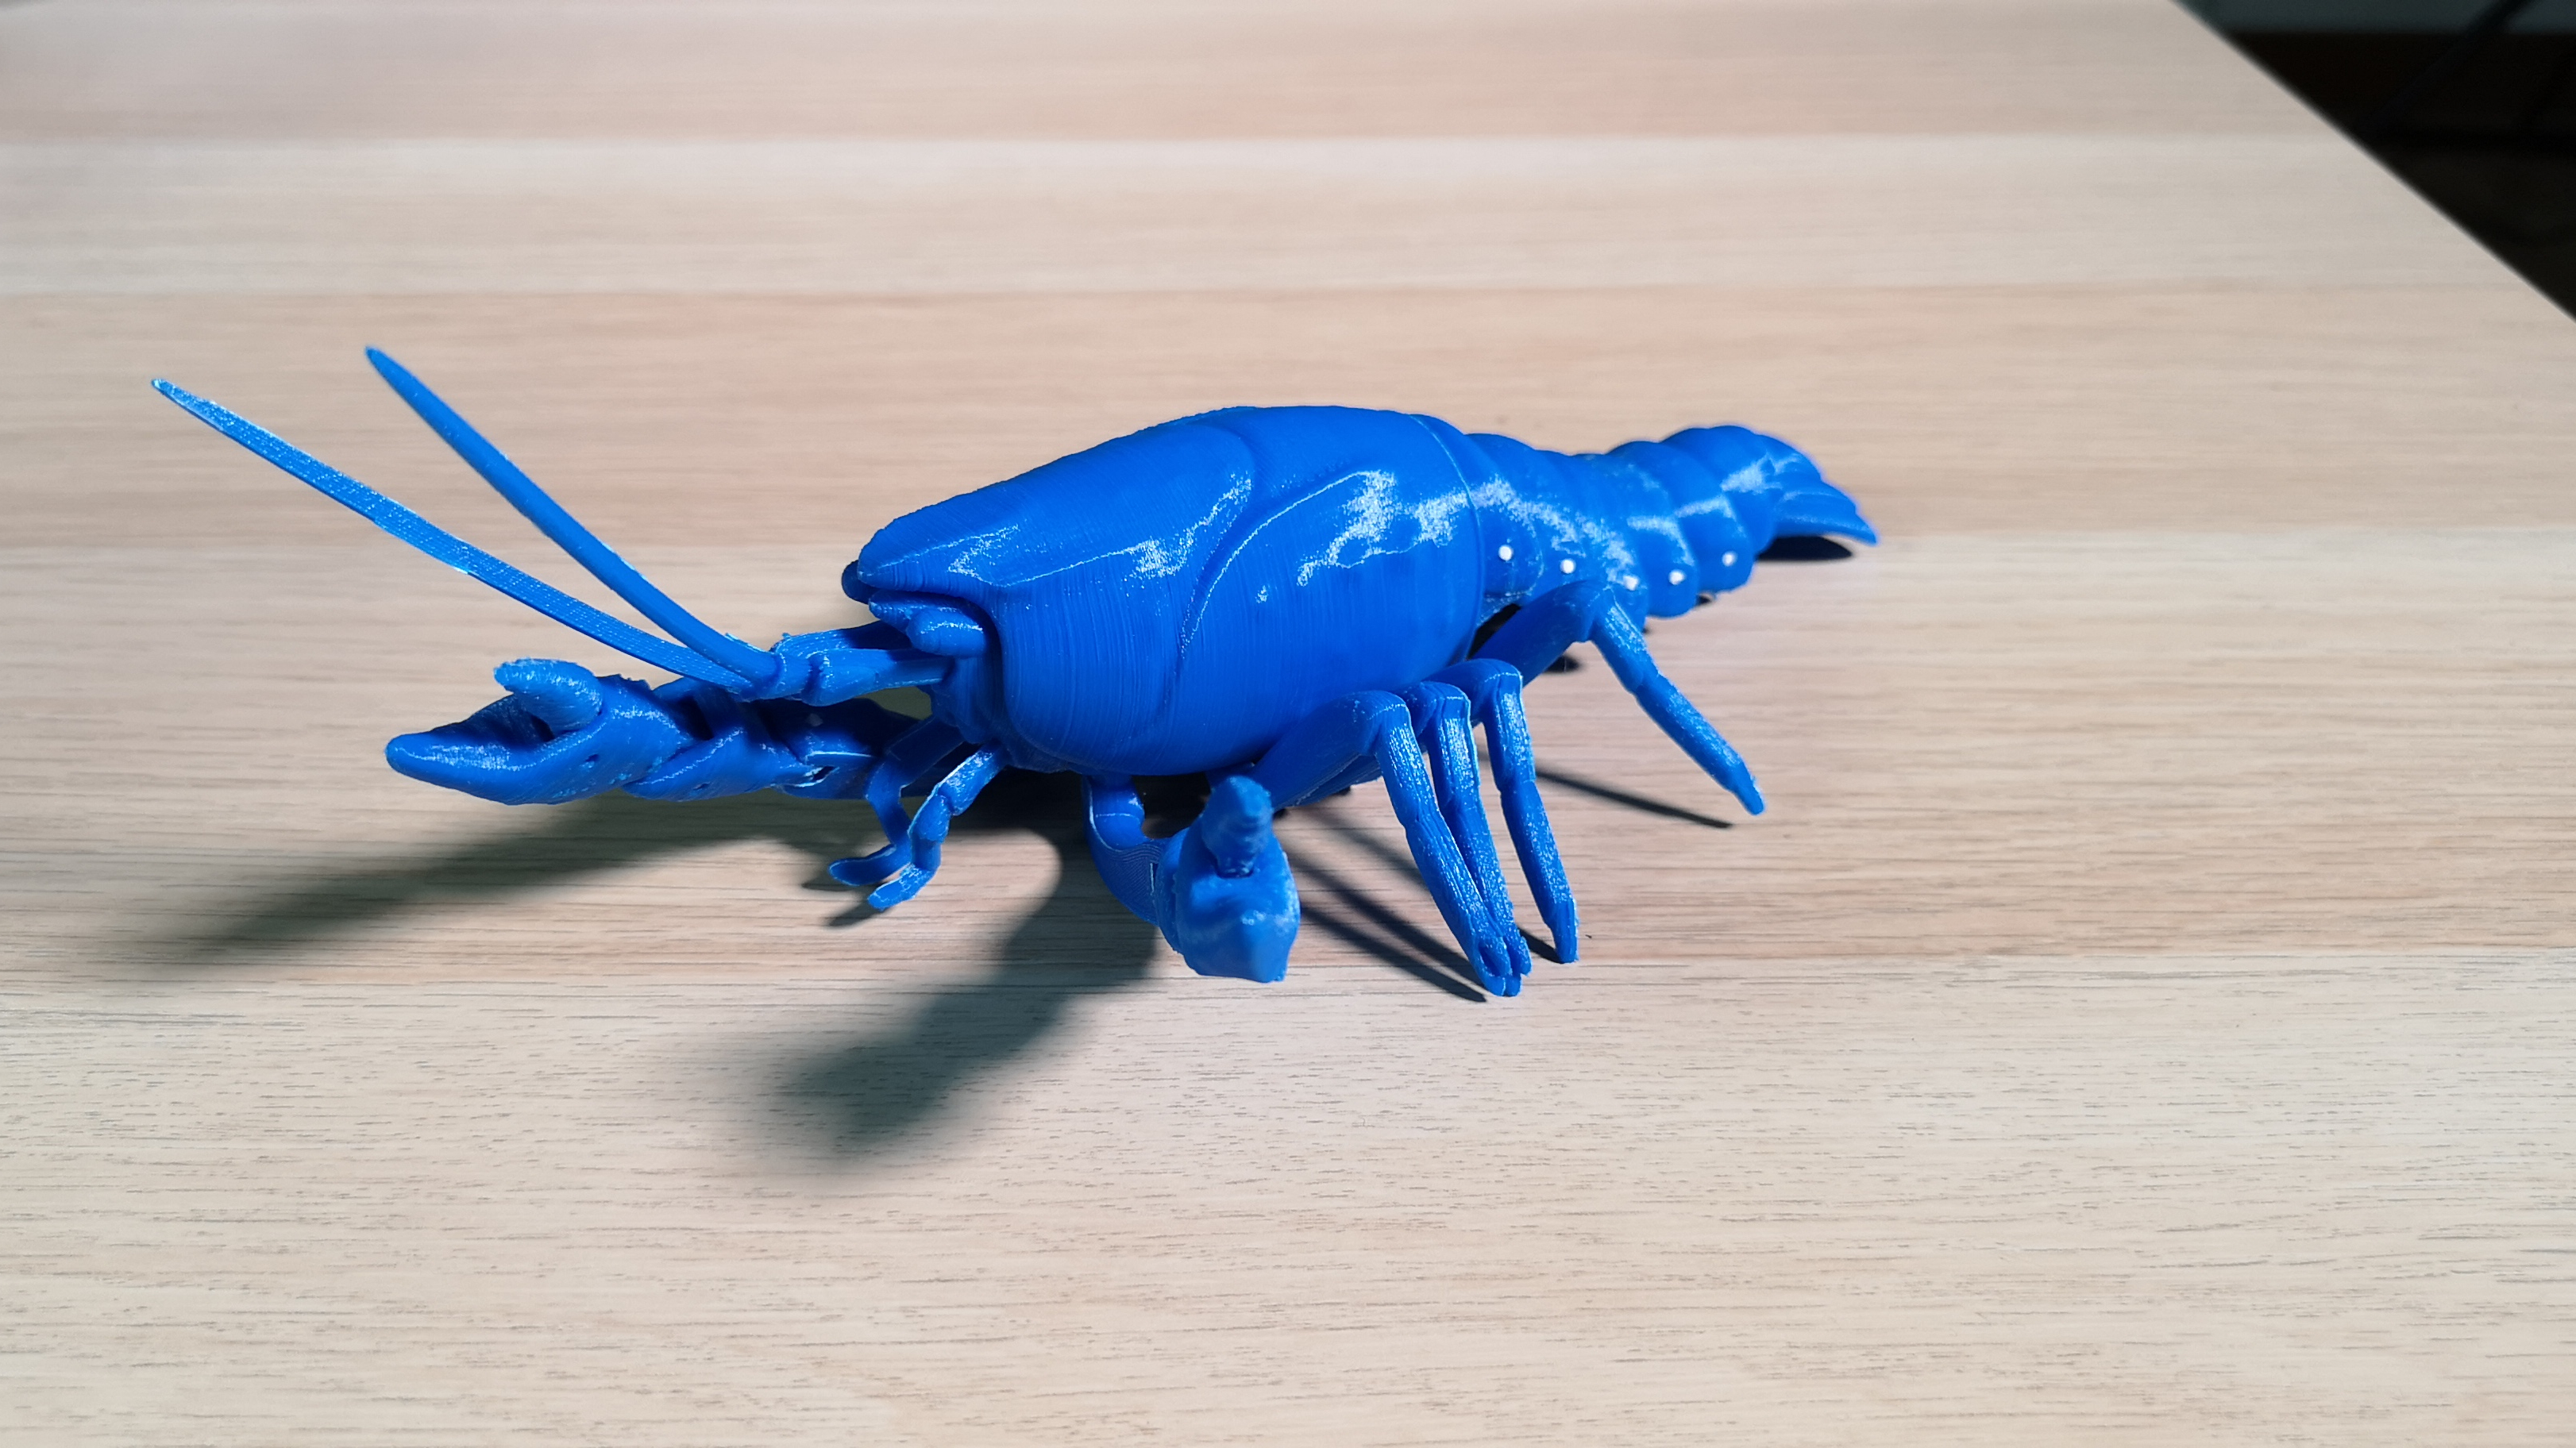
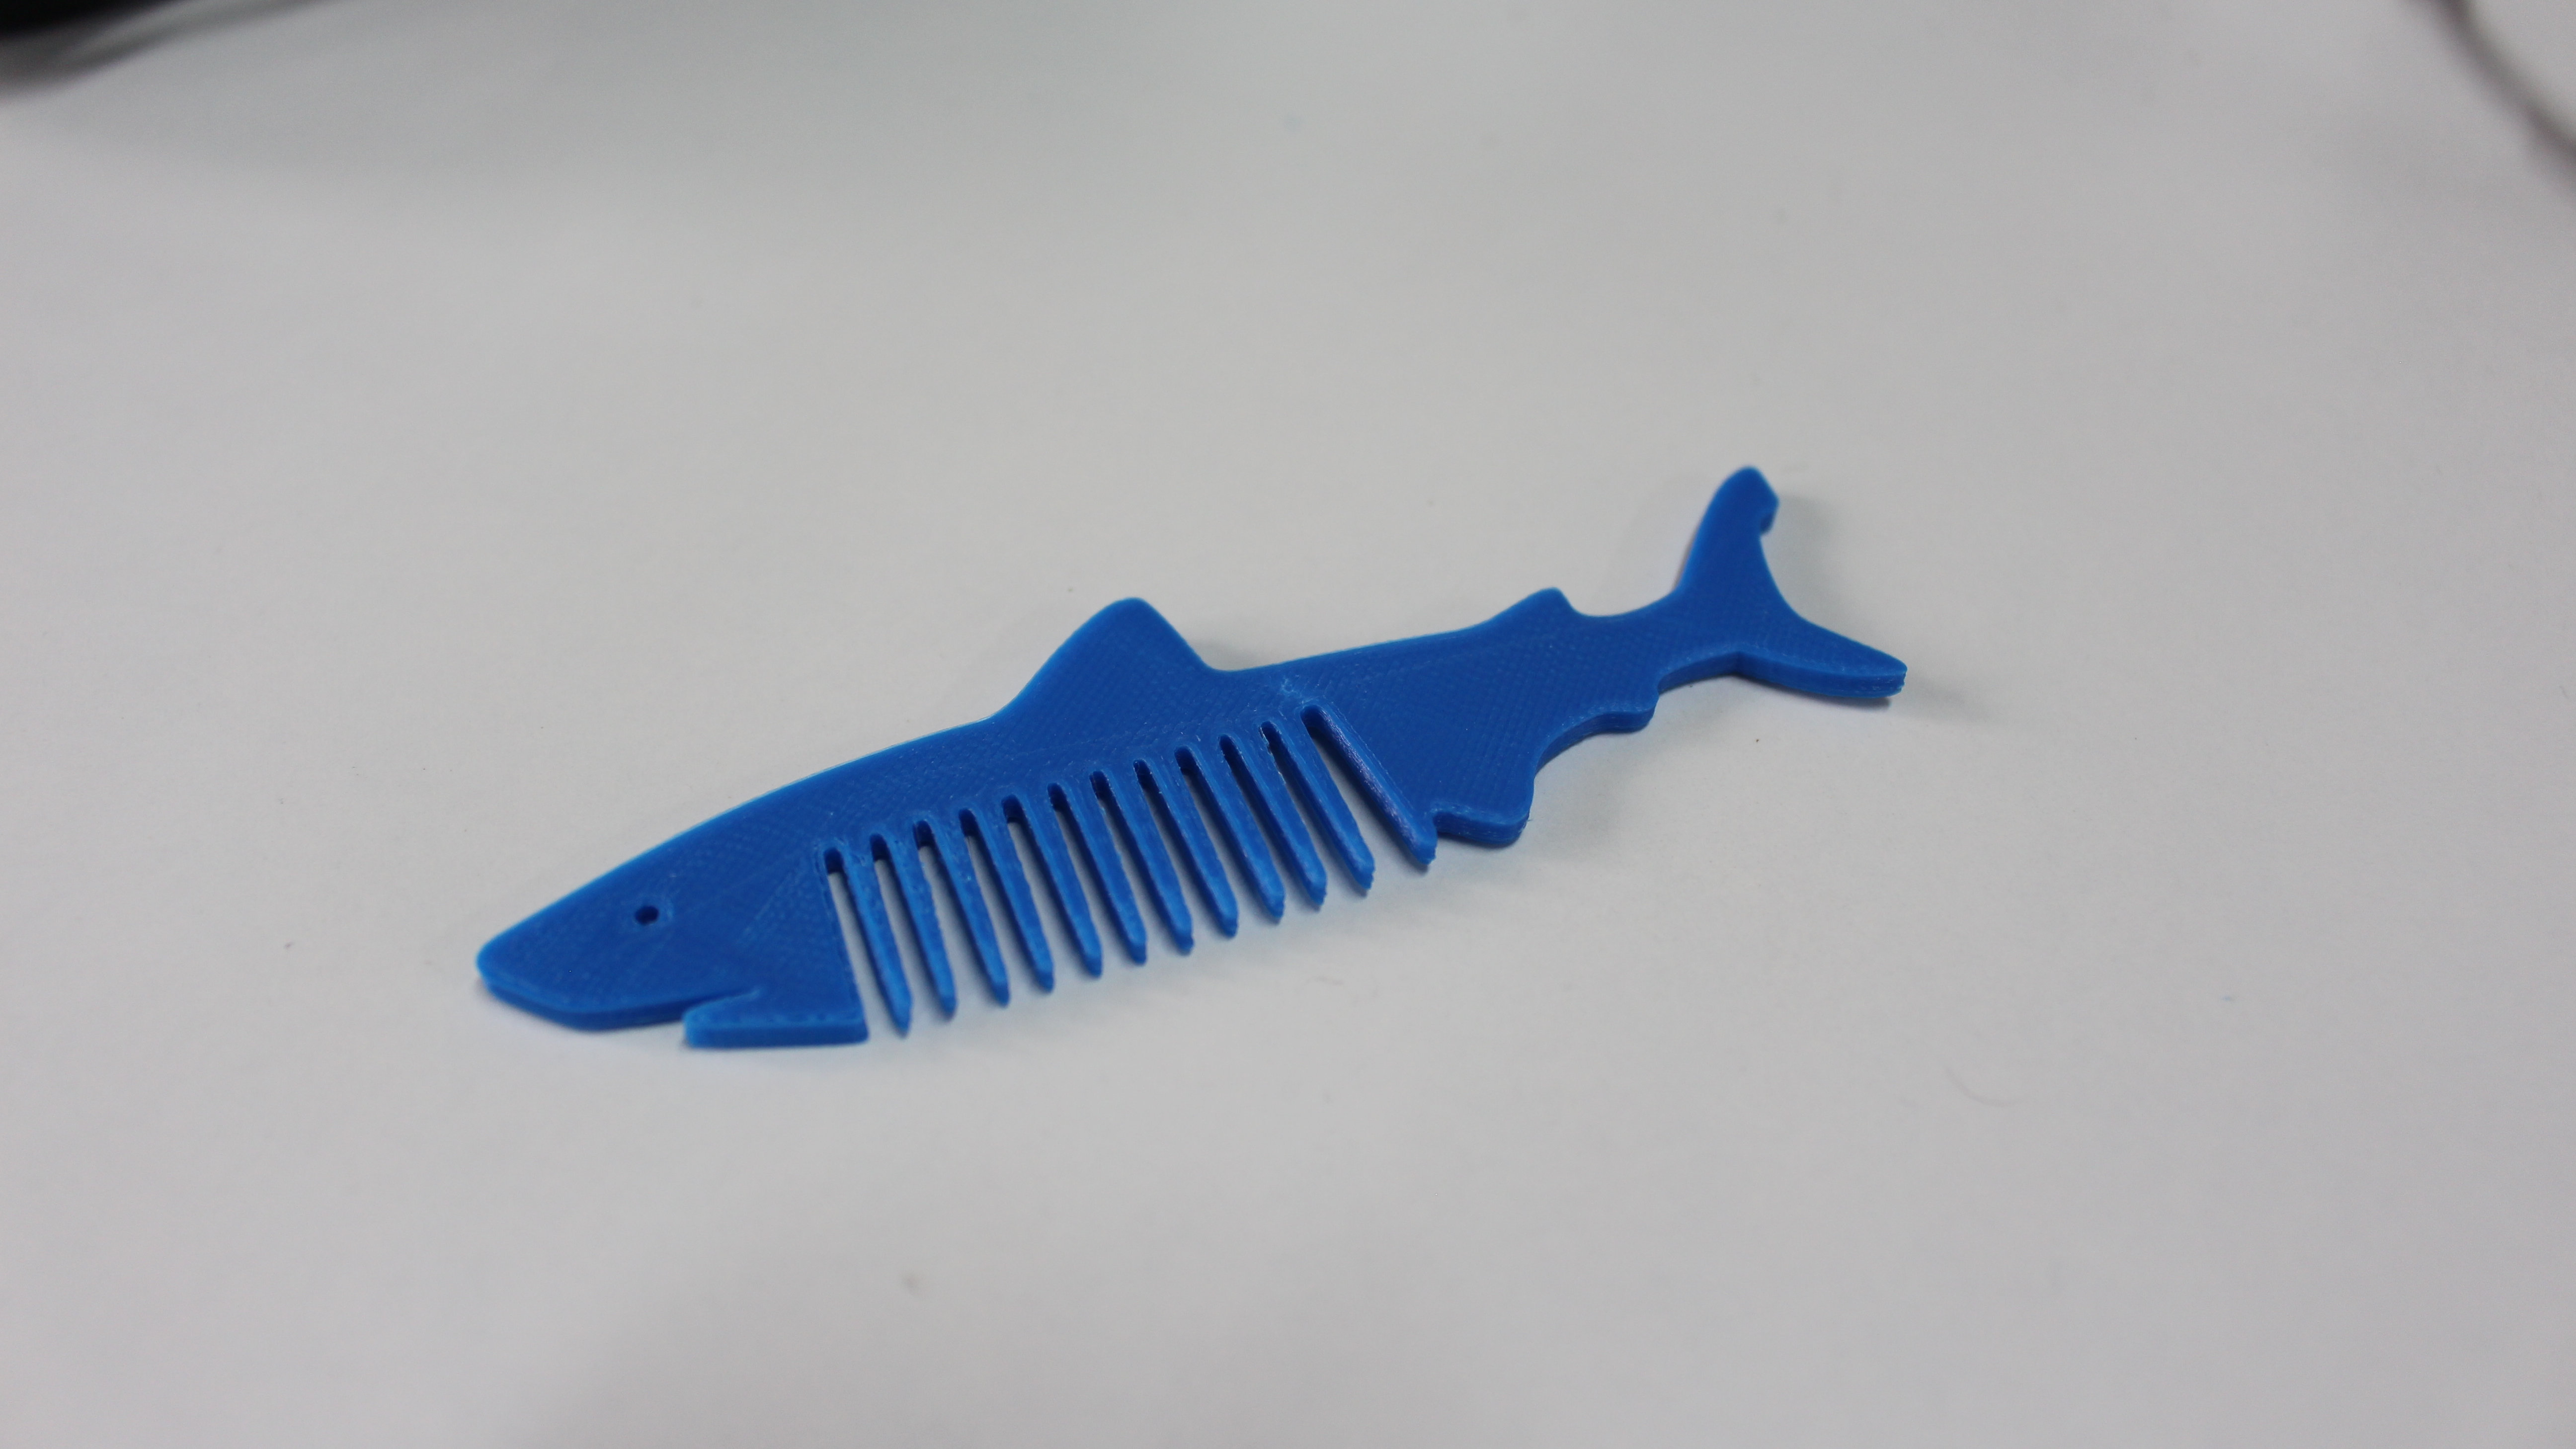
While it’s tempting to describe the A8 Plus as a budget 3D printer, the actual models it can print out tell a different story. There’s a fine level of detailing to each model, and the more accurate your calibration skills, the less likely it will be that parts of your model are warped or slightly out of place. Even a millimeter can make a difference in the final product, so it’s important to be patient when performing your calibration.
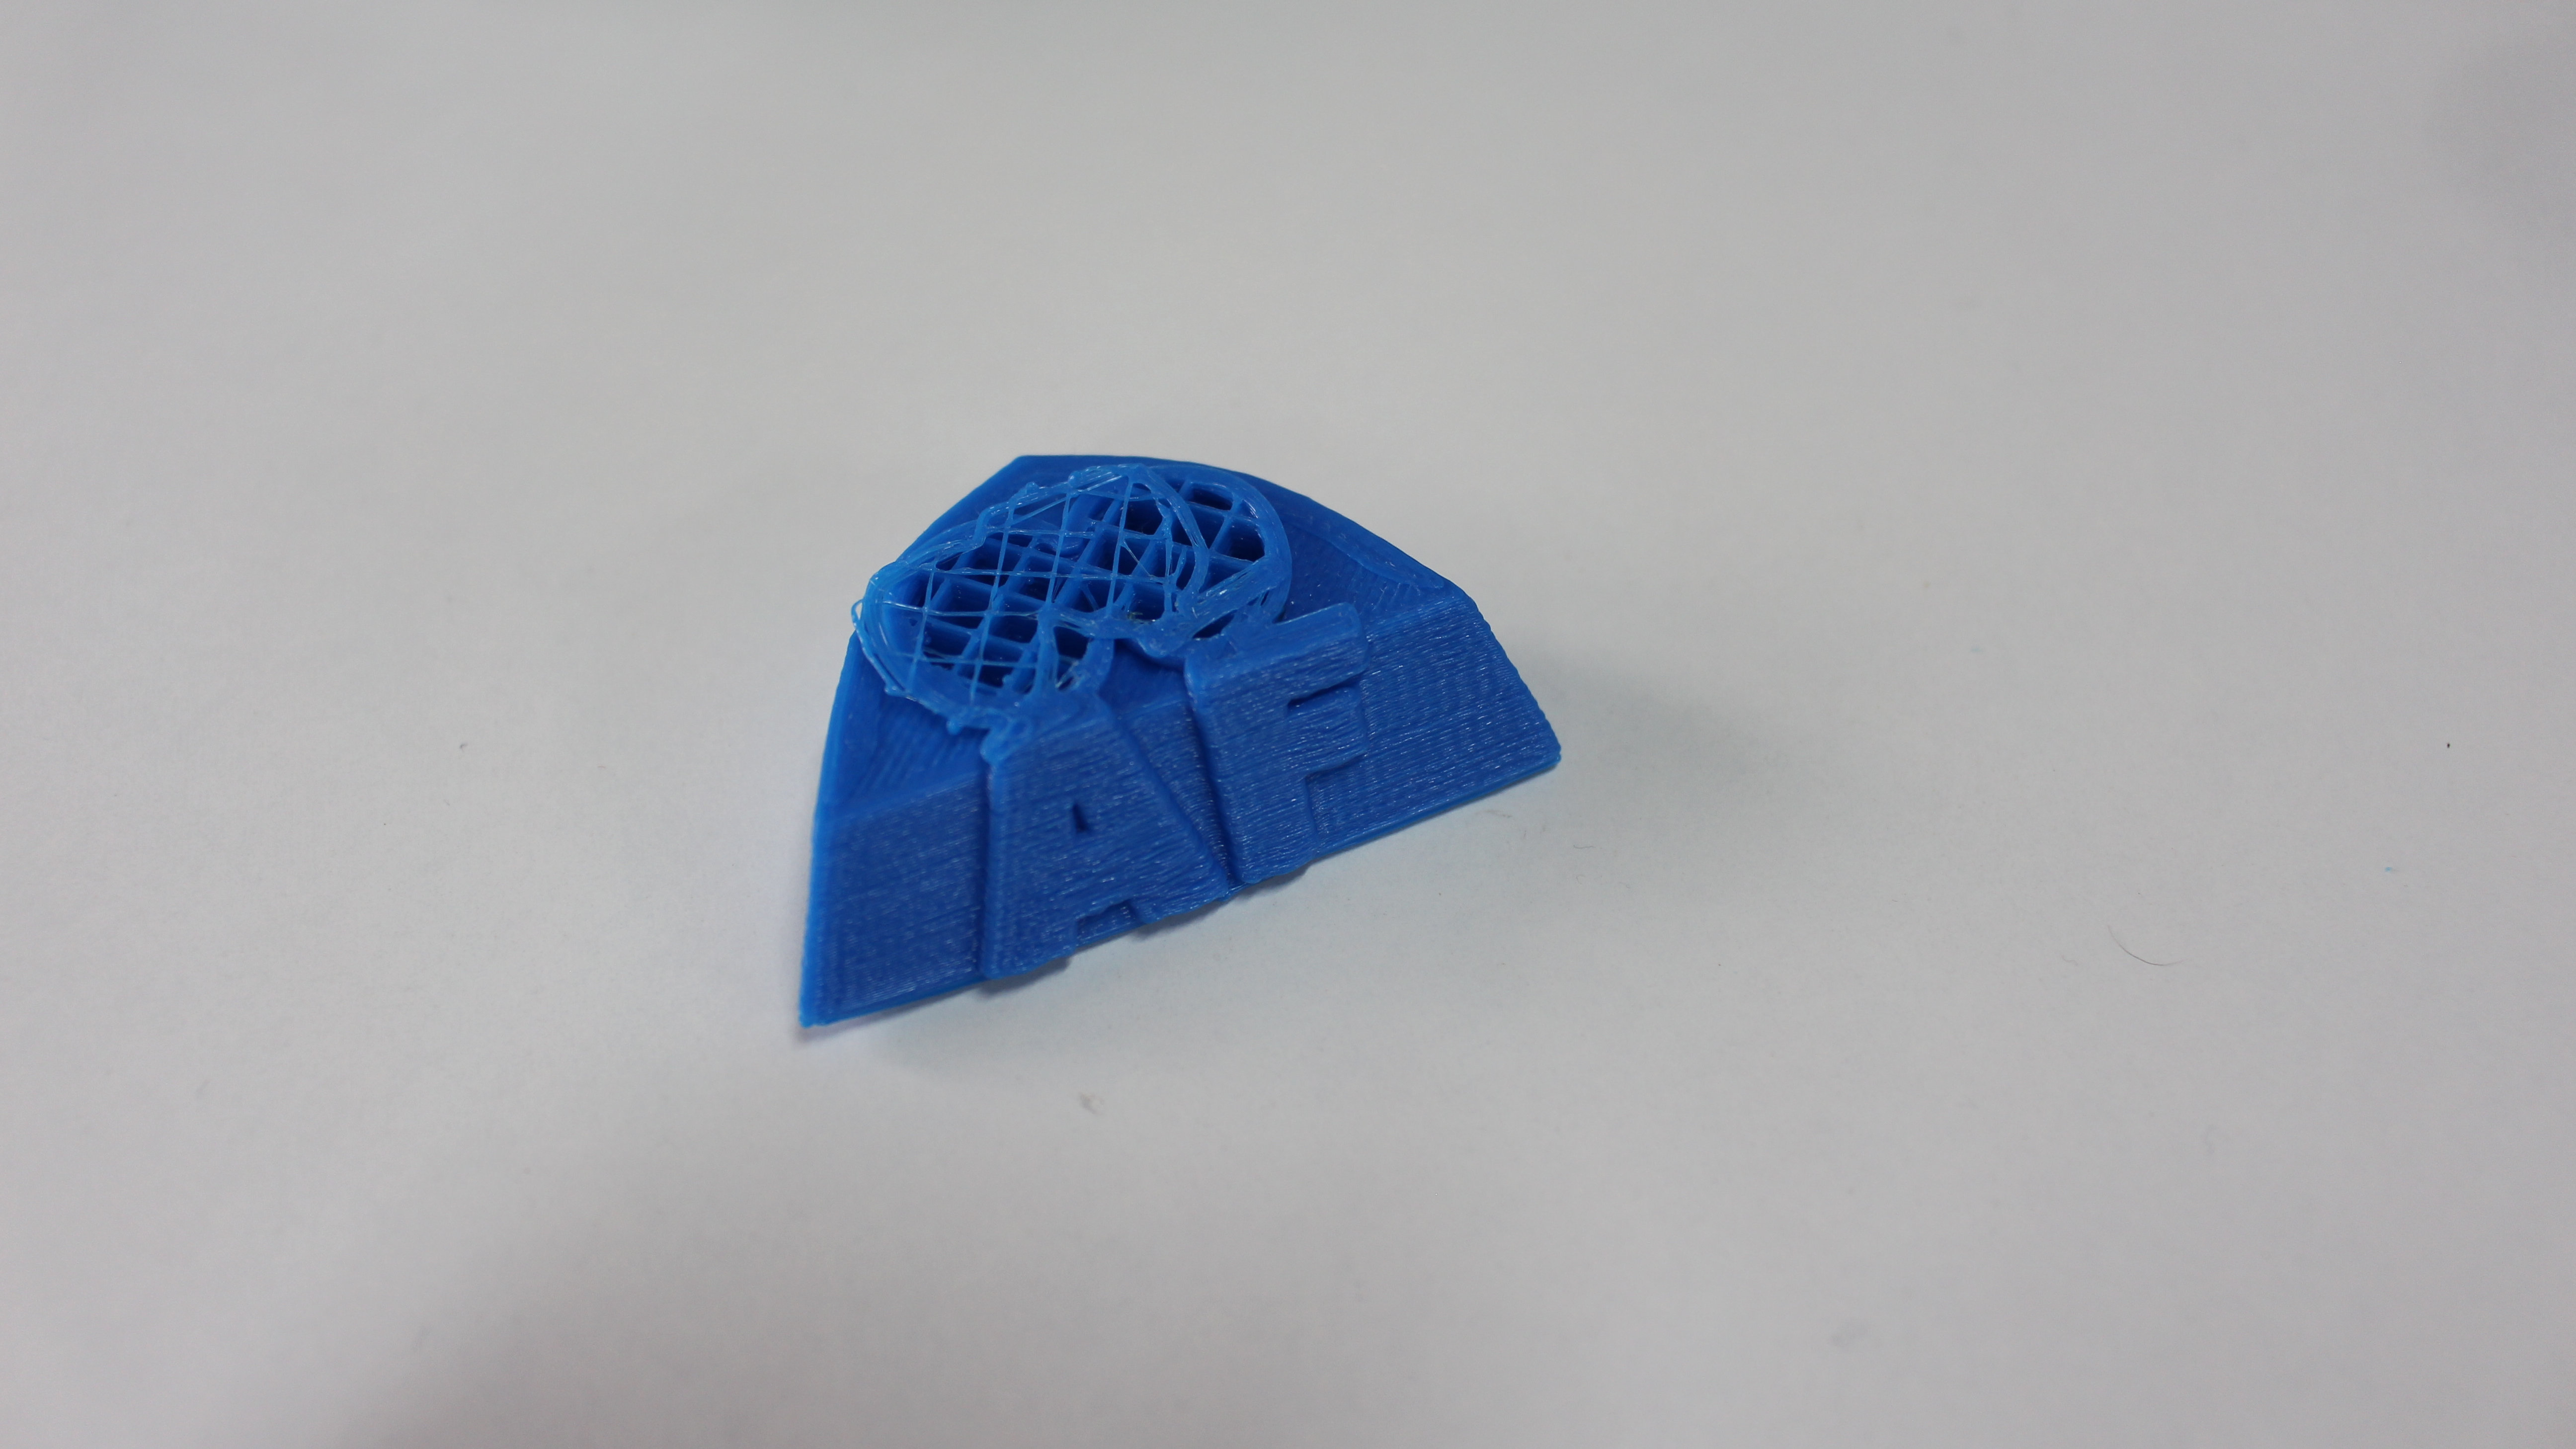
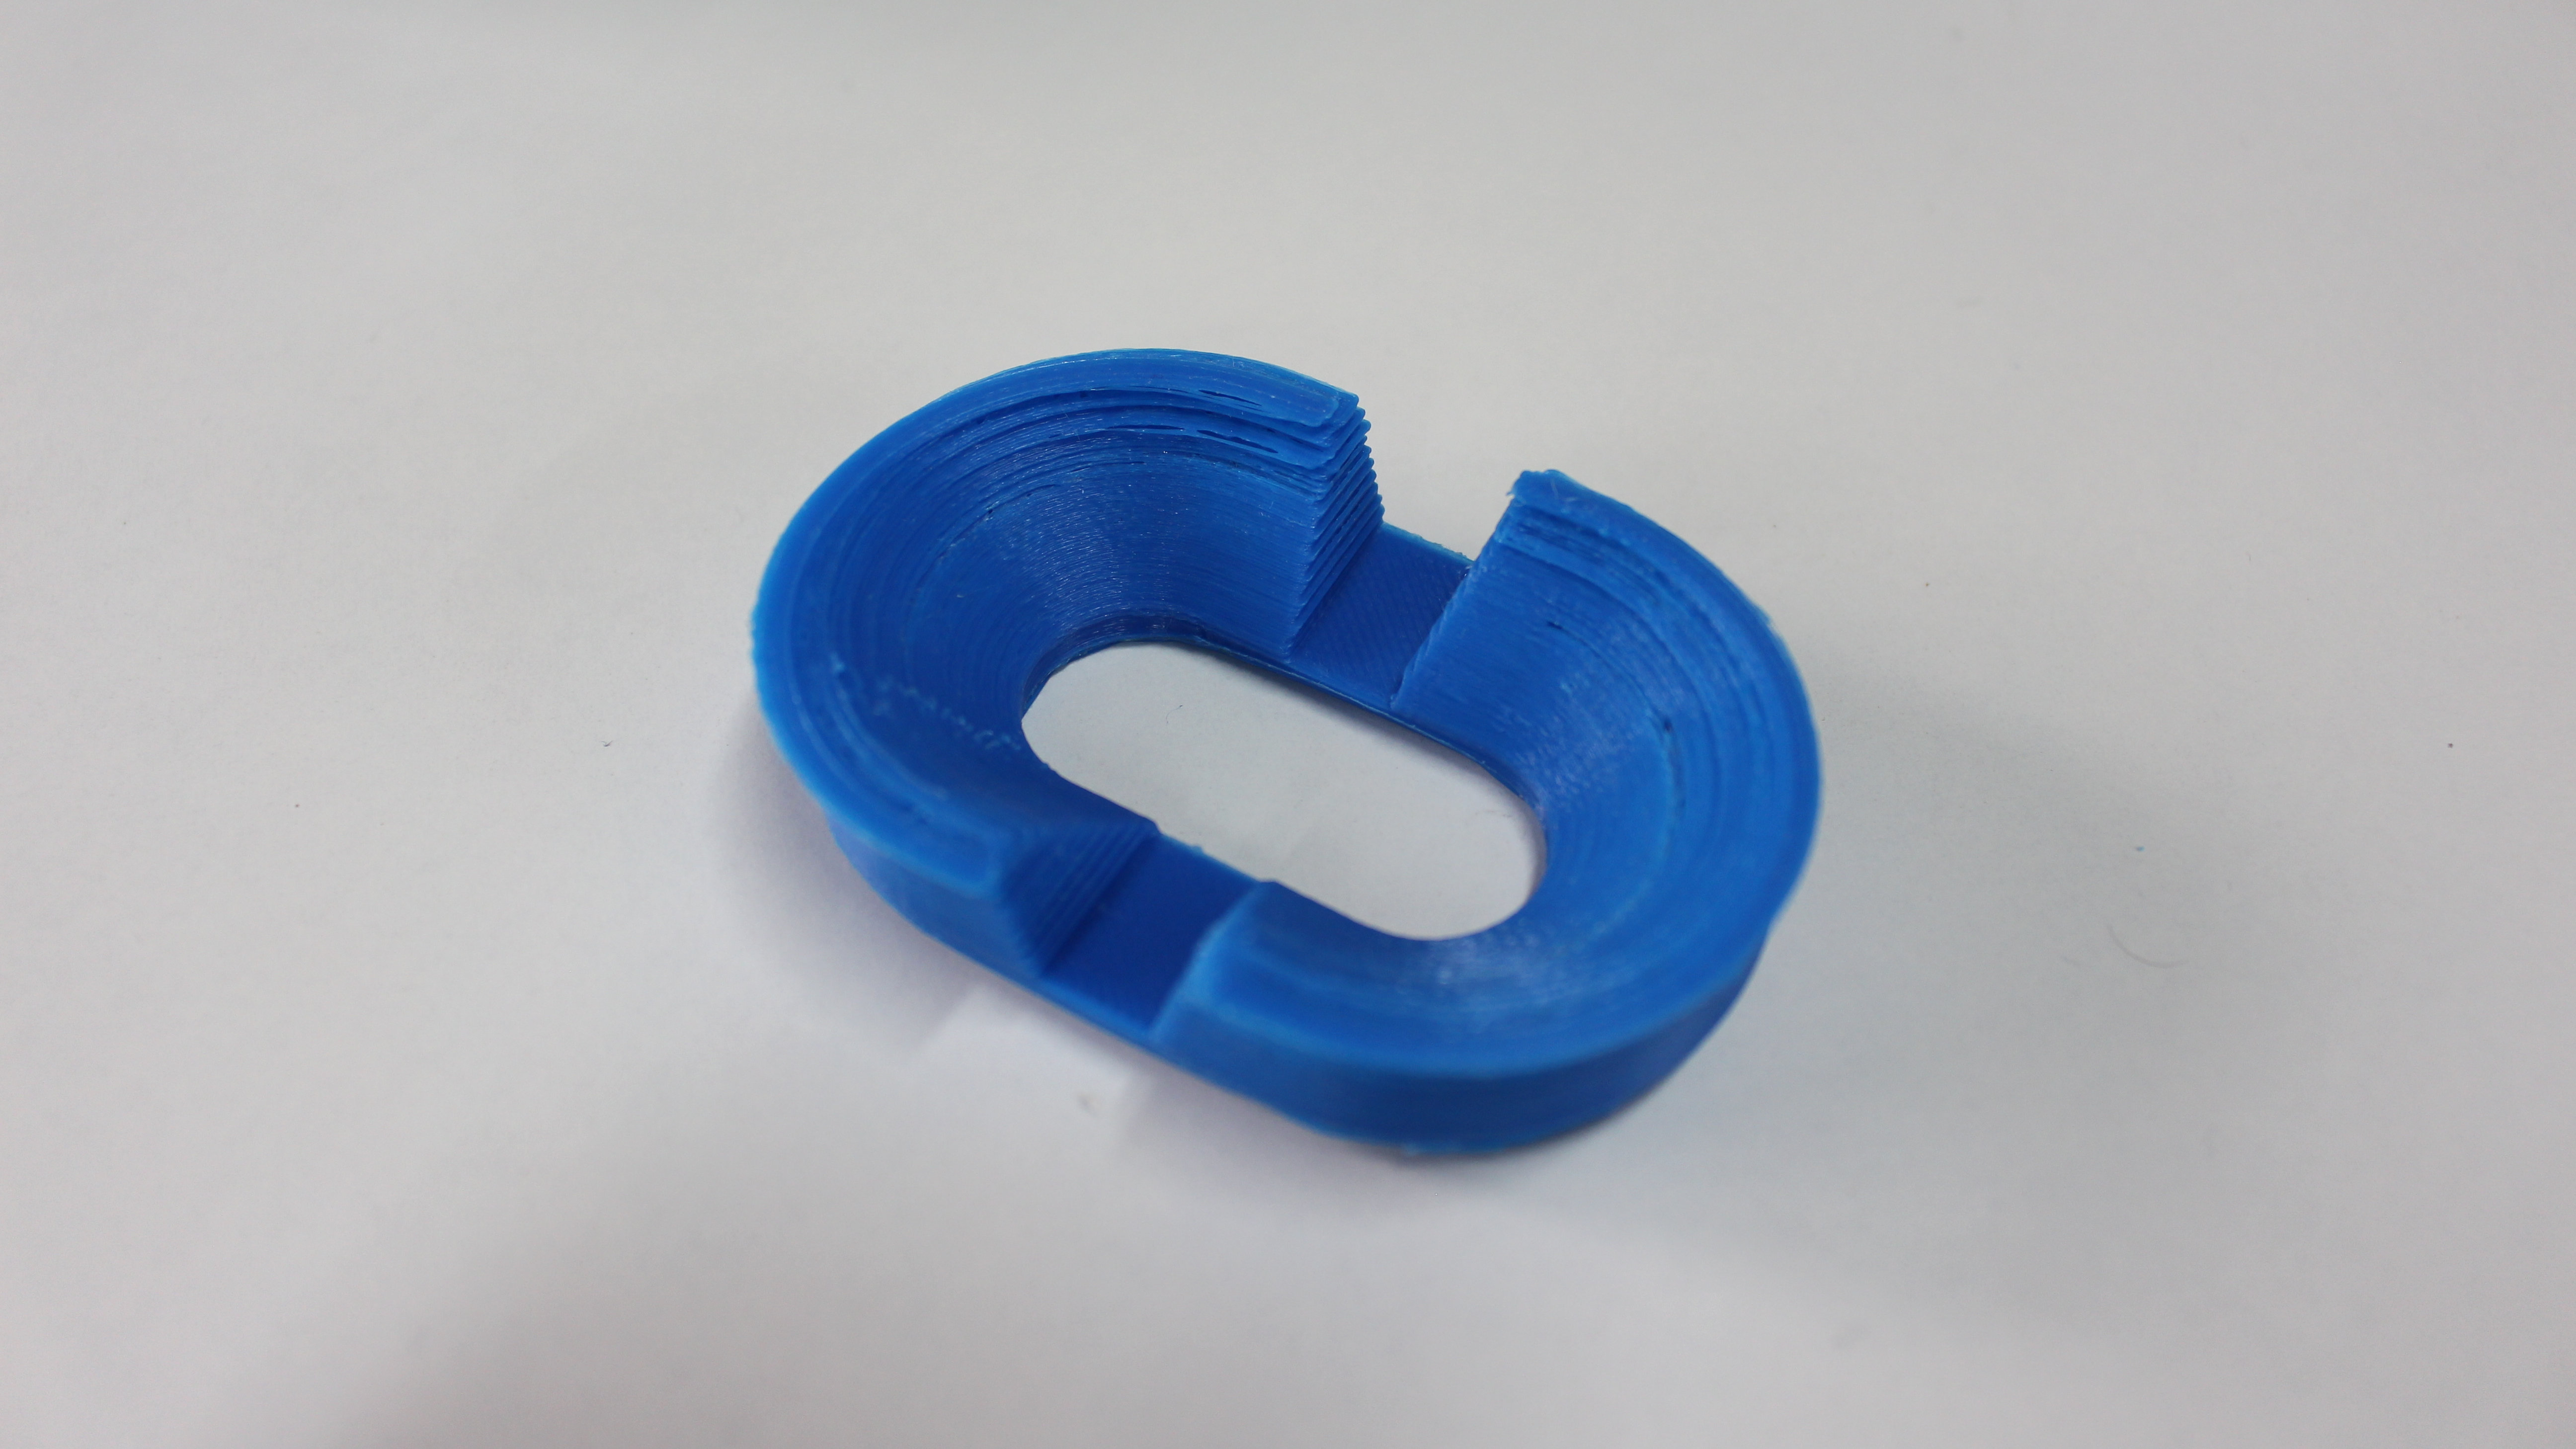
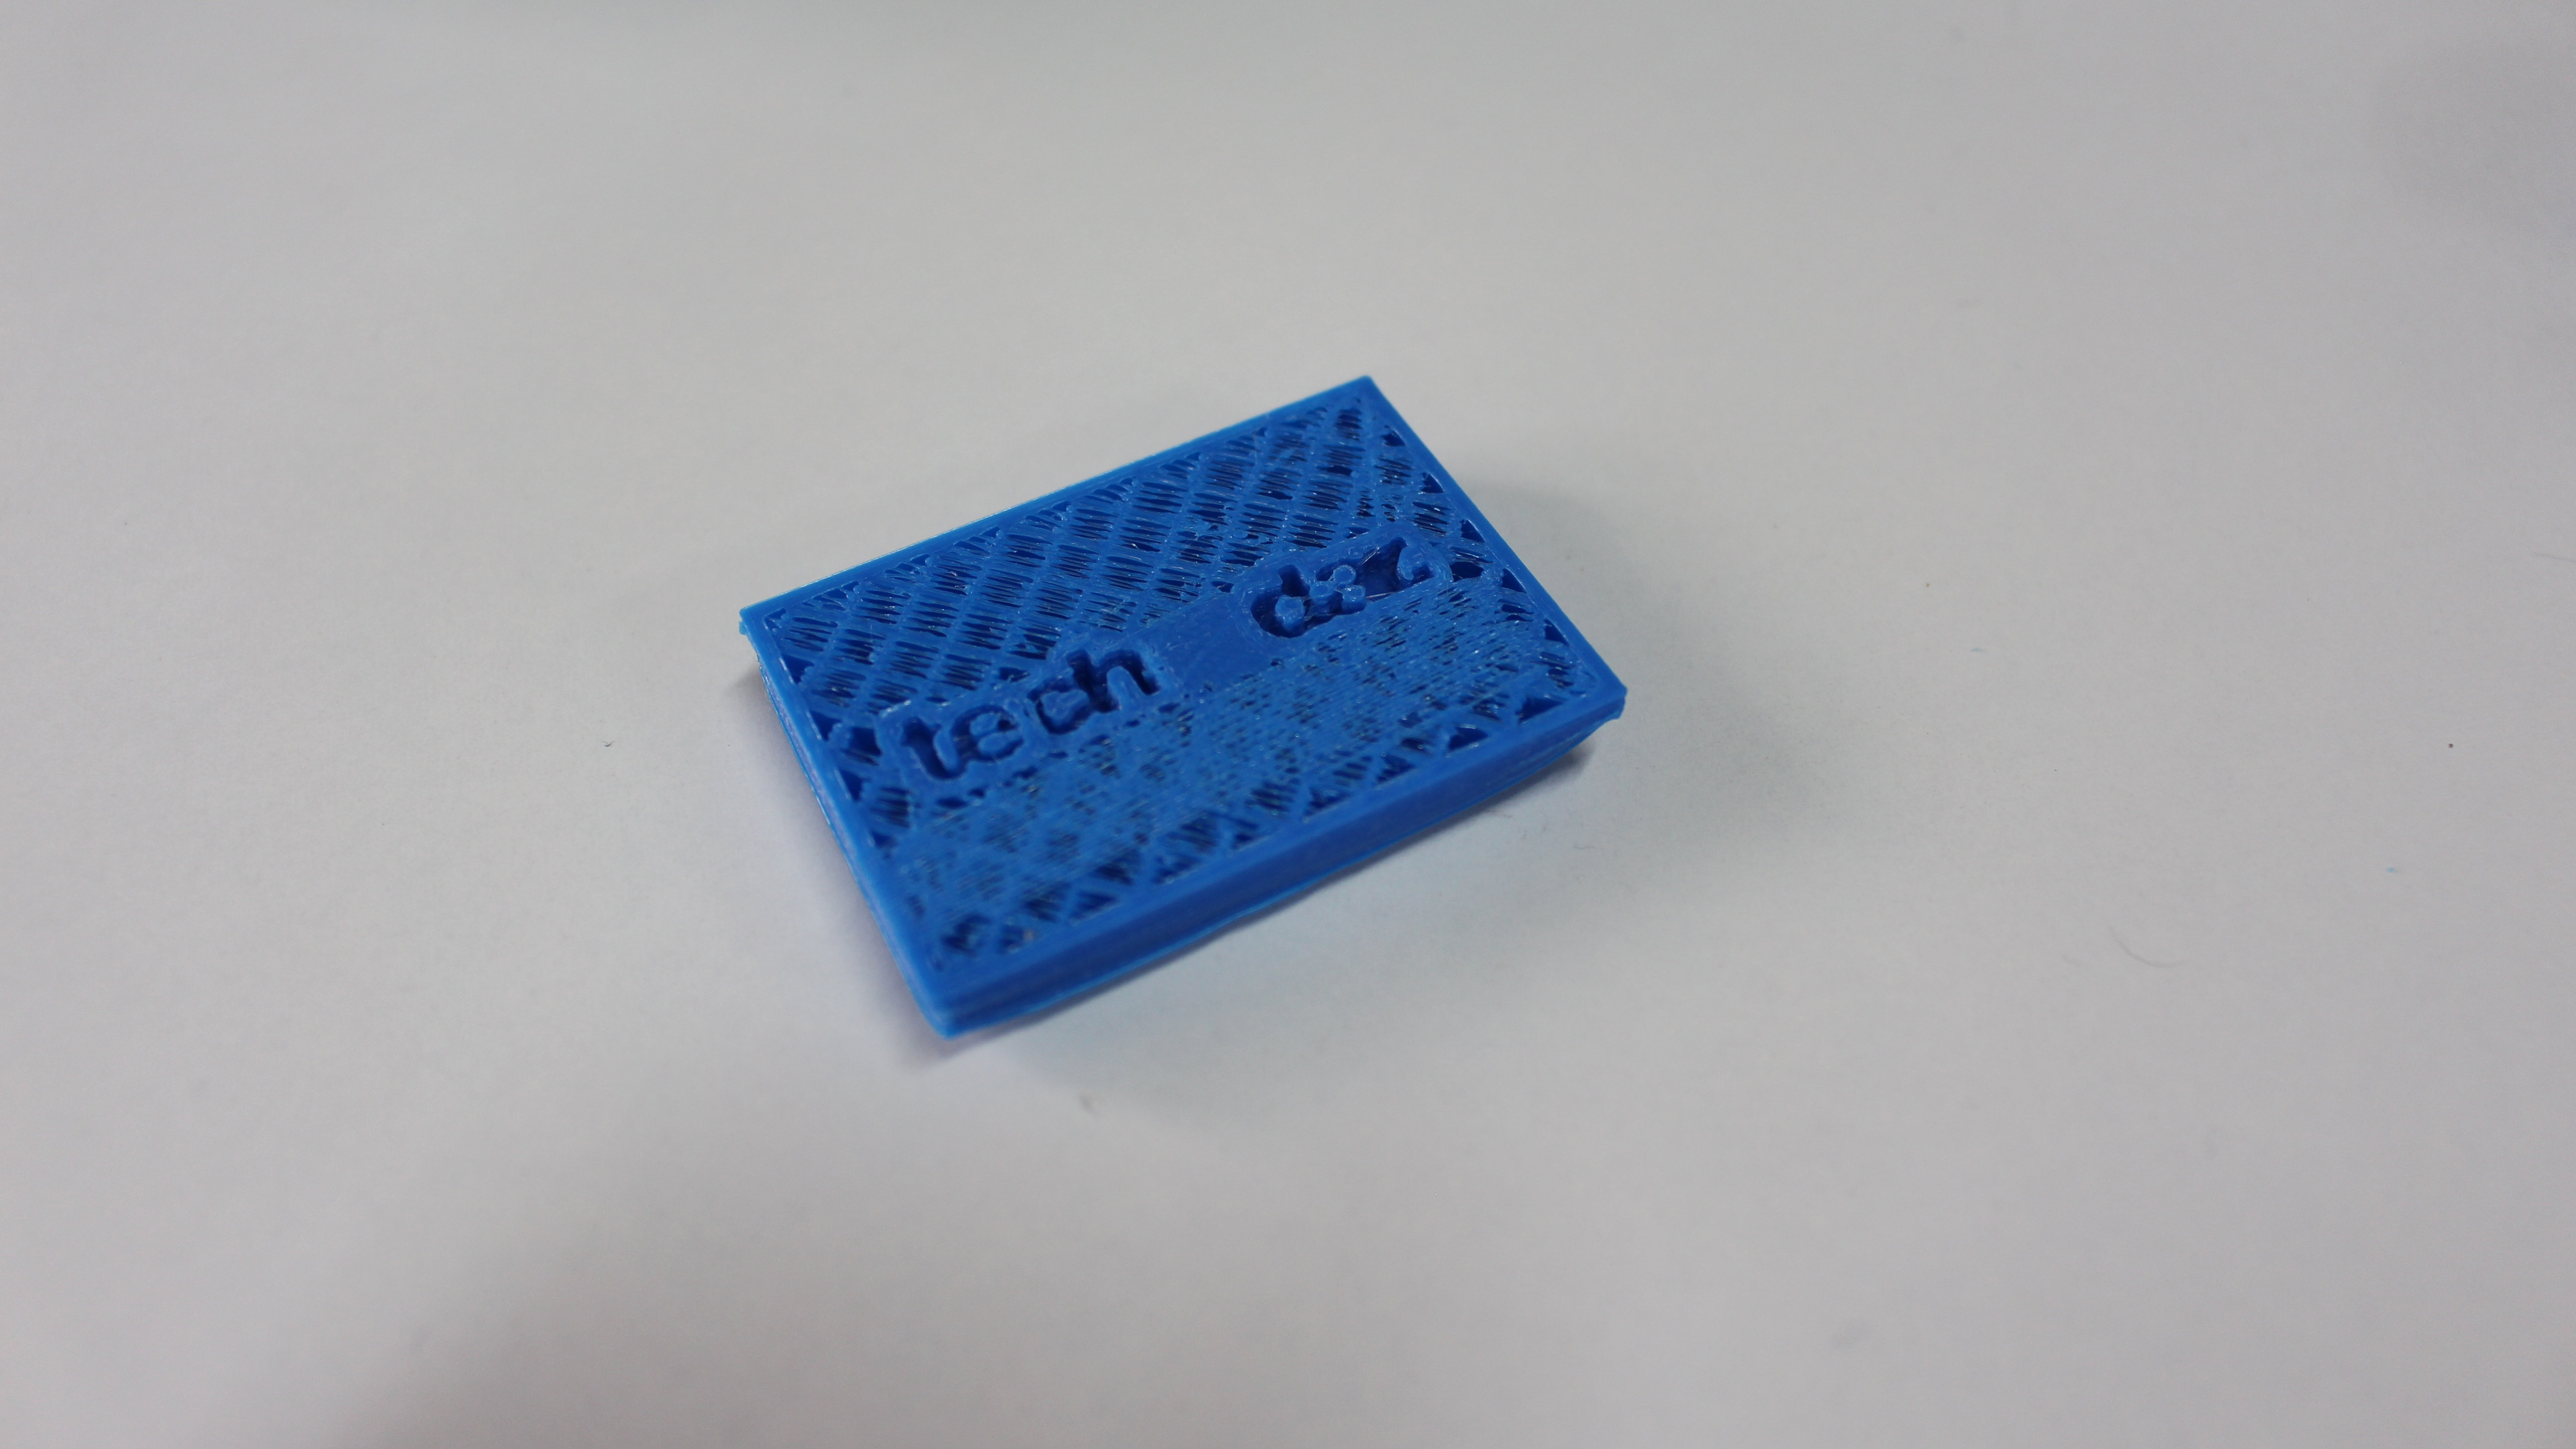
One thing about printing that the A8 Plus did disappoint with is the print bed itself. The glass surface didn’t always produce a firm grip for the extruded filament to latch on to, so halfway through a print a model would eventually start to slowly warp away from the print bed or would be knocked out of place by the printer nozzle.
After some research on the Anet support forums, we found that this tends to be a common problem with the default print bed, which can be remedied by affixing painter’s tape to the print bed to provide a much more stable print surface. You can then easily peel away the tape from the model once it’s done printing. It’s not the most graceful way to 3D print, but it ensures that you don’t have any failed prints this way.
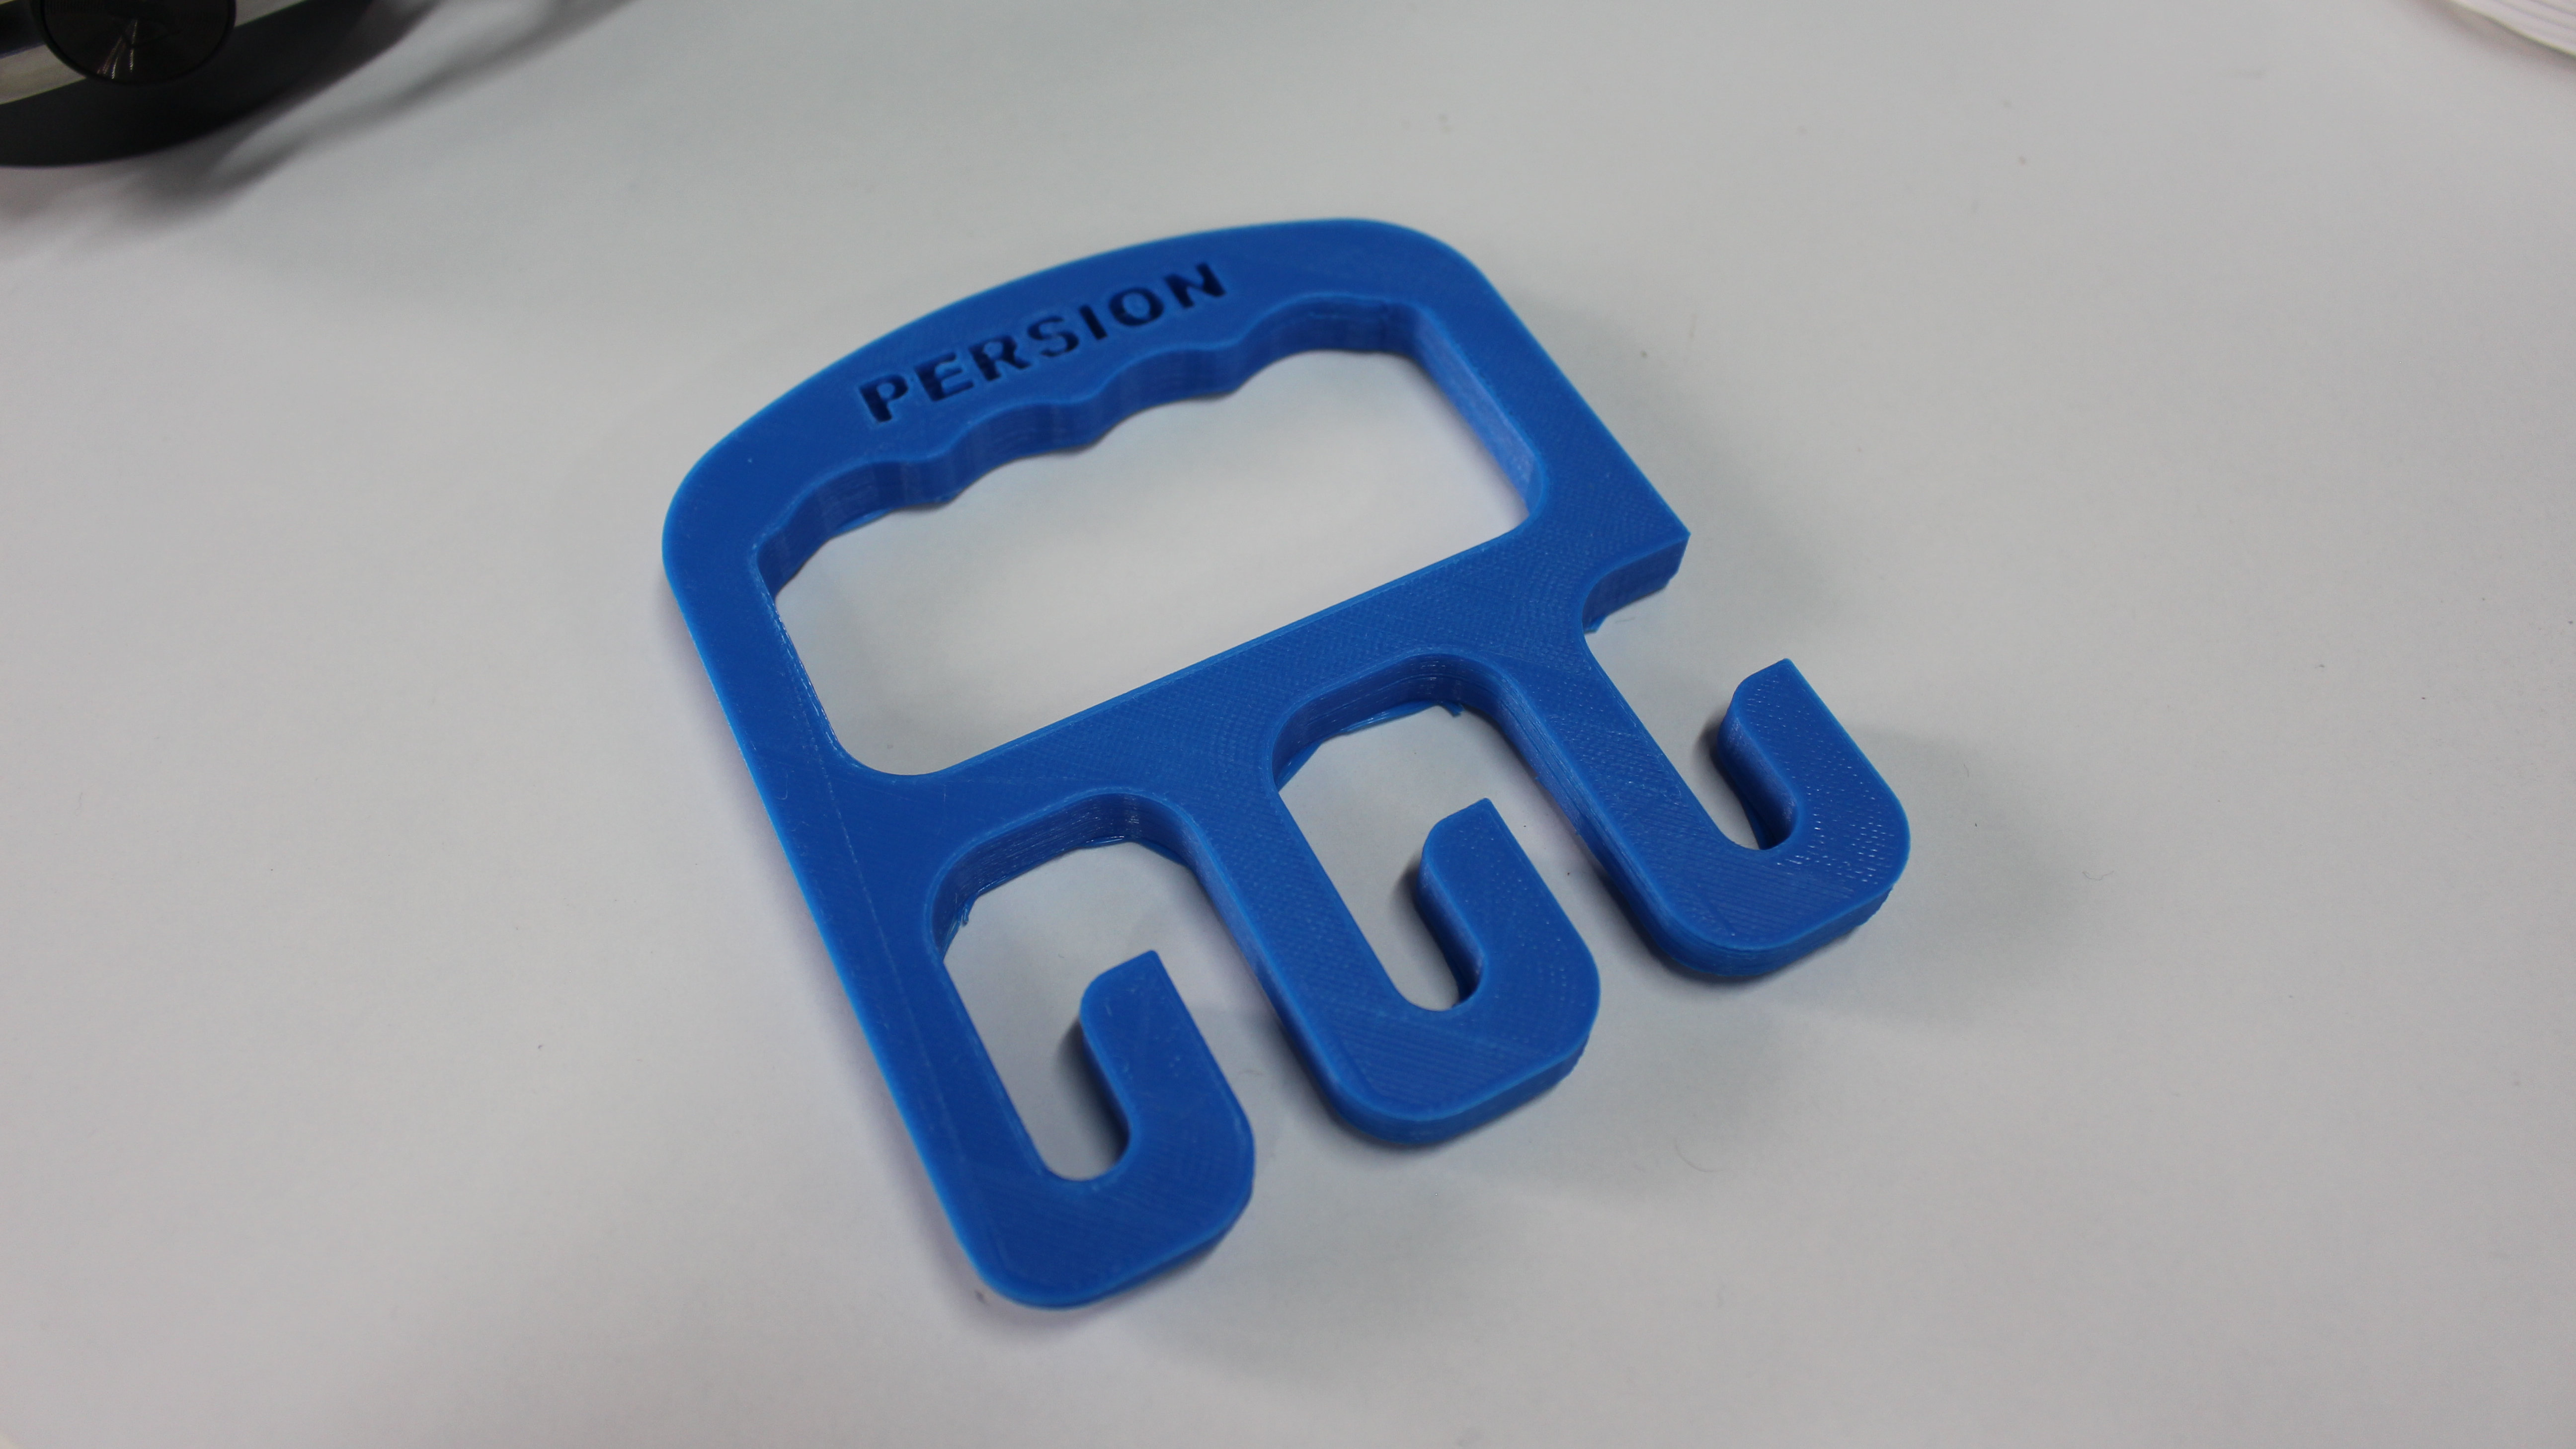
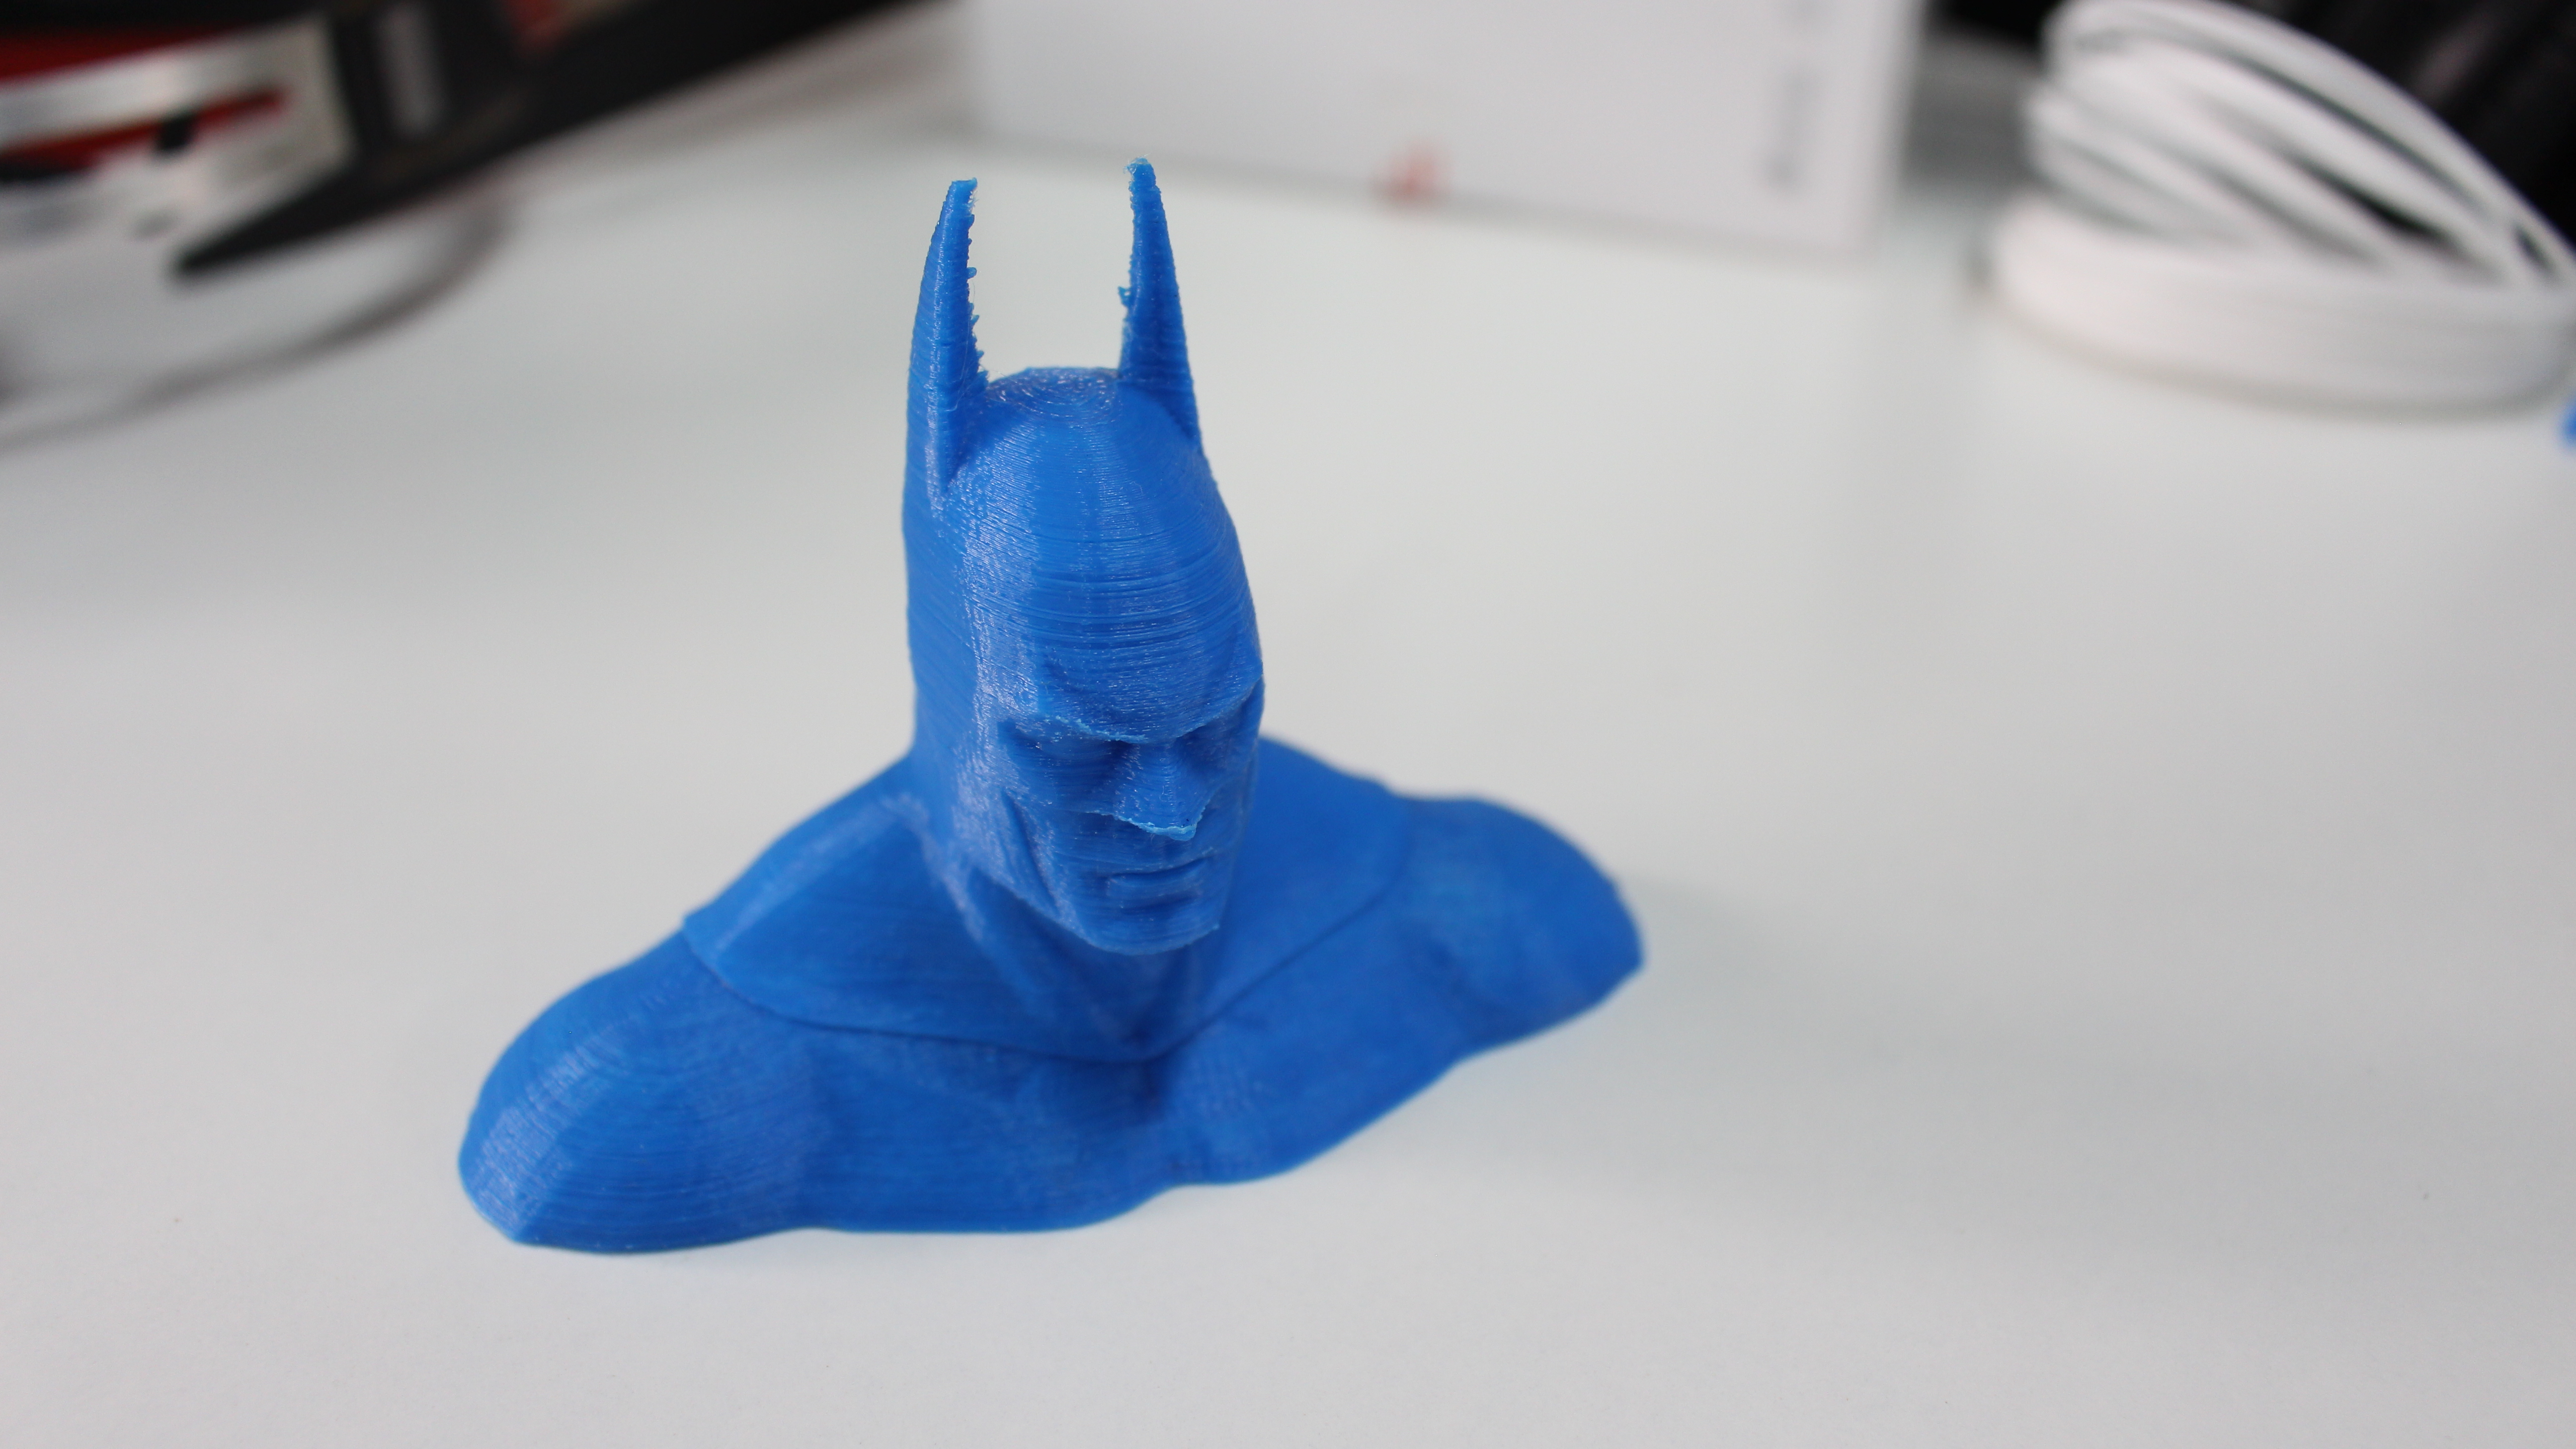
With an affordable price tag comes a few other challenges that you should keep in mind. Most A8 Plus owners have gone on to upgrade various parts of the machine, such as the print bed, extruder motor, or even installed additional sensors to ensure proper levelling. The default rails that the print bed rests on will eventually grind away at the bed supports, resulting in a stuttering print bed. The remedy of course, is to ensure that the rails are greased up properly, as should be the case with the rails that the extrusion nozzle rests on.
There were other components that were starting to wear out over time as well – one particular switch came loose mid-way through a print, resulting in the nozzle trying to go past a point it shouldn’t be able to. A bit of electrical tape and some glue were all that was needed to fix it, but it highlights the strict maintenance that you’ll need to practice to keep everything running smoothly.
Final verdict
If you’ve been curious about 3D printing and have always wanted to give it a try, then the Anet A8 Plus is a firm recommendation. It’s a lot more affordable than other printers on the market, and while it will take you some time to set up and perfect, it’s a great piece of equipment that can churn out some truly incredible models.
Yes, there is some teething to get through and you’ll need to keep an eye on certain parts to ensure they’re working properly, but a bit of routine maintenance in exchange for an excellent 3D printer is a price we’re more than willing to pay.
A former IT & Marketing Manager turned full time Editor, Nick enjoys reviewing PC components, 3D Printers, projectors, and anything shiny and expensive. He can also be found baking up a storm in the kitchen, which we are more than happy to encourage.
