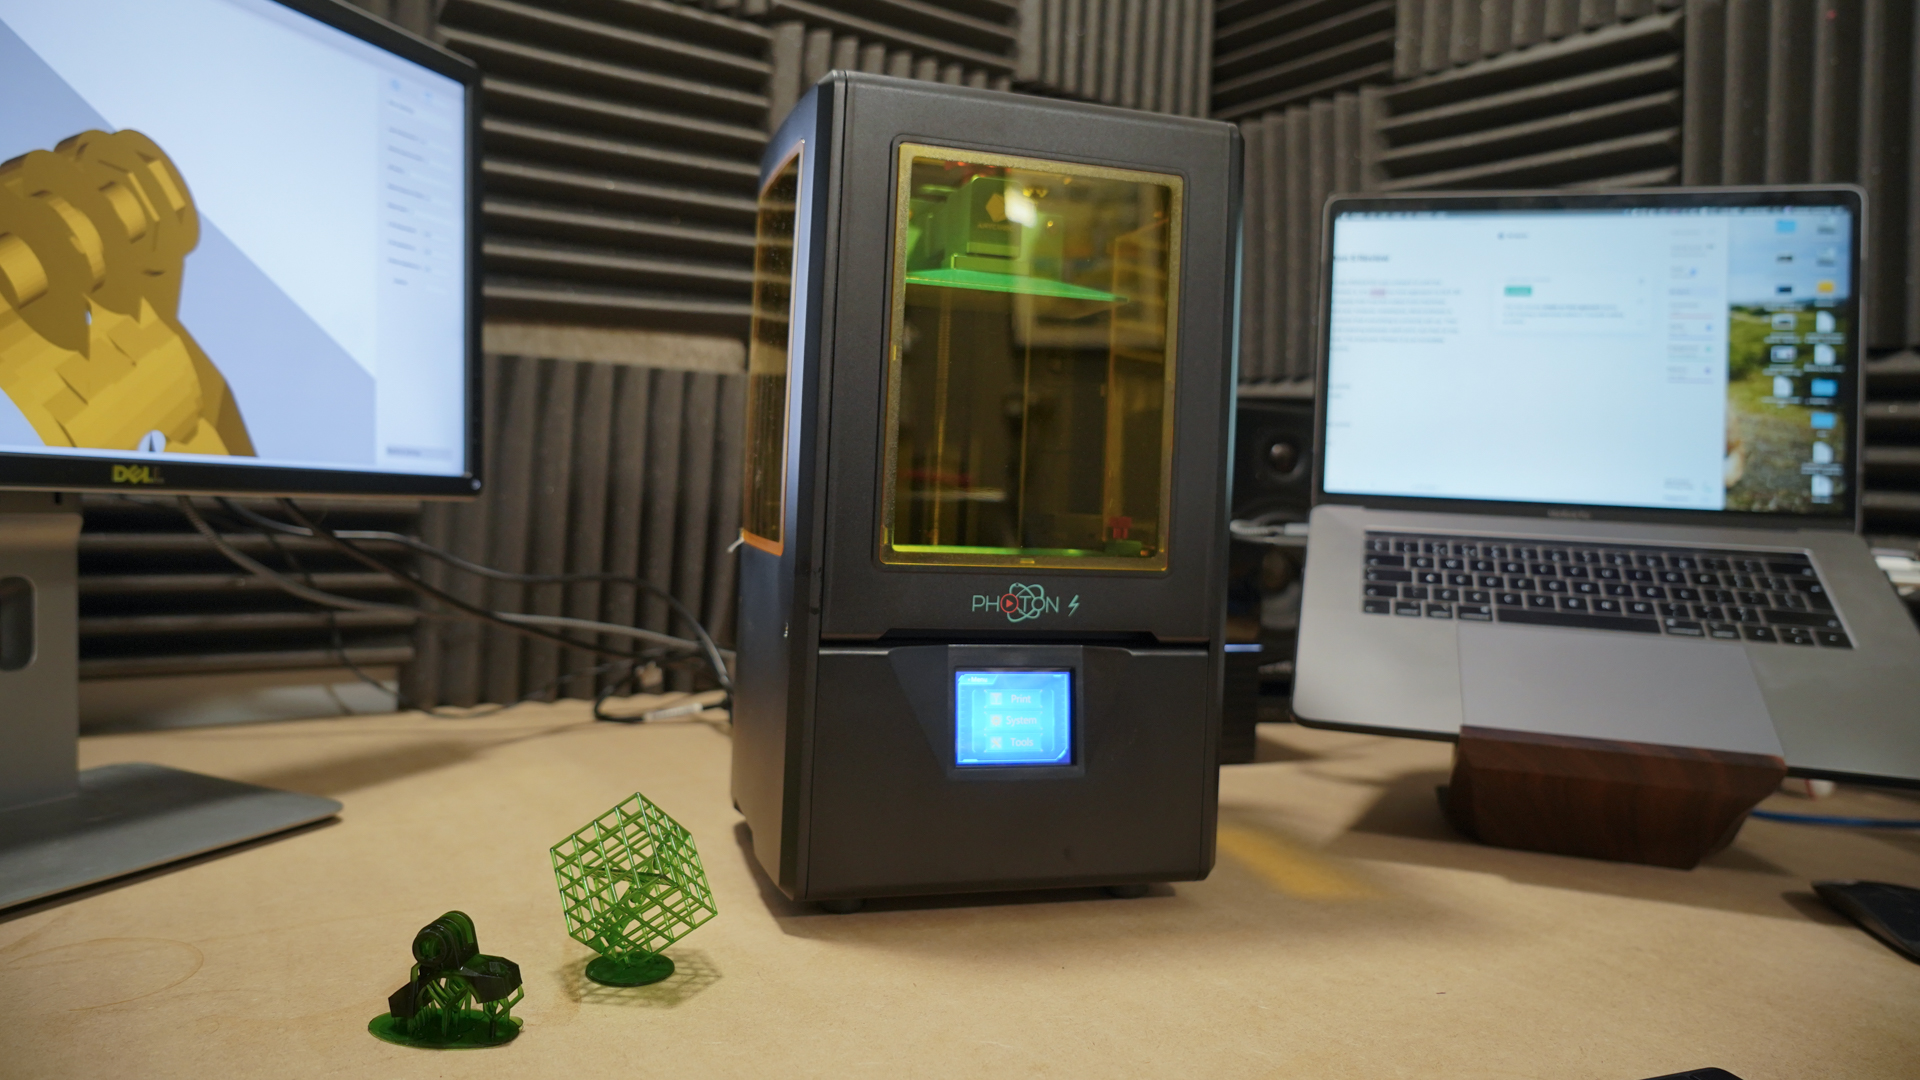
TechRadar Verdict
The AnyCubic Photon S is an incredible printer at an unbelievable price but the maintenance and cleaning between each print may be a turn off for some.
Pros
- +
Incredibly cheap
- +
Produces excellent quality prints
- +
Compatible with 405um resin
Cons
- -
Requires cleaning between prints
- -
Resin can be messy
- -
No error checking sensors
Why you can trust TechRadar
In every industry, there's a product that arrives that disrupts everything that has come before. Many do it with innovation, features or in the case of the AnyCubic Photon S price.
The Photon S is a DLP (Digital Light Projector) 3D printer, a technology similar to SLA (Stereolithography) but a whole lot cheaper. By cheap, it's far less than half the price of the leading consumer-based SLA brands and is available at the same price as many FDM (fused deposition modelling) printers.
Unlike FDM 3D printers that use a solid filament which is heated and extruded to create the final model, DLP uses a resin that is first exposed to UV light, then washed and cured before you get the result.
DLP as with SLA is far more work-intensive than FDM 3D printing, and that's not all, the print build area is often considerably smaller.
This all makes you wonder why you would bother with this time-consuming, messy and toxic technology over FDM, which is fine-tuned, clean and safe.
The reason is the result. The model quality is as close as you can get to injection moulding without the huge cost and scale.
But can the Photon S with its small price tag produce the high-quality prints that we expect from DLP 3D printers?
Design
Simple by design, the Photon S outwardly has few moving parts. The small 200x220m footprint and height of 400mm ensure the printer takes up little room in the workshop.
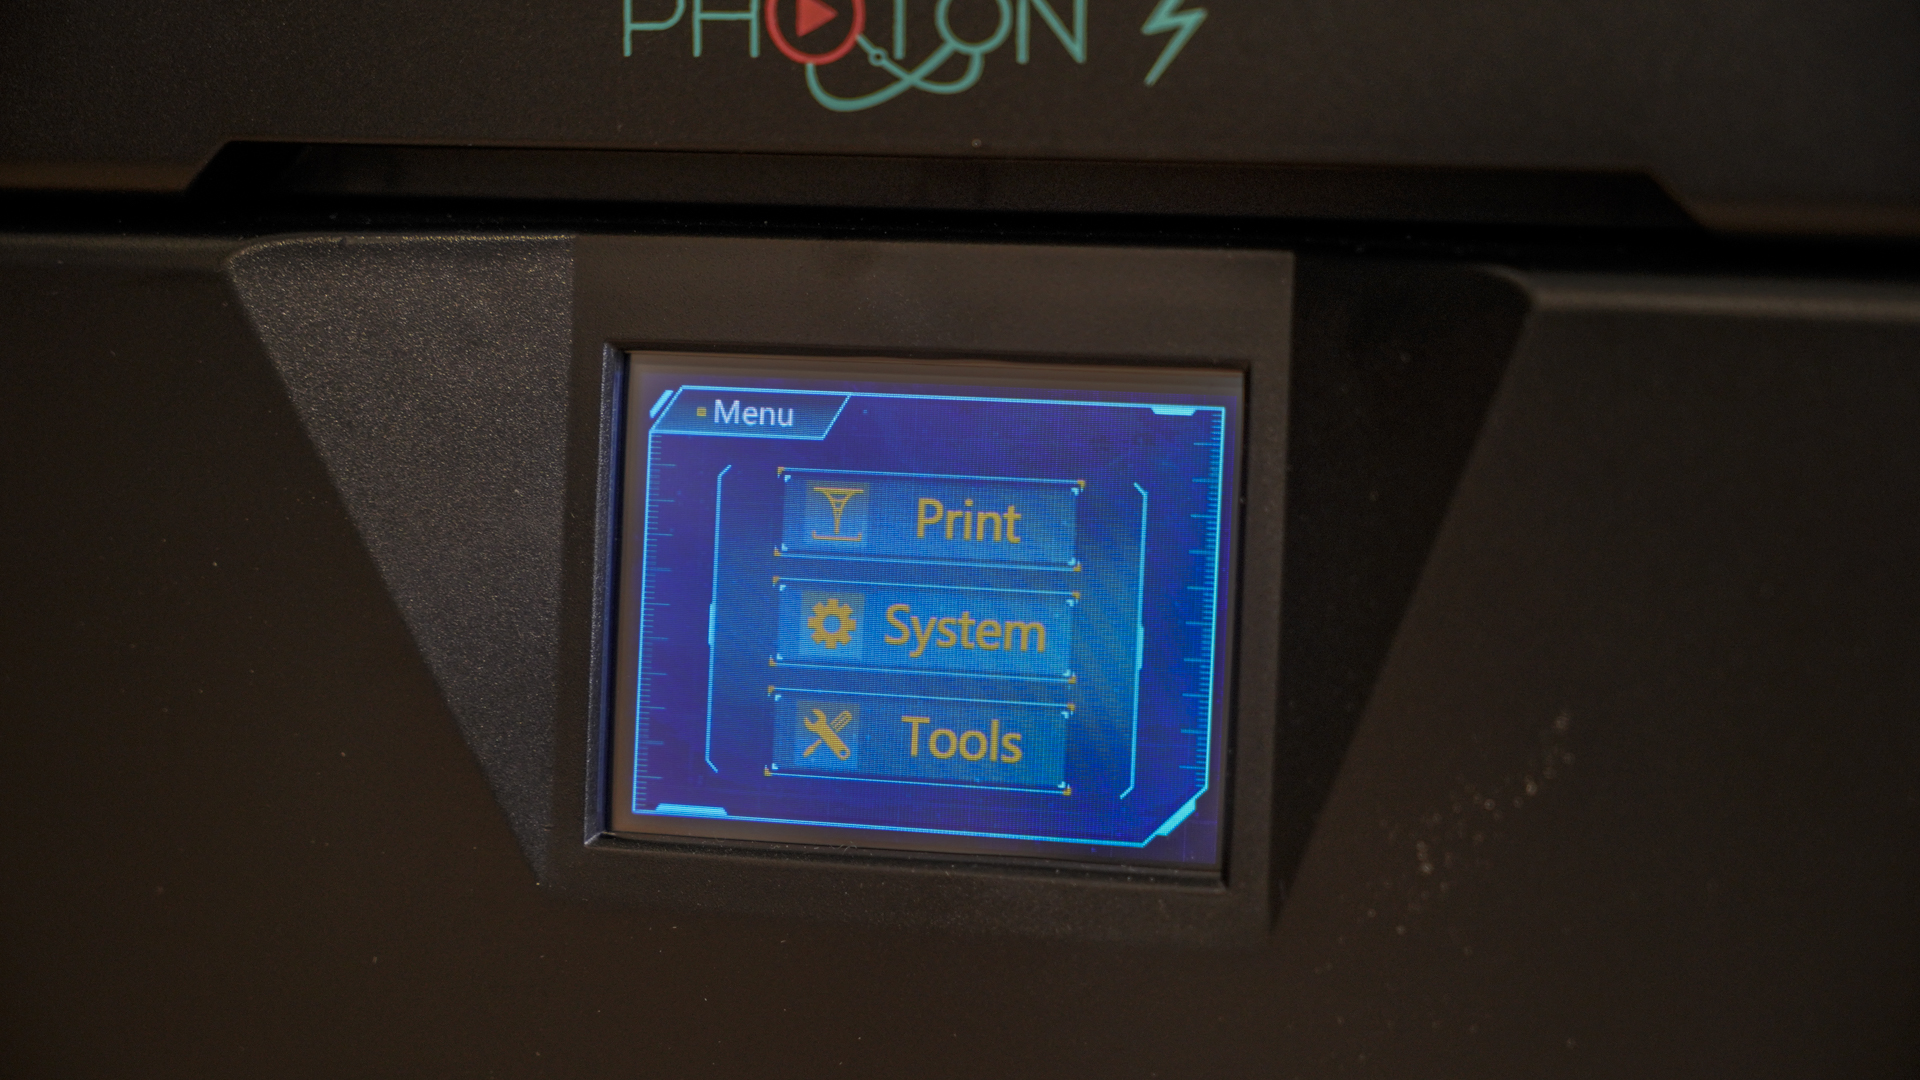
A small LCD touch screen is positioned on the front enabling you to navigate settings and options easily. It's not the slickest interface design I've seen, but works. Above this screen, you have the main mechanics of the machine safely behind the flip-up protective door.
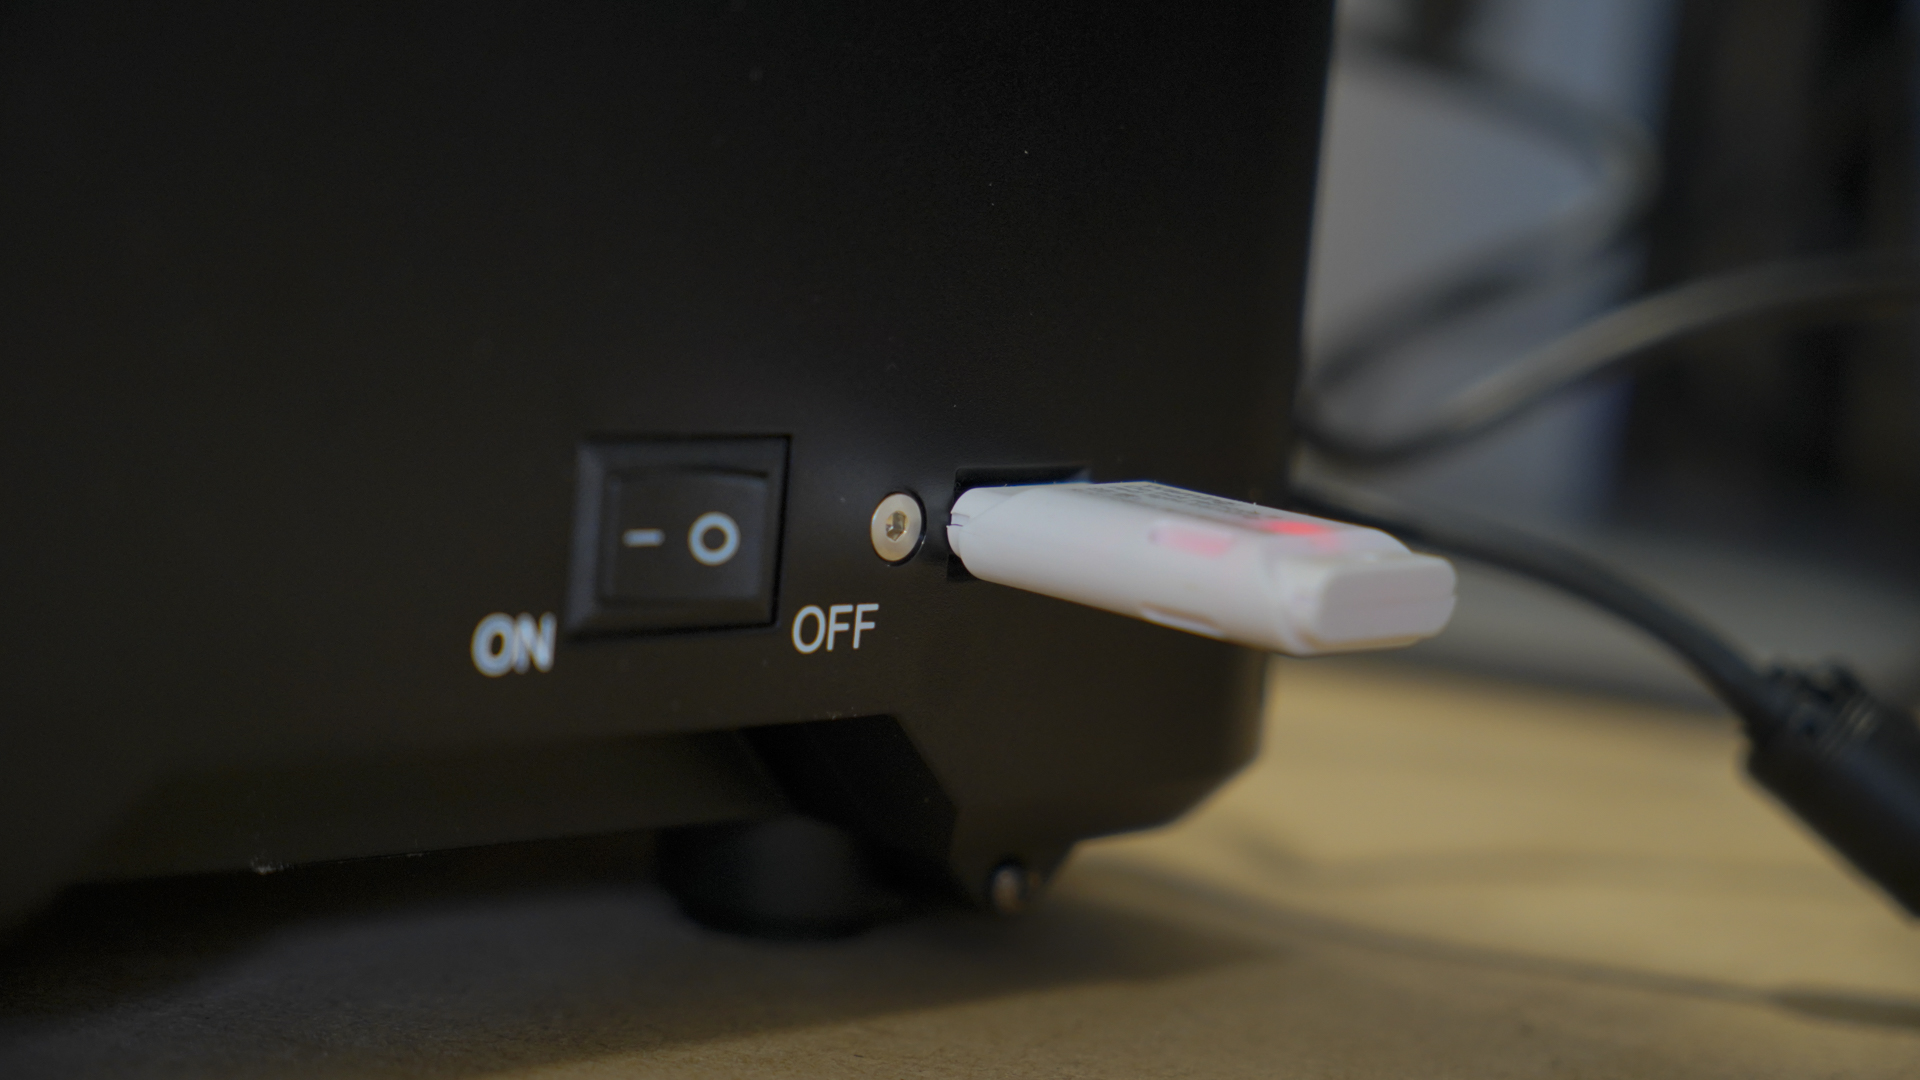
Files are transferred to the machine by either direct USB or an 8GB USB Stick supplied by AnyCubic in the box. A sample model is included on the USB key; an intricate cube that shows off the quality of a 50-micron print.
The build area is protected by a full-height hinged door that once open reveals the resin bath and build platform.
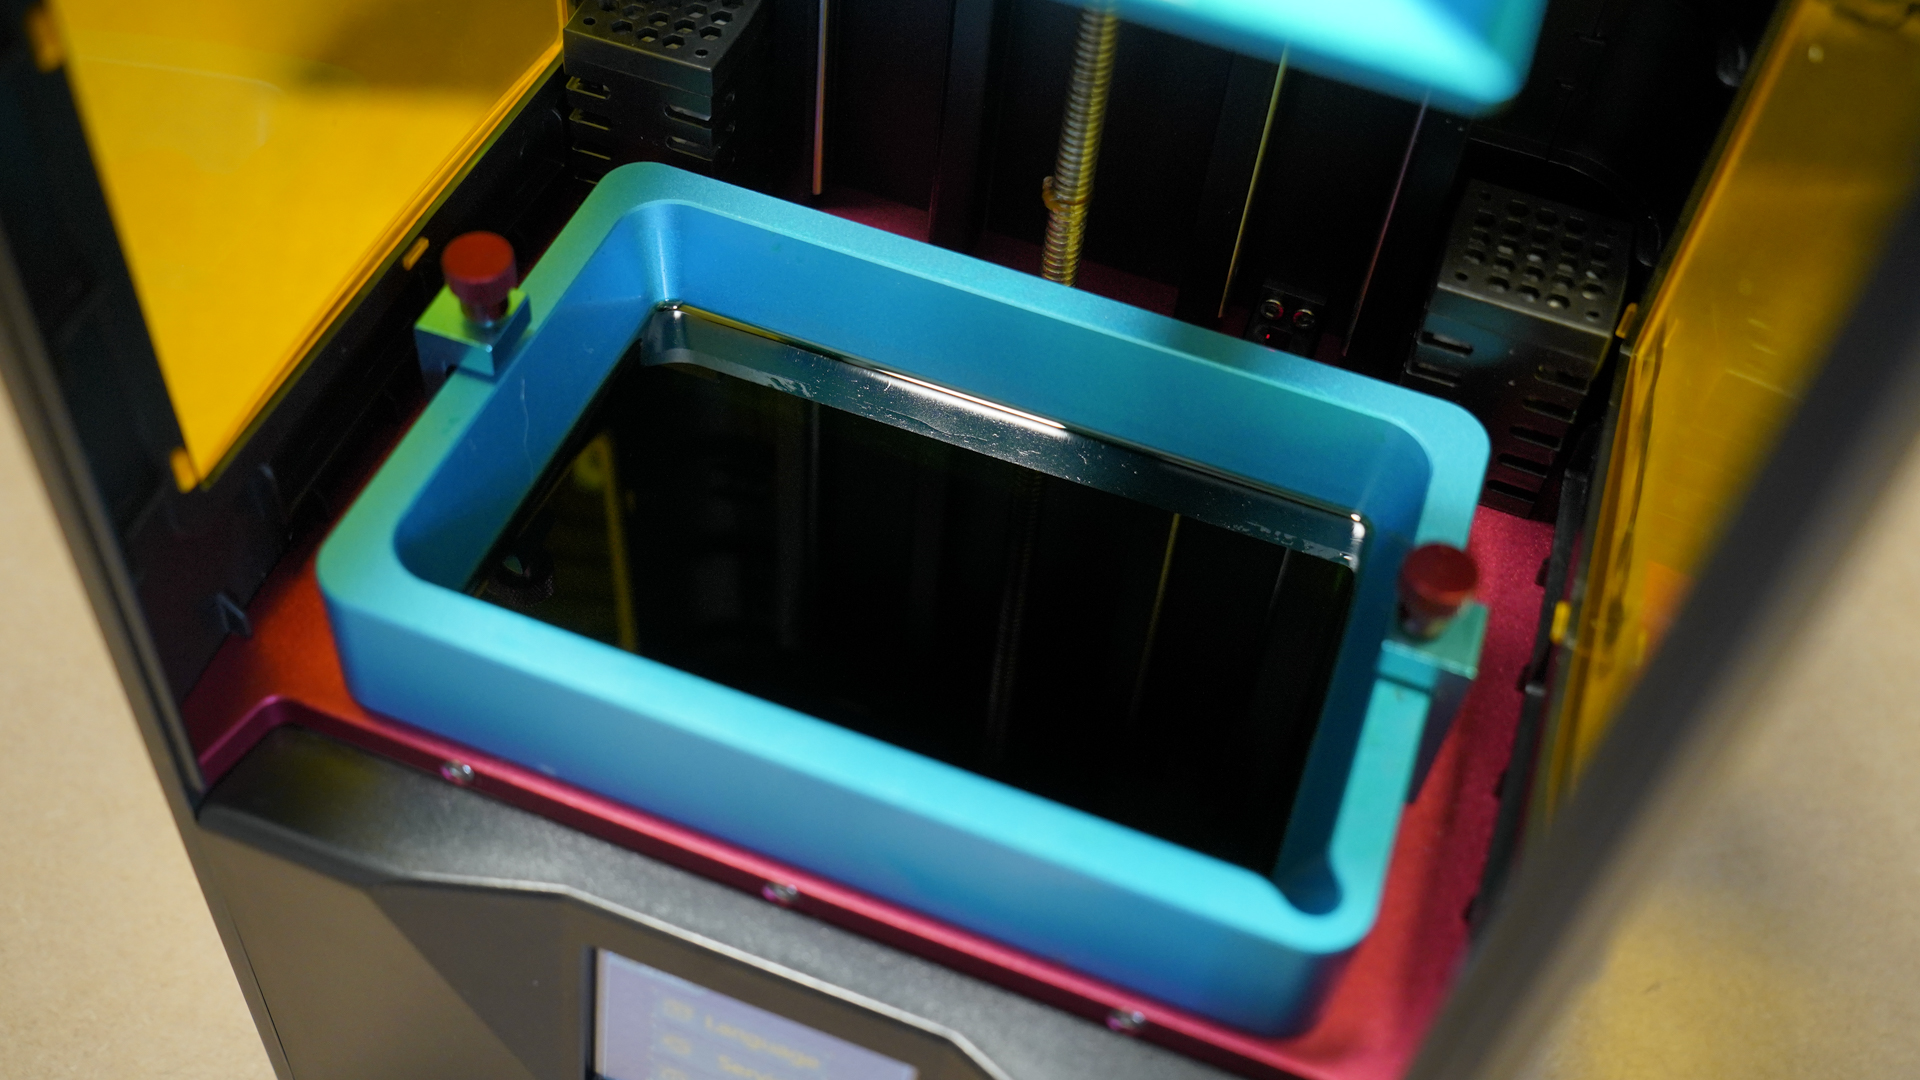
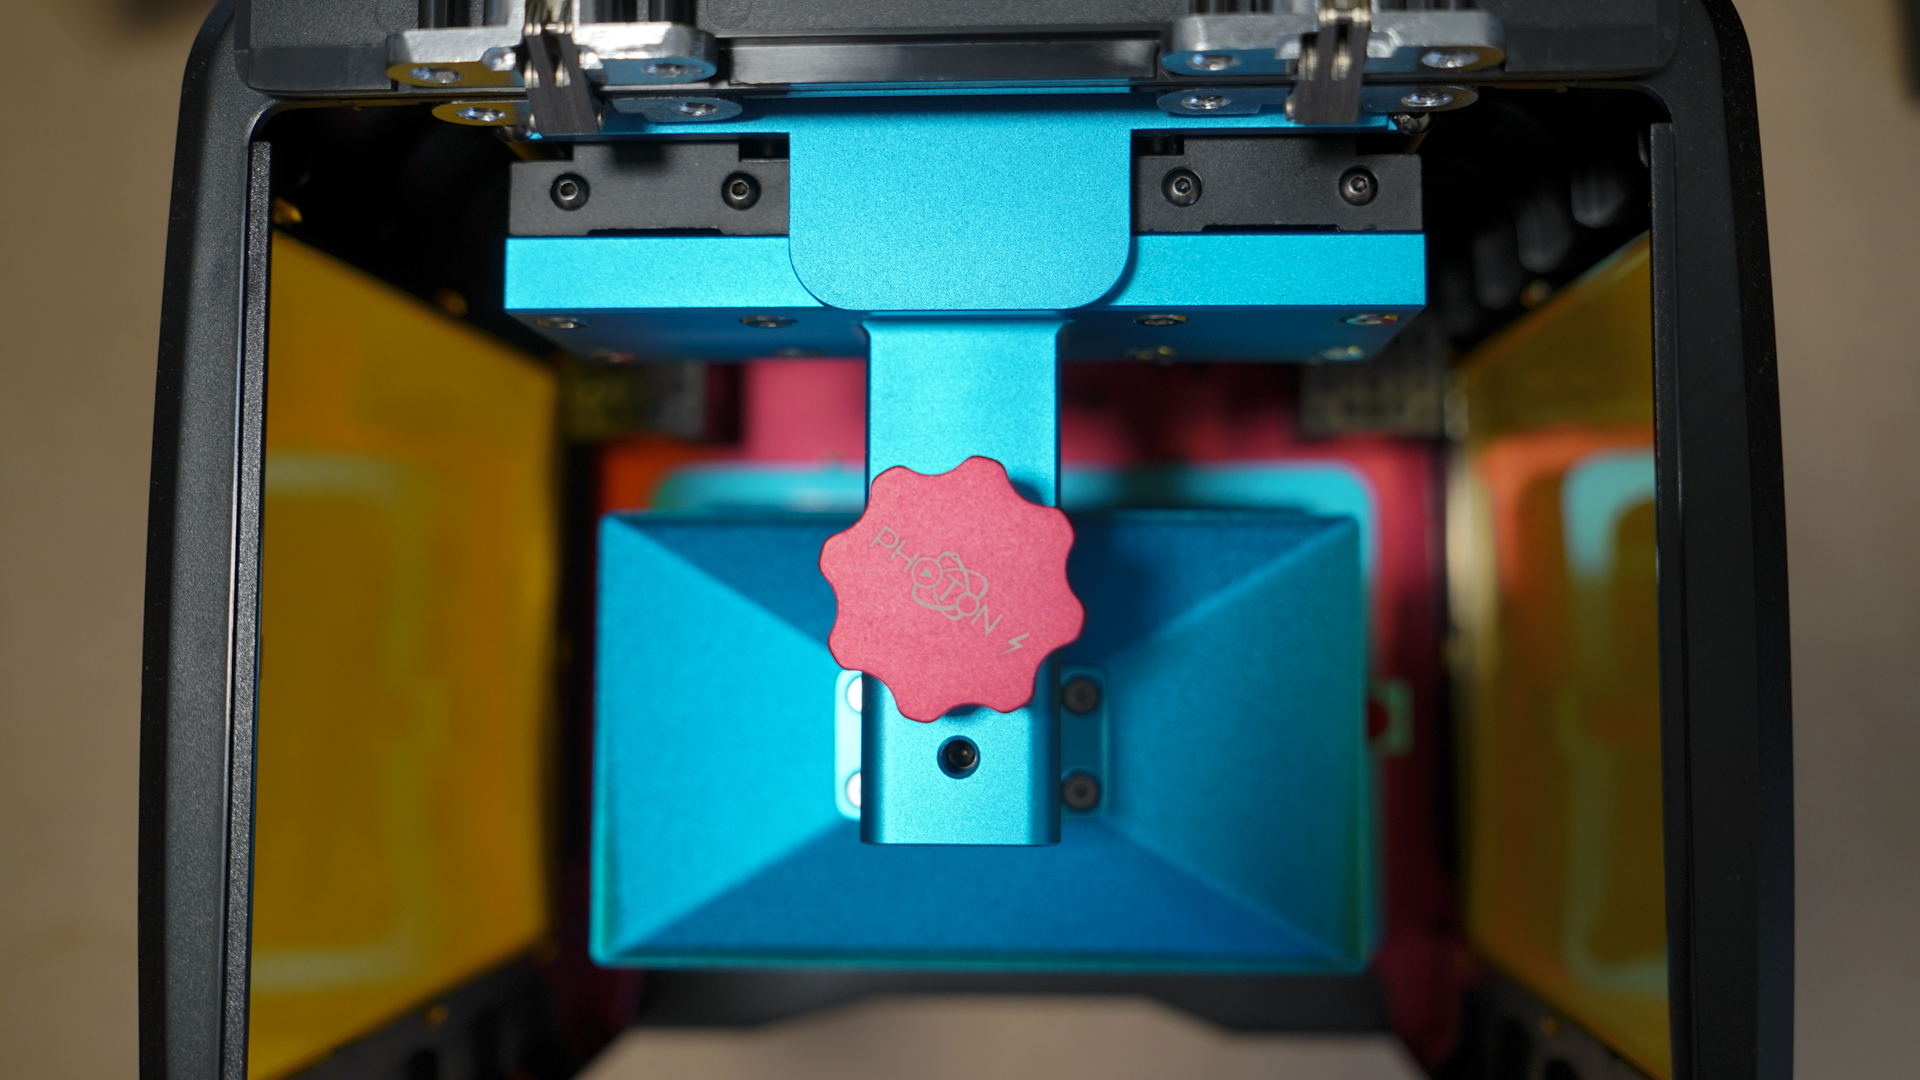
As seen with other DLP printers, the resin bath is held in place by two thumb bolts that can be quickly released, enabling the tank to be removed and cleaned.
On one edge of the bath is an indent to enable easy pouring of the resin through filters once each model has been completed.
A nice touch is that the base of the resin bath is a single sheet of PEI which is held in place by a series of bolts that clamp it tight. These sheets degrade over time, so it's good to see that AnyCubic give you an easy option for replacing them when needed.
They even include a spare in the box, a welcome addition as these usually cost upwards of £20/$20.
Below the bath is the 2560 x 1440 resolution LCD screen, this needs to be kept clean and particle-free at all times, a lens cloth, not included, is a good idea for ensuring it's upkeep.
This screen is 2K, so not the highest resolution that we've seen by any margin, but with the small print size, this is more than enough to ensure decent quality print resolution.
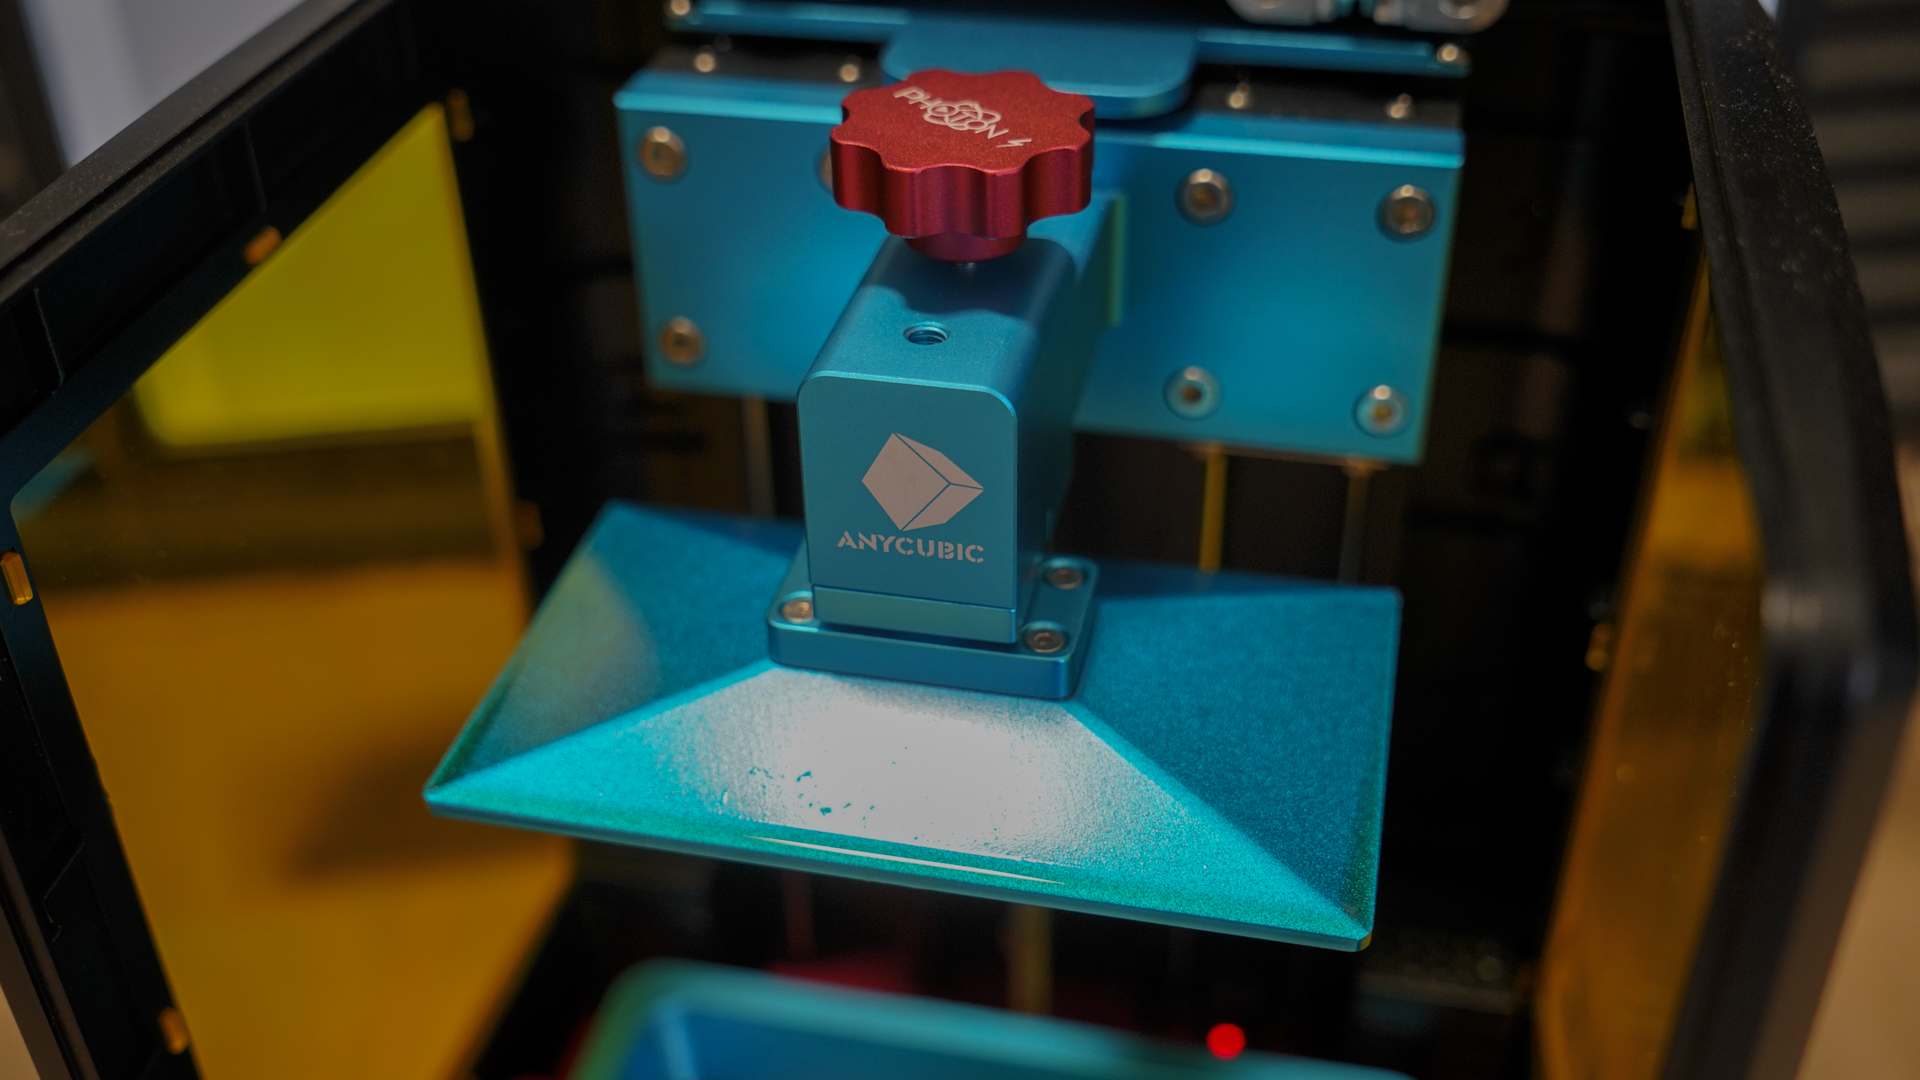
Above where the bath resides is the build platform, this is suspended upsidedown as is the case with DLP and SLA printers. This enables it to be dipped into the resin when each layer is exposed and raised between exposures.
The small build platform is all metal and again held in place by a thumbscrew.
Designwise there's little to it, all very simple but solid.
Setup overview
Initial set-up is quick, all that's required is for the packaging to be removed then it can then be plugged in and powered on. The whole process at a leisurely pace takes around five minutes.
Once the printer's LCD lights up the next stage is to remove the build platform and resin bath ready for calibration. Both components are held in place by thumbscrews and require the build platform to be raised.
Here the interface proves to be intuitive, and it takes a few seconds to find the option. What stands out is that the instructions are crystal clear. They show the exact process that needs to be followed, this should be a given, but is so often not the case.
Calibration
These are the full specs of the AnyCubic Photon S:
Build Volume: 115 x 65 x 155mm
Memory: n/a
Light source: UV integrated light
Layer Height: 25 ~ 100um
Bed: 115 x 65mm
Print Surface: Quick release all metal
Printing Technology: LCD-based SLA 3D Printer
Printing speed : 20mm/h
Software: Photon Slicer
Materials: 405um resin
Included Material: 405um Resin (Optional)
Power: 40w
Connectivity: USB Port
Printer size: 220 x 200 x 400mm
Printing volume : 115 x 65mm x 155mm (4.52 x 2.56 x 6.1-inch)
Package Weight: 6.6kg
Before the first print, the level of the build platform needs to be calibrated. Again the process is clearly outlined in the instructions.
On the Build Platform, there's a small grub screw that needs to be loosened ready for the calibration process; this allows the platform a little free side-to-side movement.
Now, with the resin bath still removed and the build platform back in place, "Move Z" is selected through the "Tools" menu then "Home" and the platform lowers.
Like calibrating an FDM printer, a sheet of paper is placed over the LCD, and through the "TOOLS" menu the Z-axis is lowered until there's some resistance when trying to extract the piece of paper.
Once the optimum height of the build platform is reached "TOOLS" to "Z=0" on the menu screen, and the small grub screw is retightened.
With calibration out of the way, there's just one more test before getting started with the resin. First, the platform is raised to 120mm, then "Tools > Detection > Next".
This fires up the LCD and a brief test to check that everything is working.
Once complete the resin tank is reinserted and we're ready to start. At least once the resin has been poured into the resin bath.
Ali Jennings is the imaging lab manager for Future Publishing's Photography portfolio. Using Imatest Master and DxO Analyser he produces the image quality tests for all new cameras and lenses review in TechRadar's cameras channel. Ali has been shooting digital since the early nineties and joined Future's Photography portfolio back in 2003.
