Why you can trust TechRadar
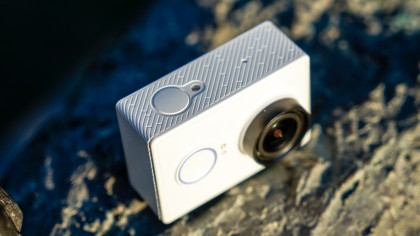
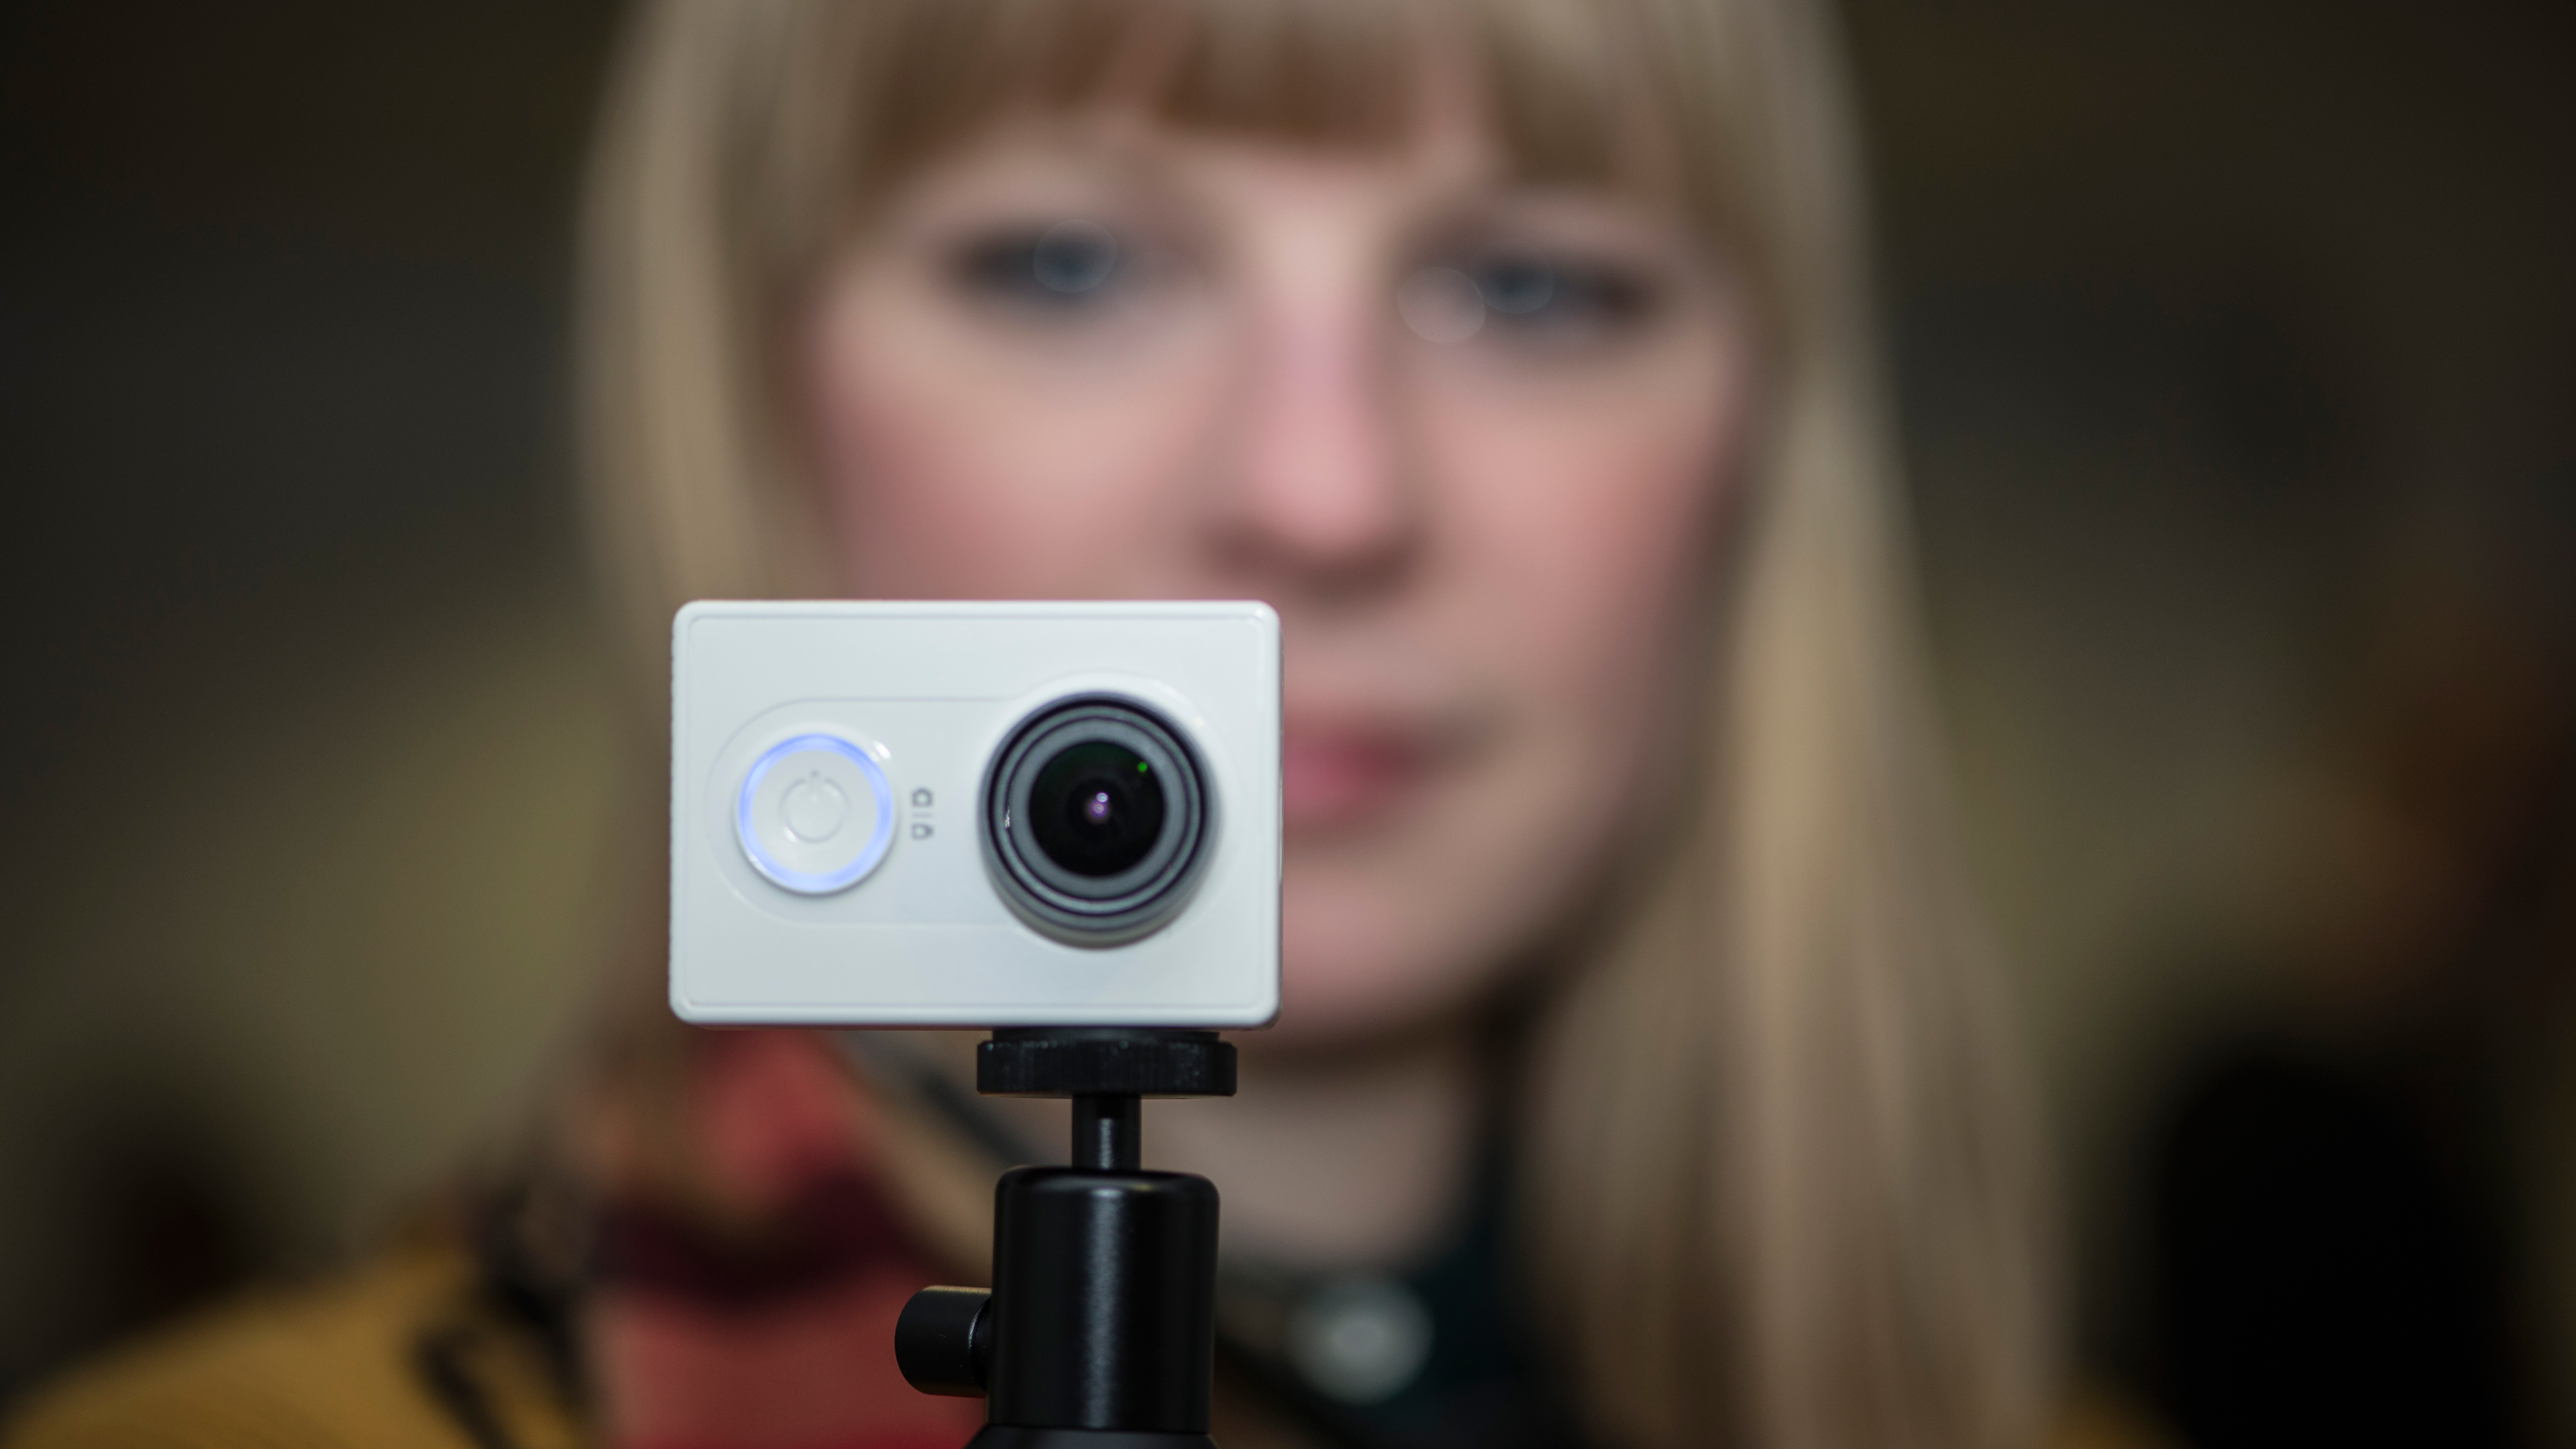
The size and shape of the Yi is very similar to the GoPro Hero, it's just fractionally larger and with a slightly different configuration of buttons and ports. The Yi gains the tripod mount on the base but loses the small screen of the GoPro, so this means that almost all settings and adjustments for the camera need to be made through the app on a connected smartphone.
The only direct controls on the camera are the shutter button to start and stop recording, a Mode button to switch on and off and between stills and video, and the small Wi-Fi activation button. When switching between video and stills you can tell which mode you're in by the small red light that illuminates next to the shutter button – in video mode it on, in stills mode it's off.

All other modes such as time-lapse are accessed through the app. This app can be downloaded for iOS and Android devices, and there's also a very handy Apple Watch App that enables you to start and stop recording, although it doesn't provide the live view stream that you get with the GoPro version.
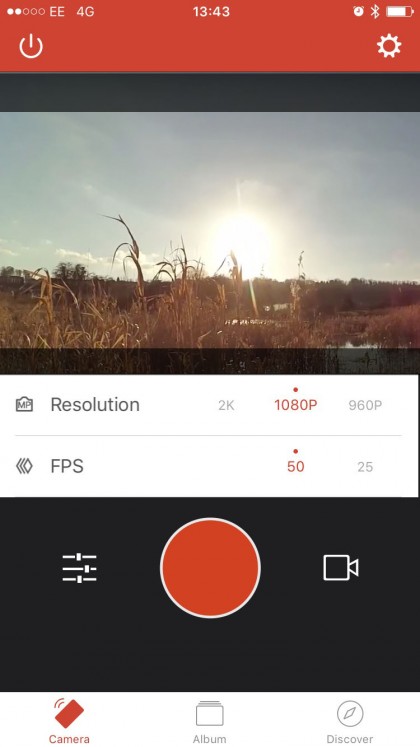
Setup and connection through Wi-Fi is incredibly easy and Xiaomi has taken the time to add some handy guides within the app to explain the Wi-Fi connection process. Once mobile device and camera are connected, the app launches straight into shooting mode with a large red button in the centre of the screen to enable you to start recording.
There's a noticeable delay of about two seconds before main area of the app shows a clear live view of the scene. On the left of the record button are the video options – one tap and you have direct access to the Resolution and Frames Per Second (FPS) options. The camera's top resolution is 2k at 30fps and the lowest is 480p at 240fps. There are of course many more usable options including full 1080p at 60fps and 720p at 120fps.

To the right of the shutter button on the app display, a small icon highlights which mode you're in and tapping gives access to all the different options. In addition to stills and video you have Timer, Time-lapse and Burst options. If you use the mode button on the camera to switch between stills and video then the icon in the app's interface automatically switches to highlight the change.
Further settings can be accessed by clicking the cog icon in the top right of the interface. These options include adjusting the video quality, switching from NTSC to PAL, changing the device name and more baseline camera options such as date and time, time stamp etc.
Current page: Build and handling
Prev Page Introduction and features Next Page Video performance and verdictAli Jennings is the imaging lab manager for Future Publishing's Photography portfolio. Using Imatest Master and DxO Analyser he produces the image quality tests for all new cameras and lenses review in TechRadar's cameras channel. Ali has been shooting digital since the early nineties and joined Future's Photography portfolio back in 2003.
