Why you can trust TechRadar
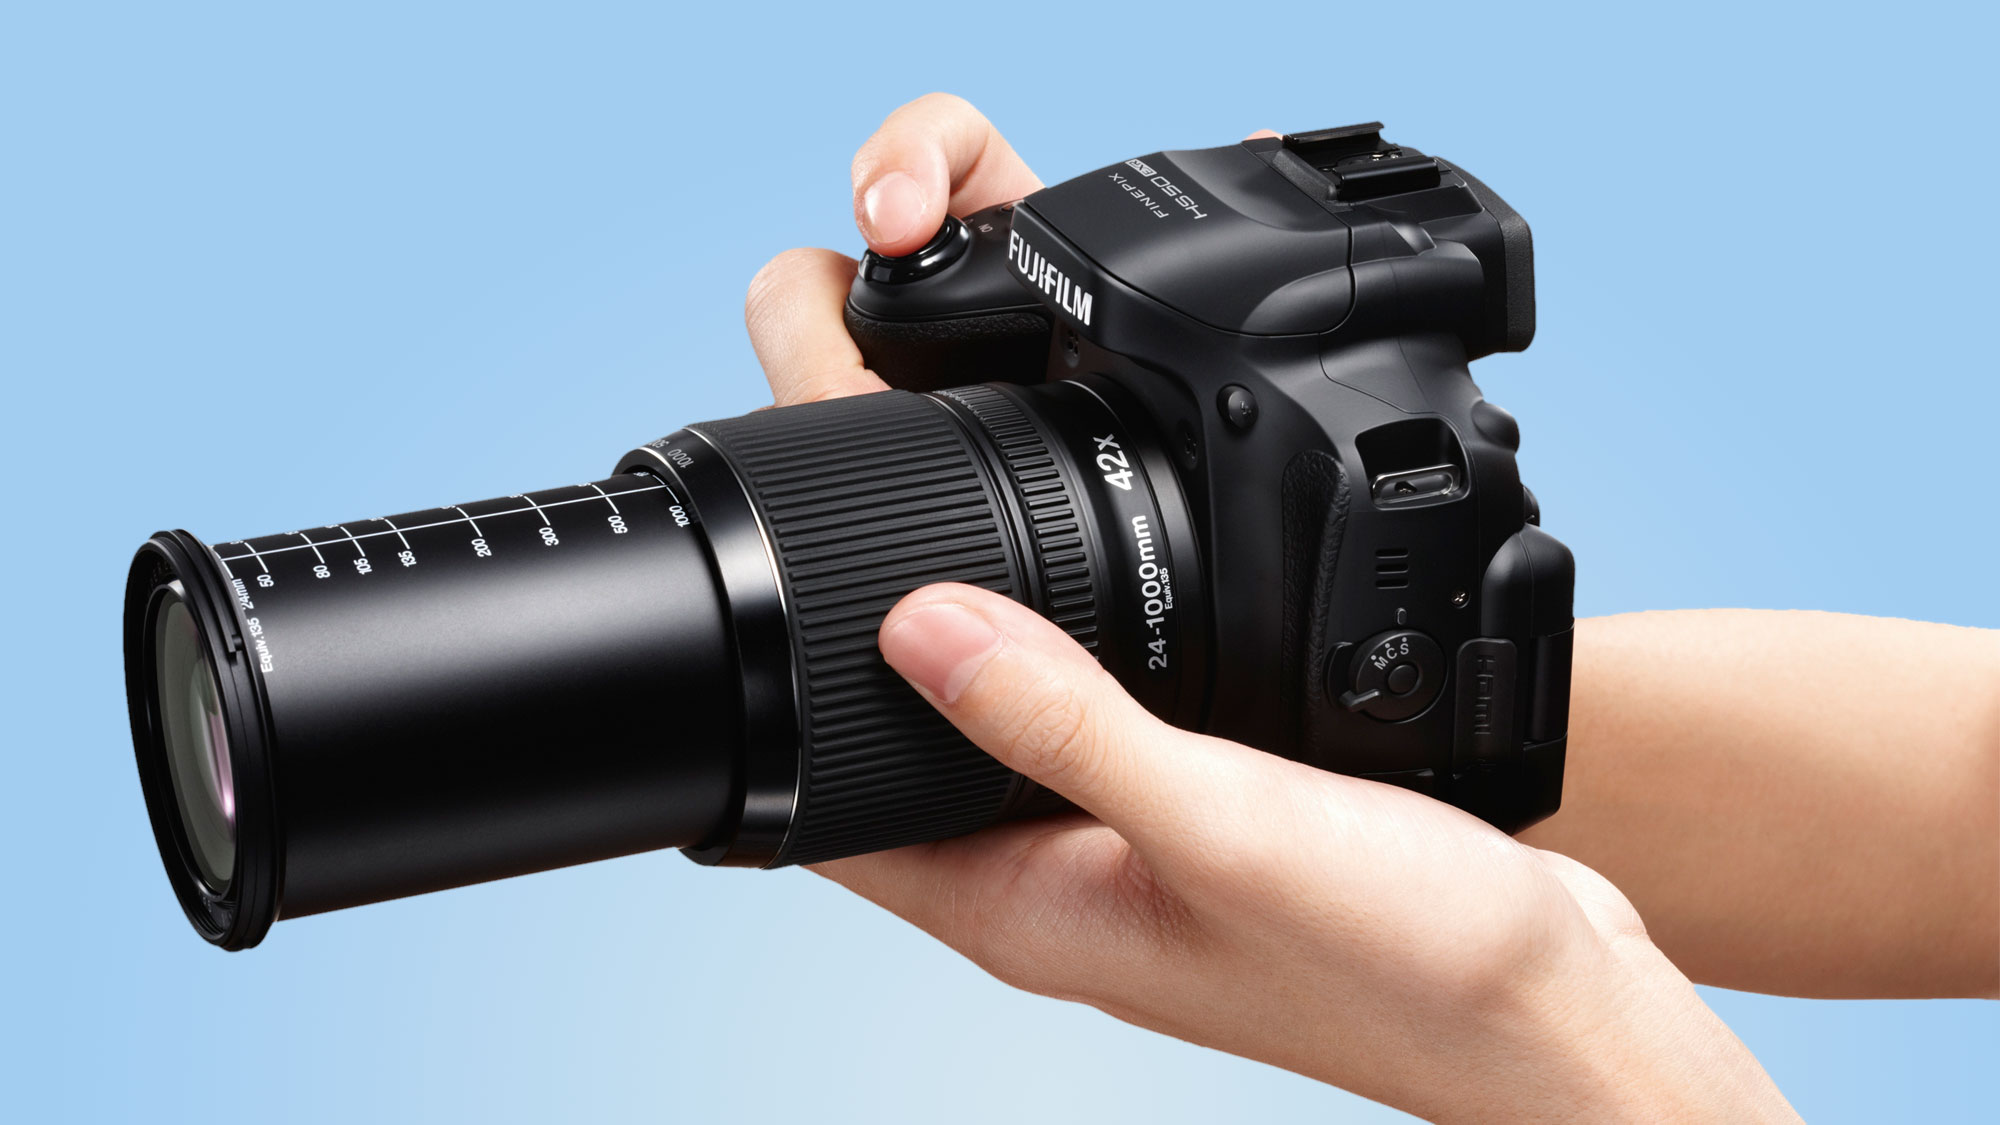
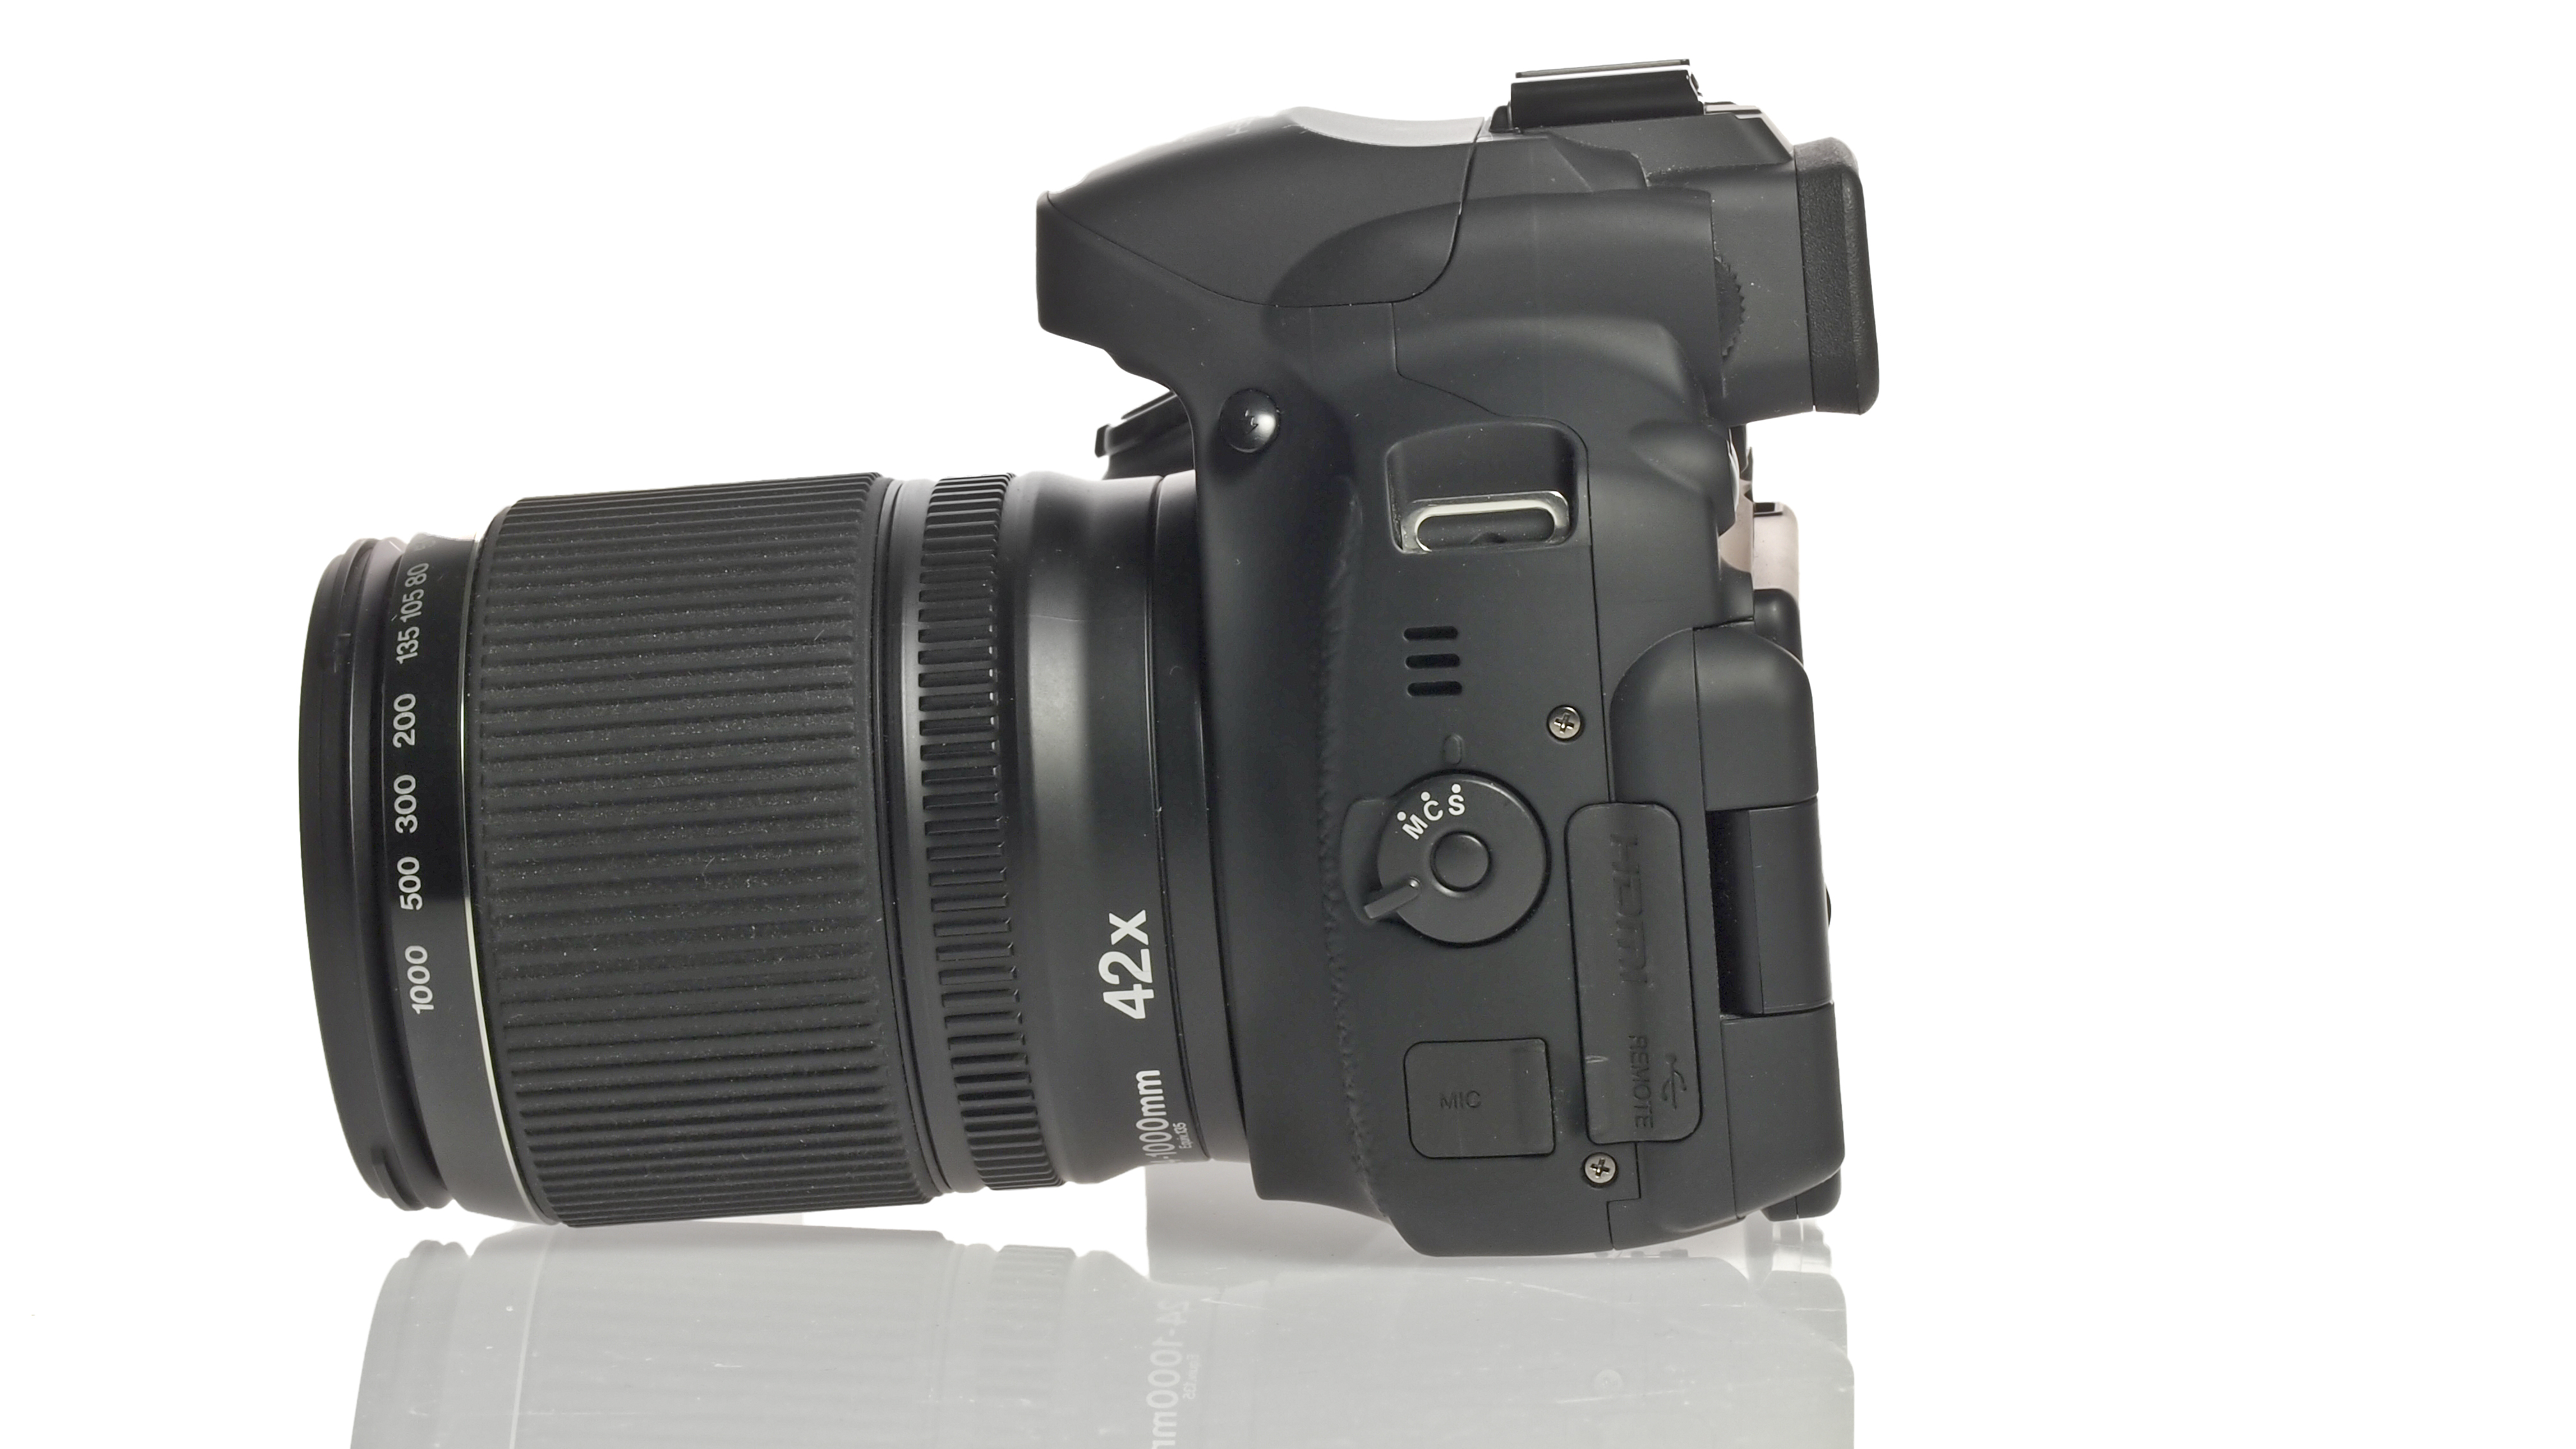
You'd be forgiven for thinking that the Fujifilm HS50 EXR is a DSLR at first glance. Its large body and hefty grip make it roughly the same size (with a kit lens attached) as some beginner or enthusiast-level DSLRs, such as the Nikon D5200 or Canon 700D.
Of course, however, the Fuji HS50 EXR has the added advantage of an incredibly large zoom range. To zoom in and out, the camera uses a manual zoom mechanism, which is slightly unusual for a bridge camera and lends it even more of a DSLR-style air. A textured, rubberised grip around the lens barrel gives it good purchase, while it's neither too loose nor too stiff when you twist it.
Just behind the zoom ring is a much smaller ring that can be used to manually focus the lens if you wish. It's a nice touch for a camera such as this, but it would perhaps have been more useful if this ring was customisable, for instance enabling you to alter the aperture when you don't need or want to use manual focus.
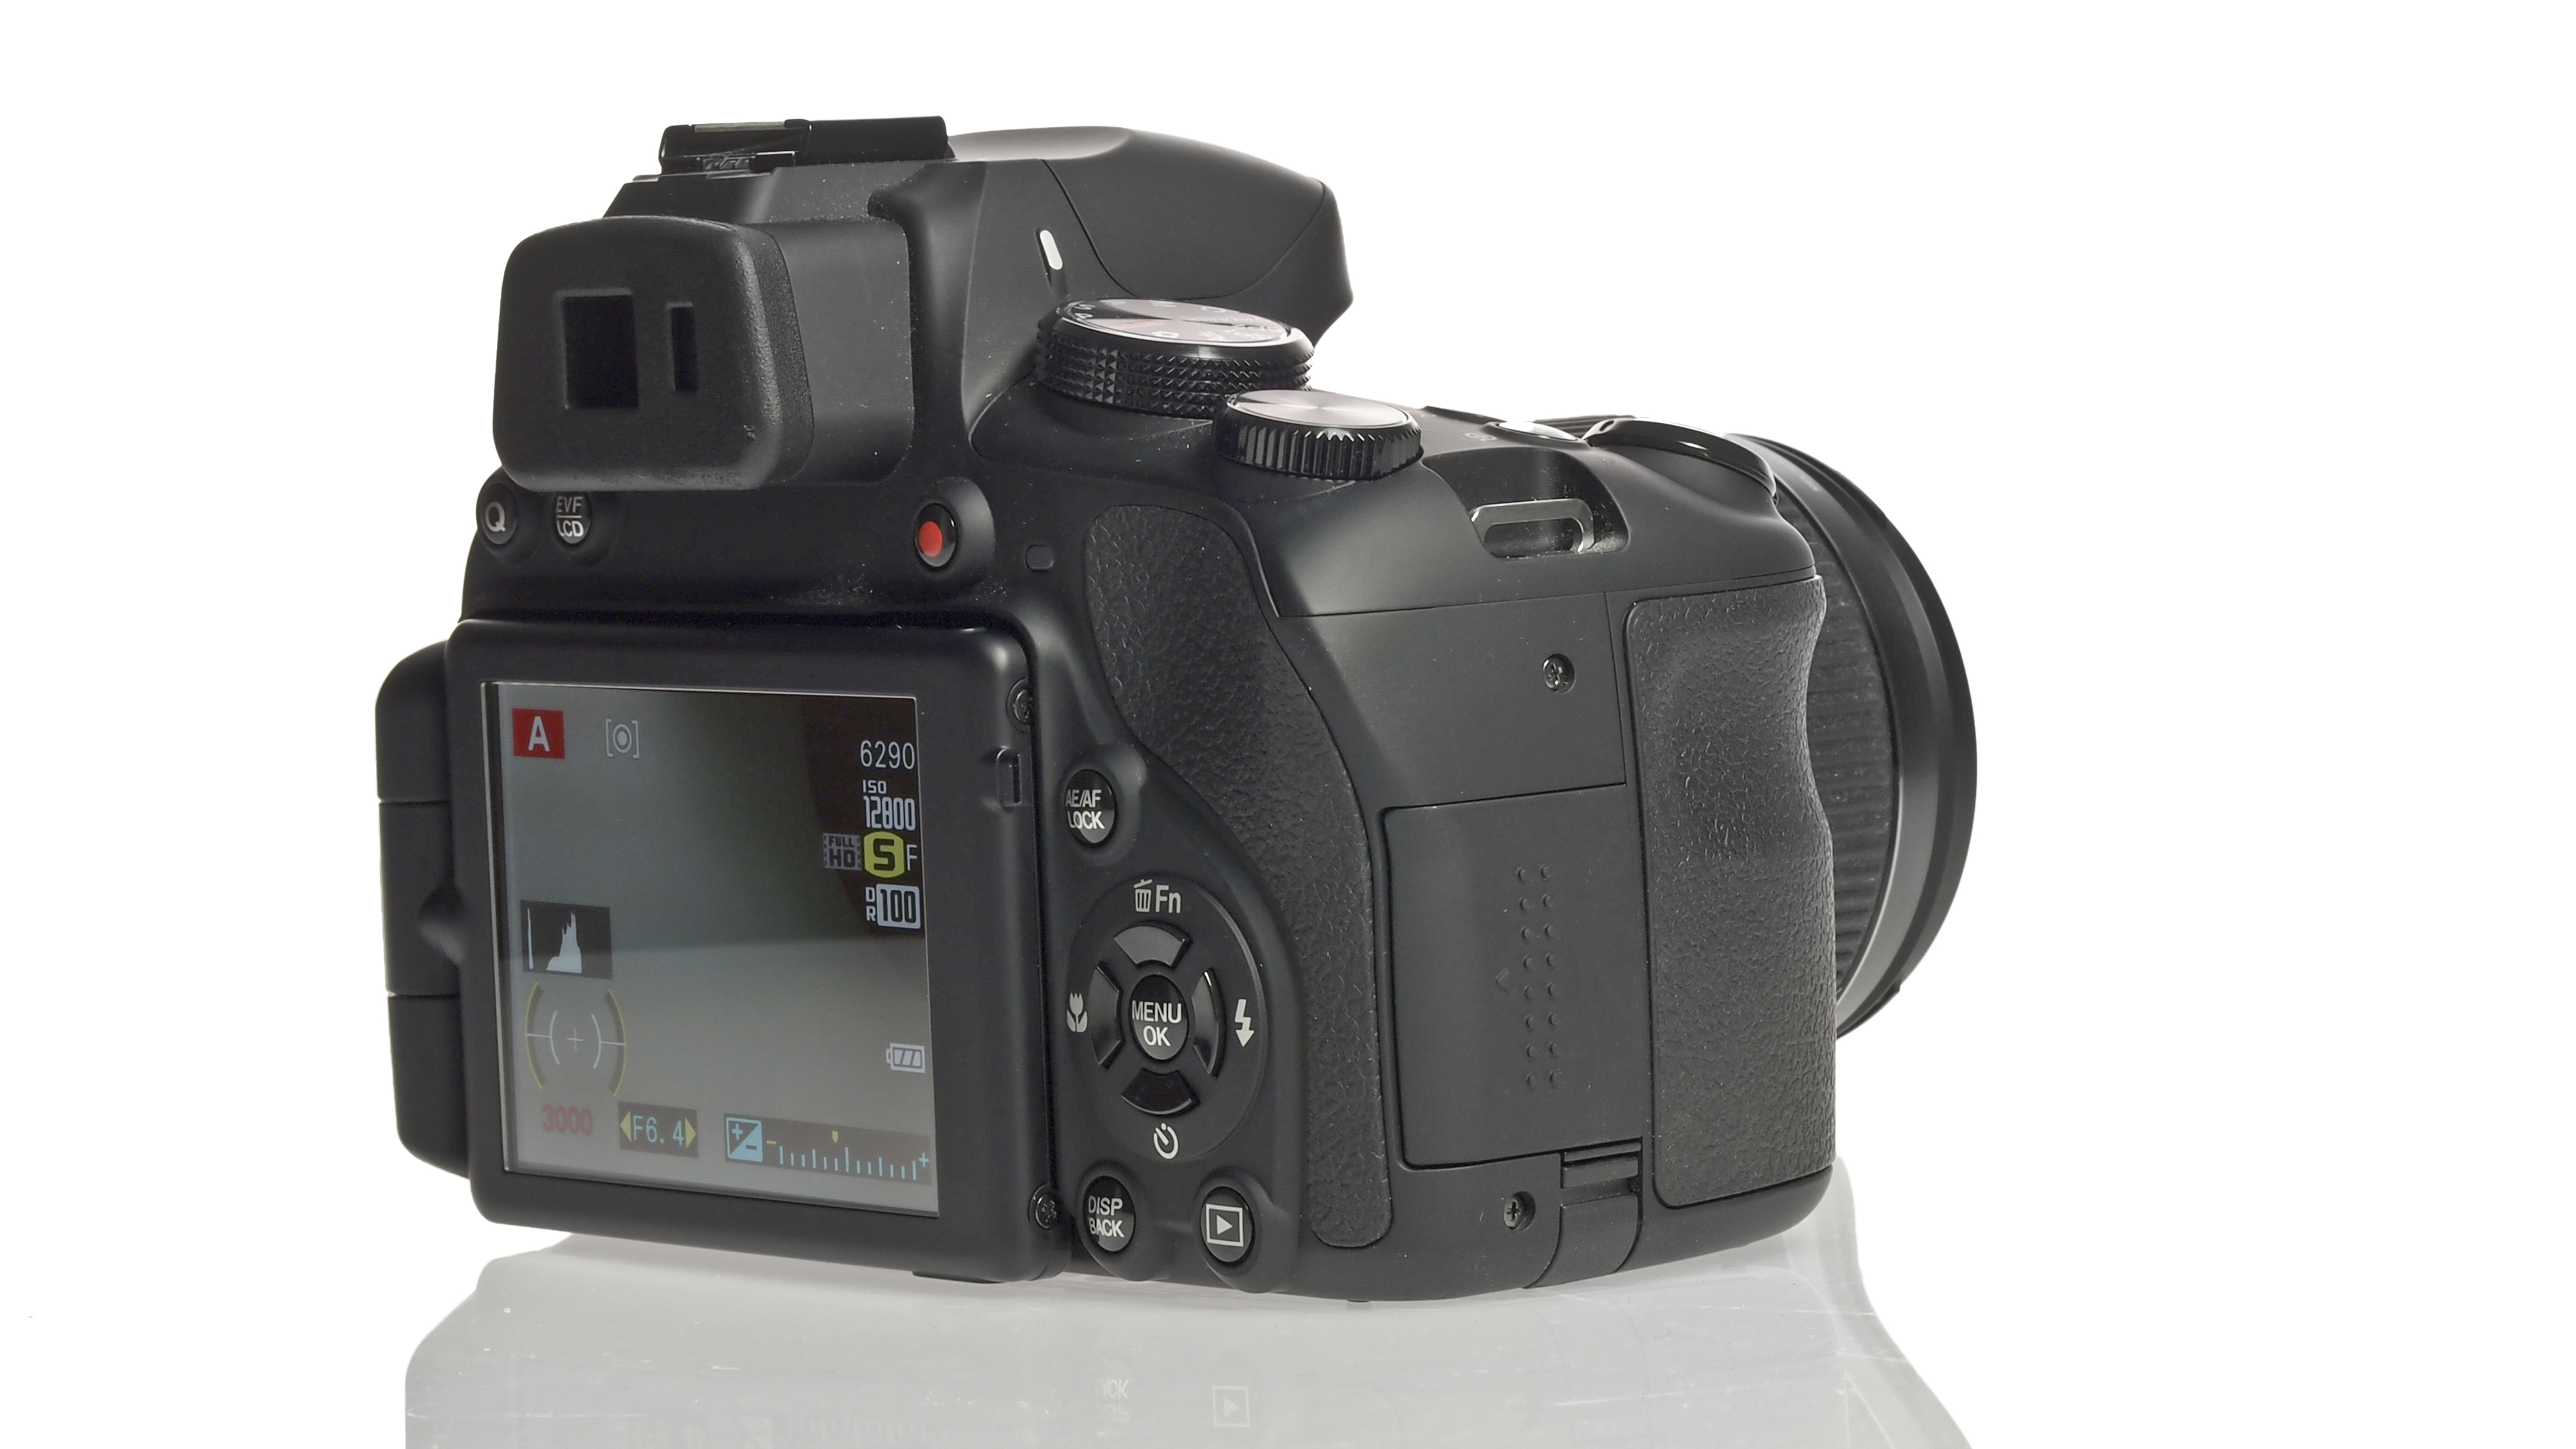
On top of the camera are two fairly large dials. One is used to change between the various modes the camera has, including EXR Auto (fully automatic), Panorama mode, Advanced mode (where you'll find digital filters, among other things) and PASM modes. Helpfully, there's also room here for two groups of user defined settings, which is useful if you often find yourself shooting one particular type of scene (such as low light or monochrome).
The other dial is used to alter aperture or shutter speed, depending on the shooting mode you're in. If you're in fully manual mode, you need to press the exposure compensation button to switch between aperture and shutter speed, then use the dial as normal.
You can also use this dial on the Fuji HS50 EXR to scroll through various settings when in either the main menu or the Quick menu. Access to the Quick menu is gained via a dedicated button at the top-left of the back of the camera. In this menu you'll find all of the settings you're likely to use most often, including photometry (Fuji's term for metering), white balance, aspect ratio and Film Simulation modes. Use the directional arrow keys to switch between the various options, then the scrolling dial to make changes.
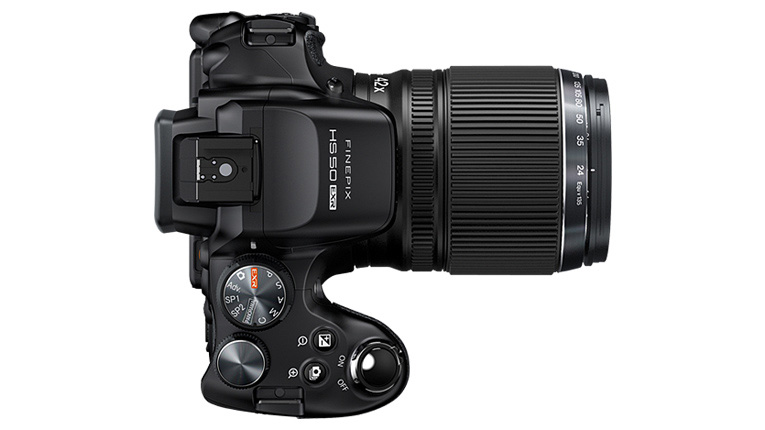
Doubling up as a customisable function button, the upwards directional key on the four-way pad is assigned to the digital zoom setting by default. However, you can assign something else to it, including most of the settings found in the Quick menu, if you find that there is one setting you use particularly frequently.
As you bring your eye to the electronic viewfinder, a sensor activates the EVF and switches off the back screen. This makes it a much more seamless transition than having to press a button to activate the EVF. However, there is also a button placed at the side of the EVF if you want to solely use either the screen or the EVF for any reason (for instance if you were shooting from the hip and wanted to avoid the EVF automatically activating).
Unfortunately, Fuji hasn't included a touchscreen on the Fuji HS50 EXR, which would have made changing the autofocus point much quicker. Instead, a slightly hidden button on the side of the camera (we had to refer to the instruction manual to find it, its location not being obvious), needs to be pushed and then the arrow keys used to navigate around the screen.
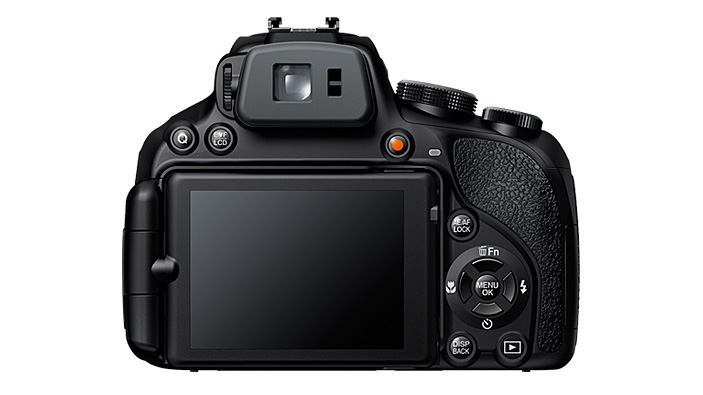
It's good to have a dedicated button for this function, but it requires you to use both hands to change the AF point, making quick changes fairly tricky. If you're attempting to capture an often moving subject, or don't want to waste time changing the AF point yourself, we'd recommend leaving it in the centre of the frame and focusing and recomposing.
Around the AF point button is a small dial for switching between manual, continuous and single autofocus. It's a fairly stiff dial so you can be reasonably assured that it won't accidentally switch between the various modes while it's in a bag.
As with many different types of cameras currently available on the market, Fuji has included a number of different digital filters on the Fuji HS50 EXR. These are accessible via the Advanced mode on the mode dial. These are an appealing extra, but it should be noted that you will lose the ability to shoot in raw format, as well as control over settings such as aperture and shutter speed.
If you want to get creative but retain more control, perhaps a better option is to use the Film Simulation options, which are accessible via the Quick menu or the Main menu.
Options for different frame rates are available via a dedicated button on top of the camera. While playing images back, anything shot in sequential mode will show the first image taken, with others playing in a loop in a small thumbnail within that image.
This nifty idea enables you to get a good idea of the images that you captured, without necessarily having to scroll through a barrage of near-identical images.
Amy has been writing about cameras, photography and associated tech since 2009. Amy was once part of the photography testing team for Future Publishing working across TechRadar, Digital Camera, PhotoPlus, N Photo and Photography Week. For her photography, she has won awards and has been exhibited. She often partakes in unusual projects - including one intense year where she used a different camera every single day. Amy is currently the Features Editor at Amateur Photographer magazine, and in her increasingly little spare time works across a number of high-profile publications including Wired, Stuff, Digital Camera World, Expert Reviews, and just a little off-tangent, PetsRadar.
