Why you can trust TechRadar
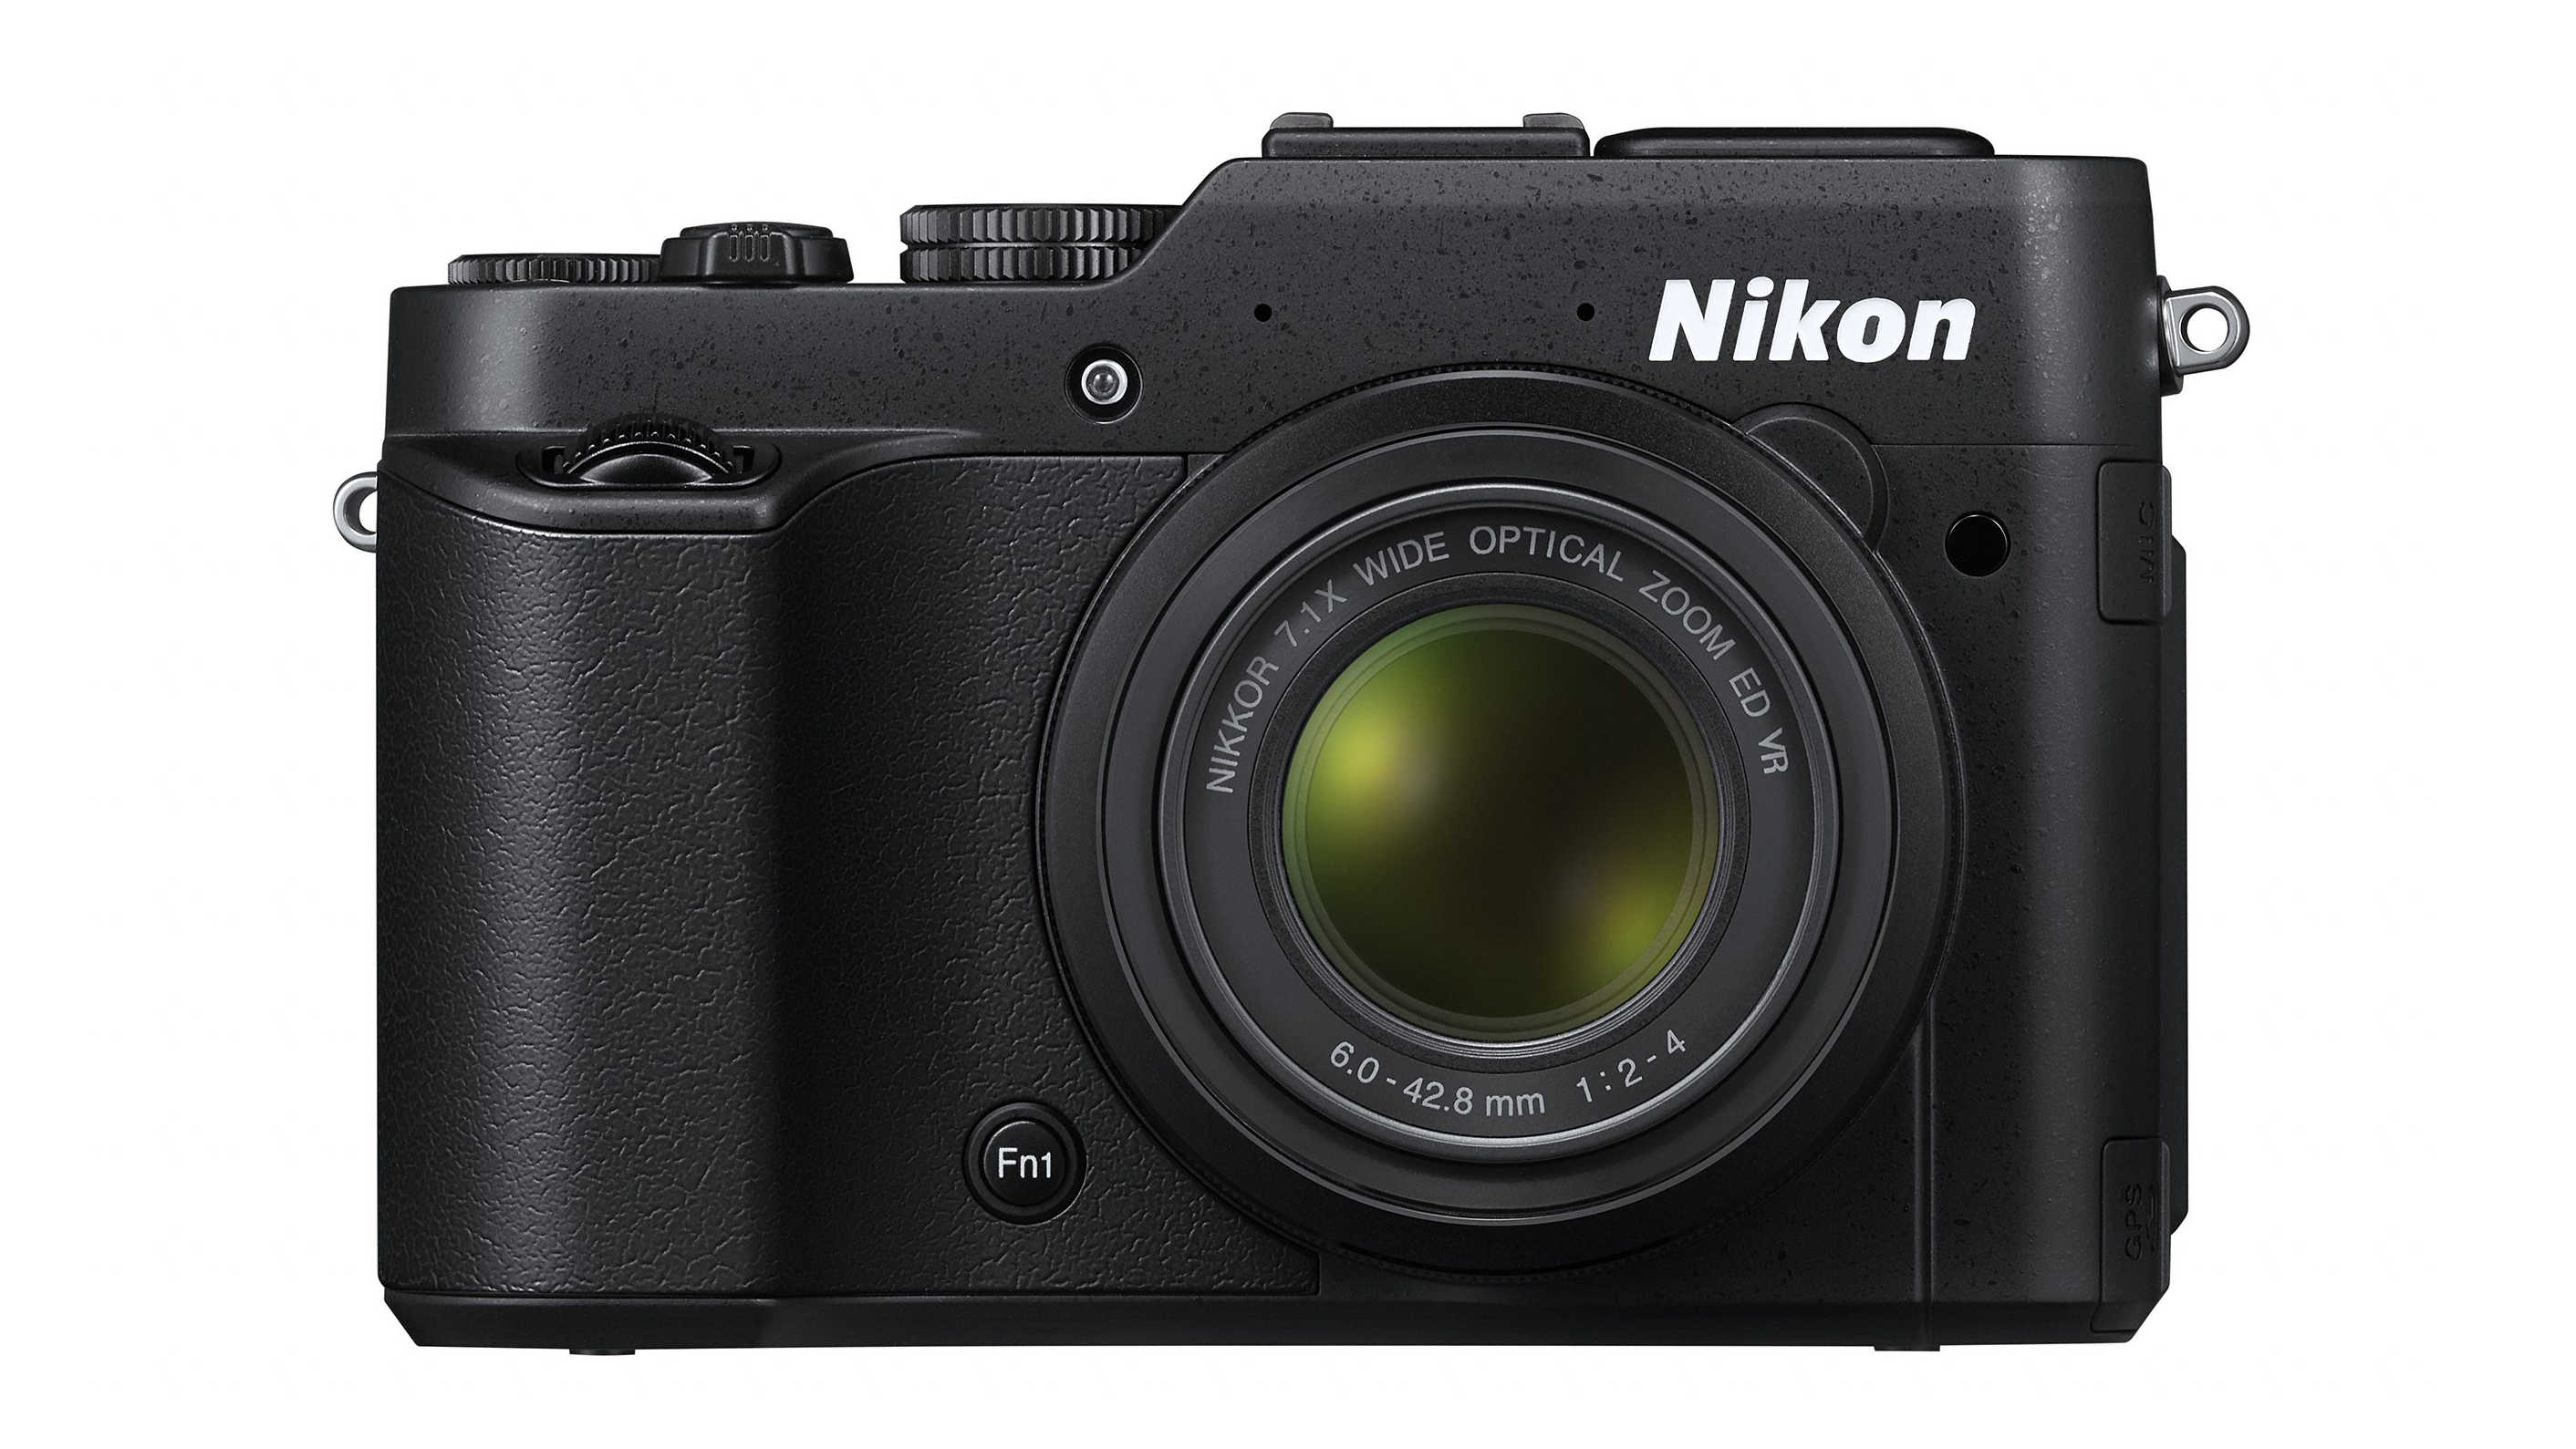
At first glance, the Nikon P7800 has changed little from the P7700 it replaces. It retains the same fairly bulky exterior which includes the large grip and textured coating – particularly useful for shooting one-handed.
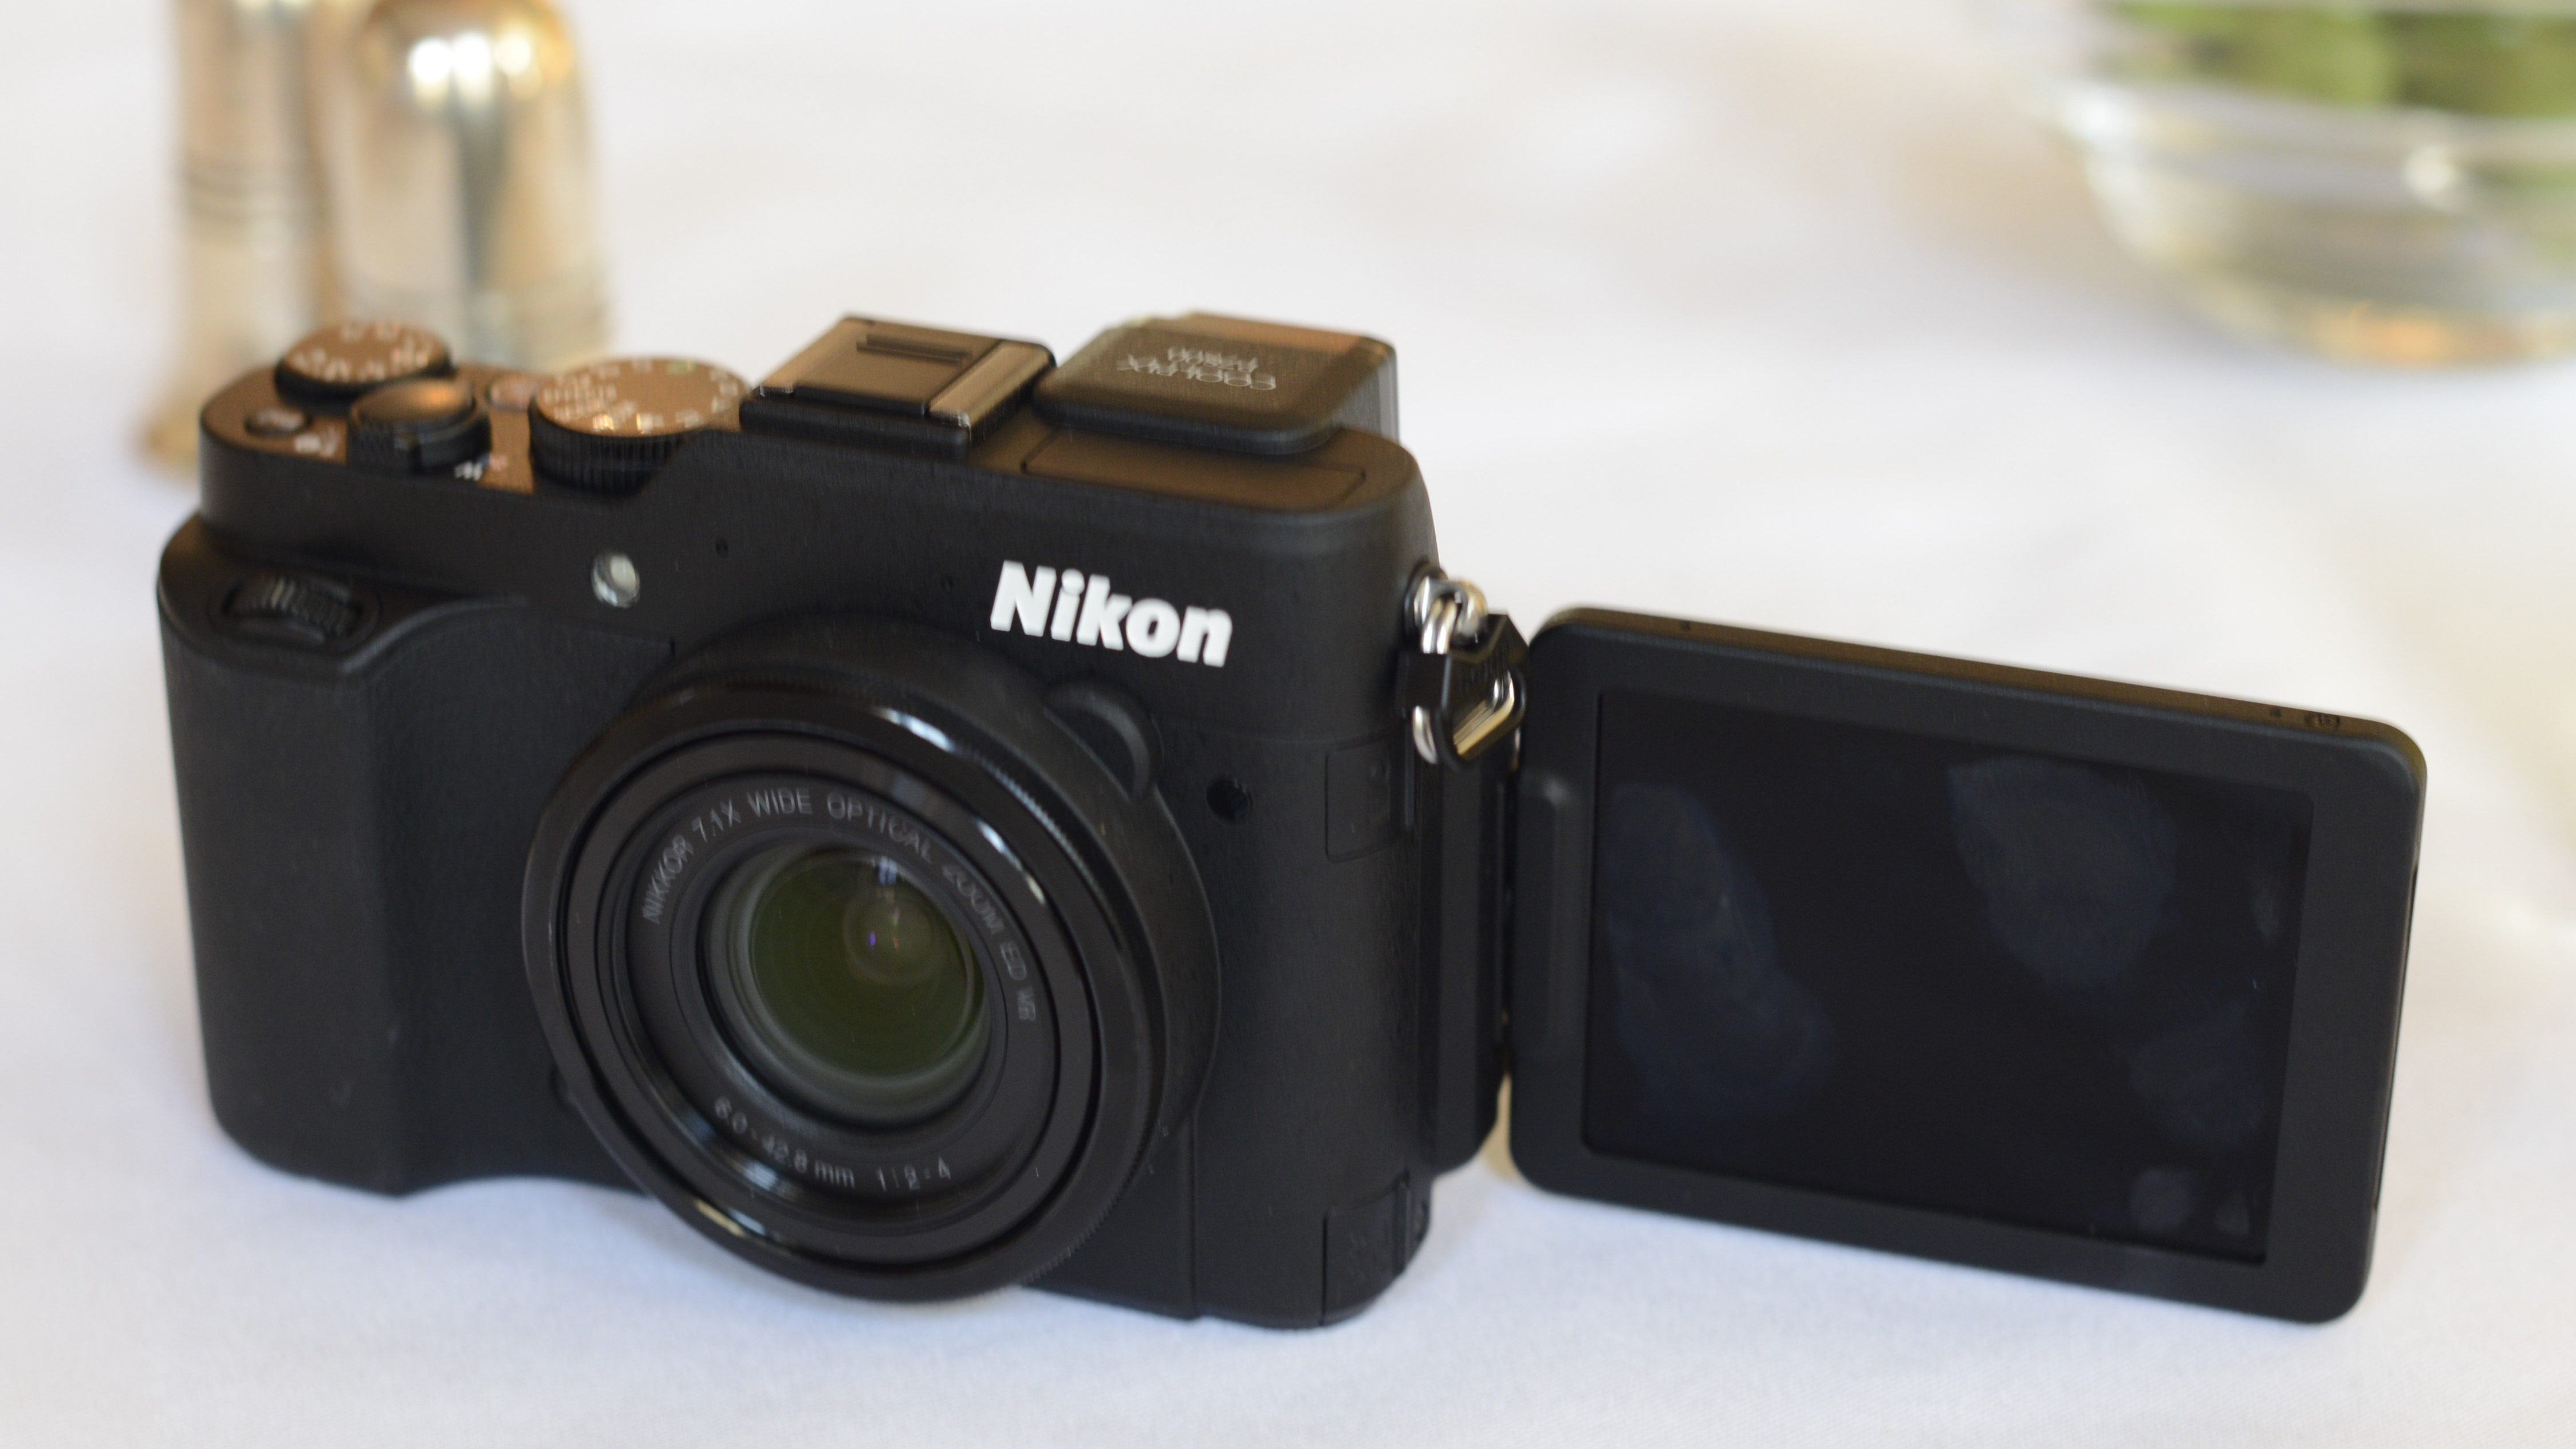
Although the back of the camera sees a fully articulating LCD, it's nice and flush against the back of the body. The joint feels solidly built too, and able to withstand a lot of repeated adjustments of the screen.
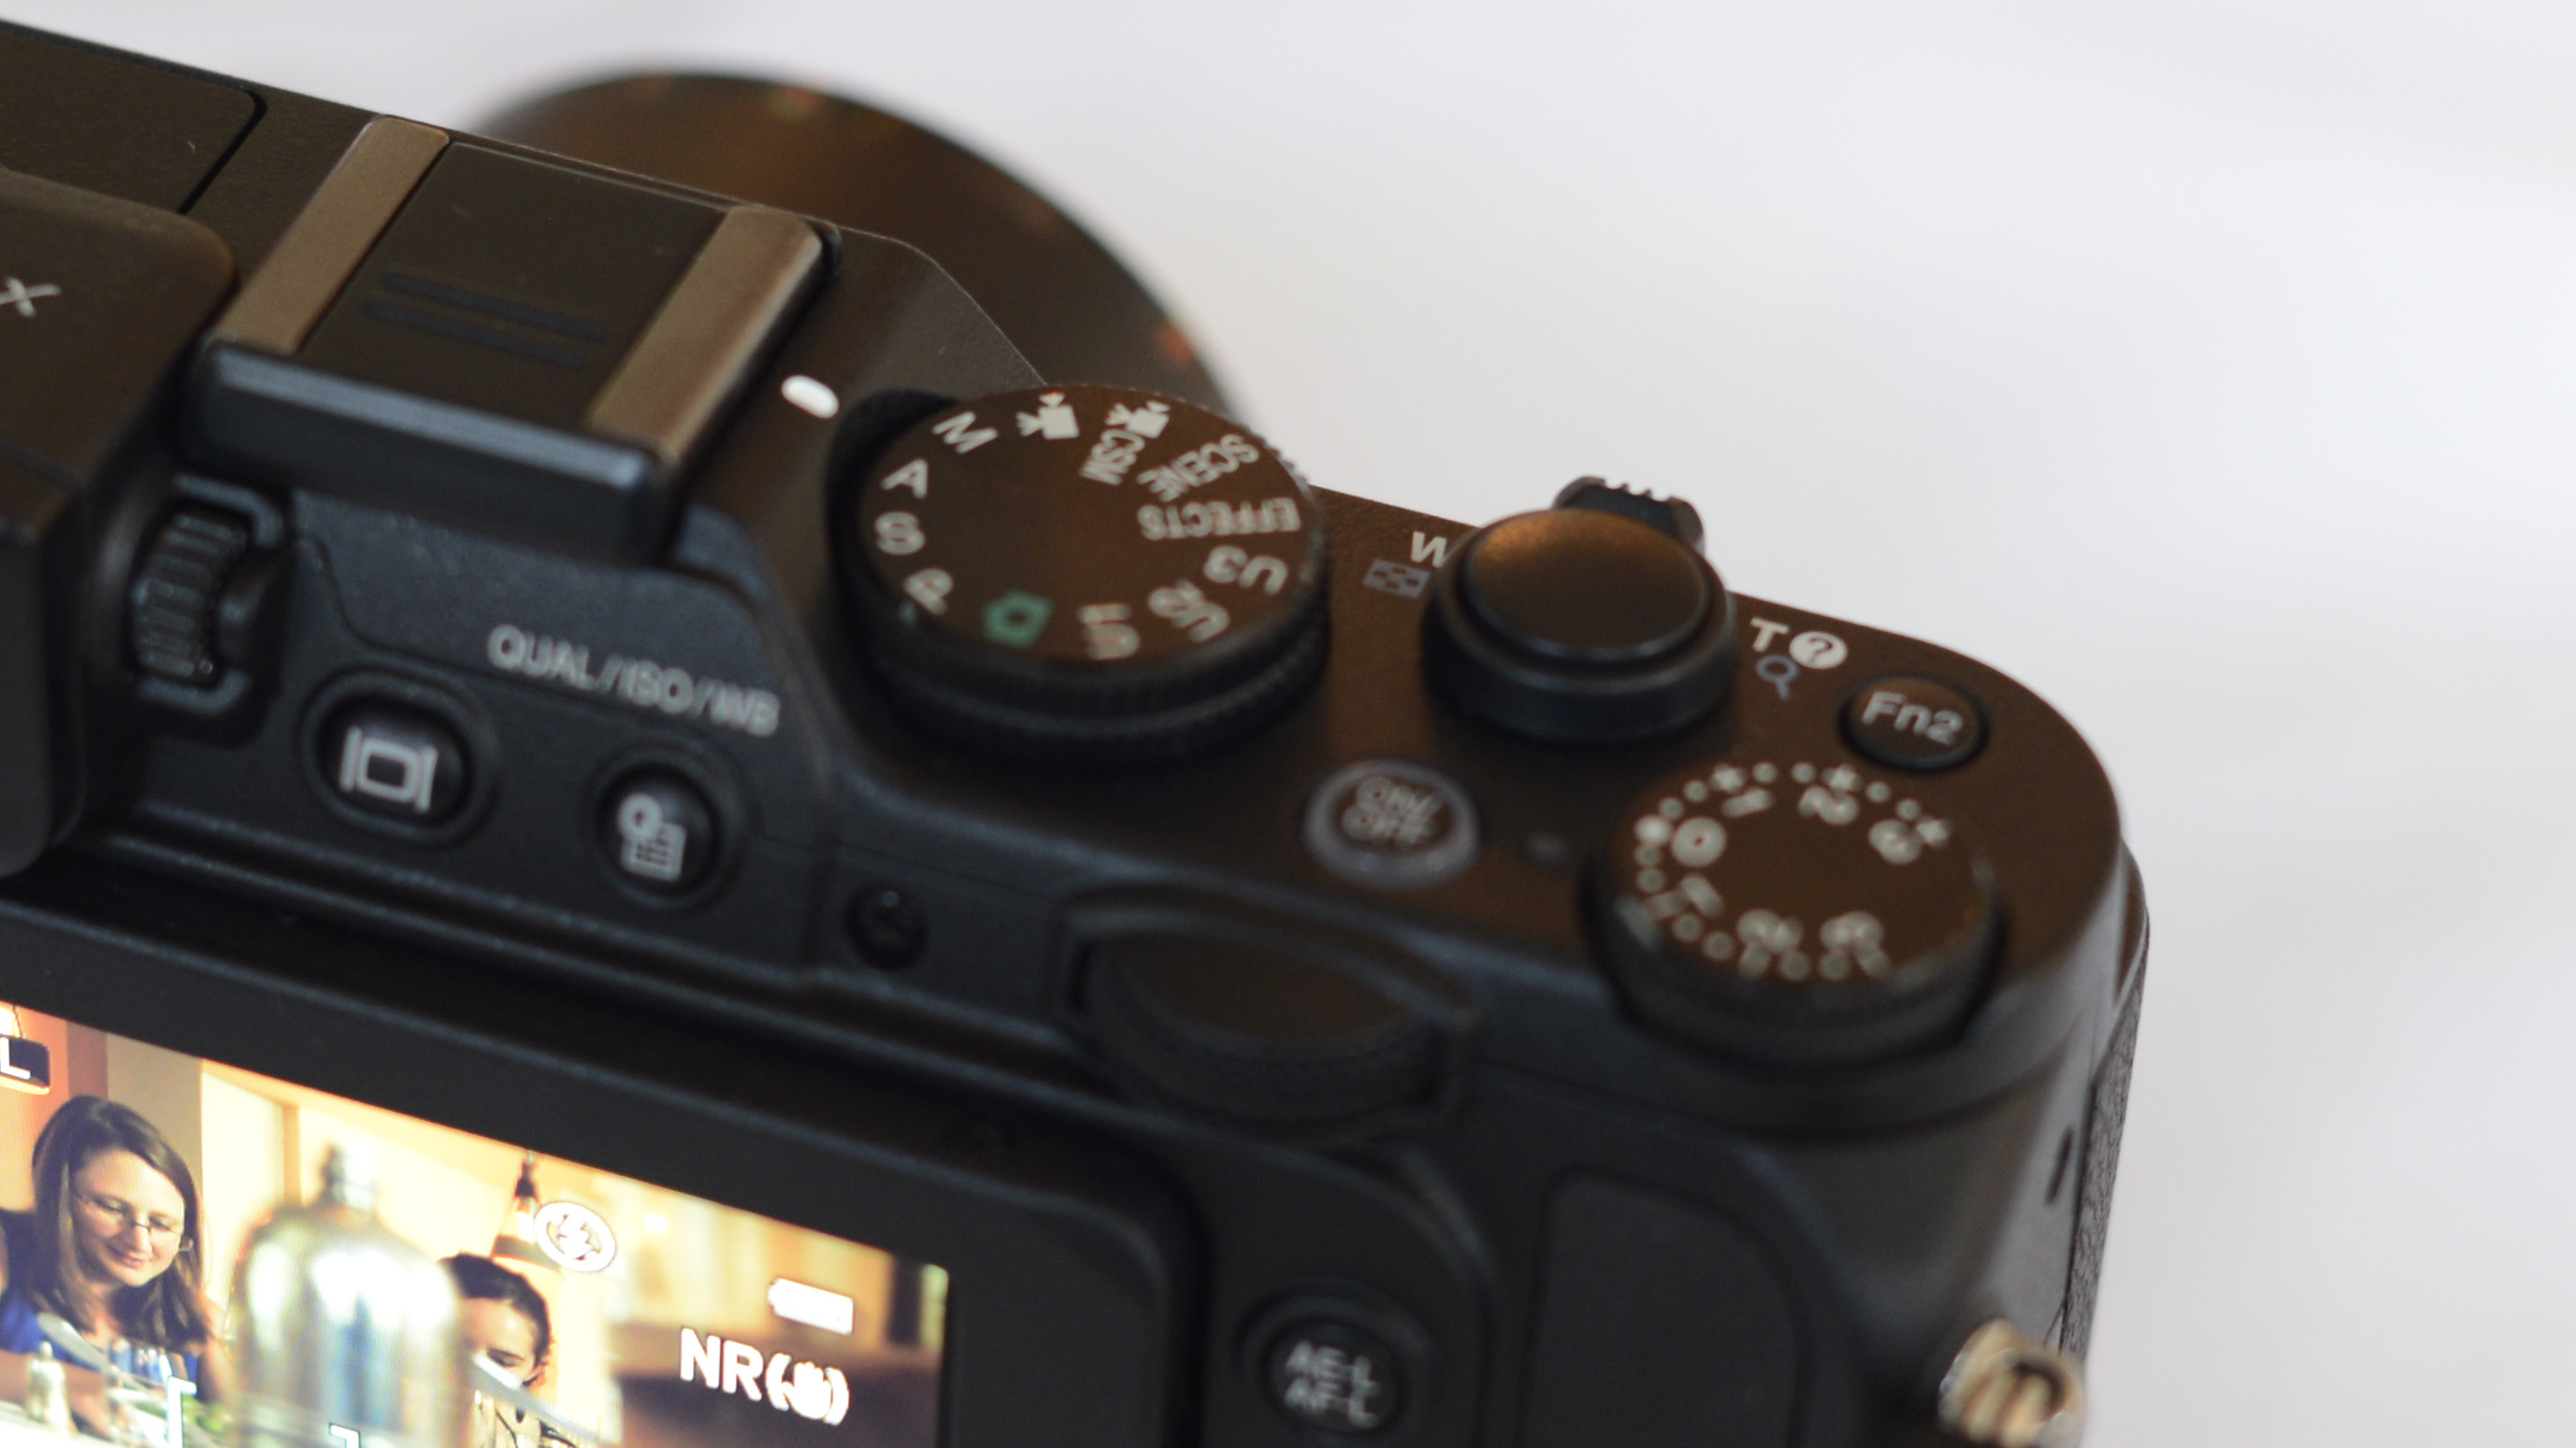
On top of the camera are a number of dials designed for quick access to different controls on the camera. Almost all of the buttons have been placed on the right side of the camera for easy reach with the thumb when shooting one-handed.
As there is now an electronic viewfinder in the top right-hand corner of the camera, the dial for accessing commonly used settings (such as white balance and sensitivity) has now been removed and replaced with a dedicated Q button on the back of the camera. To access such common settings, you can now press this button and then use the dials to scroll to the setting you want to change.
A mode dial on top of the camera enables quick switching between the various exposure modes on offer, including fully automatic and aperture priority. There's also scene mode and effects modes here, along with space for up to three groups of custom settings, useful if you often find yourself shooting one type of scene.
Nikon has also included two customisable function buttons, which can be used in conjunction with the control dials on the camera to change certain settings. The first of these buttons is just next to the lens on the front of the camera, and is easily reachable with your finger when holding the camera by the grip. The second function button can be found on the top panel, to the right of the shutter release.
Another dial to the right of the camera is used to alter exposure compensation. A small orange LED next to this dial alerts you if it's nudged from the standard 0, to make sure you don't accidentally over- or under-expose a shot.
At the top of the grip is one control dial, while the second is found at the back of the camera just at the top right of the screen. These can be used to alter settings such as aperture (depending on the mode you're shooting in). It's useful to have a switch at the top of the grip, and is reminiscent of DSLR operation, something which is likely to be appreciated by those using this as a backup camera.
If you're shooting in fully manual mode, use the dial on the front of the camera to alter aperture, and the dial on the back to adjust shutter speed.
No touchscreen
Unfortunately there's no touchscreen, which would make changing the autofocus point much easier. As it is, to change it, first of all you need to press the AF button, which is the right key on the scrolling dial which doubles up as a four way navigational pad. You will need to press it again once selectable AF point is chosen, you can then use the arrow keys or the scrolling dial to choose your autofocus point. It's a slightly laborious task, so if you're photographing fast unfolding action you may find it beneficial to set the AF point to the middle and focus and recompose.
The rest of the four-way navigation pad includes a button for switching to macro focusing, timer mode and flash options. Other buttons on the back of the camera include a menu button, delete icon and playback button.
The electronic viewfinder in the top left of the camera is activated via a switch just next to it. It's a shame that there's not a sensor to automatically switch it on, as it's not particularly natural having to press a button before lifting the camera up to the eye. It also means that you need to press it again if you want to look at the image you've just shot, making it quite a disjointed process.
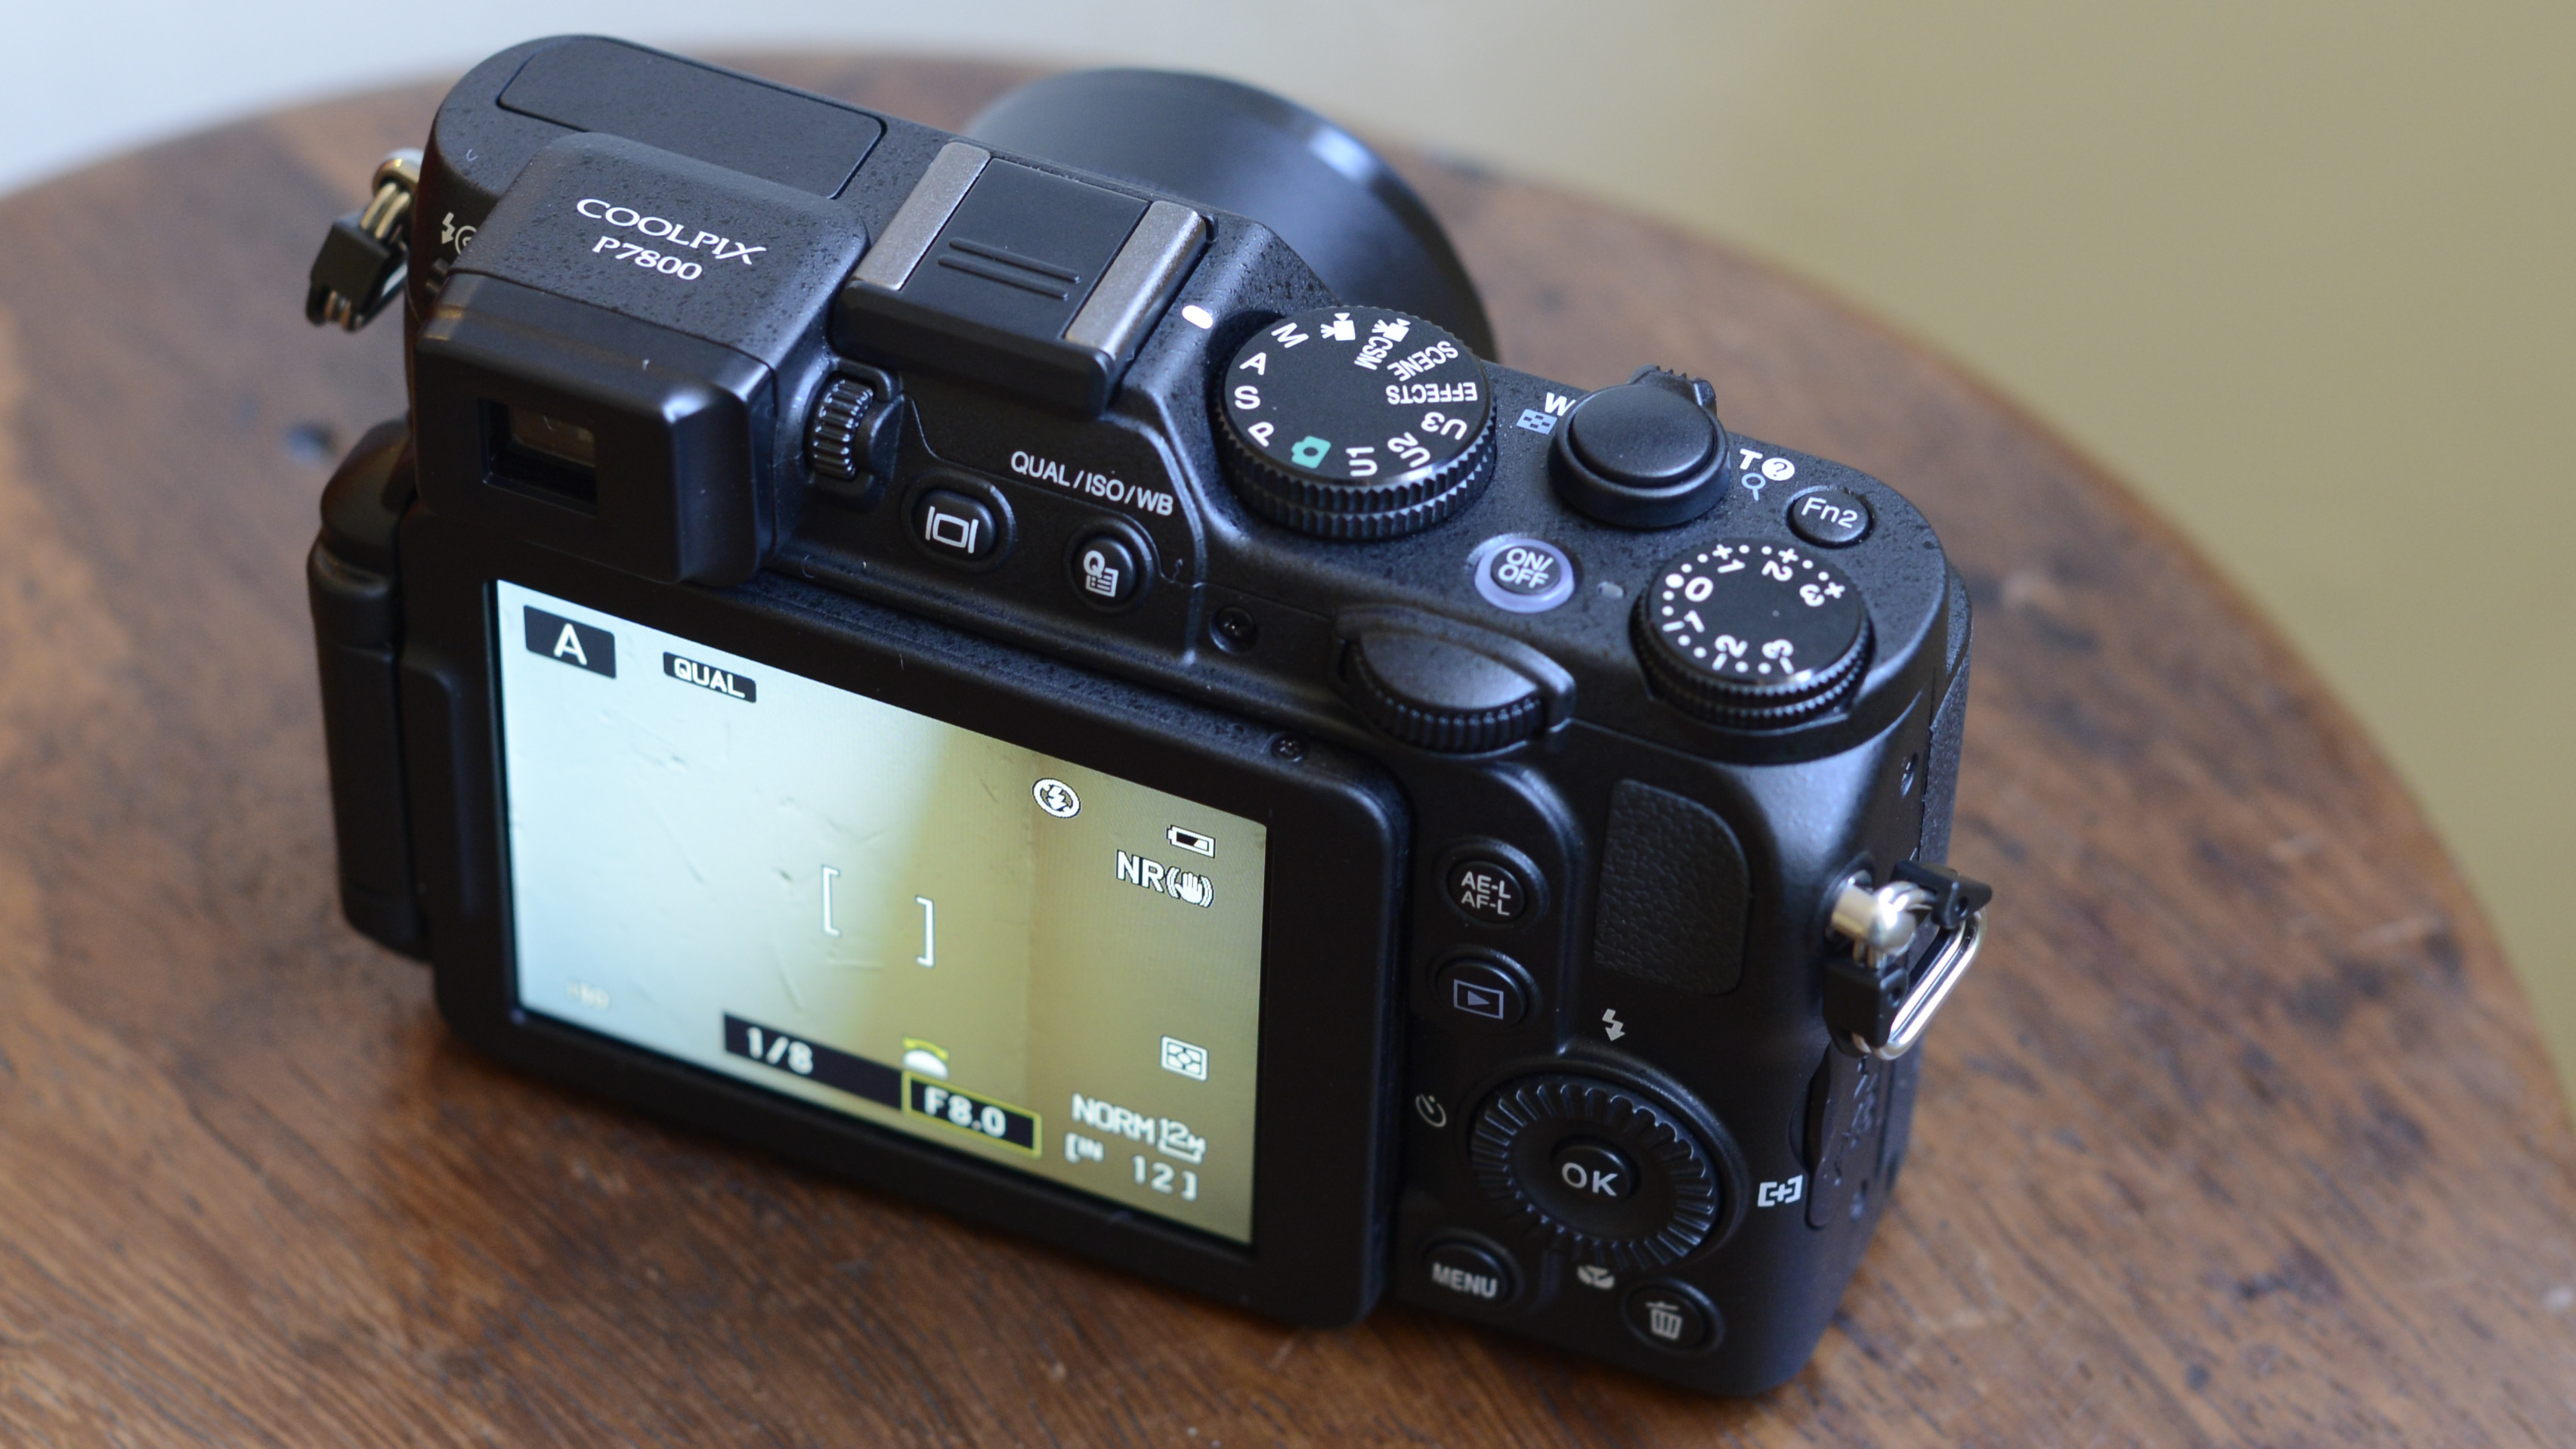
For a compact of this size, it's nice to see an electronic viewfinder which is useable. It's a decent size, while the high resolution makes it nice and easy to compose. We found that a pre-production sample displayed colours inaccurately, and while the final production version is better, they are still slightly muted compared with the LCD screen and indeed the final pictures. It's worth being aware of this when you're shooting so you don't try and compensate for inaccurate or muted colours.
Amy has been writing about cameras, photography and associated tech since 2009. Amy was once part of the photography testing team for Future Publishing working across TechRadar, Digital Camera, PhotoPlus, N Photo and Photography Week. For her photography, she has won awards and has been exhibited. She often partakes in unusual projects - including one intense year where she used a different camera every single day. Amy is currently the Features Editor at Amateur Photographer magazine, and in her increasingly little spare time works across a number of high-profile publications including Wired, Stuff, Digital Camera World, Expert Reviews, and just a little off-tangent, PetsRadar.
