Why you can trust TechRadar
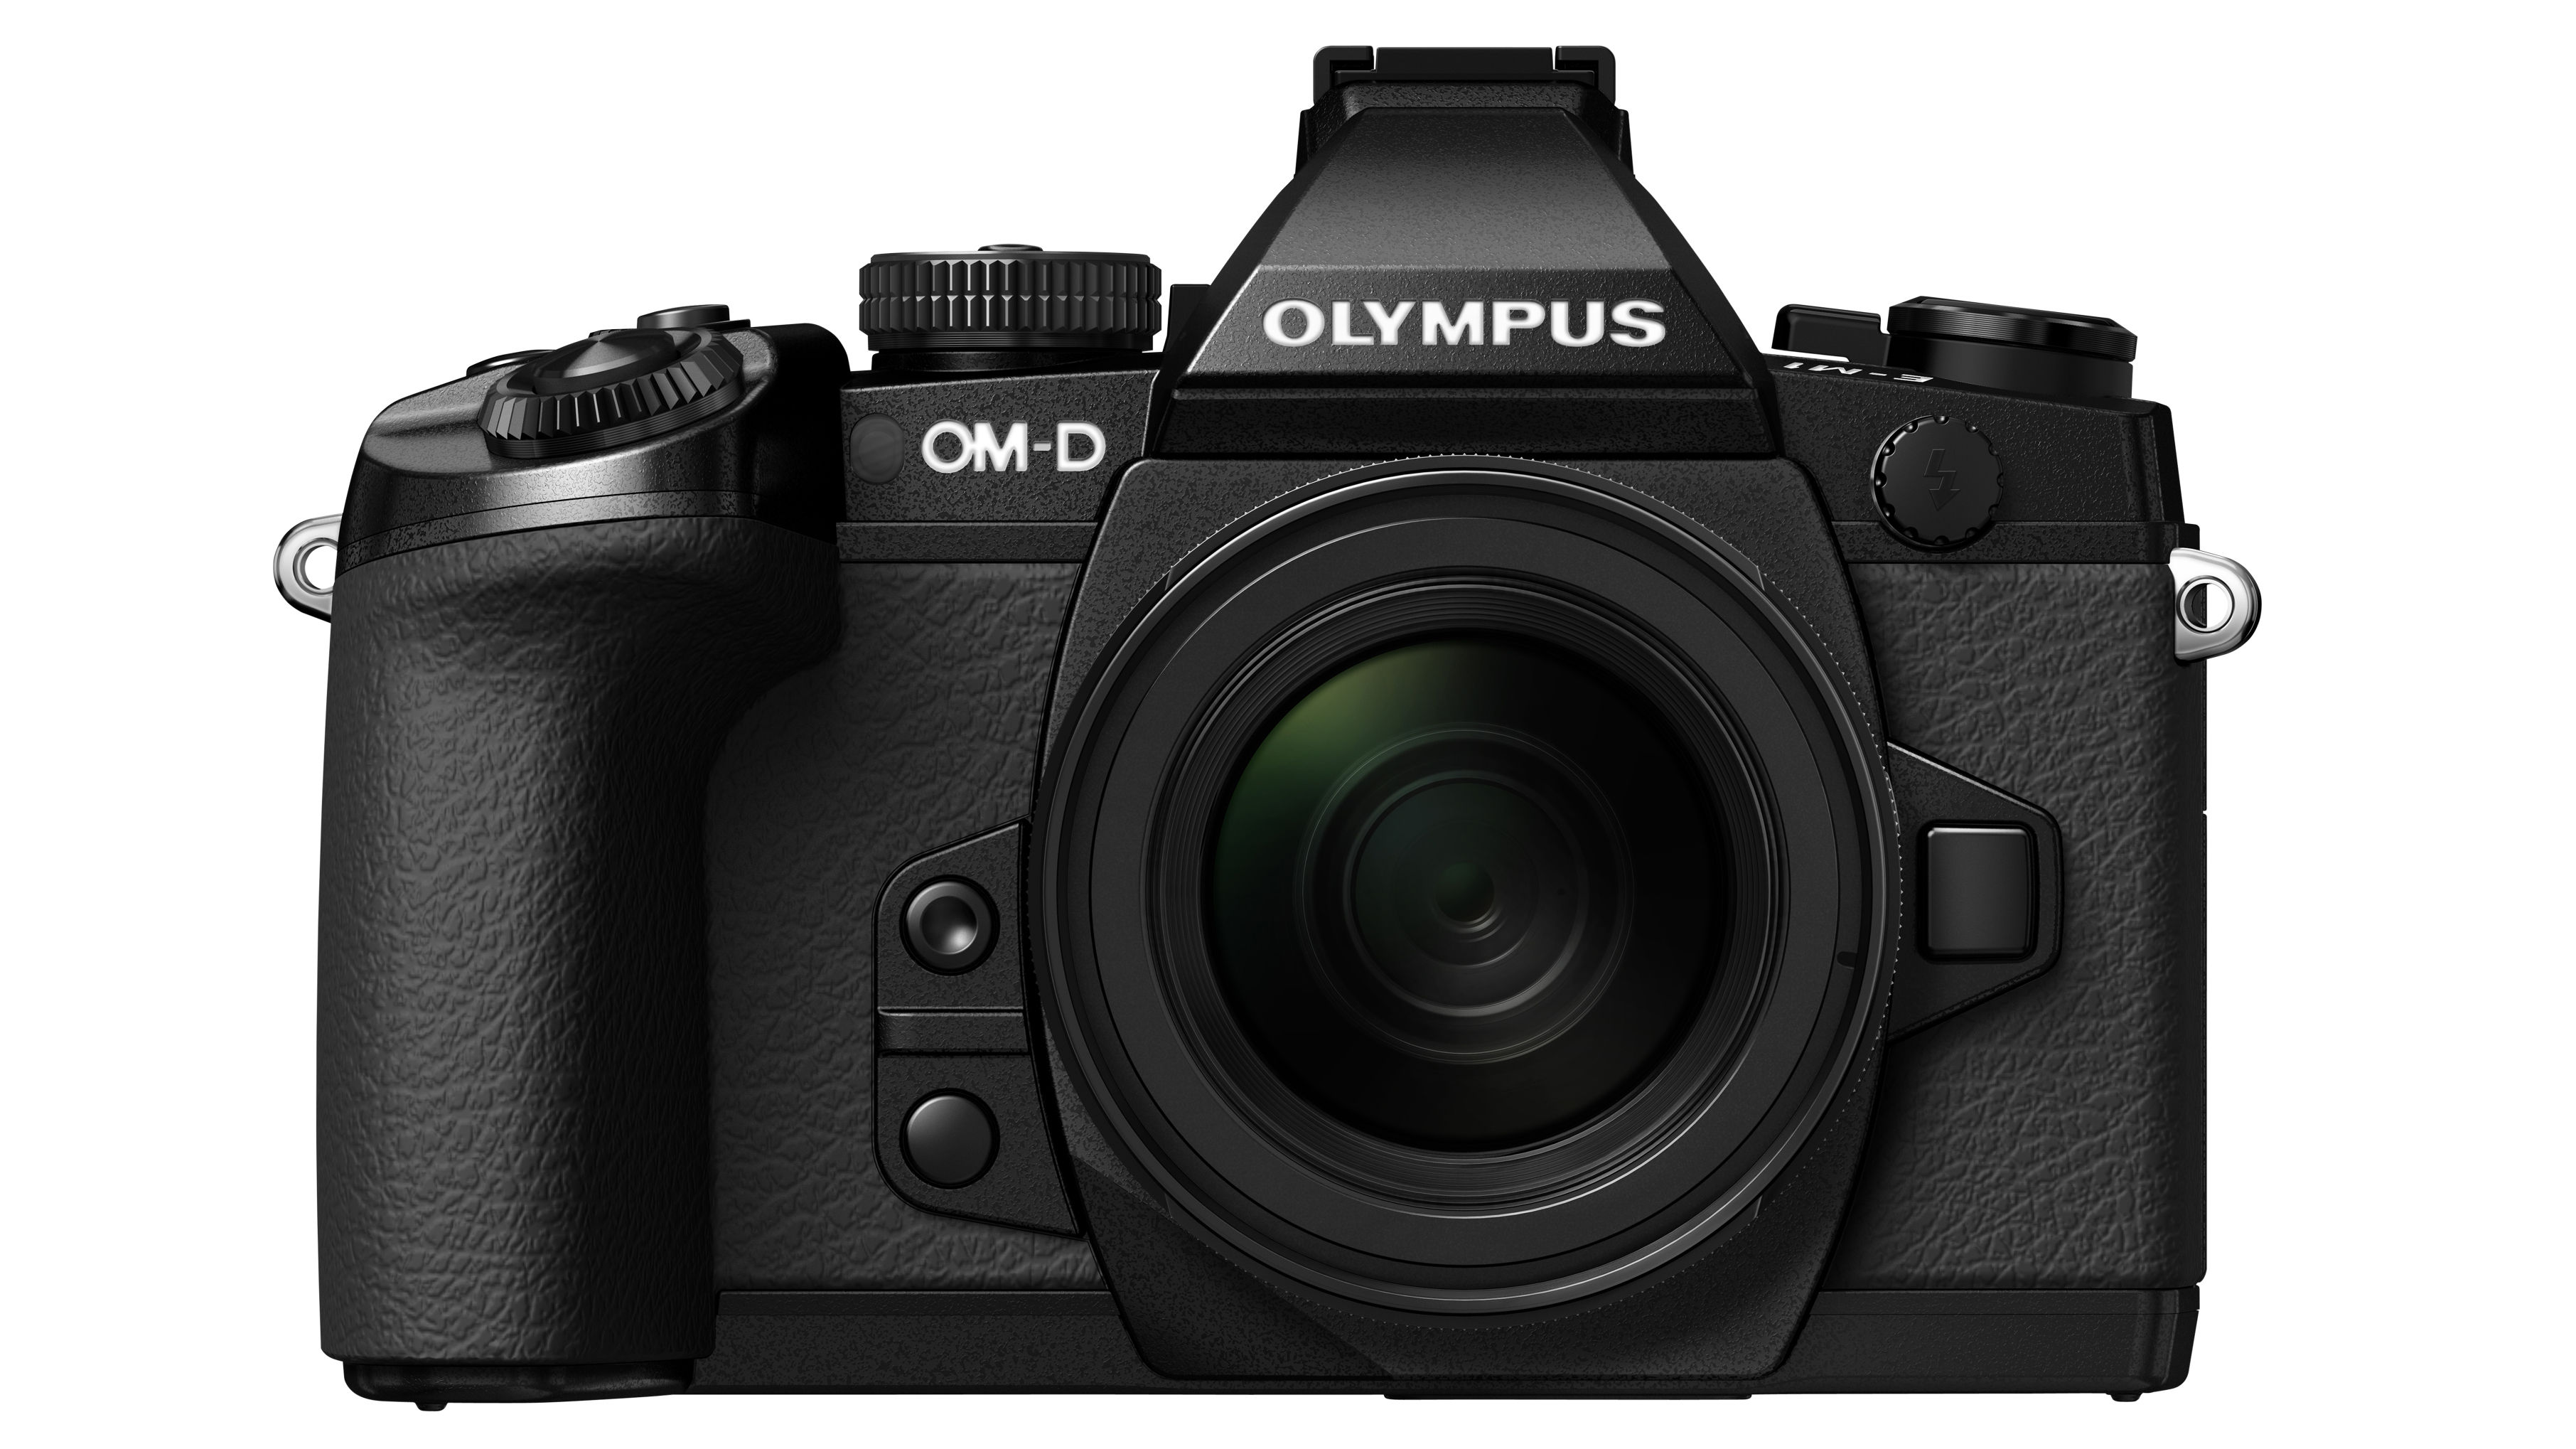
According to Olympus, the E-M1 is not intended to be the smallest camera available, but to be a good size for serious use. It's a very similar size to the OM-D E-M5, but the front and rear grips have changed shape.
The thumb grip on the back of the E-M1 is less pronounced than it is on the E-M5, but the front grip is bigger, giving a better, more comfortable hold. It feels very secure in your hand.
Sometimes big is taken to mean tough, but the diminutive E-M1 is also pretty durable. It feels nicely built and has seals to ensure that it stays dust and splash-proof. It is also guaranteed to work at temperatures down to -10C. Helpfully, all current Olympus lenses are freeze-proof.
Like the E-M5, the E-M1 has a three-inch tilting touchscreen, but the dot-count has been boosted from 610,000 to 103,700,000 dots. It provides a very clear view with plenty of detail. The electronic viewfinder (EVF) is also very impressive with natural colours (depending upon the camera settings), good contrast and lots of detail visible. It's about as close as you can currently get to an optical viewfinder for clarity and is a superb advocate for the technology.

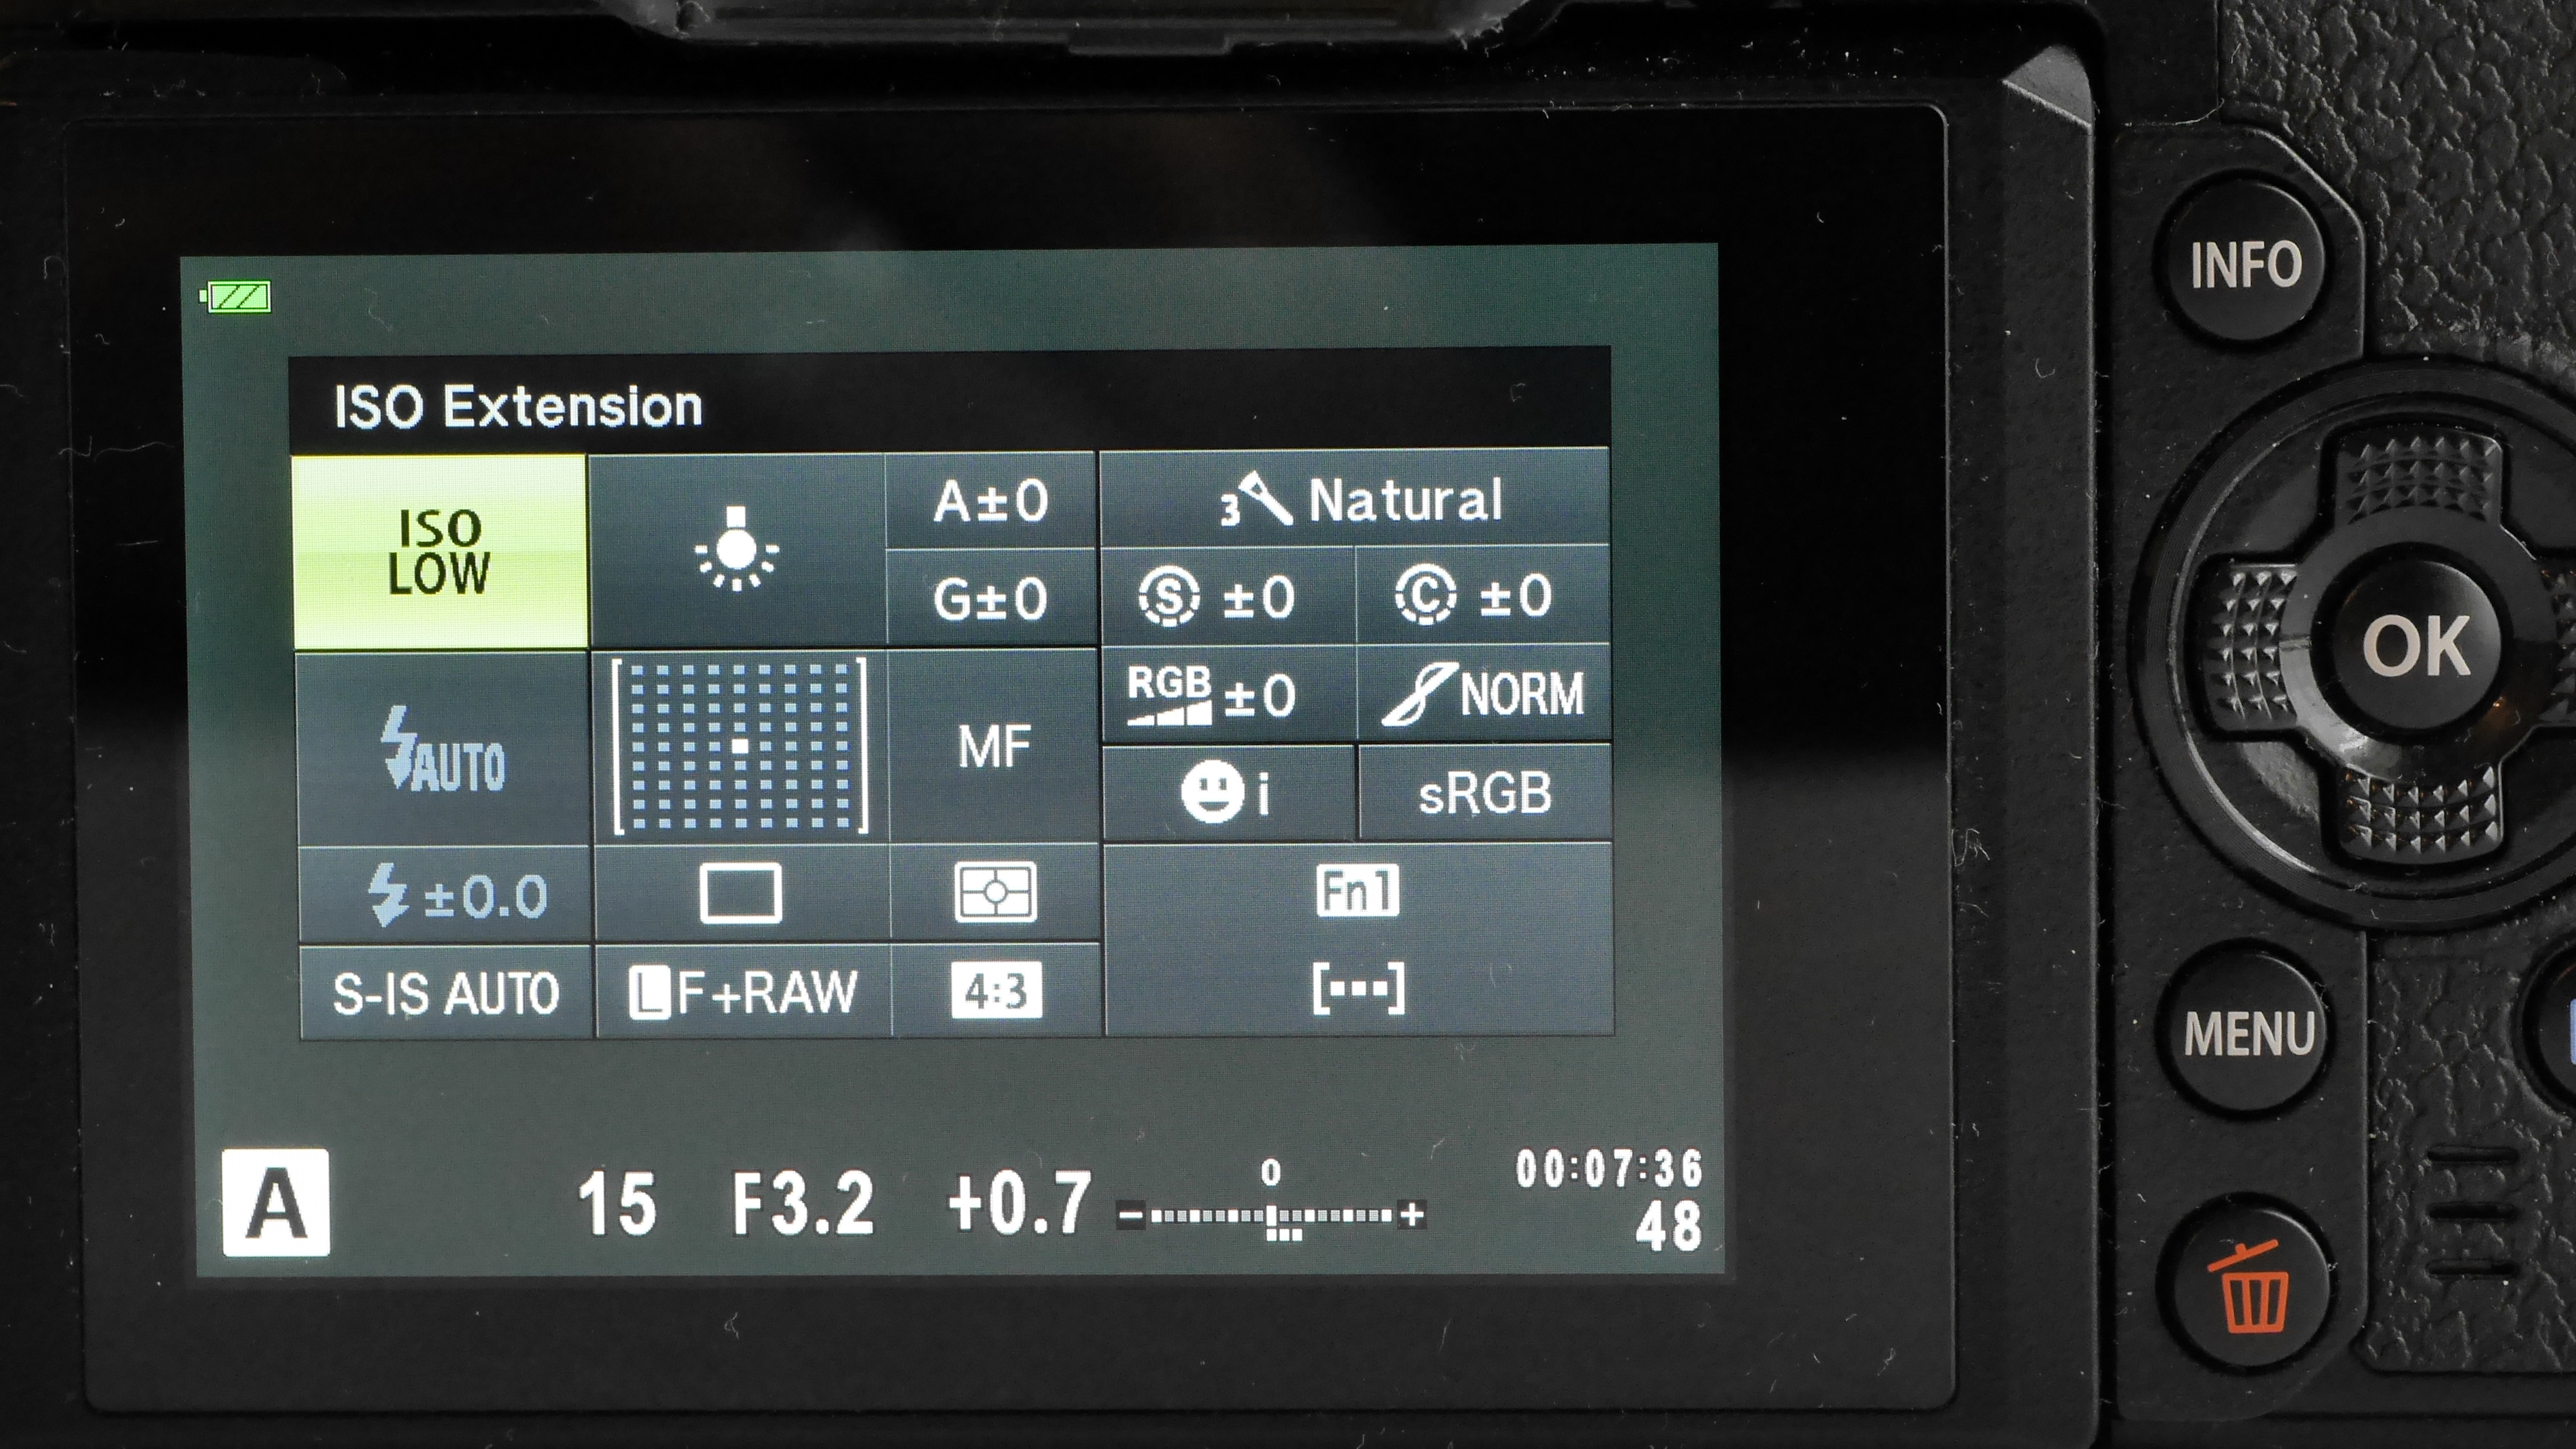
Disappointingly, Olympus has resisted the option to make the main menu navigable by touch, so you have to use the physical controls. It would be nice to have the choice of touch or button and dial controls. Like the original OM-D and the PEN E-P5, a Super Control Panel can be used with the touchscreen to make changes to key settings, such as white balance and metering.
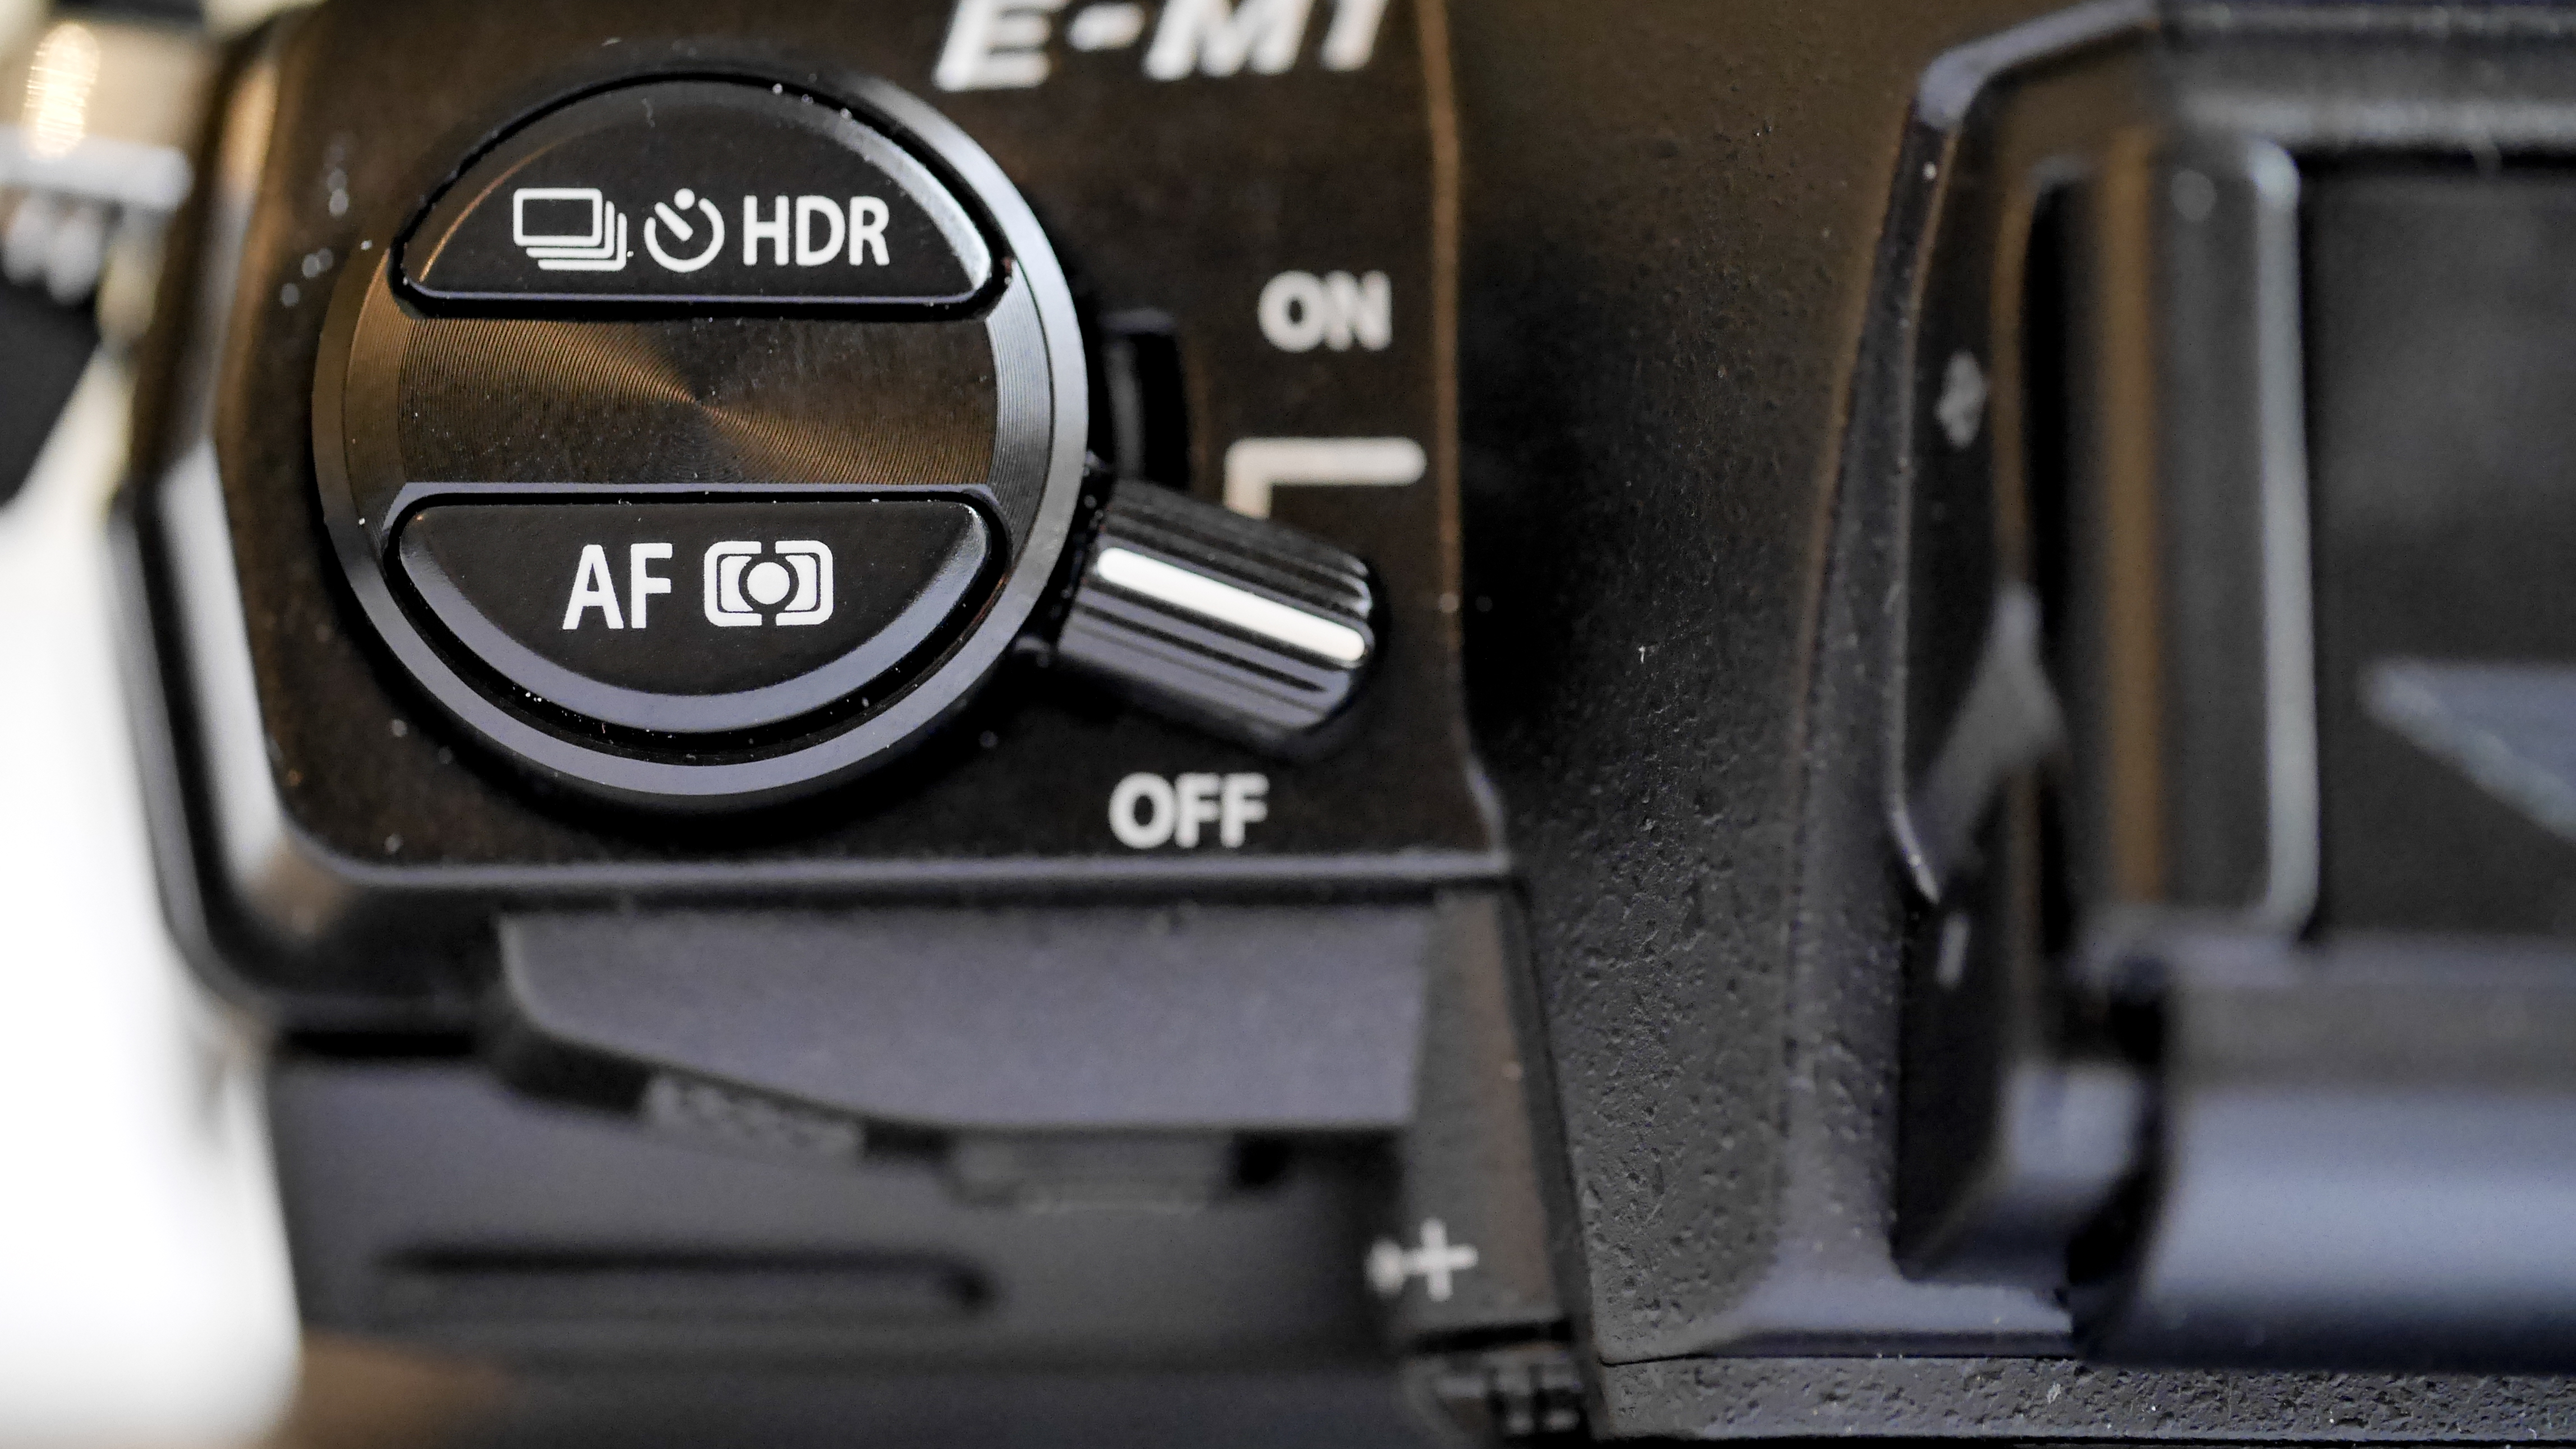
The control layout of the E-M1 has some significant differences from that of the E-M5. As you hold the camera for use, the mode dial is on the right of the top-plate instead of the left. Meanwhile, the left-side has two semi-circular buttons on a shallow column which looks a bit like the film rewind unit on an old film camera - without the flip-up handle. The front-most button gives access to the drive mode and HDR options, while the rear one is used to access the metering and focusing options.

When the HDR button is pressed, the up and down navigation controls scroll through the HDR options while the left and right controls run through the drive options. It's a similar arrangement with the AF and metering button, with the up/down controls scrolling through the metering options and the left/right controls navigating the focusing settings.
Pressing and holding the button immediately behind the shutter release, while rotating the rear dial scrolls through the Shadow and Highlight, Colour Creator, Magnify and Image Aspect modes. Once you've selected the mode you want, pressing the button again brings up the controls or options.
The basic features of the E-M1 are easy to find and adjust, but the feature set is extensive and it takes sometime to find and get to grips with everything. There are also lots of customisation options and its worthwhile experimenting with a range of set-ups to find the one that works best for you.

