Why you can trust TechRadar
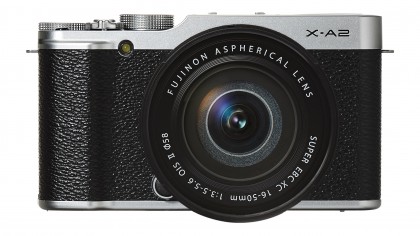
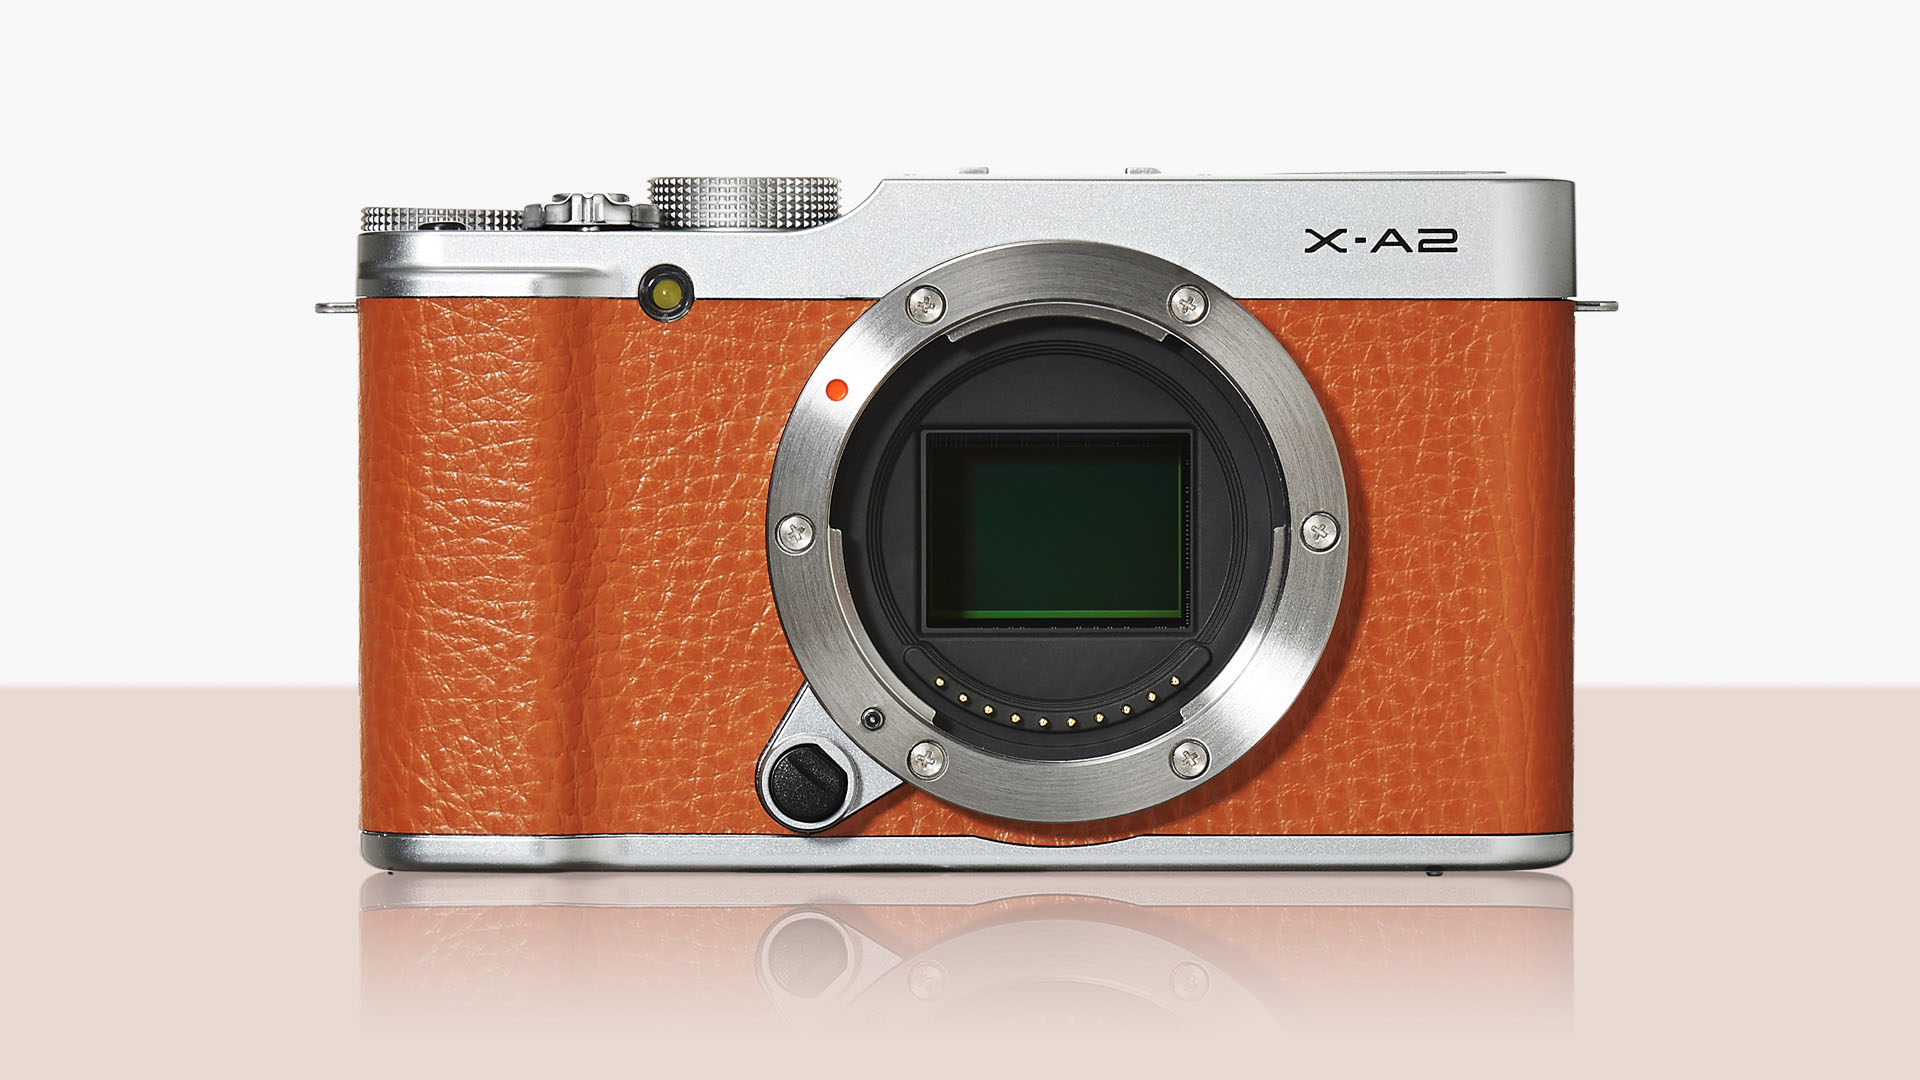
Fuji has a habit of reusing body shells and it appears that the X-A2 has the same body as the X-A1 and X-M1. The increase in the tilting bracket of screen, however, means that the new camera is very slightly thicker. At 300g/10.6 oz (excluding all accessories) the X-A2 is also a tiny bit heavier than the model it replaces, though 20g/0.7 oz is unlikely to make any difference in the hand.
Unlike many entry-level cameras, the X-A2 has a solid-feeling metal body and the clean, understated design of other Fuji X-series cameras. It looks a little less angular than the X-E2 or X-Pro1, but the connection is clear.
The X-A2's control layout is also almost identical to the X-A1's, although the shortcut to the Macro focusing control on the left navigation key is no longer required because of the Auto Macro AF system, so this now provides a quick route to the self-timer.
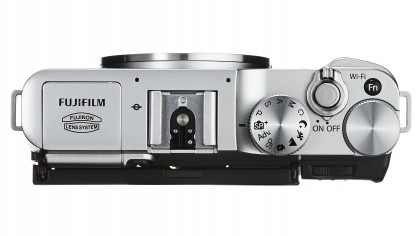
View from the top
On the top of the camera there's a chunky, metal mode dial with options to select the usual manual, shutter priority, aperture priority and program mode as well as a Custom option that can be set to the photographer's preferences. There's also a clutch of automatic modes including a scene recognition (Advanced SR) mode, a route to the Advanced Filters and multiple exposure mode and a few scene-specific modes including Portrait, Landscape, Sport and Night. There's no lock on the dial, but I found it usually stays in place and isn't easily knocked out of position as the camera is pulled from a bag.

On the far right of the top-plate there's a second metal dial and in the default set-up this is used for adjusting exposure compensation in the semi-automatic exposure modes, or scrolling through menu options and images (in review mode). This is a little easier to knock out of position, so it's a good idea to check that the exposure compensation hasn't changed between shots.
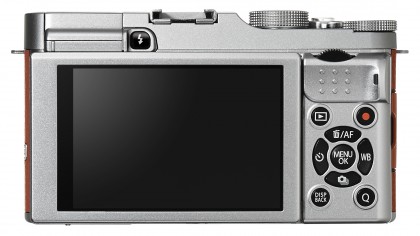
On the back of the camera, just below the top-plate, is the sub-command dial. This plastic control lacks the quality feel of the two top-plate dials but, helpfully, it can be depressed in review mode to zoom into the AF point to check focus. Pressing it in manual focus mode toggles through the viewing options and brings up the magnified view.
Round the back
I found it a little hard to identify the buttons on the back of the camera with my thumb, but as the X-A2 doesn't have a viewfinder, there are few occasions when you're likely to have to find a control by feel alone.

All of the controls are within easy reach with the fingers and/or thumb of the right hand. Pressing the 'Q' button activates the Quick Menu which displays up to 16 key features for adjustment. As on other Fuji X-series cameras, this is quick and easy to use as you just navigate to the option you want and then use the command or sub-command dial to scroll through the options. There's no extraneous pressing 'OK', or confirmation of settings required. It would be nice if the options in the Quick menu could customized, though, and touch control would make it easier to select the feature for adjustment.
On the whole, the X-A2's menu is sensibly arranged, but there's no customizable screen to get quick access to the features that you use most often.

The 3-inch 921,000-dot screen is capable of showing lots of detail, but its 'Sunlight Mode' needs to be activated in bright conditions. While this makes it possible to compose images in very bright conditions, it's essential to keep an eye on the histogram as images look very bright and it's tempting to reduce the exposure using the compensation facility.
It's helpful that the camera automatically switches to Face Detection and Eye Detection AF mode when the screen is flipped up to shoot a selfie, because if these modes are activated in the menu it's not possible to specify the AF point in Area AF mode and you're limited to just the central point.
It would be better if the options to select Face Detection and Eye Detection AF mode were located within the Quick menu along with the other focusing options.
Although it's pretty easy to connect the X-A2 to a smartphone via its Wi-Fi connectivity, I had several failed attempts at connecting it to a computer to transfer images wirelessly via the PC AutoSave software. The camera would connect to the wireless network, but neither the camera nor the computer could find each other. After half a dozen attempts I decided that life is too short and transferred the images the traditional way – by inserting the SD card in the computer's card slot.
