Why you can trust TechRadar
Whereas both the Fuji X-Pro1 and the X-E2 have a rectangular rangefinder-like shape, the X-T1 is closer to a DSLR in styling. Instead of the flat top, there's a pretty pronounced hump when the EVF sits. The fingergrip is also more prominent and rounded.
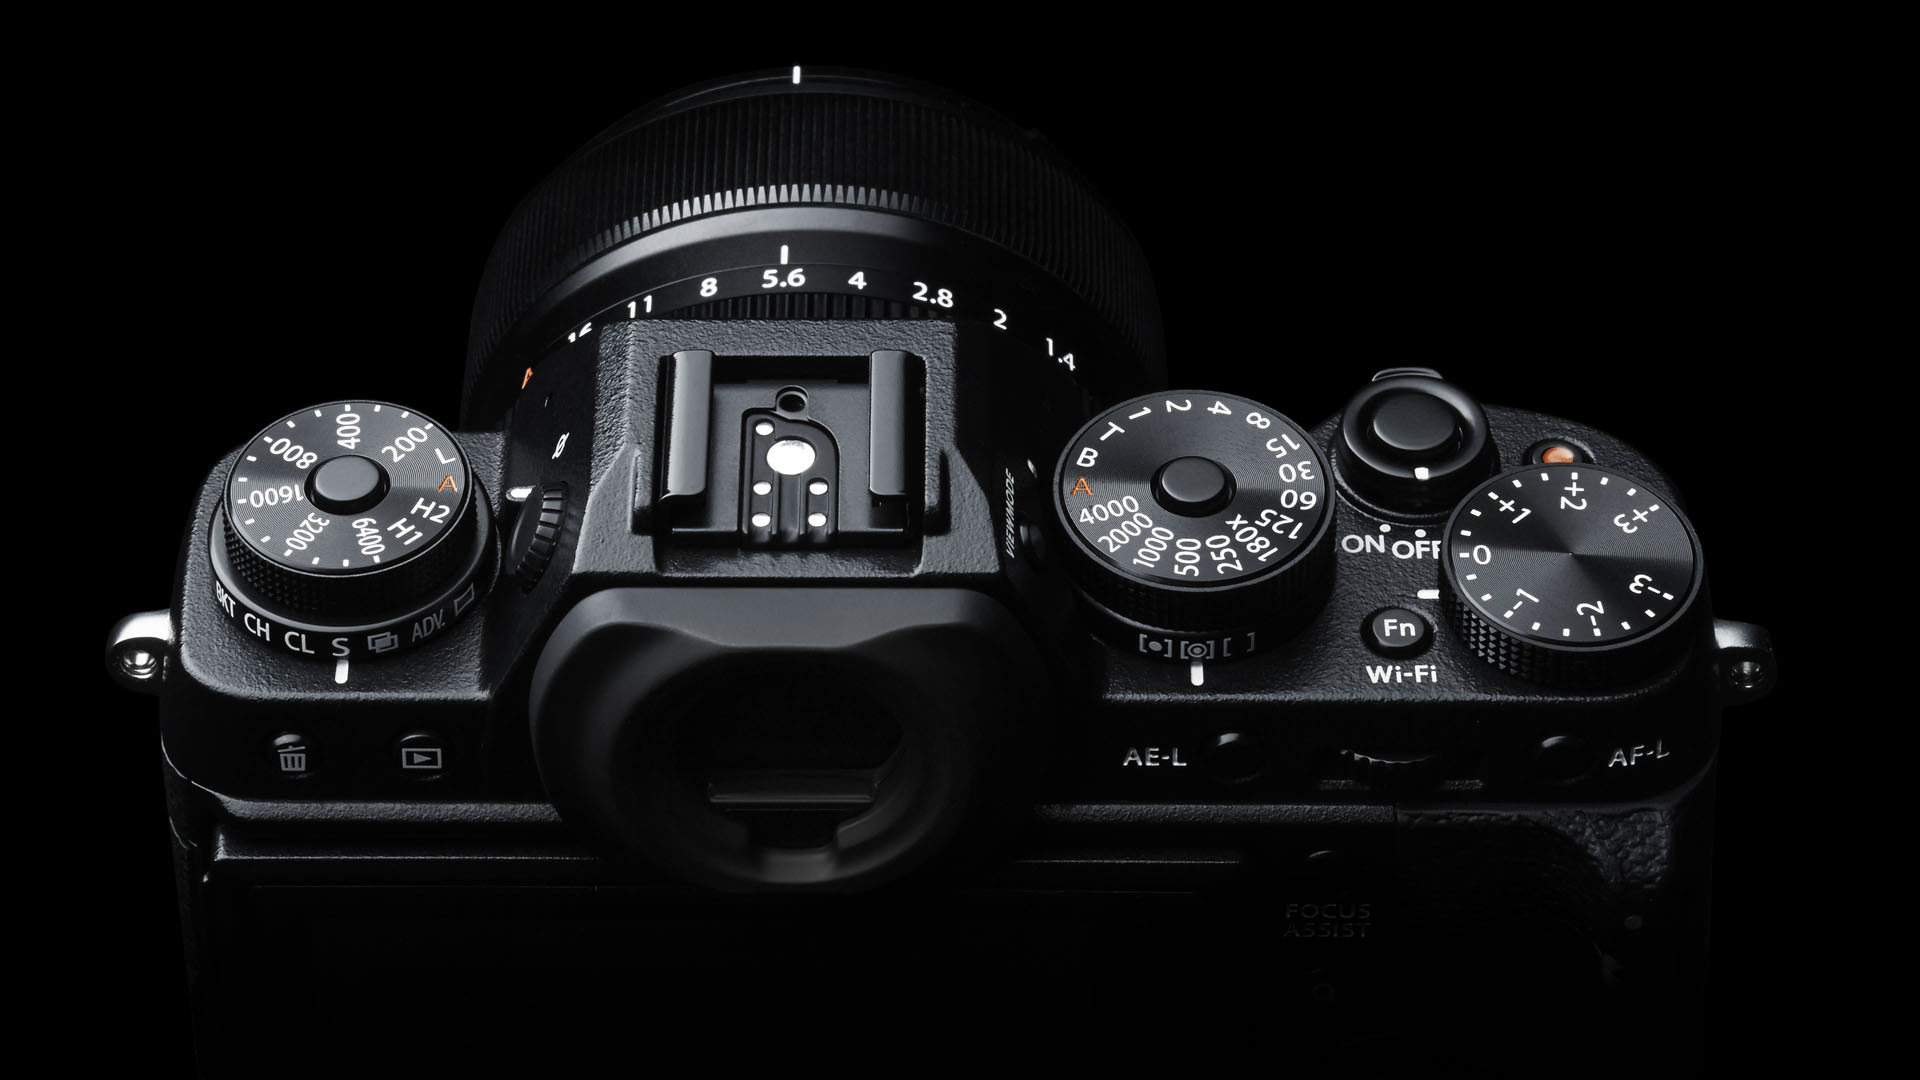
Aimed squarely at the traditionalist, there are more direct control dials on the top plate of the XT1 than on other X series cameras too.
Fuji has used cast magnesium alloy for the X-T1's body shell, giving it a solid – and weighty – feel. In addition, 80 seals are in place to keep out dust and moisture, which makes it weatherproof when a weatherproof lens is attached.
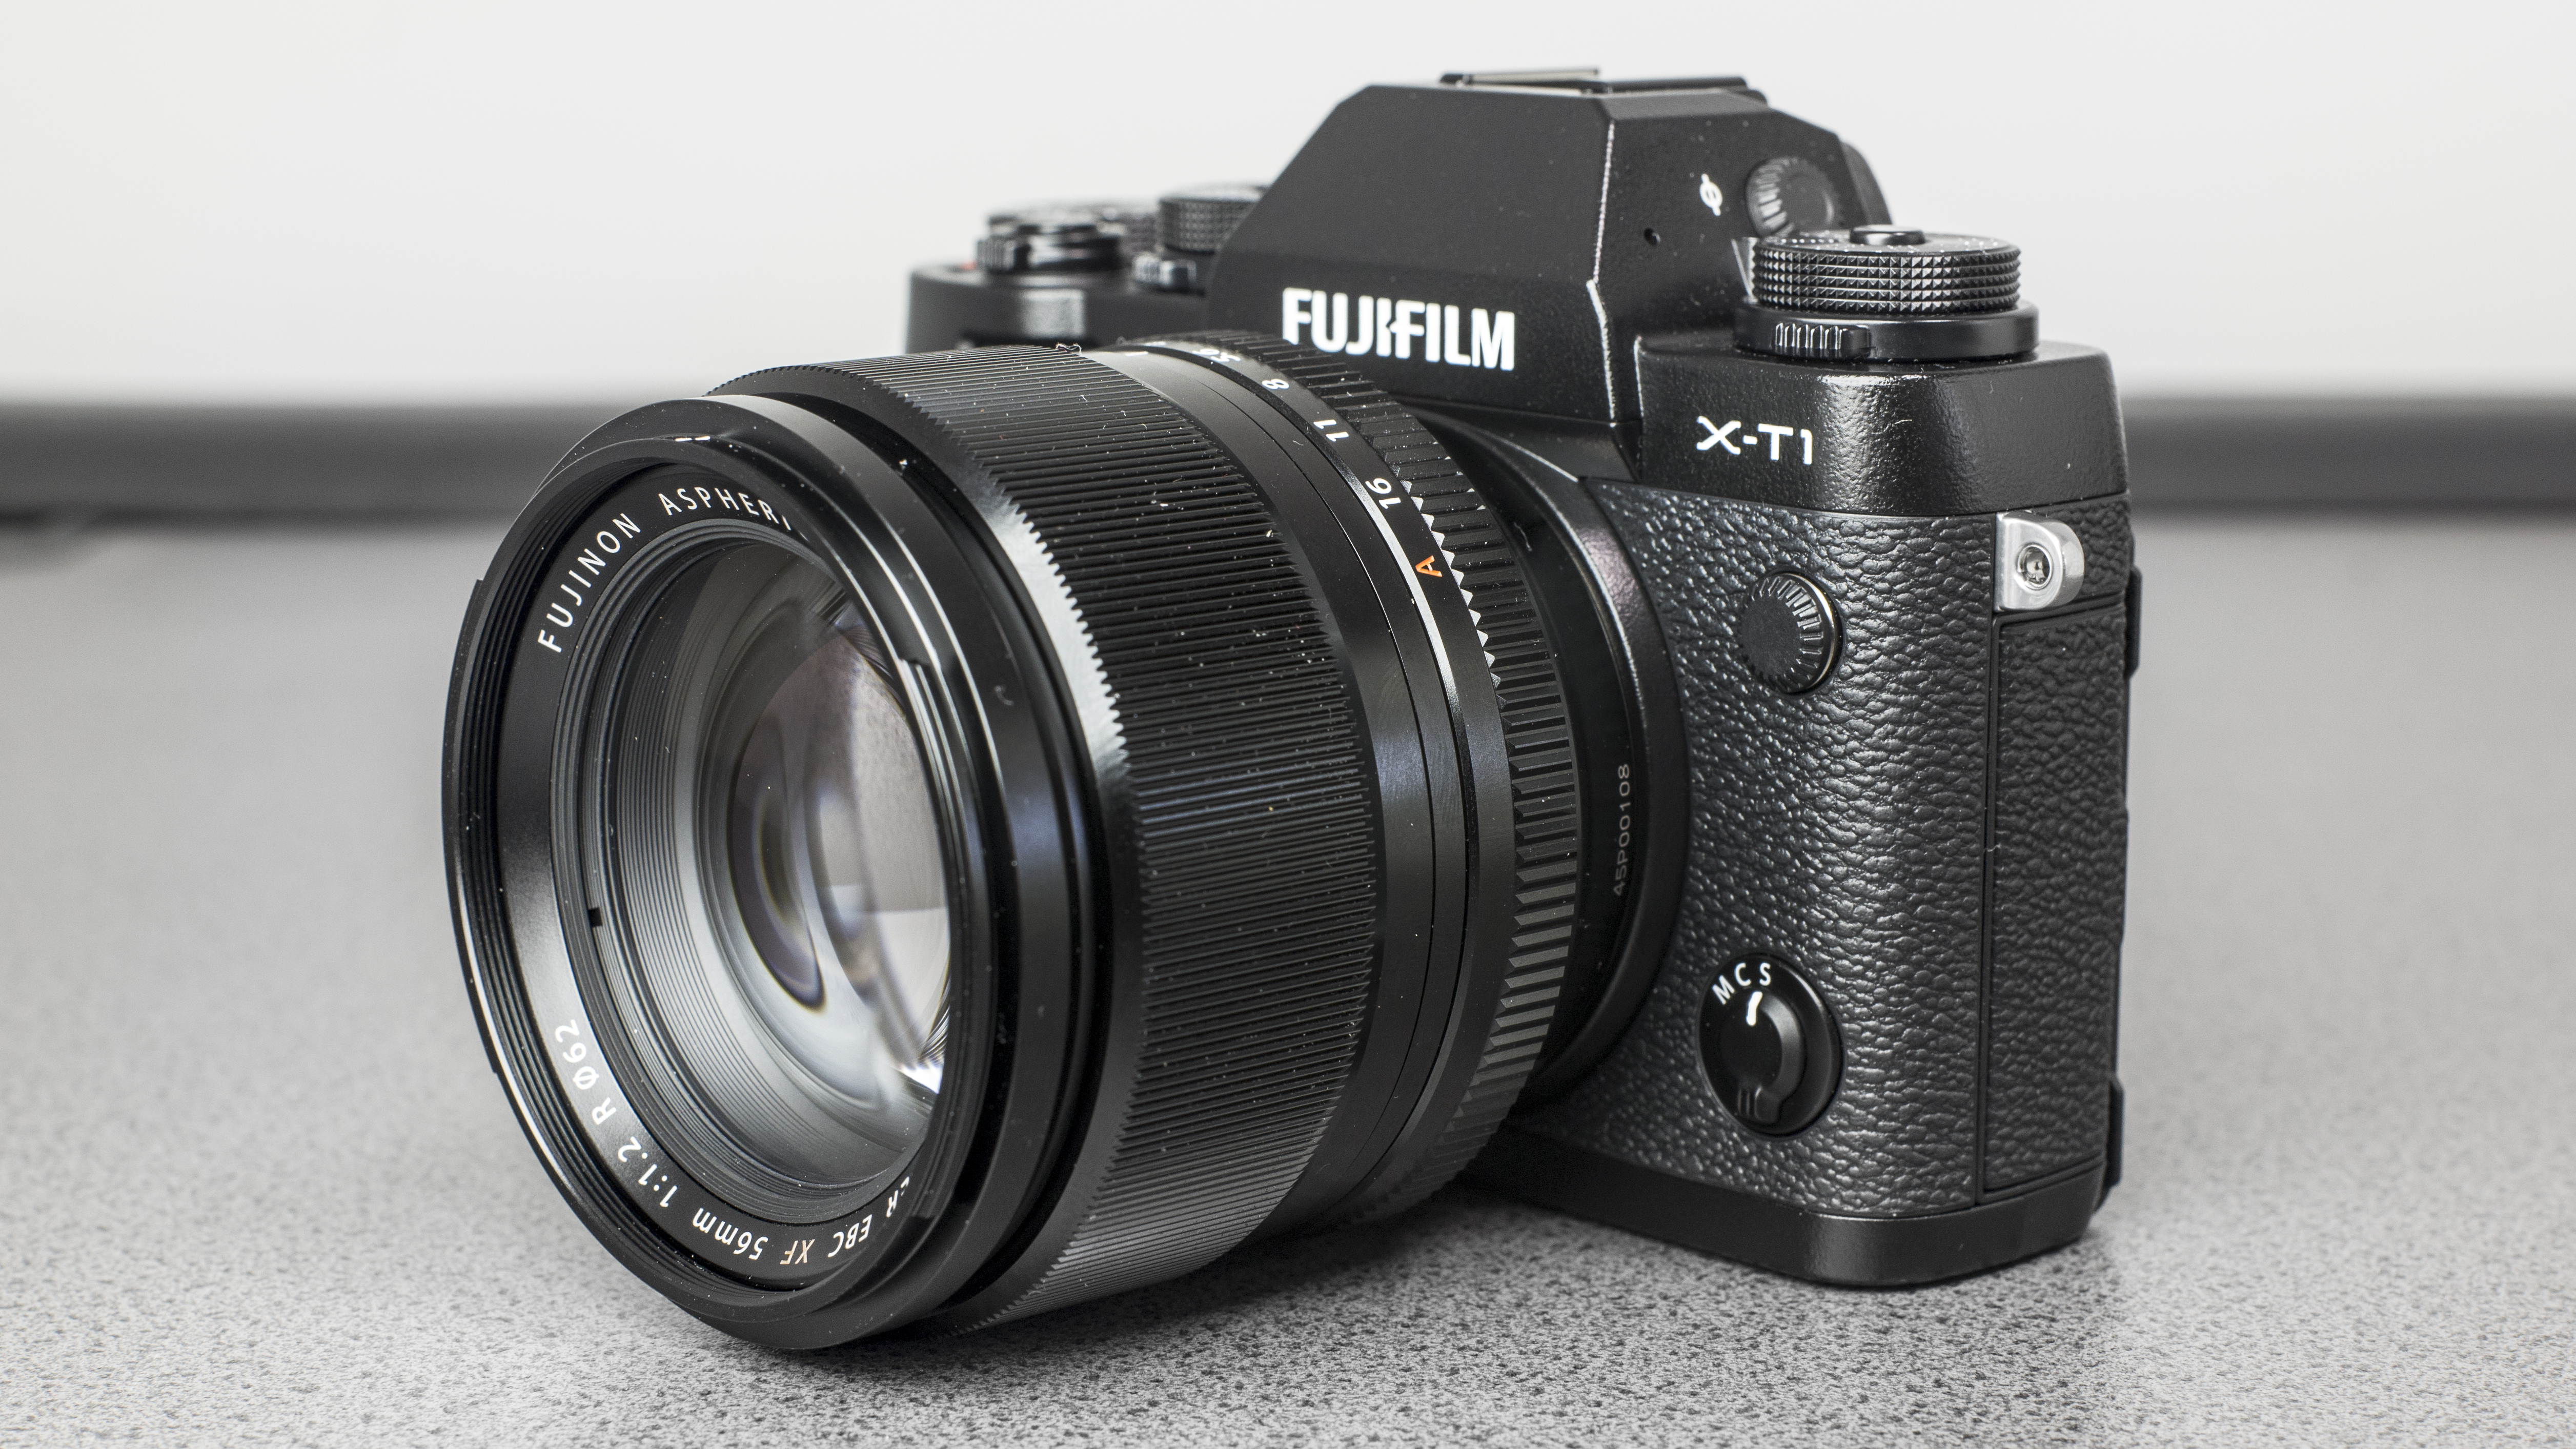
The Graphite version looks and feels particularly smart. It's more of a mid-grey tone than the 'silver' finish offered with some cameras (for example the Olympus OM-D E-M1 'Silver'). This does add a small price premium, which explains why the Graphite version still costs more than the Black version, even though the specifications and features are now identical.
Rugged credentials are boosted further by the tempered glass over its LCD and its ability to function in temperatures as low as -10C, the same as the Olympus OM-D E-M1. This is a camera designed to be heavily used in a variety of different conditions, which shows Fuji is actively chasing the "prosumer" market.
Landscape photographers should also particularly benefit from this camera, especially those that like to go out in all conditions.
Fuji has also produced an optional battery-grip (Vertical Battery Grip VG-XT1) which is also weatherproof. This takes one battery and there's no need to remove the camera battery or remove the battery-bay cover to connect it.

Both the fingergrip and the thumb-rest on the back of the X-T1 have a textured, rubber-like coating, which not only has a high-quality premium feel, but gives it great purchase. Due to the weight of the camera, it's fairly unlikely you'd be using it one-handed for long stretches of time, but if you do, the chunky grip makes it feel secure in the hand.
Some people will prefer the rangefinder-like design of other X series cameras, but some would argue that the fatter grip here makes it better suited for use with longer lenses. Fuji says that more telephoto optics will be introduced in the not too distant future.
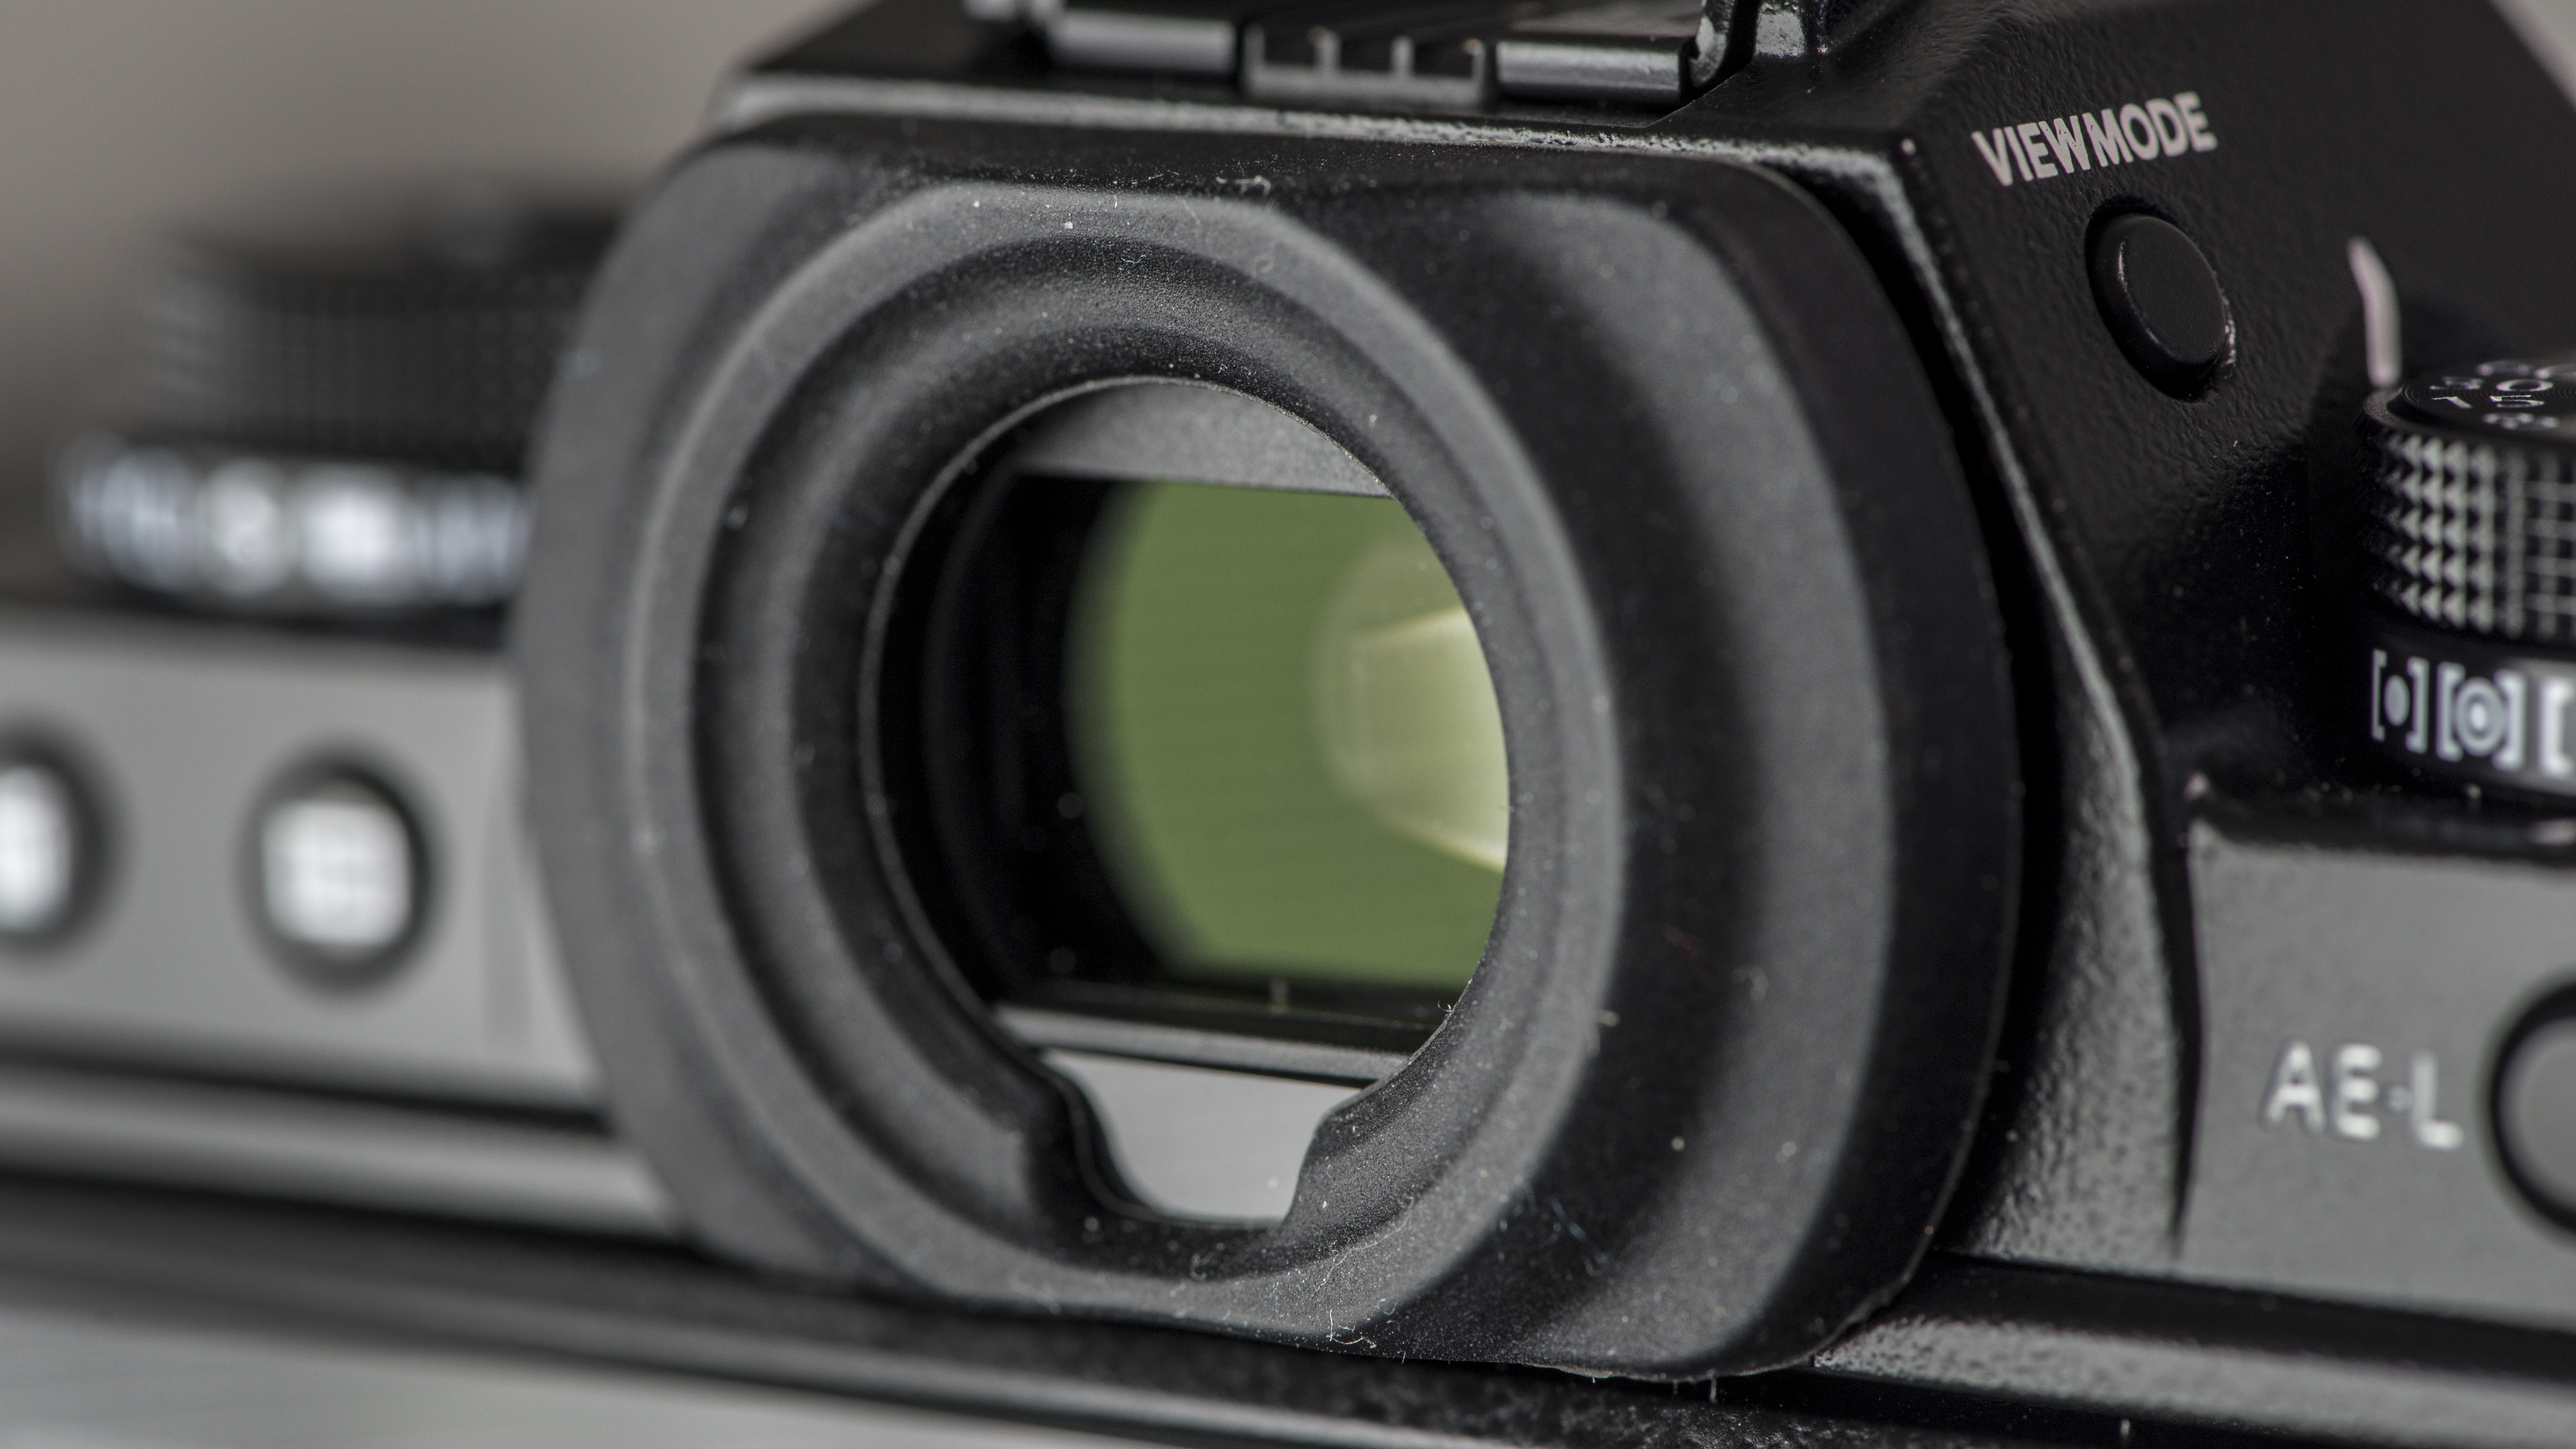
There will be those that still don't trust the idea of an electronic viewfinder, but the XT1's 2.36 million-dot device is very good – and it's huge. It doesn't suffer from lag in the majority of conditions, although we did find that on a couple of occasions, when locking onto focus and recomposing, the viewfinder momentarily lagged behind.
We think the benefits of an electronic viewfinder outweigh this tiny criticism though. Using an EVF allows you to see how changes made to settings will affect the image in real-time, while the fact that a preview image pops up (if you set it so) helps you to determine whether or not you've nailed the shot without having to constantly remove the camera from your eye all the time. You also have a 100% field of view, so you can be sure that there won't be any stray artefacts creeping into the shot that you didn't notice in composition.
Helpfully, the exposure information and shooting data displayed around the image in the EVF rotates to remain readable when the camera is turned for shooting upright images. It's a simple thing, but it's very helpful in practice. There's also the option to turn off information display altogether so that the image fills the EVF screen.
Alternatively, there's the dual view which enables Fuji's Focus Peak Highlight or Digital Split Image to be seen on the right of the screen when focusing manually. This works well, making it clear which areas are sharp while allowing the full scene to be seen on the left of the EVF.
Natural live view
The X-T1 Graphite and updated versions of the original X-T1 can now display a 'natural' live view without any of the camera's adjustments or effects applied. This might sound unnecessary, but it makes sense in two respects.
First, this makes the EVF look more like the optical viewfinder of a DSLR, which will appeal to anyone considering making the switch. The shadows do look rather more 'open' and the view is less contrasty.
Second, if you're shooting raw files with the intention of processing them and adding effects later, you'll probably want to see the scene 'as is' rather than with in-camera effects and adjustments you may be ignoring later.
It's not a particularly straightforward choice – you have to dip into the Set-up menu and the Screen Set-up options – so it's the kind of thing you'll choose once and then leave for a while.
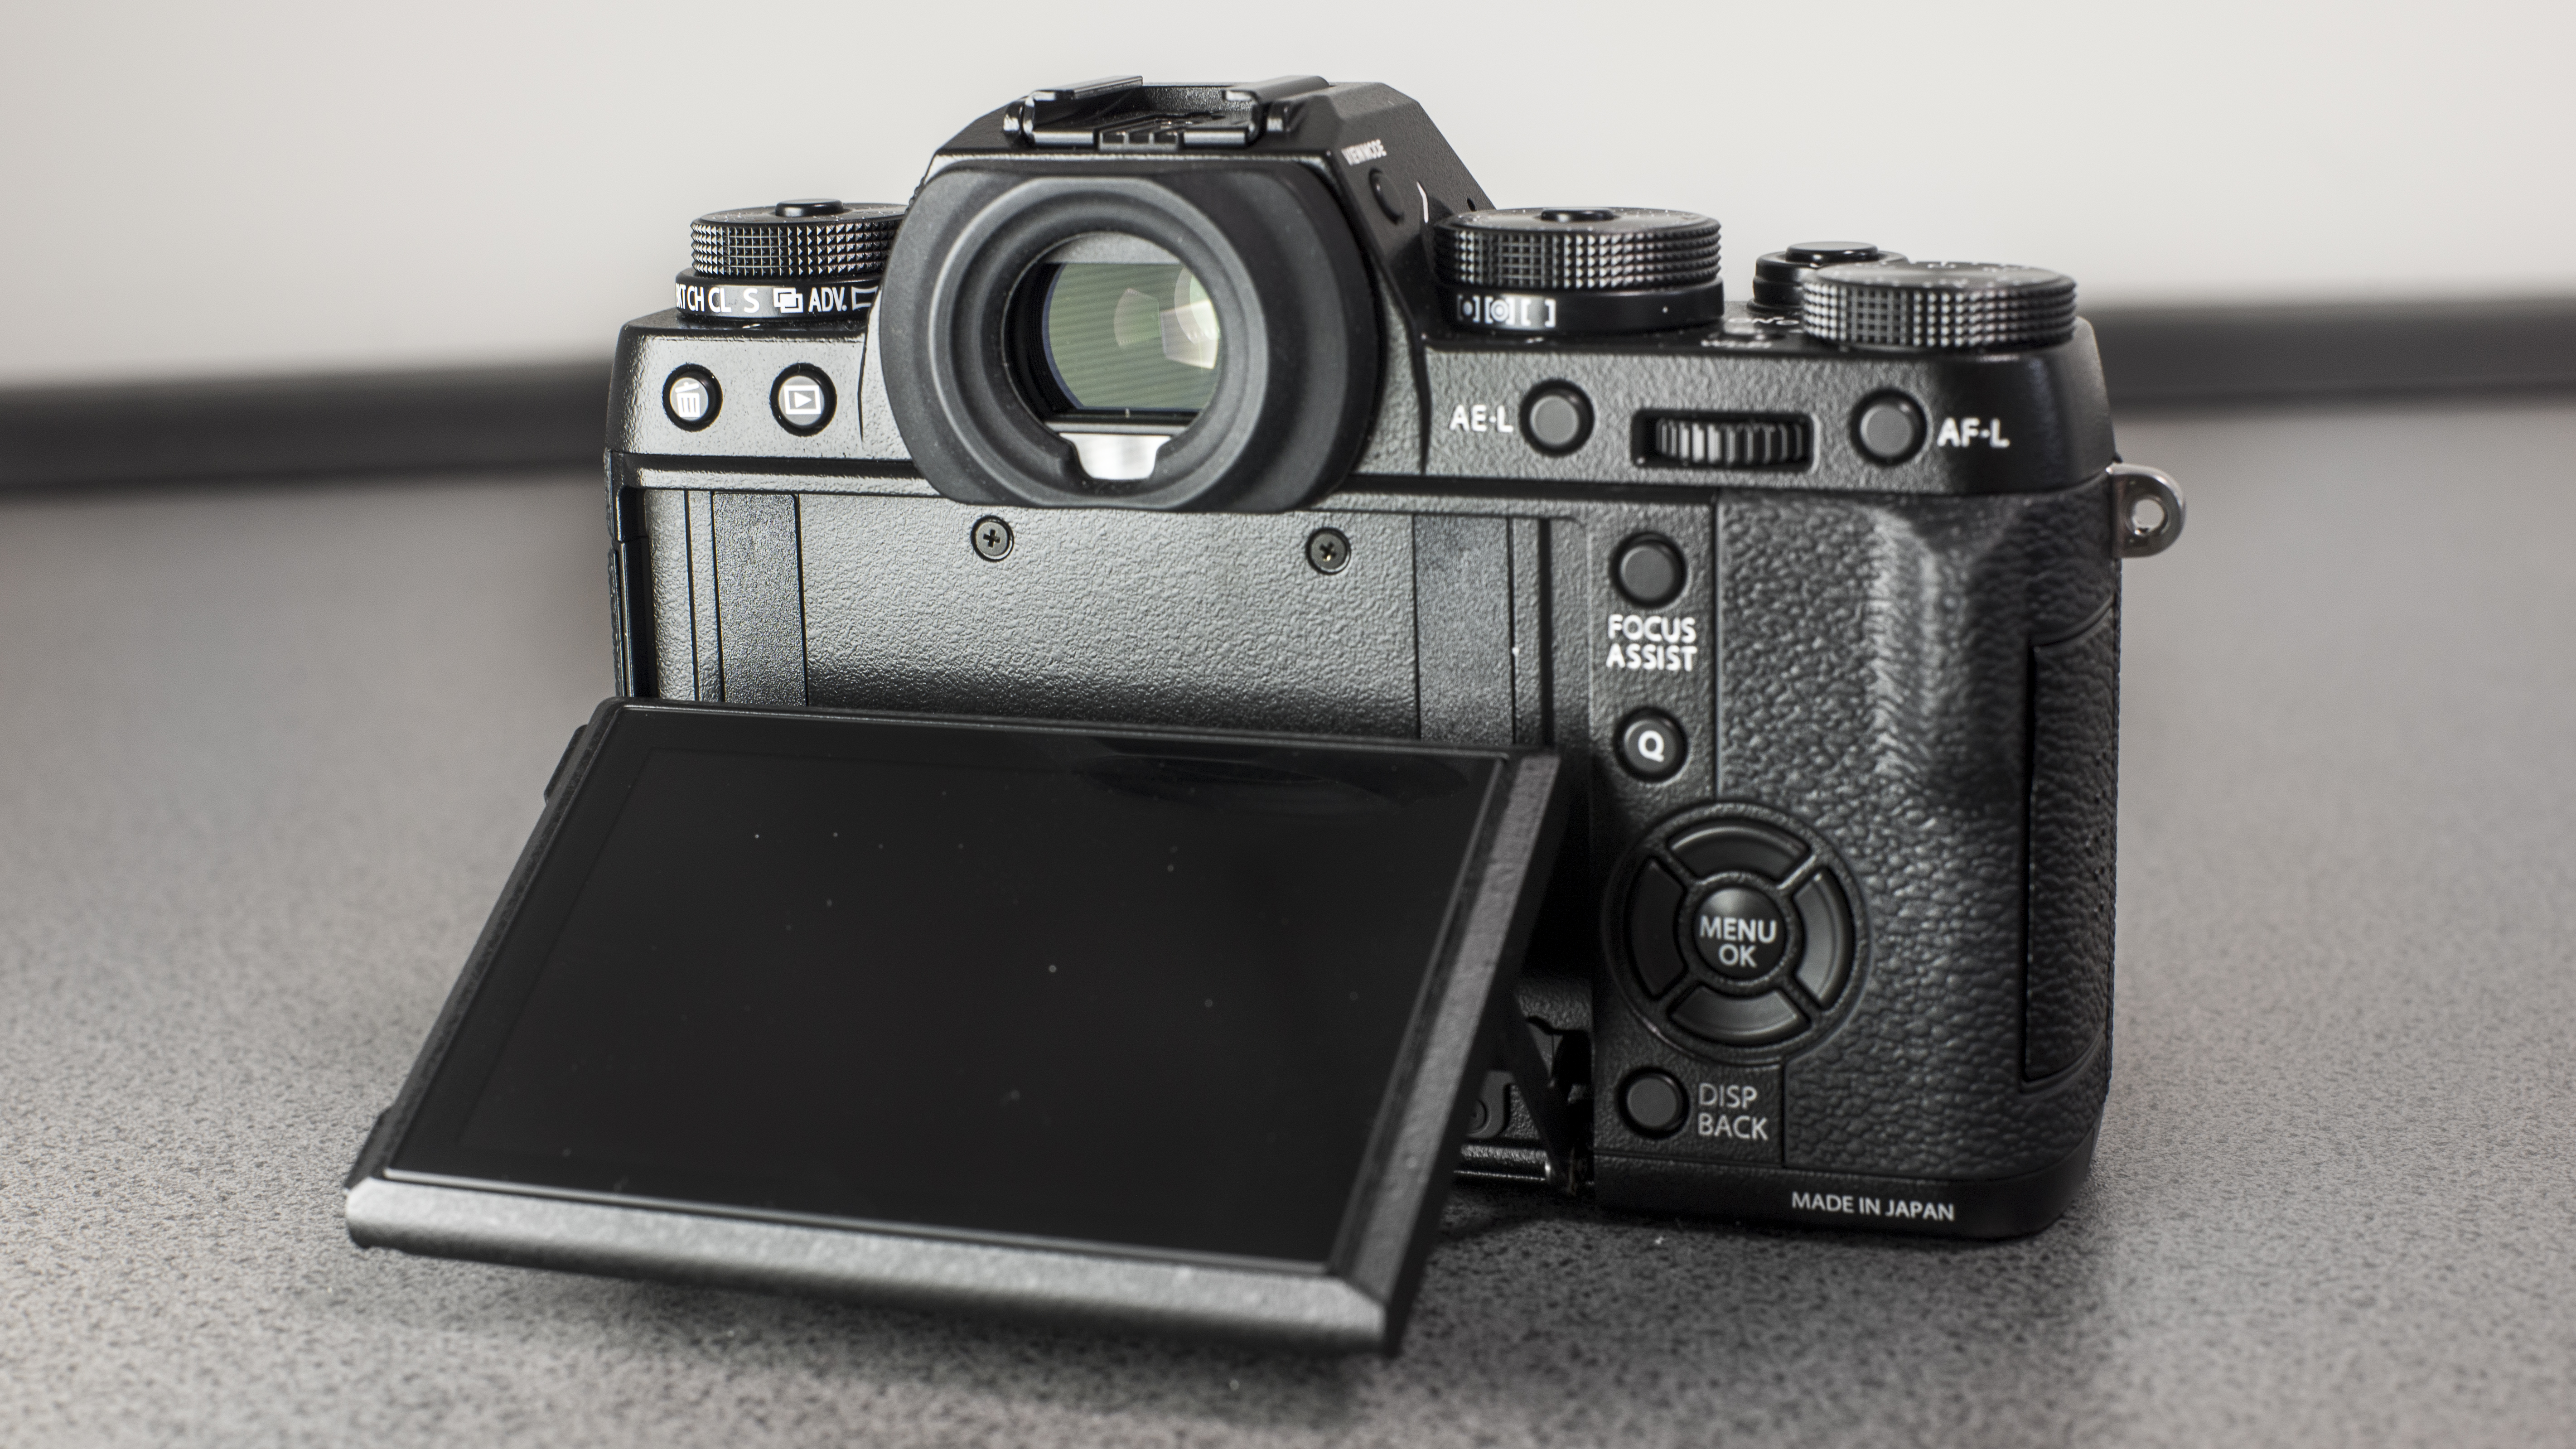
The XT1's tilting screen feels pretty sturdily built. It's not quite as helpful as an articulating or vari-angle screen, but it keeps the camera's overall size down and it's better than having a fixed screen – most high-end DSLRs have fixed screens. When shooting landscape format images from low or high angles it's very useful, but not quite as handy for portrait format images.
The screen itself has 1.04 million dots which give it a nice clear image. It doesn't suffer particularly badly from glare or reflections, but of course having the viewfinder to use in such situations is particularly useful.
Exposure controls
As we would expect with a camera in Fuji's X-series, the X-T1 has traditional-style exposure controls and the top-plate has dials aplenty. On the left as you hold the camera for use, there's a sensitivity dial that runs from L1 to H2 with numerical settings labelled from 200-6400, plus an A for automatic option. There are marks for the 1/3-stop points between the whole stops.
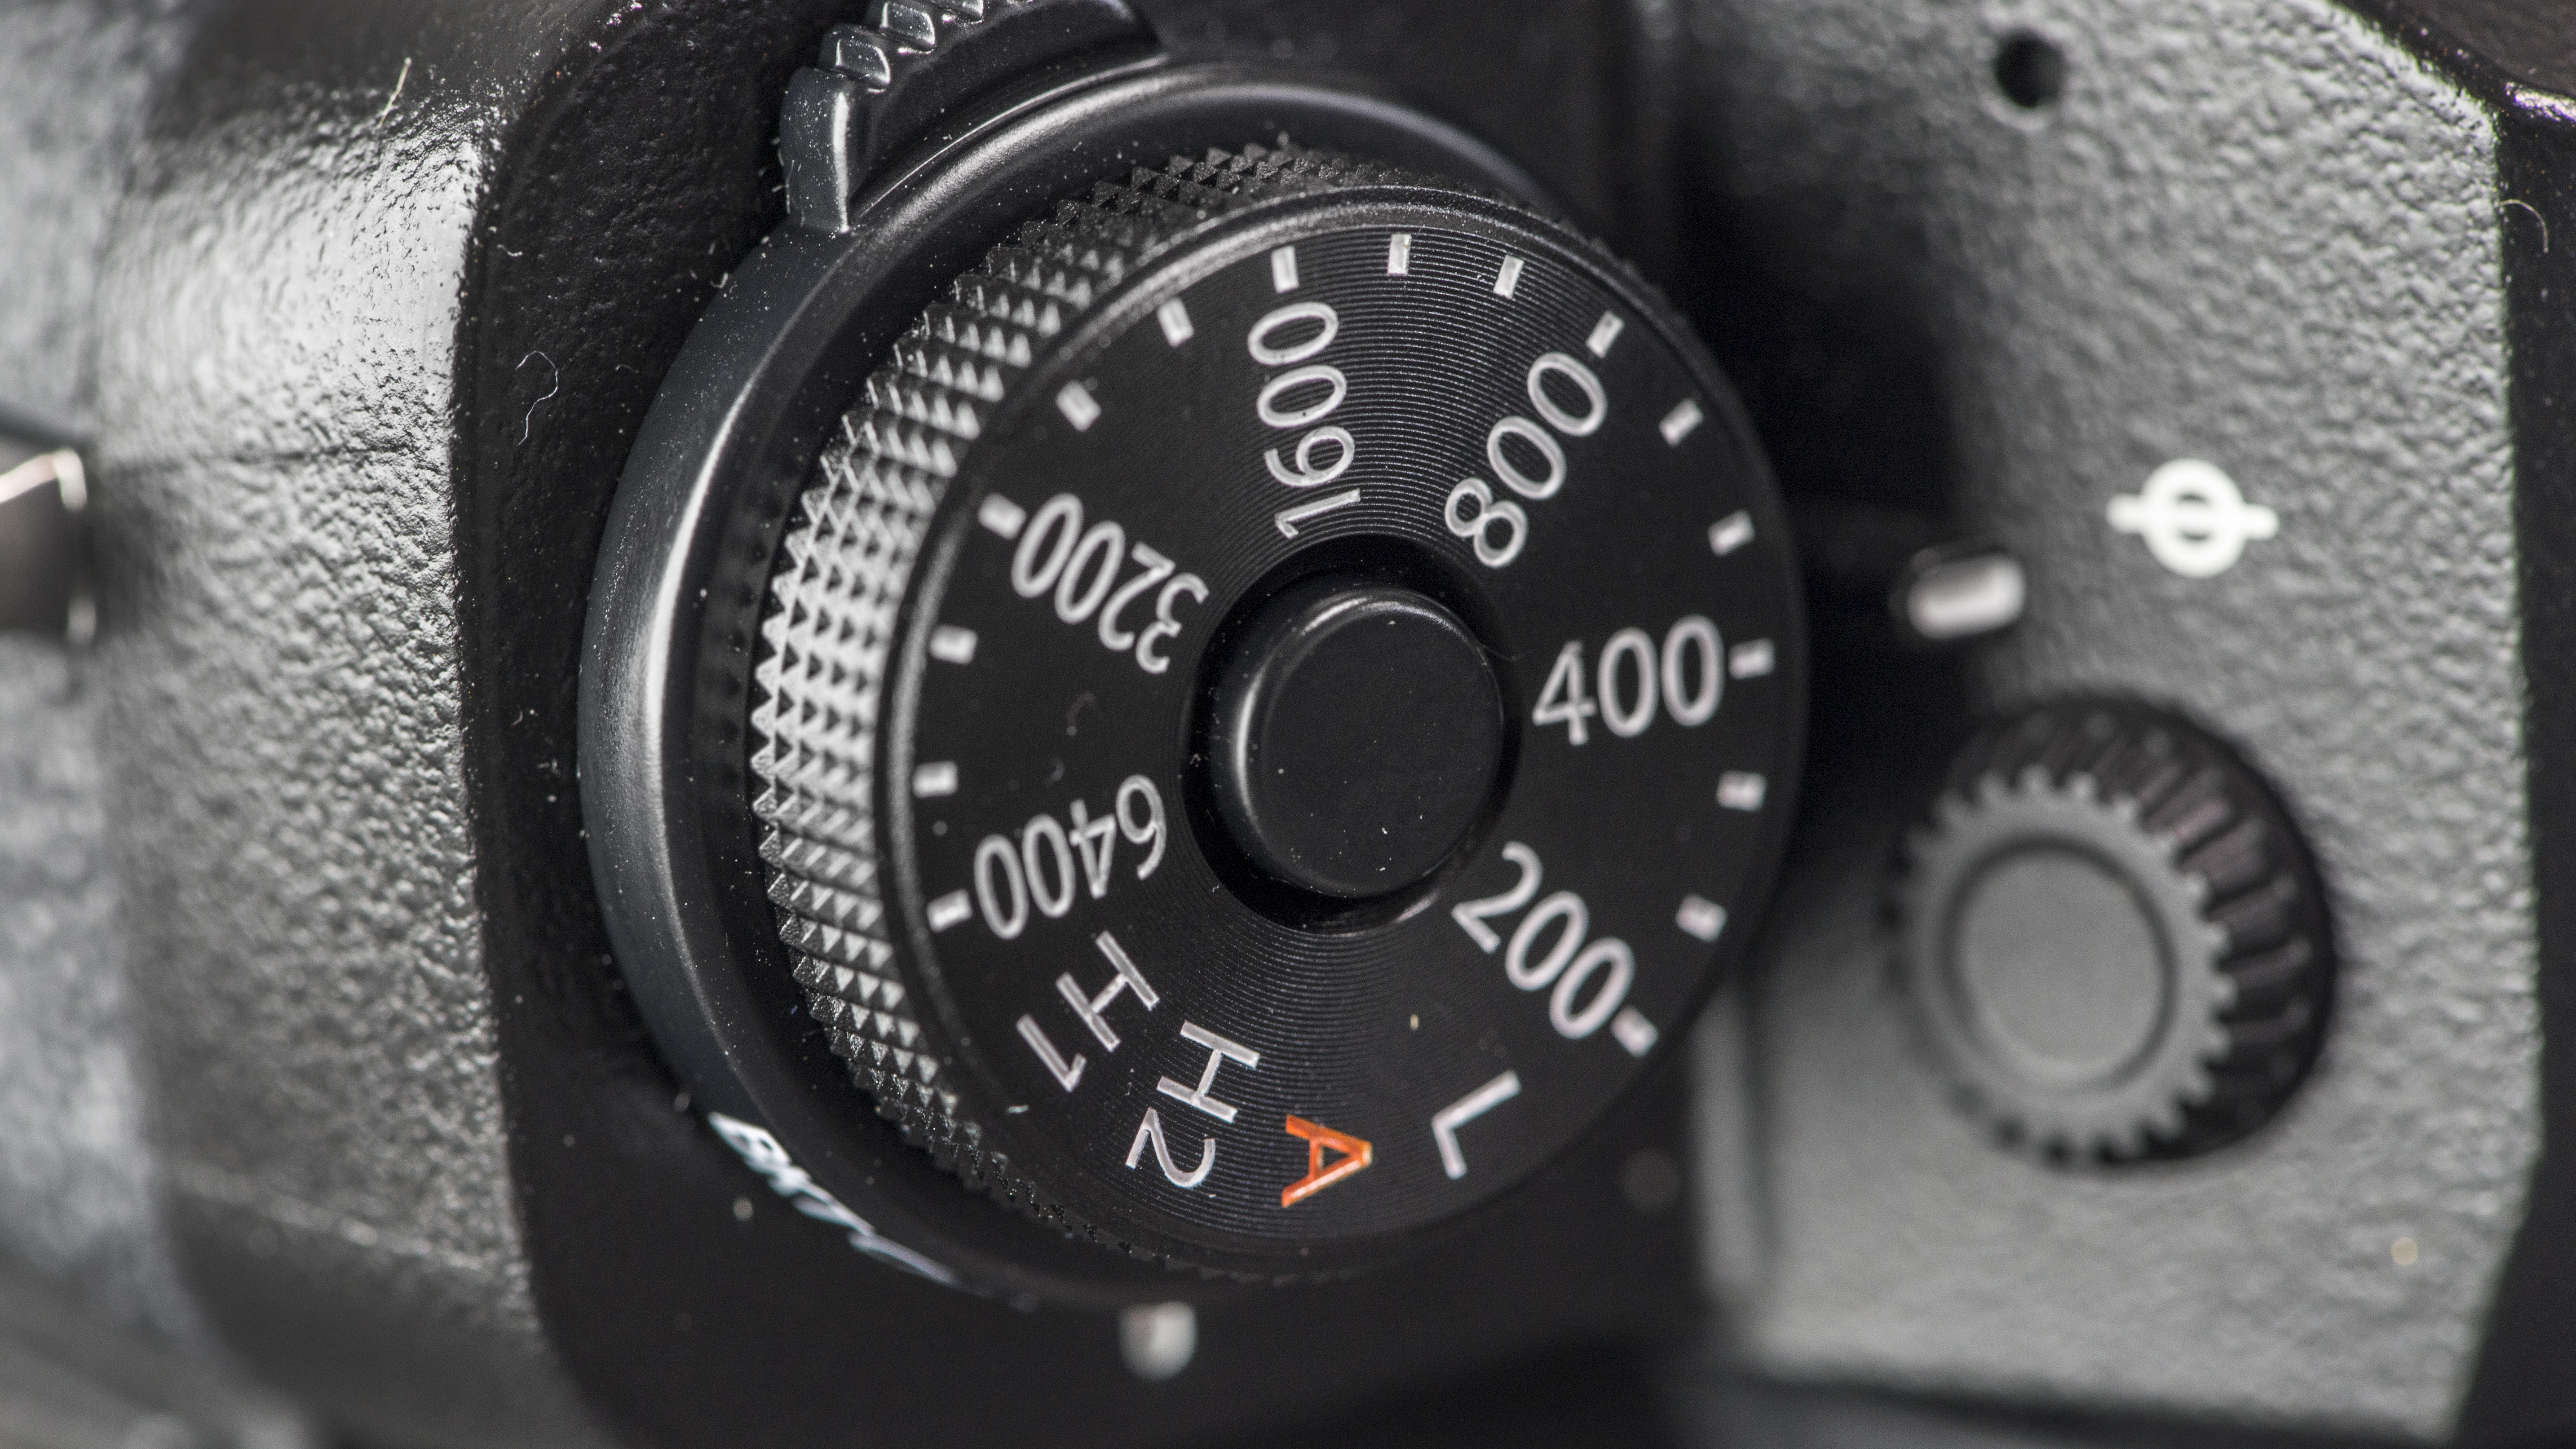
There's a lock button at the centre of the sensitivity dial which must be pressed before it can be rotated to prevent accidental changes to the exposure settings. Directly underneath this dial, a second dial allows the drive mode to be selected. As well as single and continuous (high and low) shooting, this gives access to the bracketing, self-time and Advanced Filter options, plus Motion Panorama mode. It can be fairly easy to accidentally knock this dial when changing the ISO speed via the dial above it, but it's something you'll probably get used to with time.
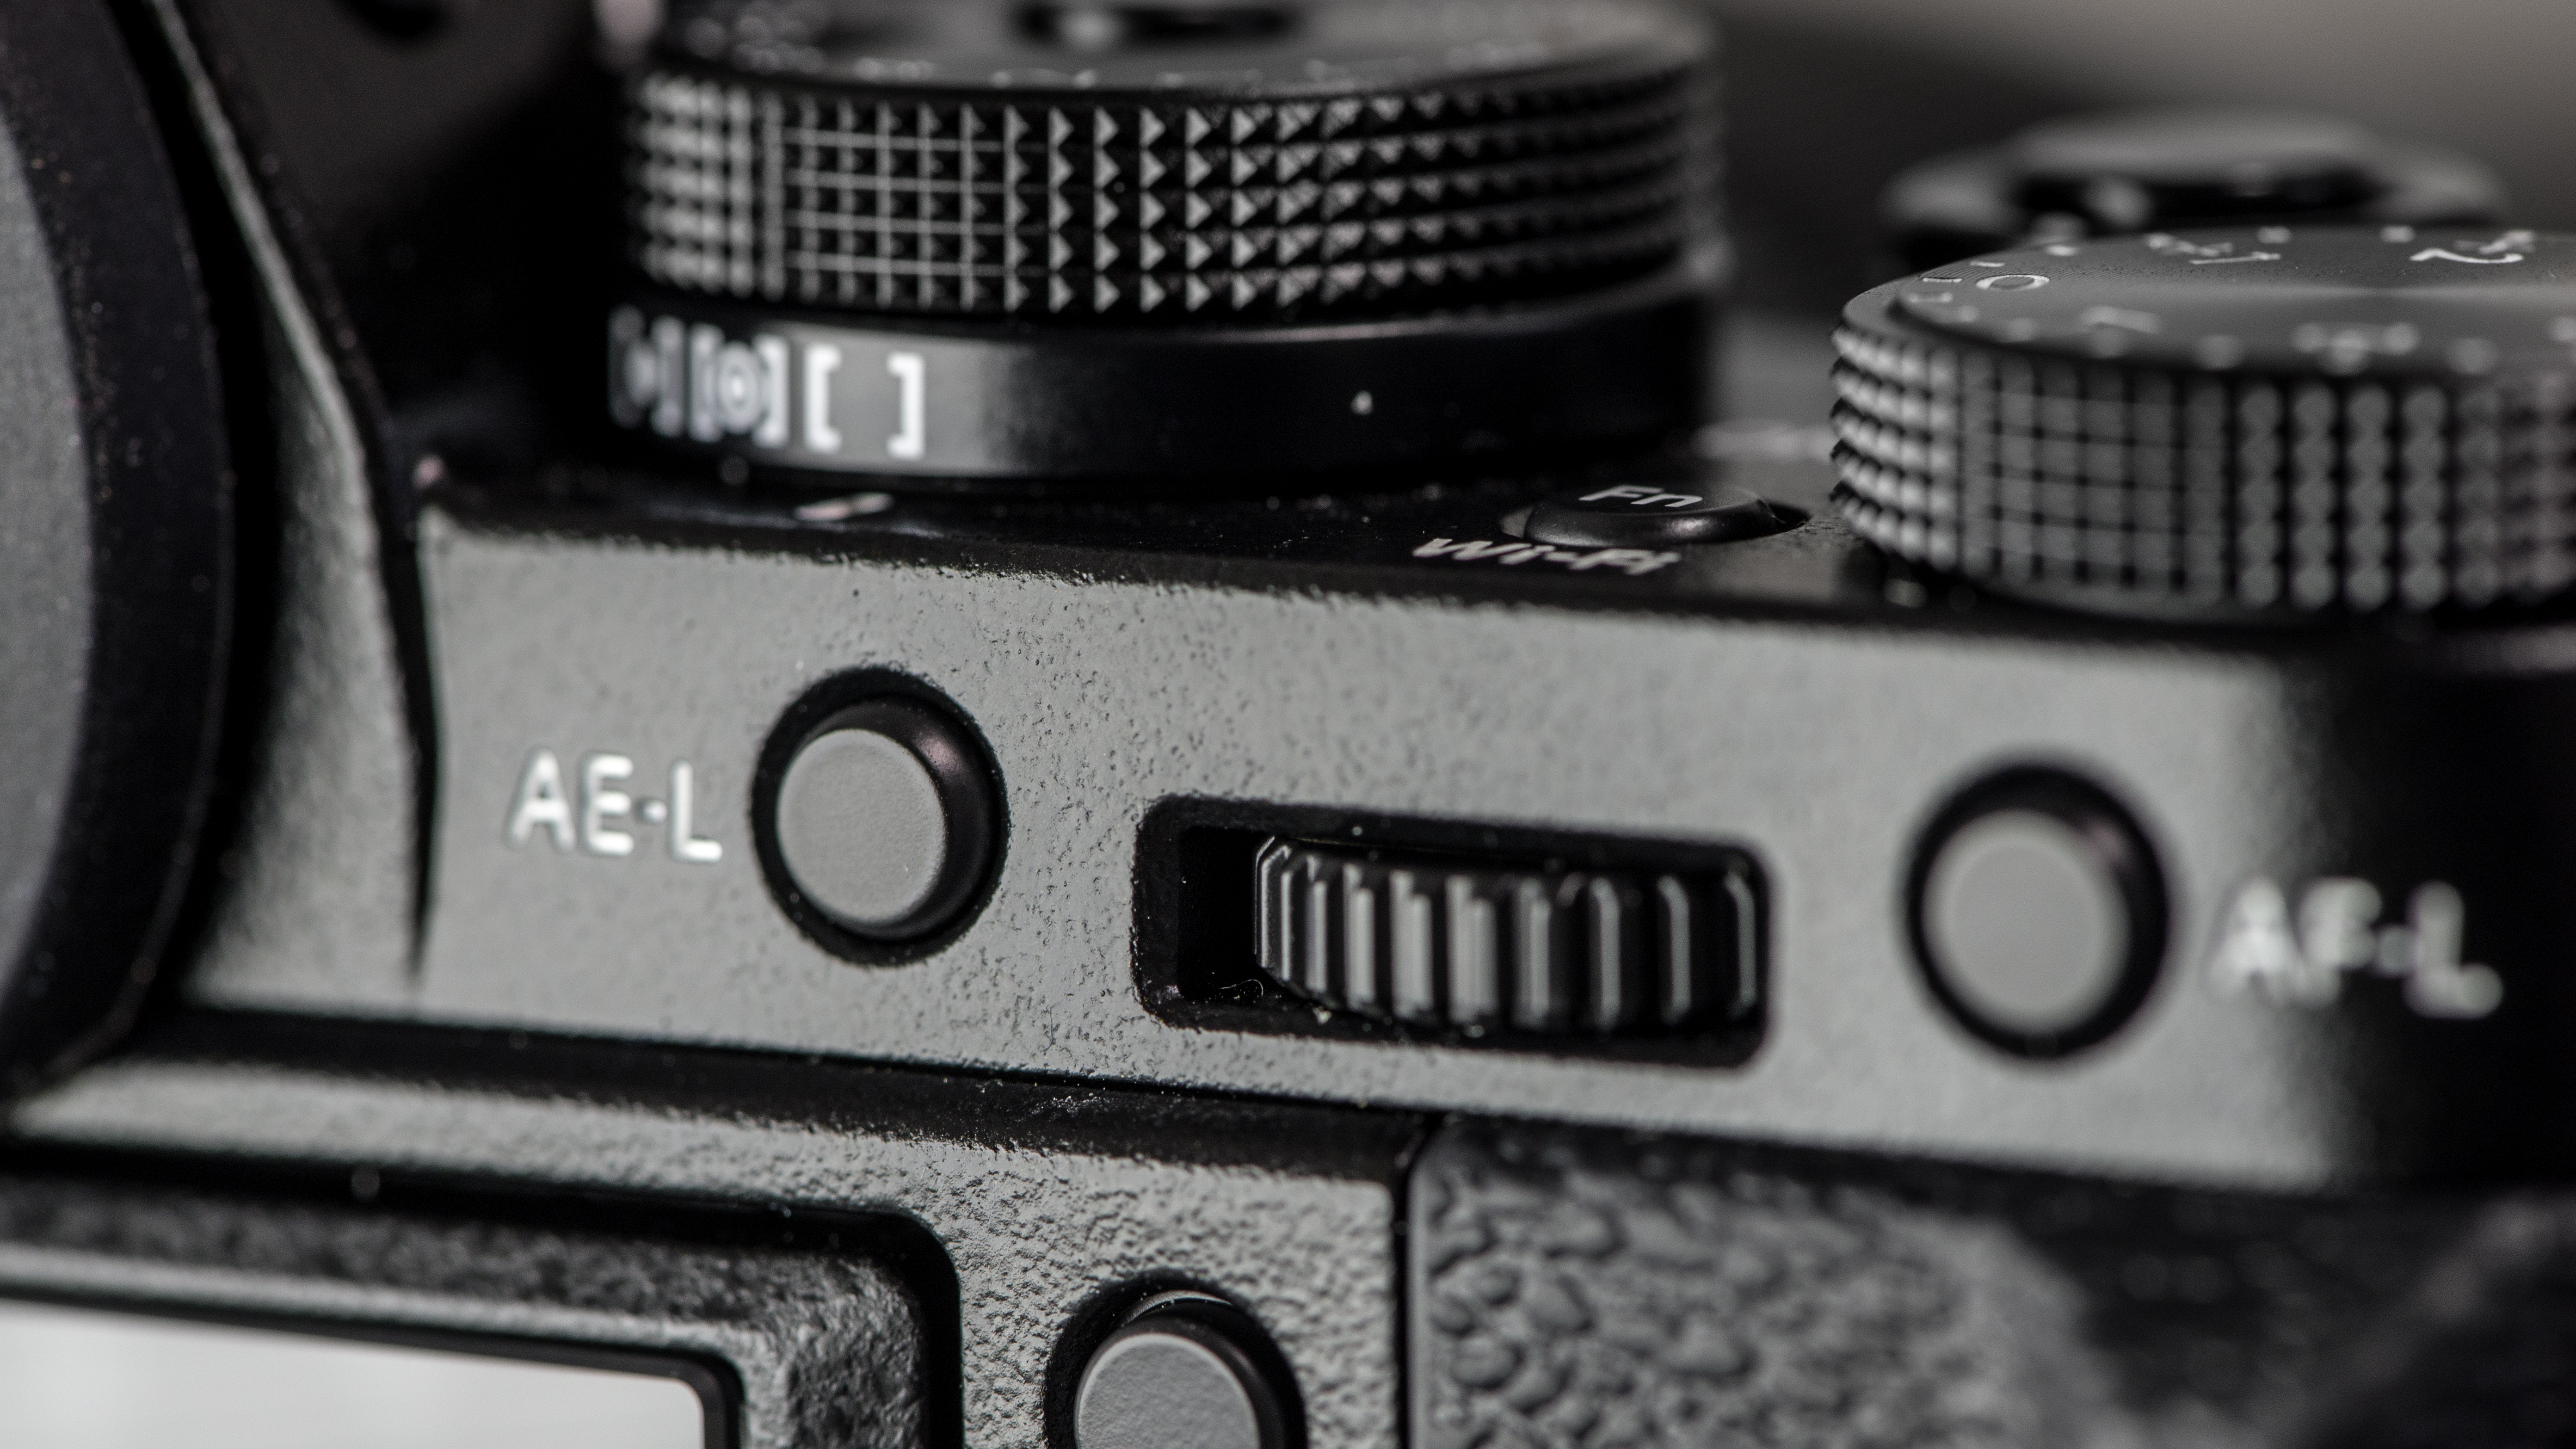
On the right of the camera's top plate, there are two chunky dials. Nearest the EVF is the shutter speed dial. Like the sensitivity dial, this has a central lock button, but it only comes into play when the dial is rotated to A for automatic. If you have this dial set to automatic, but control the aperture, then you're shooting in shutter priority mode.
The dial can be rotated unfettered between the numeric values (1-1/4000 sec with whole stop-markings but 1/3 stop settings) and T (Time) and B (Bulb settings). Another dial under the Shutter speed dial allows the photometry (metering) mode (multi, spot and centre-weighted average) to be selected. This seems to be stiffer than the drive mode dial, and because of the positioning, we didn't find this was accidentally changed along with shutter speed.
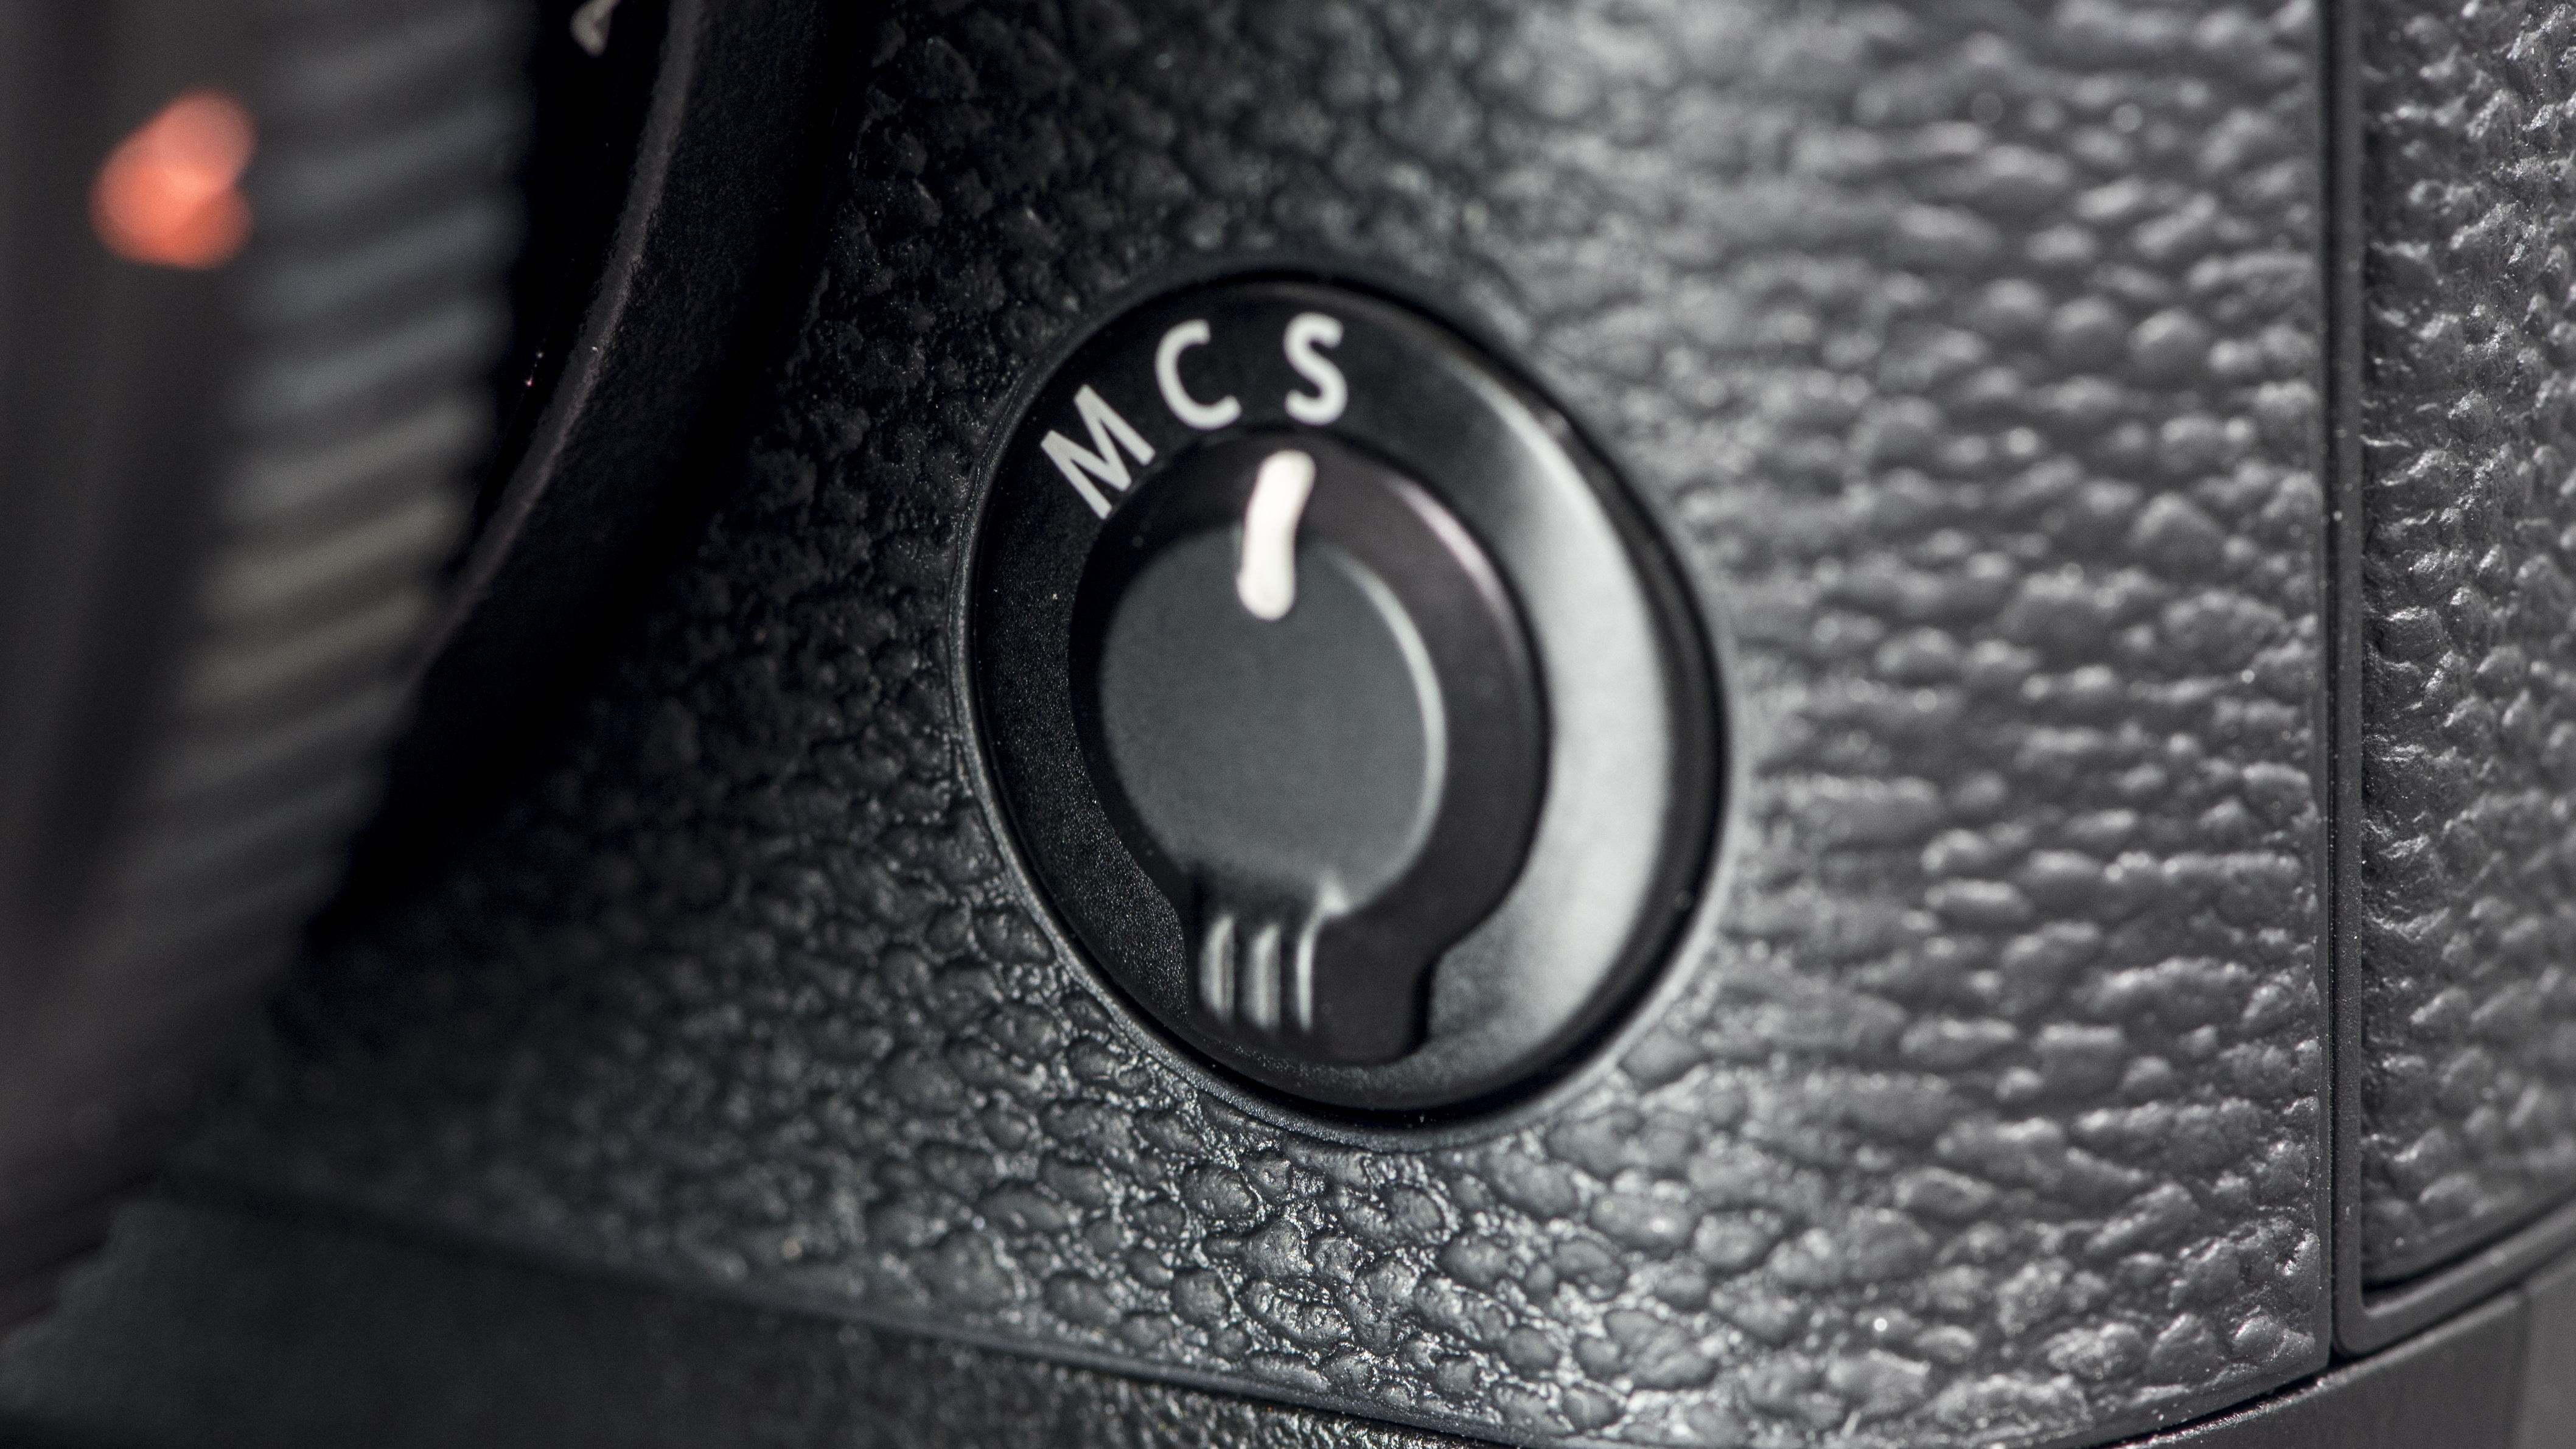
To shoot in program AE mode you simply set both the shutter speed dial and the aperture control to 'A'. Like other cameras, the X-T1 offers a 'program shift' option for shifting the shutter speed and aperture combinations in program AE mode, and the version 3 firmware update extends the range of shutter speeds available – previously the longest exposure was 1/4sec, but this has now been increased to 4 seconds.
Towards the far right end of the top-plate, within easy reach of the thumb, is the exposure compensation dial. This has settings running from -3 to +3EV. It doesn't have a lock, but it's fairly stiff so reasonably likely to stay in position.
Electronic shutter
Thanks to its firmware updates, the X-T1's regular mechanical shutter is no supplemented by an electronic shutter that goes up to a speed of 1/32,000sec. This is not designed for capturing fast-moving objects, though. Instead, it's there to exploit the shallow depth of field and 'bokeh' of Fuji's fastest prime lenses, even in bright sunlight.
In bright sunlight, at the X-T1's minimum sensitivity of ISO 200, and at its maximum mechanical shutter speed of 1/4000sec, the widest aperture you can use is around f/4. If you're shooting with one of Fuji's kit lenses that's fine, because they don't go any wider. But if you want to use the shallow depth of field of Fuji's prime lenses, you'll need the electronic shutter mode.
This is activated in the camera settings menu, and because the top dial only goes up to 1/4,000sec, you access the higher speeds with the command dial.
The calculation is pretty straightforward. To shoot at f/2.8 in bright sunlight you'll need a shutter speed of 1/8,000sec, to shoot at f/2 you'll need 1/16,000sec and to shoot at f/1.4 (or with Fuji's 56mm f/1.2) you'll need the top, 1/32,000sec speed offered by the firmware upgrade.
Q button control
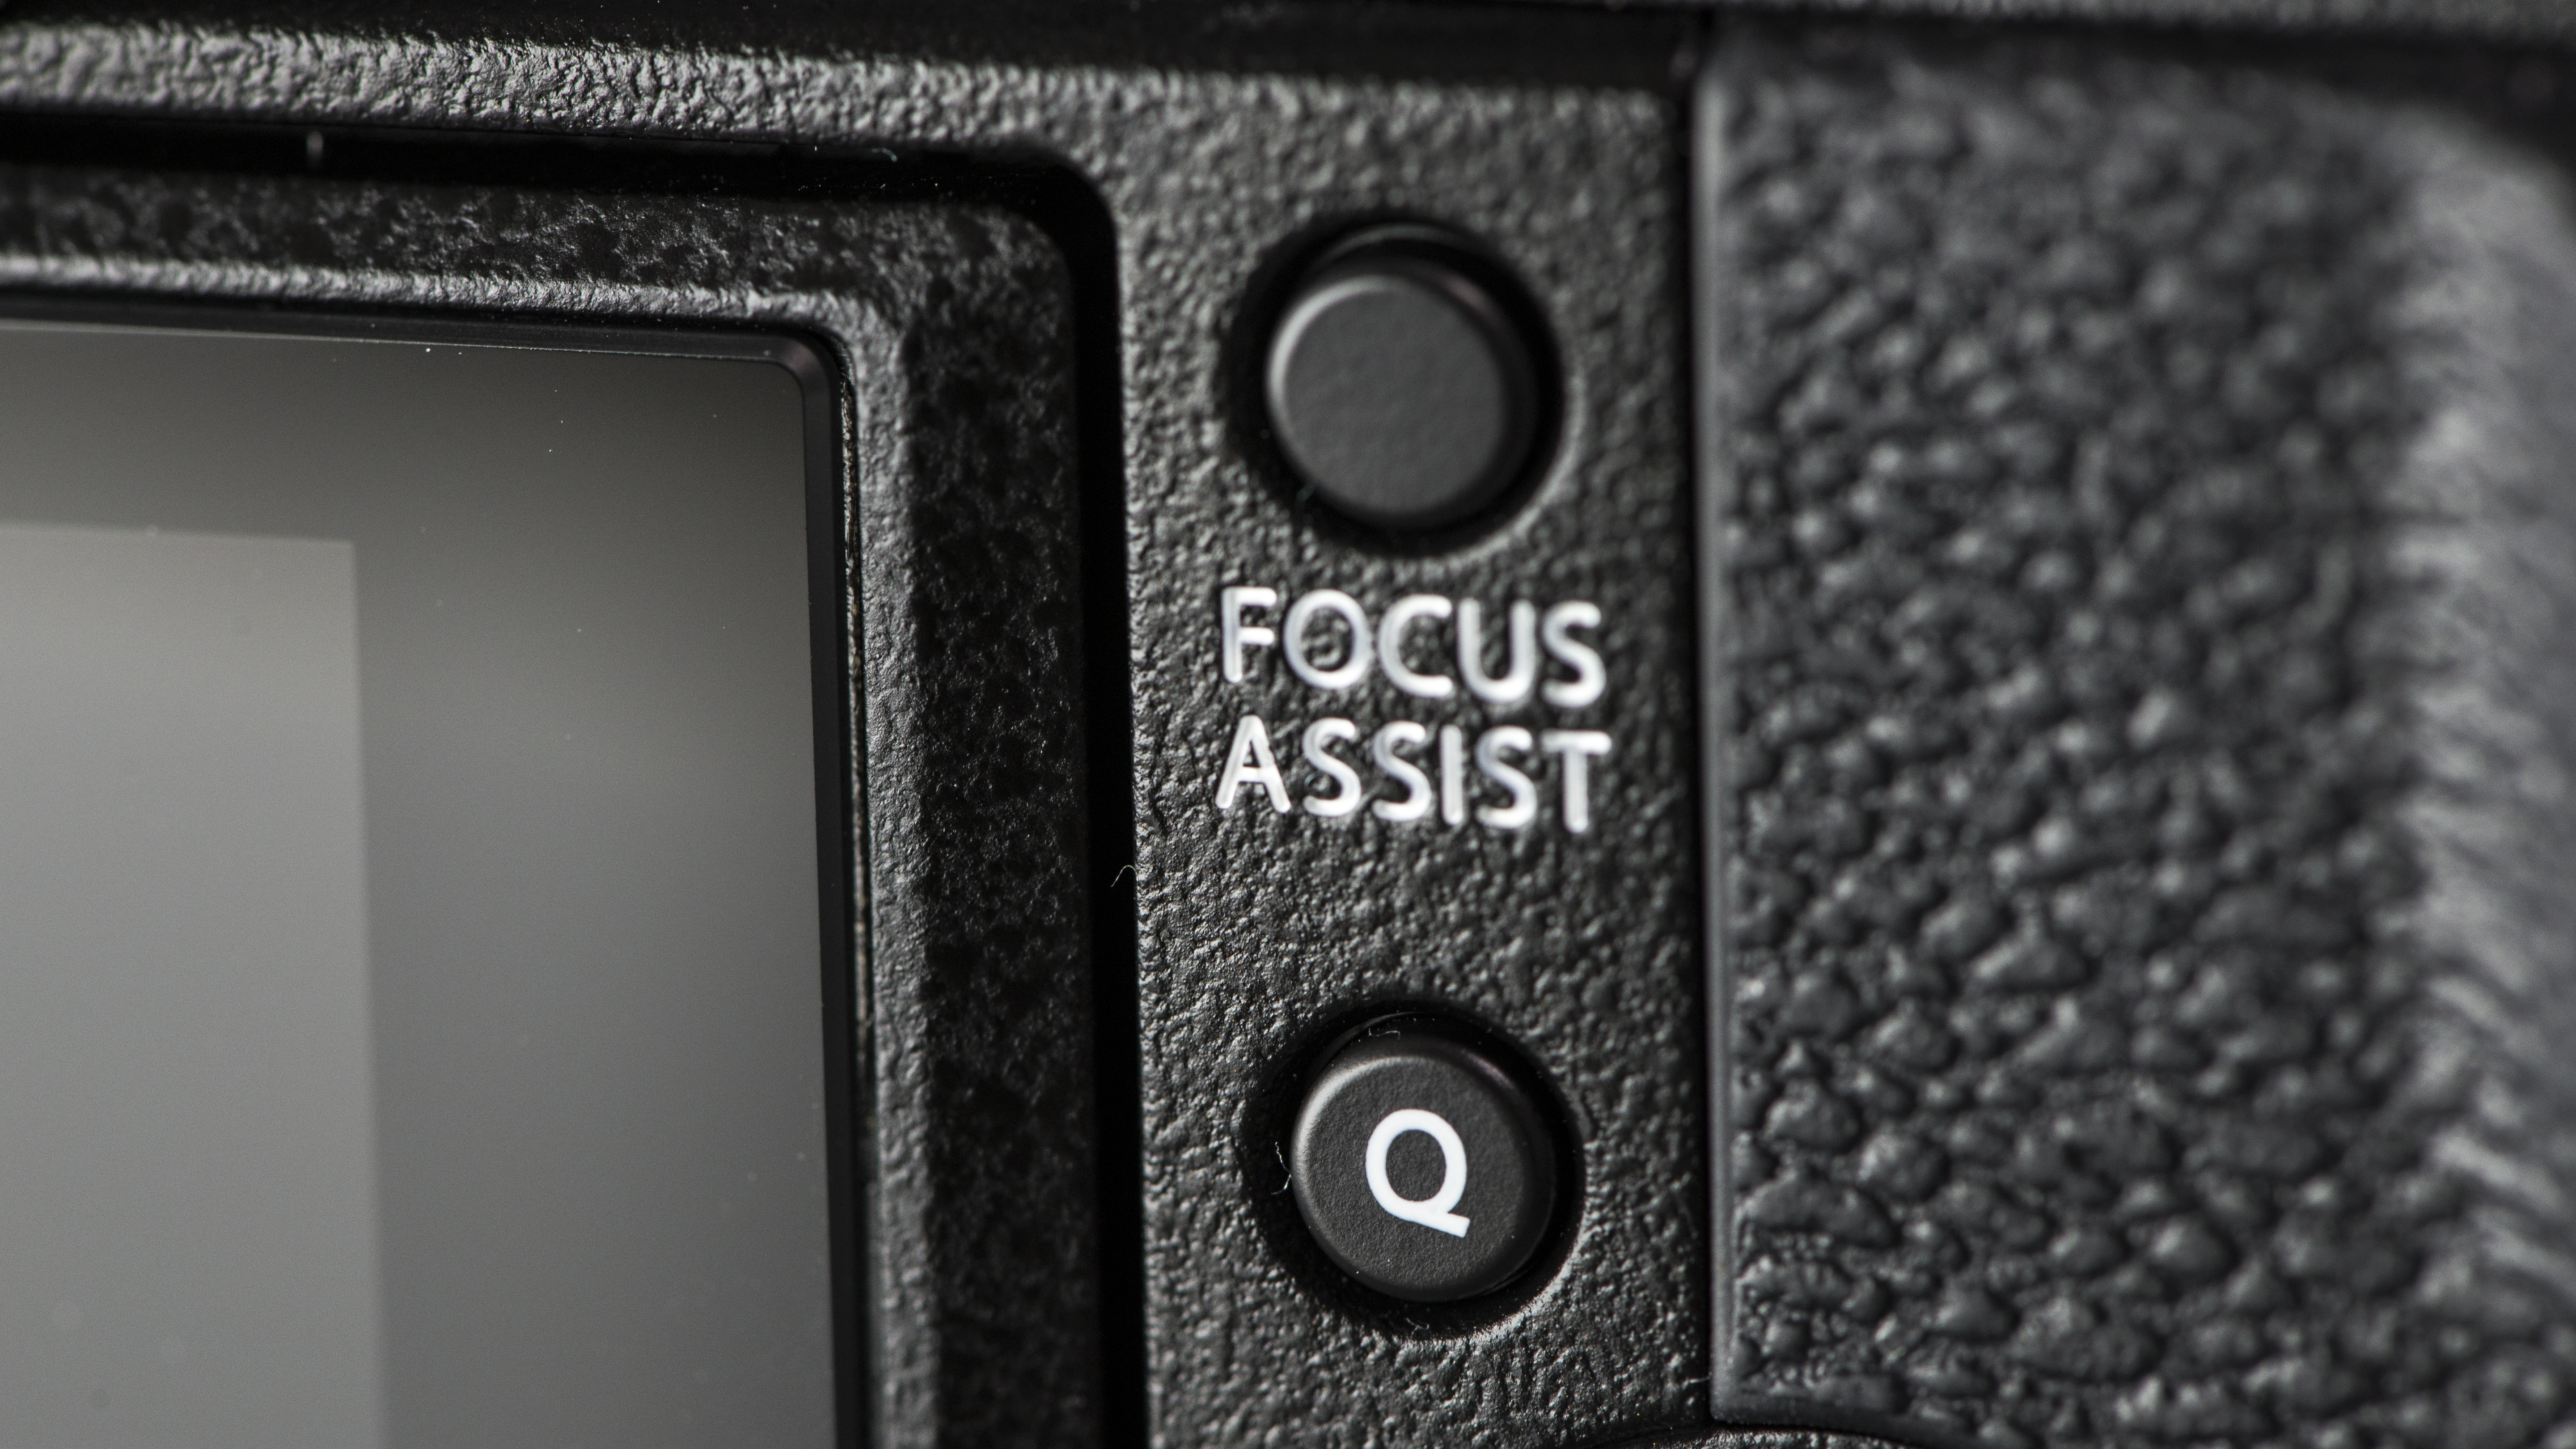
Like Fuji's other X-series cameras, pressing the Q button on the back of the X-T1 activates the Quick Menu. This provides a speedy route to key features such as the Film Simulation and white balance modes. You simply navigate to the option you want and then use the rear command dial to adjust the setting.
The version 3 firmware update brings the ability to customise this Q menu so that you can see the options you use most often.
Naturally, this is backed up by a full menu which has the usual Fuji X-series design and is fairly straightforward.
The camera isn't NFC enabled, but it does have Wi-Fi connectivity. After initial set-up, the camera connects quickly and easily with an iPhone. Fuji's new Camera Remote app (also available for Android) can be used to adjust a pretty extensive array of camera settings including shutter speed, aperture, exposure compensation, sensitivity, Film Simulation mode, white balance and Macro (closer focusing), as well as the flash and self-timer options. The AF point is set with a tap of a finger on the phone's screen.
Once the app is in control of the camera, the dials are over-ridden. It's also possible to switch the camera to shooting video via the phone.
You can also use the app to transfer images you've already taken straight over to your phone ready for sharing to social networks and so on. We found this to be a very straightforward process, and a nice touch when shooting out in the field and wanting to share quickly.
The TechRadar hive mind. The Megazord. The Voltron. When our powers combine, we become 'TECHRADAR STAFF'. You'll usually see this author name when the entire team has collaborated on a project or an article, whether that's a run-down ranking of our favorite Marvel films, or a round-up of all the coolest things we've collectively seen at annual tech shows like CES and MWC. We are one.
