Why you can trust TechRadar
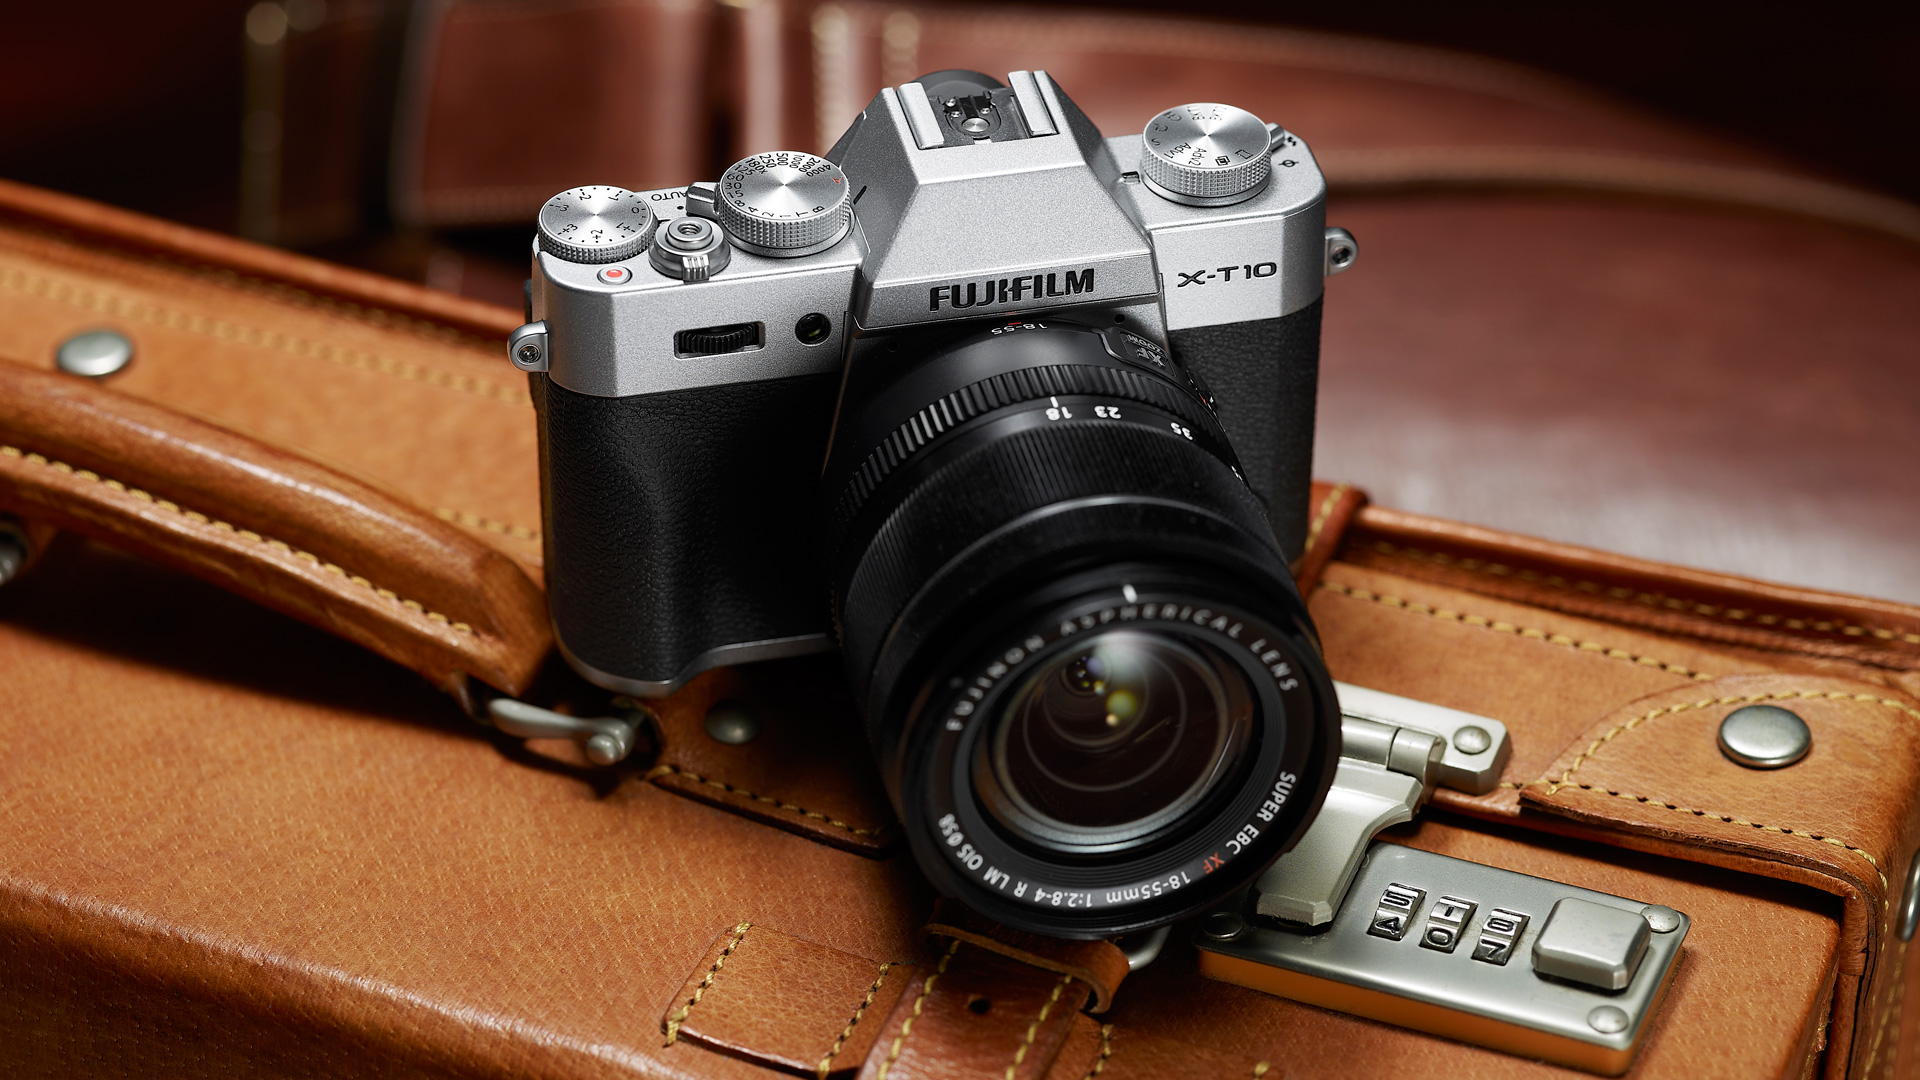
While it doesn't have the weather resistant build of the X-T1, like other X-series CSCs the X-T10 is still very nicely put together with a pleasantly solid, die-cast magnesium alloy construction. It looks and feels like a high-quality piece of kit, and a proper member of the X-series family.
From the front and rear the X-T10 doesn't look much smaller than the X-T1. From above, however, it's clear that the new camera is quite a bit slimmer. Fuji lists the X-T10's dimensions as 118.4 x 82.8 x 40.8mm, or 4.7 x 3.3 x 1.6 inches, with a minimum depth of 31.9mm or 1.3 inches, whereas the X-T1 measurements are given as 129.0 x 89.8 x 46.7mm, or 5.0 x 3.5 x 1.8 inches, and a minimum depth of 33.4mm or 1.3 inches. The X-T10 also weighs 331g/11.7oz (body only), while the X-T1 is 390g /13.7oz.
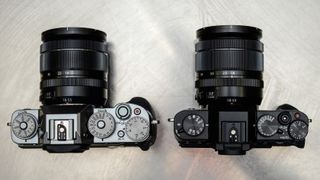
The front and rear grips are also less pronounced, but thanks in part to their super-grippy covering, they still work very well and the camera feels safe and comfortable in your hand. I carried it by the grip for a couple of hours or so with the Fujinon XF50-140mm f/2.8 R LM OIS WR lens mounted and it felt secure, if a little front-heavy.
Like the X-T1, the X-T10 has traditional exposure controls, but there aren't as many dials on the top of the new camera. On the right there's the exposure compensation dial with settings running from -2 to +2EV, the power switch surrounding the shutter release and the shutter speed dial with settings running from 1 to 1/4000 sec plus Bulb, Time and Automatic.
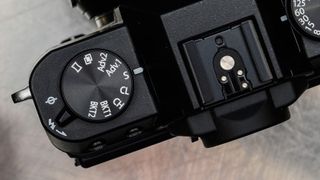
Over on the left of the top-plate, where the X-T1 has a dial to set sensitivity, is a drive mode dial. In addition to providing a means of setting the camera to Single, Continuous Low (speed) and Continuous High (speed) shooting (up to eight frames per second) this has options for accessing the bracketing, Advanced Filter (there are two settings for this), Multiple exposure and Panorama modes. There are two bracketing options, one for exposure bracketing and another for Film Simulation bracketing, enabling you to produce a sequence of three images with different exposures or different Film Simulation settings.
Fuji's Quick menu system is very good, and it's possible to customise it on the X-T10 with 27 different options being available to be assigned to any of the scene locations. It's nice to be able exclude features that you don't use in preference for those that you do.
ISO options
There's no sensitivity dial on the X-T10, but there are a number of ways of selecting the ISO setting you want. The first option is via the main menu, but there's also the Quick menu that's accessed by pressing the Q button. Alternatively, one of the physical controls can be customised to access sensitivity values. The front dial, which by default is used to access the autofocus options, could be a good choice – pressing this dial brings up the available settings, and it can then be rotated to select the correct value. A third option is to allow the sensitivity to be set automatically by the camera. I find this a very good option, as you can set a default value as well as a maximum sensitivity and minimum shutter speed, so you can be confident images won't be too noisy or suffer from camera shake.
The rear dial can also be pressed as well as rotated, and is used to zoom into the selected focus point or magnify images in review mode. Unusually for this camera, this dial is not customisable, but there are plenty of other customisable controls.
A small switch protruding from underneath the drive mode dial is provided to pop-up the built-in flash. This little flash seems tougher than the flimsy devices on some cameras, and its pop-up spring is quite strong.
Shutter speed and aperture control
When a lens with an aperture ring is mounted on the X-T10, aperture is set either manually, by selecting a value using the ring, or automatically by the camera when the ring is set to A. Shutter speed is set via the shutter speed dial. If both the aperture ring and shutter speed dial are set to A the camera operates in Program mode. If only one is set to A, the camera is in aperture priority or shutter priority mode. For example, if the shutter speed dial is set to 1/60th and the aperture ring is on A, the camera is in shutter priority mode and will set the aperture automatically.
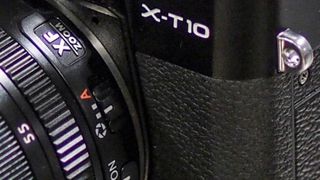
To help less experienced photographers, or when speed is of the essence, Fuji has given the X-T10 a switch that enables users to override the exposure settings and set the camera to fully-automatic mode. This switch sticks out from under the shutter speed dial – it's near the power switch, but it's unlikely that the two could be confused.
Although the electronic viewfinder (EVF) is noticeably smaller than the X-T1's, it is still very good. When the camera is set to the Provia/Standard Film Simulation mode, there's a very slight boost in contrast and saturation in comparison with the scene that we expect to see with this setting. Details are clear, and there's no obvious texture in good lighting conditions. In low light some noise becomes apparent, but it's not objectionable.
I found that I was able to follow the movement of fast-moving cyclists in the EVF when shooting continuously, indicating that the refresh rate is sufficiently high.
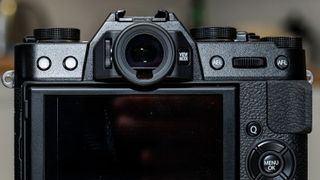
The 3-inch screen is also very good, displaying plenty of detail in all but very bright light, when reflections make the EVF a better option for composing images. The fact that the screen tilts up or down is useful for composing landscape shots from high or low angles, but it doesn't help with upright shots. Because the EVF eye cup extends a little beyond the back of the camera, the screen can't be tilted completely upright for viewing from in front to help with selfies, but you can always connect the camera to your smartphone and use Fuji's app to control it remotely to get a self-portrait.
Focus options
When shooting in Single shot or Continuous Low shooting mode and Zone AF mode, the X-T10 has 77 user-selectable autofocus points (rather than the 49 available in Single AF mode), which can be selected in groups of 3x3, 3x5 or 5x5. When Continuous High shooting mode is selected the number of AF points drops to 15 around the centre of the frame, and the zone can bet set to the whole area or a 3x3 square.
By default the AF point selection mode is activated by pressing the down key of the navigation controls on the back of the camera, and the size of the AF zone is adjusted using the front or rear command dial above the thumb and finger grips. The location is shifted via the navigation controls.
In Continuous AF Zone AF mode the camera focuses on the subject within the selected zone, and switches between AF points within the zone as the subject moves. In Wide/Tracking mode the active AF point(s) move across the whole frame (or across the central group in Continuous High shooting mode) as the subject moves, turning green as they become active.
Testing Samsung's new AI-powered vacuum taught me that I don't really need my vac to be know the difference between every single surface
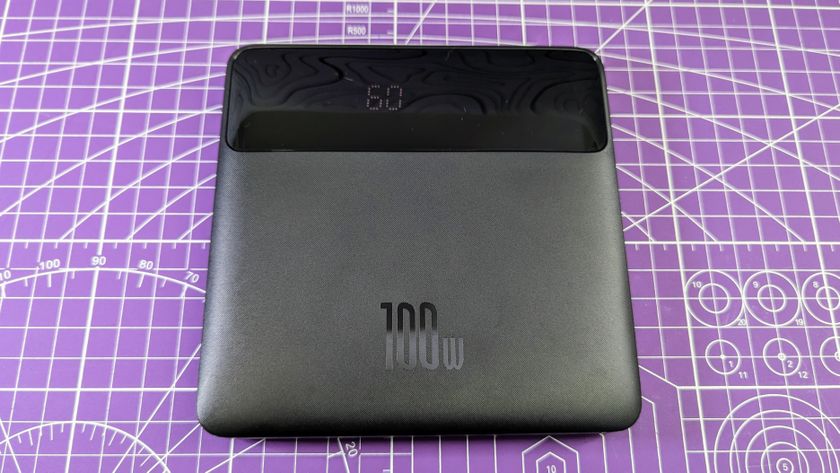
I’ve used a lot of power banks, but the Baseus Blade Pro is the only one slim enough for my laptop sleeve
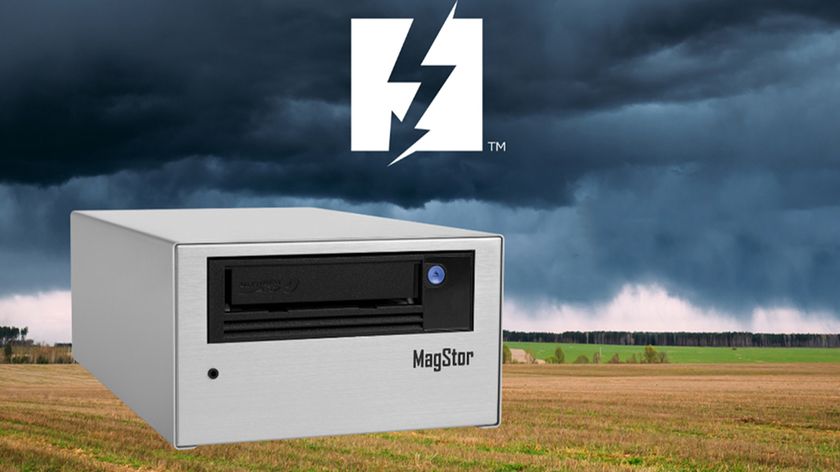
This is the world's first Thunderbolt 5 LTO tape drive and I can't understand why it exists in the first place
