Why you can trust TechRadar
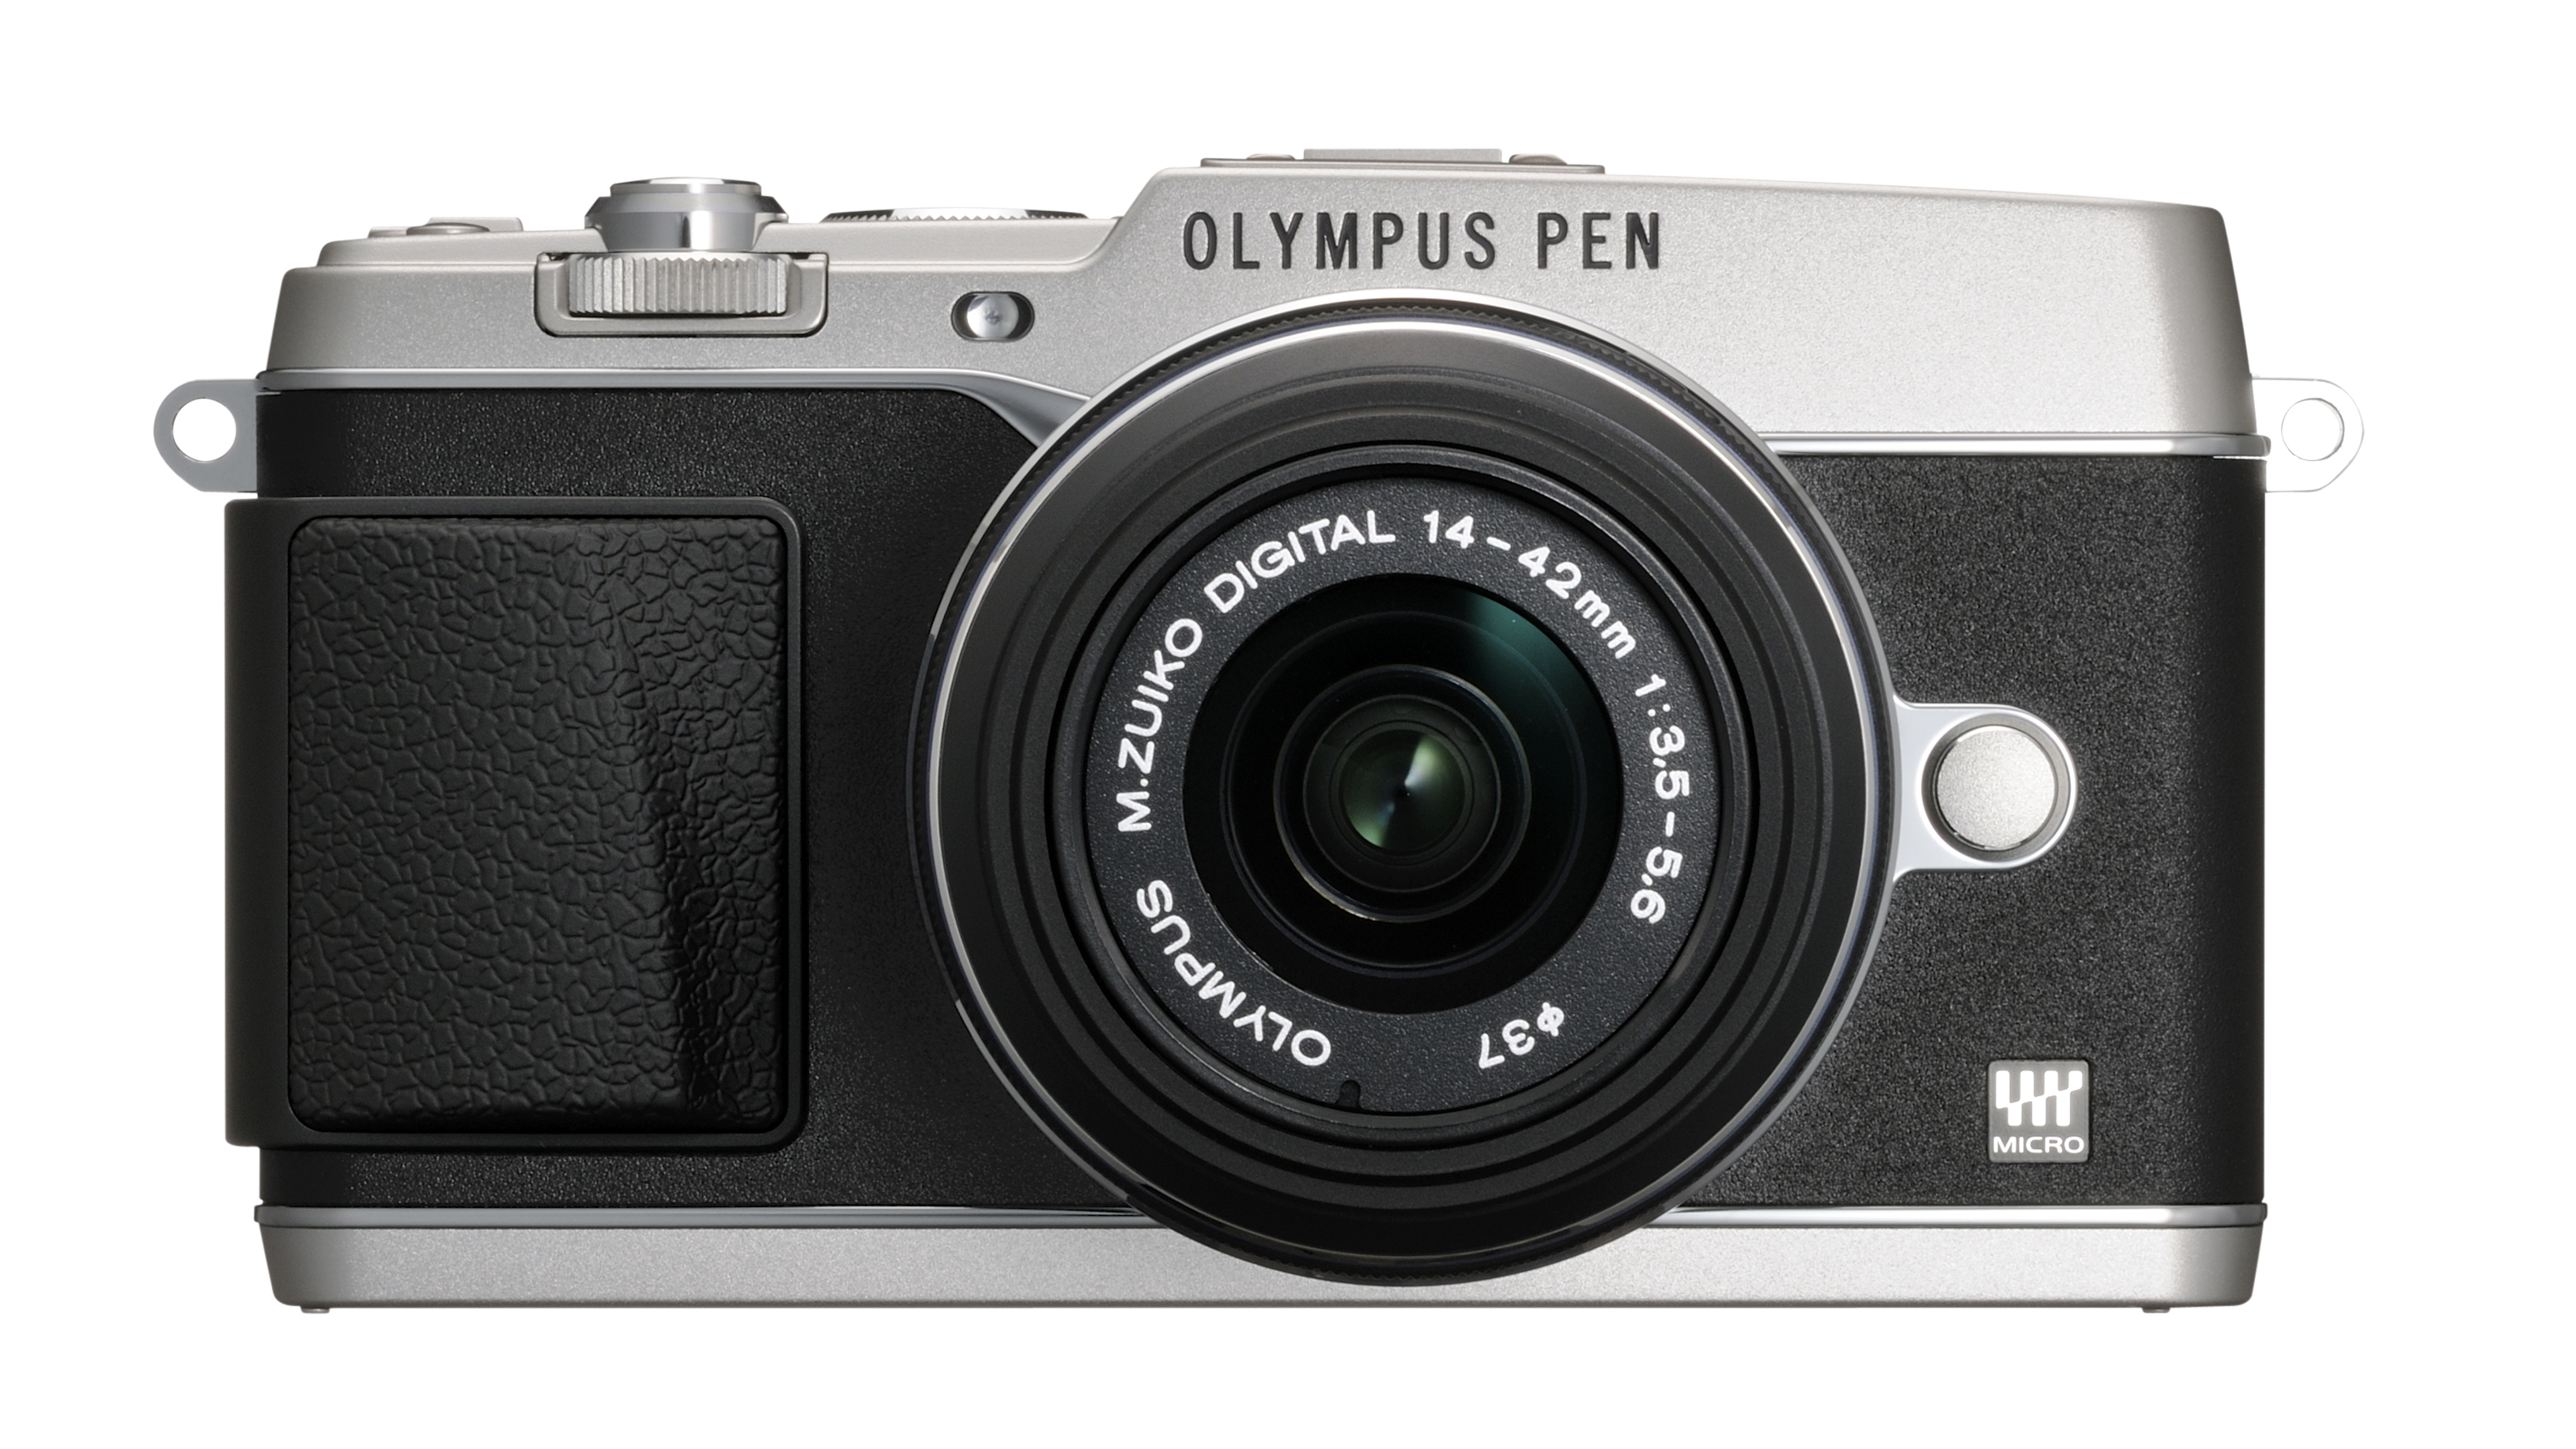
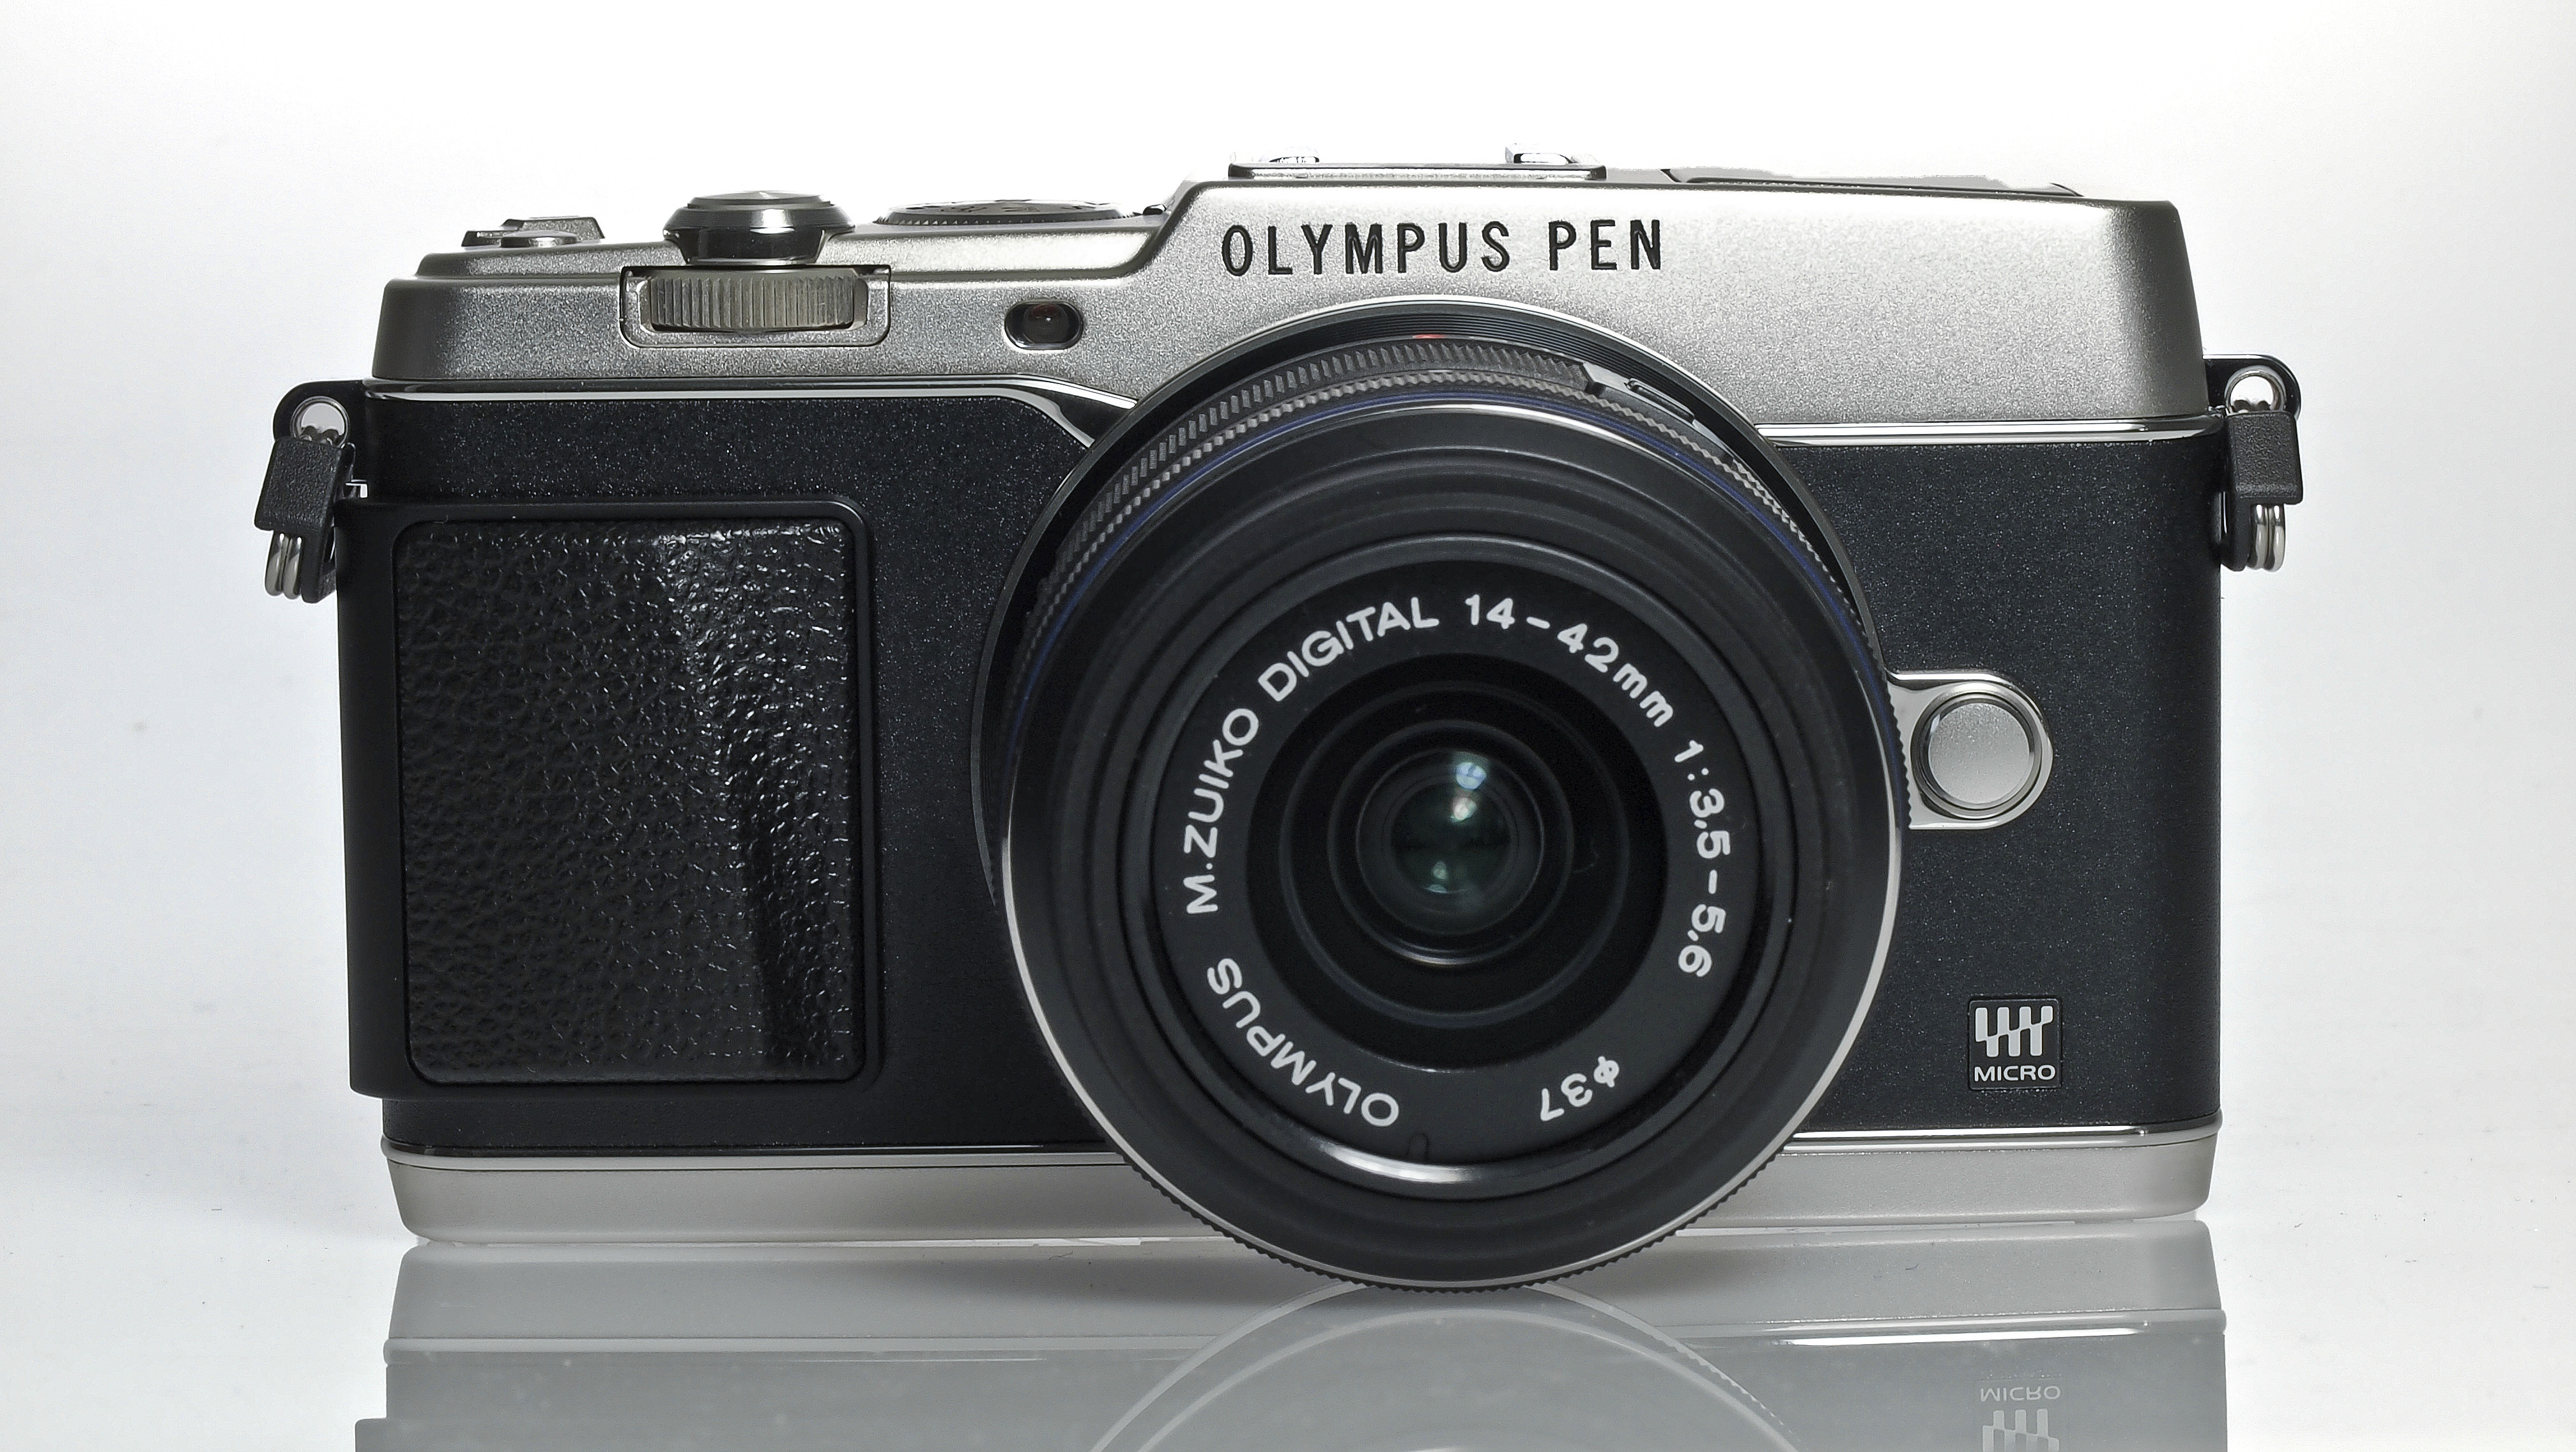
Olympus has used a very similar handling design to the previous incarnation of the camera, but with some very noticeable and welcome improvements on the Olympus PEN E-P5. The chassis is very similar to its predecessor, featuring a fairly chunky grip, which is particularly useful when shooting one-handed. A rubberised thumb rest sits at the back of the camera to give a bit of extra purchase too.
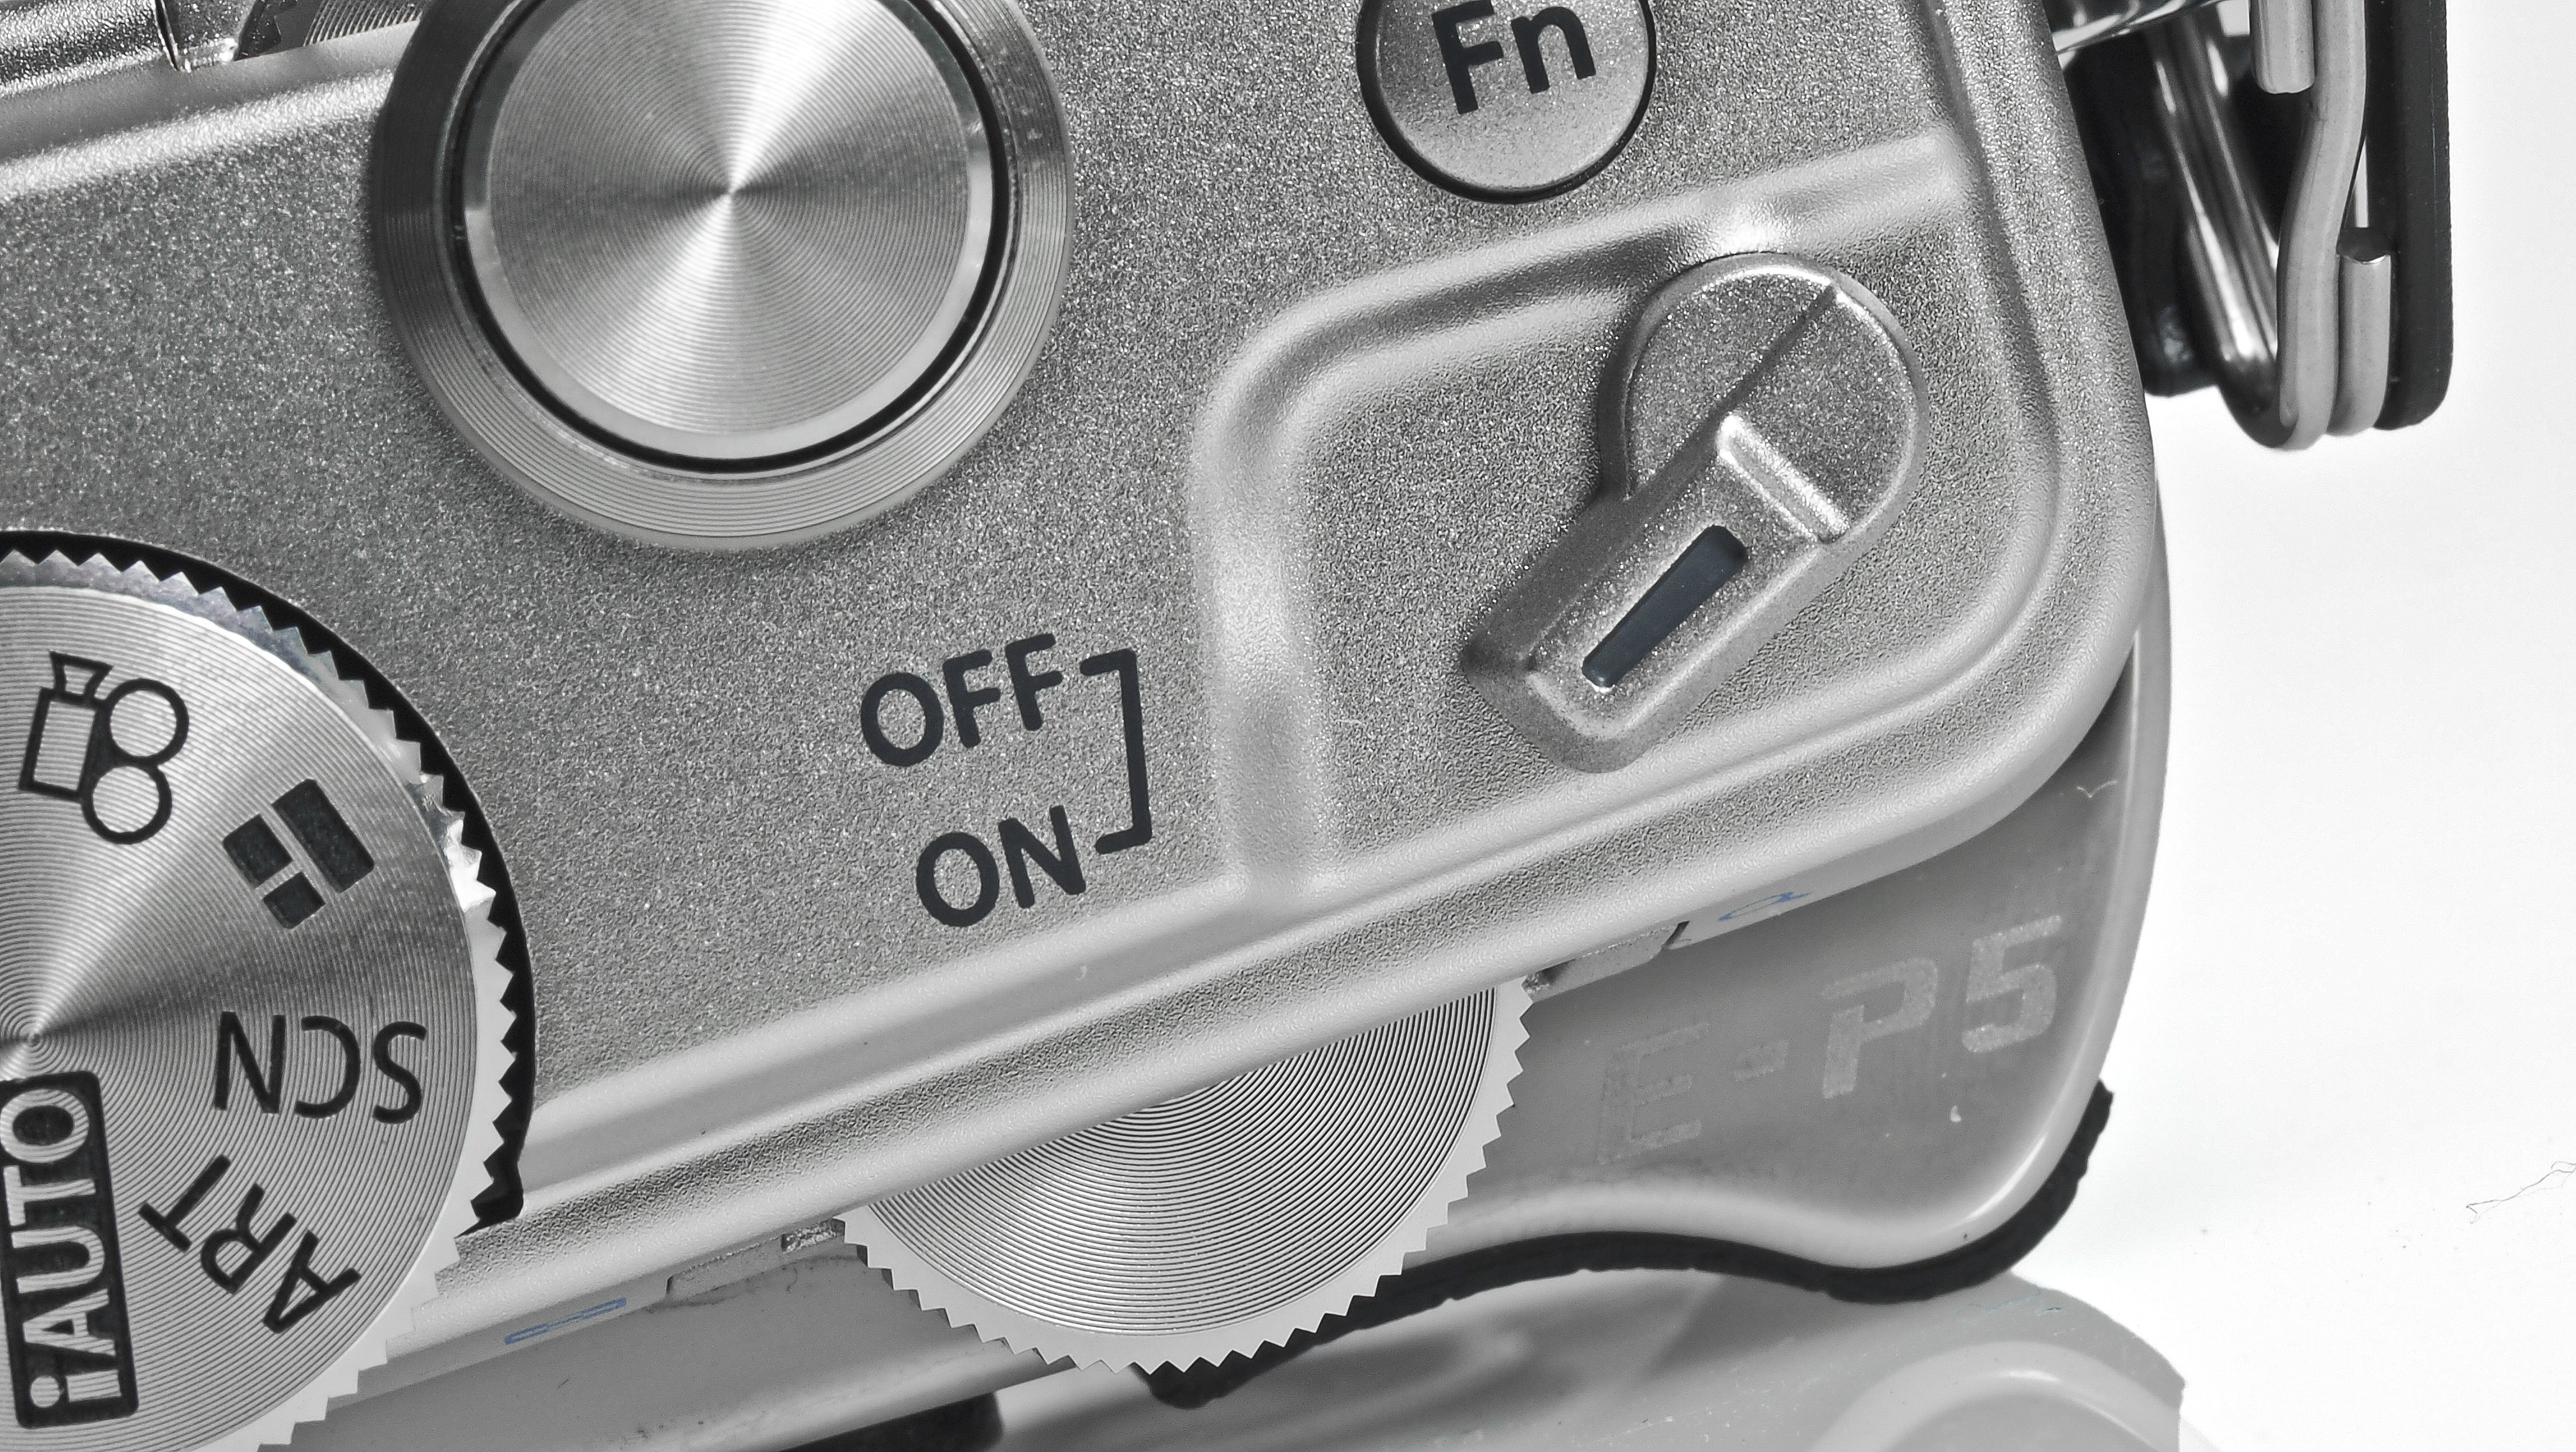
Unlike the Olympus PEN E-P3, the Olympus PEN E-P5 uses a switch to turn it on, rather than a button. This might seem like a trivial point, but it enables quicker start-up times. It has been recessed slightly into the body of the camera to prevent accidentally switching it on while in a bag or pocket.
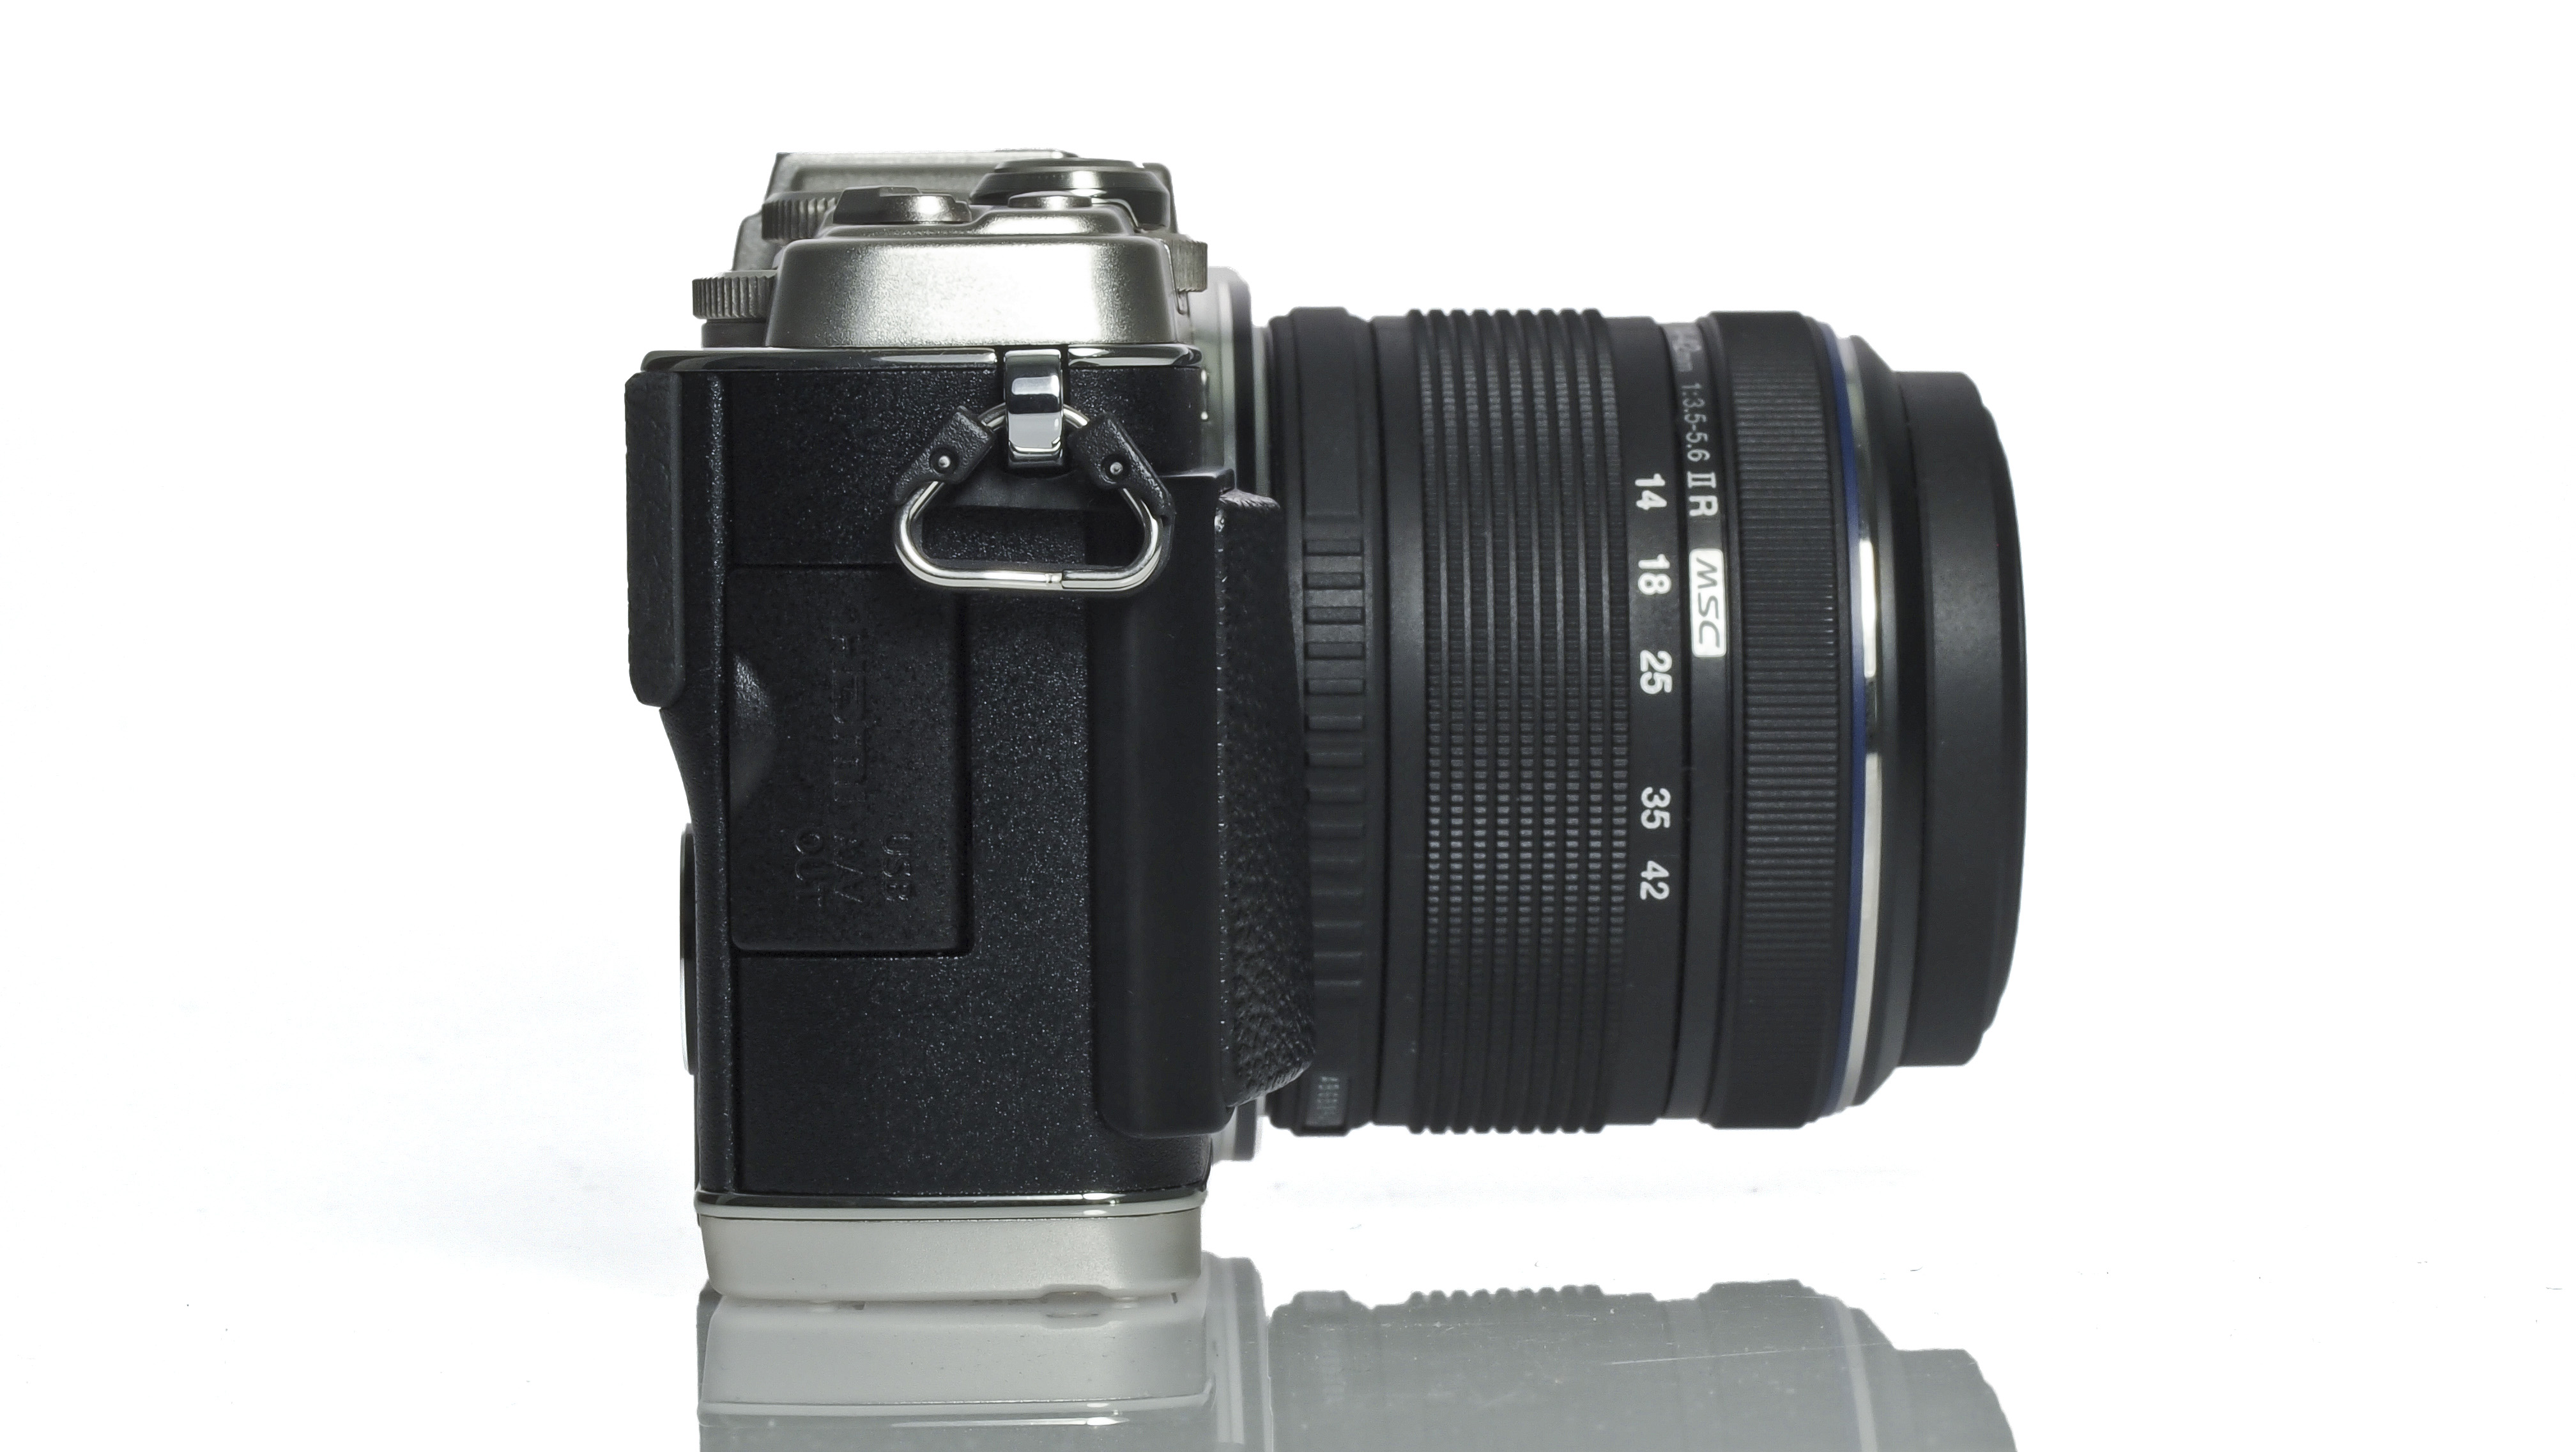
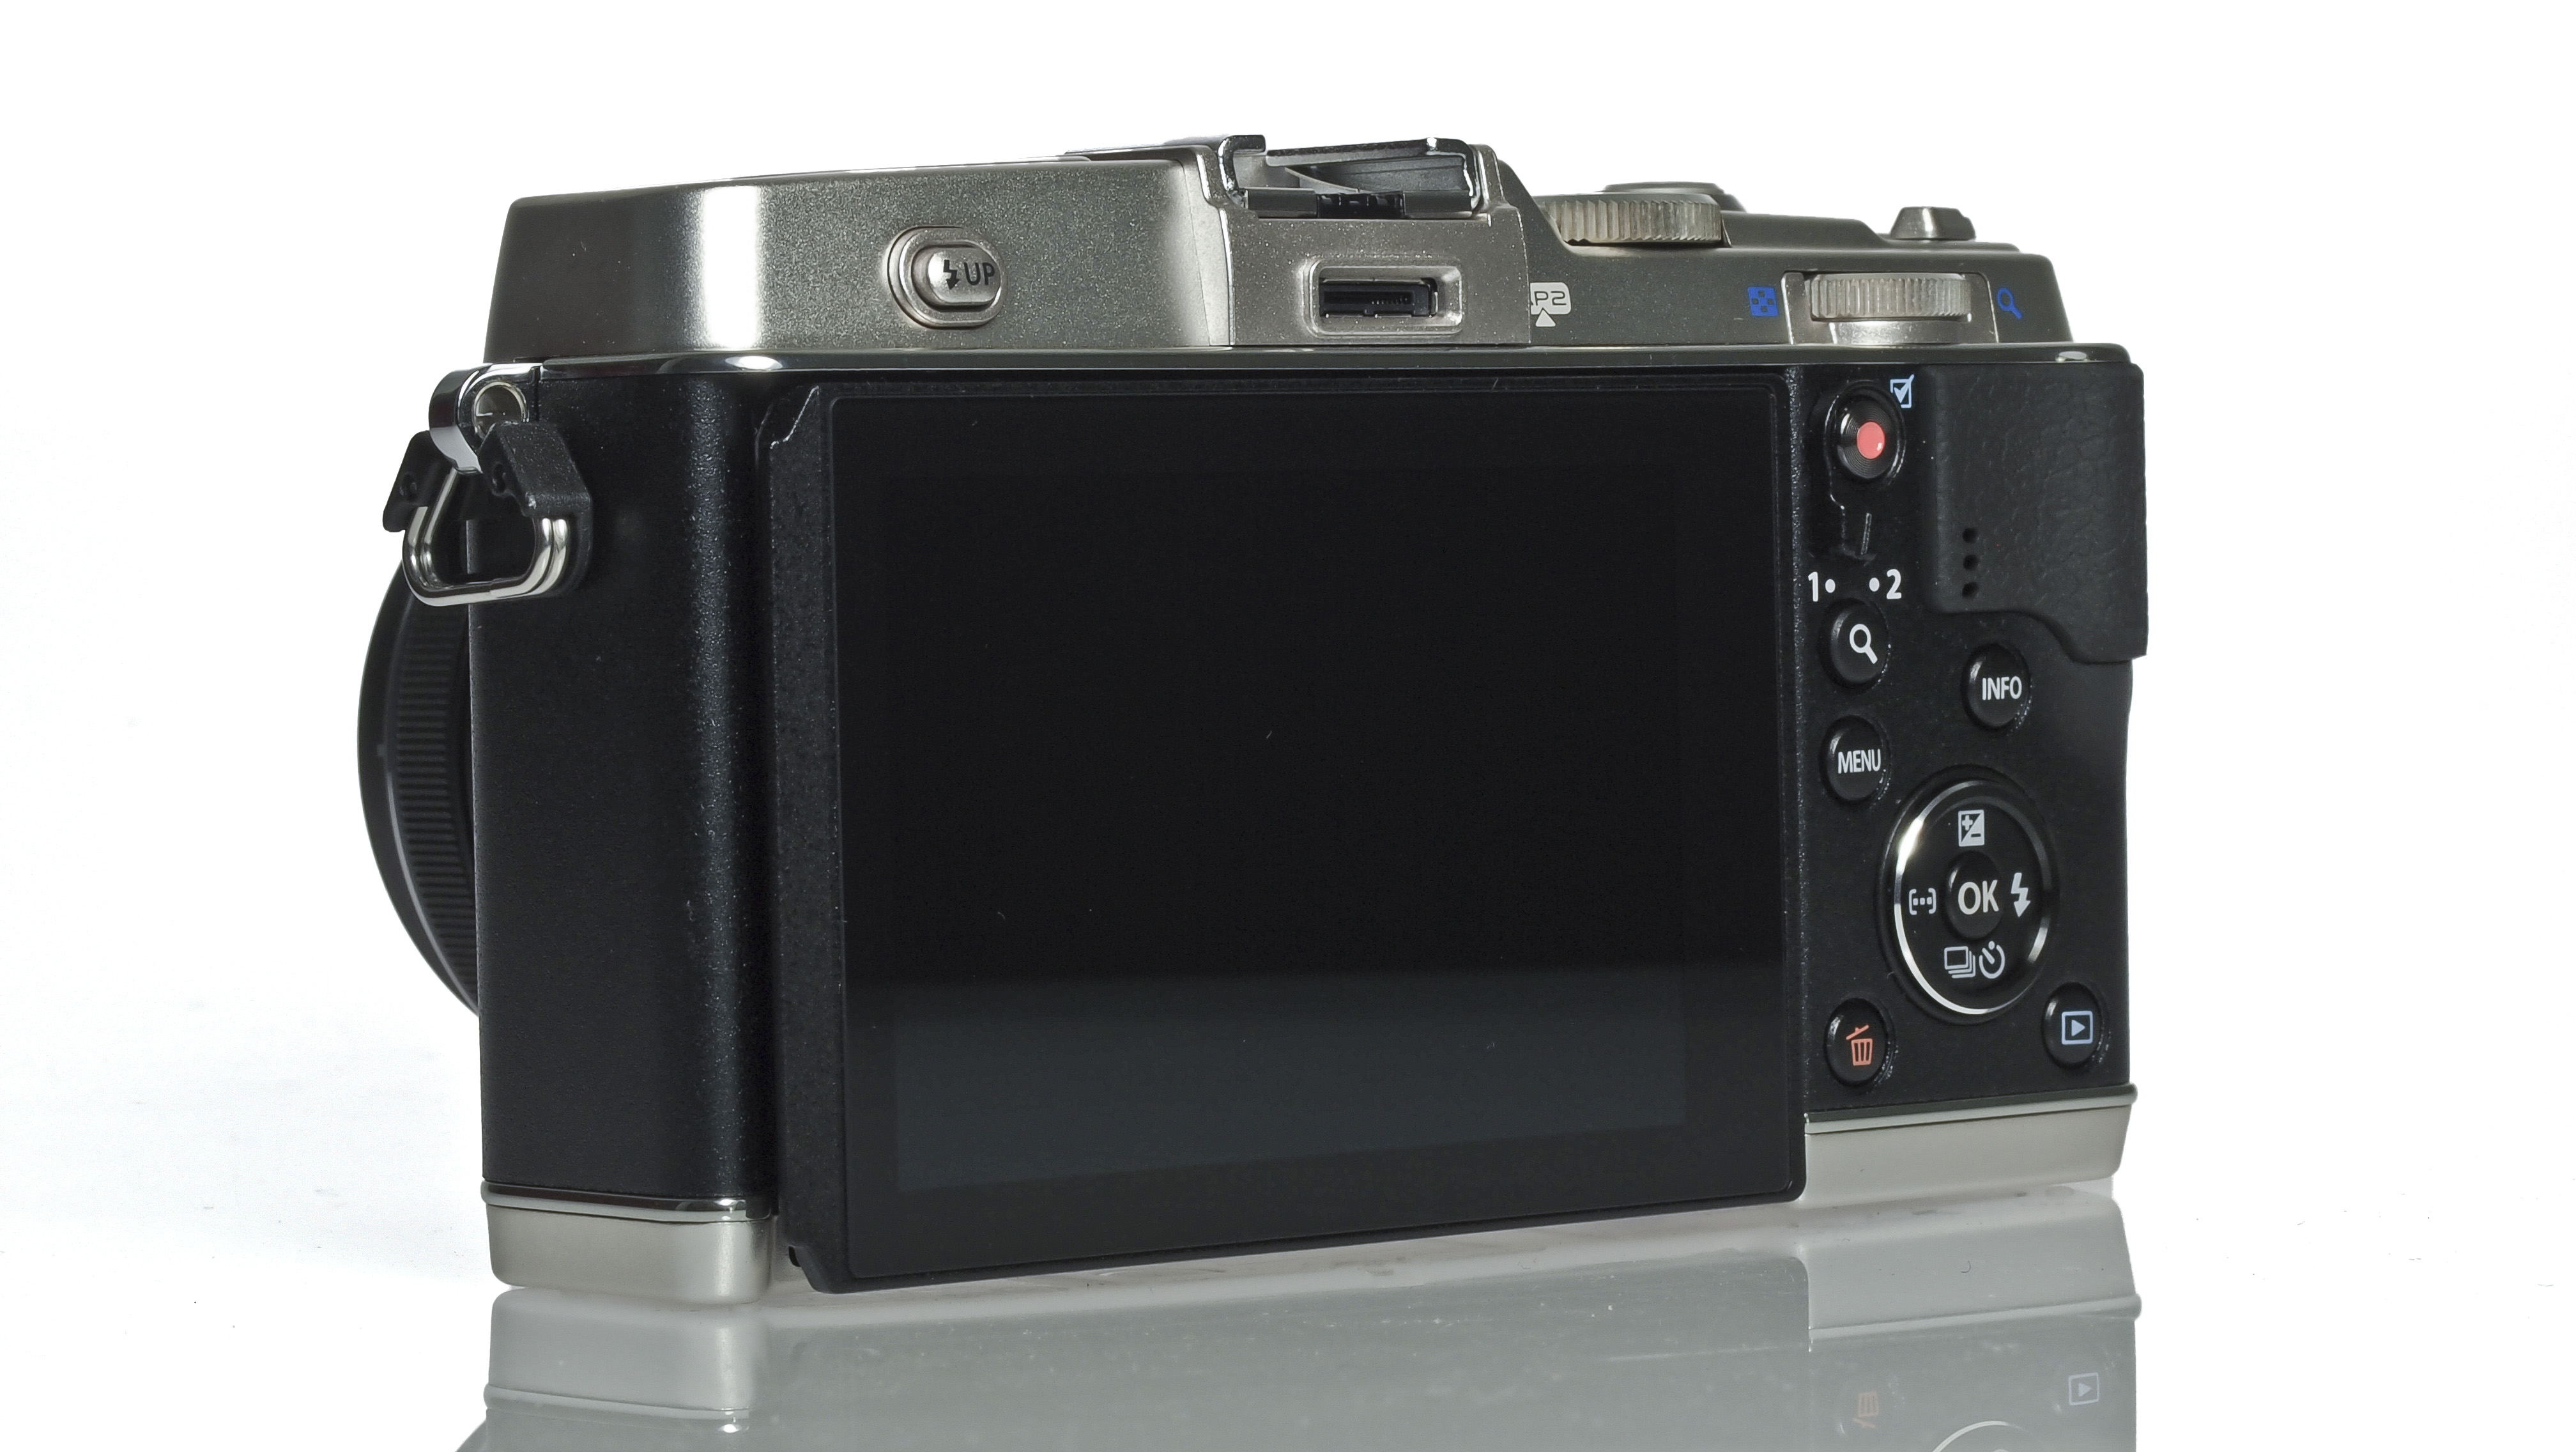
Like its predecessor, it uses a capacitive touchscreen, which can be used to set the autofocus point or fire the shutter release. One of the most noticeable improvements is the now tilting screen. It's useful for angling away from any disturbing glare or reflections that might be present.
It sits remarkably flush against the back of the camera, so much so that you might not even realise it's a tilting device at all. While an articulating screen would be more useful for portrait format shots, it would undoubtedly have added to the bulk of the camera.
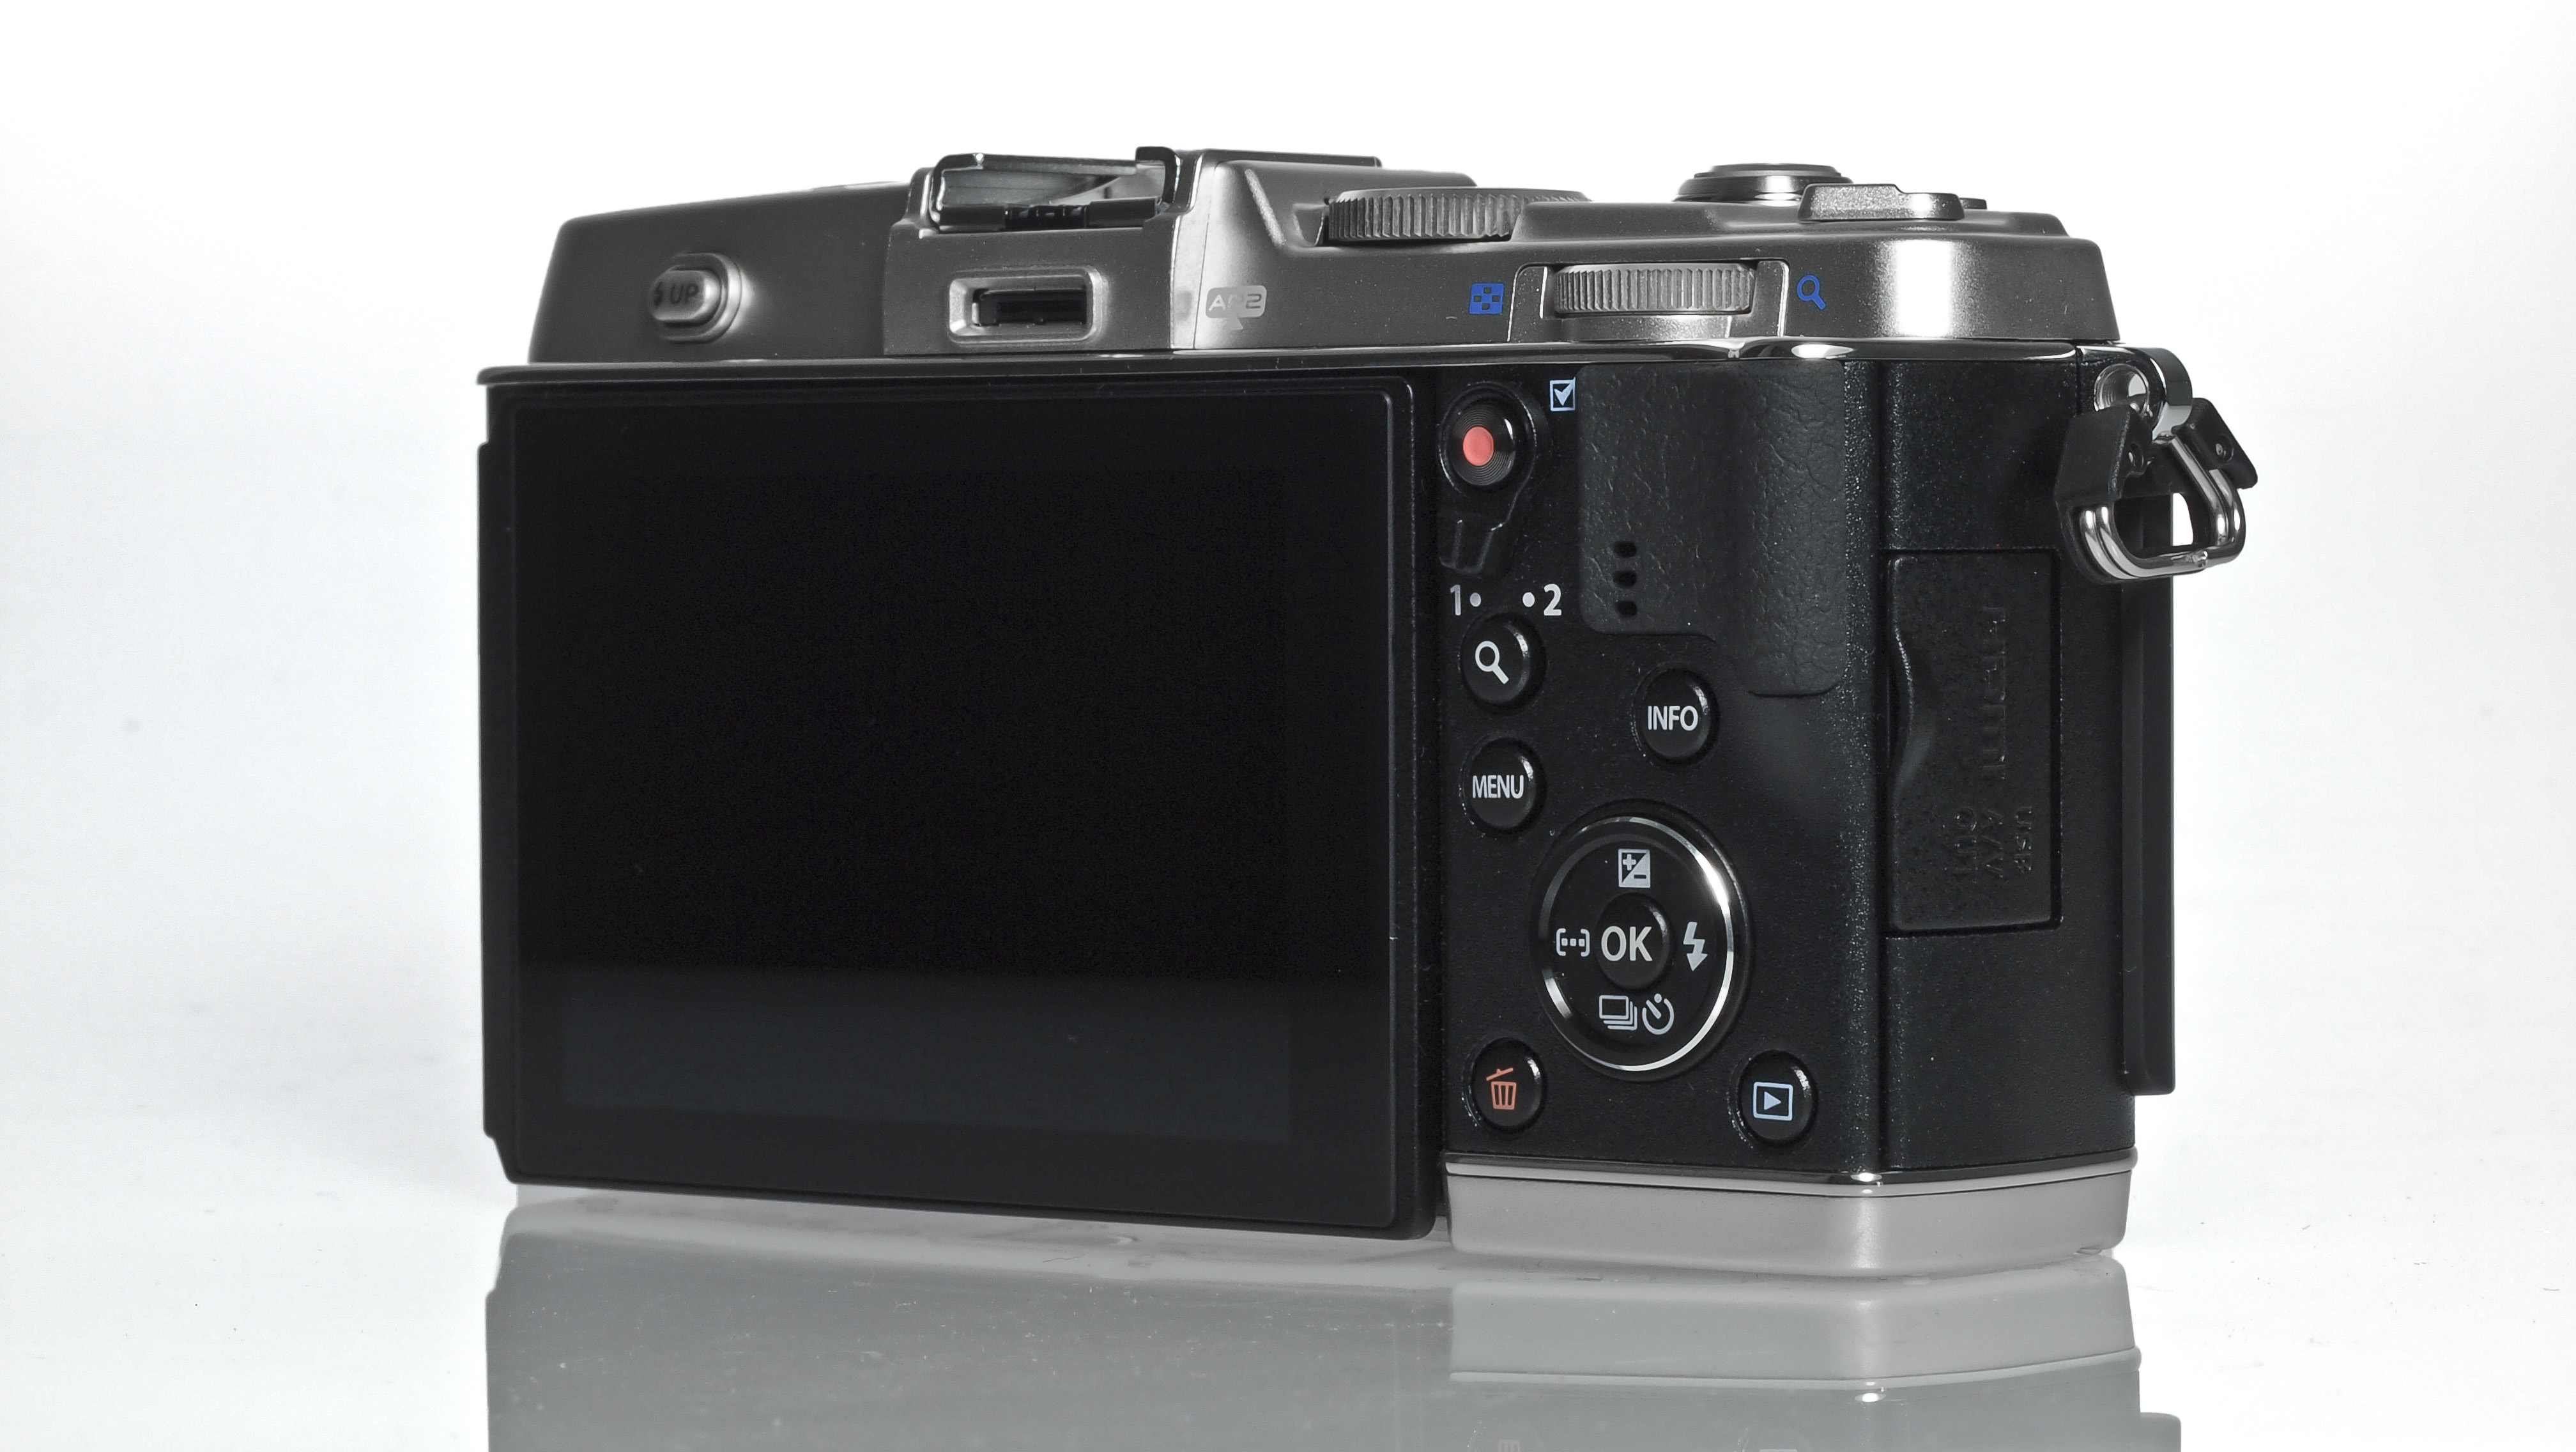
At the top of the camera is a mode dial enabling quick transitions between the various modes on offer, such as fully automatic, semi-automatic (aperture or shutter priority) and manual modes. There's also a space here for art modes, scene modes and - new to the PEN range - Photo Story mode.
Also on top of the camera is a Function button, which can be customised to suit your particular requirements. The previous version on the Olympus PEN E-P3 required diving into the menu if you wanted to alter ISO or metering, but a new way of working has been introduced onto the Olympus PEN E-P5.
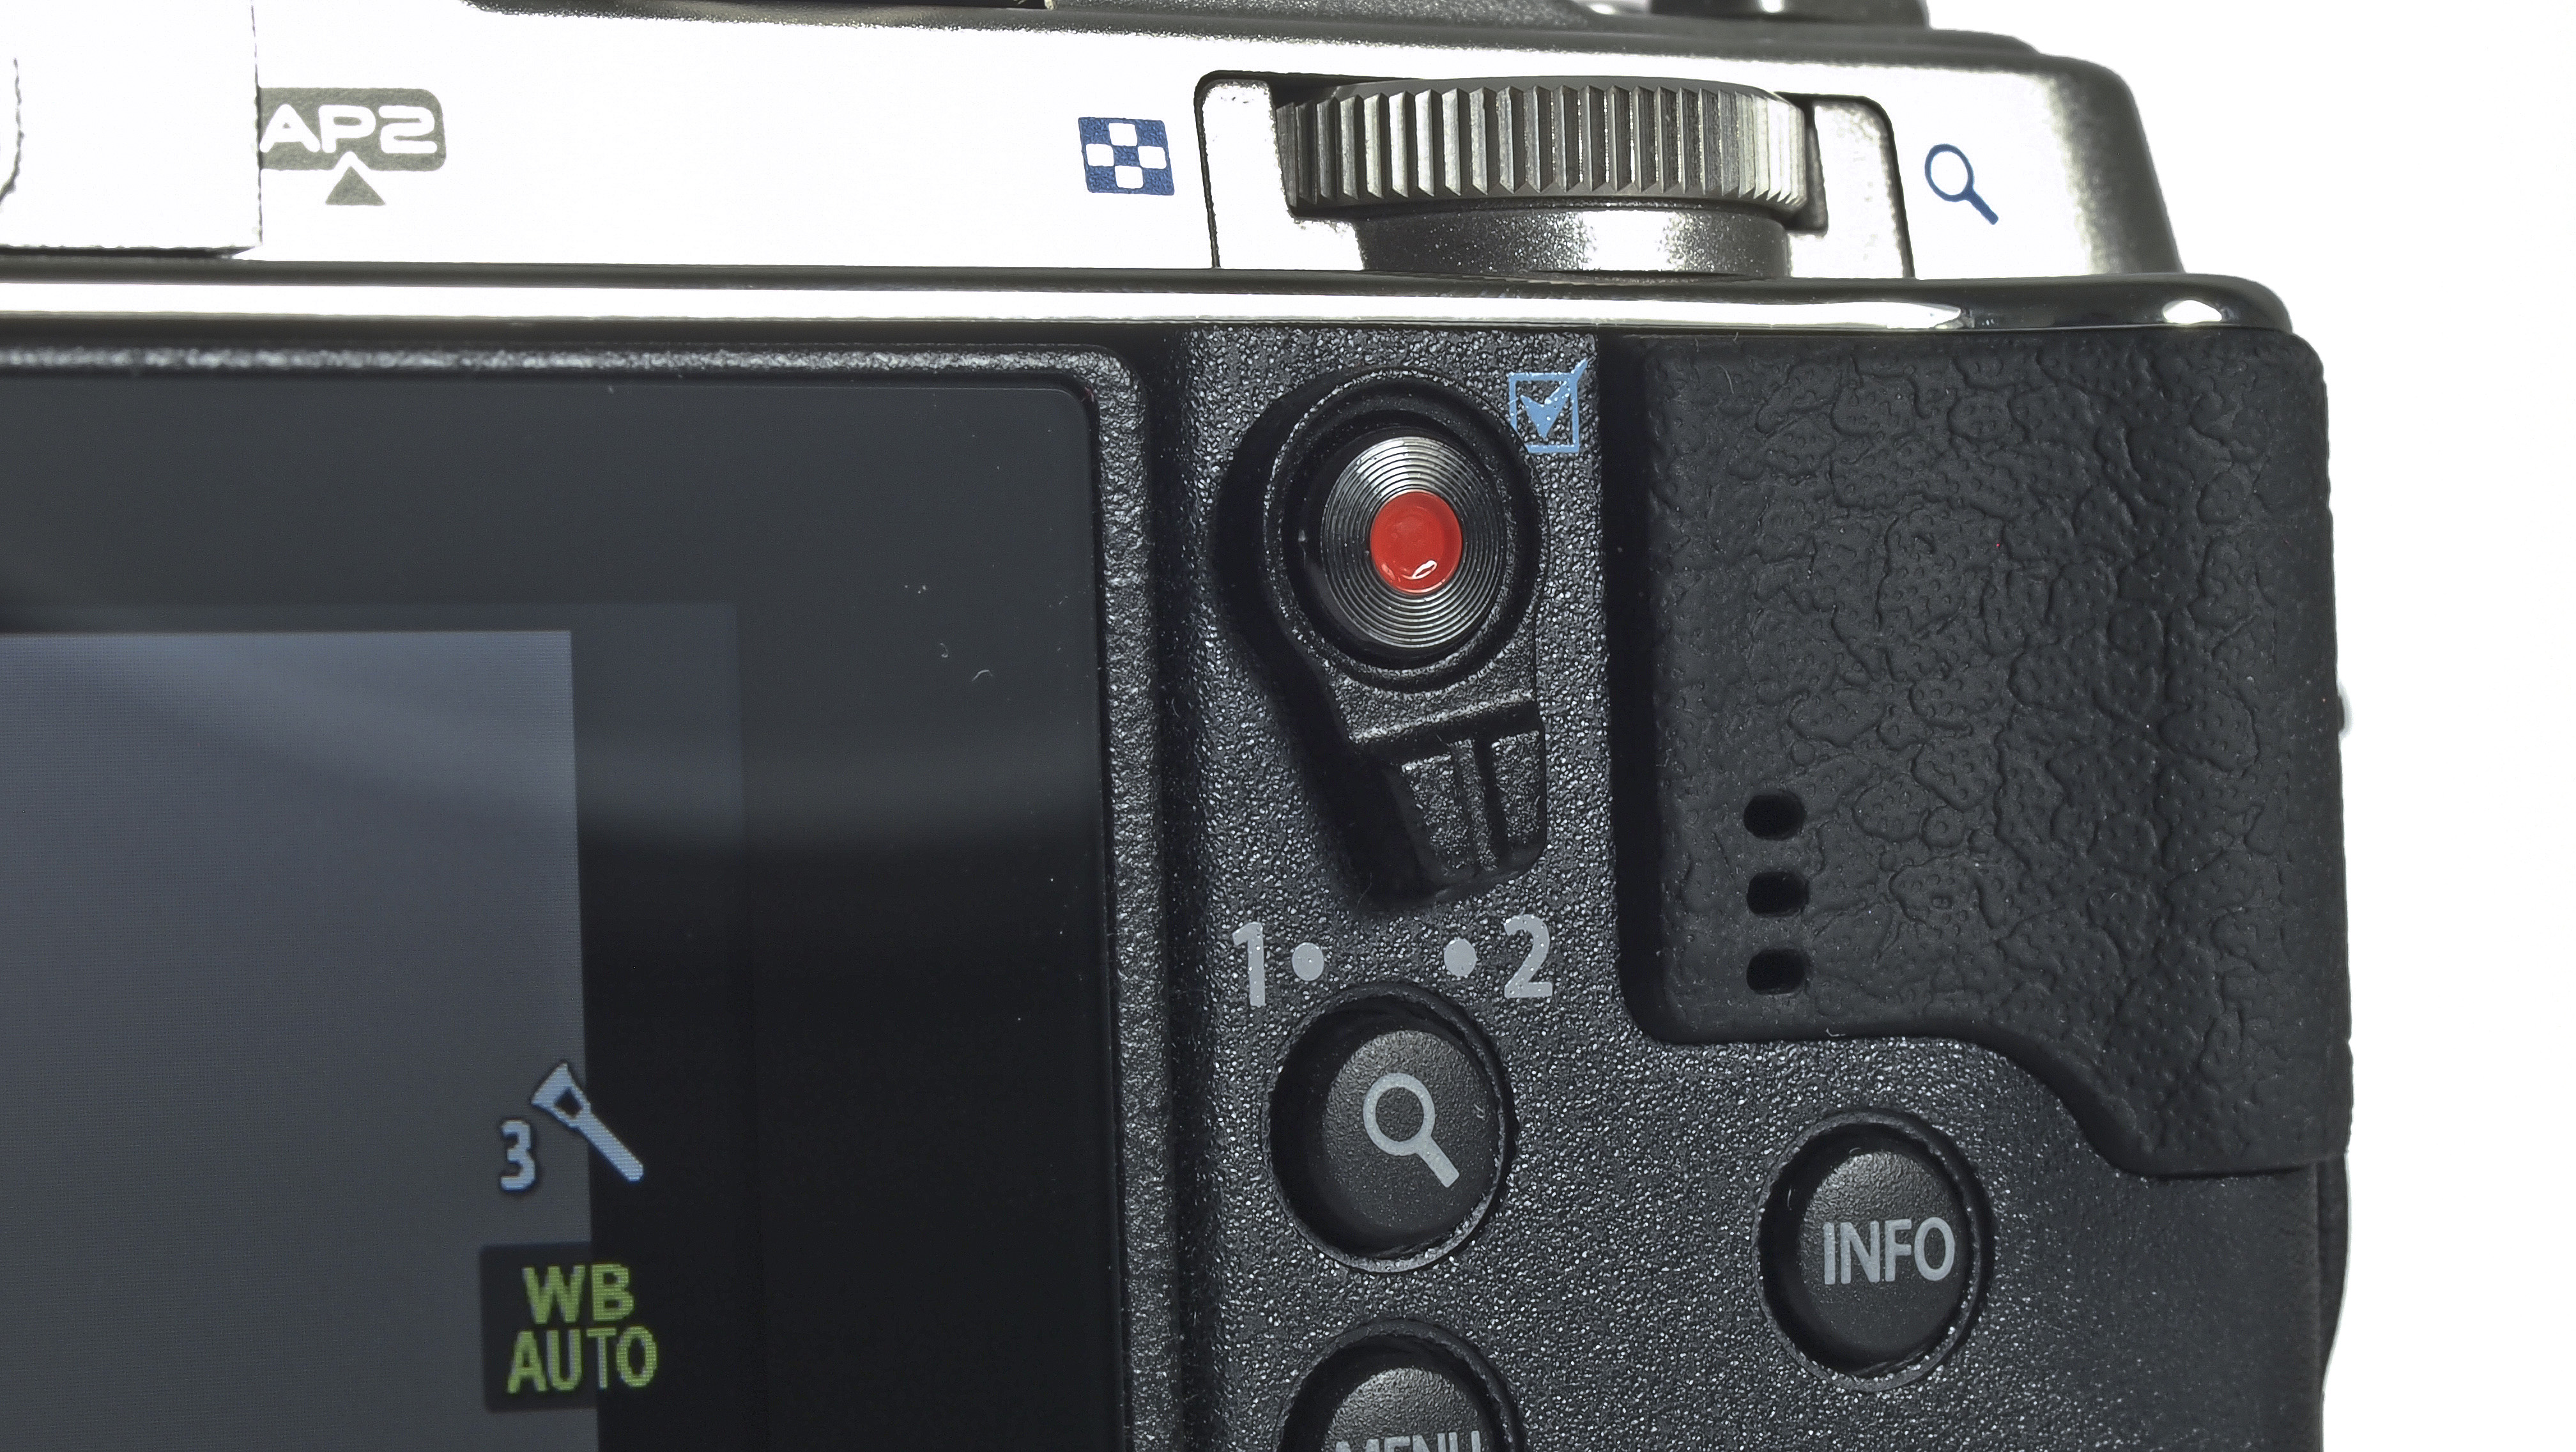
A small switch around the movie record button marked with positions 1 and 2 enables you to alter the function of the two dials at the back and front of the camera. Position 1 controls aperture/shutter speed and exposure compensation (depending on the mode you're shooting in), while flipping to Position 2 changes the modes to ISO and white balance. It's a quick system that should really speed up the basic operation of the camera.
Sign up for breaking news, reviews, opinion, top tech deals, and more.
A sort of quick menu can be found by pressing the OK button in the centre of the four-way navigational pad for accessing other commonly used settings. If you need to delve further to change more complicated settings, you can do this via the main menu. As with other PEN cameras, it can be a little disjointed to use when you're not used to it.
Although the touchscreen can't be used to navigate through the menu, you can use it with the "Live SCP" panel. This is a type of quick menu overlaid across the screen (and which is different from the menu which appears at the side of the screen) that first needs to be activated from a confusingly placed submenu within the main menu. Why Olympus has chosen to hide this function away is a little confusing, but once you've found it, it makes accessing key settings much quicker.
Using the Wi-Fi functionality of the camera is very easy. A "virtual" button on the touchscreen can be pressed for instant access. Once you've downloaded the IOS or Android app for your smartphone or tablet, it's very easy to connect to the camera as all you need to do is scan a QR code generated by the camera and the connection will be made – taking away the need to have to enter fiddly long passwords etc.
Once connected, you can use the app to remotely control the camera, although disappointingly, only fully automatic mode is compatible here, so you'll lose control over more advanced settings. However, you can use the app to transfer across images to your device for uploading to social networking sites. It's also possible to switch off the camera via the app, which is useful if you're controlling the camera from across the room. Hopefully Olympus will consider upgrading the app's capabilities to include more advanced remote control settings.
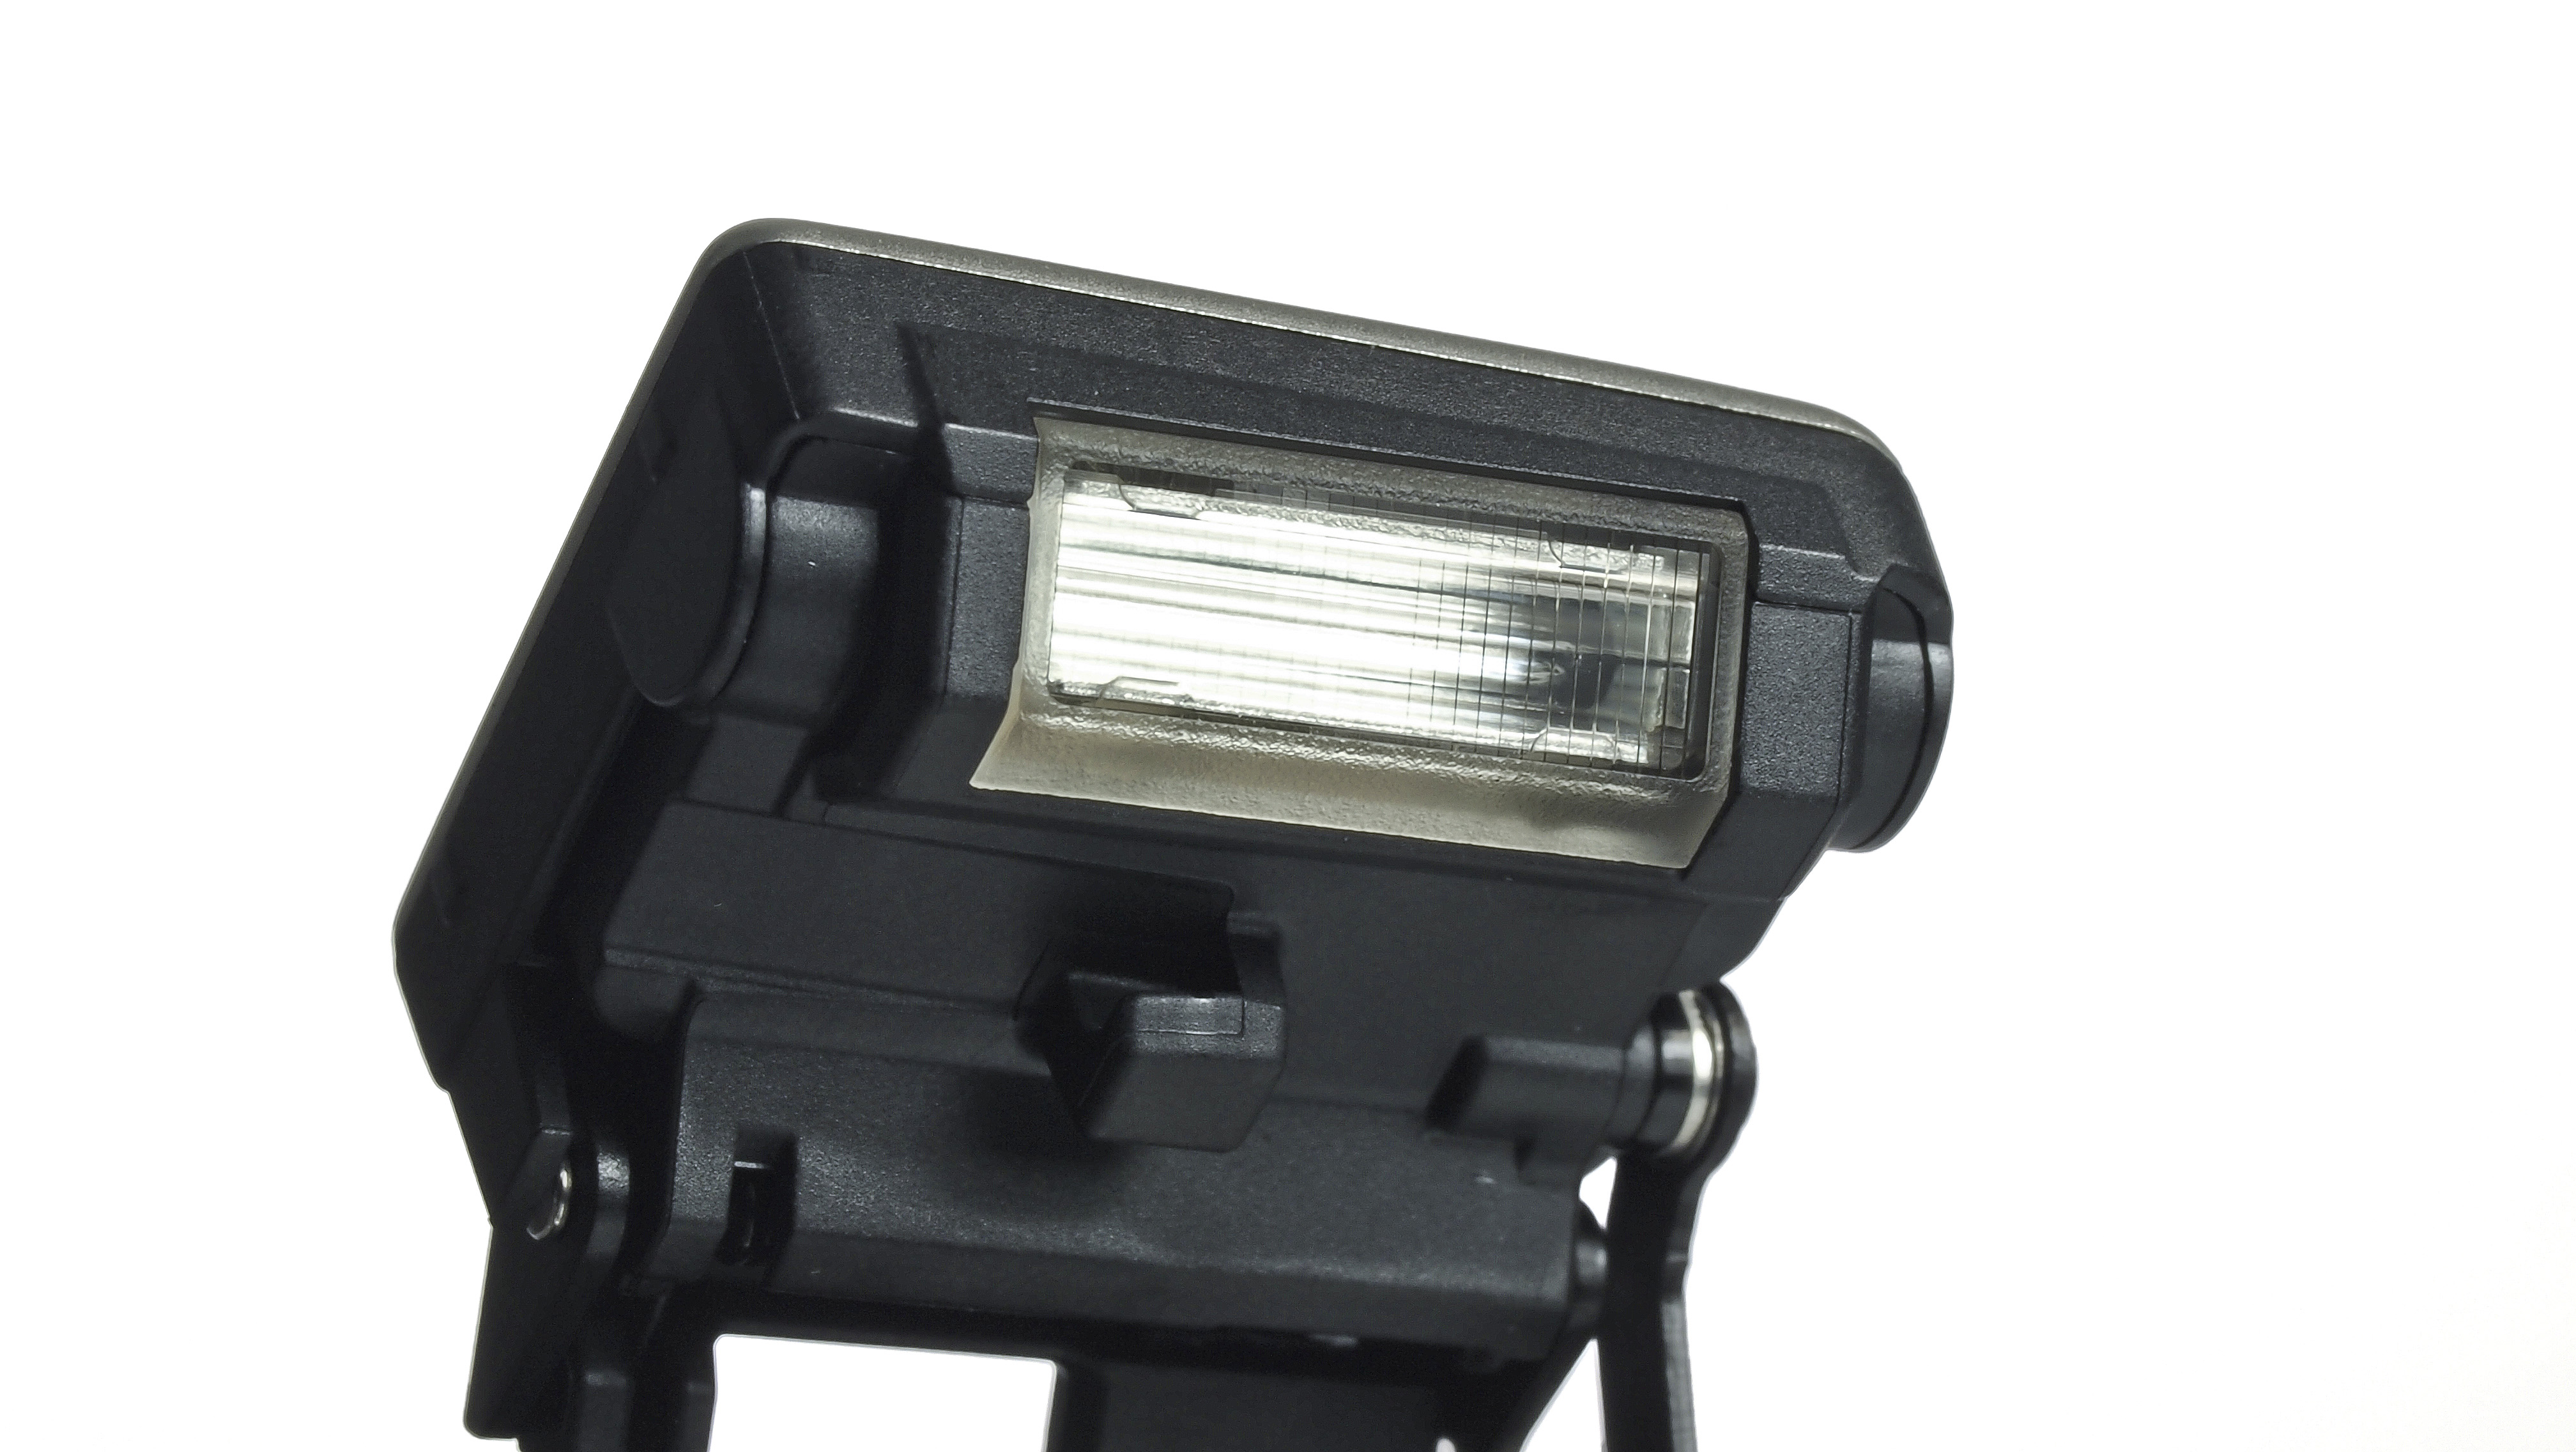
The E-P5 doesn't have a built-in viewfinder, but you can plug one in via the hotshoe and port below it. The VF-4 was launched at the same time as the E-P5 and is a fantastic addition to the camera. With its high resolution and tilting capability, it's useful if you prefer to work in this way, though of course you will need to pay extra for it. Having an optional viewfinder does help to keep the overall size of the camera down though.

Amy has been writing about cameras, photography and associated tech since 2009. Amy was once part of the photography testing team for Future Publishing working across TechRadar, Digital Camera, PhotoPlus, N Photo and Photography Week. For her photography, she has won awards and has been exhibited. She often partakes in unusual projects - including one intense year where she used a different camera every single day. Amy is currently the Features Editor at Amateur Photographer magazine, and in her increasingly little spare time works across a number of high-profile publications including Wired, Stuff, Digital Camera World, Expert Reviews, and just a little off-tangent, PetsRadar.
