Why you can trust TechRadar
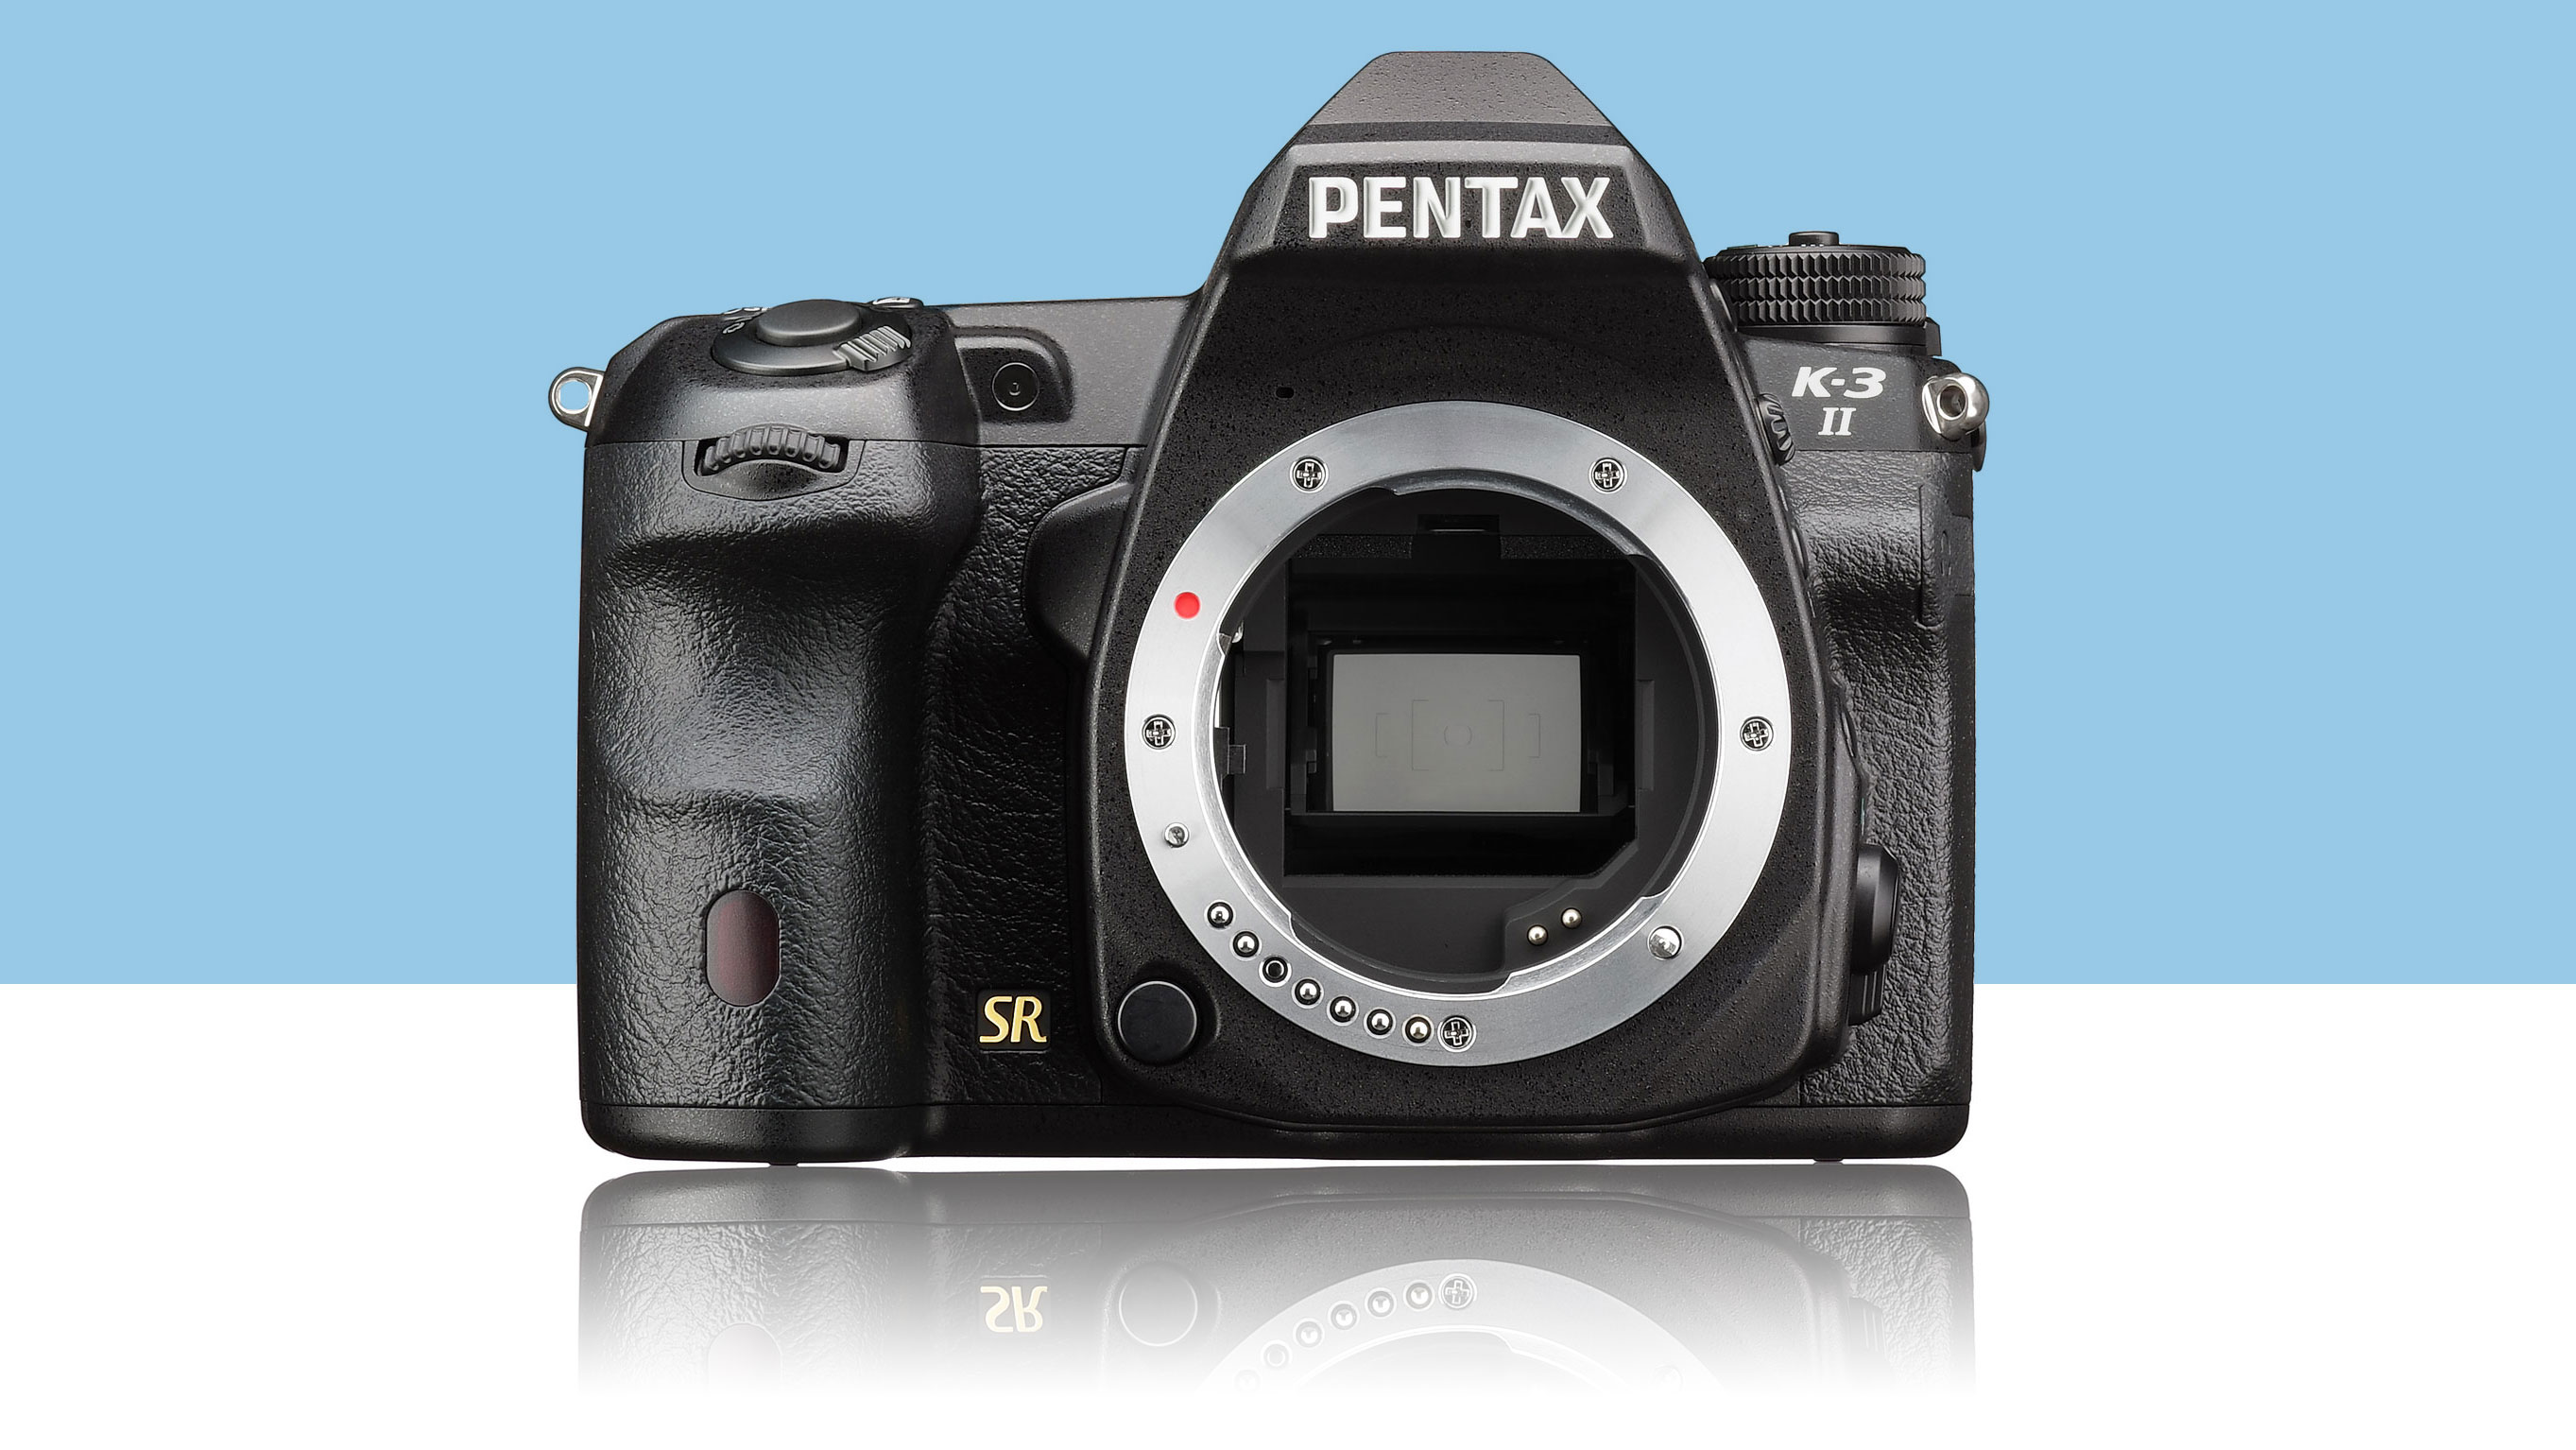
The K-3 II looks and feels like a solidly built piece of kit. There's a textured coating around the grip and in other areas, which give you a good bit of extra purchase and add to the camera's high-quality feel. Your middle finger sits comfortably in an indent on the grip, and there's a pronounced thumb rest on the rear of the camera.
The array of dials and buttons on the K-3 II confirm that this is a camera aimed at enthusiast photographers rather than pros. A scroll wheel on the back of the camera sits nicely under your thumb, while another, in front of the shutter release, sits under your forefinger. By default, the front dial controls shutter speed, while the rear dial is for aperture. Both will work if you're in Manual mode, while one or the other will work if you're in Shutter or Aperture priority mode, and overall it's a very natural way to work.
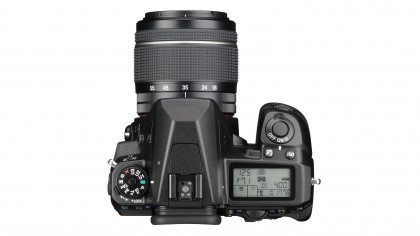
The exposure mode dial is on the top-left of the camera. In addition to the usual auto, semi-auto and manual options are two Pentax-specific modes: Sensitivity priority, where you dial in an ISO value and the camera selects the aperture and shutter speed, and Shutter-and-Aperture priority – you set the aperture and shutter speed, and the camera selects the ISO.

There are also three 'custom' slots, enabling you to configure shooting setups that you use frequently or for particular conditions. The mode dial can be locked with a switch, which is useful if you're taking the camera in and out of a bag often.
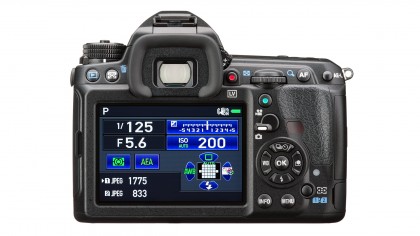
Most of the K3-II's buttons are grouped on the right hand side of the camera, either on top of it, or on the back. On the top is a button, which, if you press once, will enable you to use the scroll wheel on the back of the camera to adjust exposure compensation. There's also a very useful green button on the back of the camera that you can press to return exposure compensation to 0 – the same button can also be used to return other settings, such as ISO, to their defaults.
On the back of the camera there's the ubiquitous four-way navigational pad, each segment of which controls a different function – the left segment, for instance, accesses the white balance options, while right accesses the Custom Image options.

In order to set the autofocus point (if you have Select Point Autofocusing mode activated), you need to press the AF select point button on the back of the camera, and then use the directional keys to move to the point you want. The facility to change the focus point will remain active until you press the AF select point button again, which is handy if you're going to be changing the point repeatedly.
Sign up for breaking news, reviews, opinion, top tech deals, and more.
Pressing the 'Info' button near the base of the camera brings up a range of options which constitute a 'quick' menu. You can navigate to options including ISO, Digital Filter and Pixel Shift Resolution, then use the rear scroll wheel to adjust the setting.
On the side of the camera is a group of buttons that are within reach of your left thumb when you're supporting the lens with your left hand. There's an AF mode button, which enables you to select from the modes such as Spot, Auto and Selection. There's also a switch for quickly moving between autofocus and manual focusing.

Amy has been writing about cameras, photography and associated tech since 2009. Amy was once part of the photography testing team for Future Publishing working across TechRadar, Digital Camera, PhotoPlus, N Photo and Photography Week. For her photography, she has won awards and has been exhibited. She often partakes in unusual projects - including one intense year where she used a different camera every single day. Amy is currently the Features Editor at Amateur Photographer magazine, and in her increasingly little spare time works across a number of high-profile publications including Wired, Stuff, Digital Camera World, Expert Reviews, and just a little off-tangent, PetsRadar.
