Why you can trust TechRadar

Click here to see the full-resolution image
Shot with the K-500's auto HDR function set to a 1-stop bracketing variation. Although the camera will auto-align the three source images, it's best to keep the camera as still as possible to avoid possible ghosting effects.

Click here to see the full-resolution image
Exposure metering works well providing areas of brightness like skies don't occupy much of the frame. As you can see there's still plenty of highlight detail in this image whilst shadows are also full of detail.

Click here to see the full-resolution image
A rare instance where matrix metering has focused on the shadow areas. Although the main light source has slightly blown highlights, the overall exposure looks good with plenty of shadow and mid-tone data.

Click here to see the full-resolution image
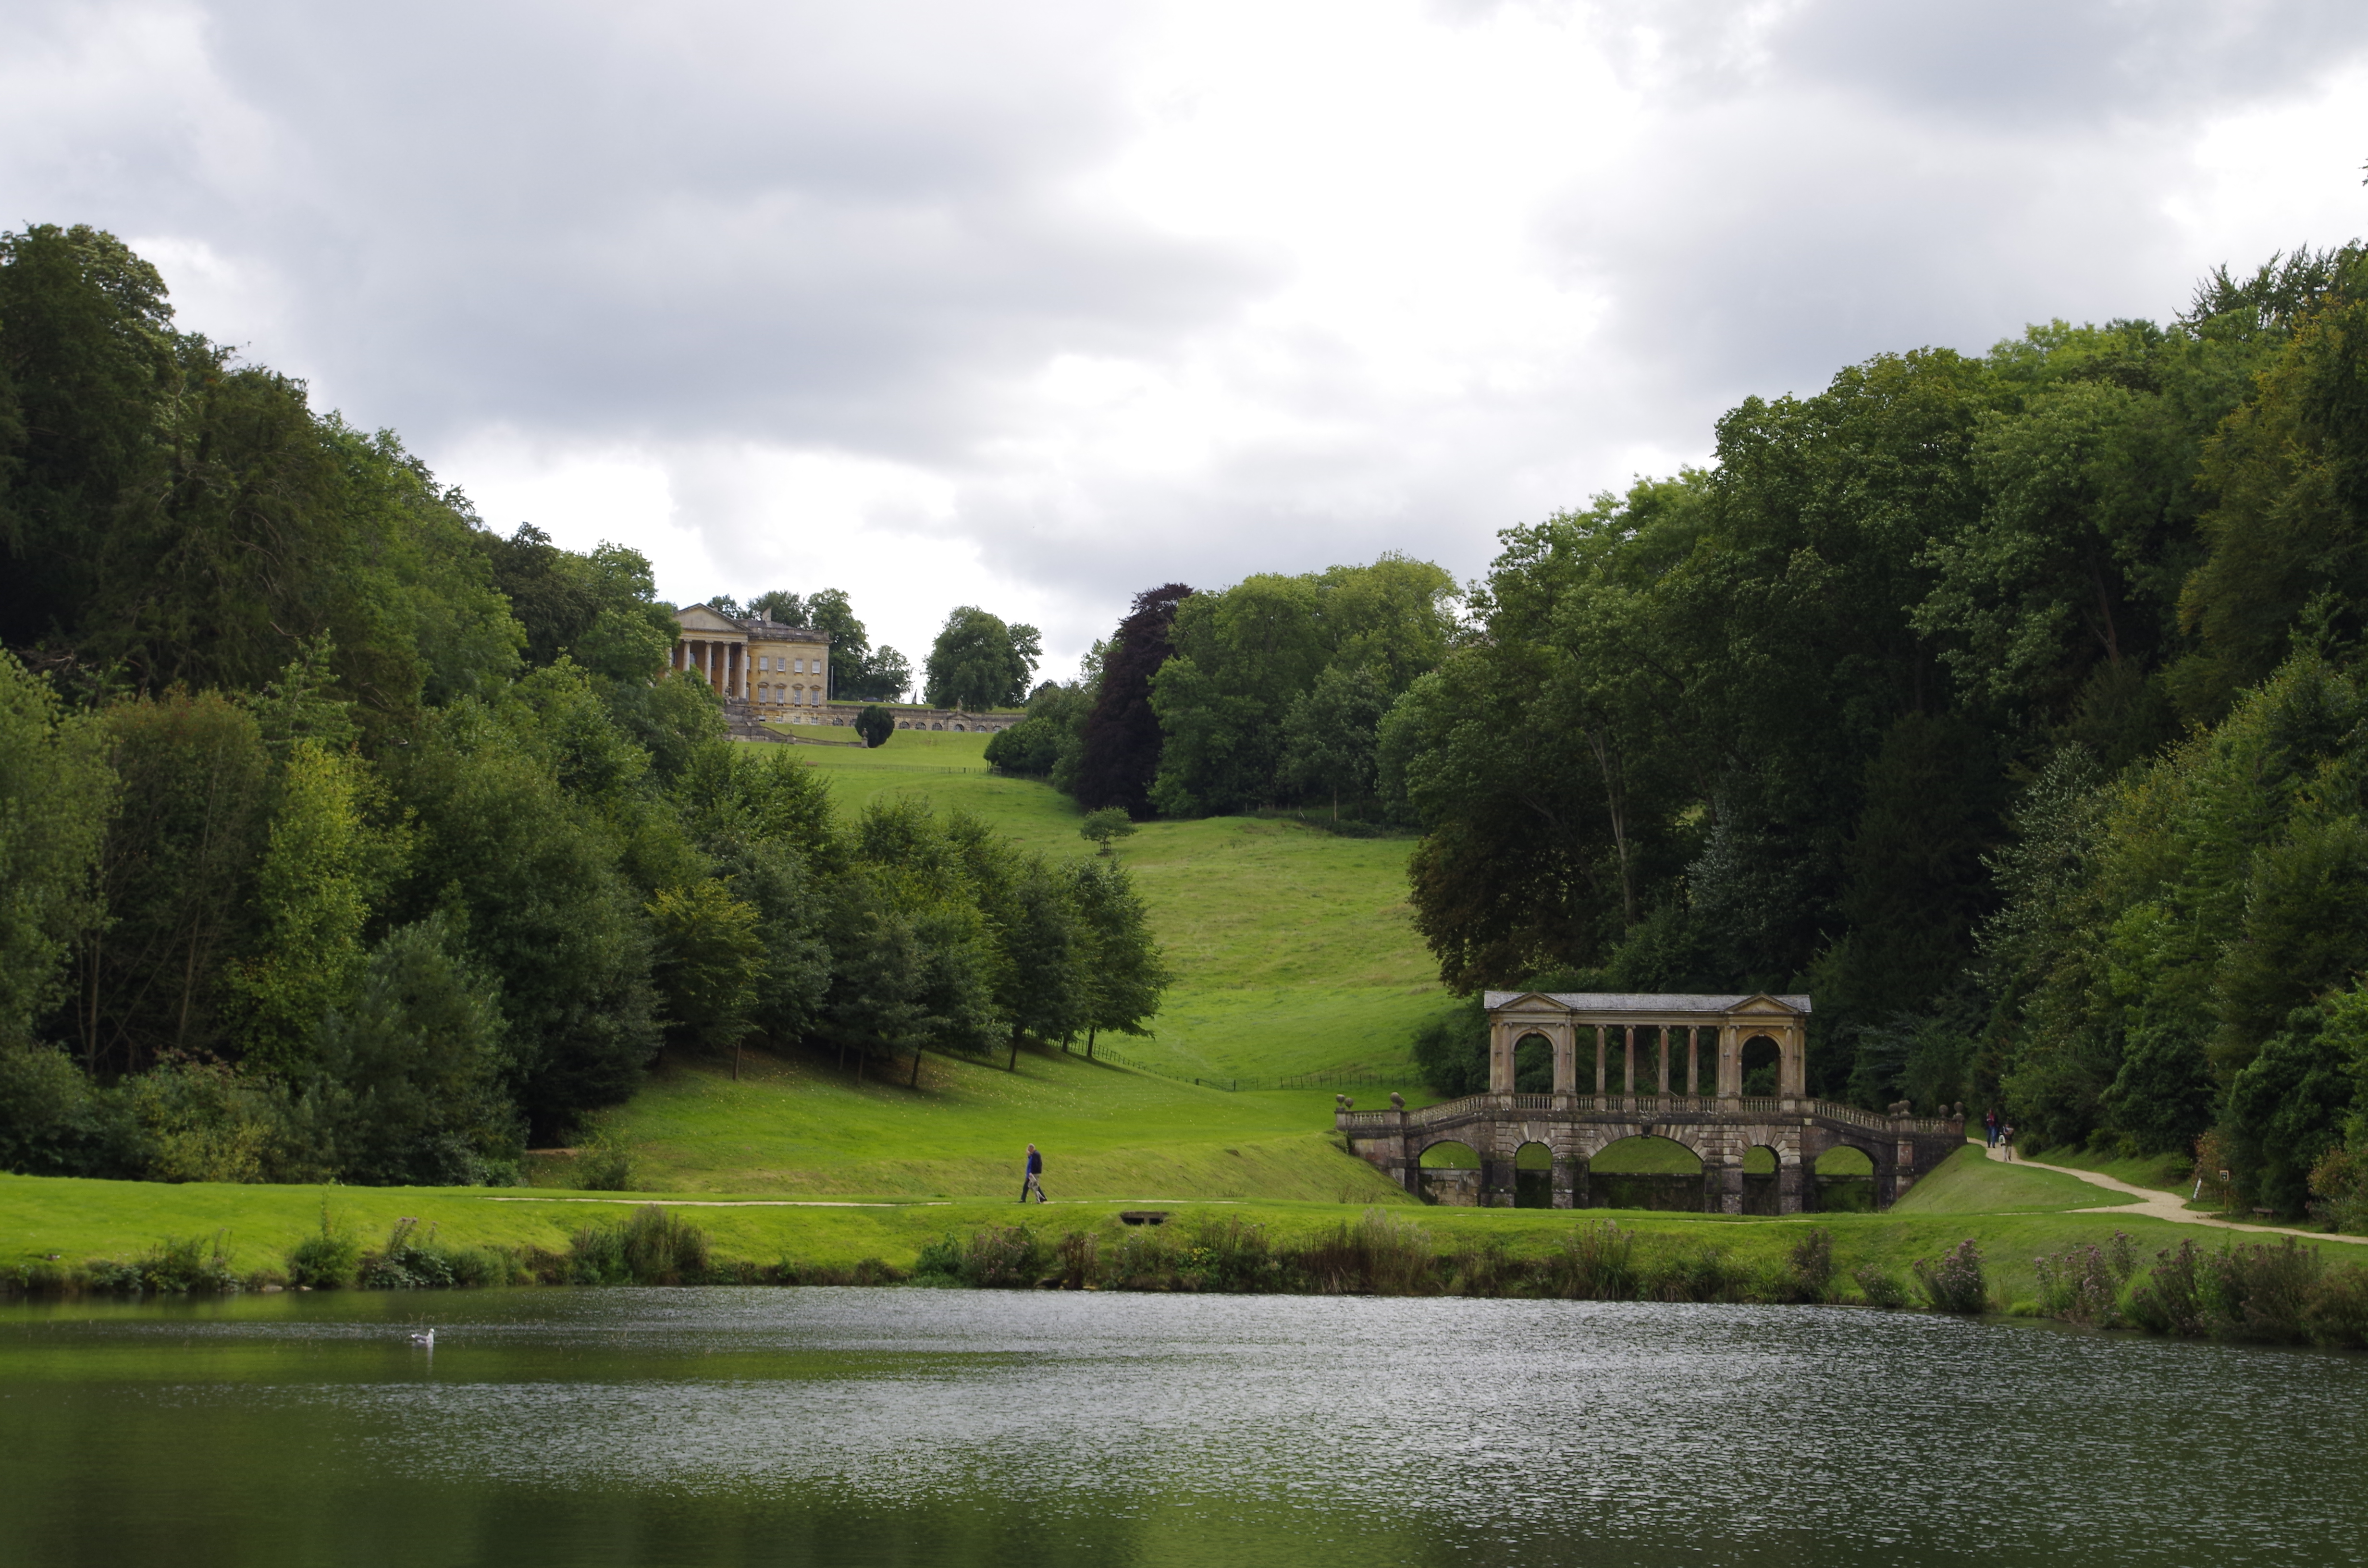
Despite the cloudy conditions for this shot, matrix metering was fooled by the brighter sky area, requiring a full 2-stops of positive exposure compensation to brighten up the rest of the scene.

Click here to see the full-resolution image
The K-500's multi-image HDR effect can boost contrast subtly, or you can ramp up the tone mapping and get results like this. It's not exactly true to life, but at least you don't need additional software to create an image with this much impact.

Click here to see the full-resolution image
Despite 'only' having 16.28 effective megapixels at its disposal, the K-500 is easily capable of resolving plenty of fine detail.

Click here to see the full-resolution image
A moveable monitor would have really helped when composing this low-level shot. Instead your reviewer got some funny looks as he lay on the pavement under a life-sized model pig.

Click here to see the full-resolution image
Switch to aperture priority mode and you can create a shallow depth of field to isolate a delicate subject such as this. This image was shot using the kit lens and although its widest aperture isn't particularly large, the resulting background bokeh blur is still pleasantly creamy.

Click here to see the full-resolution image
+2/3 exposure compensation helped avoid this photograph looking too murky; however, it could do with an even bigger brightness boost to offset the underexposing matrix metering.

Click here to see the full-resolution image
Cycling isn't always as good for your health as some make out.

Click here to see the full-resolution image
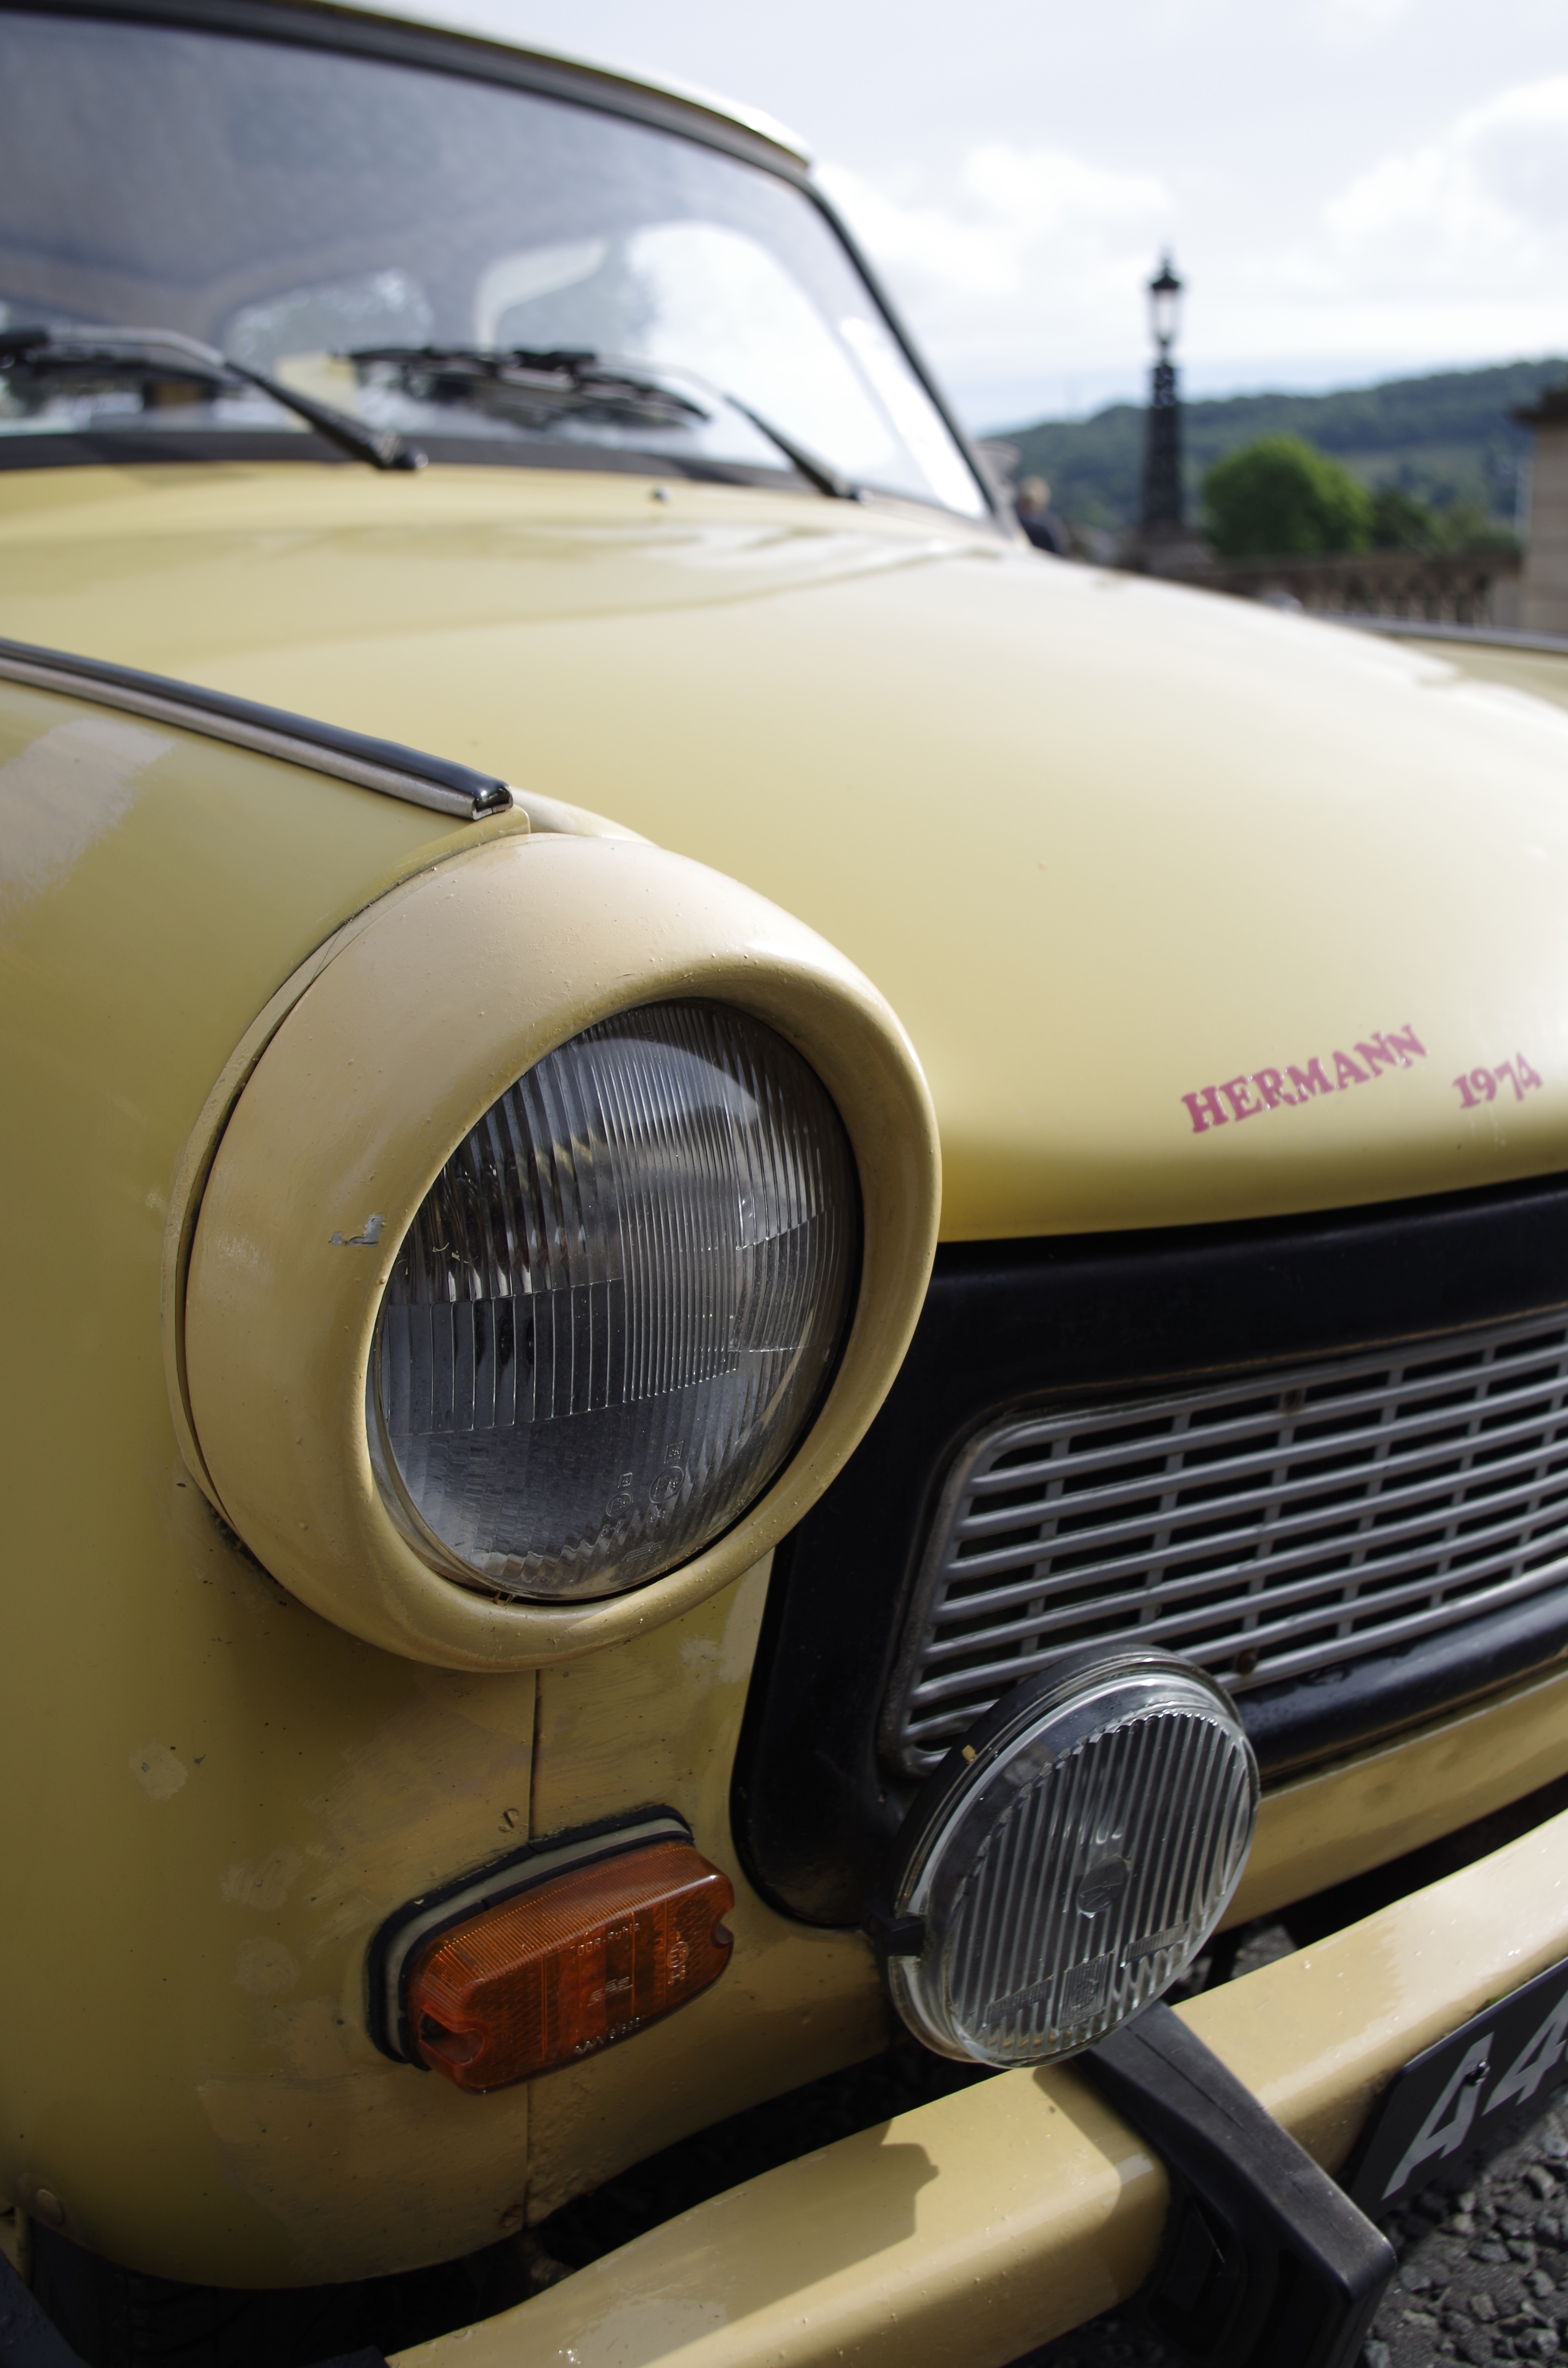
This is about as close as you can get to a subject with the kit lens. Even so, detail is excellent, though 1-stop of positive exposure compensation was again required.

Click here to see the full-resolution image
Without a focus point display in the viewfinder, it can be tricky to establish exactly where the K-500 is locking on to. Fortunately these tomatoes weren't in hot demand so there was time to switch to selective-point autofocus and cross-reference with the focus point display on the LCD monitor.

Click here to see the full-resolution image
With the camera's colour balance preset set to Bright, colour reproduction is vibrant without looking oversaturated. Aperture priority mode helped bring the background elements into sharper focus and selective point autofocus encourage the K-500 to target the bottom elements of the image.

Click here to see the full-resolution image
Switch to aperture priority mode, set a narrow aperture and you can force a slow shutter speed to blur a waterfall like this. Just remember to take your tripod - or find a well-placed rock instead and hold your breath!

Click here to see the full-resolution image
Some cameras get confused by hot pink colours and render them incorrectly, but the K-500 has done well here and faithfully reproduced the correct hue.

Click here to see the full-resolution image
The camera's 16MP sensor resolved a good amount of detail in this shot. The saved JPEG could use a little sharpening, but at least the K-500's metering system has exposed the scene properly.

Click here to see the full-resolution image
1.3 stops of positive exposure compensation was required to get this shot properly exposed. The kit lens is capable of a nice shallow depth of field though, even close-range at f/4.

Click here to see the full-resolution image
The K-500 includes several effect filters, this being an example of the High Contrast setting.

Click here to see the full-resolution image
If you fancy a bit of a sci-fi look, try the Invert Colour effect.

Click here to see the full-resolution image
Selecting the Retro filter reduces colour saturation to create a soft, high-key style and also adds as a border for good measure.

Click here to see the full-resolution image
Go for the Toy Camera effect and you get a darkened exposure and a large vignette to frame it.

Click here to see the full-resolution image
Focusing this shot was a bit of a mission. It's at the close-up limit of the kit lens, but with no focus point display in the viewfinder, establishing whether the camera has locked-on to the precise point you want takes time, trial and error.
Current page: Sample images
Prev Page Noise and dynamic range Next Page Sensitivity and noise imagesWhat is a hands on review?
Hands on reviews' are a journalist's first impressions of a piece of kit based on spending some time with it. It may be just a few moments, or a few hours. The important thing is we have been able to play with it ourselves and can give you some sense of what it's like to use, even if it's only an embryonic view. For more information, see TechRadar's Reviews Guarantee.
