Why you can trust TechRadar
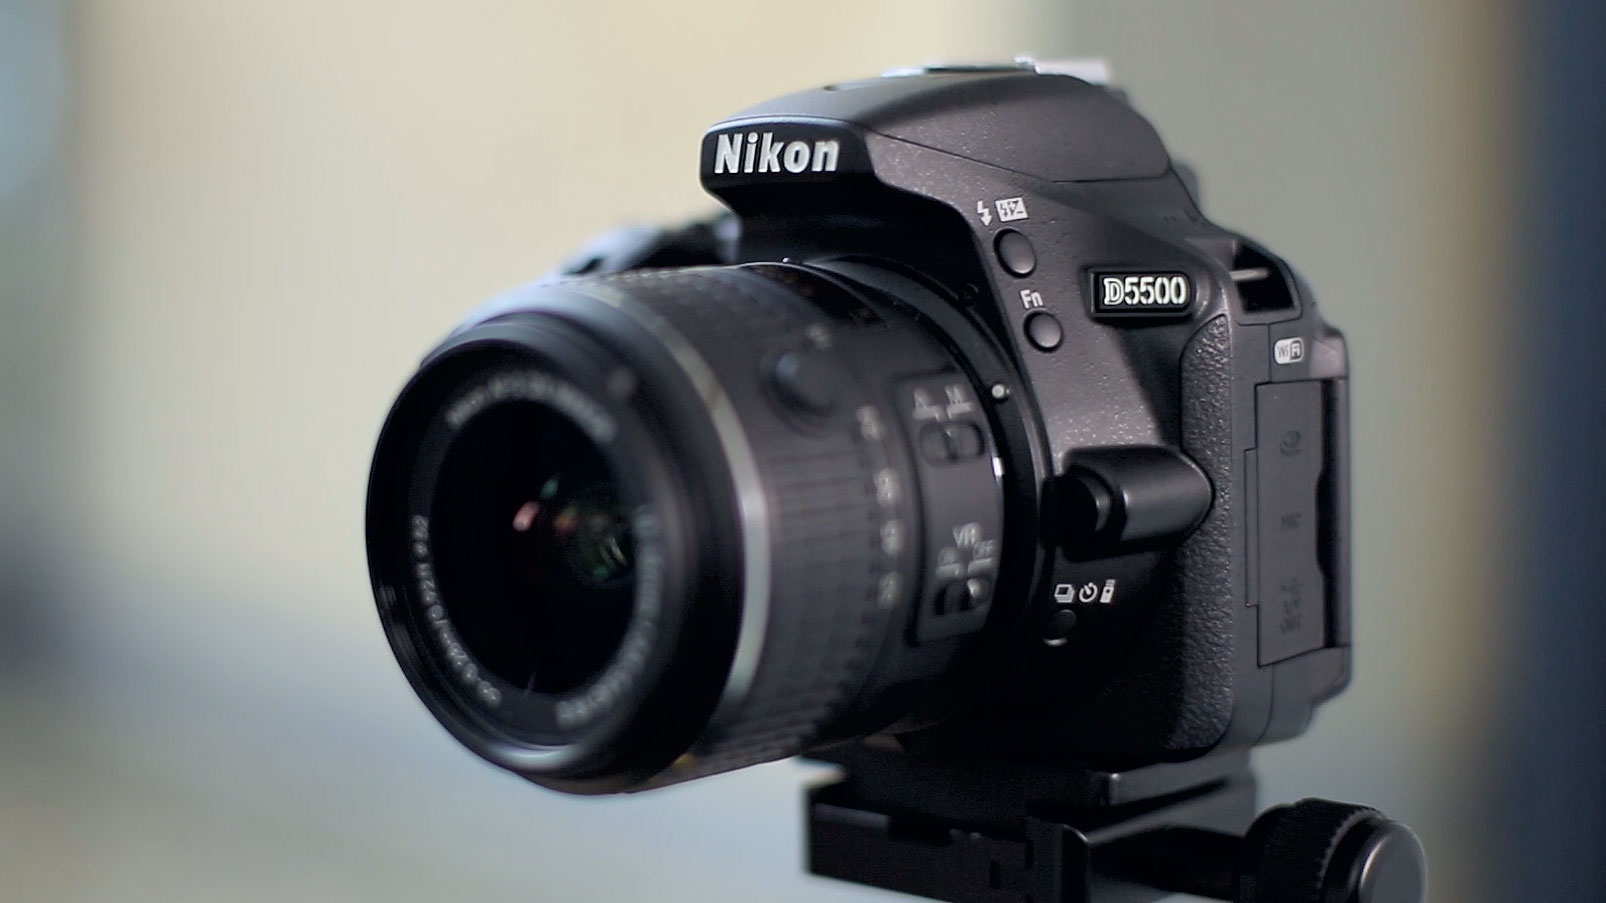
Just like the D5300, the D5500 uses a monocoque construction, which means its shell is made from a single piece of material. However, at 124x97x70mm and 420g (body only) the new camera is lighter and slimmer than the D5300, which measures 125x98x76mm and weighs only 480g (body only).
If you place the D5500 and D5300 next to each other you can really see the difference. The D5500 is considerably thinner between the lens mount and grip. This thinning has meant the internal layout of the camera has had to be redesigned, but it has enabled Nikon to make the D5500's grip deeper while still reducing the overall depth of the camera. As a result, the D5500 feels more secure in your hand and is very comfortable to hold.
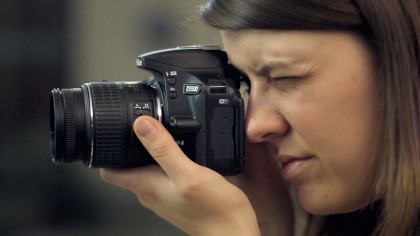
When you're using the D5500 with the 18-55mm collapsible kit lens, you'll need to hold down a button on the side of the lens to extend it first before you take your first shot. Of course, you can leave the lens extended ready for the next shot to speed things up.
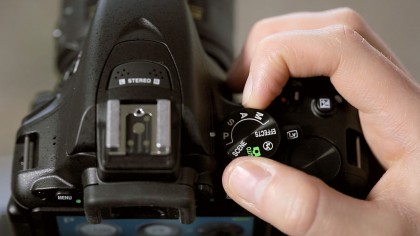
The top plate of the camera has been slightly redesigned. The mode dial has been simplified and now features just eight different exposure modes: the standard P (Program)/A(Aperture Priority)/S(Shutter Priority)/M(Manual) and Scene, Effects, Auto and Auto no flash. This makes it easier to reach different exposure modes. Around the mode dial is a switch for activating Live View shooting, which is very easy to quickly flick on and off whenever you need to use it.
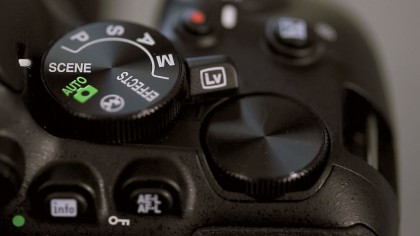
Another visible difference between the D5500 and the D5300 is the change in the control dial at the top of the camera. On the D5500 this is now wholly visible, rather than just a small section protruding from the back of the camera, making it easier to access and use. This dial controls different settings depending on the exposure mode you're using. For instance, it controls aperture in aperture priority mode, or shutter speed in shutter priority mode. If you're shooting in manual mode, you simply need to hold down the exposure compensation button on the top of the camera to switch between changing the two settings.
The back of the camera is very similar to the D5300, with the majority of key buttons within easy reach of your thumb, making it very quick and easy to change settings. The only exception to this is the menu button, which is found just to the left of the viewfinder, but this is something you'll probably need to use less frequently.
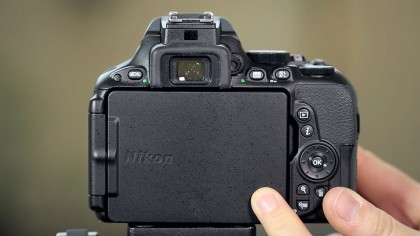
A small indent can be found on the back of the camera, which helps you to easily release the screen and move it into an articulating position. The hinge itself feels very secure and robust and, what's more, you can also fold the screen away into the body of the camera to protect it when not in use.
Touch screen control
This screen is now touch sensitive, which has a number of practical applications. To can make settings changes using it, simply tap the "i" icon in the bottom right hand corner of the screen. From here, you can tap the setting you want to change (such as white balance) and then tap on the particular setting you want to use. If you don't like using touchscreens, there is an equivalent physical button marked with the same "i" on the back of the camera – you can navigate to the setting you want to use with the directional keys instead.
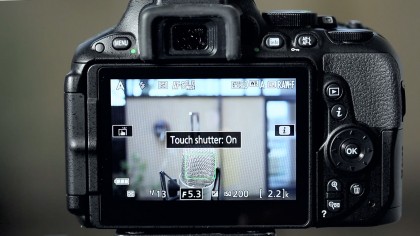
You can set the touchscreen to change settings when you're using the viewfinder, changing the autofocus point, for example. This is a good idea in principle, but in practice I've had mixed results with it – sometimes it's just not very responsive at all. It works better if you articulate the screen away from your face.
When you use Live View mode, you can also use the touch screen to set the AF point; just tap the point of the screen where you want to focus. You can also enable touch shutter, which means that the camera will fire off the shutter release once focus has been acquired – useful when shooting at awkward angles and so on.
To set the autofocus point when you're using the viewfinder, you simply move the directional keys to the point you need. You can set the AF-area mode to 39 points, but if you're finding that to be a little excessive and want to quickly move between points, you can reduce it to 21 or 9 points. Alternatively, you can also use Auto Area AF.
One downside to the reliance on the touchscreen to change settings is that it can seem a little slow to change certain things as you need to go through the "i" menu. There is one function button near the lens mount to help with this, though. This button can be held down and used in conjunction with the control dial – by default it allows you to change ISO (sensitivity), but it can be set to some other functions, including white balance.
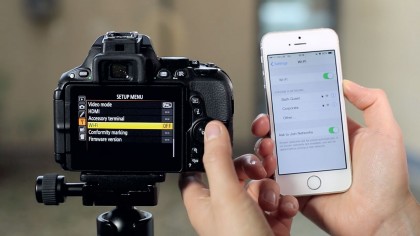
It's easy to connect to Nikon's Wireless Utility app but, sadly, within the app it's still only possible to set the AF point and fire off the shutter release remotely – you can't change any other settings. Nevertheless it's still useful when you don't want to touch the camera, or you're taking shots with you in them.
Amy has been writing about cameras, photography and associated tech since 2009. Amy was once part of the photography testing team for Future Publishing working across TechRadar, Digital Camera, PhotoPlus, N Photo and Photography Week. For her photography, she has won awards and has been exhibited. She often partakes in unusual projects - including one intense year where she used a different camera every single day. Amy is currently the Features Editor at Amateur Photographer magazine, and in her increasingly little spare time works across a number of high-profile publications including Wired, Stuff, Digital Camera World, Expert Reviews, and just a little off-tangent, PetsRadar.
