TechRadar Verdict
If you're on a budget and don't mind a hands-on approach to 3D printing, then the CZ-300 is the machine for you. Arriving partly assembled, it takes about 20 minutes to set-up, and with a large 300x300x300mm build platform, the resulting machine is impressive.
Pros
- +
Incredibly cheap
- +
Produces a good print
- +
Large material compatibility
- +
Profiles for Linux and Mac
Cons
- -
Power unit sits loose
- -
Quite noisy
Why you can trust TechRadar
The Crazy3DPrint CZ-300 is undeniably a cheap 3D printer, but with decent spec's and a huge 300x300x300mm build platform, its well worth a look.
There are plenty of printers out there at this price point, and I've checked out quite a few. The one feature that seems to be consistent with all in this price range is the basic construction and features.
Essentially 3D printers in this price bracket are usually based on freely available designs and software, then mass-produced to make them cheap.
This is essentially the CZ-300, but what stands out is the amount of additional work the company has done. Crazy3DPrint has been careful to ensure that while the feature set is basic, it's balanced with decent parts, and investment has been made in the places where it counts; notably the control board and hotend.
Not surprisingly buying the CZ-300 is cheaper than buying the components parts to build your own 3D printer, and of course, you don't have the fuss of figuring out how all those parts go together.
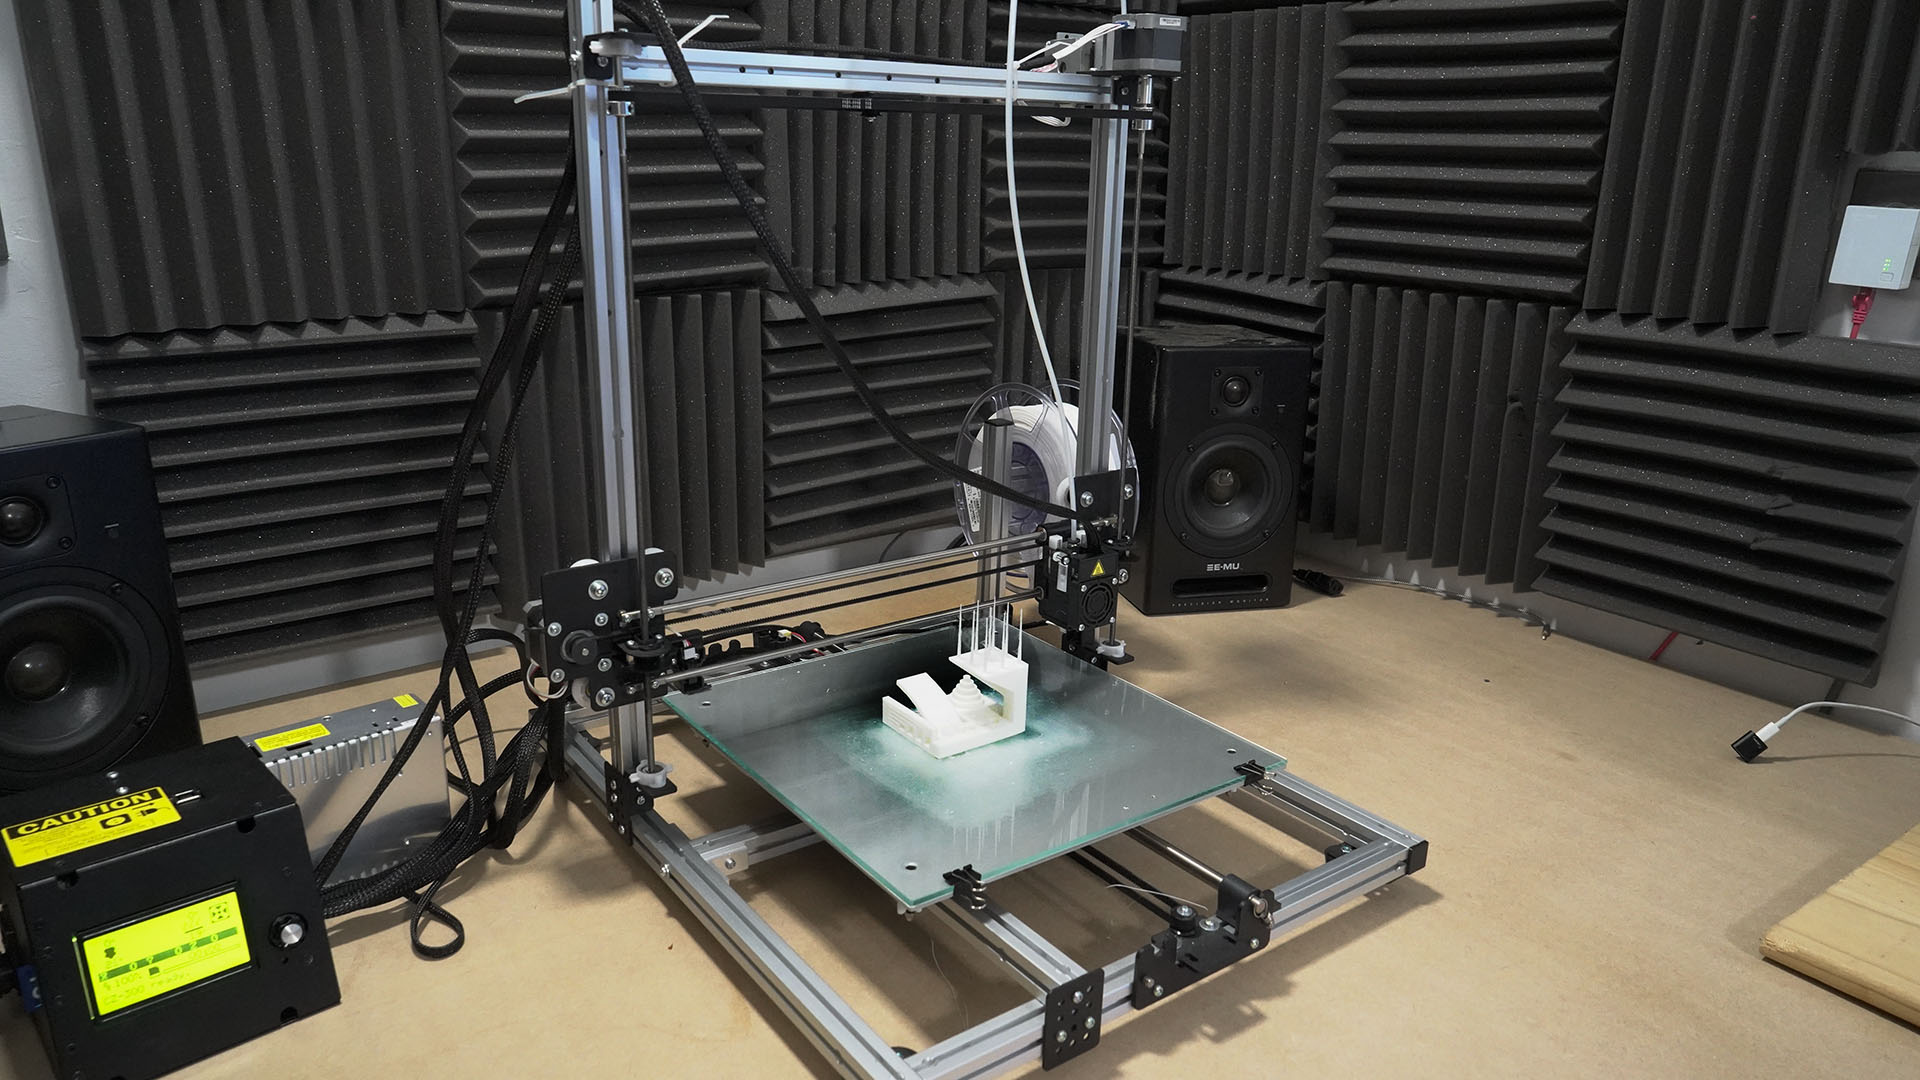
Design
Like almost all Fused Filament Fabrication (FFF) 3D printers the CZ-300 is of the Cartesian type, with X, Y and Z movable axis.
For use at home, this means that if anything goes wrong, then it's generally quick and easy to fix.
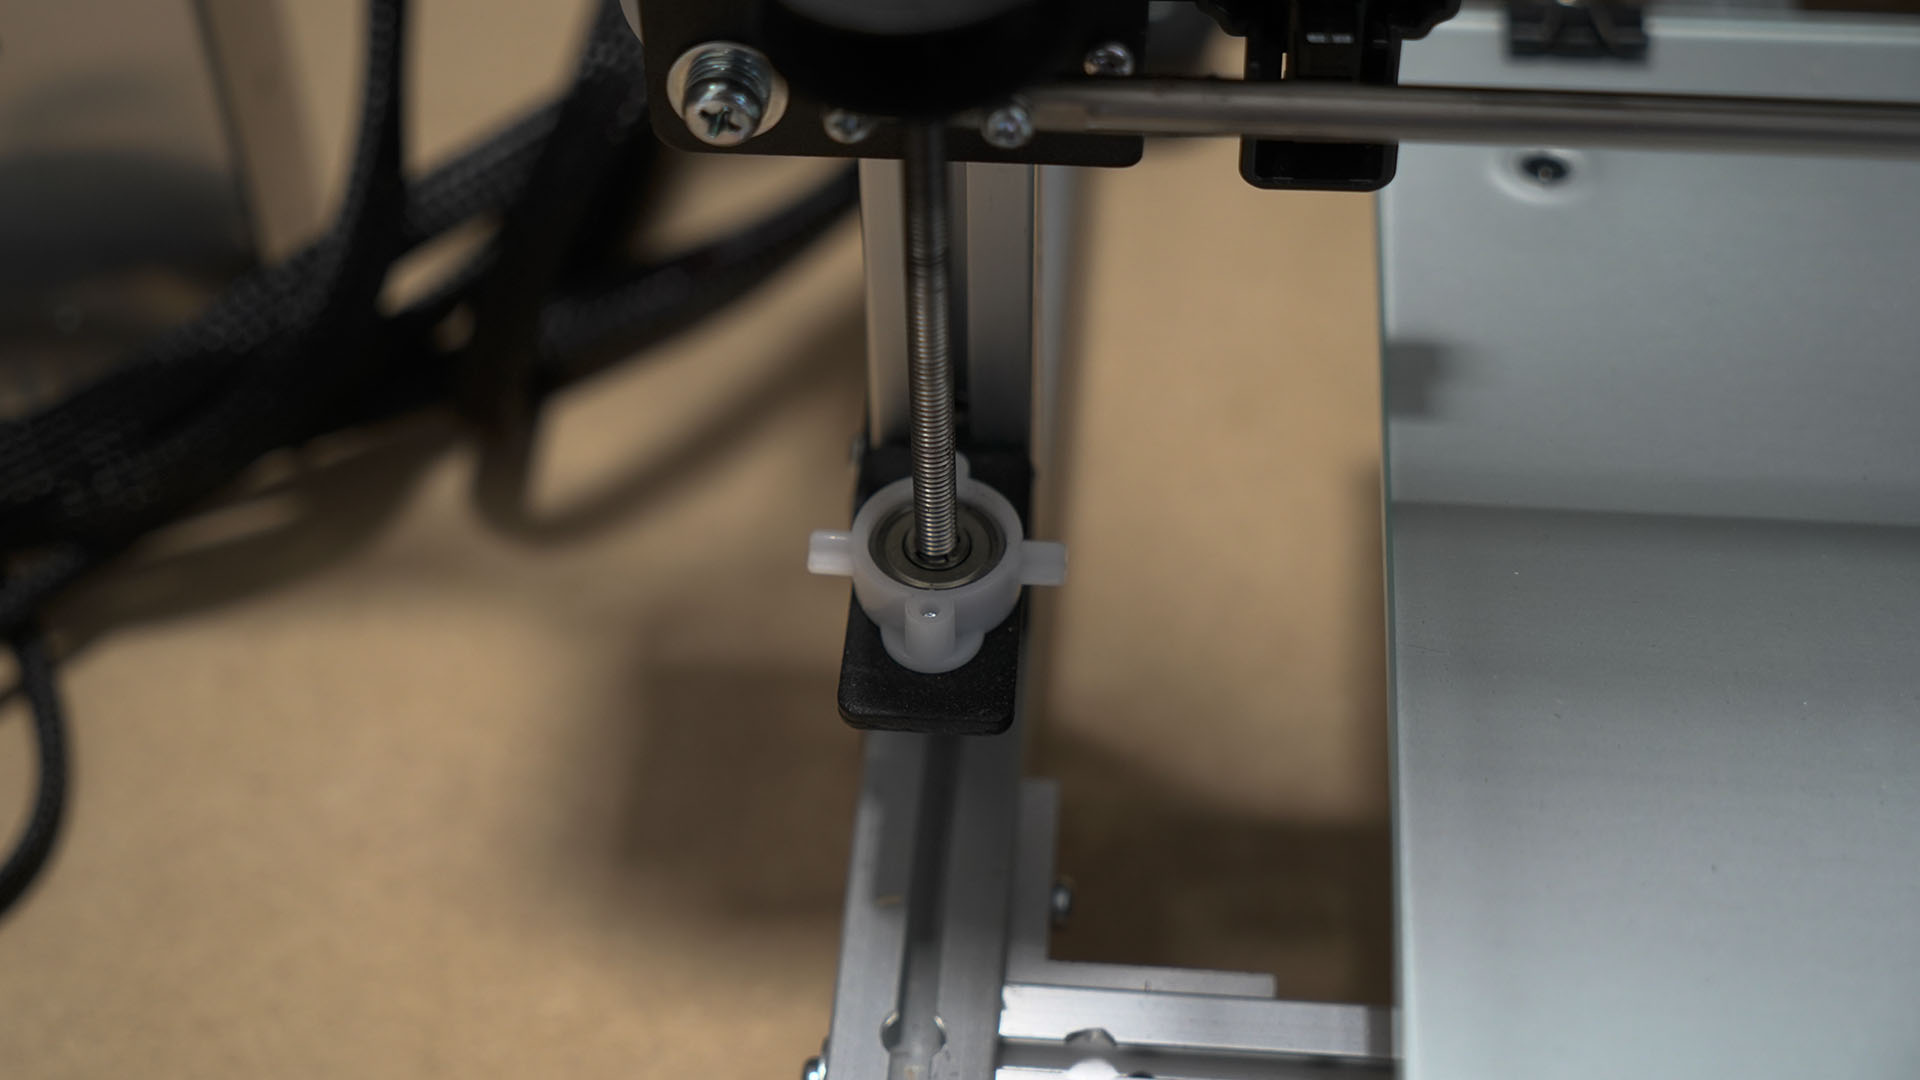
The design of the printer is simplistic with basic T-Slot extruded linear aluminium rails making up the frame. Everything is bolted to this with brackets and plates giving it a true DIY look and feel, even though it's not.
This style of printer reflects the open-source community. It will appeal to anyone who wants to learn how a basic 3D printer works but doesn't want to spend hours or even days building one from a kit, or wanting to spend too much money.
Almost all components from motors to belts are on show, although a nice touch by the Crazy3DPrint is that all cables are neatly tucked inside cable tidies, and the power unit is contained within a proper control enclosure.
Designwise for such a simple 3D printer, the use, maintenance and safety of the printer has been well thought out. This is one of the few printers at this price point that does come with CE, LVD, and FCC safety certificates.
Features
3D printers have evolved, and at the 2019 TCT show at the NEC the latest batch of the consumer, as well as Industrial, printers were on display.
There's were many innovations; even the simple 3D printers were starting to feature some of the more advanced abilities such as auto platform levelling and filament recognition.
The CZ-300, however, goes back to the basics but does impress in other ways.
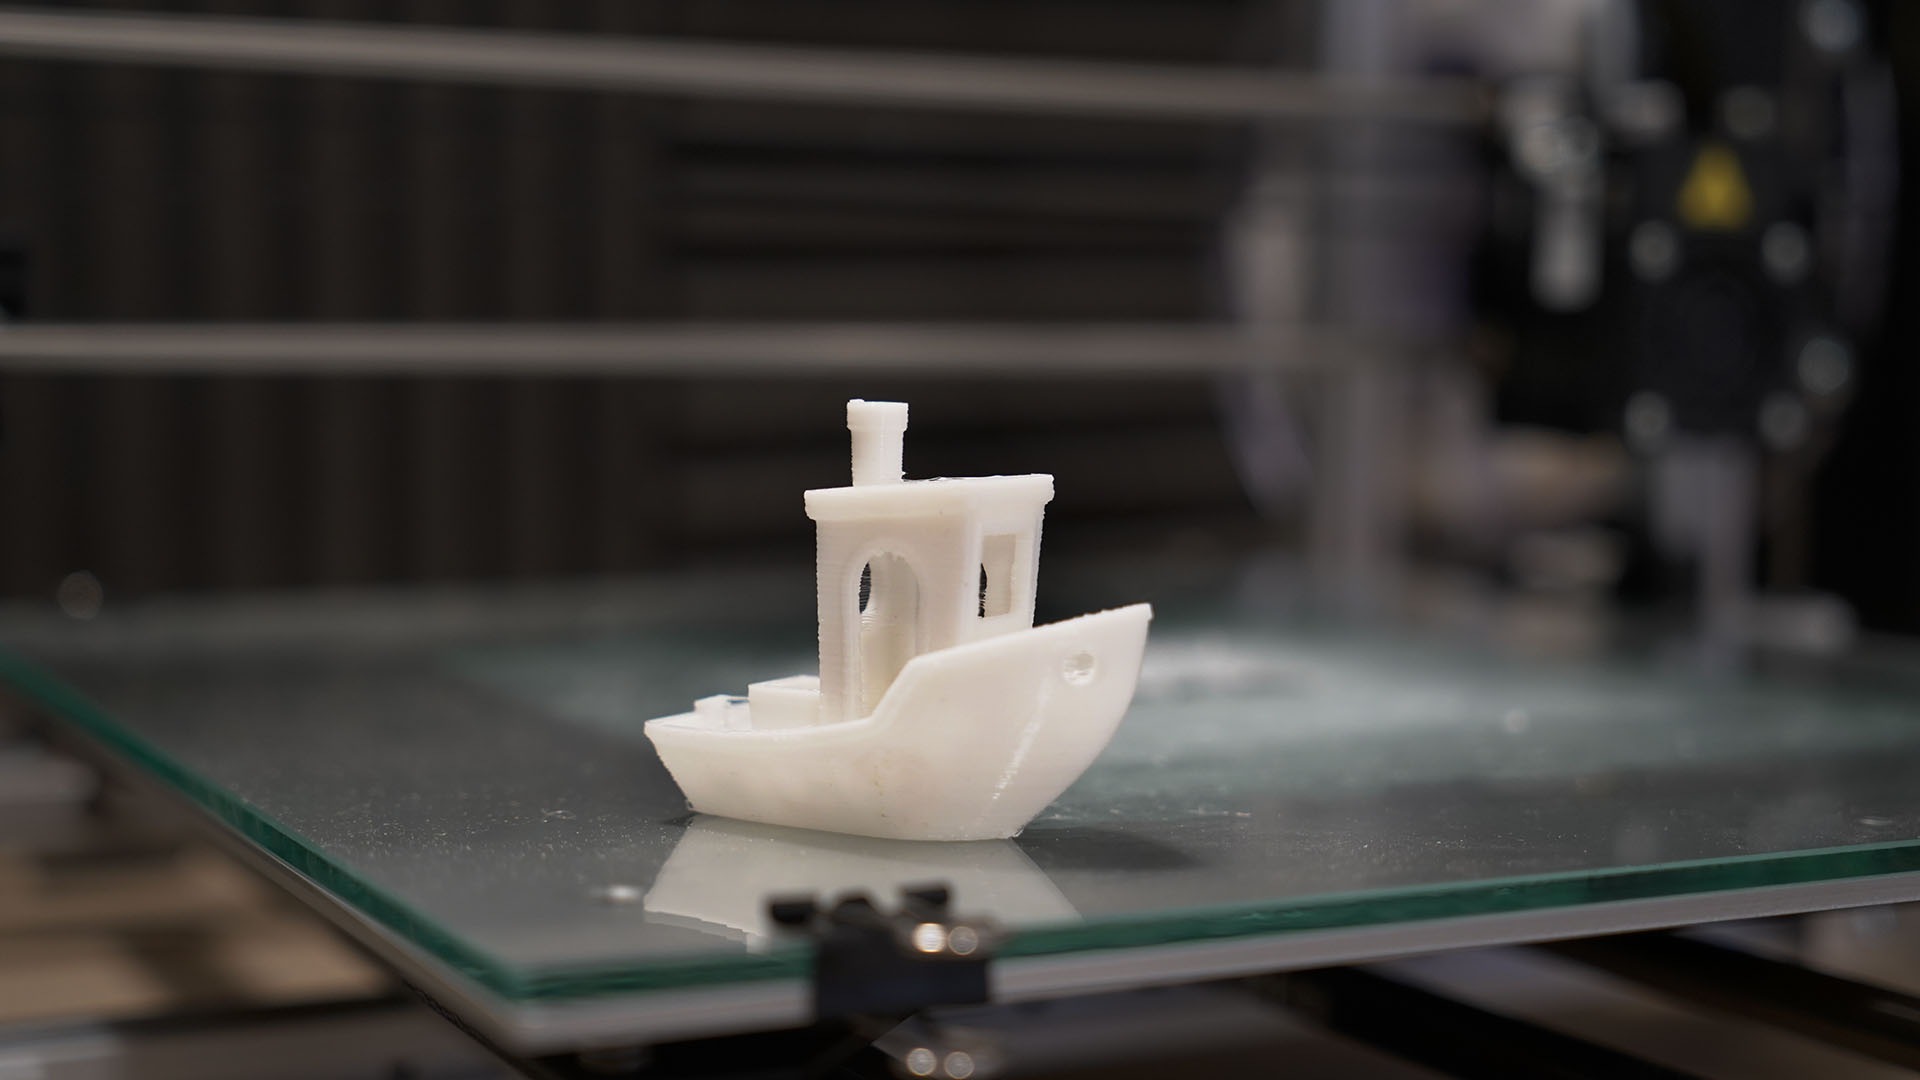
The printer has one of the largest print areas of any printer at this price at 300x300x300mm and offers a layer resolution of 0.1-0.4mm with an X/Y alignment precision of 0.0125mm.
These are the full specs of the Crazy3DPrint CZ-300:
Build Volume: 300x300x300mm
Memory: SD Card
Nozzle size: 0.4mm
Layer Height: 0.1 - 0.4mm
Bed: Heated
Print Surface: Glass
Software: Cura / Slic3r
Materials: Multi-material support
Included Material: PLA
AC input voltage range: 100~120V / 200~240VAC; 115V / 230
The large print size does mean that the size of the printer is considerable. However, due to the open the frame design, the printer doesn't feel that large.
The external dimensions are 534x503x582mm which means that it just about sits on a standard 600mm work surface, but it's tight. You also have to consider that the control box sits exterior to the main printer.
Weight-wise surprisingly, despite the size, the machine weighs in at 14.5kg, which all things considered isn't a great deal.
The CZ-300 has wide print compatibility supporting PLA, ABS, PETG and many other materials as standard. It uses 1.75mm filament as standard.
Material compatibility is essential and should be top of the list when it comes to buying considerations.
What makes the CZ-300 stand out is that it goes beyond many other cheap 3D printers by offering you options.
As well as the standard print head, you can purchase a second head designed for specialist materials such as Carbon Fiber PLA and Metallic PLA.
The print head design is very neat with a quick release head that enables you to swap the standard head for the specialist head.
While the removal of the head from the machine can be done in seconds, the rewiring takes around five minutes. The process is straightforward and shouldn't pose too many issues for someone just starting as there's no soldering involved.
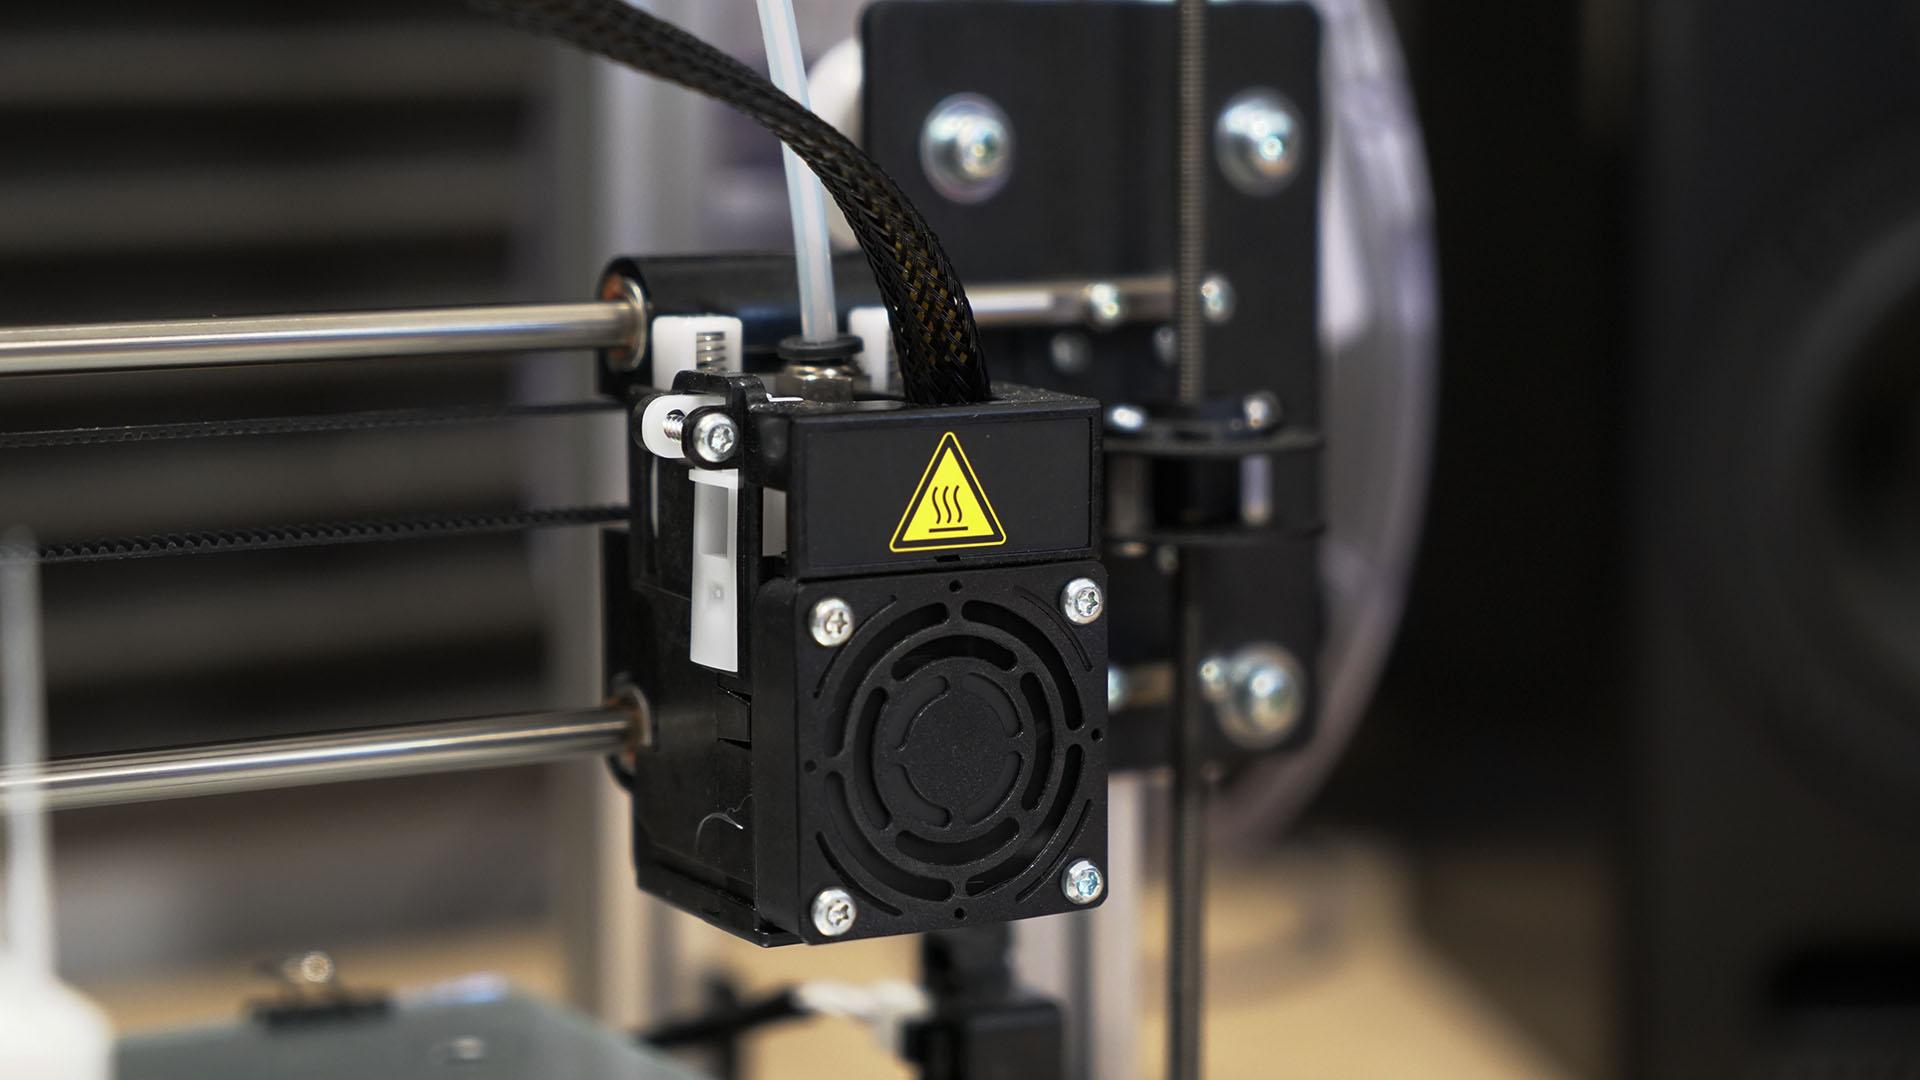
The hotend also enables you to swap the nozzles from the brass to steel depending on your preferences.
The standard nozzle is a 0.4mm with a max temperature of 260º.
Crazy3DPrint have also gone some length to provide a list of spares for the machine, so if anything goes wrong in the future, then everything you need to repair and possibly upgrade the machine is available from the crazy3DPrint website.
The controller board enables several ways to transfer gcode to the printer; SD or USB.
As the base configuration is open source, it has full compatibility with Mac OS, Windows and Linux, although the provided profiles are just for PC.
Another prominent feature of the CZ-300 is that it has gone through all of the safety certificates from CE, LVD and FFC.
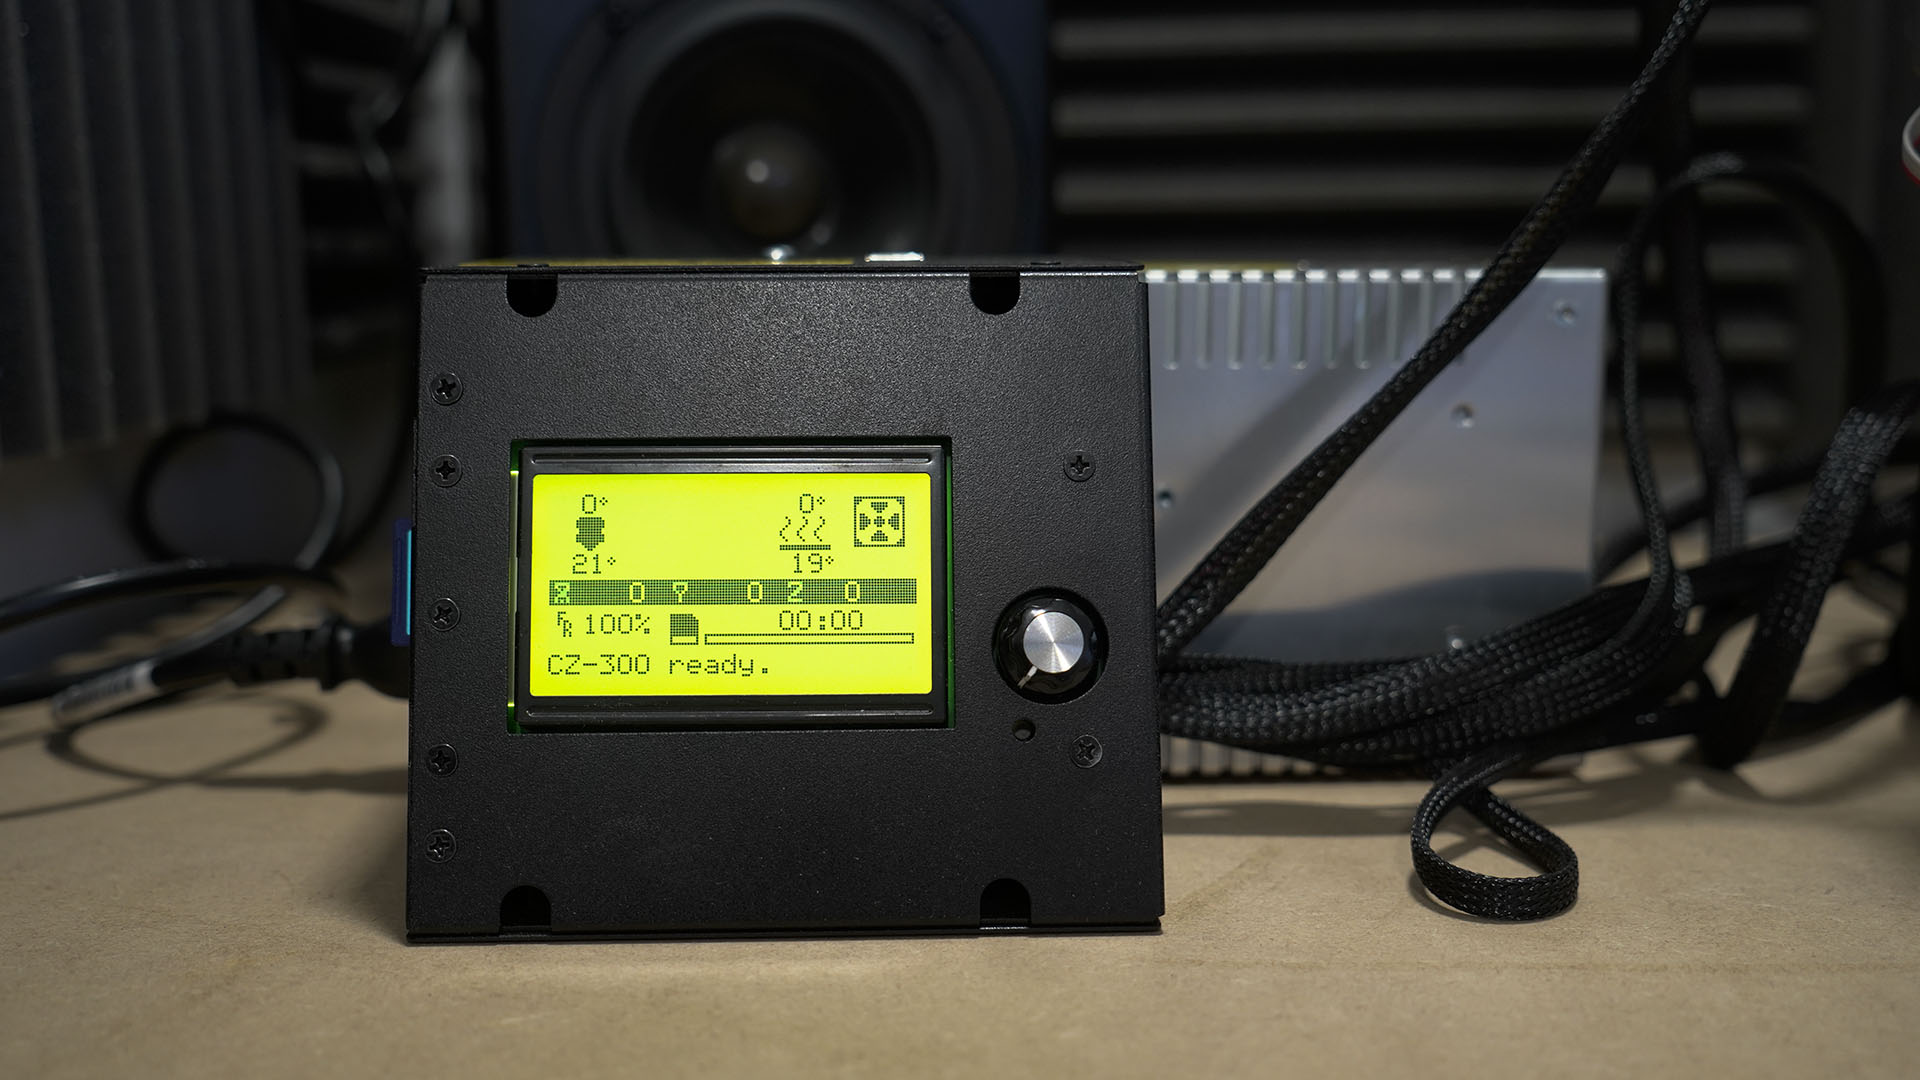
Setup overview
When the printer arrives, it's all neatly packed, and with the help of a sheet of printed instructions, it takes around 20 minutes to bolt together.
The majority of the construction has been done for you, so it's not a difficult task, but some of the images in the instructions aren't quite as clear as they could have been.
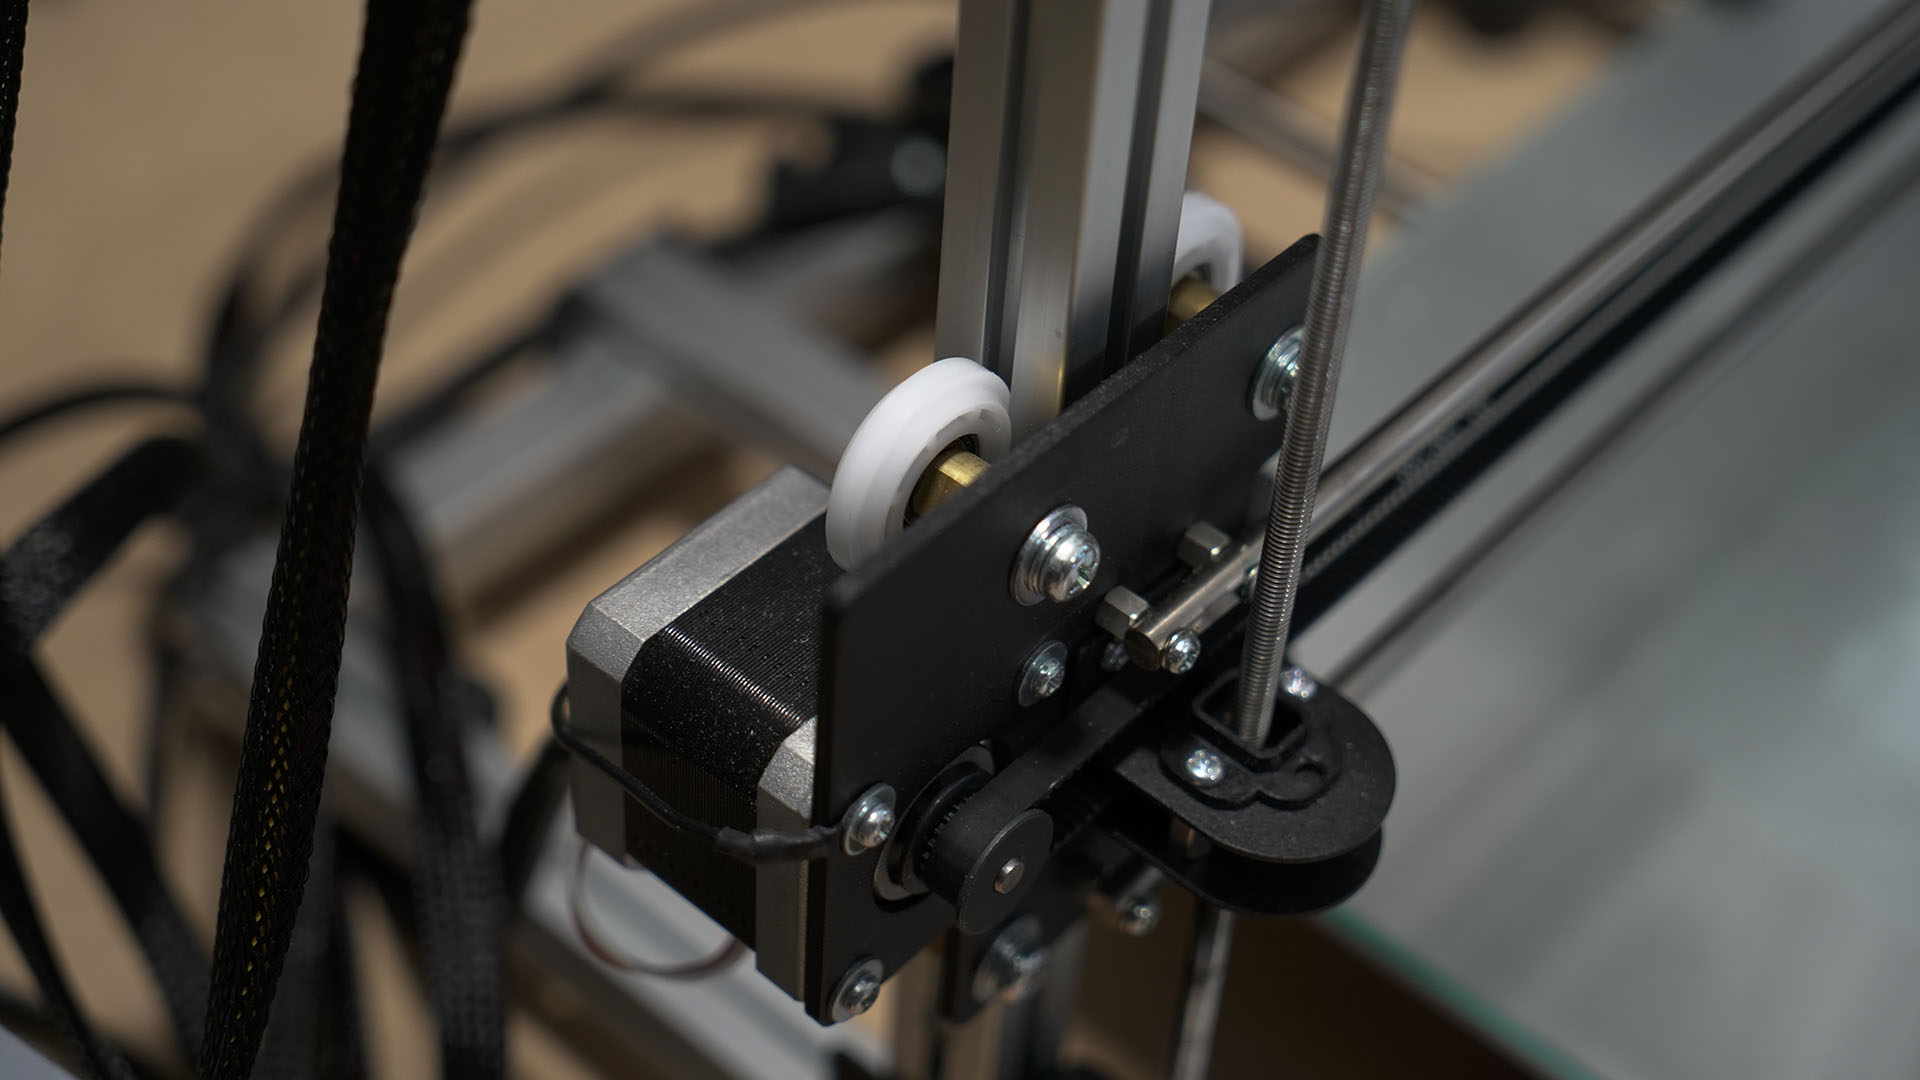
Once everything is bolted tight, it's time to power-up.
After a short boot sequence, the printers ready to go and Crazy3DPrint include an SD card preloaded with a selection of models to get you started.
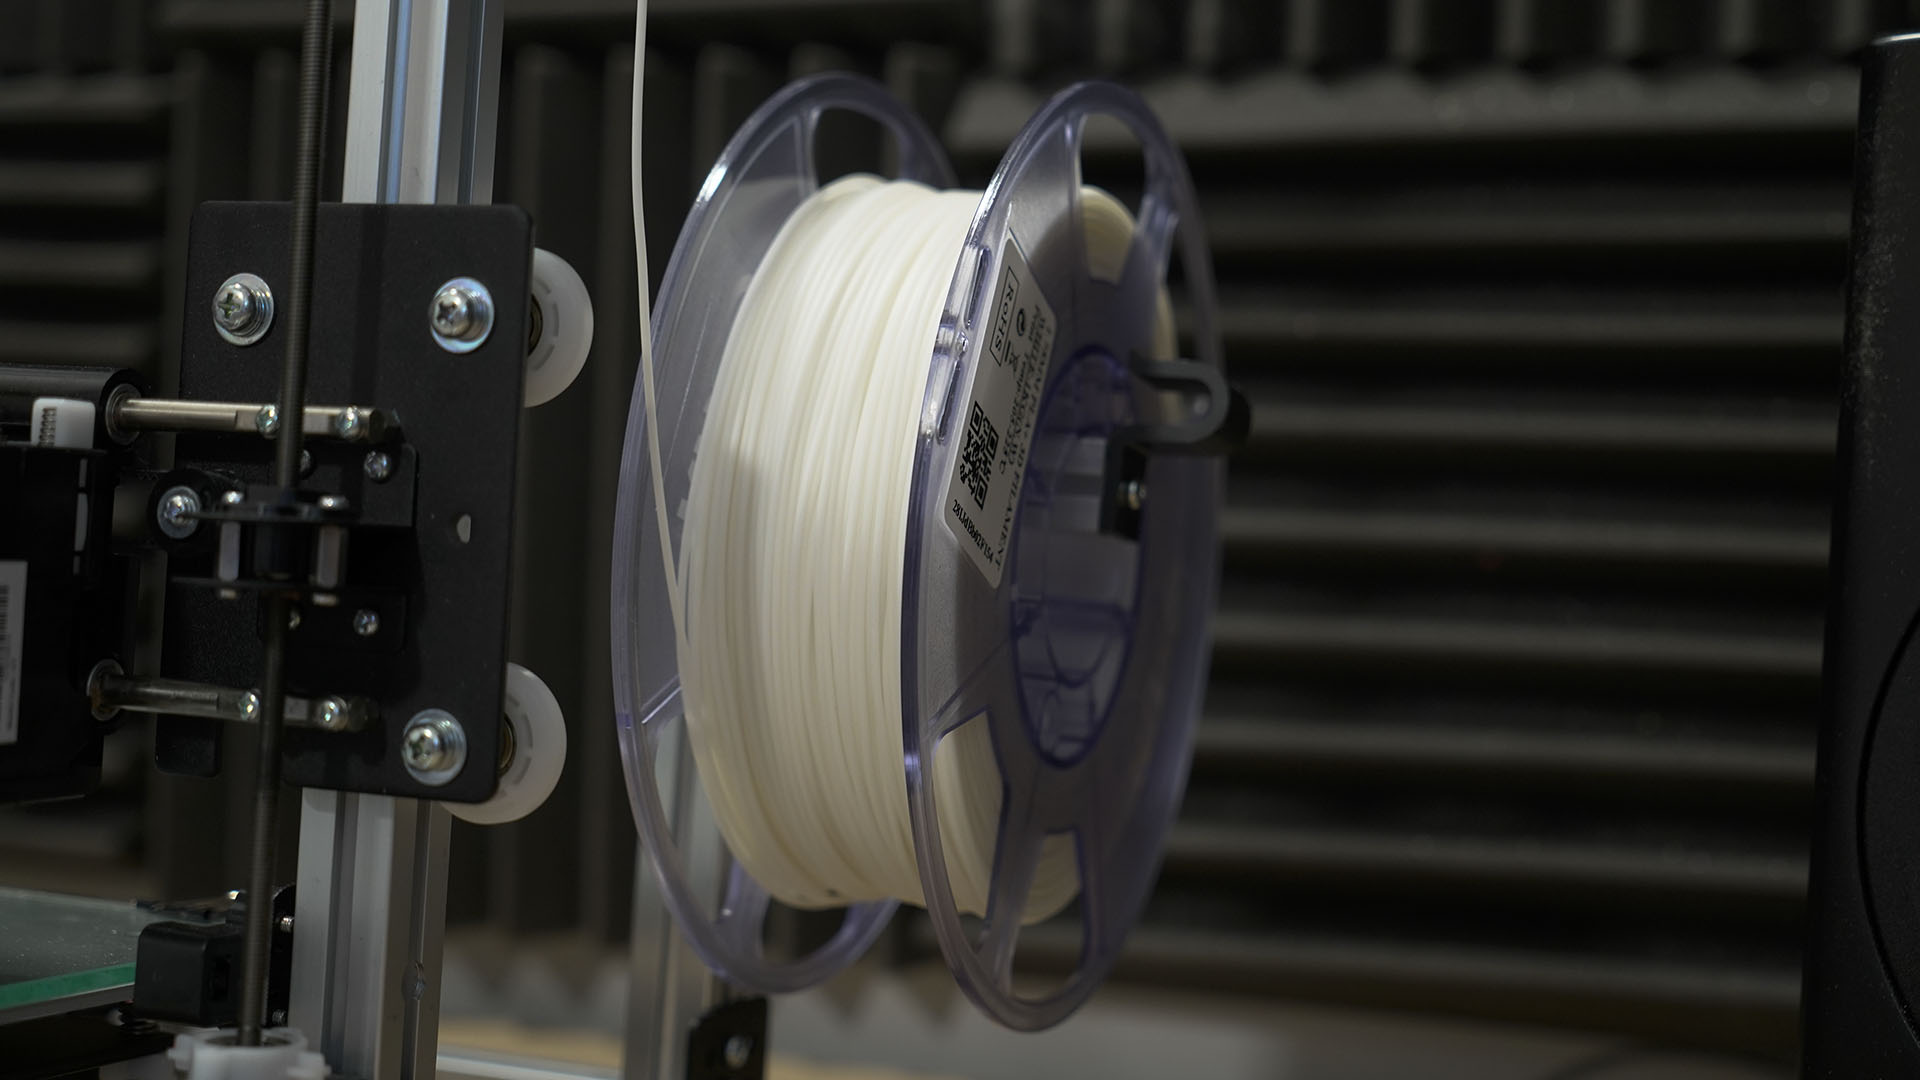
Before printing the first thing to do is to feed the filament through the system. This is a manual task as there is no autoloader. A metal level on the side of the extruder enables you to feed the filament through the system until it reaches the print head.
Crazy3DPrint supply profiles for the PC version of CURA and Slic3r, Mac and Linux users will need to fend for themselves, but in both applications and Simplify3D, that process wasn't tricky.
Once you've selected your software, it's time to calibrate the machine; the most important process is the bed levelling. This is simple enough with the hotend moving to the four corners of the platform so you can adjust the height using the screws beneath the bed.
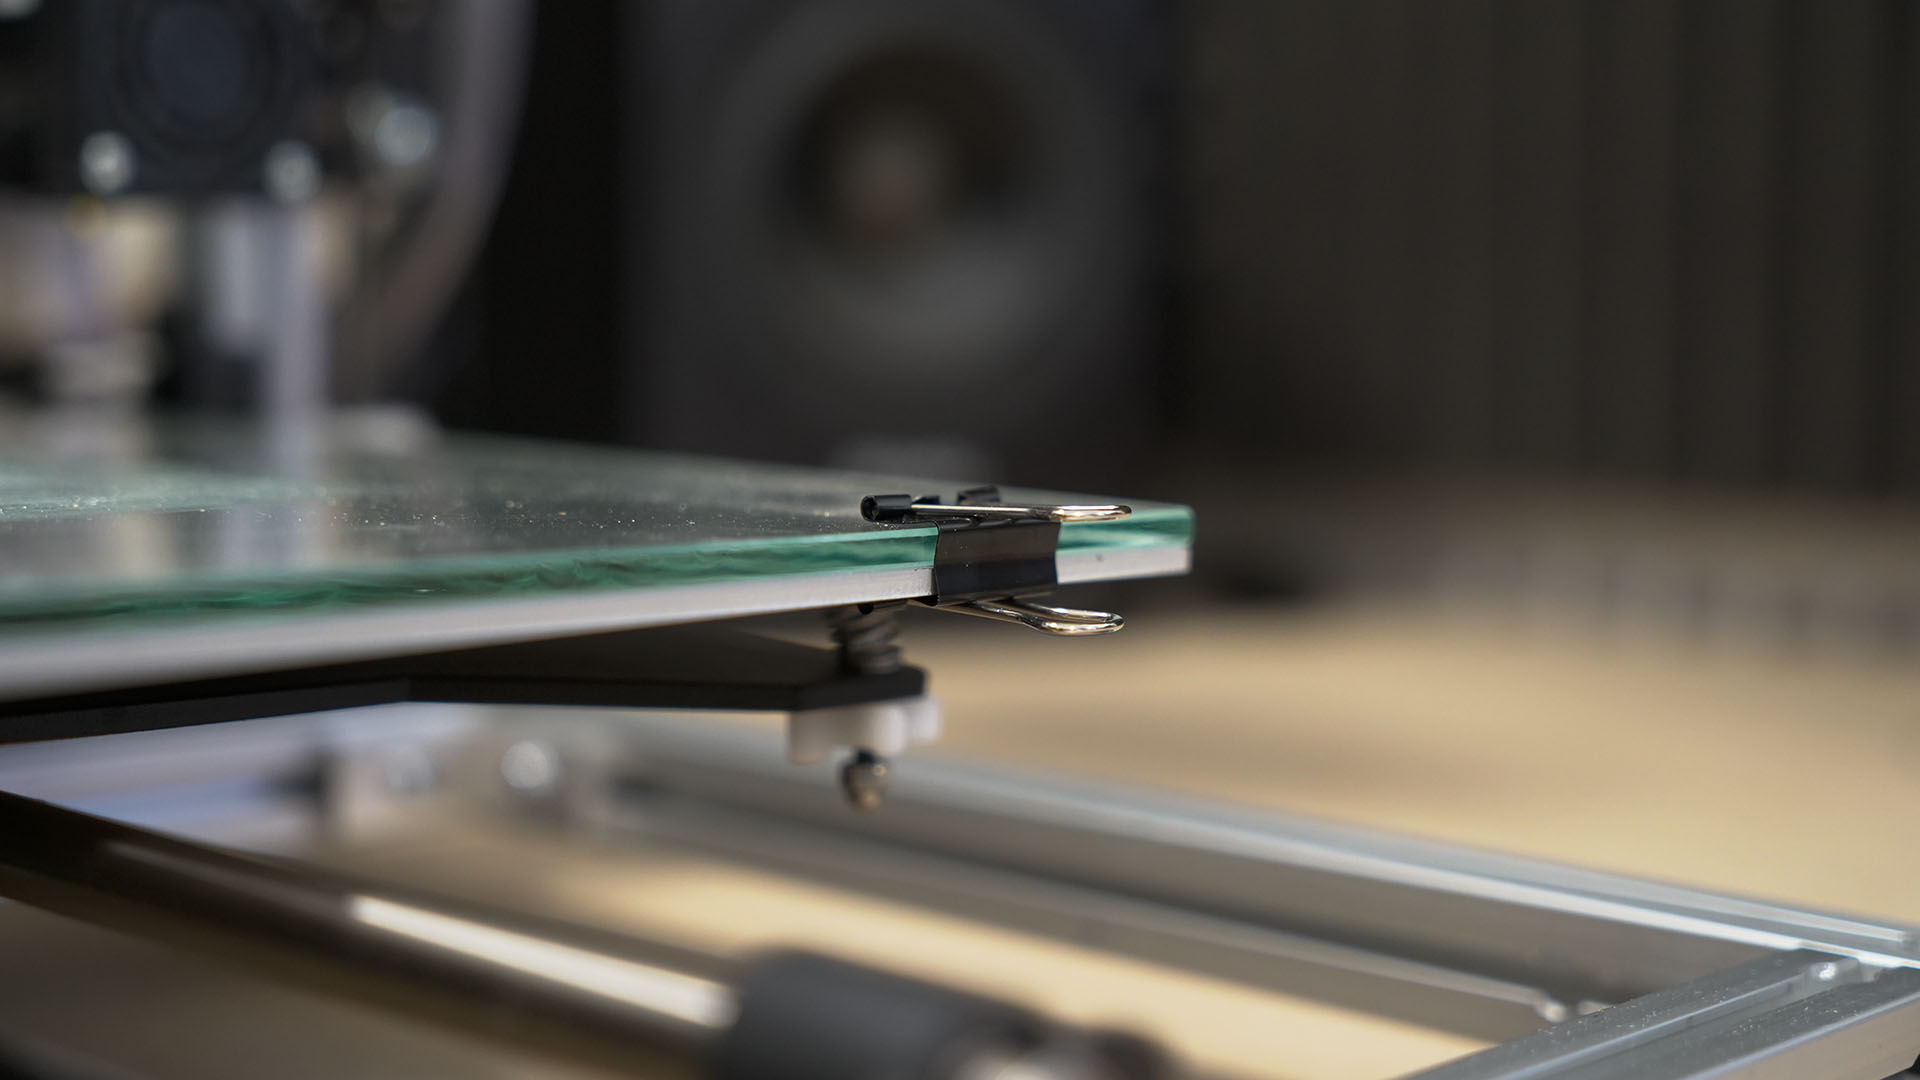
Ensuring that the bed level is spot-on is essential to the success of this printer. Placing a thin sheet of paper between the nozzle and the bed and making sure that there is some drag makes sure the printhead is at the correct height.
Too high and the filament won't stick to the bed, to low and the filament can work it's way up into the head, and that can be a real issue.
Once done, you're ready to print.
Ali Jennings is the imaging lab manager for Future Publishing's Photography portfolio. Using Imatest Master and DxO Analyser he produces the image quality tests for all new cameras and lenses review in TechRadar's cameras channel. Ali has been shooting digital since the early nineties and joined Future's Photography portfolio back in 2003.
