TechRadar Verdict
A very interesting video editor with powerful tools, but its tempting lure of being free hides the fact that a necessary export option is only available in the paid-for version.
Pros
- +
Multi-platform (Linux, Mac, Windows)
- +
Advanced tools
- +
Real-time effects
- +
Free option available
Cons
- -
1080p export is a ‘pro’ feature
- -
Some new concepts can be frustrating to use
- -
A bit daunting if you’re a newcomer to video editing
Why you can trust TechRadar
Update: This review is for an older version.
For the latest release, see our Lightworks 2022 review.
-------
Editing videos is not only time consuming, it’s also expensive. So when we come across free video editing software, it’s always worth taking them through their paces as we look at the features they offer.
Sometimes we live to regret it, other times, we’re thoroughly impressed. How does Lightworks 2020 compare to the best free video editing software? Read on to find out!
- Want to try Lightworks 2020? Check out the website here
Getting started
First off, Lightworks is available for Linux, Mac and Windows, which is a serious feather in its cap - Linux users don’t often get such attention, and the interface does indeed offer you a full featured video editing and compositing piece of software for free (with a caveat - more on which later).
You start by either choosing an already existing project or starting a new one. Other video editors request to know the dimension of your new creation (HD, 4K, etc), but here, Lightworks is only interested in its frame rate, from 24fps to 60fps, with Mixed Rates and Auto also available. If you’re uncertain, 30fps is what smartphones usually record at.
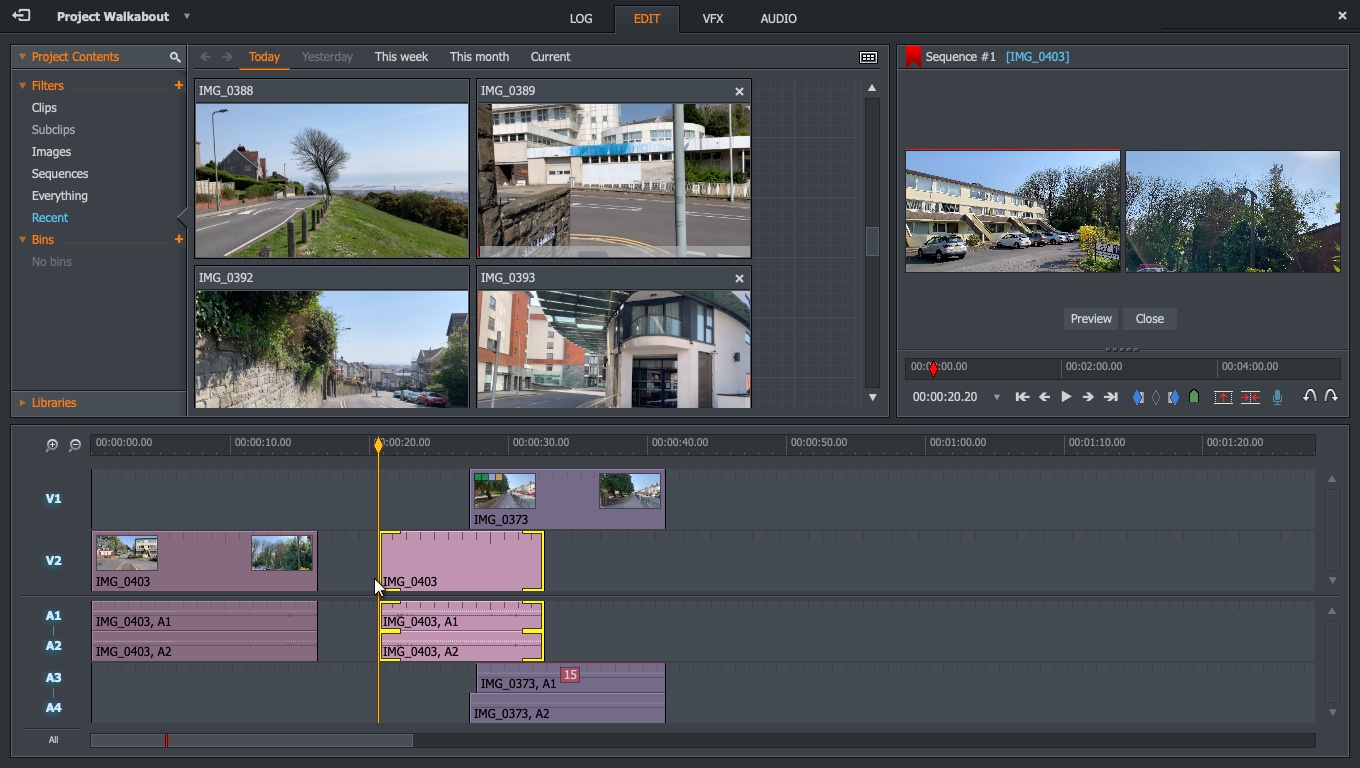
Lightworks offers four different workspaces: Log, Edit, VFX and Audio, depending on the type of work you’ll be doing. When assembling a project, for instance, you’ll most likely be spending most of your time in ‘Edit’.
Each workspace is customised for its specific workflow, but you’re also free to resize the various sections to suit your own preference. There are limits to how small a section can get, and you can’t move sections around, but it’s good that there’s some flexibility.
You can import clips from the Log workspace, either by browsing through your available clips from the interface, or perhaps more easily, by dragging them from their location on your hard drive onto the Lightworks window.
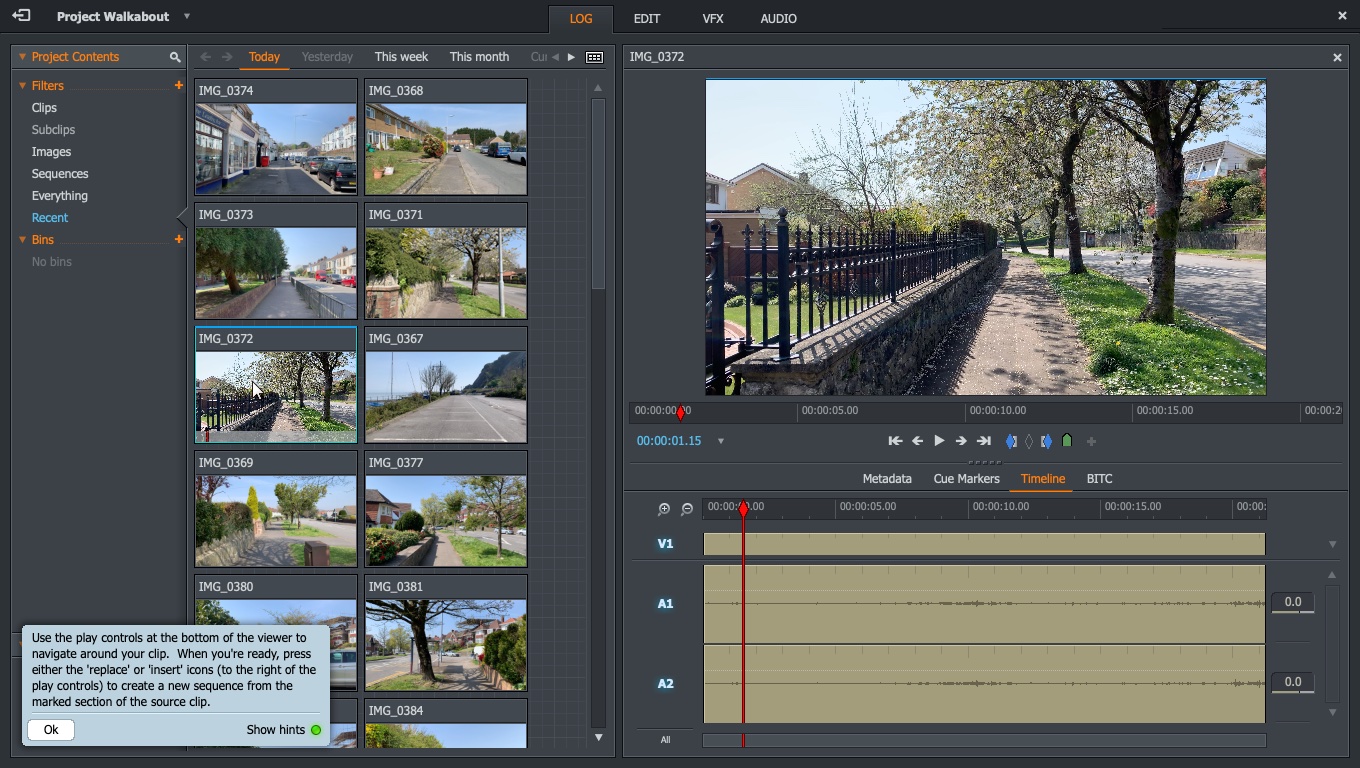
You’ll notice little hints appearing lower left when you try some new feature for the first time. It’s a nice way to help you understand the interface as you learn your way through it, but if this annoys you, it’s also easy to disable that feature.
Editing
Building an edit is pretty much as you’d expect from a professional level video editor. You have multiple layers, can preview clips, set in and out points, the works.
There are a few features that made us stand up and take notice (both good and bad), some of which we’d like to chat about here:
First, the interesting.
Hover over clips and handles appear at either end of them - depending where the cursor is positioned. The highlighted portion is either on the internal or external side of that end.
Select any of them by clicking on them - turning the handle yellow. You can then drag them left or right to alter the edit point, or the gap between two clips depending on what you selected.
If you highlight both the left and right handles of a clip, its position in the timeline and duration remains the same, but as you drag left or right, you move its in and out points in relation to the original clip, ie, you’re changing the part of the clip you’re using.
Innovative though this is, it can get tricky, especially when working with multiple layers and multiple handles across multiple clips get automatically selected.
This is definitely something that needs practice to perfect.
Next, the frustrating.
Although you can work with multiple layers of audio and video, it’s not all sunshine and daffodils.
In other editing software, adding a video on layer V1, would add the audio in layers A1 and A2 (for stereo sound). Were you to put a video on V2, its audio would automatically go to A3 and A4.
Not so with Lightworks: put a video in V2, its audio goes to A1 and A2, thereby potentially overwriting any audio already there that belongs to a clip on V1.
Moving a video clip to another layer will also not automatically move the audio to other layers, even though the audio and video are linked.
This may not sound like a big deal until you realise that you increase the potential for mistakenly overwriting audio which you’d then have to source again, wasting a lot of precious time.
Effects and audio
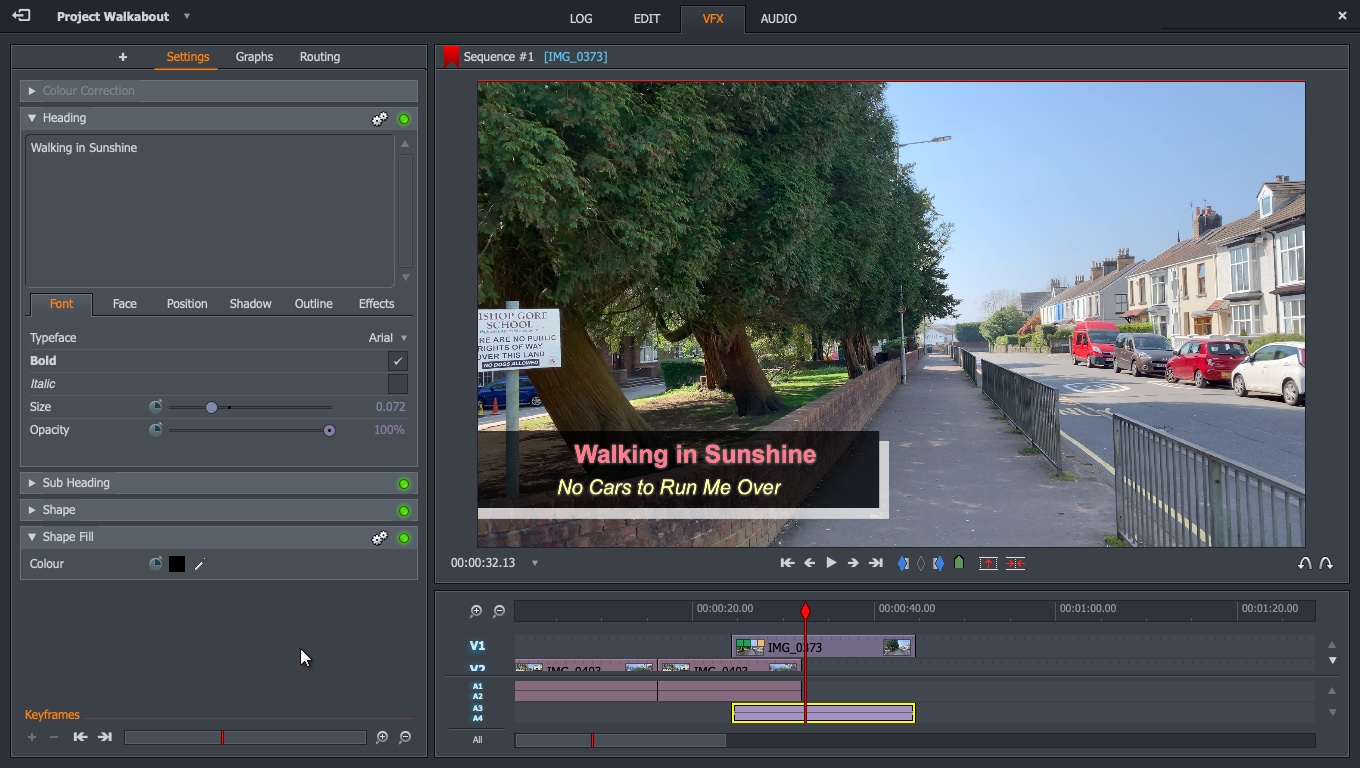
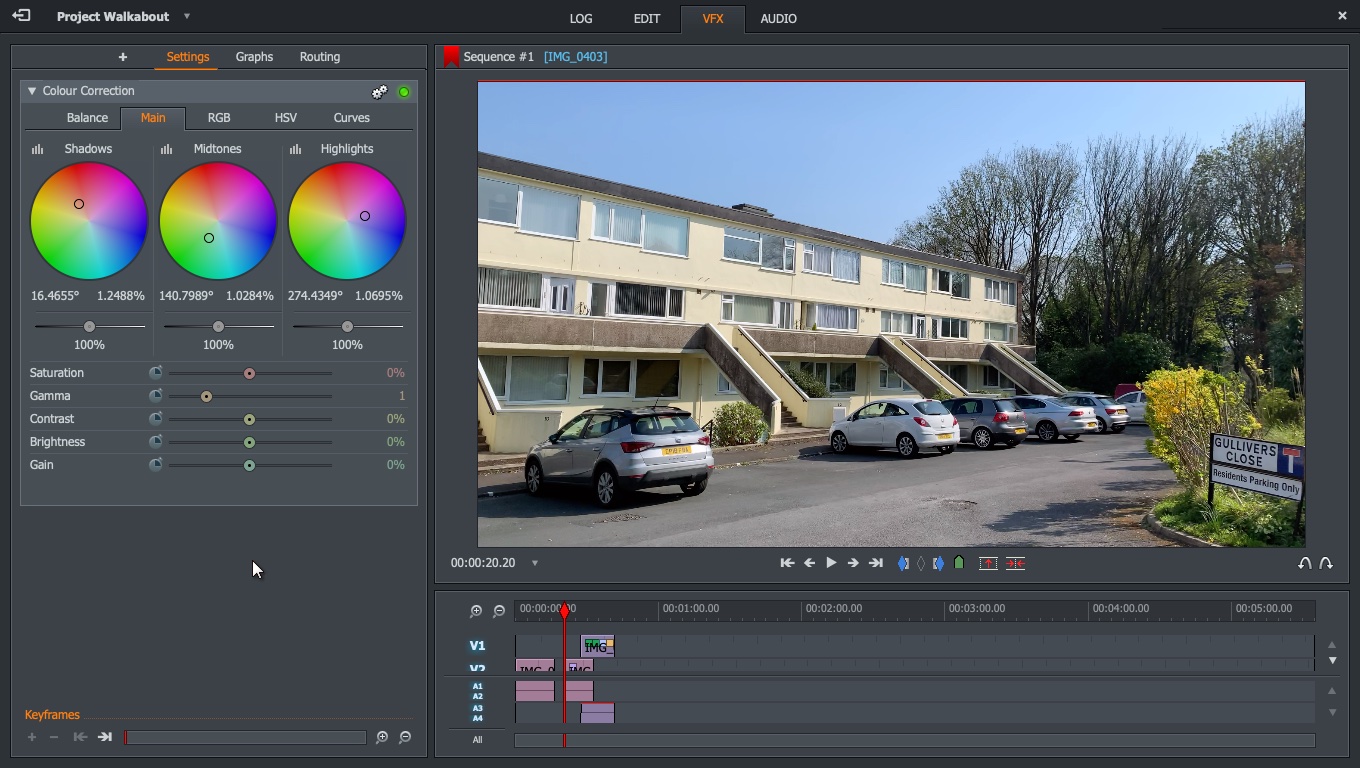
The VFX workspace is where you deal with any effects that affect the visual aspect of your project, be it colour correction, titles or transitions, for instance. As you’d expect, Audio handles the auditory side of things, but the process is similar.
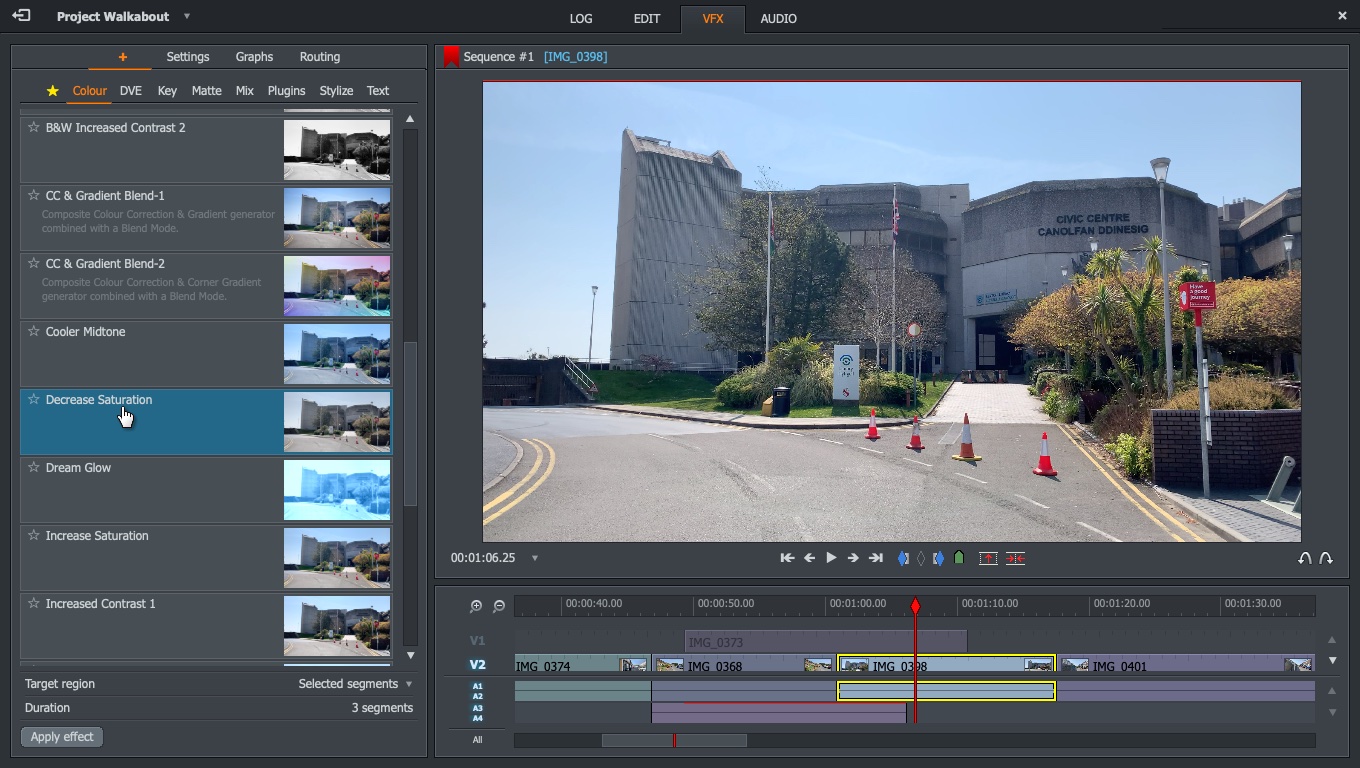
You select an effect, drag it onto a clip, alter its parameters (including the ability to have them change over time thanks to keyframing), and you’re done.
It can be a little tricky to find your way around, and for us the most confusing aspect was the transitions. To start with, you need to add the transition to the clip that’s above another one.
Next, Lightworks treats transitions like any other effect, and applies it over the entire length of a chosen clip. You then have to access the ‘Graph’ section to alter its duration (essentially making keyframes for the transition). It’s not as effortless as it could be, but on the plus side, you can create visually interesting transitions.
Export
One welcome feature you don’t even notice is the fact Lightworks automatically saves your work, so you don’t have to worry about losing what you created because Lightworks or your computer decided to crash unexpectedly (for the record, Lightworks was incredibly stable while we tested it out and didn’t crash once).
But exporting, that’s a different matter. First how do you do it? There are no obvious buttons or menus to press in order to achieve this. If you don’t know, you could be stuck for a while wondering what to do.
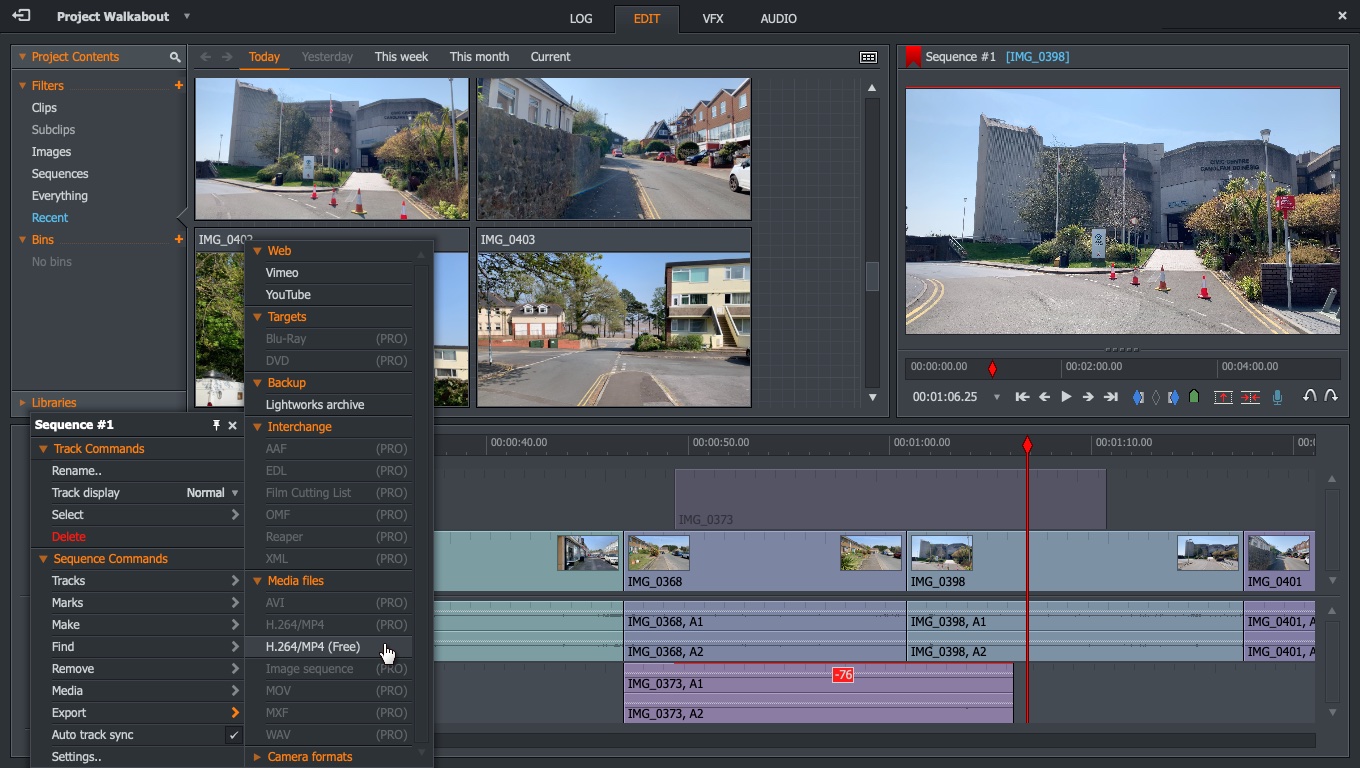
The answer is simple when you know, and we wish there was a prominent signpost to help newcomers along: right-click on the Timeline’s sidebar and hover over the ‘Export’ menu.
This is where you’ll see all the exporting options available to you… if you go for the Pro version. You might think, it’s ok, you don’t need all these option, all you want is H.264 and a pathway to YouTube and Vimeo. Except the free option also limits your exports to 720p. If you want full HD and beyond, you need to pay for the privilege.
Which is more than fair enough: everybody needs to eat after all. So, what’s the advantage of going ‘Pro’?
Paying for features
More advanced exporting options for one, and since HD exports is really a basic expectation these days, it feels like Lightworks isn’t really free. It’s free while you play around and hone your skills, but the moment you need to export anything at an expected quality, you have to seriously consider paying the piper.
Other functionalities you get include saving your project wherever you want on your computer, instead of the location specified by Lightworks, advanced project sharing options, stereoscopic audio output, timeline rendering, and support for AJA, Blackmagic, Matrox and Mackie Mixers.
And how much will this set you back?
You have a choice of subscription services: either paying $24.99 (£17.99) a month, or a heavily discounted $174.99 (£119.99) a year. Selecting to pay yearly also grants you access to the Boris Graffiti plugin package (valued at $299).
If you’re no fan of subscription models, you can buy the software outright for $437.99 (£299.99), and along with Boris Graffiti, you’ll also get the Boris FX plugin package (valued at $299).
Final verdict
There’s a lot to like in Lightworks. There’s enough there for you to edit and composite an entire video project. There are some interesting new concepts, and some frustrating ones (no software is perfect). But it’s not really free if you’re looking for quality exports (if 1080p can even be considered quality these days).
The paid tiers do offer some interesting benefits, and if you like how Lightworks… works, then it could be worth considering investing in this software.
- We've also highlighted the best video editing software
Steve has been writing about technology since 2003. Starting with Digital Creative Arts, he's since added his tech expertise at titles such as iCreate, MacFormat, MacWorld, MacLife, and TechRadar. His focus is on the creative arts, like website builders, image manipulation, and filmmaking software, but he hasn’t shied away from more business-oriented software either. He uses many of the apps he writes about in his personal and professional life. Steve loves how computers have enabled everyone to delve into creative possibilities, and is always delighted to share his knowledge, expertise, and experience with readers.

