TechRadar Verdict
Movavi Video Editor shows promise and looks good, but its many inconsistencies may only satisfy the most novice of editors.
Pros
- +
Easy to use, fast to learn
- +
Responsive interface
- +
Nice choice of effects and titles
- +
Good export options
Cons
- -
Poor import facility
- -
Inconsistent design
- -
Hard to do precision edits
- -
No audio meters
Why you can trust TechRadar
As its name implies, Movavi Video Editor (MVE) is a video editor that allows you to cut a movie from existing clips. Although it is a paid app, the developers let you download a seven-day trial version for either the Mac or Windows, which should give you enough time to explore its features and decide if they are for you.
Like any editing app, the first thing you need to do when starting a new project is import media. MVE is very flexible in that regard, and allows you to import video, photos and audio stored on my computer, or external drives. You can also gain access to your computer’s built-in camera and start recording straight from within the application.
It doesn’t appear to be possible to import videos from an AVCHD camcorder however, which is quite frustrating and forces you to find another way to get the footage out prior to being able to import it into MVE.
There’s further disappointment in the shape of a false “Record Screencast” button in the import panel. Sadly this feature (which would record your computer’s screen, a must for those making computer tutorials or recording game sessions, for instance) only works if you’ve purchased the more expensive Video Suite. Clicking on that button merely opens your browser and takes you to Movavi’s online store.
- Check out our list of the world's best video editors
Importing and editing
Contrary to most other editing apps, importing media doesn’t add it to a section in the interface where you can preview it, choose which parts to use, and likely discard the rest. Instead, MVE adds any clips you import directly into your timeline. This is not a good way to edit a video, since the order you chose them may well not be the order they need to go together. Therefore the best way to use MVE’s import feature is to select the clips as you need them, which makes for a poor interface.
It’s however very easy to move clips around the timeline. In a manner similar to Final Cut Pro X’s magnetic timeline, deleting clips will shunt any others on its right to the left to close the gap between all remaining clips. This process works when reordering clips on the first, and primary, layer. This does not apply to any other layers above it.
Editing clips is as you’d expect: you can trim their In or Out points by clicking and dragging their edges inwards. Alternatively, you can click on a clip to select it, move the playhead over the desired area and click on the Split button (the one shaped like a pair of scissors). These actions are non-destructive and dragging a clip’s edges outwards will restore the previously cut segment.
There is no obvious keyframing process but that’s because a lot of effects you would animate are actually automated in MVE, like fading in or out, or panning and zooming. You can find all this and more in the clip’s Tools section. This process works very well.
In order to help you create frame-accurate edits, MVE allows you to navigate your work on a frame by frame basis using keyboard shortcuts, although those that are included could be simplified, and there sadly isn’t enough of them.
The developers had an extremely puzzling decision to not breakdown the timecode by frames, but rather by hundredths of a second. To make matters worse, this division isn’t consistent. Try this yourself: move the Timeline’s playhead forward one frame, then make it go back one frame. Repeat this two or three times, and you’ll see the hundredth of a second value is different each time even though you revisit the same frame over and over again. This is not acceptable for precision work.
Titles and effects
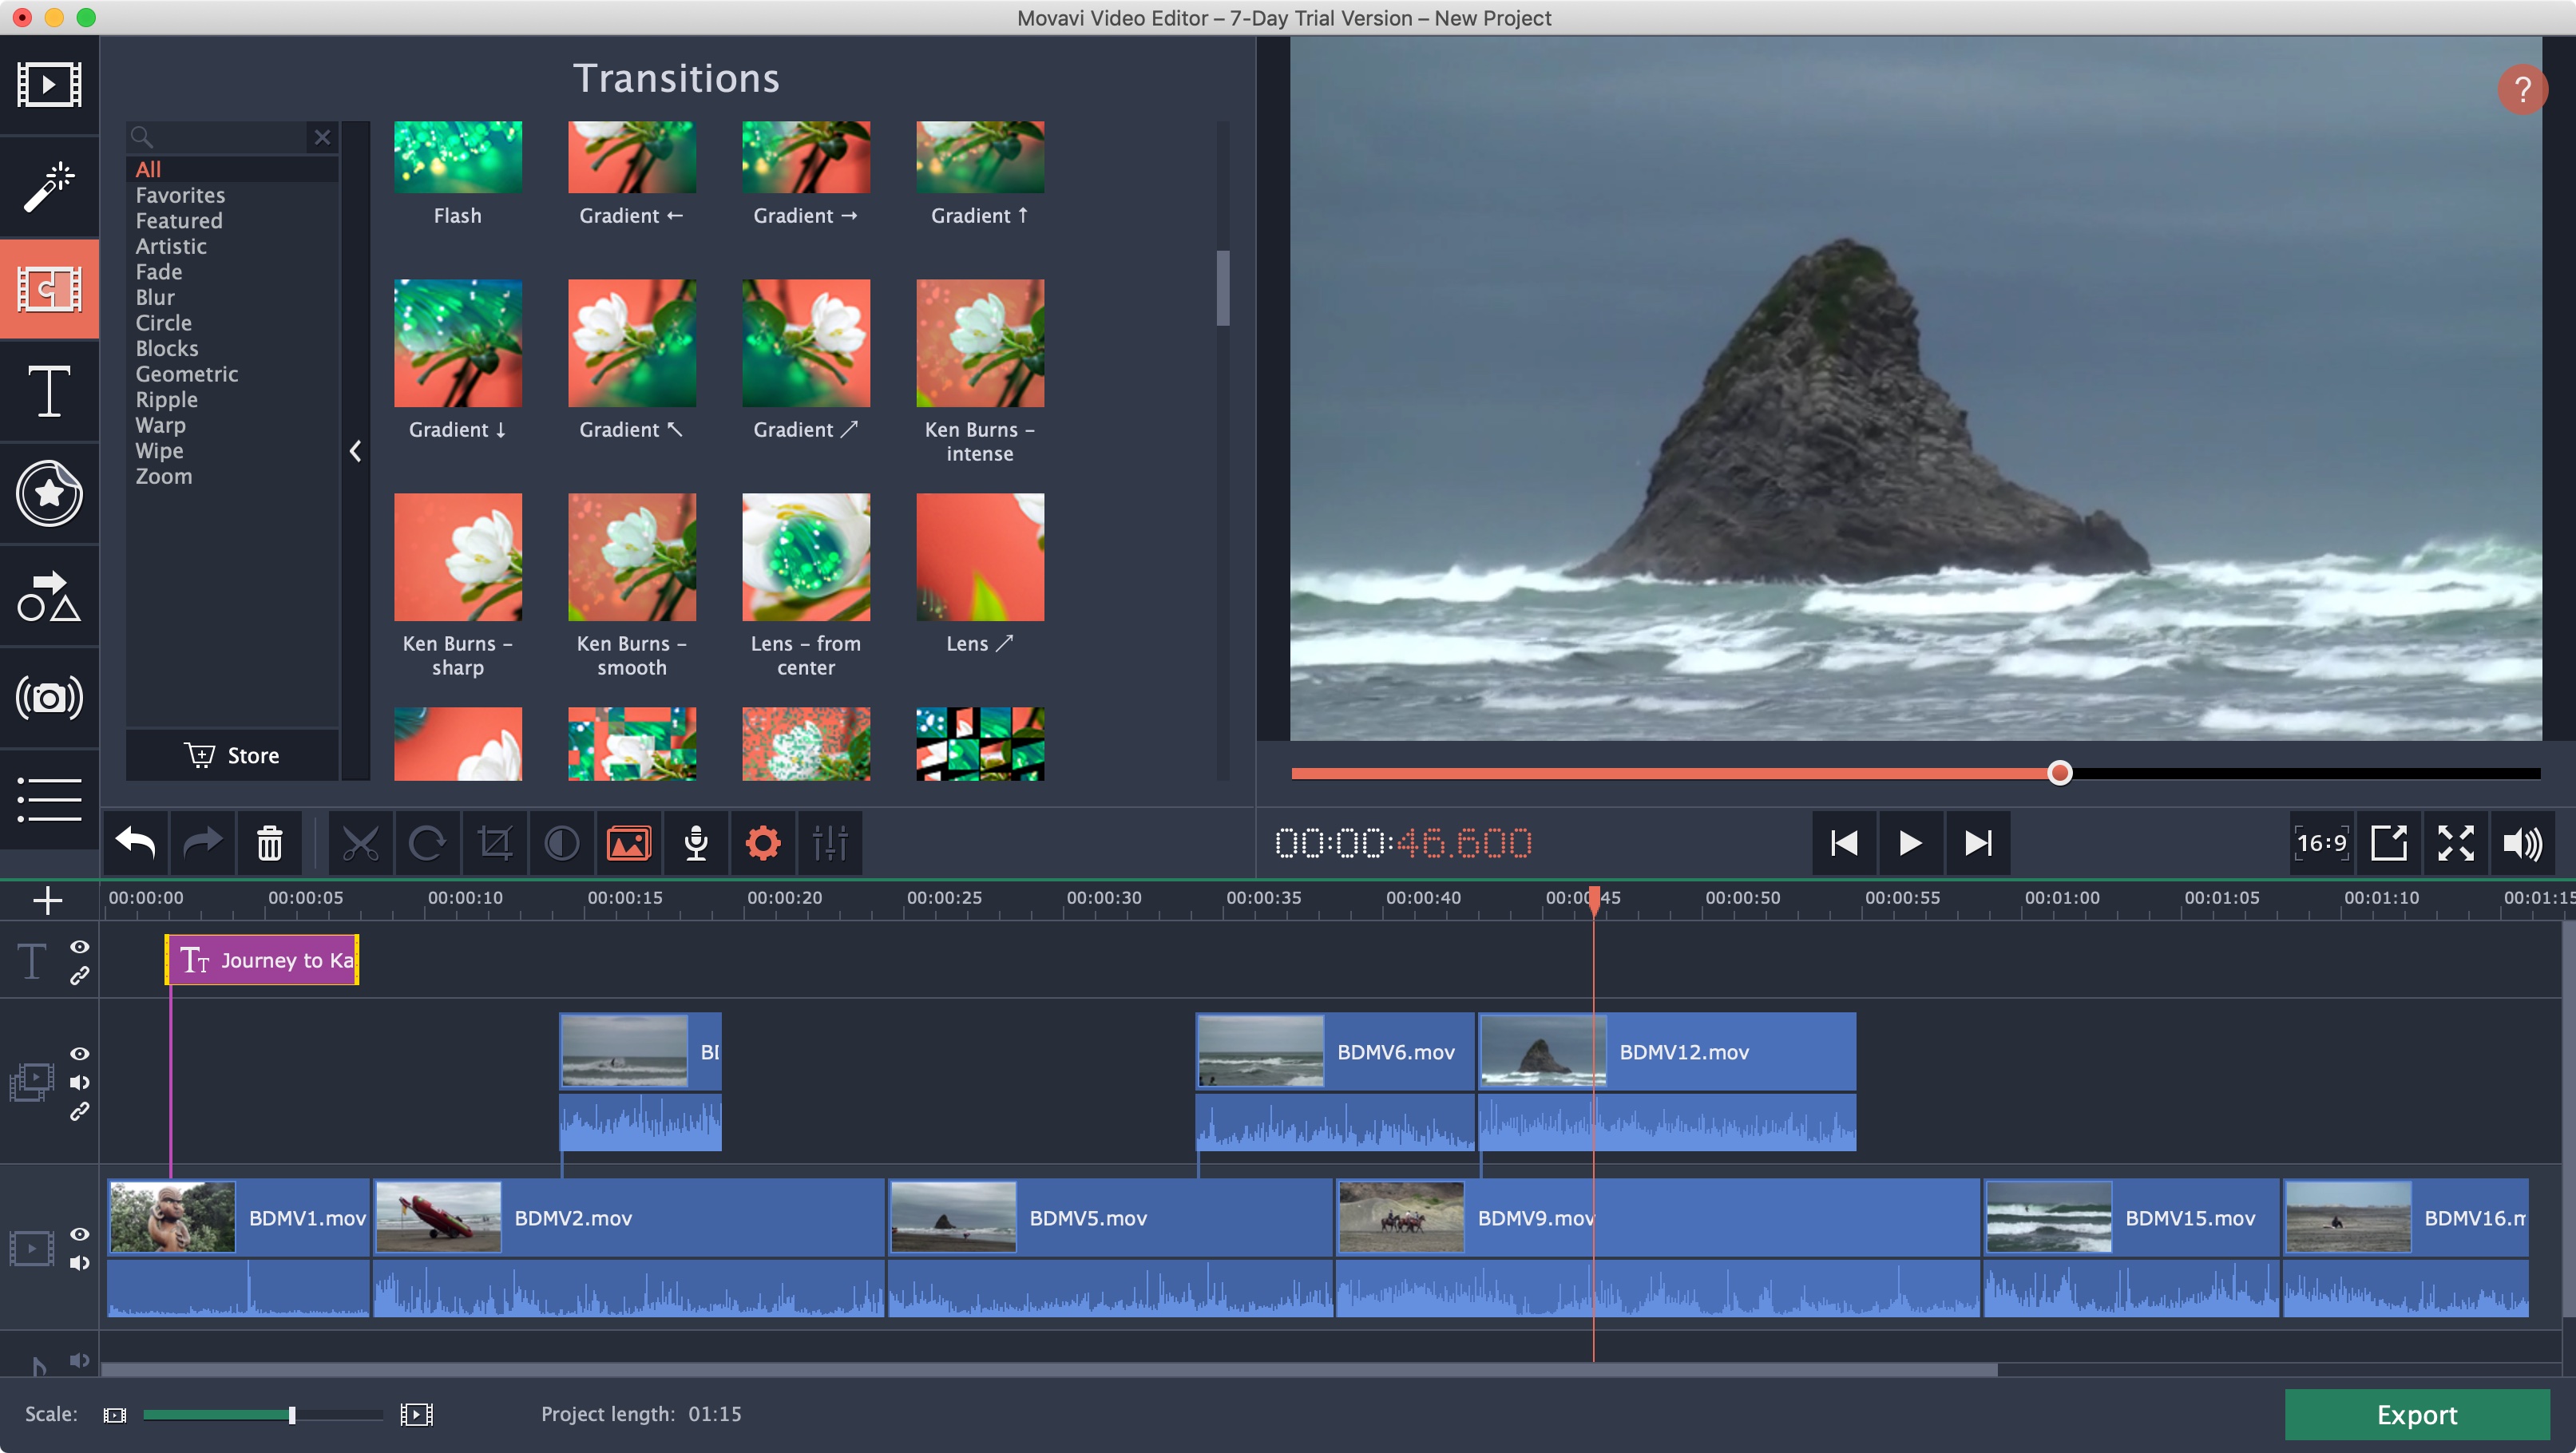
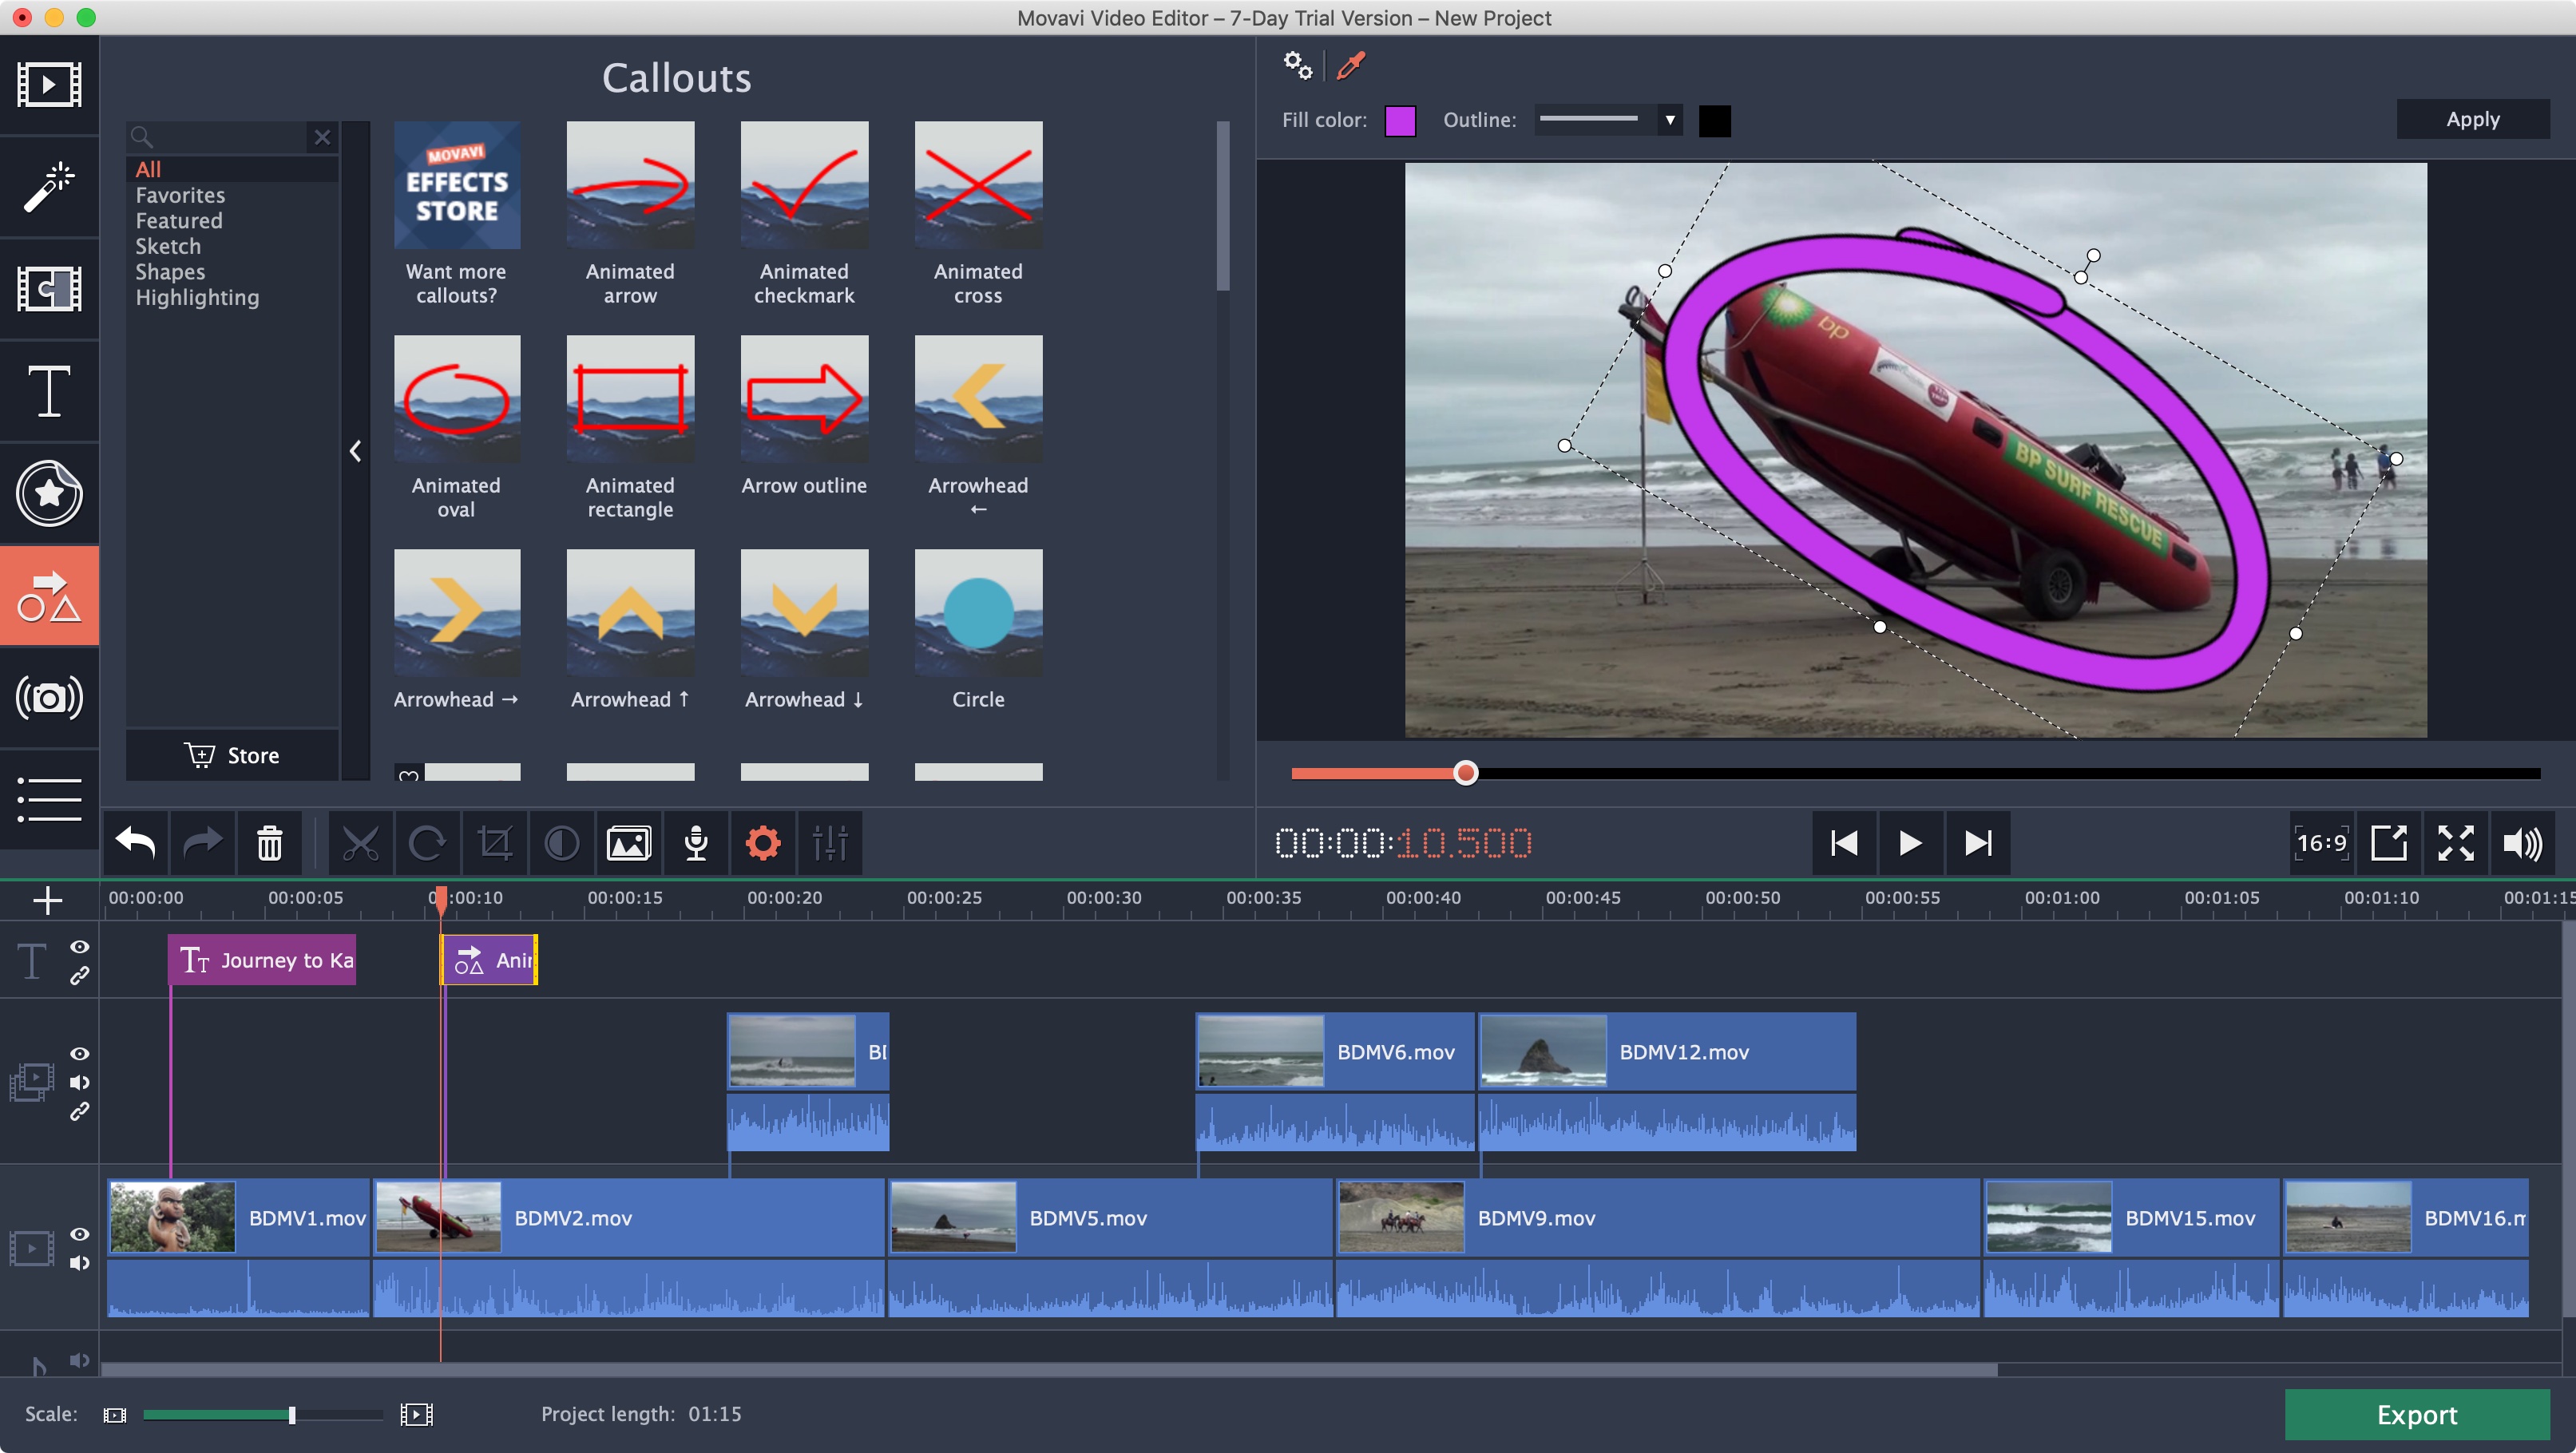
MVE comes with a generous collection of filters and transitions which you can preview by clicking on their icon. To add them to your edit, just drag the one you need to the selected clip. The Callouts section houses animated arrows, circles and overlays. Stickers has a handful of clipart.
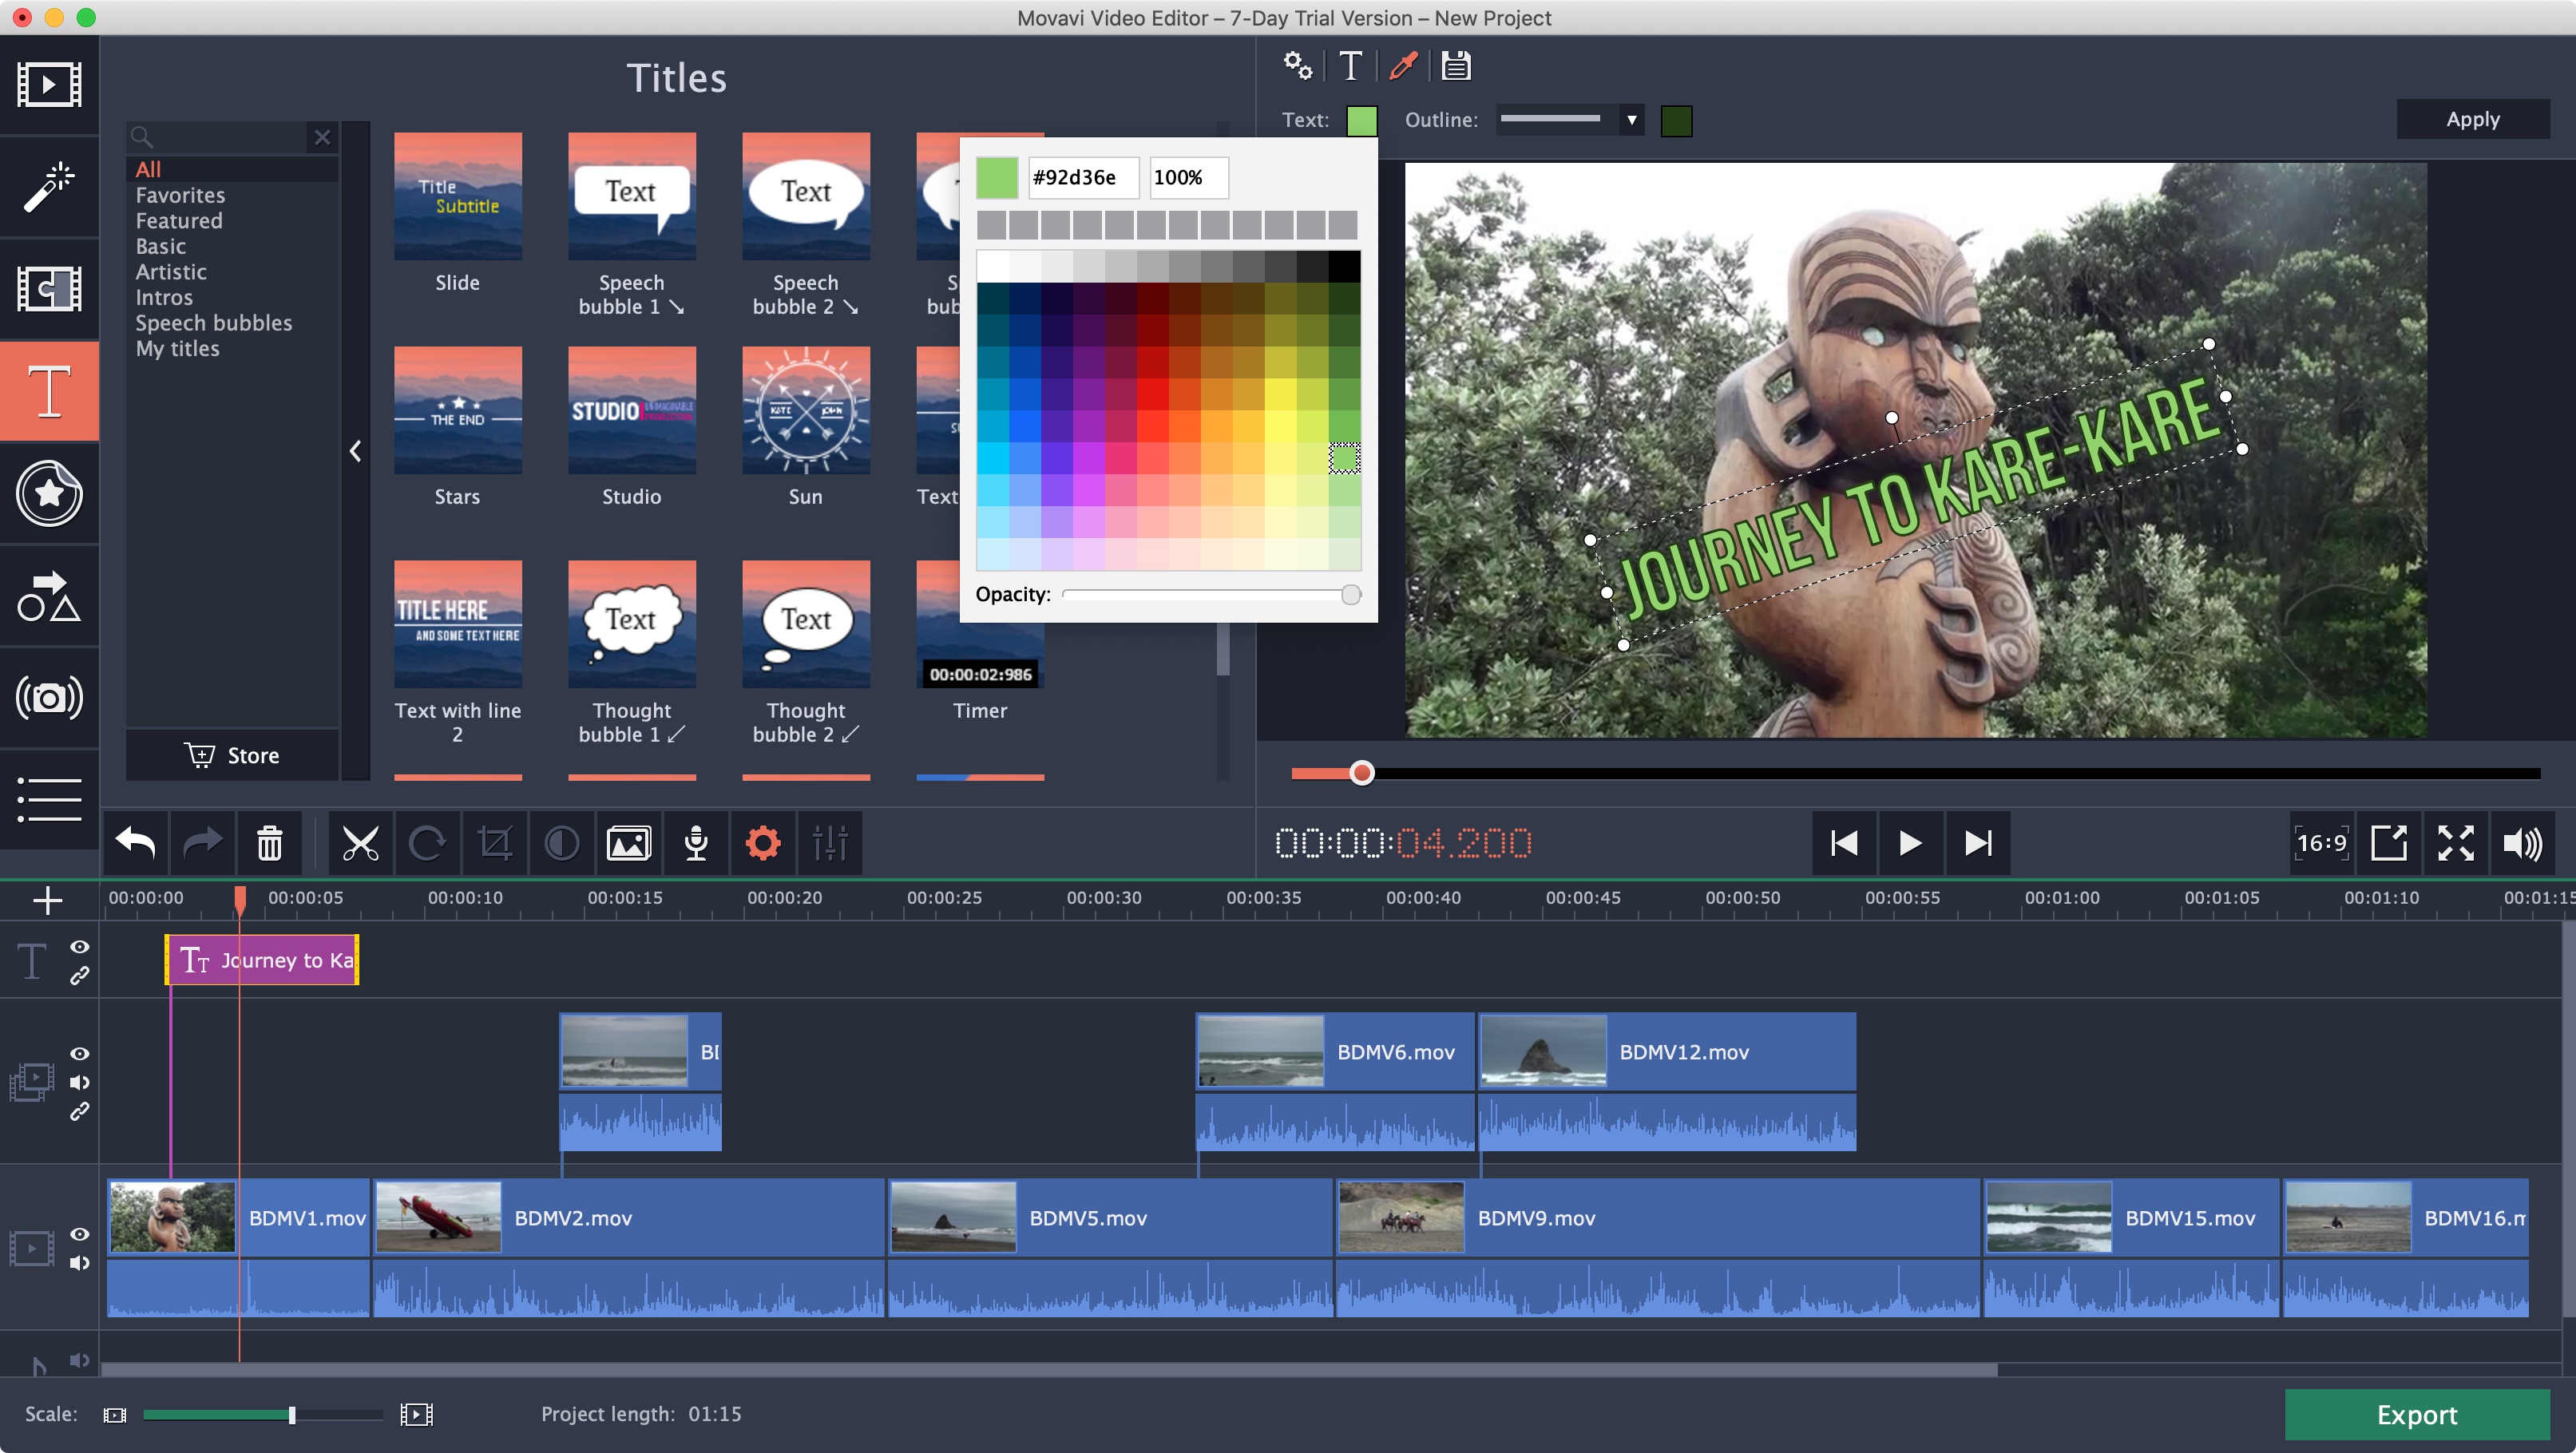
Titles work in the same way, but you can also easily customise them. You can change their position on the screen, alter the text, font, colour and size, all by selecting which section you’d like to change in the interface’s main Preview pane. Many of those titles are animated, helping you create fancy effects in seconds. It’s also easy to retime those animations to fit your edit.
Should you feel the need for more of these effects, you can purchase additional sets from the Movavi online store, and there’s a handy button in each section for you to do just that.
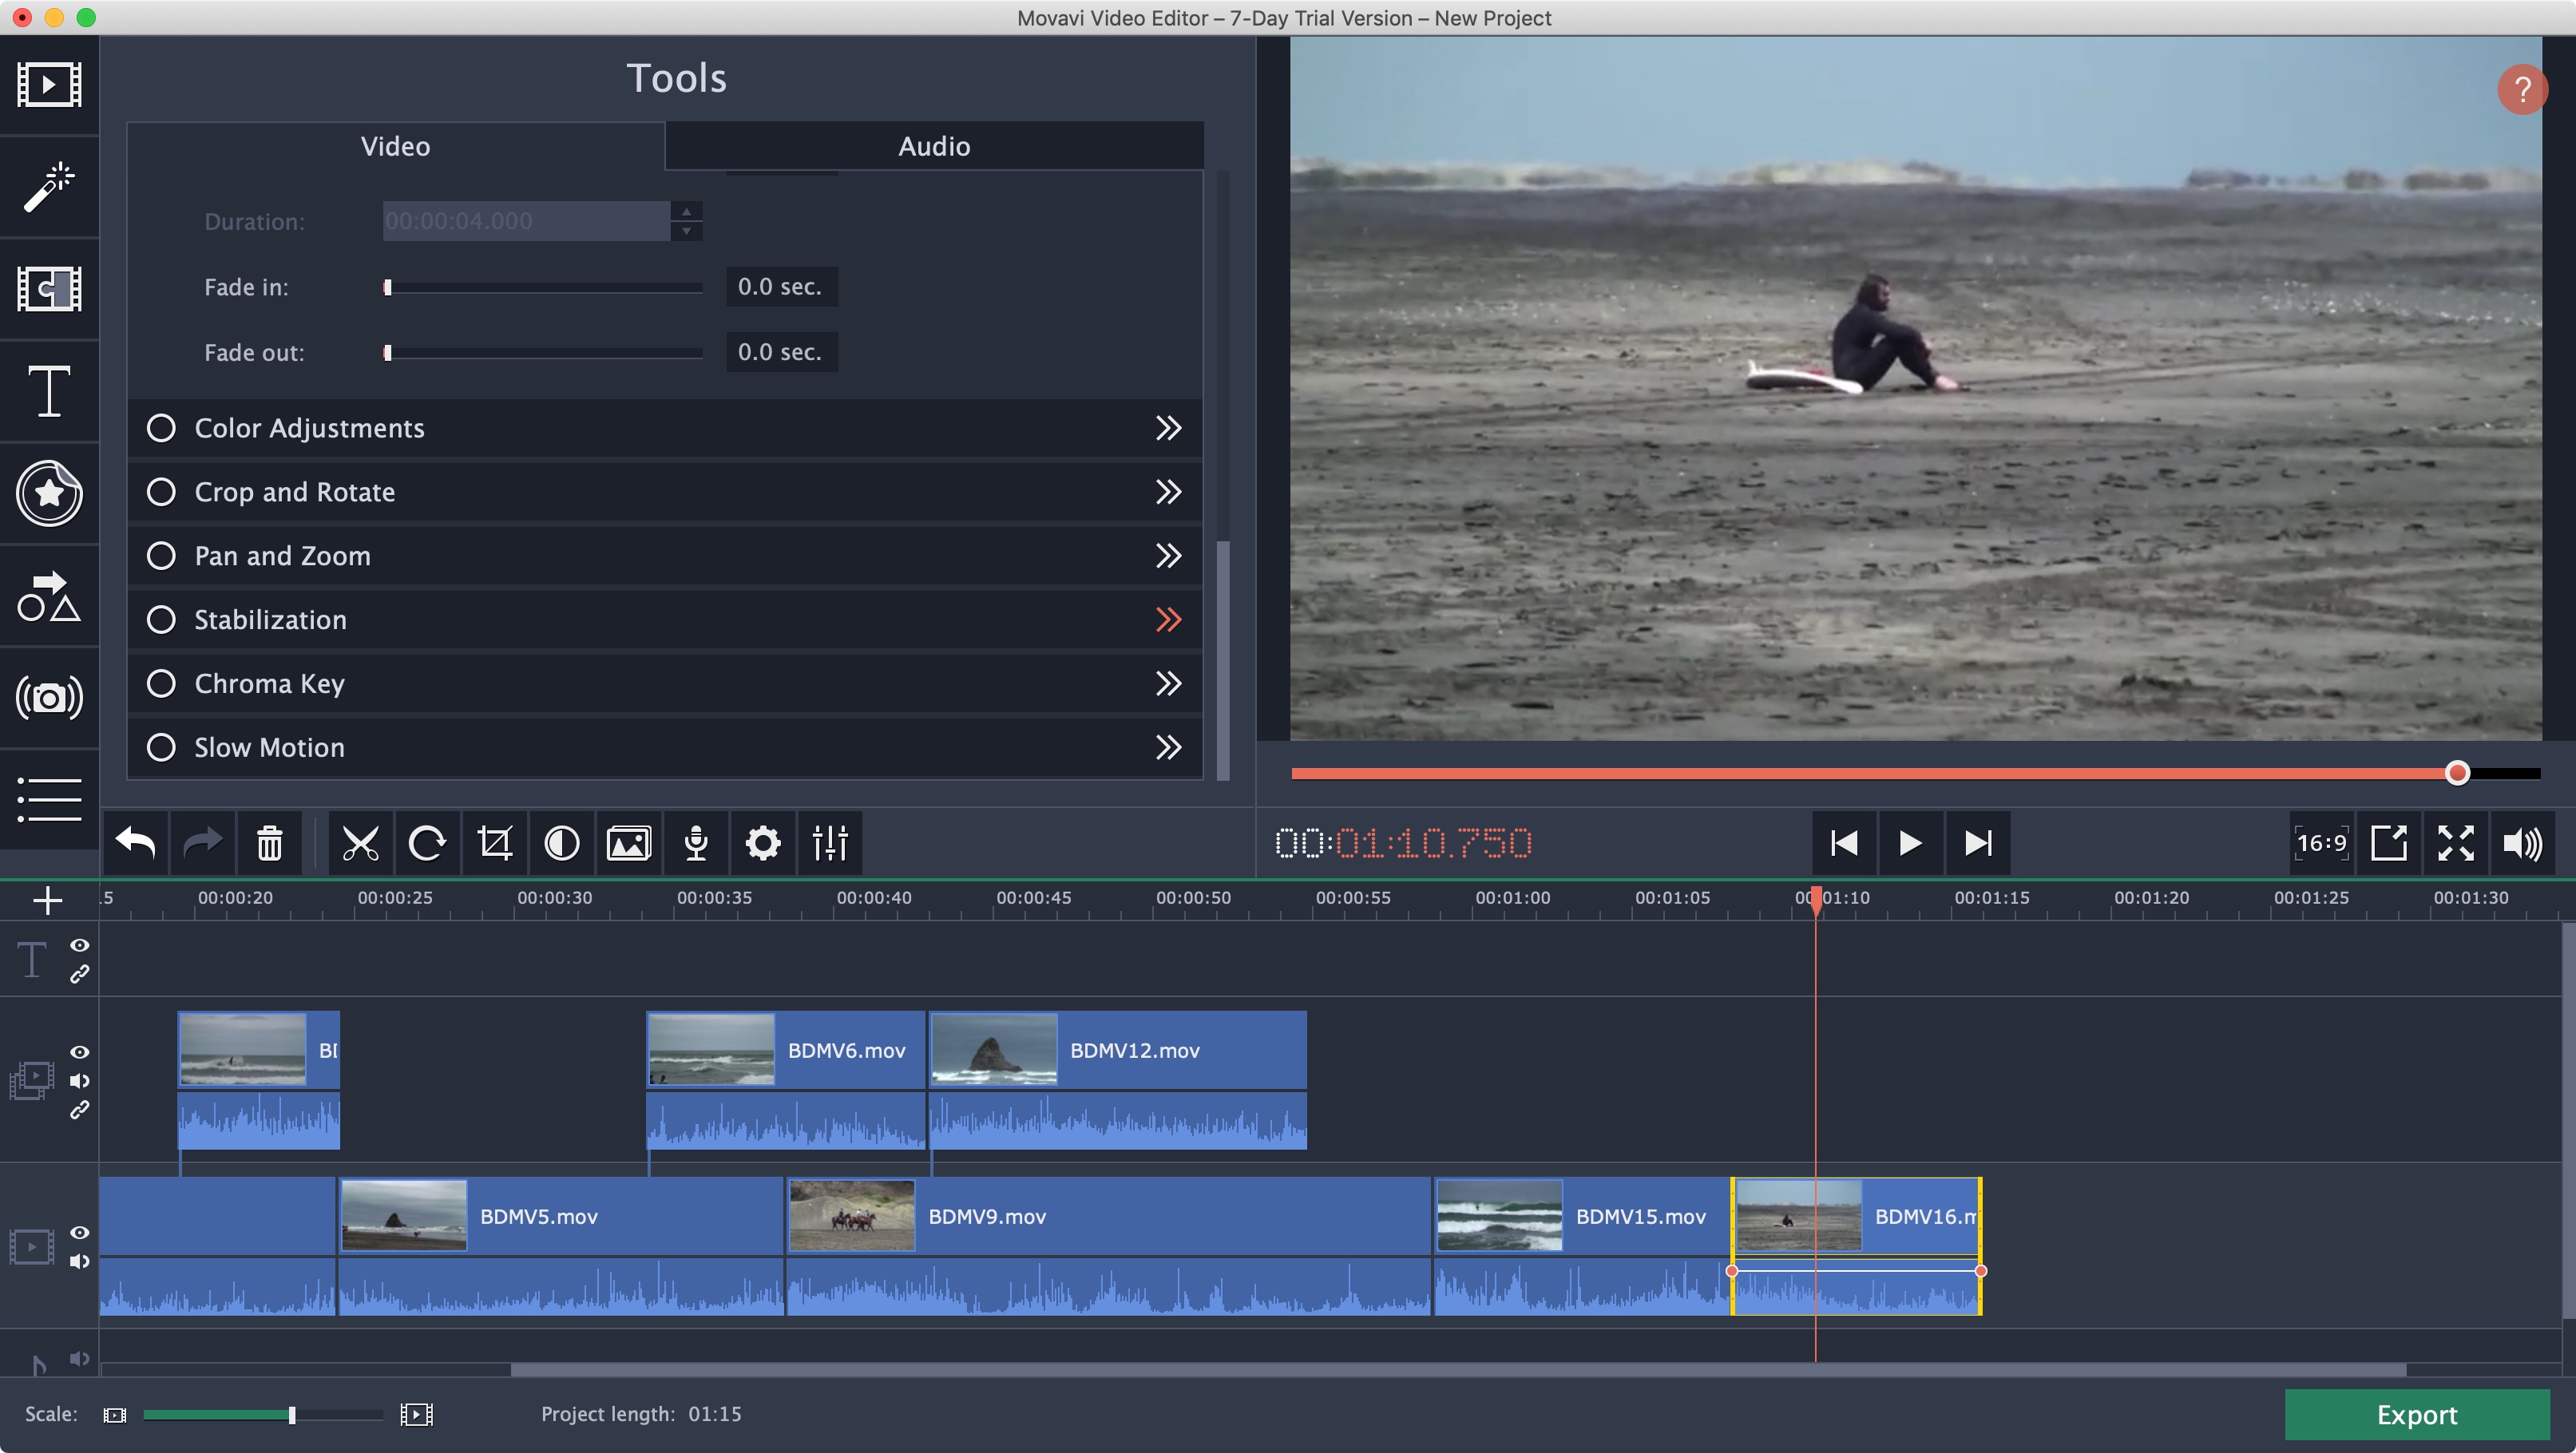
Although the interface looks nice and polished there are some odd inconsistencies: for instance you can select the Stabilisation tool (which doesn’t work very well) either by double-clicking on a clip and finding it in the list of tools, or via the sidebar of icons on the left. Pan and Zoom, and Chroma Key are present in this list of tools too, but you can also find them in the sidebar’s “More” section. Such lack of attention to detail is annoying.
There is also no audio levels or audio meters anywhere. You can see a clip’s audio waveform in the timeline, but it’s impossible to know if any part of it is peaking, and you have to resort to your own ears to make sure the volume remains consistent throughout - which is far from ideal.
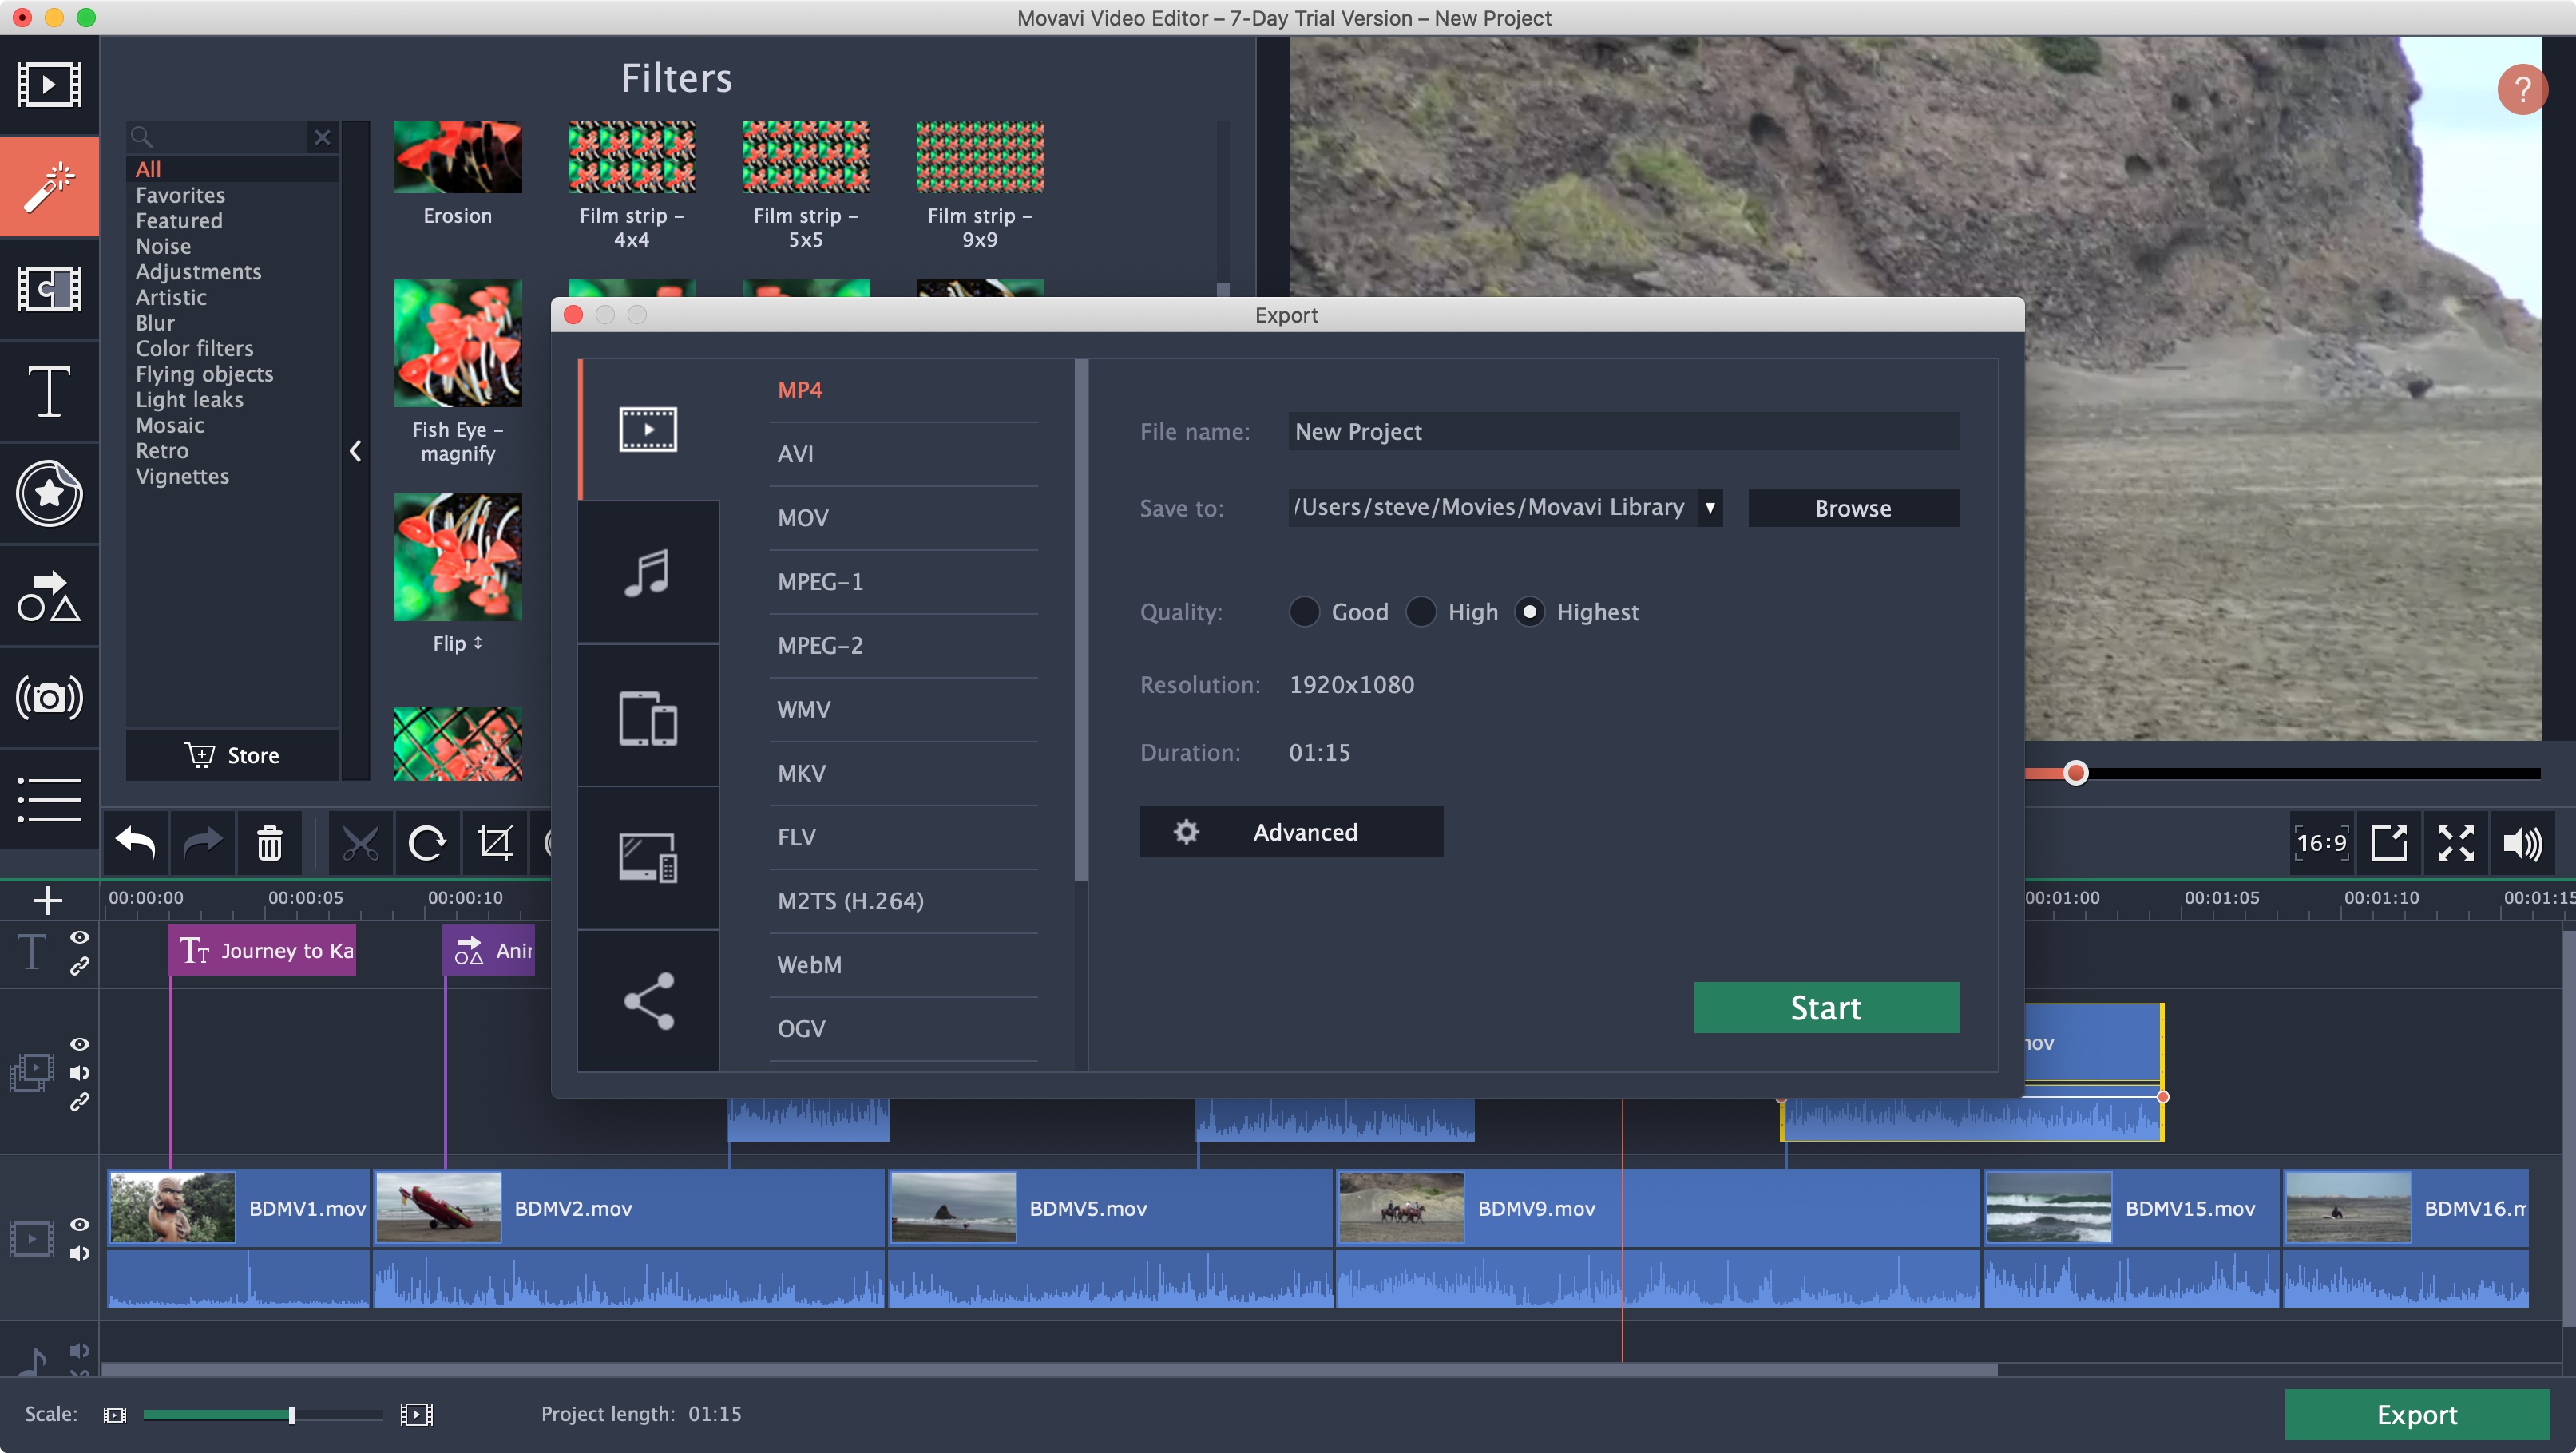
Once you’ve finished your edit it’s time to export it. MVE does provide a wide array of options, from saving it as an MP4 (ideal for the web), to over a dozen other codecs. You also have access to Advanced settings for most, should you need to go beyond the basics. There are presets for various mobile devices, and you can also upload your video straight to Youtube from that interface.
Final verdict
Overall, Movavi is a nice-looking application, but it has too many inconsistencies and failings to recommend it if you are serious about getting into video editing. At least it has a seven-day trial for you to check it out and make up your own mind.
- We've also highlighted the best video editing software
Steve has been writing about technology since 2003. Starting with Digital Creative Arts, he's since added his tech expertise at titles such as iCreate, MacFormat, MacWorld, MacLife, and TechRadar. His focus is on the creative arts, like website builders, image manipulation, and filmmaking software, but he hasn’t shied away from more business-oriented software either. He uses many of the apps he writes about in his personal and professional life. Steve loves how computers have enabled everyone to delve into creative possibilities, and is always delighted to share his knowledge, expertise, and experience with readers.
