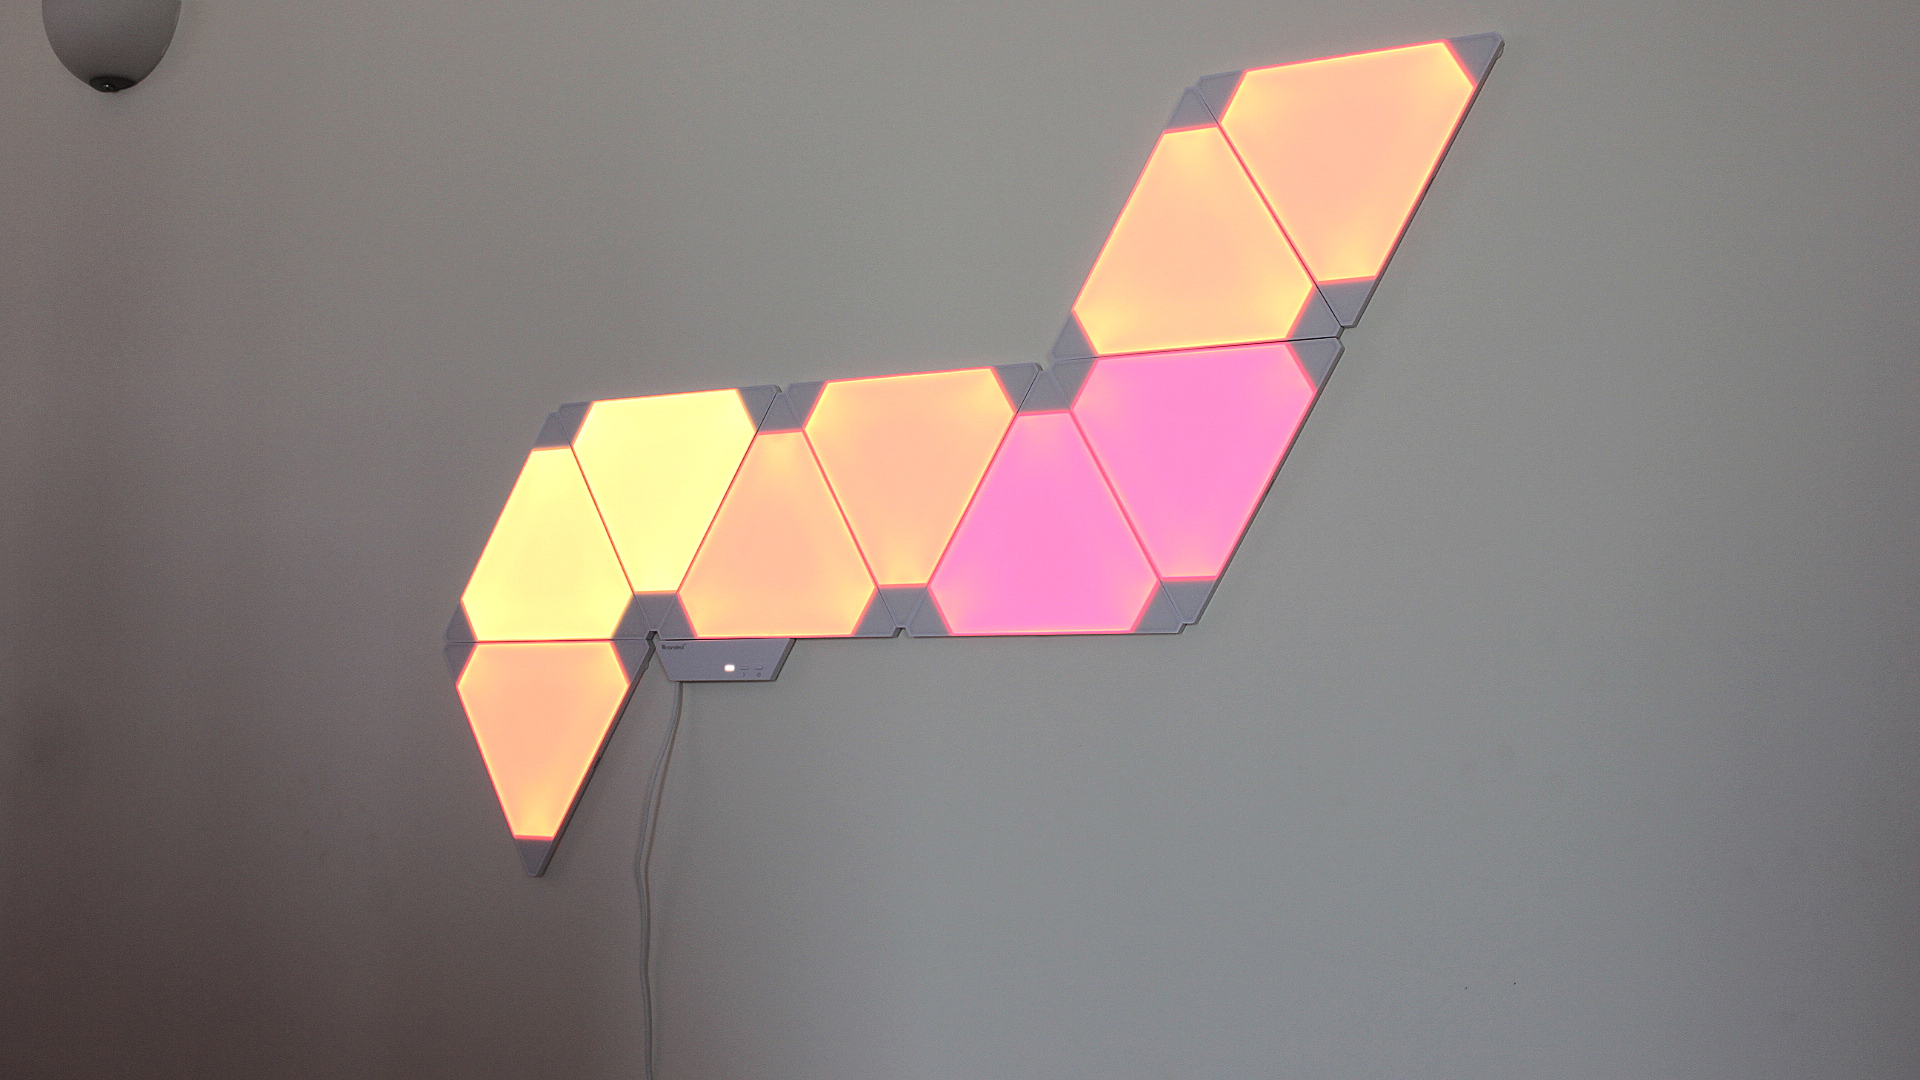
TechRadar Verdict
The Nanoleaf Life Panels bring plenty of personality to any space, and despite their high price tag are a great design element that will have others oozing with envy.
Pros
- +
Easy to set up
- +
Smart home integration
- +
Rhythm Module is a must have
Cons
- -
Expensive
- -
Difficult to remove once mounted
- -
Slightly buggy app
Why you can trust TechRadar
Update: The company has now released the Nanoleaf Remote, which allows you to easily control your lights and other compatible devices without having to pick up your phone.
The Nanoleaf Light Panels (formerly known as Nanoleaf Aurora) may well be the priciest smart lights you could get for your home. Despite this, we’re already planning as to when we’re going to splurge on more panels to steadily creep across our walls, like some sort of homemade Aurora Borealis.
Yes, they’re not as wallet-friendly as we’d like them to be, but they are by far one of the most interesting light setups we’ve played around with recently.
With mesmerizing colors, an infinite number of programmable scenes, and the ability to easily expand your creation with more panels, The Nanoleaf Light Panels are a welcome addition to literally any conceivable space.
Nanoleaf Light Panels Price & Availability
The Nanoleaf Light Panels are available now via the company’s website, and retail for £179.99/$229.99 for a starter pack of nine panels. You can buy an expansion pack of 3 additional panels for £49.99/$59.99. Then there’s the optional Rhythm upgrade module for £49.99/$49.99 if you want your lights to be able to react to sound. Finally, the Nanoleaf Remote can be bagged for $49.99/£37.68.
You can of course buy and ship them directly from Nanoleaf - if you are in the UAE, local retailers such as Virgin Megastore currently have a few in stock, priced at AED 839 for the starter pack, and AED 299 for the expansion pack.
Design & Features
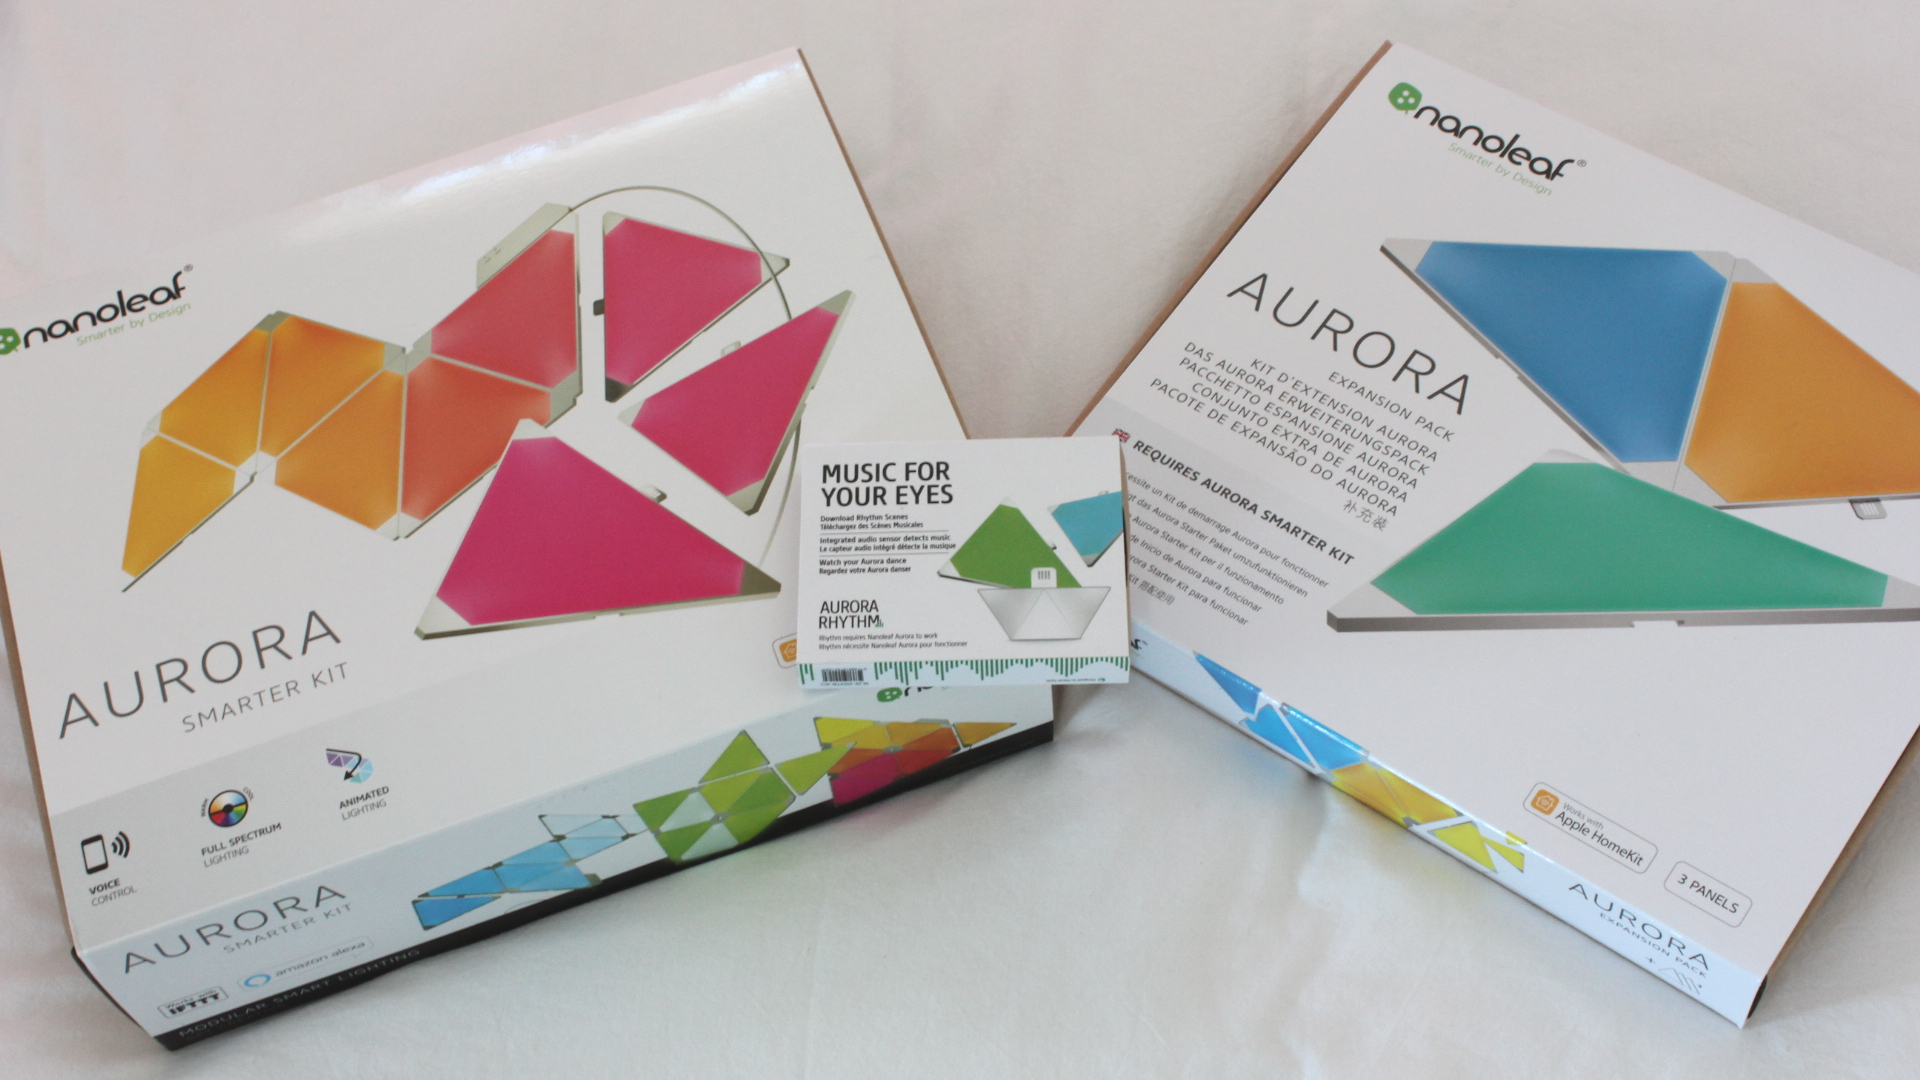
The starter pack contains nine panels, the power hub, linkers to connect the panels together, and pre-cut double-sided tape to mount everything up.
There are also special screw-mounting kits that you can order from Nanoleaf, but in our experience the double-sided tape was more than enough to hold them securely.
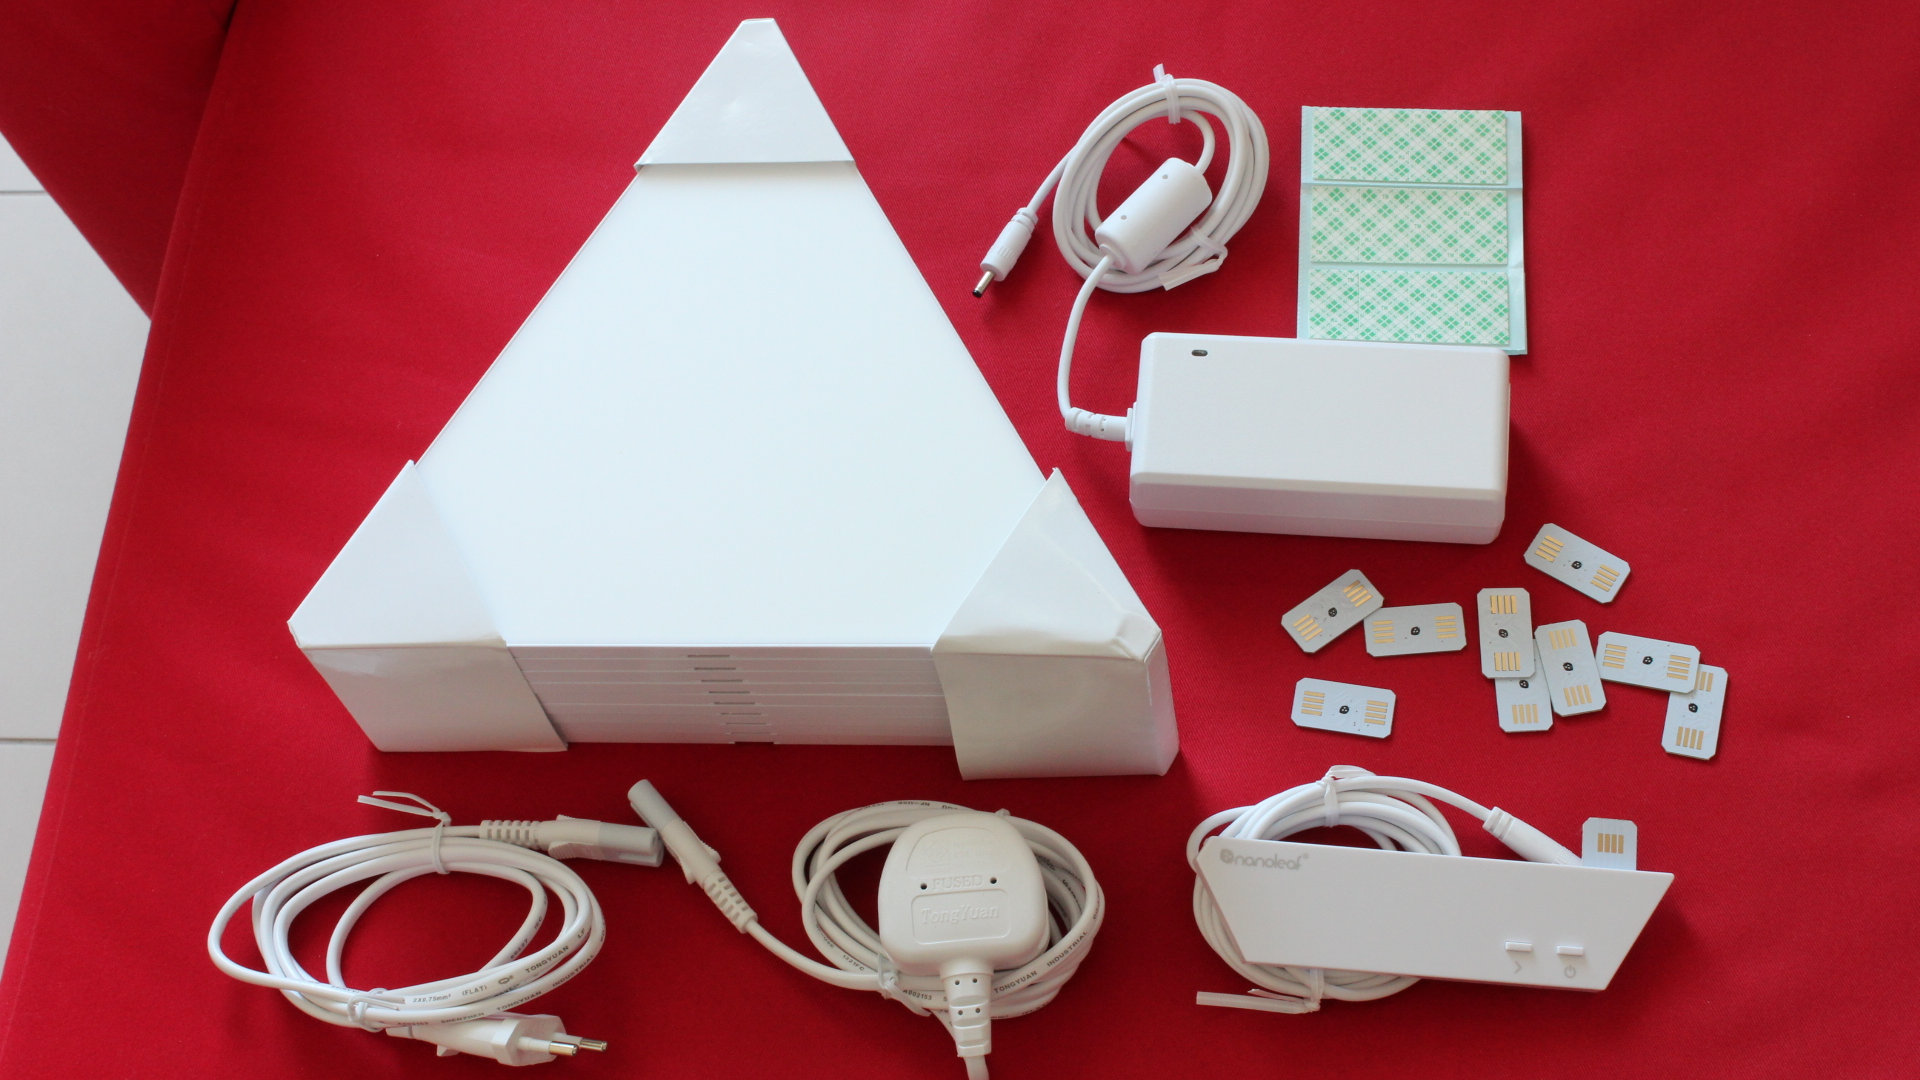
The only downside to using the tape is that they’re supremely difficult to take off your walls without considerable effort. A misaligned tile happily tore some paint off the wall when we pried it off, so be careful when you’re sticking these on.
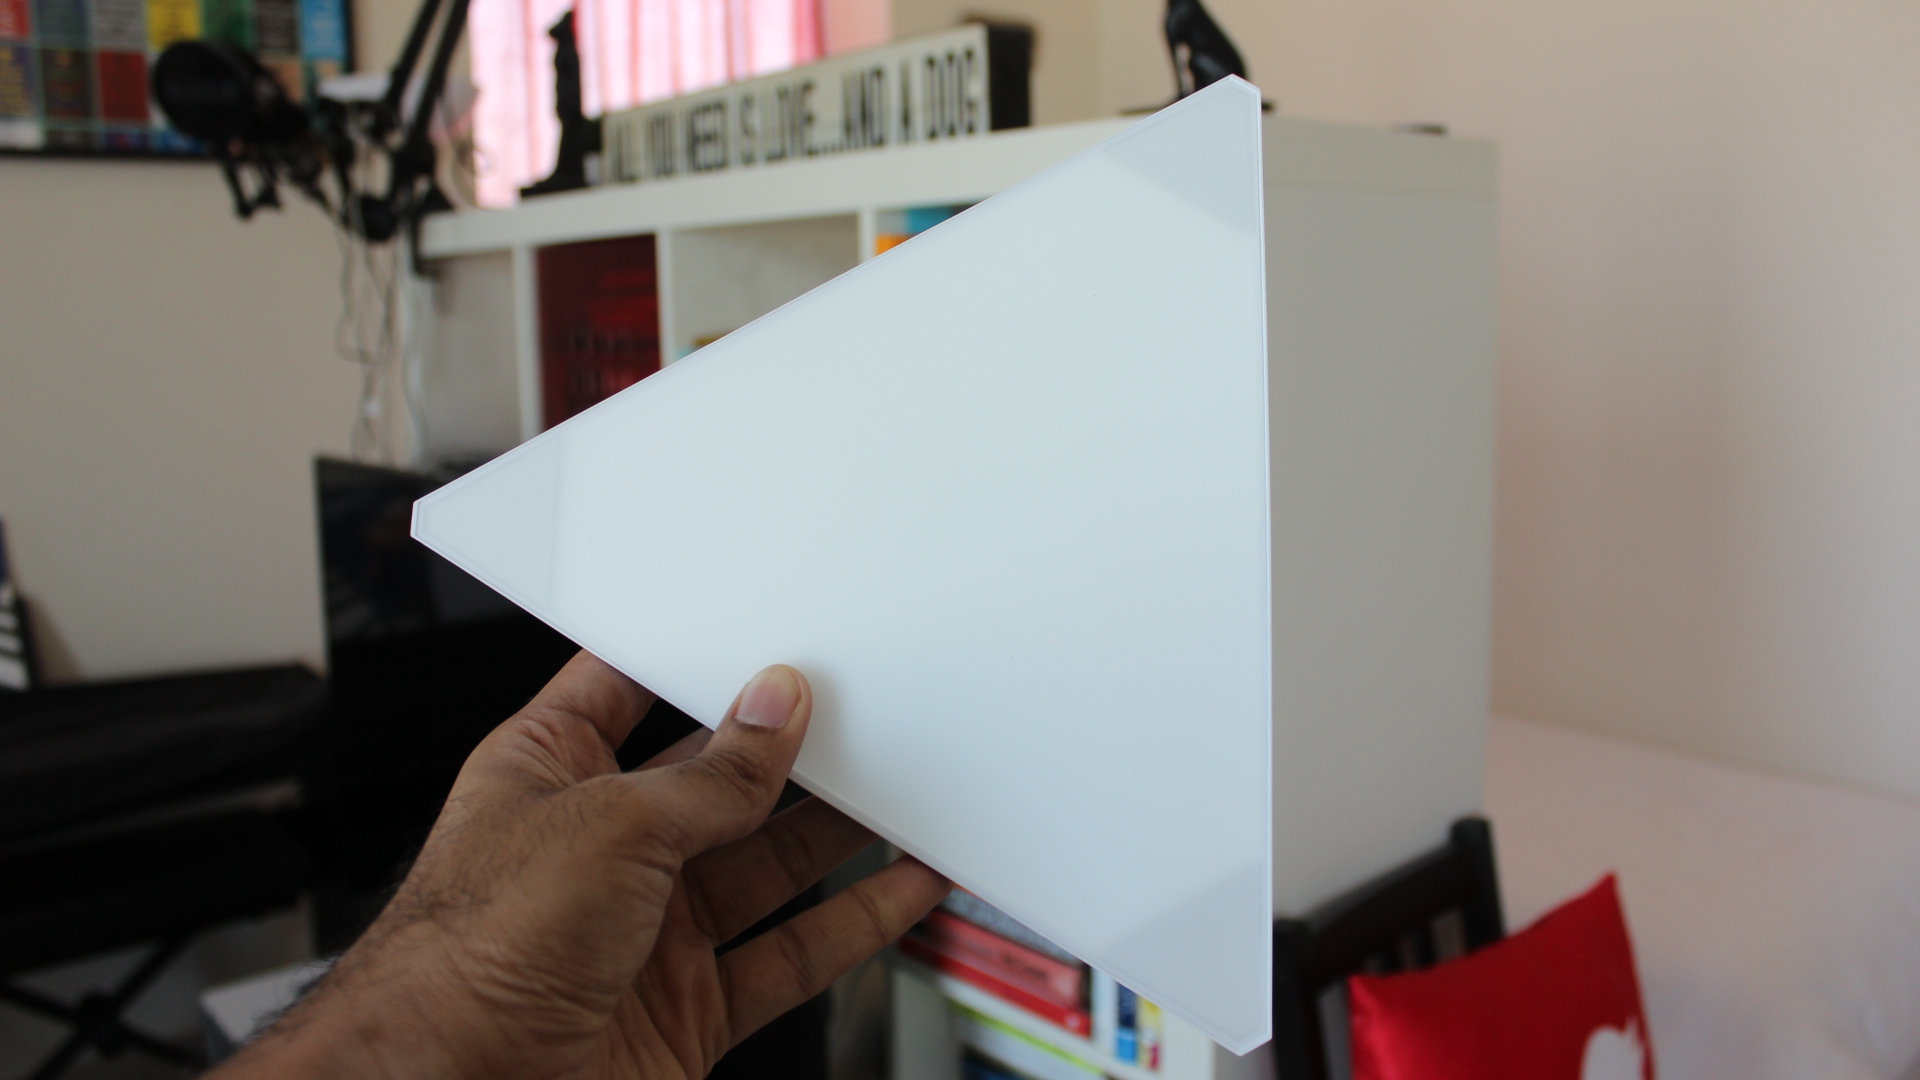
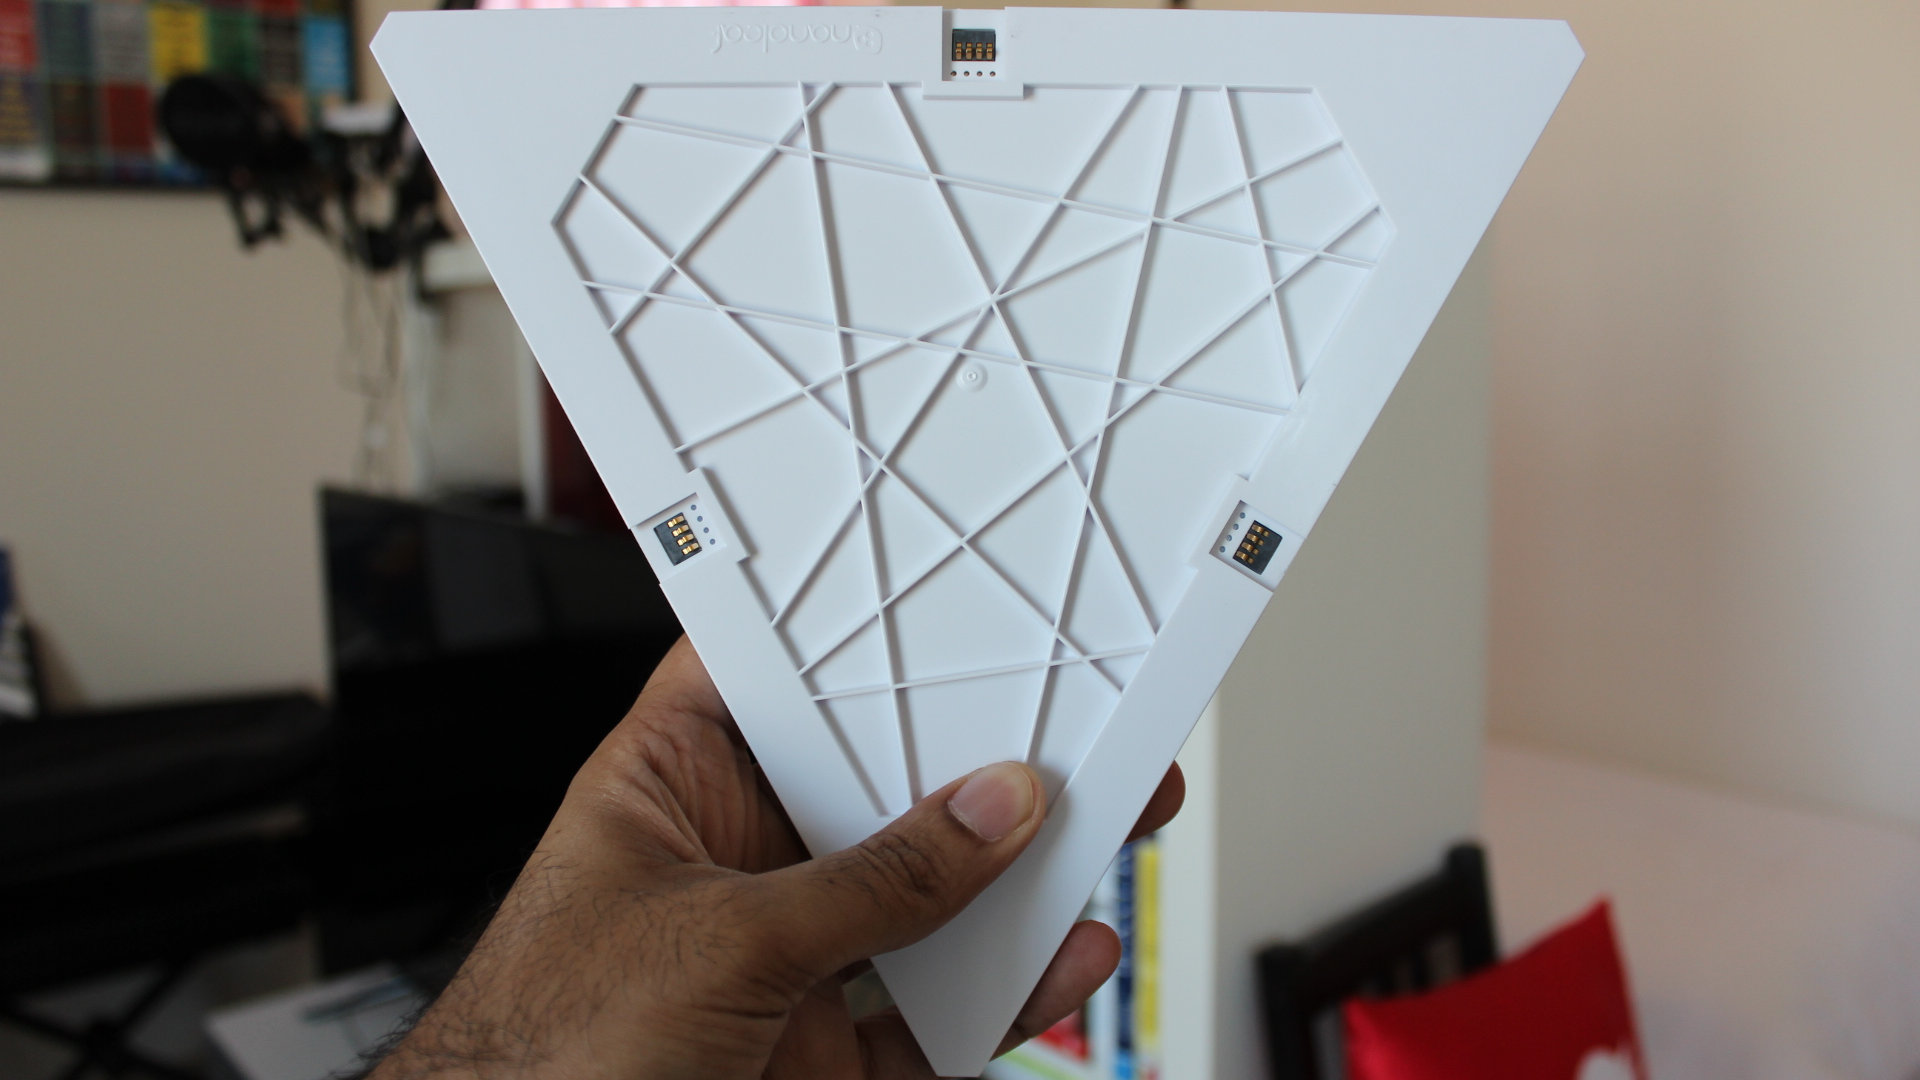
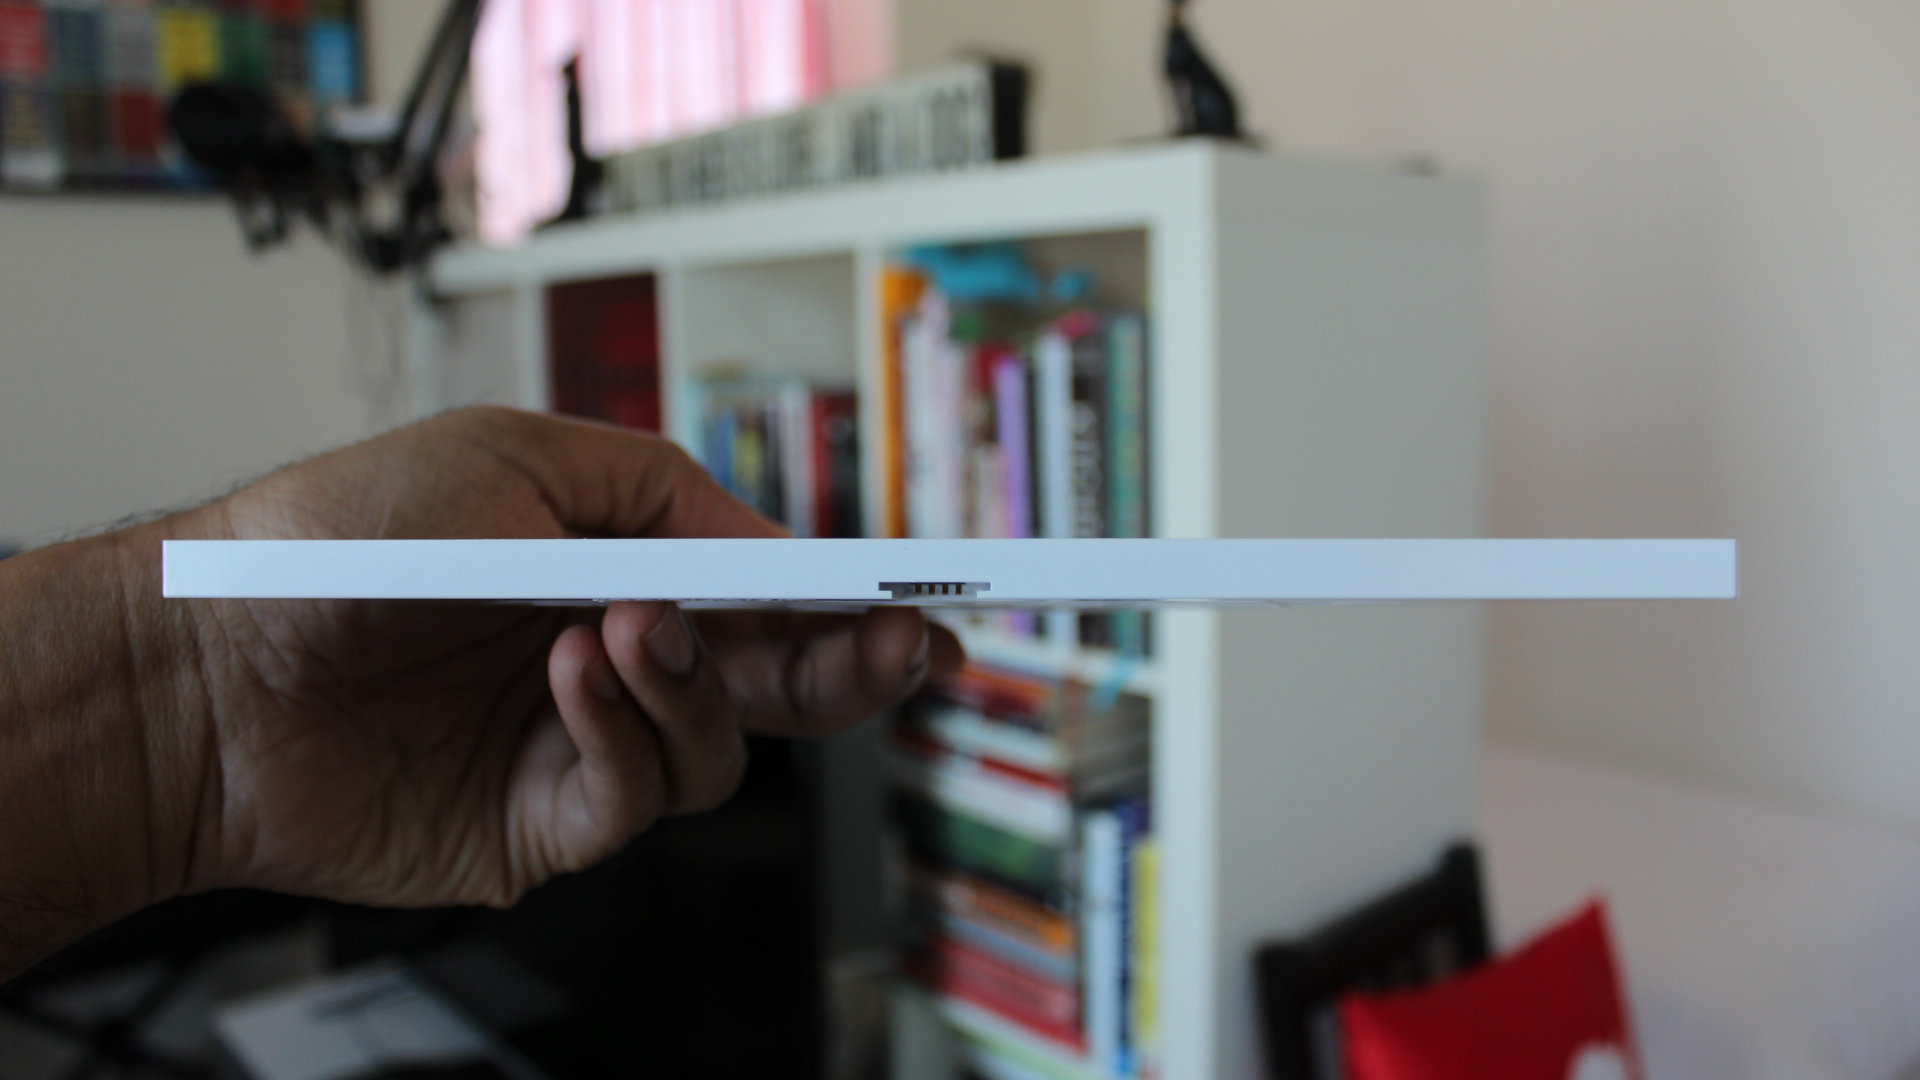
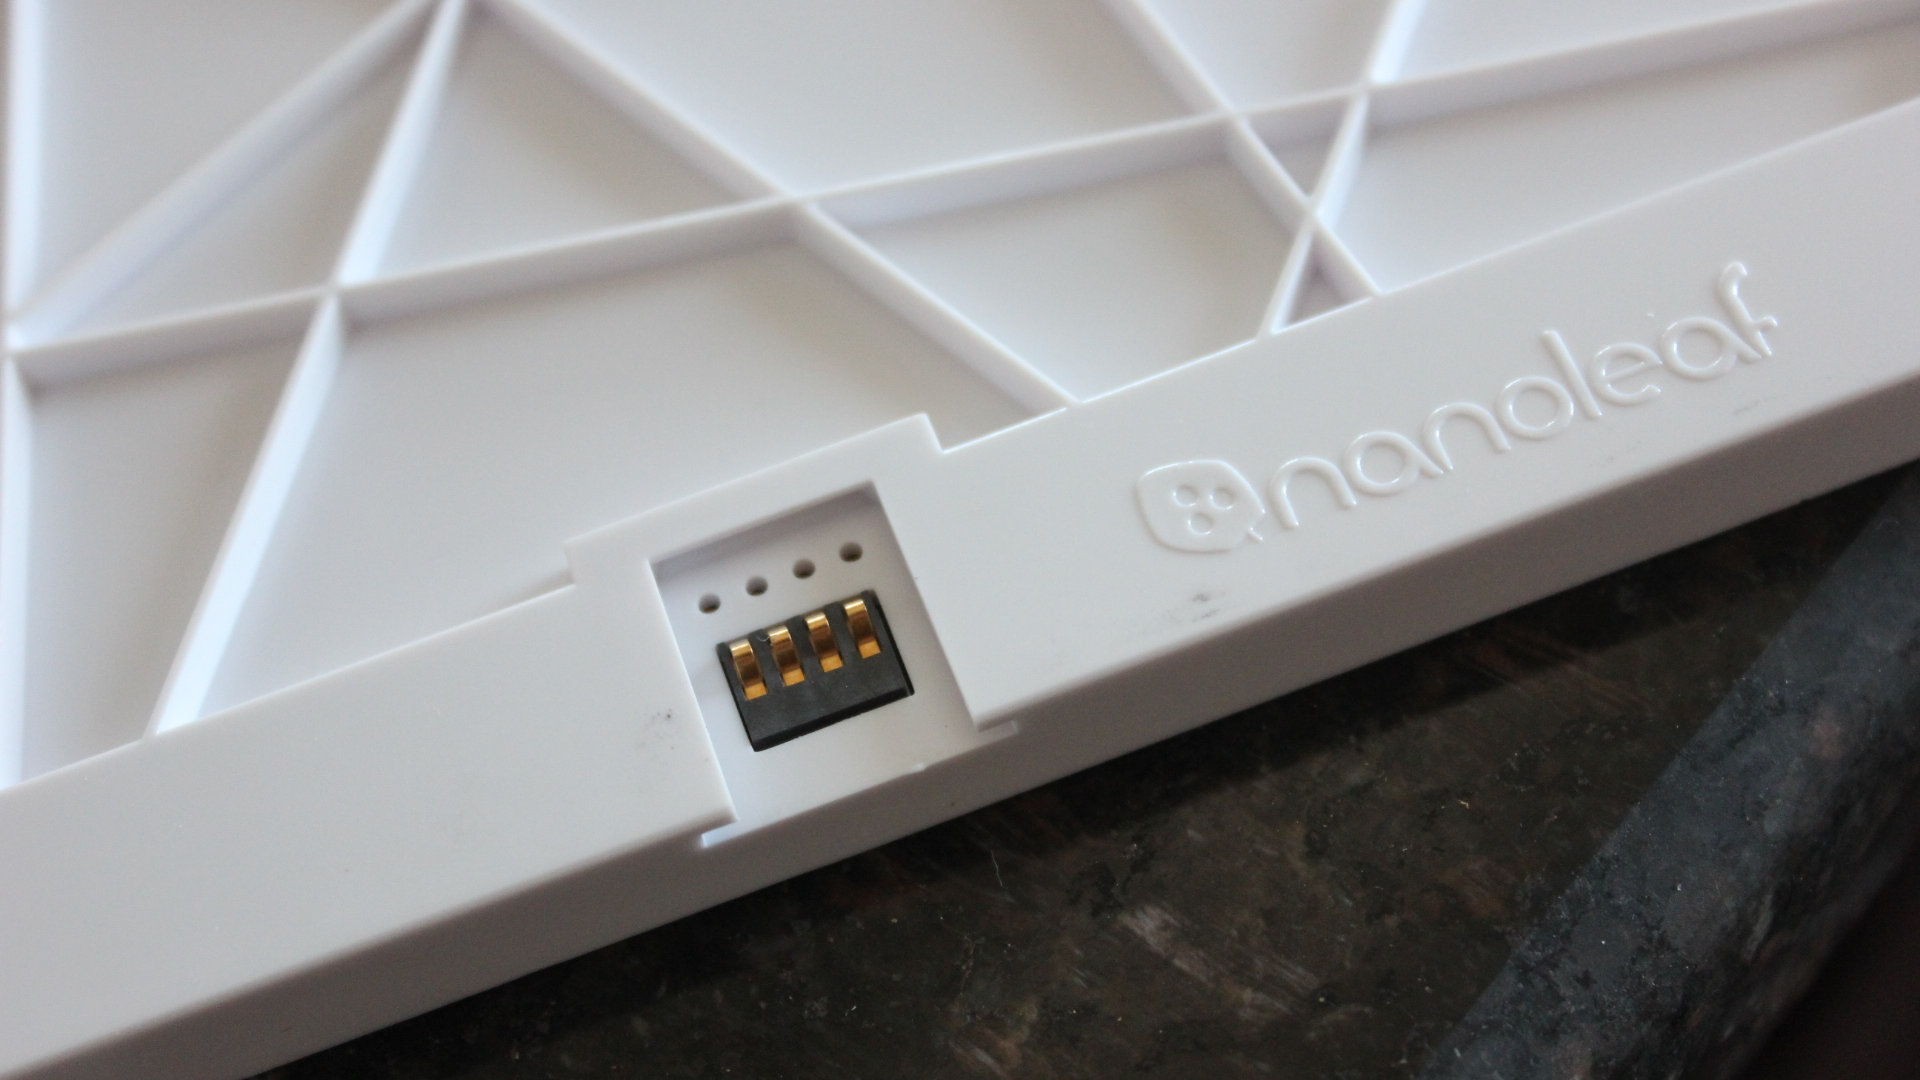
The panels themselves are triangular in shape, and are made of fairly lightweight plastic. The triangular shape makes for some interesting designs, so we’re happy that Nanoleaf opted for this instead of a standard square shape.
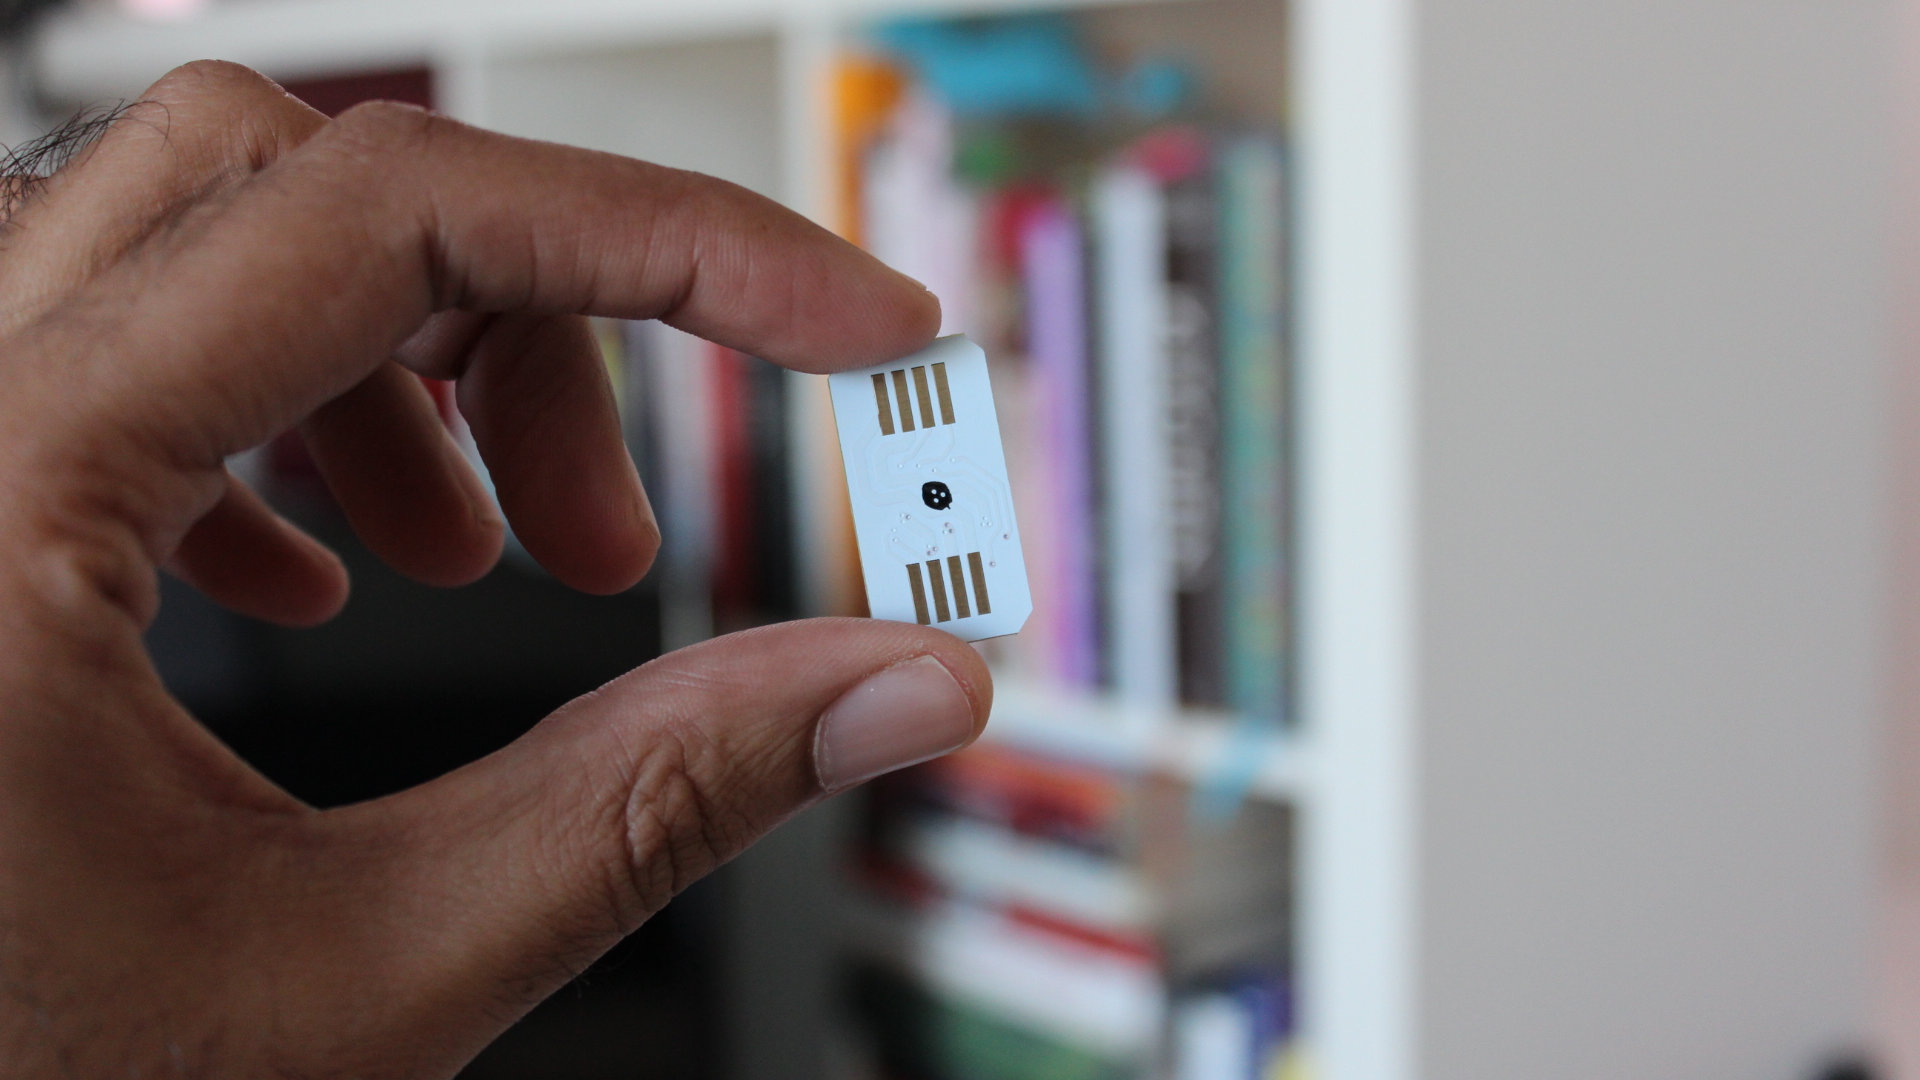
At each side there’s a small slot where you slide in one of the included linkers, and then slide another panel onto that in order to connect them both. The linkers also come as a flexible type (sold separately), which would allow you to install the Nanoleaf Light Panels on a wall and then have them creep upward onto the ceiling for example.
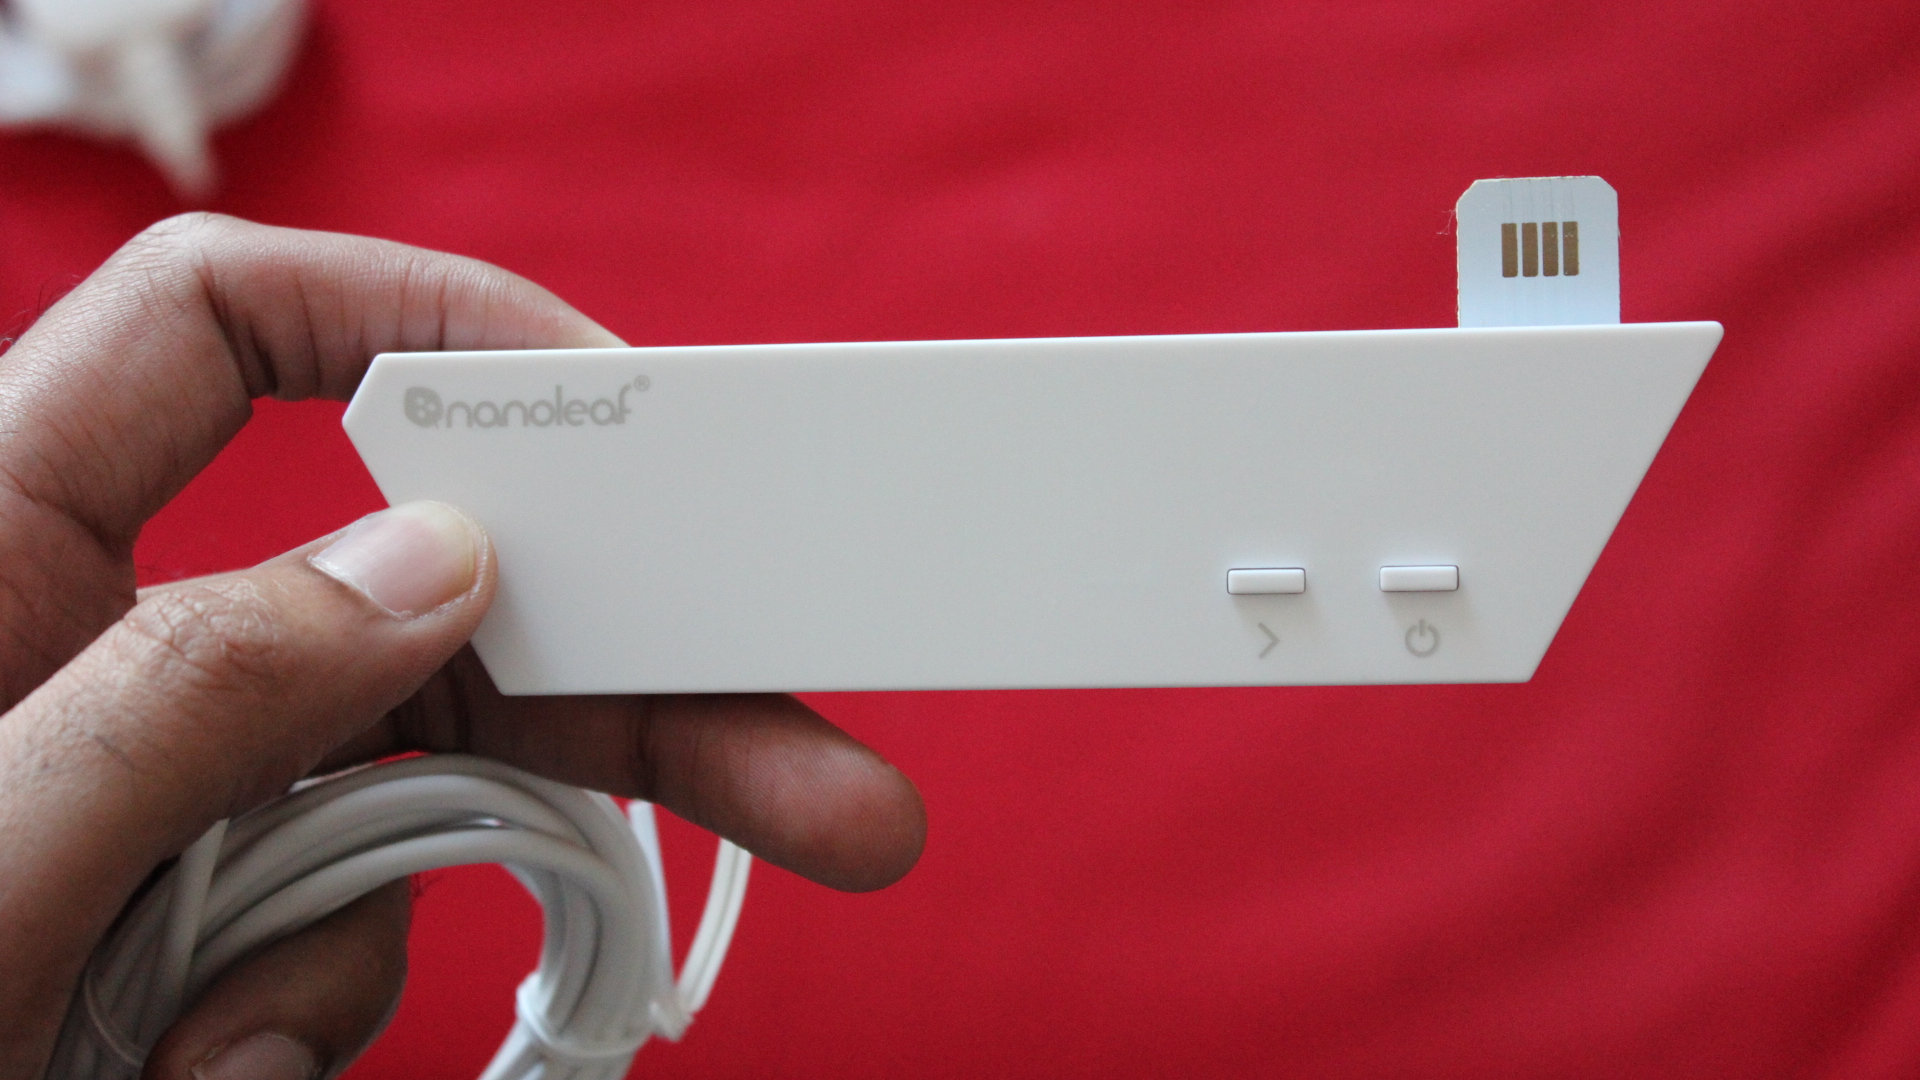
The power hub can be connected to any panel, and just has two buttons on it – one for power, and the other to cycle through available light patterns. It comes with a fairly long cable that connects to a power brick, which then has its own long cable running to the mains power. So no matter how you’re setting up the panels, you can find a way to get power to them. You will need to get a bit crafty when it comes to hiding the power cable, as it does tend to distract from the beauty of the Light Panels themselves.
Installation & Setup
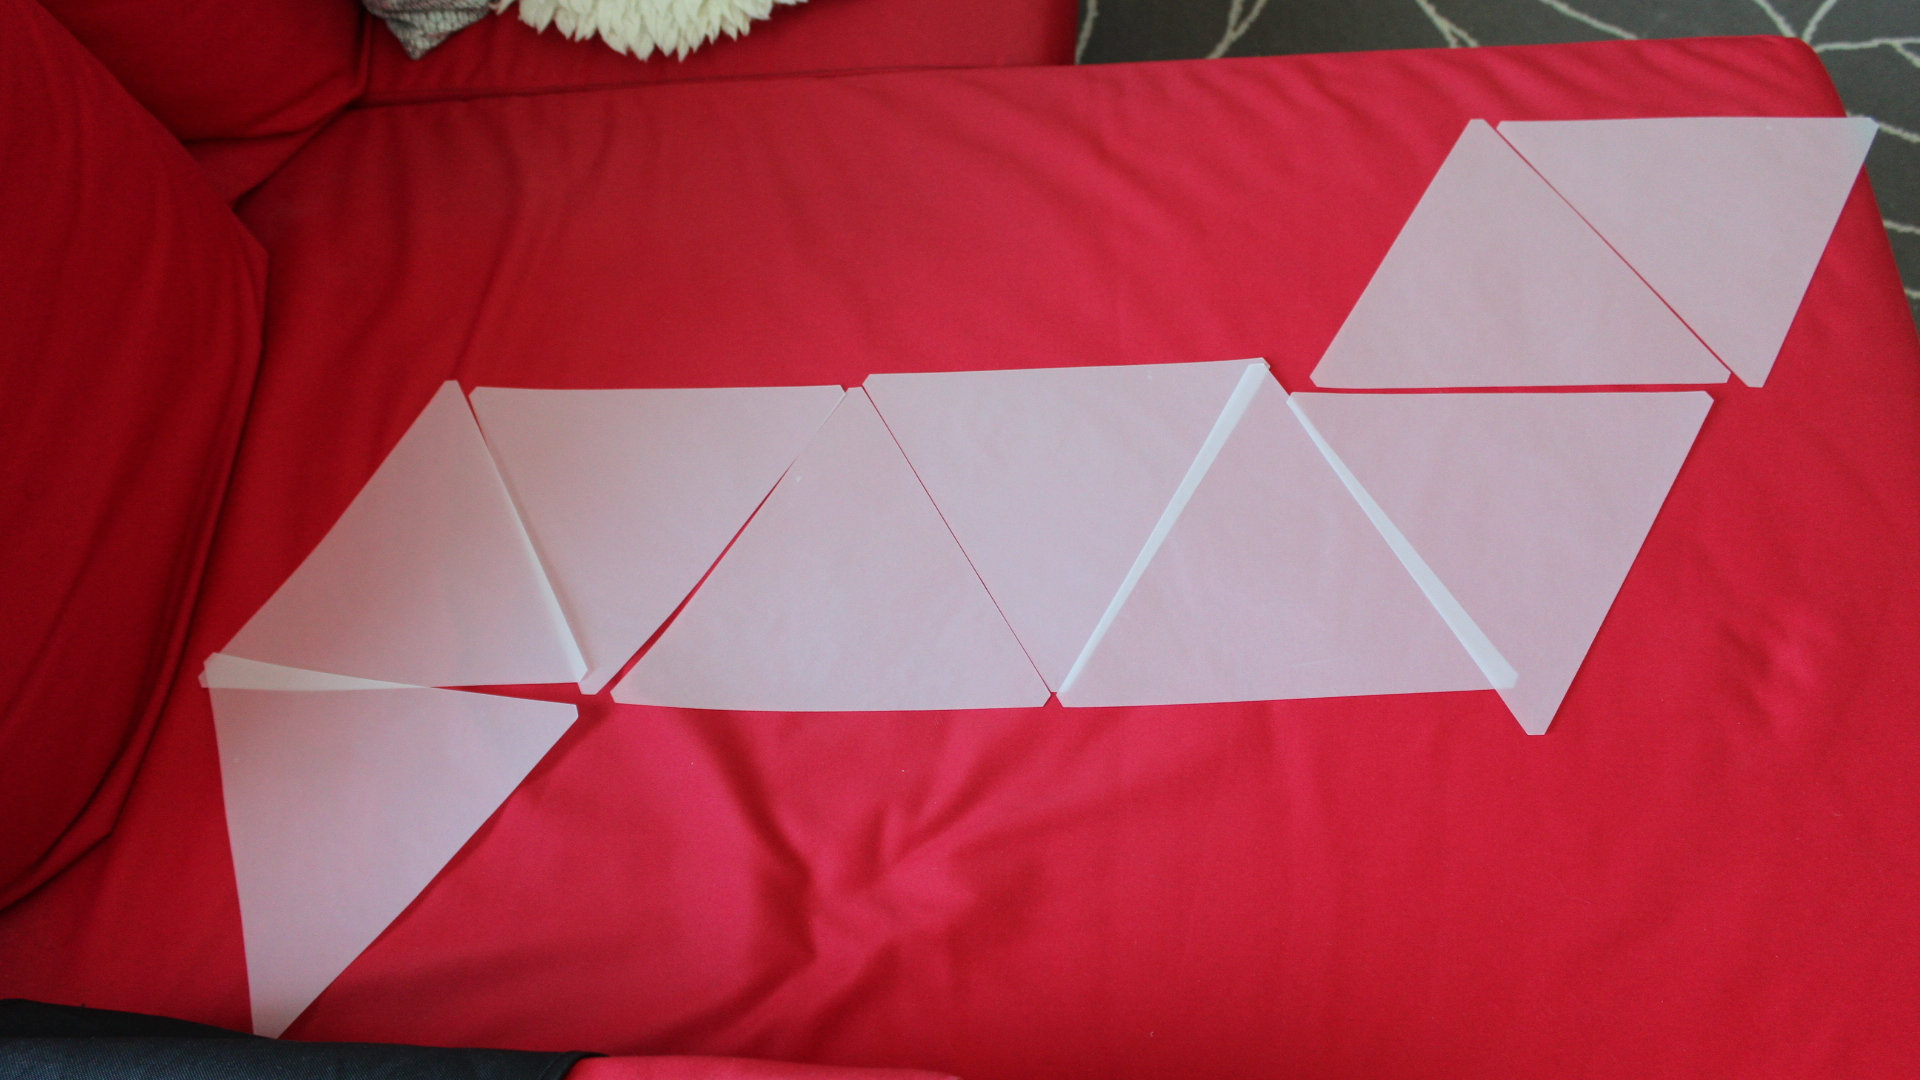
Before you excitedly start sticking your Nanoleaf Light Panels to the wall, it’s a good idea to settle on a design first. There are triangular pieces of paper between each panel when they’re shipped, so these are great to lay on the floor and use as a kind of template to get some inspiration. Or, you can fire up the app itself and let it generate a design for you based on the number of connected panels.
Applying the panels to the wall took a bit of patience – you’ll want to make sure that everything is nice and straight so that your design doesn’t start to look wobbly once you add on more panels.
The double-sided tape holds everything very firmly, so once they’re on the wall there’s little to no danger for them popping off.
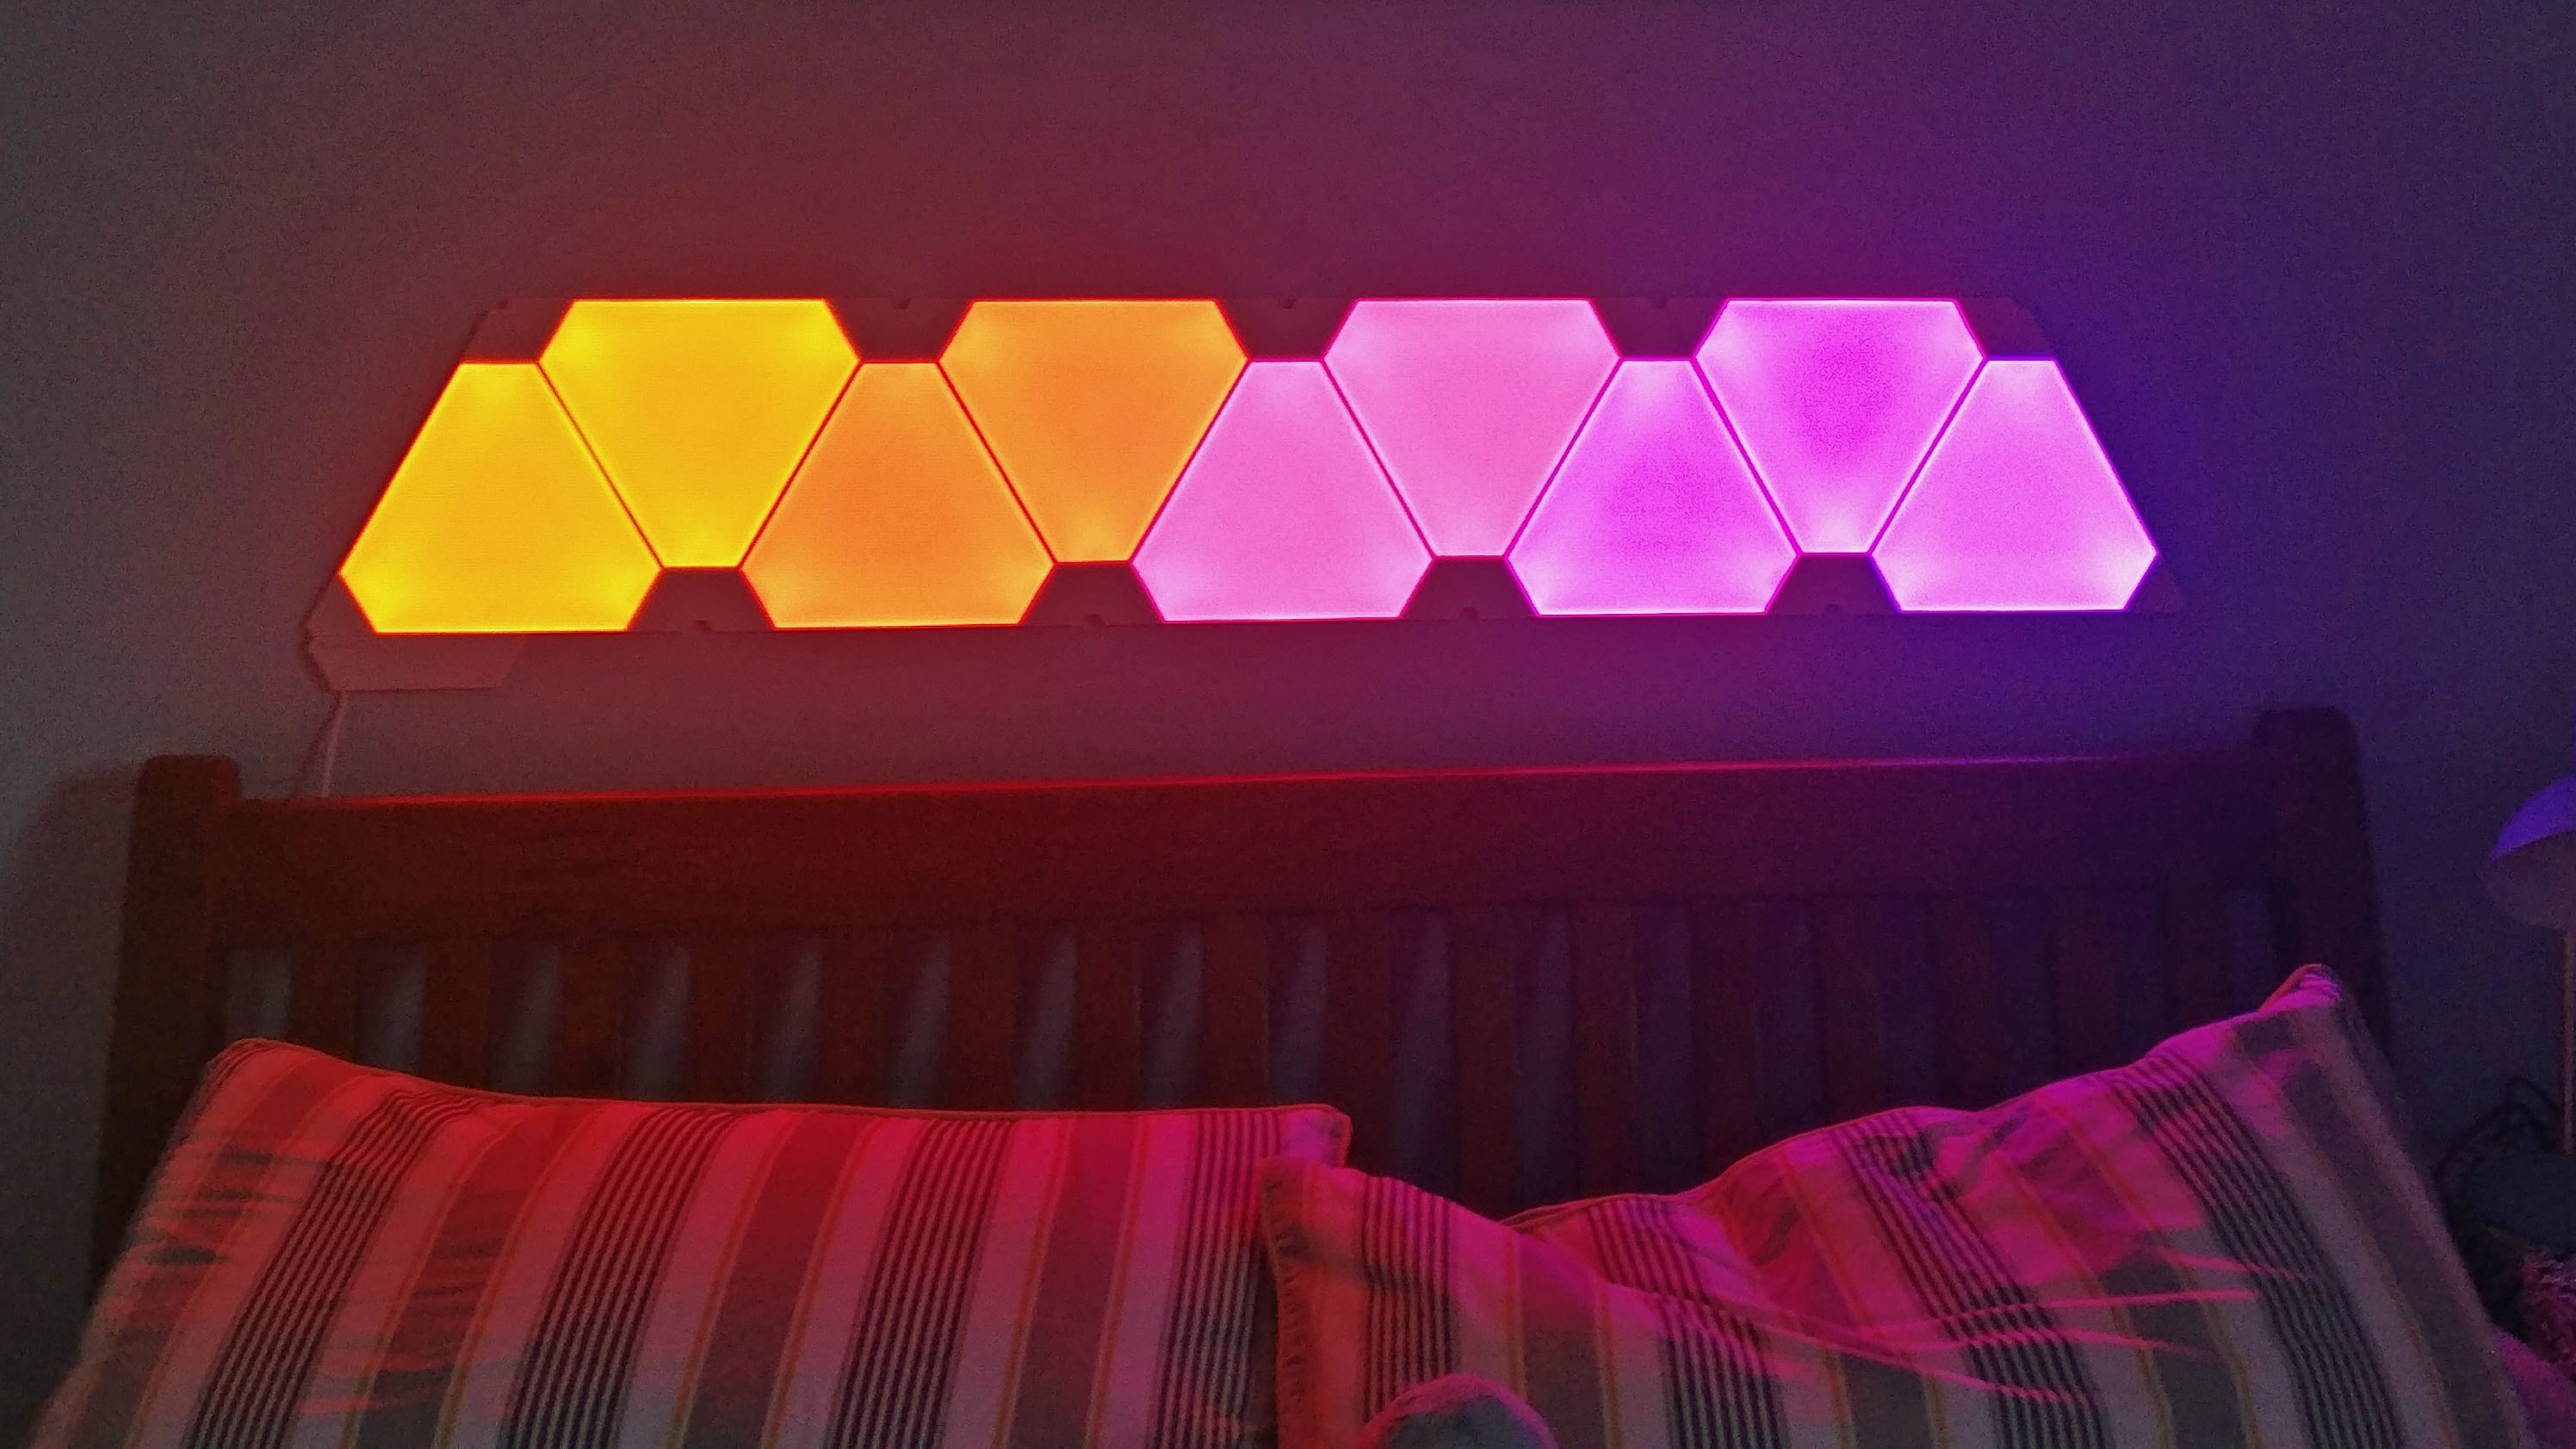
We found it slightly tricky when connecting the panels together once we started sticking them on the wall. There’s only a very small slot in which to slide in the linker, so in once instance we accidentally slid it behind the panel instead of into the slot, so we had to pry it off the wall to recover our lost linker. But if you’re careful and patient, you can get everything up on the wall without any incidents.
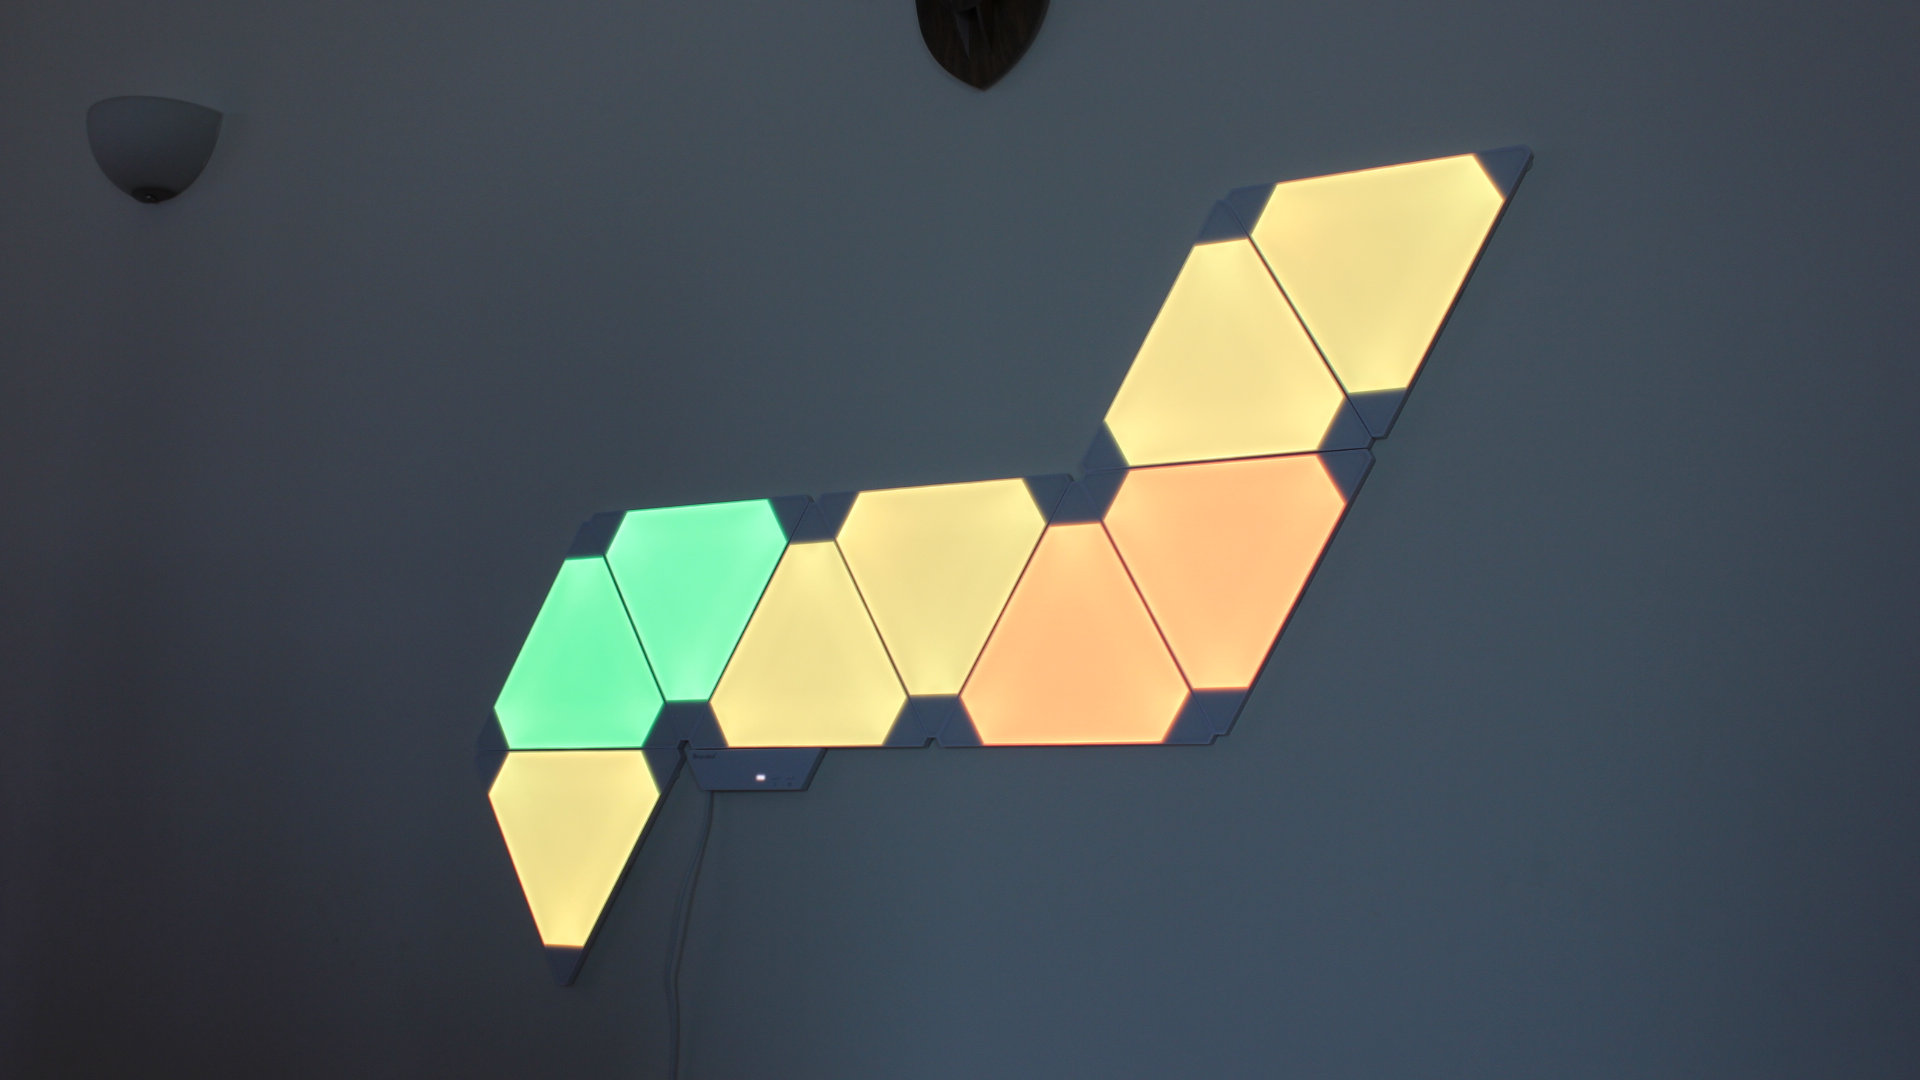
Once your design is up on the wall and you’ve plugged in the power, your beautiful creation will come to life, and you’ll be ready to connect it to the Nanoleaf app. The app itself is where you control your lights, set up scenes, and update your device’s firmware. It’s worth noting that you can’t control your Light Panels remotely through the app – you have to always be on the same network as the Light Panels in order to make any changes.
Usage & Scenes
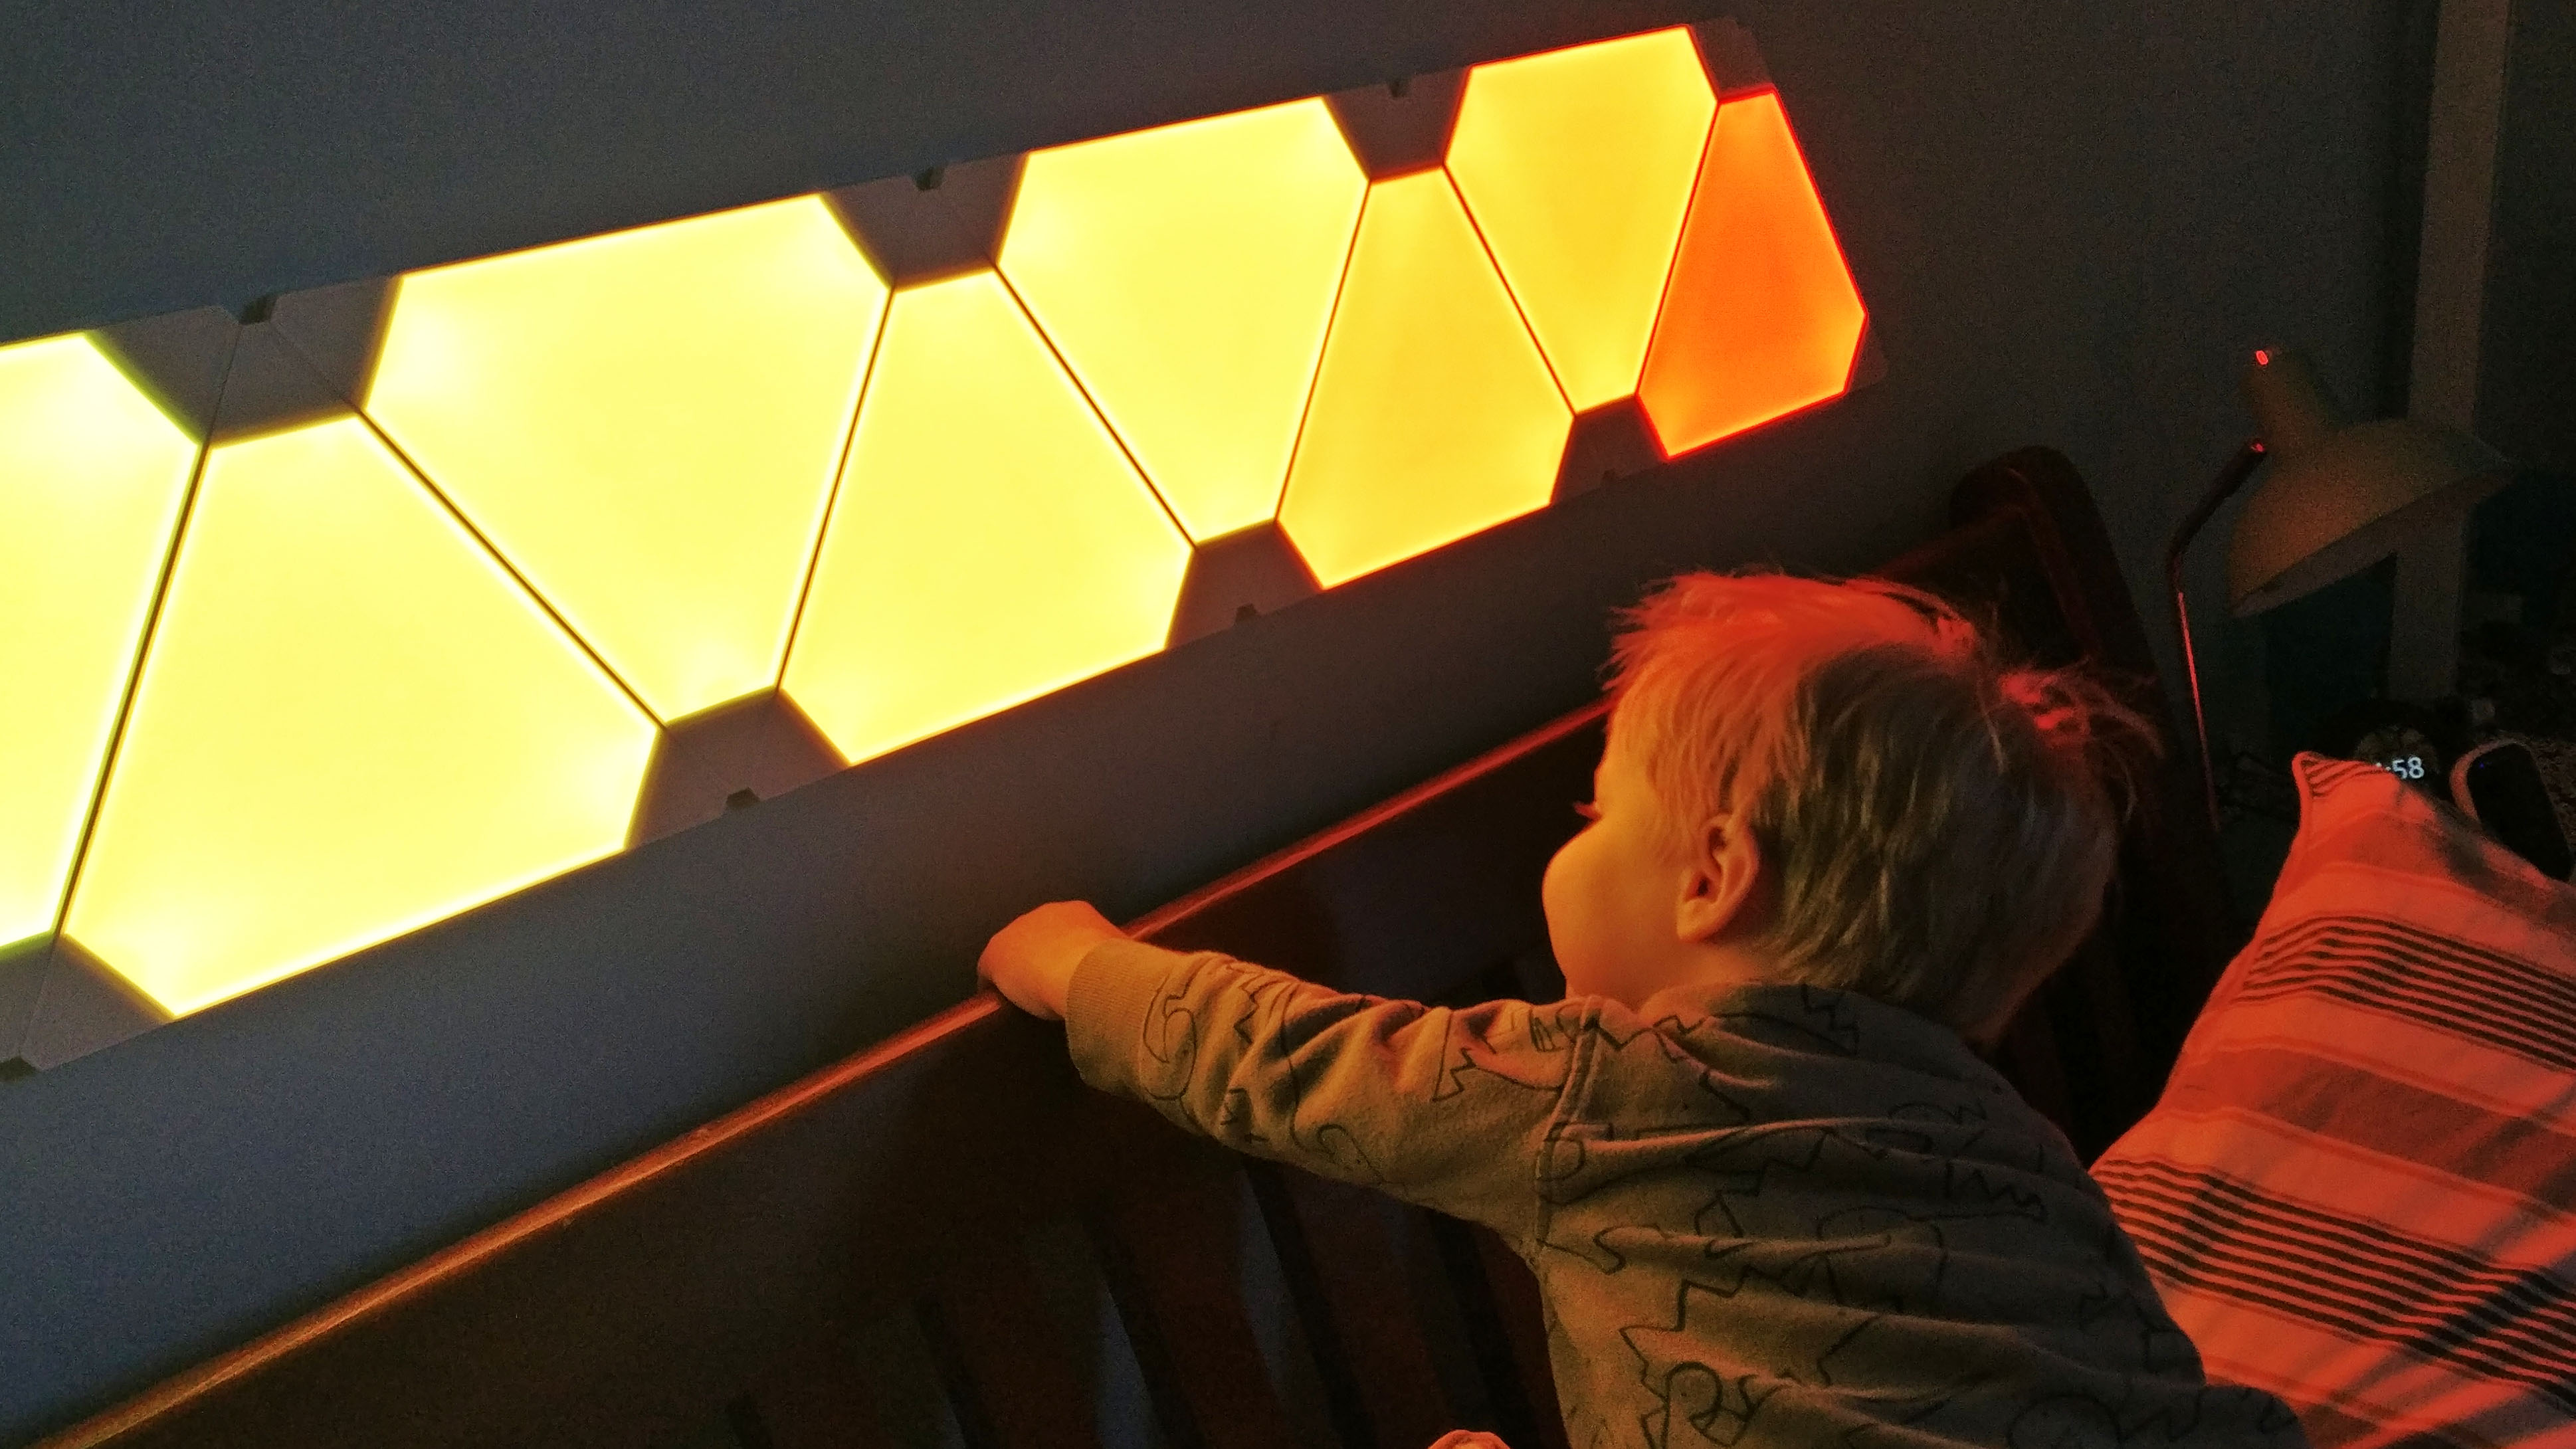
Once turned on, it’s immediately evident just how cool the Nanoleaf Light Panels make any space look. Whether they’re a solid color or just a light palette of changing hues, these lights are a joy to sit and watch. At 100% brightness they were a bit too bright for our space, so we’d recommend keeping them at about 80% brightness or less.
The ‘Color’ section of the app allows you to cycle through either solid or changing color schemes, while the ‘Rhythm’ tab allows you to assign scenes that react to audio accordingly (more on that later). You can also create your own scene, which is truly where the fun begins. There’s a slight learning curve, but once you’ve mastered it you’ll begin creating your own mesmerizing scenes.
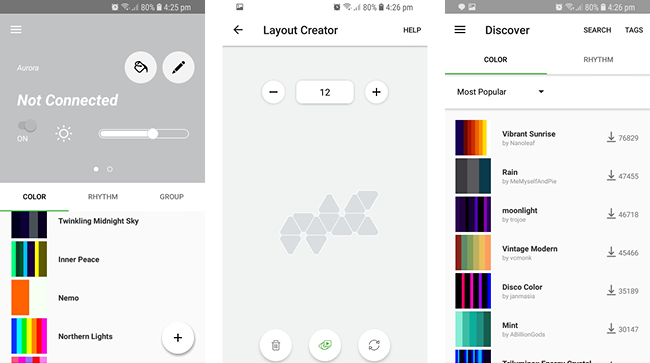
If you’re not feeling as creative, then there are hundreds of community-created scenes that you can browse and download to your Light Panel in just a few taps. This was a little buggy for us, as when we chose to download a particular scene, the app said that it couldn’t connect with the Light Panel, but showed that the scene had been downloaded anyway.
Overall, as a source of ambient lighting the Light Panels are gorgeous, and an instant conversation-starter. Our creation had a total of 12 panels, but things end up looking more impressive at around the 20-panel mark, just because the lights then have a larger area to play around with.
Rhythm Module
The optional Rhythm Module is possibly the best addition to your Light Panels. This small device slots into any free slot, and makes your Light Panels react accordingly to sound. It also means you can modify special Rhythm scenes in the app, so you can turn any space into a much more vibrant one, thanks to the changing colors and patterns.
The Rhythm Module is fairly receptive to ambient sound or music, and playing Meghan Trainor’s All About That Bass resulted in some great visuals on our wall. You can also connect an audio source directly to the Rhythm Module via a 3.5mm cable, in case you want a more responsive feel.
Nanoleaf Remote
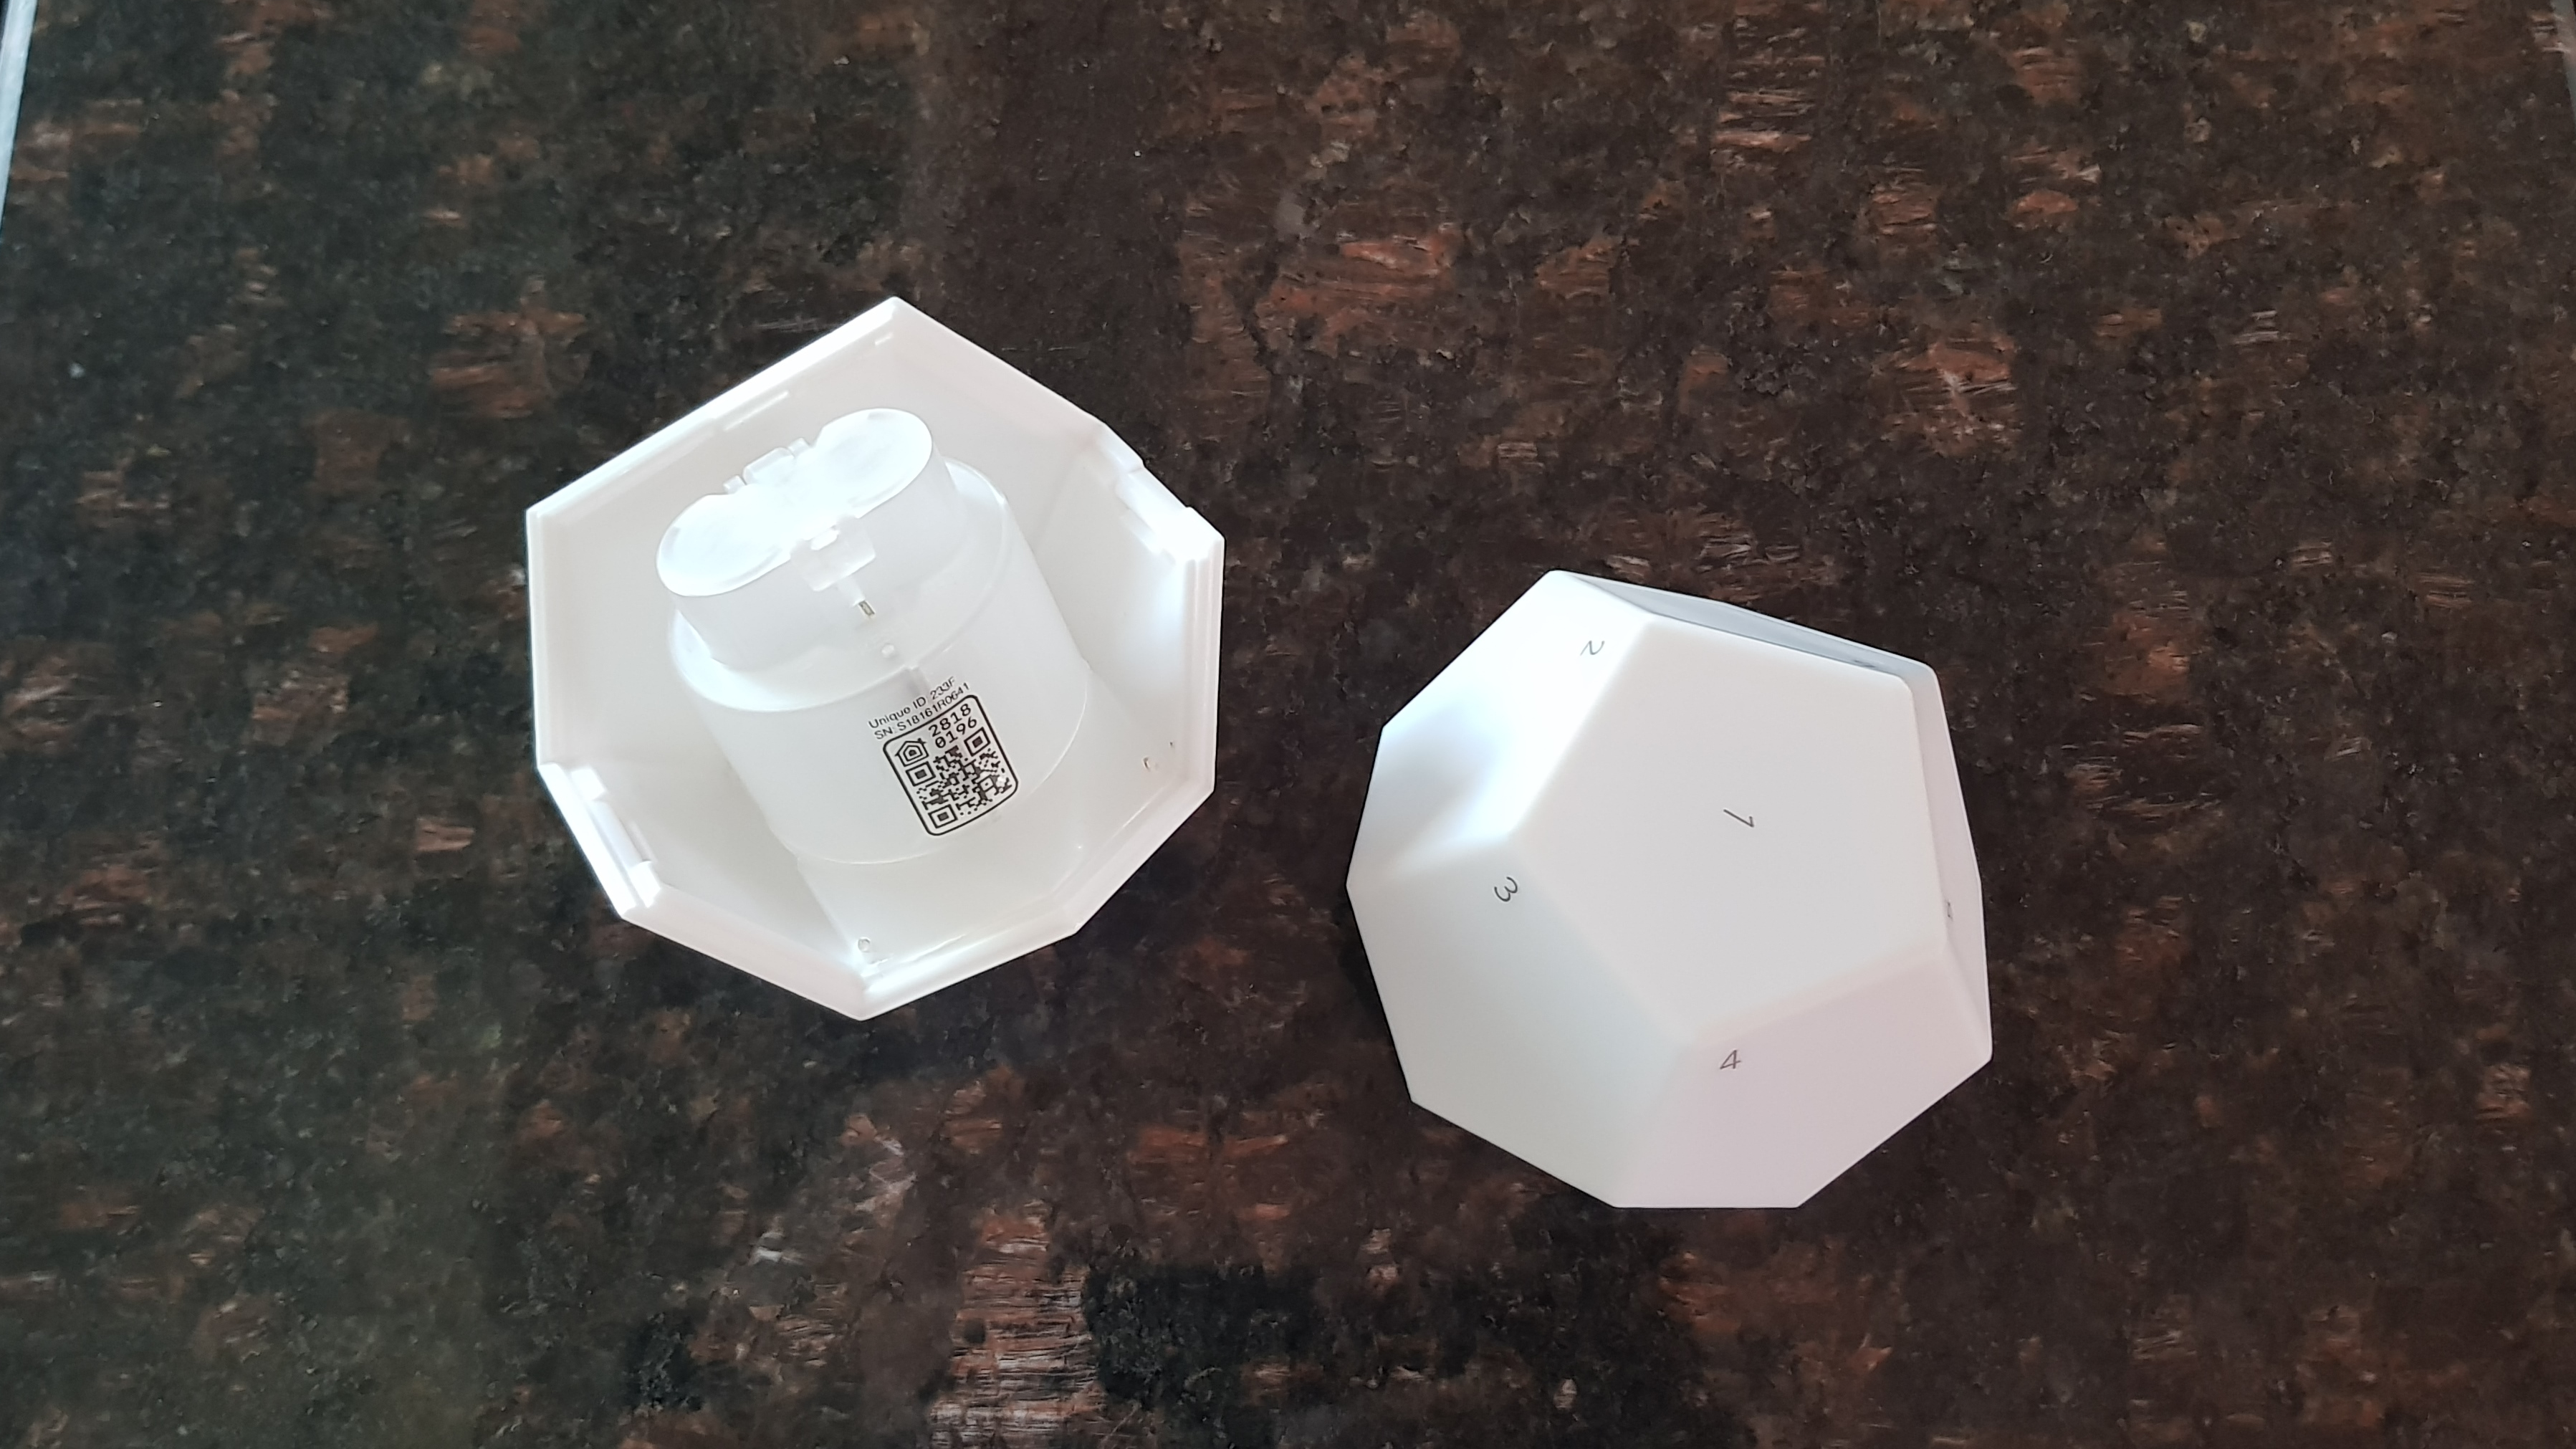
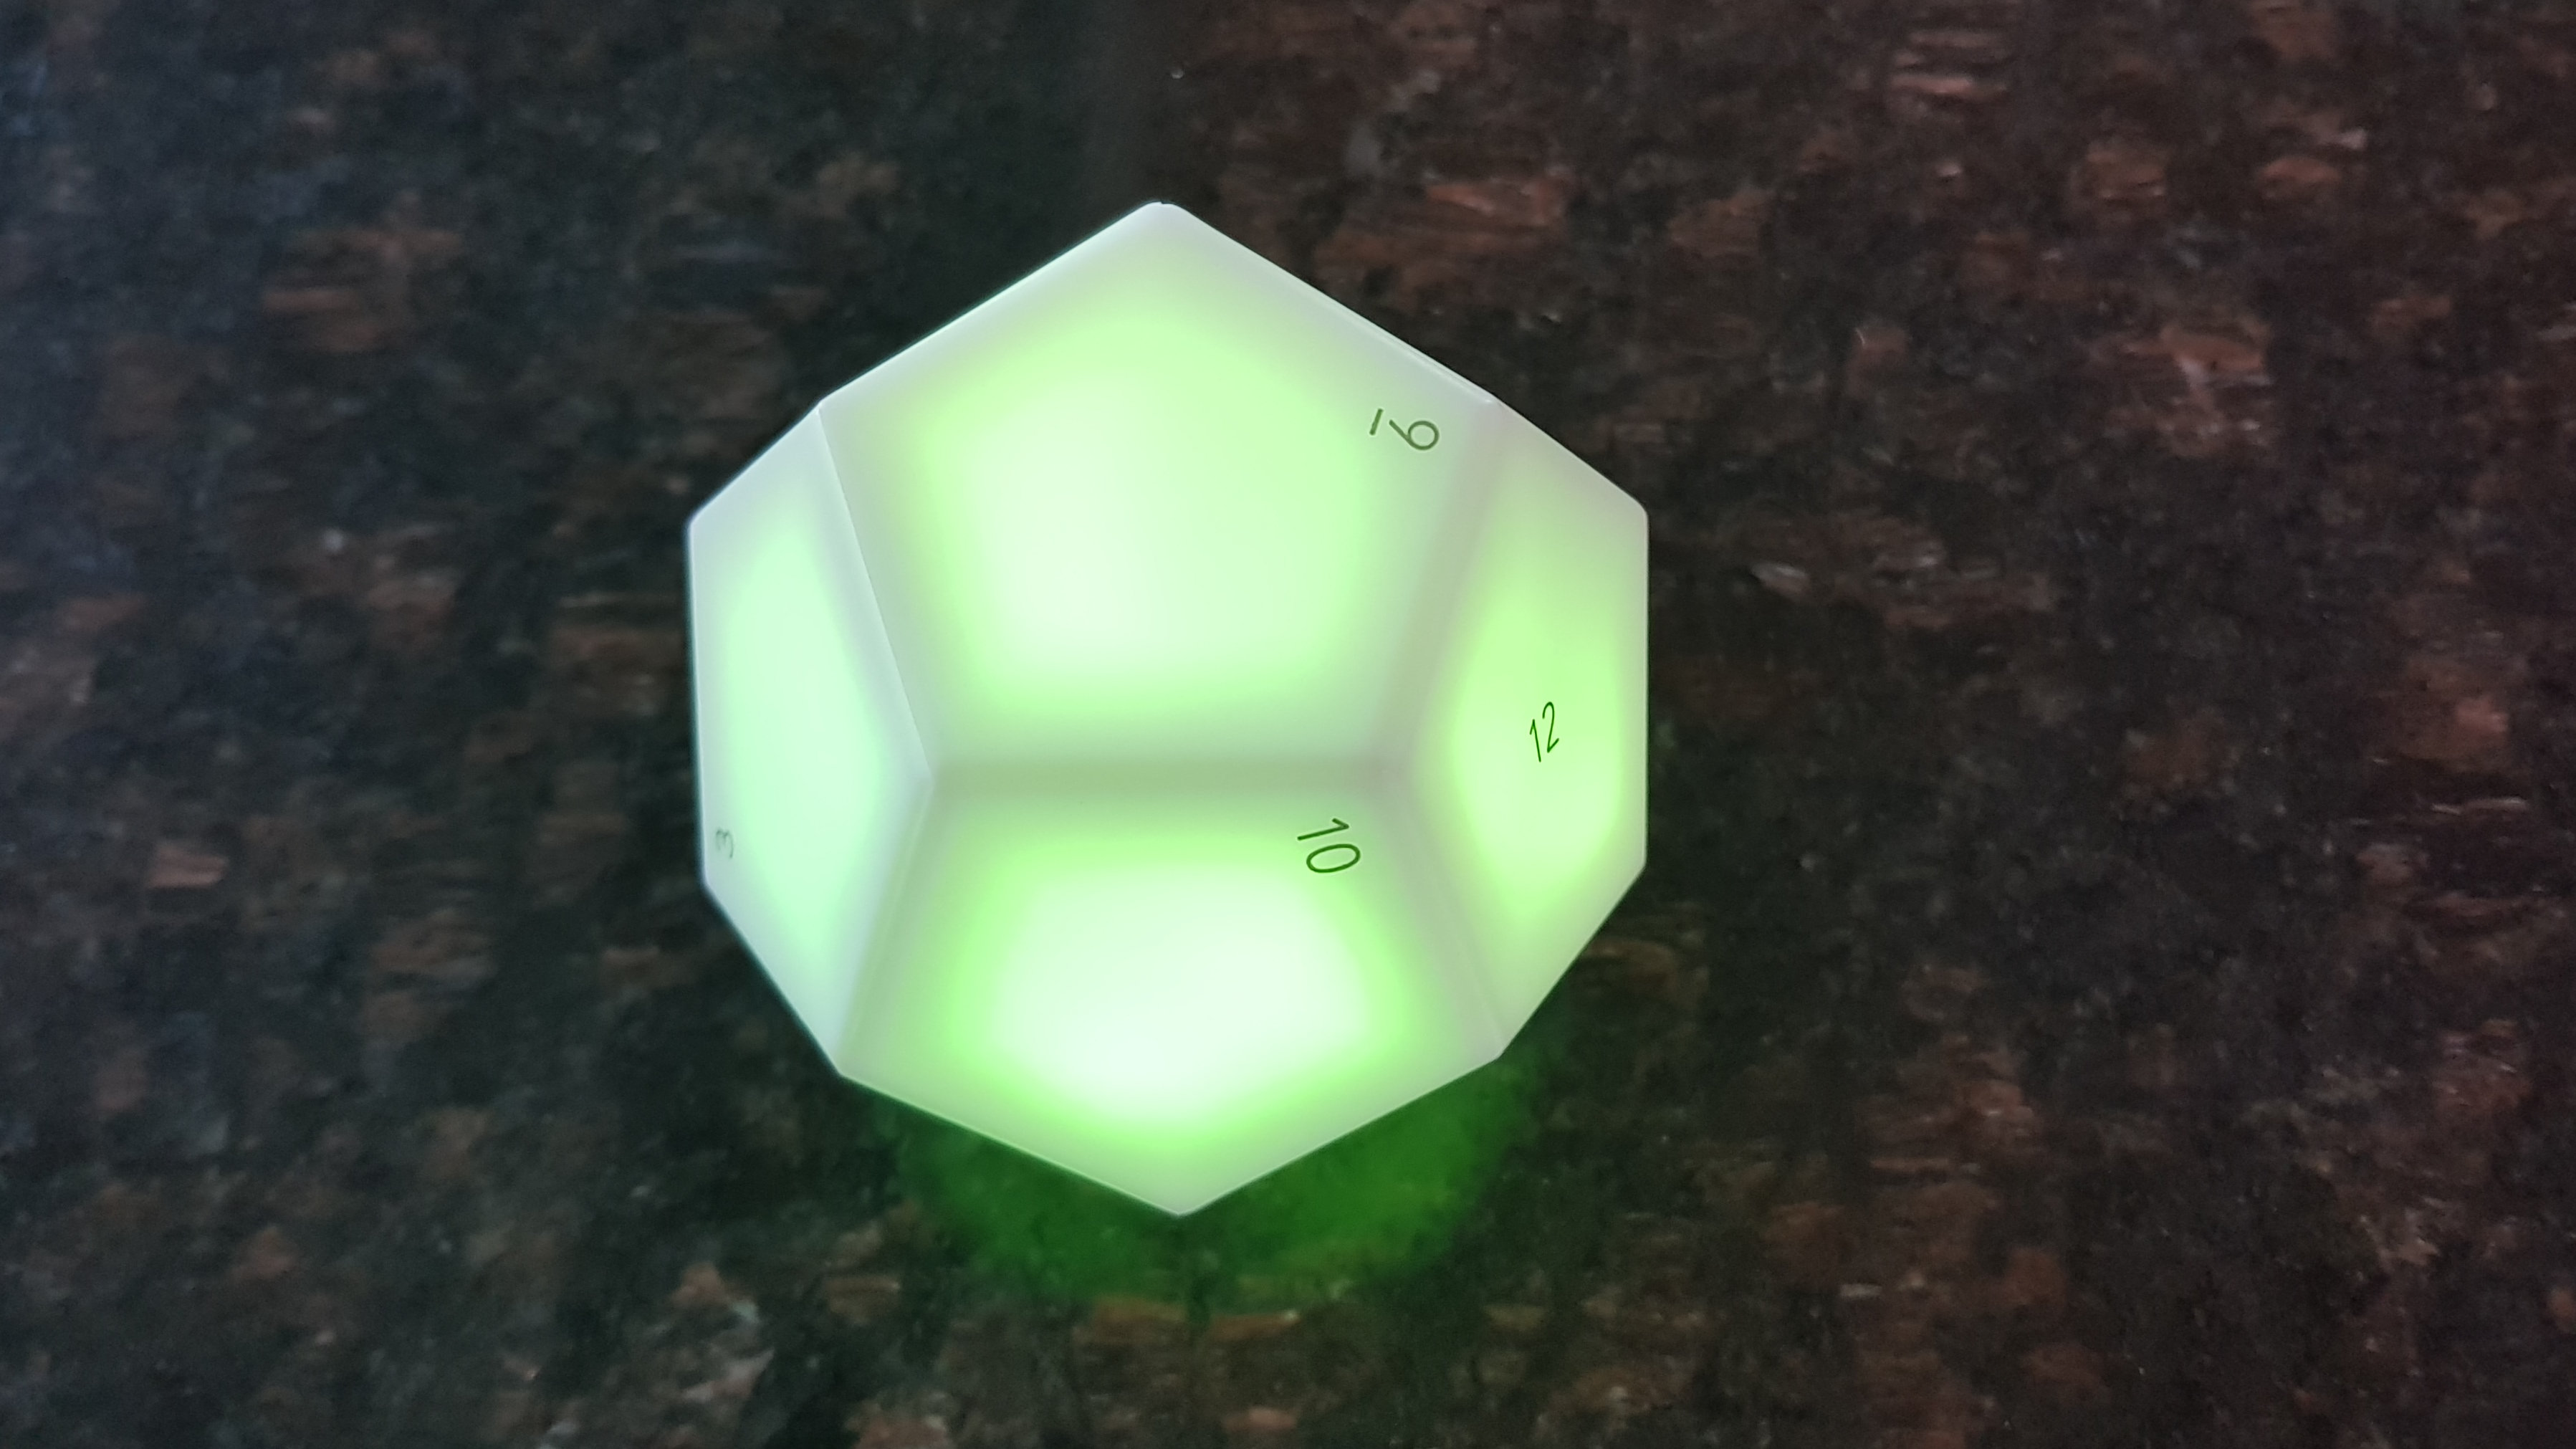
If you’d prefer to control your light panels without having to pick up your phone, then the Nanoleaf Remote is another option to consider. This 12-sided remote allows you to quick activate a particular scene just by turning it around, or adjust the brightness by twisting it around.
The Remote is a plastic design that comes apart (after prying with a screwdriver), and is powered by two AA batteries. Once installed, the Remote will light up with a corresponding color to activate a particular scene, before slowly dimming down again.
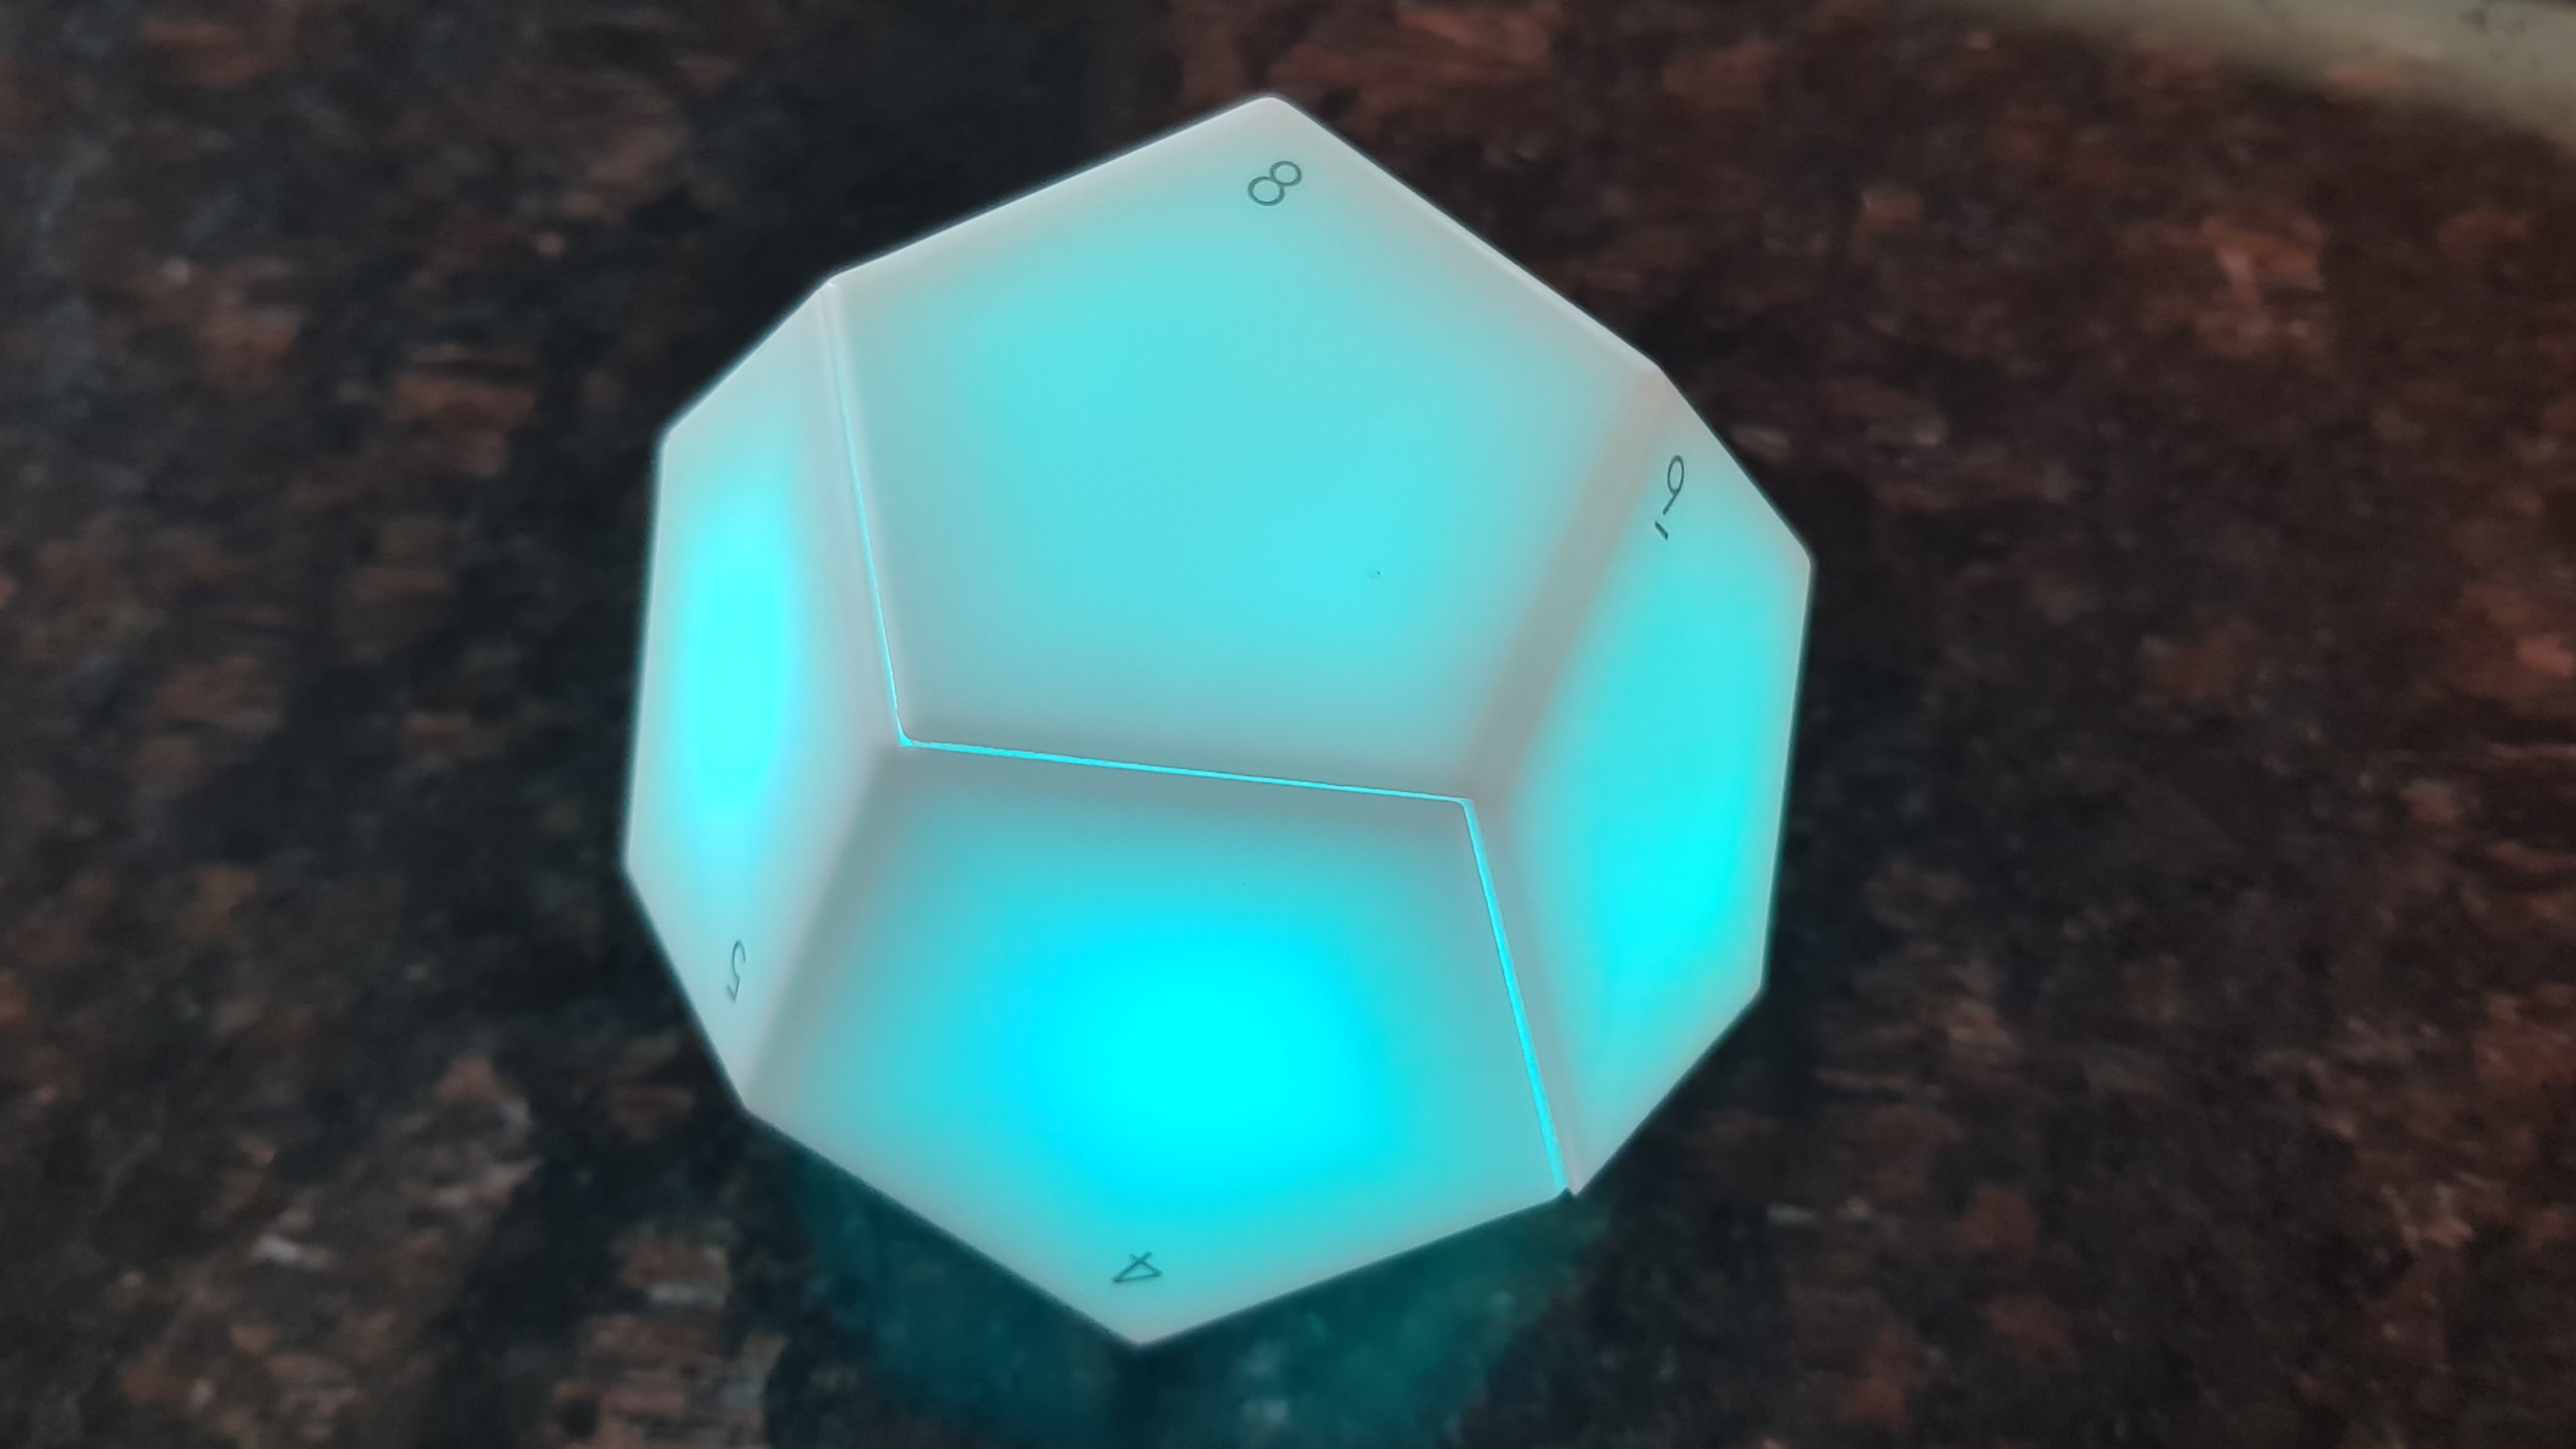
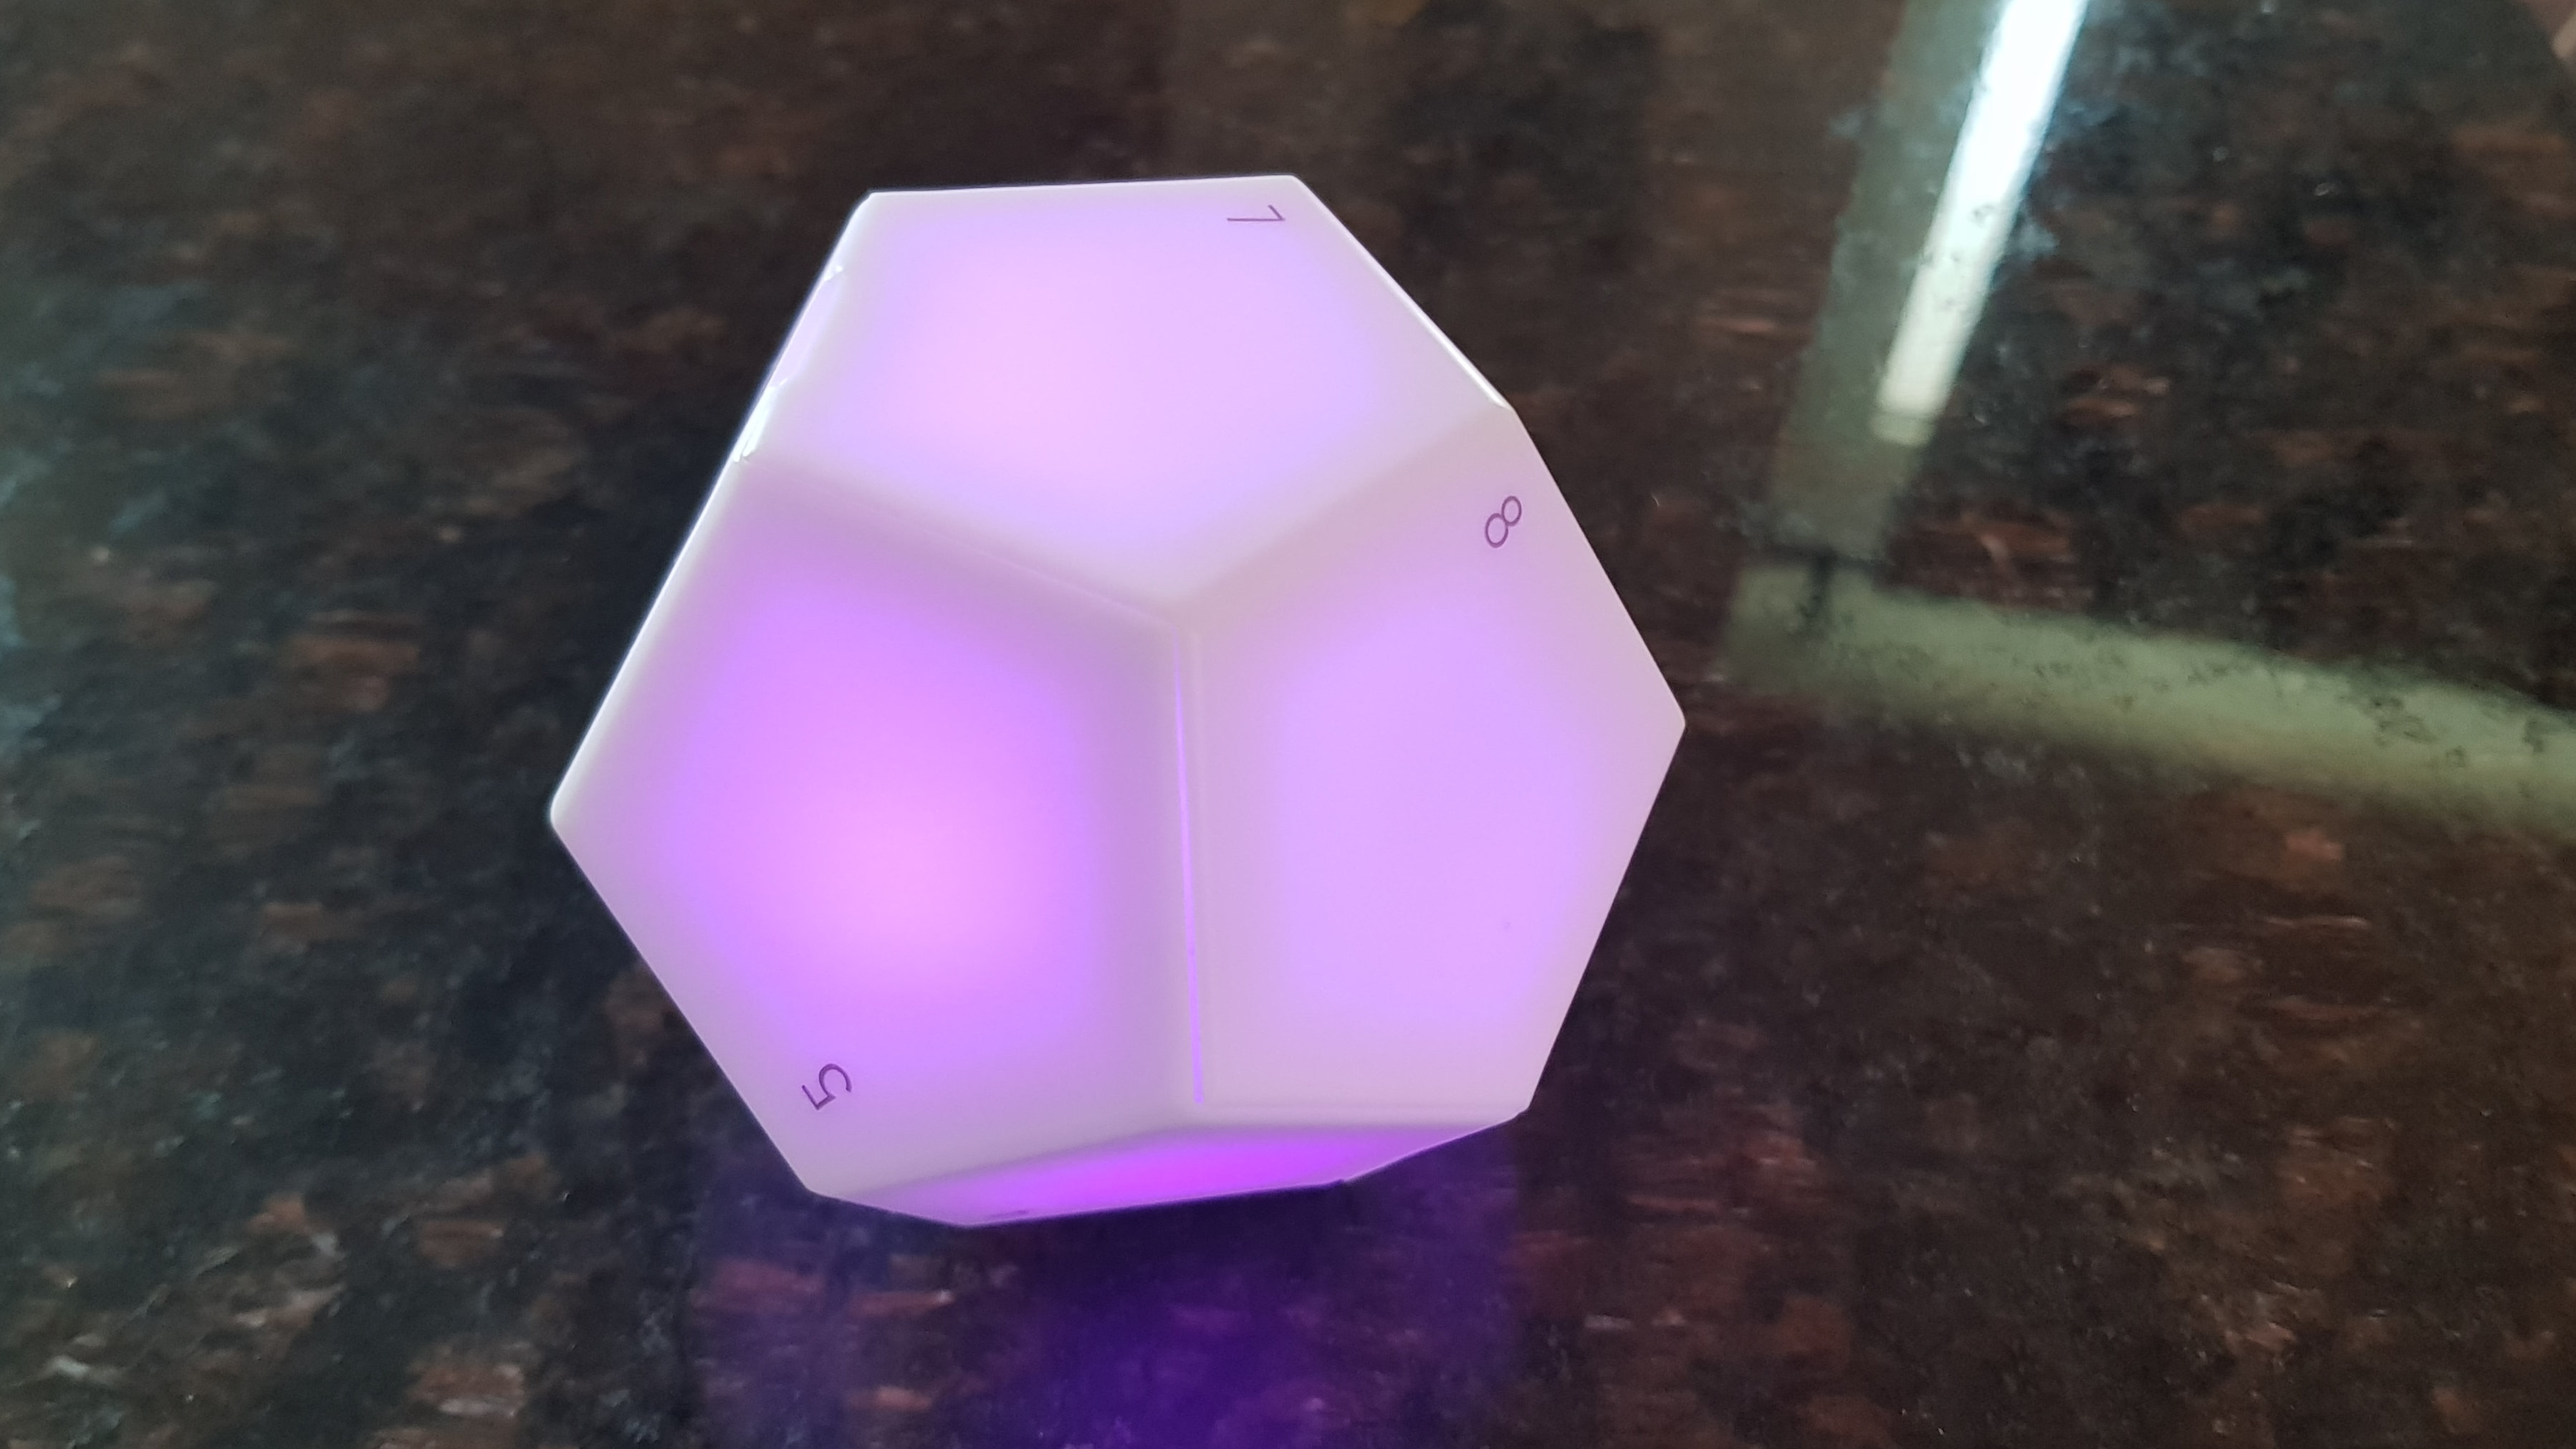
The remote works differently depending on whether you’re using it on iOS 12 or Android Q. With iOS, it requires you to have some sort of Home hub such as an Apple TV or HomePod, in order to pair with and control your lights.
On Android, you’ll need to use the Nanoleaf Rhythm Module to control your lights with the Remote, and you’ll also need the Rhythm Module on iOS if you want to adjust brightness. It’s a slightly fragmented experience owing to the differences between the two platforms, so just keep this in mind if you’re currently thinking of picking up a Remote.
Regardless of which platform you’re using it with, once you’ve set up the Remote (a process that took about twenty seconds on Android), you can go into the Nanoleaf or the iOS Home app to assign scenes to a particular side of the Remote. By default the Nanoleaf app quickly assigns default scenes to each side, but you can easily tap on each one and assign whatever you like.
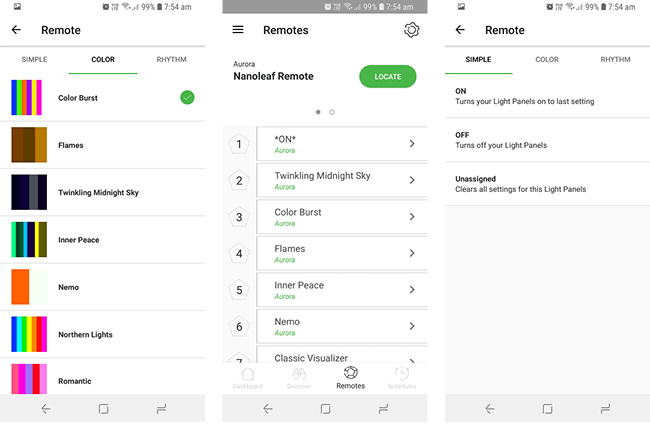
If you’ve grouped together other HomeKit products into a particular scene, you can also control these with the Remote, so you could set one of the faces to turn on or off all your desired lights, regardless of manufacturer. It may sound daunting to try and memorize what each face does, but within two days of using the Remote we were able to quickly recall which sides we needed to use most often.
The Remote is certainly a unique way to control your lights, and makes it especially easy to flip through different light scenes rather than trying to do so via the app.
Smart Home Integration
The Nanoleaf Light Panels integrate with most smart home setups or devices, and are compatible with Amazon Echo, Google Home, HomeKit, IFTTT, and more.
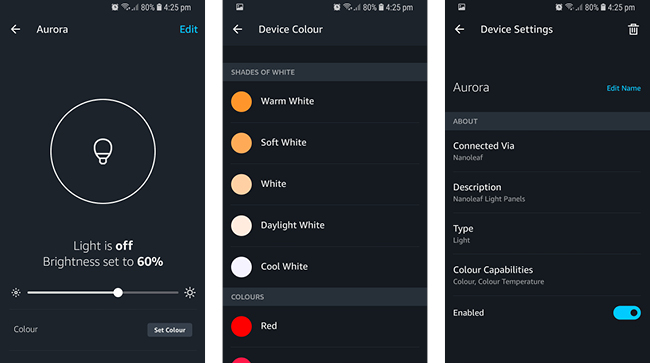
When paired with Amazon Echo for example, you can turn your lights on or off just by mentioning the name of your Nanoleaf Lights Panel.
You can also change brightness levels or the color, but you can’t activate the Rhythm module or switch to any other color scenes, which is unfortunate. So you’ll still have to have your phone nearby if you want to do anything more than just turning the lights off and on.
Verdict
So just who is the Nanoleaf Light Panels aimed at? Well, it’s for anyone who wants to brighten up their space – literally. If you think you won’t get excited about a couple of light panels stuck on the wall, then think again. These things are a great addition to have, and the fact that you can seamlessly add on extra tiles at any time is a huge bonus.
On the downside they are still quite pricey, and the double-sided tape means that once they’re stuck up, you can’t just pop them off and rearrange them as you like. Despite this, they’re still a great buy, and the addition of the Rhythm Module gives them a whole new flair.
The Competition
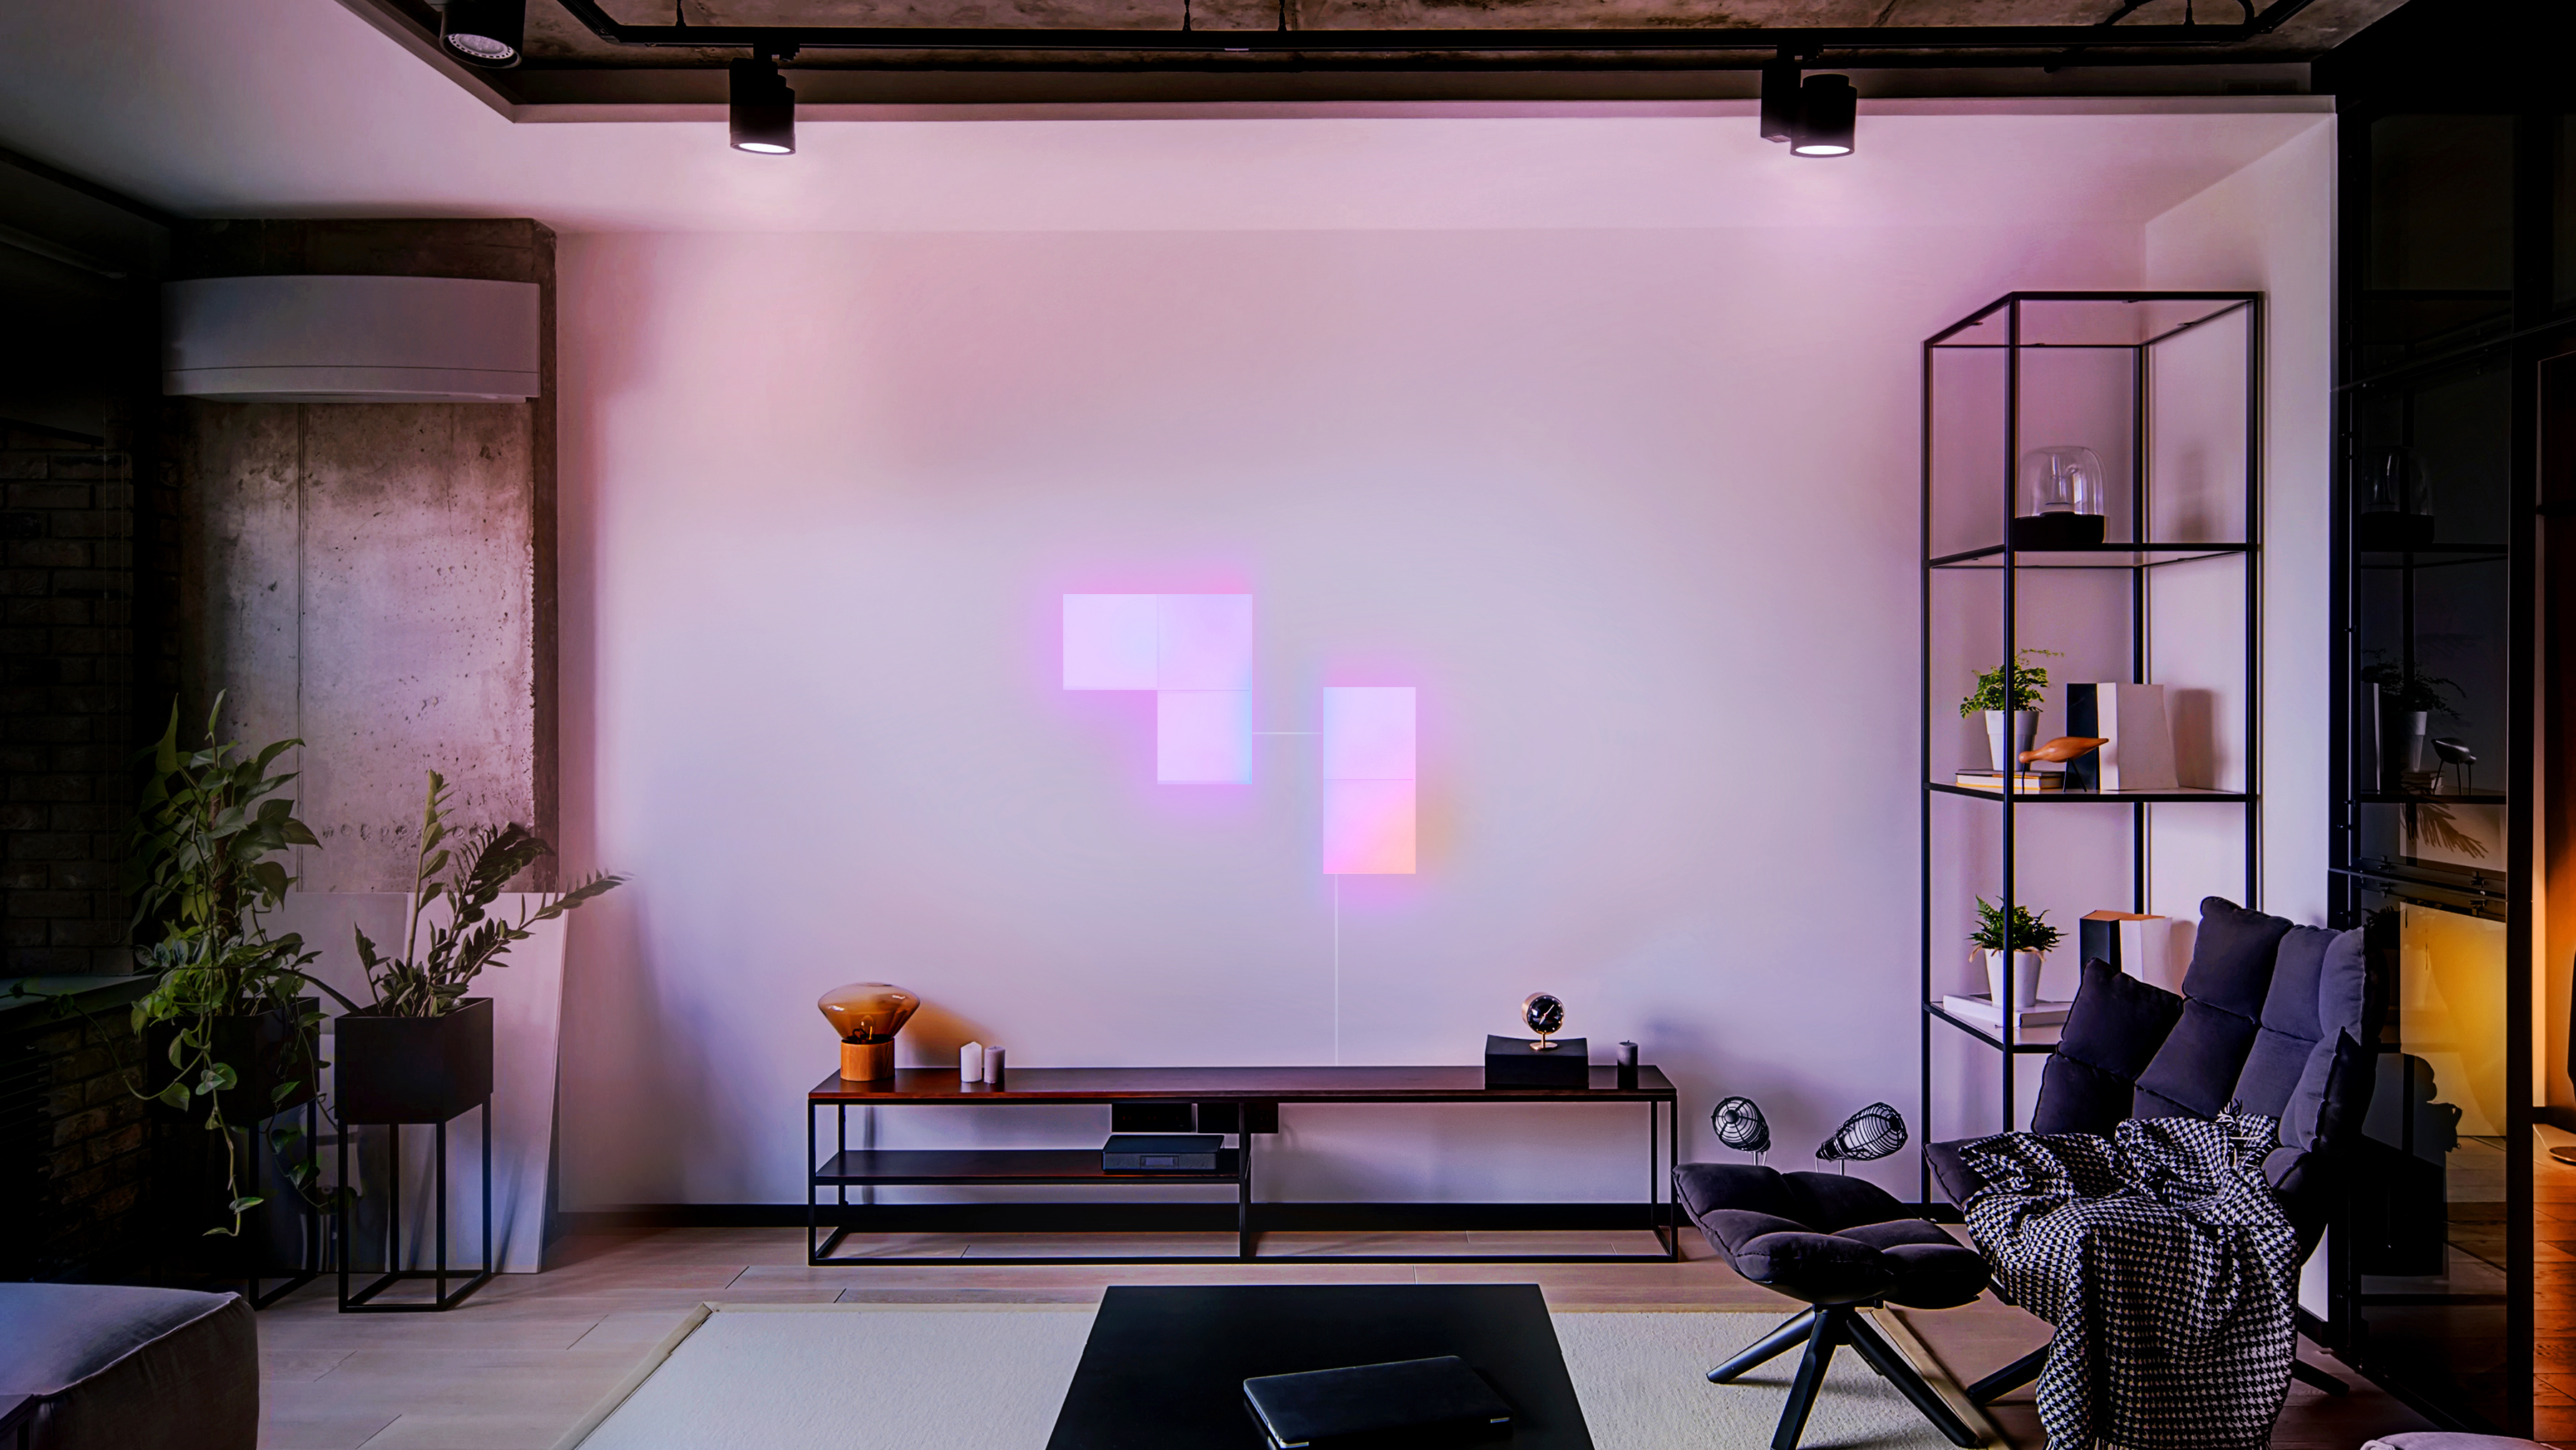
A week after we got our hands on the Nanoleaf Light Panels, LIFX announced Tile – their take on wall-mounted tiled lights. The LIFX Tile retails for about $249.99/£249.99 and comes with 5 panels, with each panel having 64 ‘zones’ that can be individually controlled for much more finer effects.
A former IT & Marketing Manager turned full time Editor, Nick enjoys reviewing PC components, 3D Printers, projectors, and anything shiny and expensive. He can also be found baking up a storm in the kitchen, which we are more than happy to encourage.
