Why you can trust TechRadar
Getting started
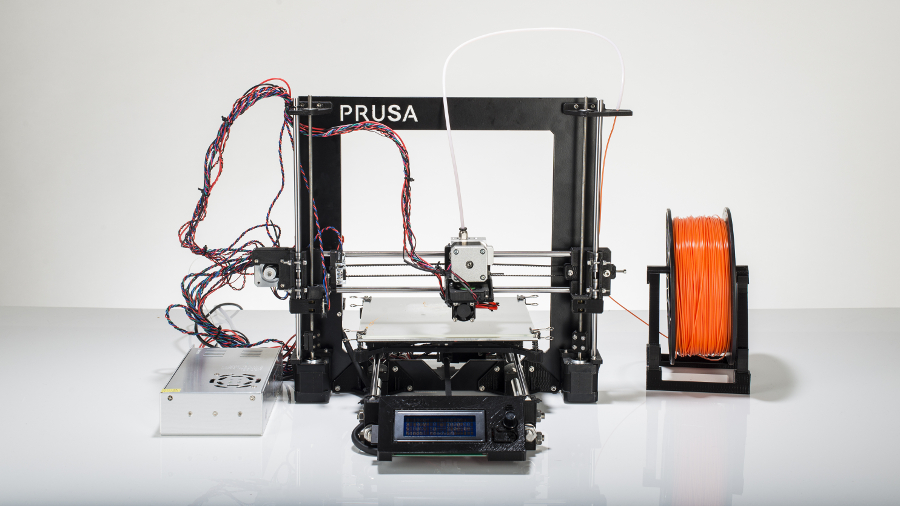
Once you've finished the task of constructing the printer which will take between five and 10 hours depending on your skill – our kit took around six hours to finish – you're ready to run through the commissioning and testing procedure, which needs to be done prior to the first print.
It takes around 20 minutes to go through the commissioning process with adjustments made using a computer and the Printrun software, and mechanically by tightening and loosening screws. Once endstops, fans and steppers have been checked and you've tackled the tricky task of levelling the bed you're ready for the first print.
Printing
Here Ooznest suggests using the Cura software by Ultimaker, which provides a solid and easy to use print interface, and again before use it needs to be calibrated for the Prusa i3 printer. Fortunately, when it comes to this process, Ooznest once again provides all the details making setup extremely quick.
With the machine added to the options and the model you wish to print loaded, it's then just a case of either attaching a USB cable to print directly or sticking an SD card into the side of the control panel to transfer the print-ready files.
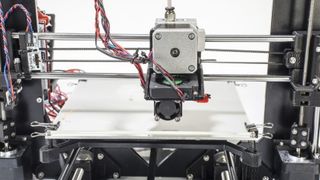
It is at this point you see the limitations of the 12V supply, which obviously doesn't have the clout of the 24V used in machines such as the Lulzbot, so warm-up times for the heat bed and hotend are quite slow. Whereas the Lulzbot is ready to go from cold in around five minutes, with the i3 you can expect a good ten minutes wait or more to warm up.
However once up to temperature the actual print speeds are pretty evenly matched, with the i3 about 15-20% slower than the Lulzbot Mini with similar print quality settings. Here you also need to take into consideration that the Mini takes 2.75mm filament as opposed to the Prusa i3's 1.75mm.
The Cura software enables the quick selection of several different print qualities without having to reconfigure the printer. In our test each of these options printed good quality prints using the supplied ABS 1.75mm filament with little issue or misprints.
In the first week the printer required a little retuning every couple of prints, but once the structure had settled down and all rogue bolts were fully tightened print accuracy and reliability came close to 100%, and not too far behind that of the Lulzbot Mini.
Print quality is also surprisingly good and easily matches that of the Lulzbot for simple structures and models. However again there is a slight limitation with the finer filament and lower voltage when it comes to bridging and overhangs within structures. That said, a small upgrade and a little tinkering would easily enable quality prints that would rival printers twice the price.
Making a side-by-side comparison between prints from the Lulzbot Mini and the Ooznest Prusa i3 shows that the i3 just has the lead when it comes to sharp edges and fine detail, and this can be put down to the smaller nozzle and filament diameter. However, when printing larger structures with overhangs and bridges the more refined quality of the Lulzbot shines through.
I tested the Tesla Powerwall 3 – going off-grid feels good, but it's a long-term investment rather than a quick fix
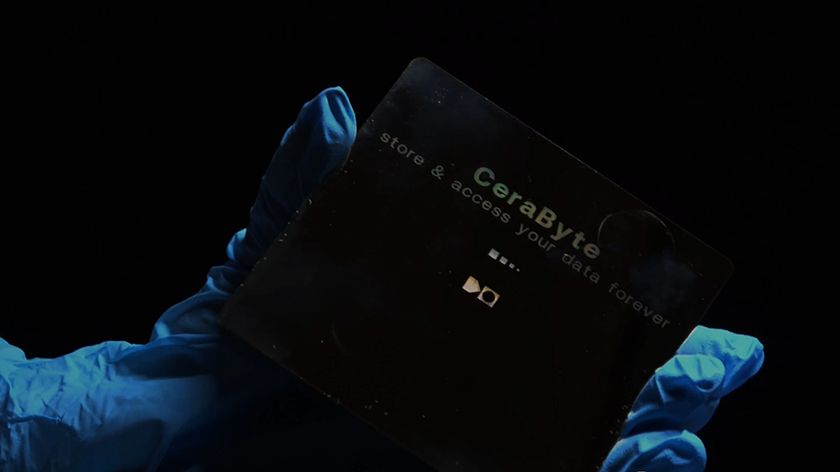
After Pure Storage, CIA-backed VC invests in ceramic-based startup that wants to build Exabyte-class storage

Harry Potter TV show: everything we know so far about the upcoming HBO adaptation
