Why you can trust TechRadar
Getting started
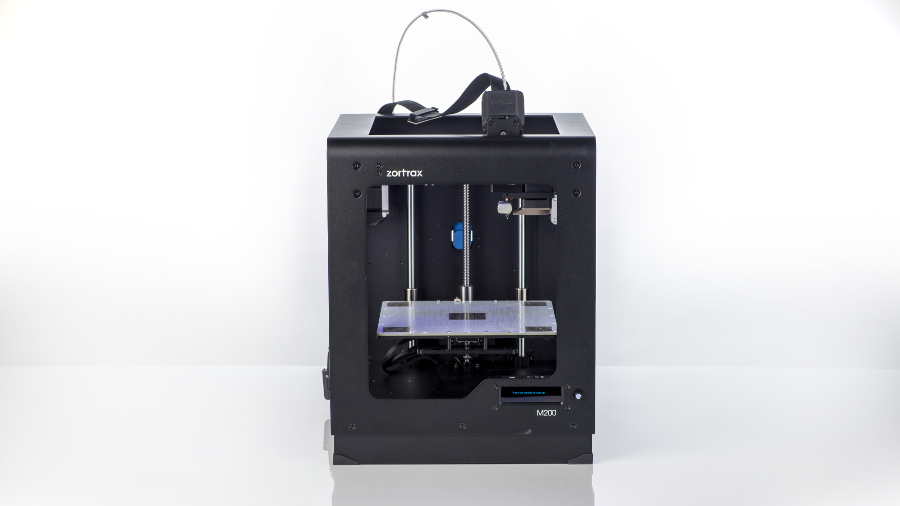
Opening the box reveals far more than just the printer, and as padding is removed and the printer is extracted, you'll see that a full starter kit which includes tools and filament is included.
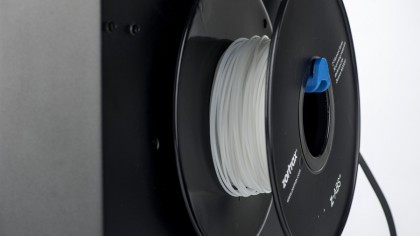
Printer setup is extremely quick and easy, just requiring you to install the filament holder, cable tidies, filament and the heated build platform. Once done the printer is ready to switch on and get started with.
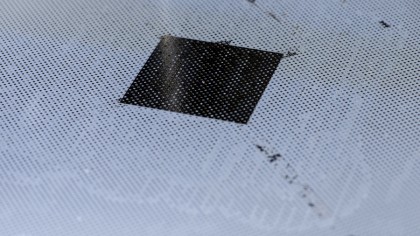
The heated perforated build platform is quite different to any other printer we have looked at and during this review it provided excellent adhesion for the prints. When installing under the build platform there are two cables that need to be attached to the machine to provide power and a connection to the thermistor.
Installing the filament through the direct feed extruder is easy enough and the small LCD prompts you through the process. From start to finish the commissioning of the printer takes between 5 and 10 minutes.
Once the machine is ready a model can then be loaded onto the provided SD card through the Zortrax Z-Suite software.
As with the printer, the software is carefully laid out, and on a PC system works well providing plenty of options in terms of the quality settings. The software looks identical on the Mac but runs a little slower, though it still provides a good printer interface with plenty of flexibility.
Initial prints show the impressive quality of the M200 with the models being incredibly accurate with even layering and smooth flow. The printer needs no adjustment and the first print showed instantly that the Zortrax was capable of producing prints with one of the best finishes of any fused filament manufacturing (FFM) printers we have seen.
The perforated build plate does the job and using the Zortrax ABS filament there was absolutely no lifting or warping of the print.
Extracting the print requires you to remove the build plate, which is pretty standard practice for all 3D printers, and then the tools supplied can be used to remove the model.
Printing
Print setup and configuration is all carried out within the Z-Suite software. This is proprietary to the Zortrax range of printers and is extremely comprehensive enabling plenty of adjustment over the settings.
The interface is clearly laid out and enables you to quickly import your models and manipulate the orientation and scale, as well as add the all-important Smart Bridges and select the filament type you are using. Once the model is in position on the virtual bed you can then hit the 'Prepare for Print' button. After a few moments of processing, you can then save the file to SD card for printing, or print it directly.
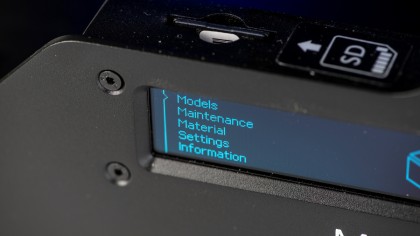
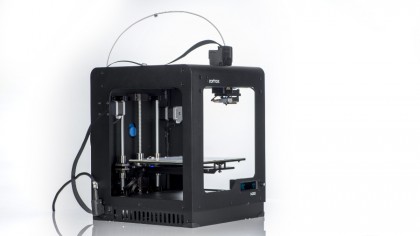
The SD card fits directly into the printer above the control panel and the contents can be quickly accessed, with the print selected by using the dial and clear LCD. Once you have selected the model the M200 will then start the print process.
Using the default settings, at first the Zortrax's print speed seems relatively slow in comparison with an equivalent print from rivals such as the Ultimaker 2. However it doesn't take long to realise that print speeds are actually relatively similar, it's just that the Zortrax is a far quieter machine. Compared with most other FFM printers the Zortrax is incredibly quiet and the high quality parts really do make a difference.
Cranking up the print speed does increase the noise level slightly, but all movable parts remain smooth, and any jerky movements that we've witnessed from the majority of other printers just aren't apparent here.
This refined motion really comes across in the quality of the prints with models showing even layers, and there's no hint of many of the common pitfalls of filament printers such as the visible signs of vibration or ringing as well as under or over-extrusion.
Prints from the M200 stick firm to the build platform. Helpfully Zortrax includes a large selection of starter tools and a decent scraper to help liberate the print, but even so removing the first few prints is a time consuming process. However, as the platform is used and the holes fill with filament the extraction process does become easier.
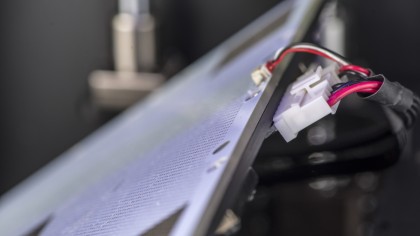
Once a print has finished the platform needs to be removed before the process of removing the print is started. As we mentioned previously, the platform features two clip-in cables for the thermistor and power – these need to be connected each time the platform is reinstated. Once removed the build platform with print can be transported to a workbench so that the model can be safely removed.
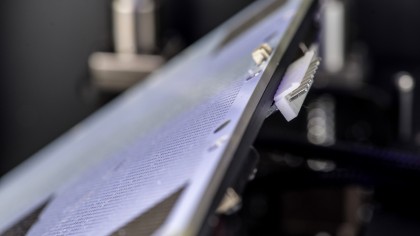
It does take a while to get used to the design of the platform. After the model is extracted, and you've cleaned up the remnants of filament from the base, it can then be replaced into the printer. Once the cables are reconnected the build platform is placed over magnetic screws that hold the base securely, and this proves to be a far better design than the standard clips used by other manufacturers.
